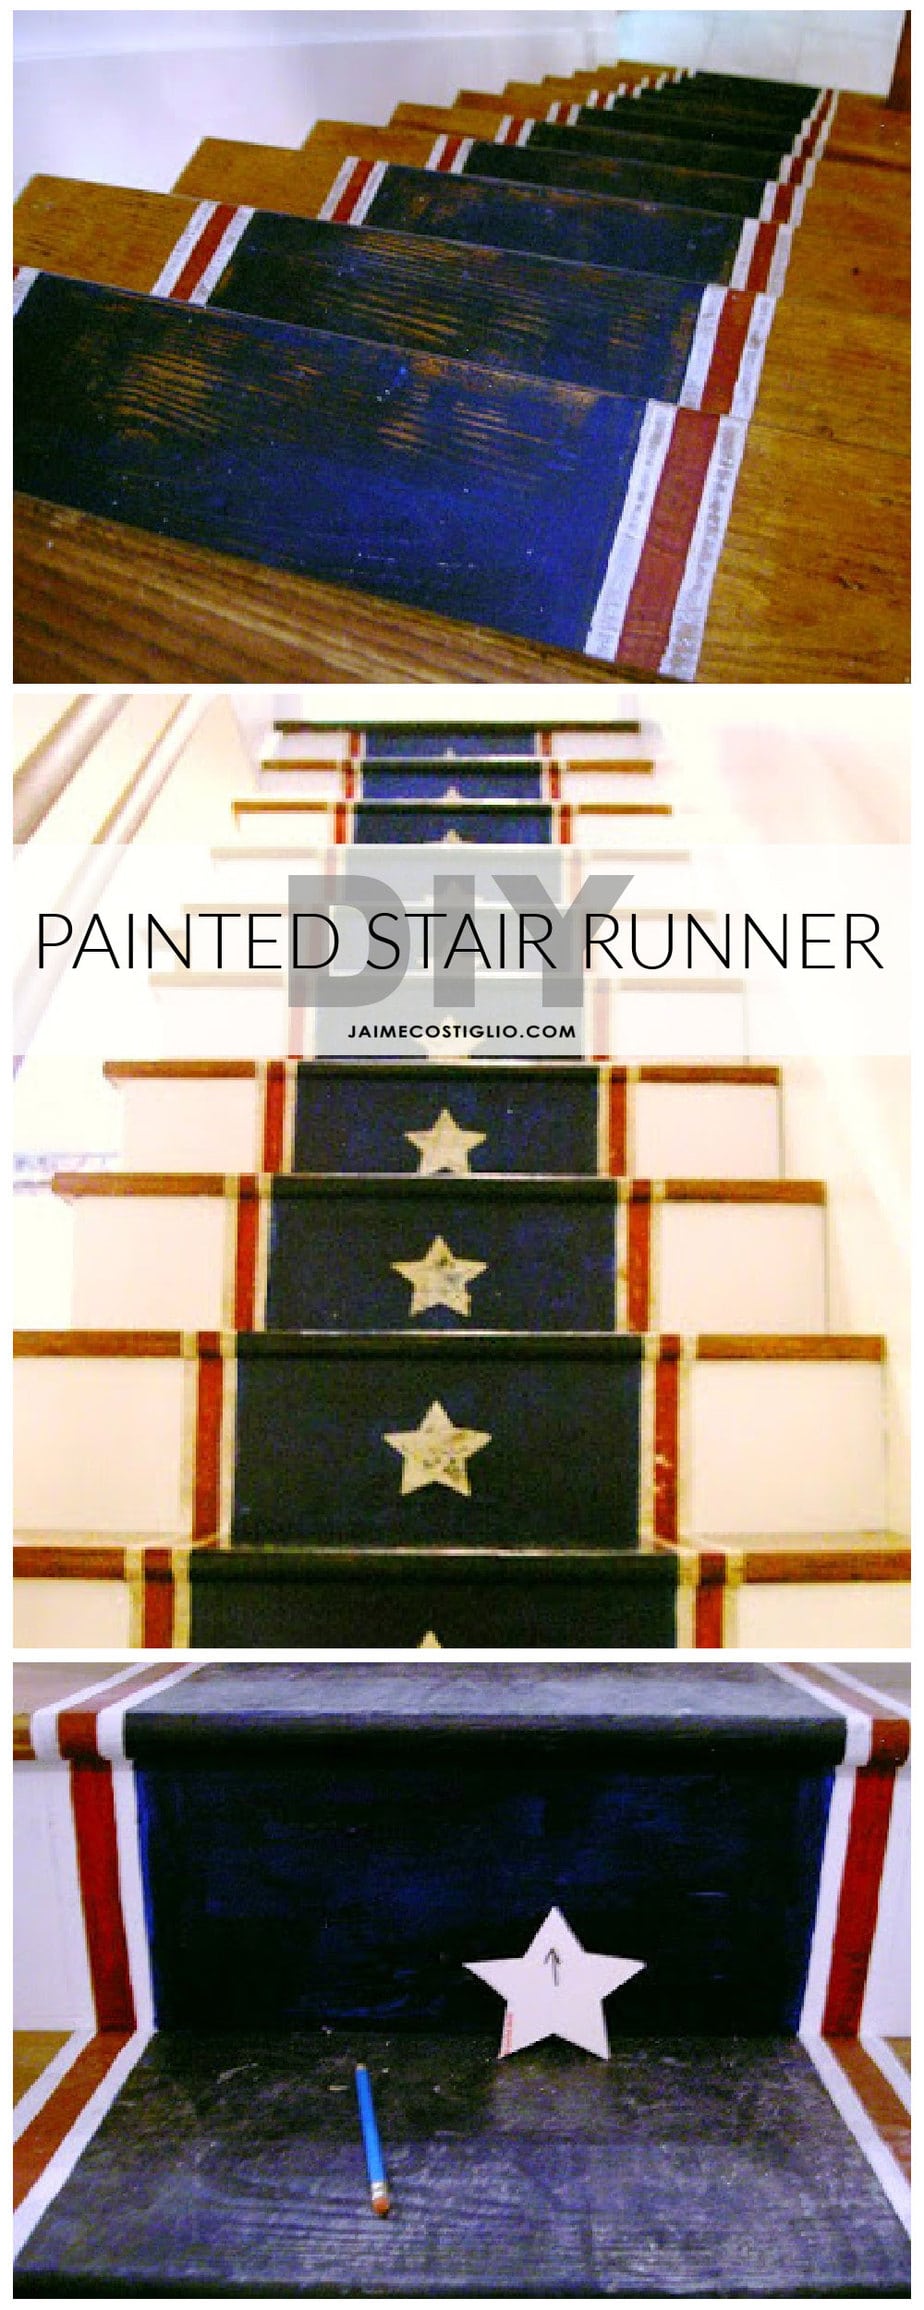
Here’s a quick, easy and painless solution to makeover those stairs. Today I’m sharing this painted stair runner I added to our basement staircase. It’s a great solution that doesn’t involve many supplies or tools.
A DIY tutorial to paint a stair runner. Give your stairs new life with a painted runner to match your style.
Is your staircase a bit tired and boring? Are you looking to add a little style and inject your personal touch to a space? That is exactly what I did on these basement stairs using just a bit of paint.
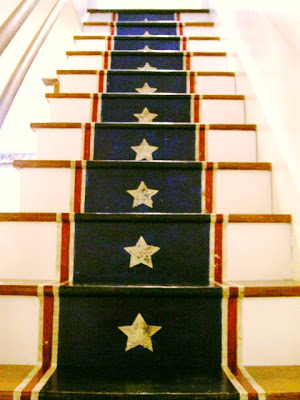
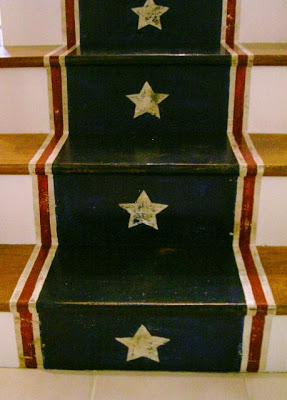
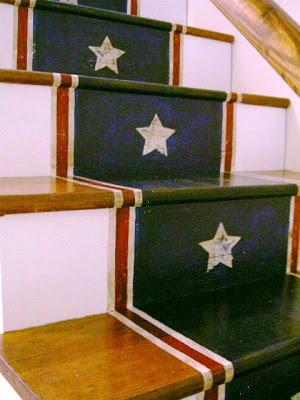
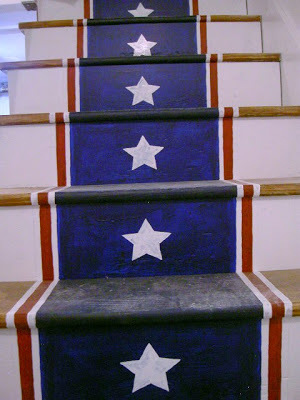
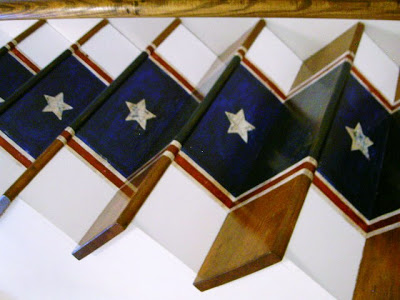
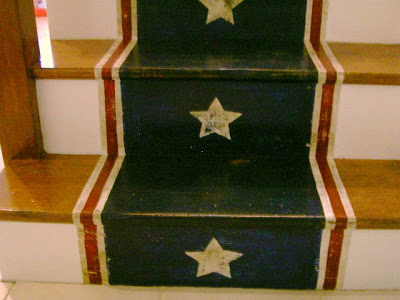
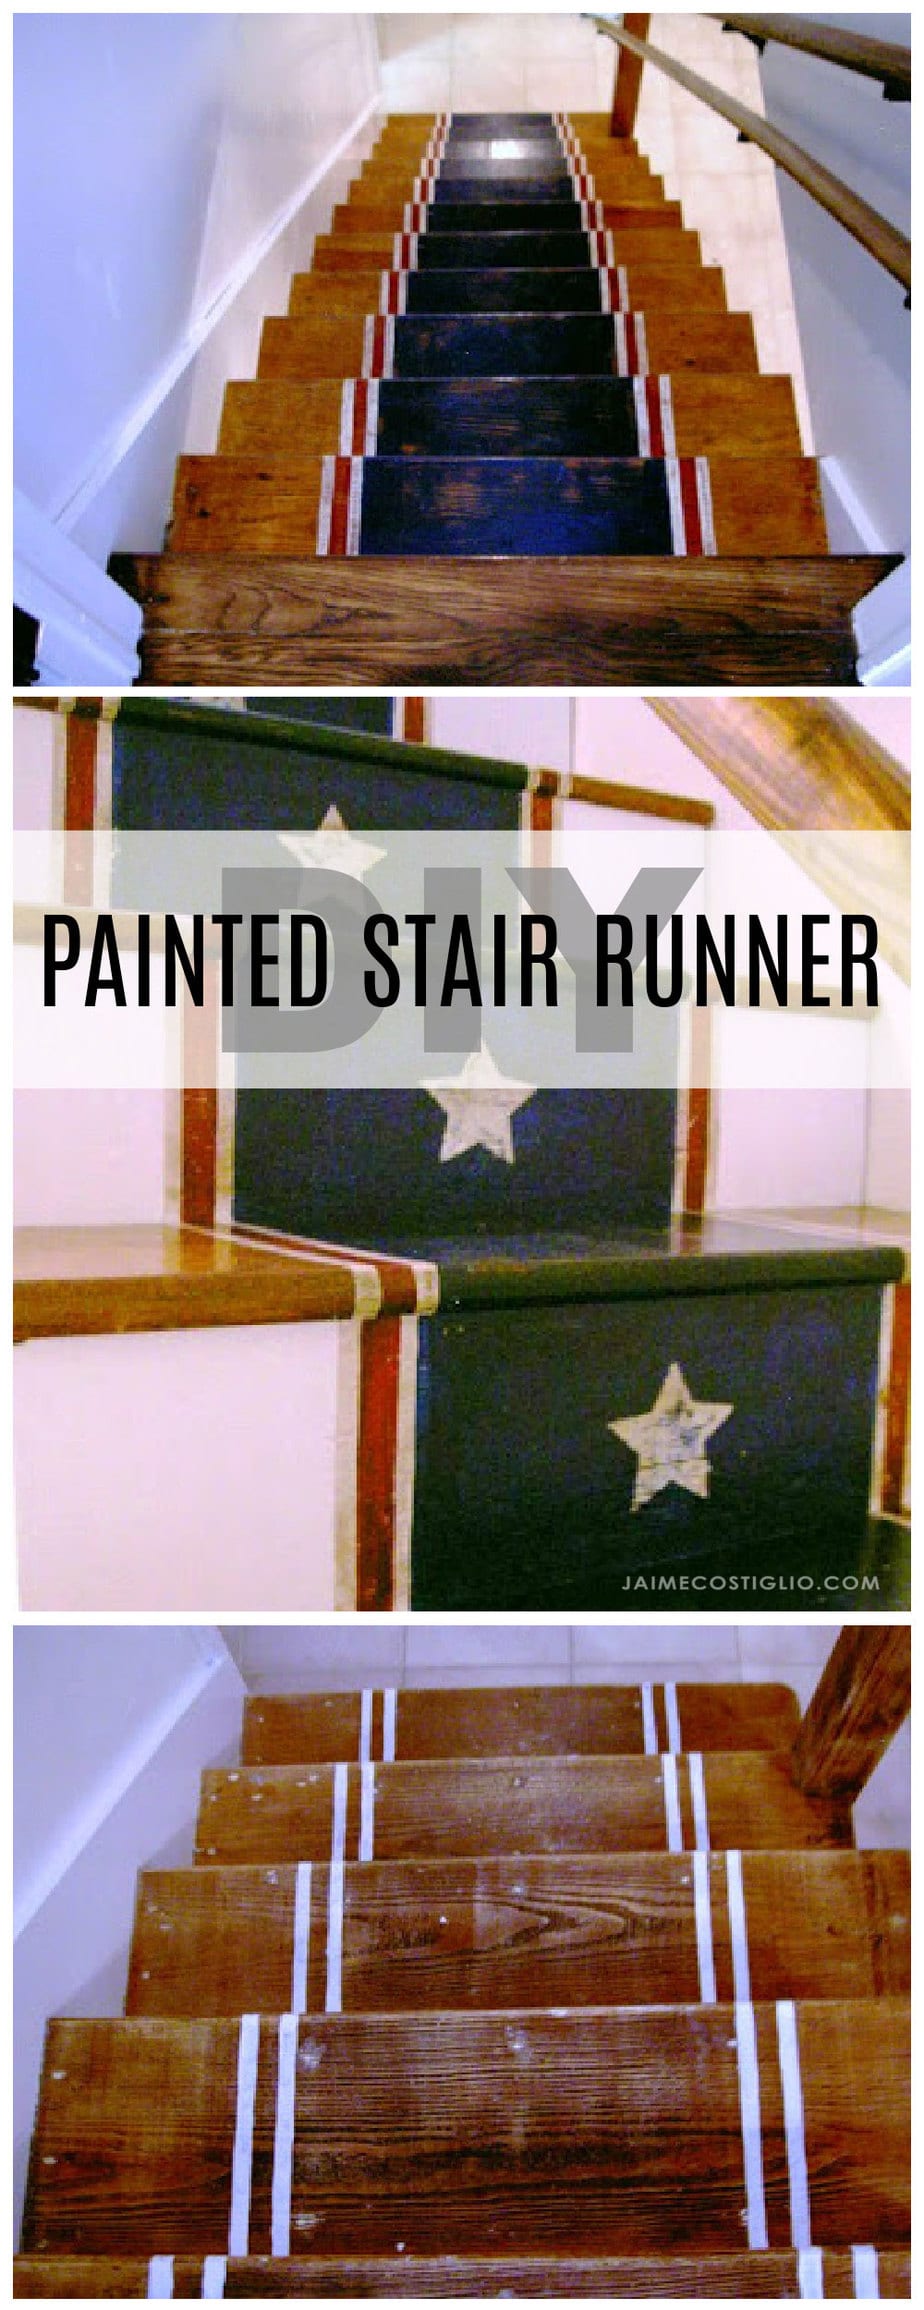
And surprise the view from the bottom has a fun star detail to complete the stars and stripes theme.
Basement Stairs Before
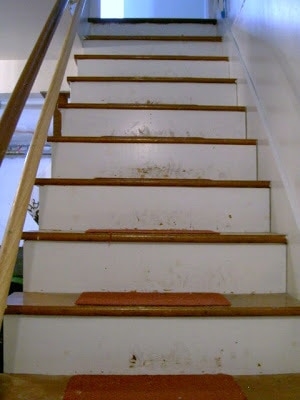
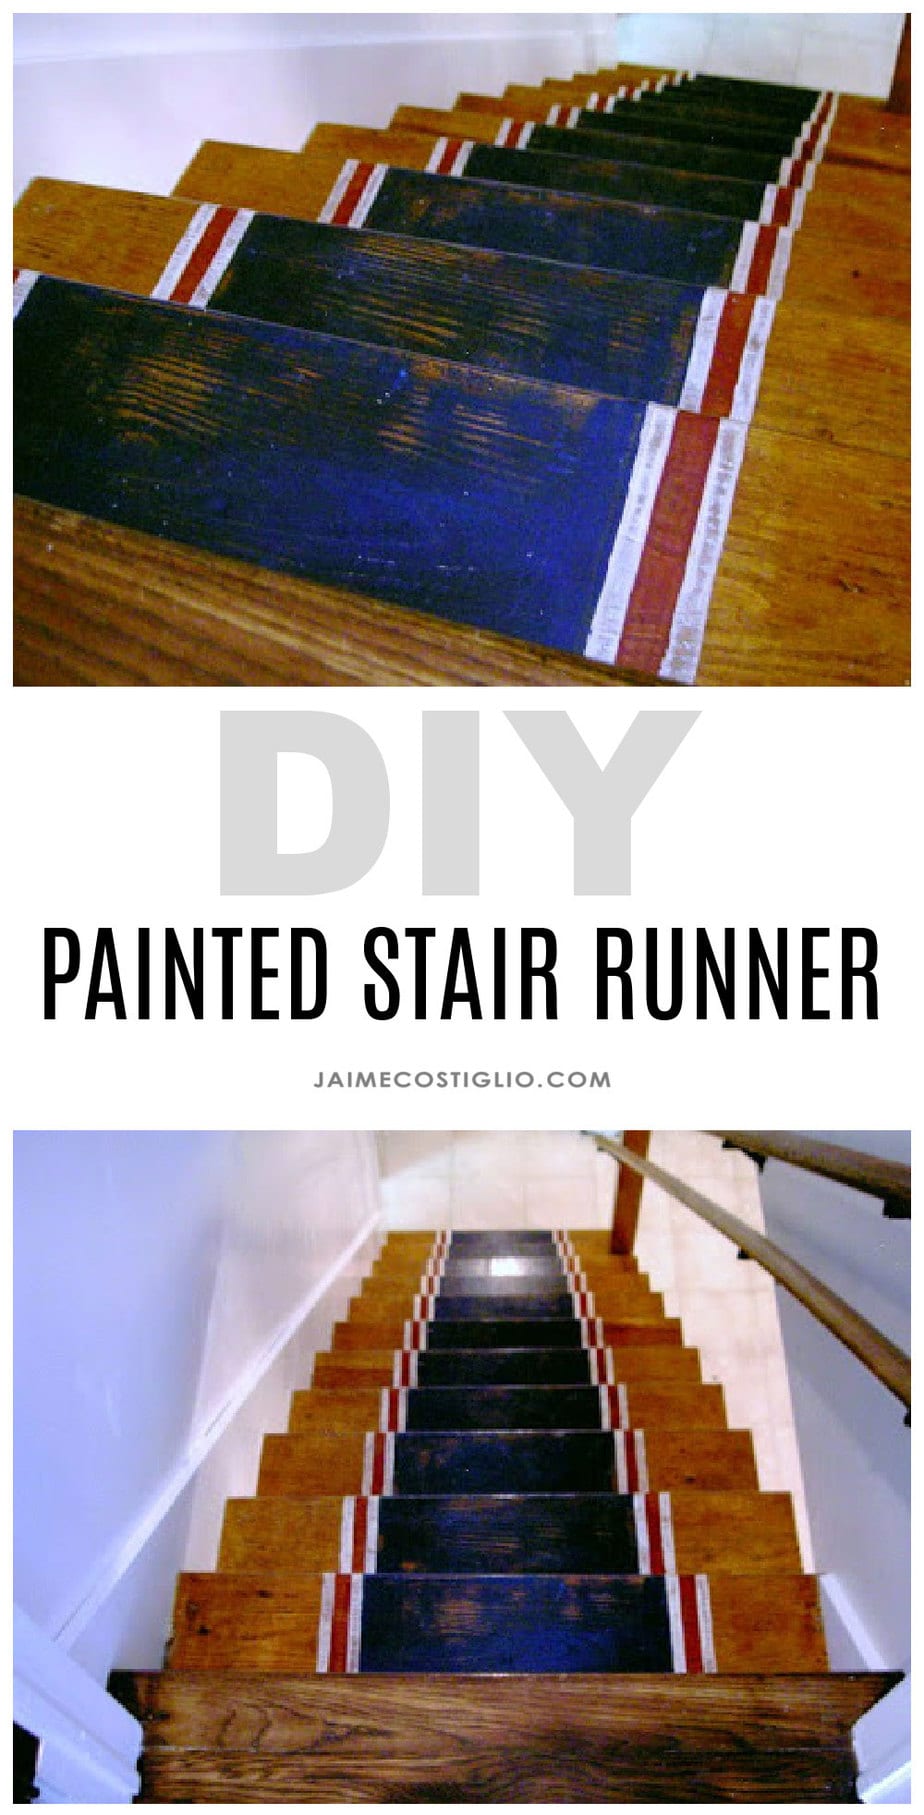
I started with a typical set of wooden stairs leading down to the basement. They had little carpet pads attached to each tread for safety however the red carpet was just not for me.
And the view from the bottom was just regular old white risers (that needed to be painted anyways):
Basement Stairs After
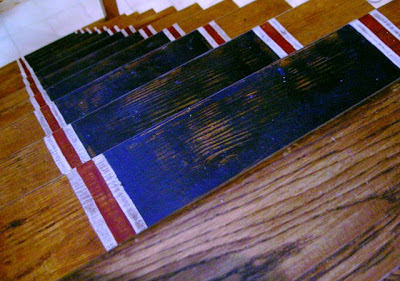
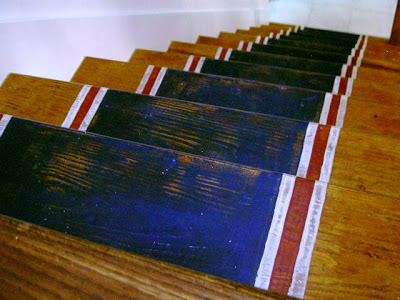
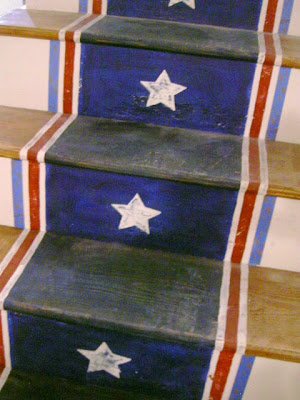
Now these stairs are sporting a fresh new painted stair runner. I love the distressed feel as if it’s been there all along. These stairs are directly off the kitchen (which was just renovated).
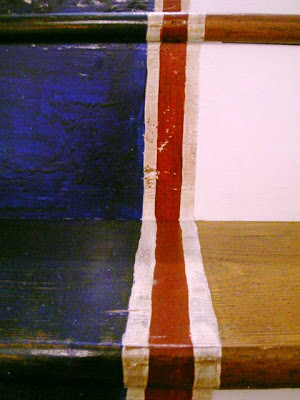
The view from the bottom is slightly unexpected. The wood was already very distressed (the house is 60 years old) which made painting easy because I didn’t need to be perfect. I wanted a rustic, rough, worn feel.
Let me show you how to create this painted stair runner.
Supplies:
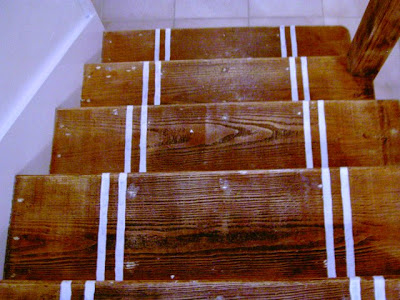
Step 1: Remove old carpet pads and staples. Sand with 120 grit.
Step 2: Paint risers white semi-gloss (no need to paint center portion).
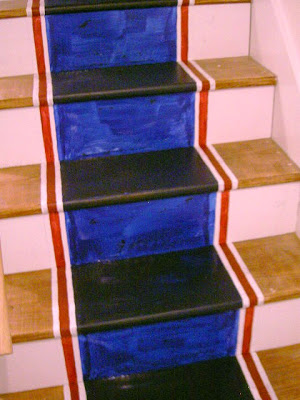
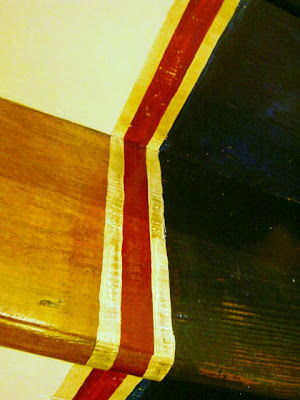
Step 3: Using a ruler and pencil draw stripes onto steps and risers. For all alternative method use painters tape just like my other painted runner tutorial here.
Then paint in the red and blue sections. The risers got a second coat of blue after this photo was taken.
Star Detail
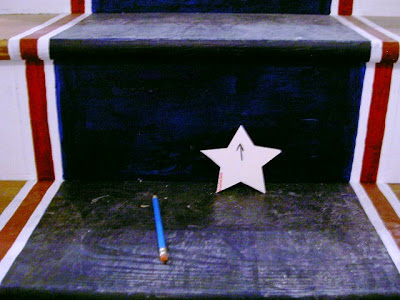
Step 5: Print out a star pattern onto cardstock and cut out. Then trace the star shape onto the riser.
Step 6: Paint white inside the traced star area. Then sand everything to distress.
Aging the Runner
Step 8: Apply Minwax dark walnut stain to ‘age’ the painted runner.
Step 9: Apply three coats of clear satin poly to seal.
* Steps 8 & 9 only apply to steps and painted runner part on riser. Don’t stain or poly the white part of riser.
A little bit patriotic, a bit nautical, fun for the kids and a bit unexpected when you open the basement door.
More detail shots:








These are BRILLIANT. What a clever idea! 🙂
Those stairs are beautiful!! What a fun bit of whimsy in an unexpected place! Thanks for sharing 🙂
Wow! That is a BIG job! They look wonderful! (I hope you're taking a rest this week-end 🙂
Love it, wish I had your energy.
Holy Heck Jaime the stairs look fantastic!! I bet you smile every time you have to go downstairs! Can't wait to see what you do with your bedroom floor.
Oh my goodness, Jaime! You took an un-noticeable/overlooked space and made a HUGE statement. It's so pretty and so fun. I love it!
Thanks so much for sharing at the DIY party! 😉
Roeshel
hiya jamie , another great project , very patriotic x tfs
xmaggiex
Oh my goodness–your projects are fantastic!!!!! I just became a follower of your wonderful/informative blog. Thank you so much for giving instructions on how to achieve these looks. Your stairs look fabulous!!
Have a great week,
Jeanette
Genious!! Love this and want you to come to my house and do the same!!
Omg, I wish my house had stairs!!
Wow!!! Those are amazing!!!
Wow. I am amazed by these stairs! They are so fun and unexpected. Love!
Love love love your stairs! I don't know how you keep one upping the last thing I love that you have done, but somehow you do 🙂
Your stairs are fantastic!
Wow! Those are definitely fun! I love it!
So you didn't tape anything off?
Love them!! I re carpeted a few yrs ago and I am so bummed I did not try something like this first!!! Yours look so good!!! Hard work but so worth it!!!!
Oh snap. I just posted by own whole-basement before and afters on some linky parties and thought my stairs were great. Seeing yours, I'm starting to think about adding one more thing to my to-do list 🙂
Oh wow!.. you are an inspiration!.. what a ginormous undertaking!.. its looks amazing!..
What a great look!
Love! Really fun and well done.
awesome job! what an undertaking…i bet this was lot's of work, but so worth it…i love it!!
This turned out just beautiful! Love the distressed look!!
I LOVE this!!!! We hope to redo our stairs this summer and this gives me ideas! Awesome job!
Jaime, this stairs project is sooo beautiful! Great job. Thanks for sharing this at the Creative Bloggers' Party & Hop.
That is fabulous !!!!!!!
I know it was very time cosuming but the results was like I said fabulous love it
There is no other colors so pretty together as Red White and Blue
Those are GORGEOuS!!! you did a great job!
Supurb! Such a creative gal. I love the Americana look. There is a house nearby us that has the outside of their home painted in a simular way. Someday I must get a picture of it and post it. It really is striking.
It's nice to meet you.
~ ~Ahrisha~ ~
What an improvement!
I just love it! Your stairs look absolutely amazing! Wonderful job! Thanks for sharing at FNF! 🙂 Sharing these on FB today! 🙂
Wow! Love your painted runner! Your stairs look amazing! Thanks for sharing.
That looks absolutely fantastic!!! I love the worn look. It adds so much character. Brilliant idea…wonderful execution.
AWESOME! I want some of these going to my basement. Too bad I'm a renter for the time being lol. You have my button but your not linked up yet ;P
OK, that is so darn cute that I want my husband to either dig me a basement or add on a second story… just so I can try this too!
Your stairs look so amazing!!! You did a fantastic job! I really want to attack my stairs now! X
LOVE LOVE LOVE. so impressed and in love. saw you on tatertots and jello.
your new follower,
kathryn
thedragonsfairytail.blogspot.com
Those look phenomenal. Gotta love some good Americana.
Absolutely beautiful!! I am in LOVE with the end result. Wow …
I love these!!
They really make me wish that my home had stairs, lol. They look great! Real Americana!…….Bonnie
Wow these look awesome!! I hope you'll link up to my party going on now. http://www.lovelycraftyhome.com
Love this! What a transformation. It looks beautifull!
I love the way the stairs look!!!
What a great job!!!!
Wonderful job. I have been trying to convince the man we need a change like this. Maybe by the turn of the next decade…
Oh my oh my! If I weren't a military spouse and we weren't going to move every few years AND I owned a home I would totally steal this beautiful idea from you! My livingroom is Americana and I LOVE how your stairs turned out.
Love the stairs! They really invite you down to the next level now and look great when you look up the stairs as well. GREAT JOB!
Hi Jaime,
I wanted you to know that you inspired me to paint my stairs too – these are mine – http://ellabooandcompany.blogspot.com/2011/05/new-life-for-tired-staircase.html
I am saving the stars idea for my back staircase – thank you for all your inspiring ideas!
Wow! This is gorgeous! Looks wonderful.
~Amanda
What an improvement! This is such a fun look.
The stairs came out great!
Absolutely amazing. What a great job you did. It makes me wish I had stairs to paint like that.
AWESOME!!! I'm totally adding it to my pinterest. This is absolutely beautiful!
Love this! We have numbered stairs ~ this is way cooler!