• Home
  • Blog
  • About
  • Contact
    • Disclosure
    • Privacy Policy
  • SHOP
  • Widget area for main menu

    • Email
    • Facebook
    • Instagram
    • Pinterest
    • Twitter
    • YouTube
  • Skip to primary navigation
  • Skip to main content
  • Skip to primary sidebar

Jaime Costiglio

build - paint - sew

  • BUILD
    • BEDS
    • BENCHES
    • DESKS
    • DRESSERS
    • GAMES & TOYS
    • SCRAP WOOD
    • SHELVES
    • STORAGE
    • TABLES
  • TOOLS
  • PAINT
    • CRAFTS
    • FURNITURE
    • HOME DECOR
  • SEW
    • GIFTS
    • HOME DECOR
    • POUCHES
  • HANDBUILT HOLIDAY
    • 2021
    • 2019
    • 2018
    • 2017
    • 2016
    • 2015
    • 2014
    • 2013
  • GIFTS
    • BABIES
    • KIDS
    • FOR HER
    • FOR HIM
    • TEACHERS
    • WEDDINGS
  • SEASONAL
    • 4TH OF JULY
    • FALL
    • HALLOWEEN
    • CHRISTMAS
    • SUMMER
    • SPRING
    • ST. PATRICK’S DAY
    • THANKSGIVING
    • VALENTINE’S DAY
    • WINTER
  • SALTBOX PROJECT
    • BATHROOMS
    • DINING ROOM
    • EXTERIOR
    • FAMILY ROOM
    • FOYER / MUDROOM
    • KIDS BEDROOMS
    • KITCHEN
    • LIVING ROOM
    • MASTER BEDROOM
    • PLAYROOM
  • SCROLL SAW

DIY Mini Saw Blade Ornament

July 12, 2017

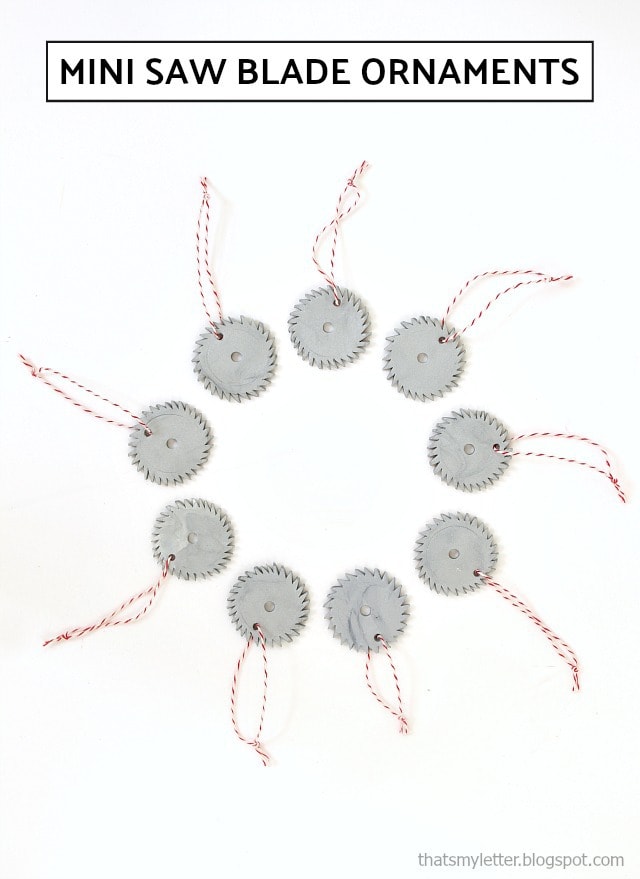
diy mini saw blade ornaments
It’s Christmas in July friends and I’m sharing all the tutorials for my mini tool tree project from last Christmas.  First up are these mini clay saw blade ornaments that look just like the real thing only smaller and cuter!
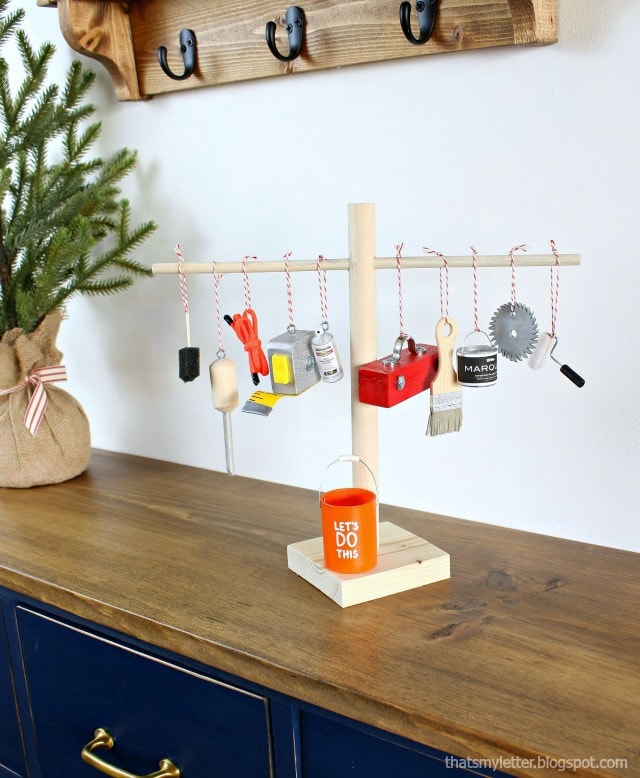
diy mini tool tree with ornaments
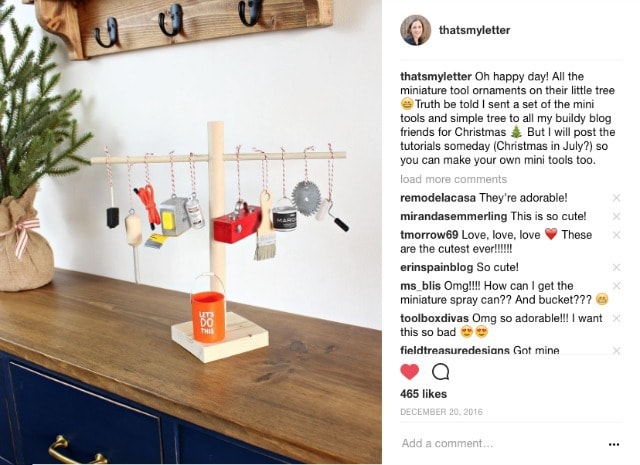
I actually dreamt up all this mini tool tree idea last summer and started making all the ornaments then so when December rolled around I was able to send a little tool tree to all of my buildy blogger friends.
The mini tool tree has all the basic tools: foam brush, screwdriver, extension cord, tape measure, spray paint, bucket, toolbox, paint brush, paint can, saw blade and paint roller.  I will be sharing the tutorials for each ornament in the next coming weeks so stay tuned.
Christmas in July graphic
It’s officially Christmas in July and if you get started now on all your handmade gifts you will be in good shape once the holidays roll around.

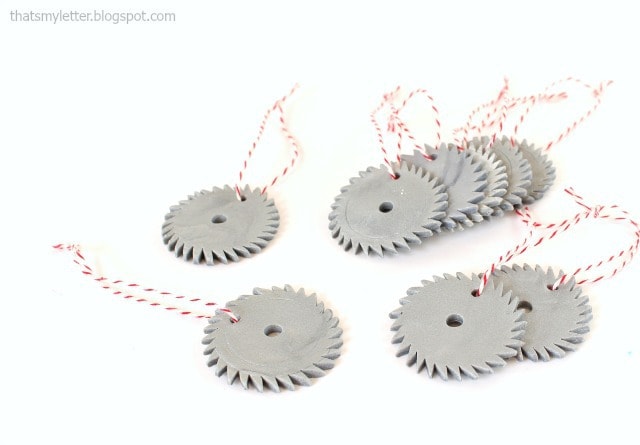
clay mini saw blade ornaments
The detailed step by step process on how to make these mini saw blade ornaments is down below.
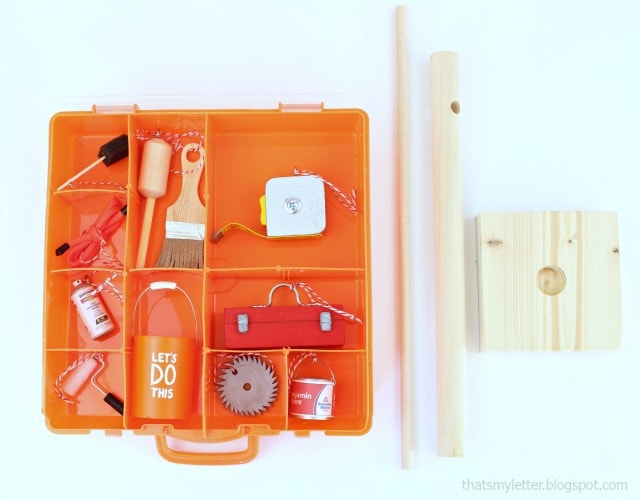
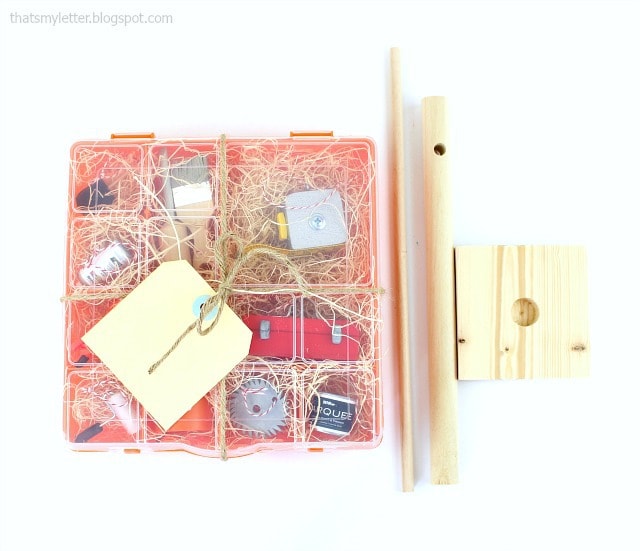
Once I had all the ornaments made I found these inexpensive orange compartment boxes at the dollar store.  They proved to be the perfect way to ship and wrap the tool tree ornaments and bonus storage box too!

mini tool ornaments in storage box

In case you missed it I shared a sneak peek of the mini tool tree on Instagram last December.
Be sure to follow me over there for project glimpses ahead of blog posts.

that's my letter on Instagram

* This post contains affiliate links below.

Supplies:
  • metallic silver polymer clay
  • rolling pin
  • scotch tape roll
  • exacto knife
  • plastic drinking straw
  • wood skewer
  • foil
  • baking sheet
  • bakers twine
Below are the step by step instructions.  Be sure to read through all steps first and if you have any questions please leave them in the comments and I will respond.
how to make clay saw blades
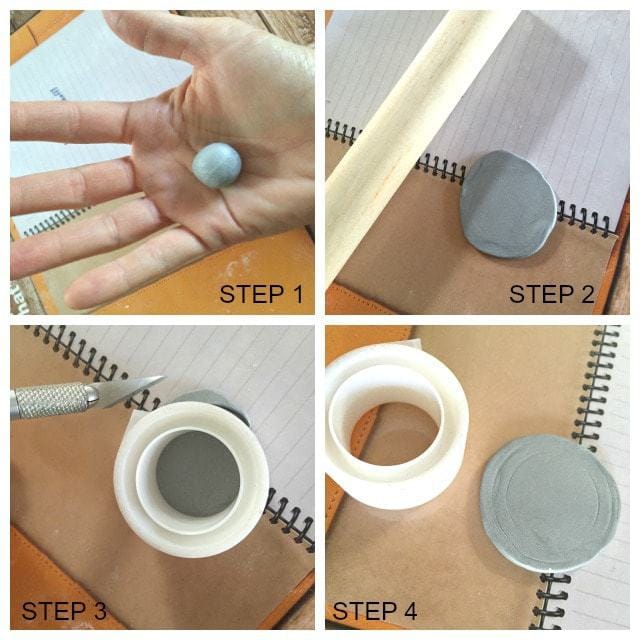
Step 1: Roll clay into smooth ball.
Step 2: Flatten clay ball using rolling pin to about 1/8″ thick and 2″ diameter circle.
Step 3: Place roll of scotch tape on top of circle and gently press.  Trim any excess clay from edges.
Step 4: Finished circle shape.
clay saw blade ornaments

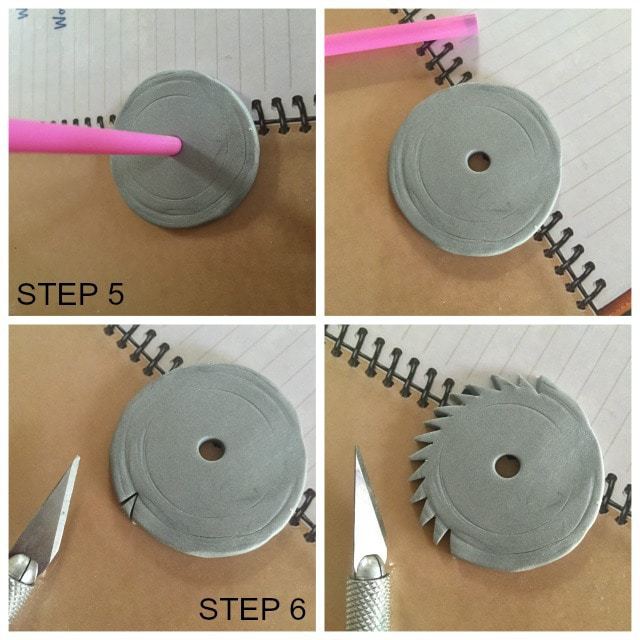
Step 5: Make center hole using plastic drinking straw.
Step 6: To make saw blade edge cut small triangular shapes all around outer edge using exacto knife.

diy mini saw blade ornaments

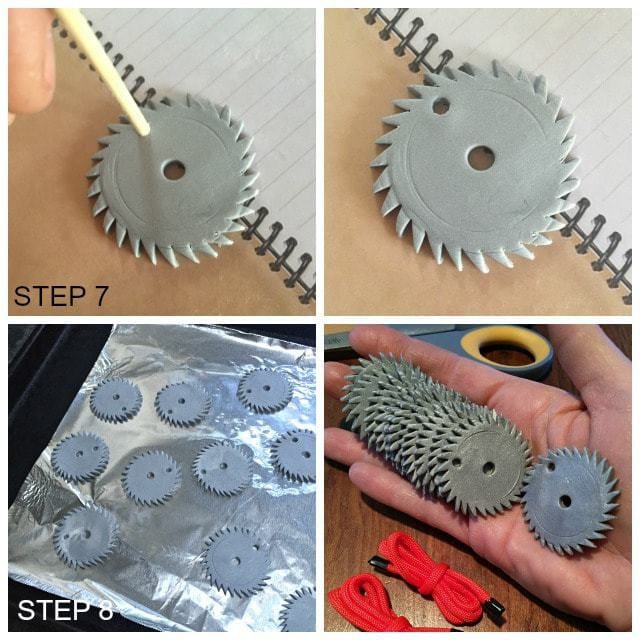
Step 7: Use a wooden skewer to make hole for string.
Step 8: Bake clay as directed on packaging.  Let cool and add string hanger.
diy miniature tool tree packaged
I pacakged up all the ornaments in this dollar store compartmented box using some natural filler for cushioning.  Add some jute string to ensure the box stays shut during shipping and a gift tag.
I hope you enjoyed this tutorial and make some mini saw blade ornaments for your tree.
diy mini tool tree saw blade ornaments
SHOP THIS PROJECT:

More mini tool ornaments below:

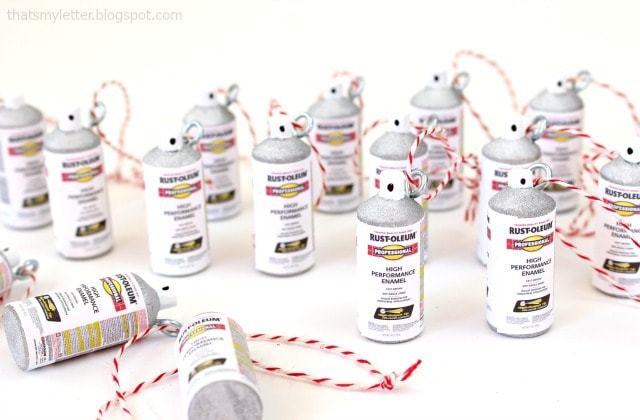
 mini spray paint
mini spray paint
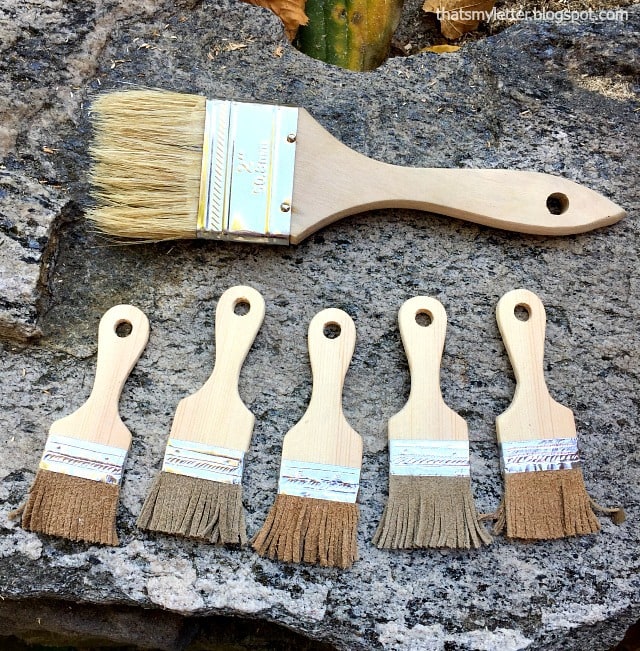
mini paint brush ornament
mini paint brush
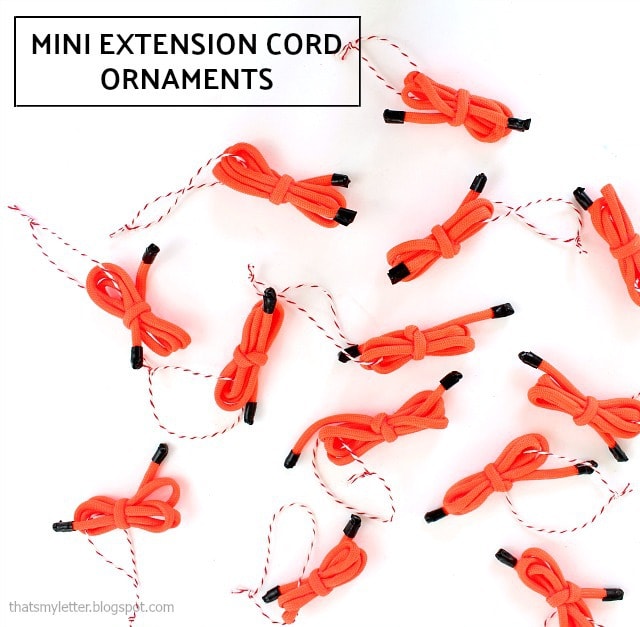
mini extension cord ornament
mini extension cord


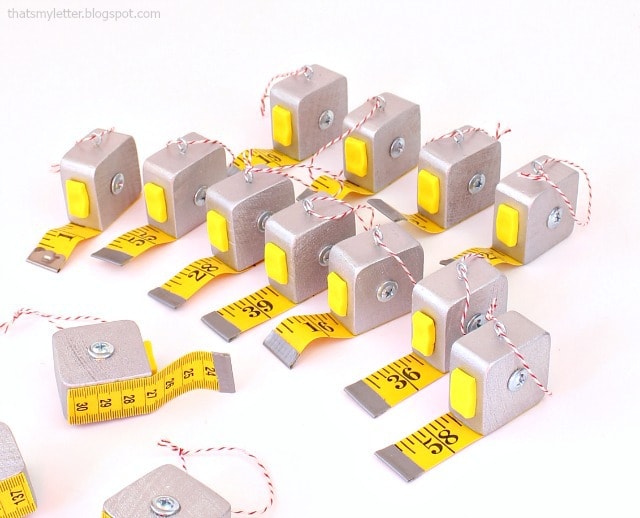
mini tape measure ornaments
mini tape measure
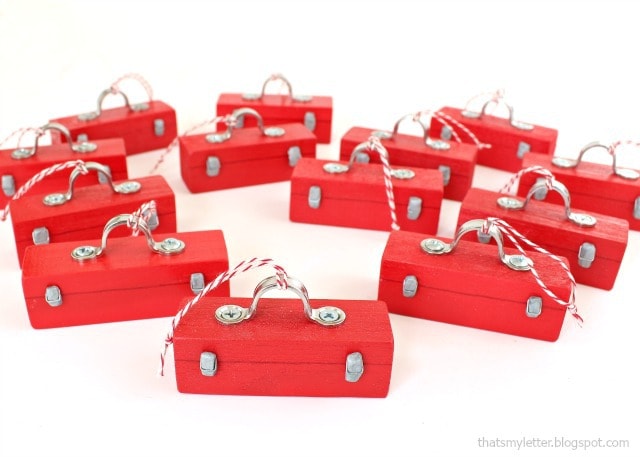
mini toolbox ornament
mini toolbox


You may also like...

  • DIY Mini Tool Ornaments CollectionDIY Mini Tool Ornaments Collection
  • DIY Mini Paint Can OrnamentsDIY Mini Paint Can Ornaments
  • DIY Mini Paint Roller OrnamentsDIY Mini Paint Roller Ornaments
  • DIY Mini Homer Bucket OrnamentDIY Mini Homer Bucket Ornament
Share this post:

Filed Under: CHRISTMAS, CRAFTS, MINI TOOL ORNAMENTS, SEASONAL3 Comments

Reader Interactions

Comments

  1. kksb says

    July 12, 2017 at 6:14 PM

    These are adorable. Thank you for sharing your instructions.

    Reply
    • jcprime1 says

      July 12, 2017 at 7:52 PM

      Thank you – it makes all the effort worthwhile!

      Reply
  2. pearlswithplaid says

    July 12, 2017 at 6:51 PM

    Yay I've been waiting for this tutorial since you 'rolled' these out last year. Since I work for HD I'm thinking these would be the cutest department gifts!

    Reply

Leave a Reply Cancel reply

Your email address will not be published. Required fields are marked *

Primary Sidebar

Hi! I’m Jaime

Jaime Costiglio

Hello!

Thank you for stopping by.
Join me for lots of DIY.

Read more

Get new posts via email

Handbuilt Holiday: Gift Project Plans

handbuilt holiday gift project plans

Collection of DIY gift project plans to build.

The Home Depot Tool Prospective

THD Prospective

Tools to consider for the DIYer.

Archives

The Home Depot Logo
Copyright © 2023 Jaime Costiglio · Custom site by Moonsteam Design

Privacy Policy