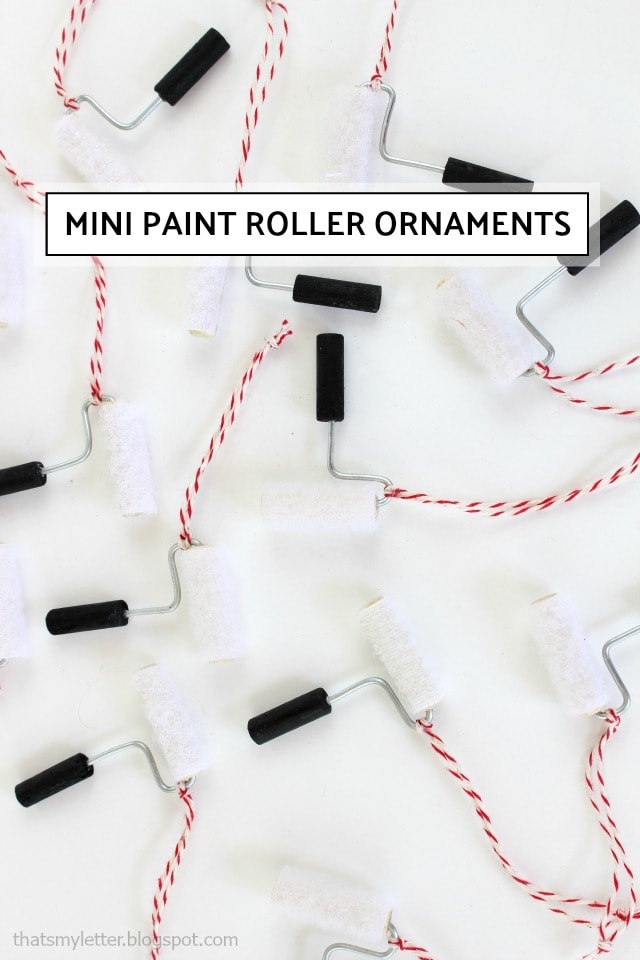
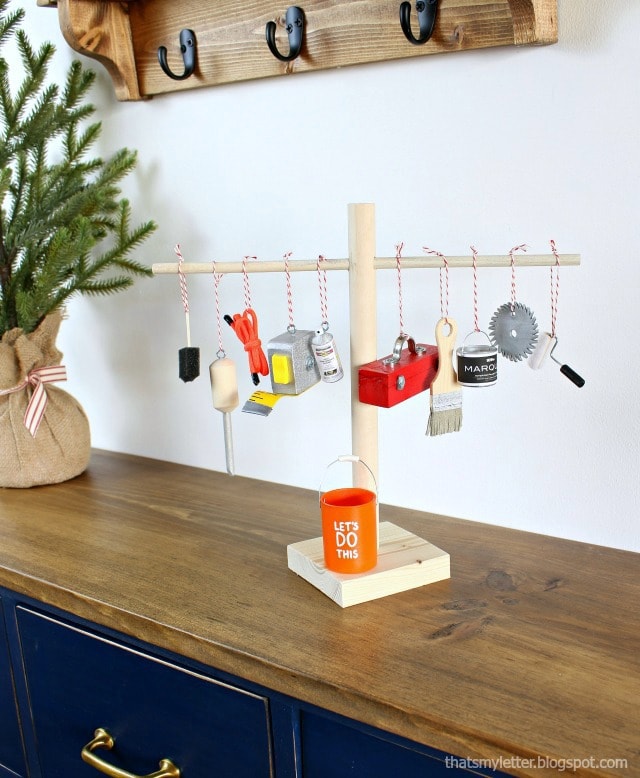
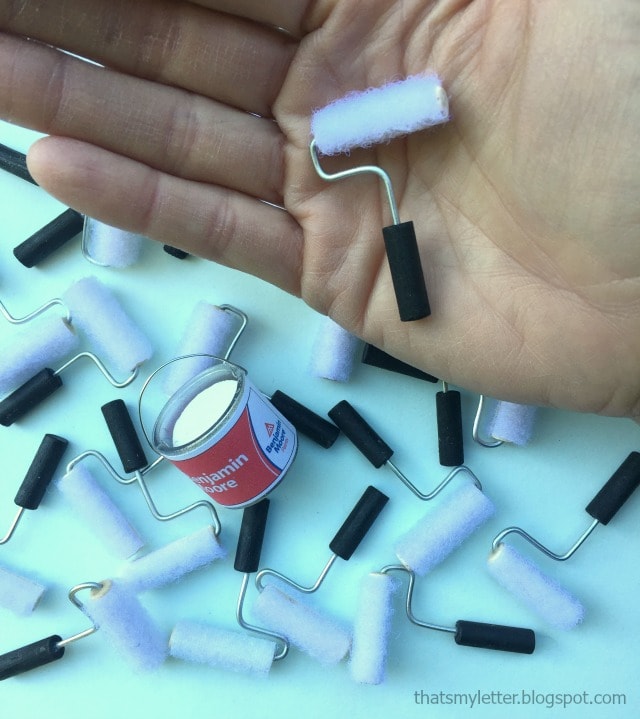
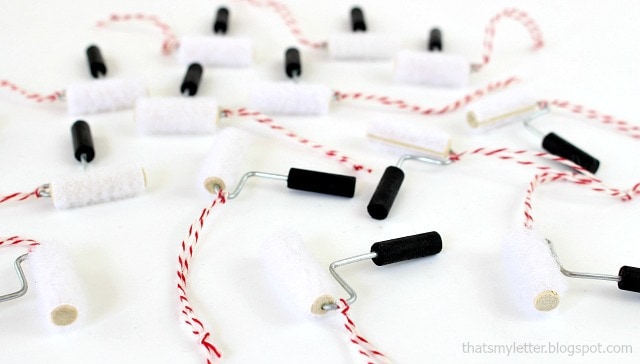
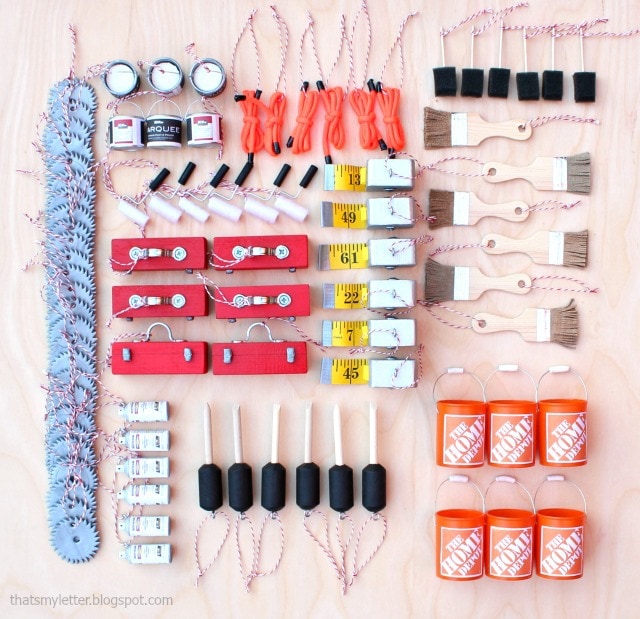
Christmas in July is nearly over but I still have a few mini tool ornaments left to share. Today it’s these mini paint rollers, cute on their own but even better when paired with the mini tool tree collection:
Scroll down below for links to all the mini tool tutorials and step by step instructions on how to make the paint roller ornaments.
Supplies:
- 1/4″ circular wood dowels
- drill & bits
- sandpaper
- sticky back velcro (fuzzy side only)
- scissors
- wire
- wire cutters
- black acrylic paint & paint brush
- super glue gel
- bakers twine
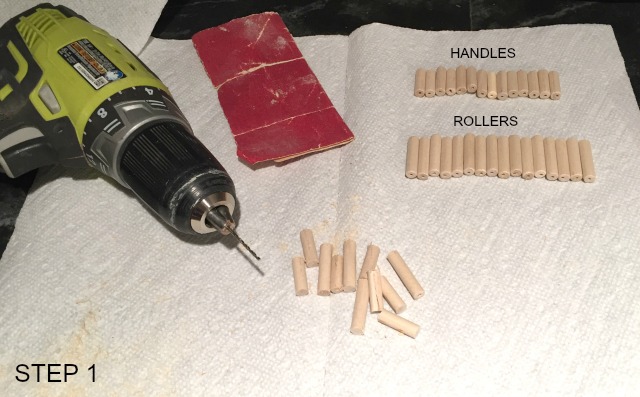
Step 1: Cut dowels. For each ornament you need (1) roller at 1.25″ long and (1) handle at 7/8″ long. Predrill a tiny hole into one end of each dowel piece.
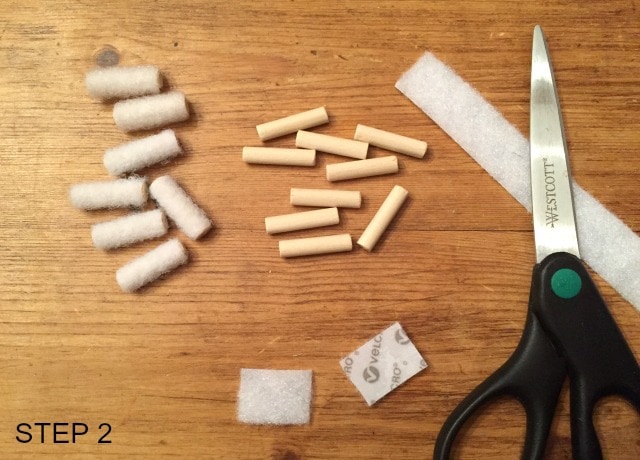
Step 2: Cut a piece of the fuzzy portion of sticky back velcro to fit the length of the dowel. Adhere the velcro to the dowel and trim any overlap.
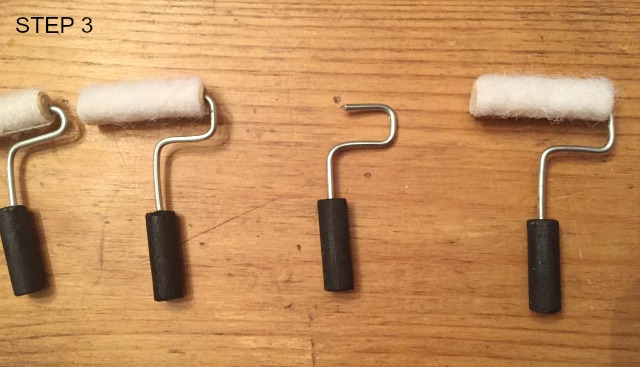
Step 3: Paint the handles black. Cut a piece of 18 gauge wire and shape it similar to above photo. Apply a dab of super glue to one end and insert into predrilled hole in handle. Repeat for other end of wire into roller dowel piece.
Attach bakers twine string for hanger.
SHOP THIS PROJECT:
For more mini tool ornaments click on the phots below:
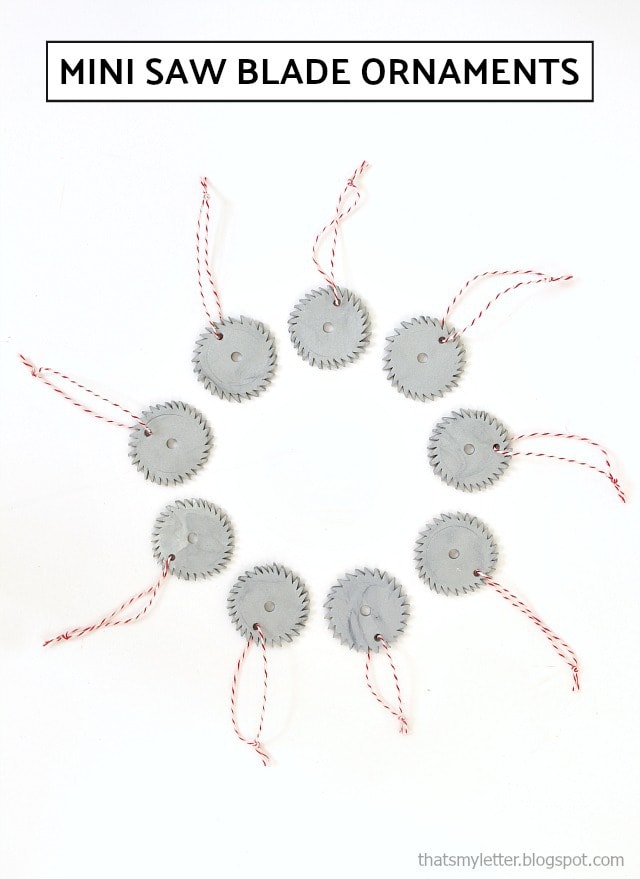 mini saw blade |
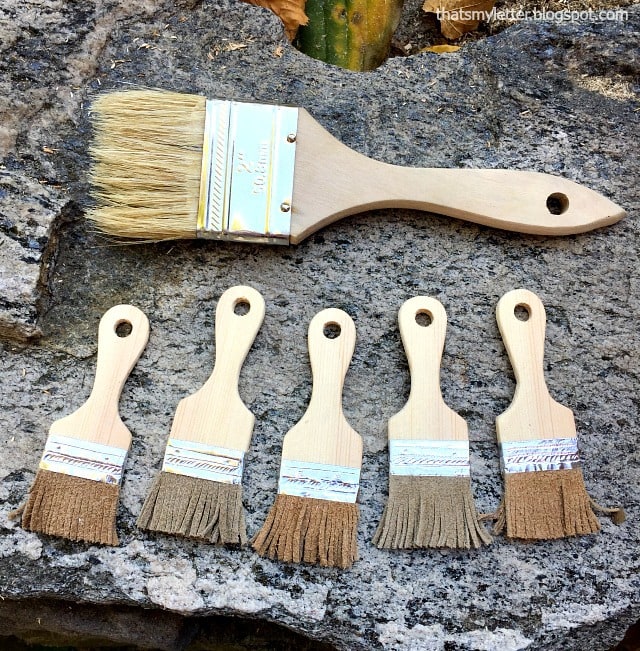 mini paint brush |
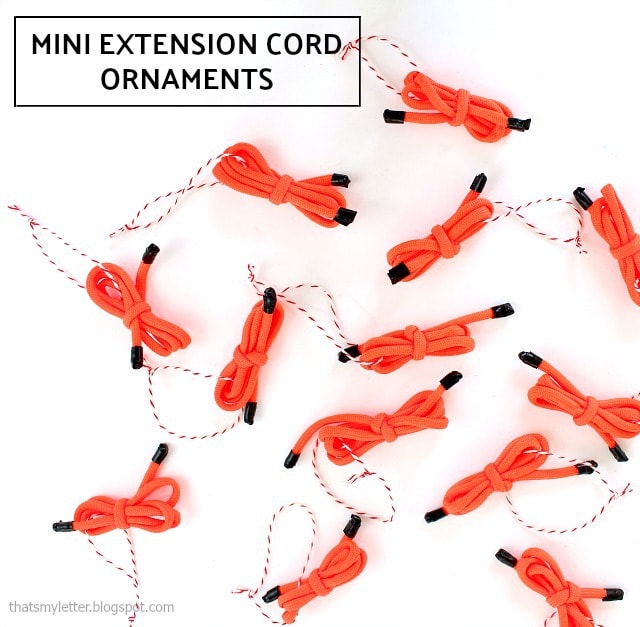 mini extension cord |
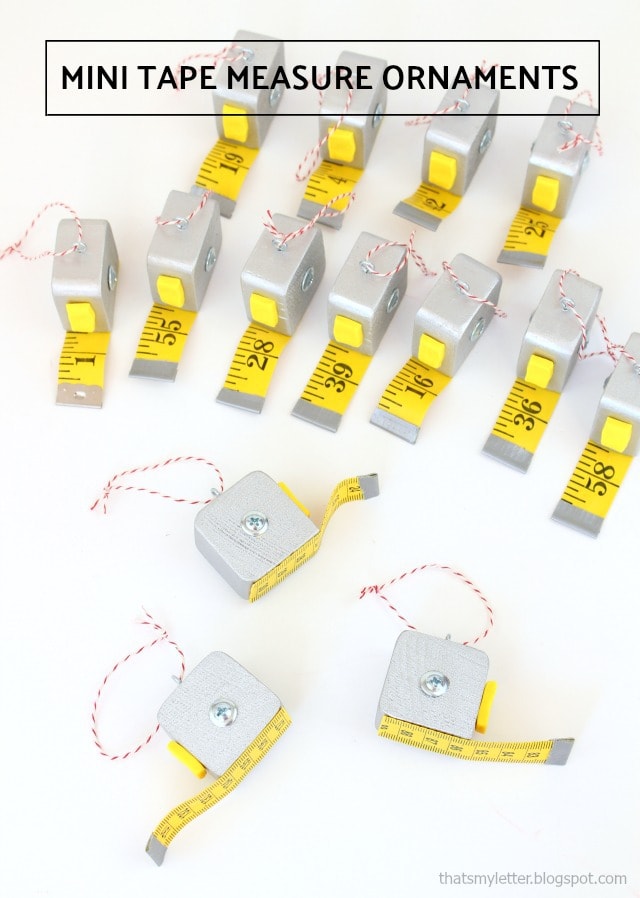 mini tape measure |
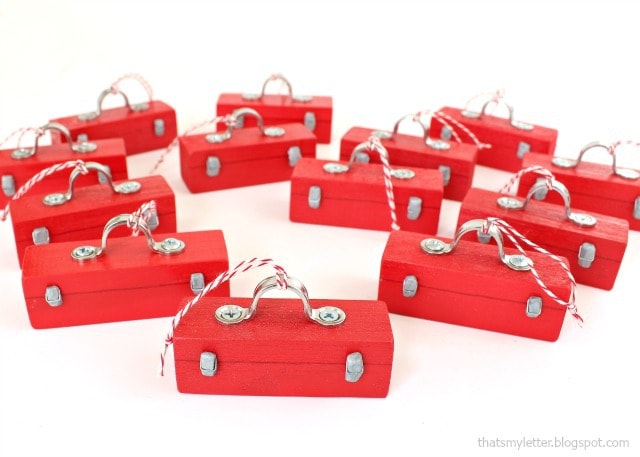 mini toolbox |
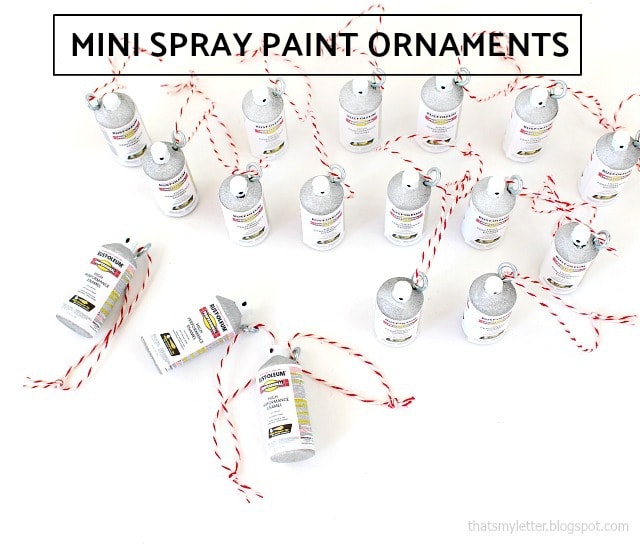 mini spray paint |




Leave a Reply