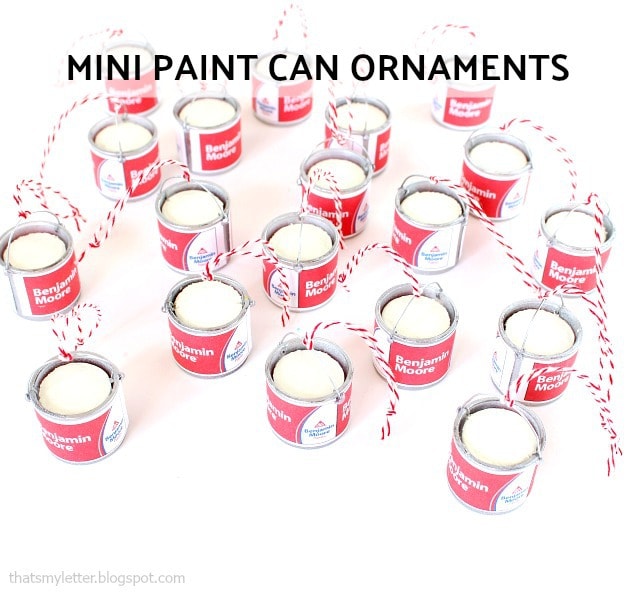
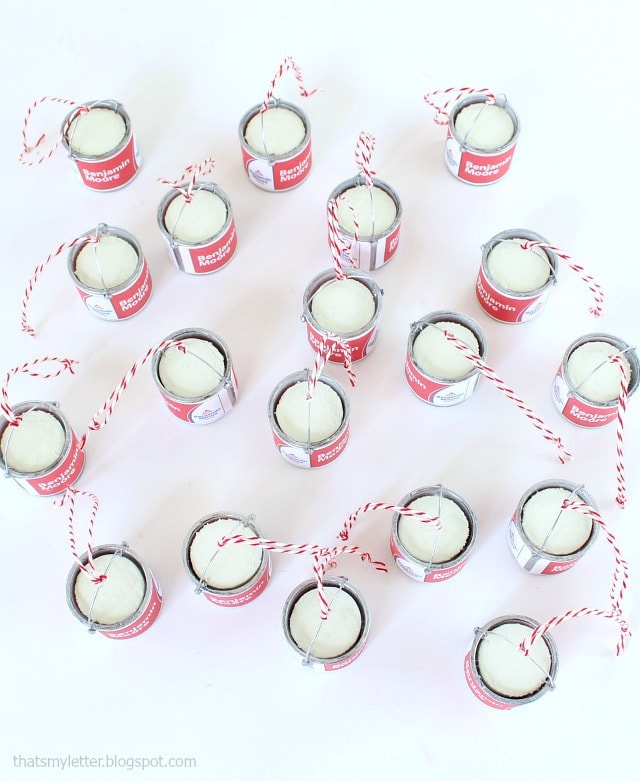
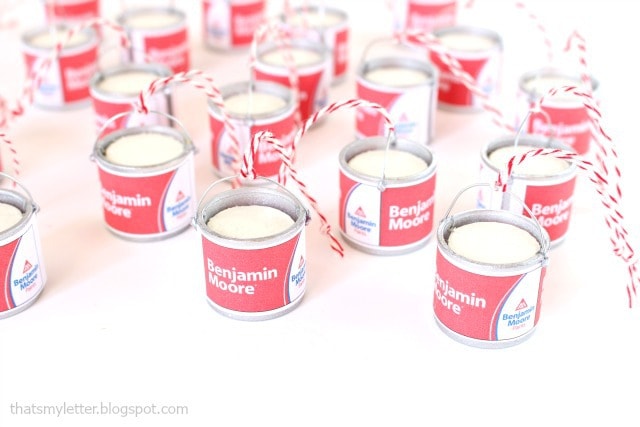
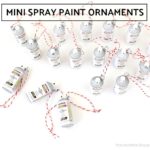
The last miniature tool tree ornament tutorial is the mini paint can. Can of paint or bucket of paint, whatever you call it, it’s miniature and perfect for all those paint loving friends in your life.
I shared all the mini tool tree ornaments during this past Christmas in July. Such a fun little project idea or gift.
Below are the step by step instructions to make miniature paint can ornaments.
*This post contains affiliate links below.
Supplies:
- plastic storage containers
- metallic silver spray paint
- 1″ wood dowel
- white paint
- drill & drill bits
- wire
- wire cutters
- hot glue
- paint can labels (click here for Benjamin Moore PDF printable, click here for Behr label)
- double stick tape
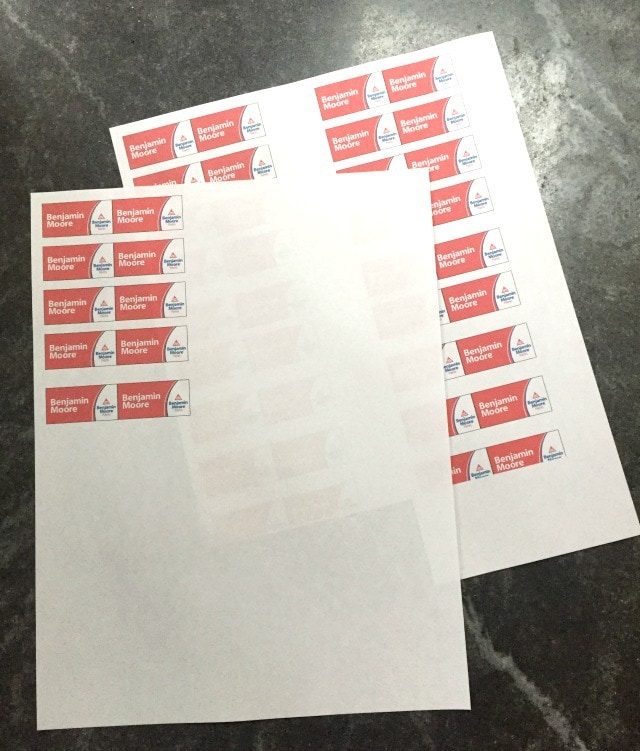
Step 1: Print out labels to fit the plastic containers. Spray paint exterior of plastic containers silver.
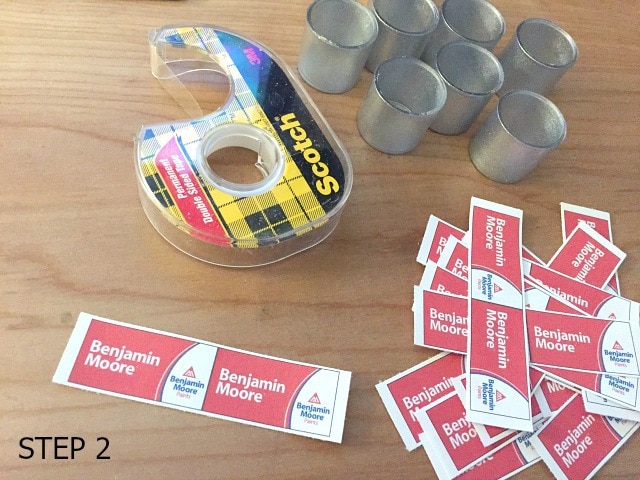
Step 2: Attach labels to containers using double sided tape.
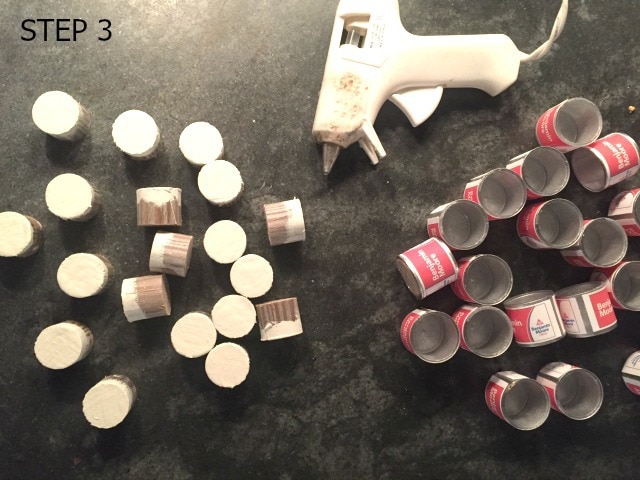
Step 3: Cut 1″ dowel into 1″ lengths. Dip one end into white paint and let dry. Once dry use hot glue to attach ‘paint’ into base of plastic container.
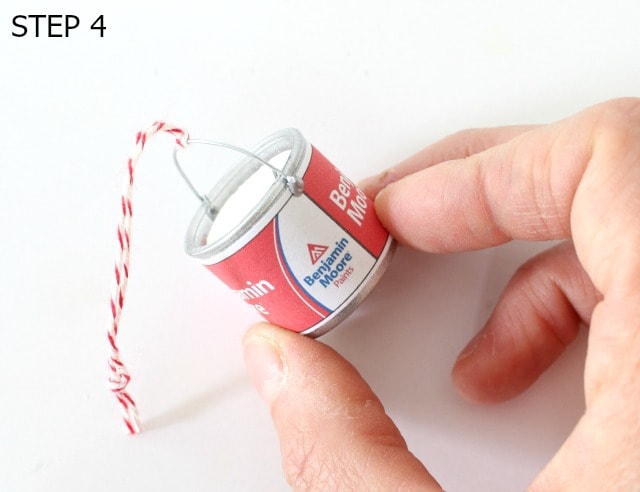
Step 4: Predrill small hole into both sides of plastic container near top edge. Cut a small piece of wire and insert into both holes then bend end upwards. Apply small dab of hot glue to exterior of plastic container where wire went in. Add bakers twine hanger.
SHOP THIS PROJECT:
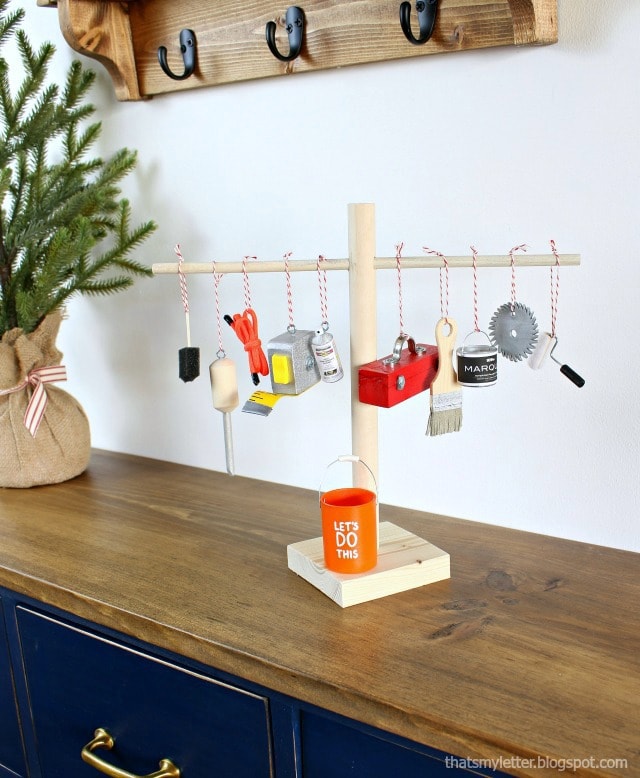
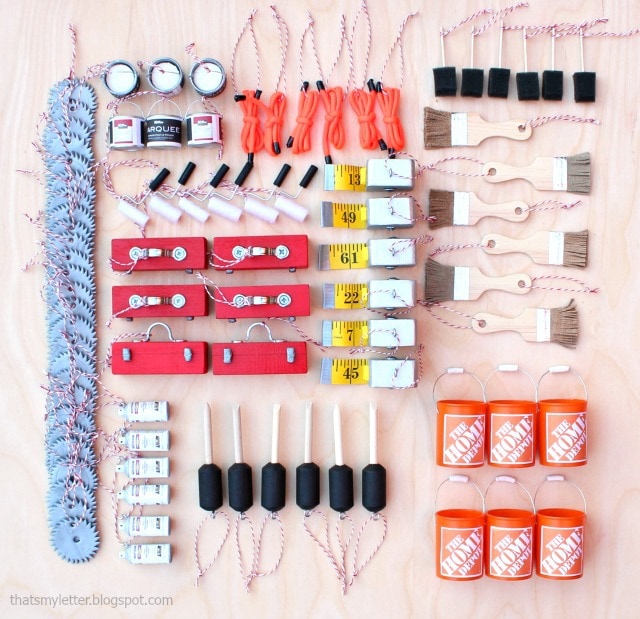
Check out the whole tool tree ornament collection:
Links to the tutorials to make these ornaments are below:
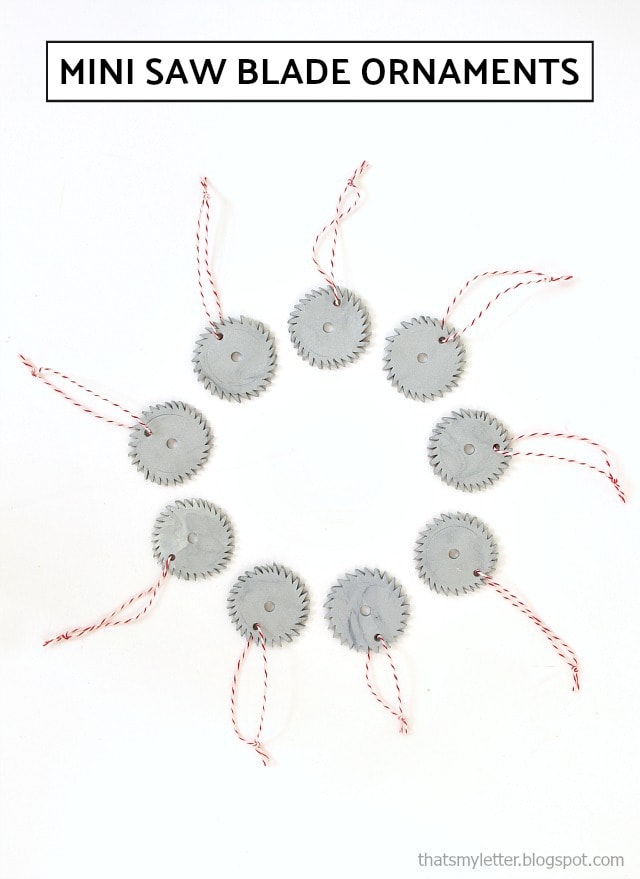 mini saw blade |
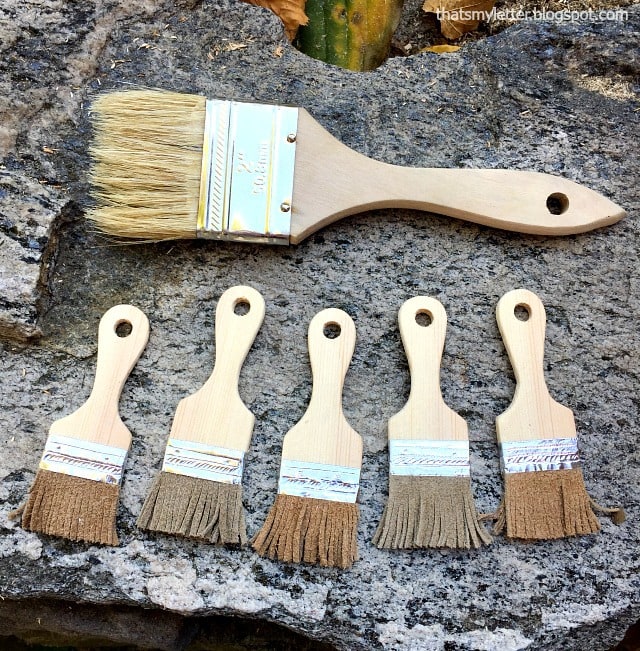 mini paint brush |
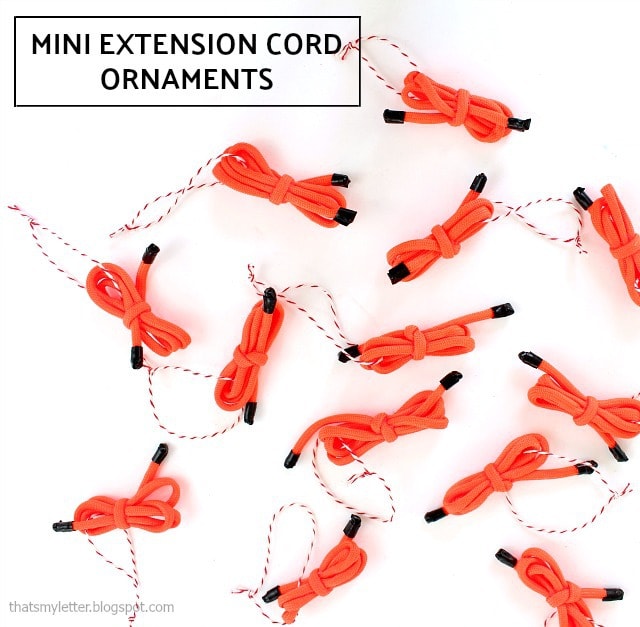 mini extension cord |
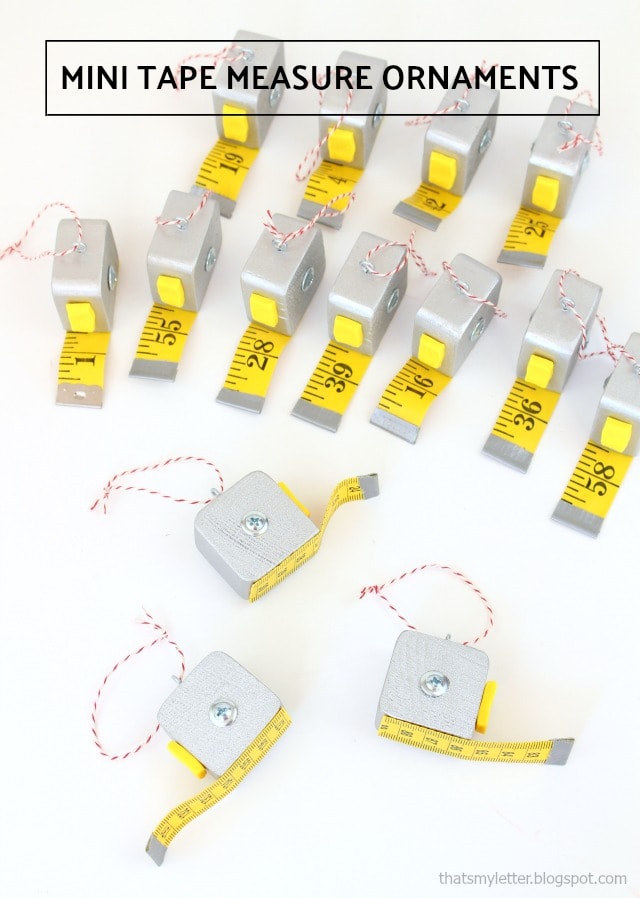 mini tape measure |
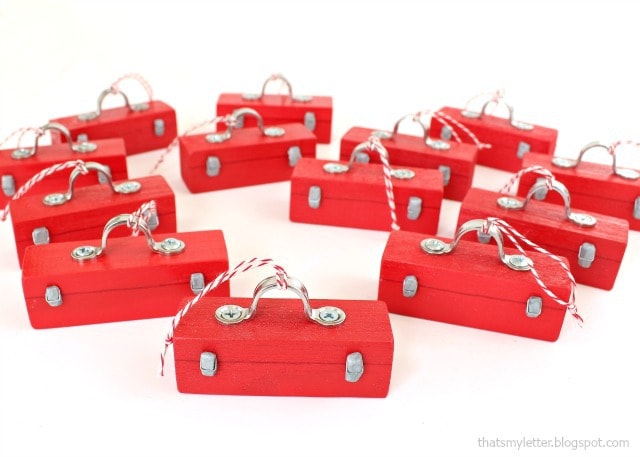 mini toolbox |
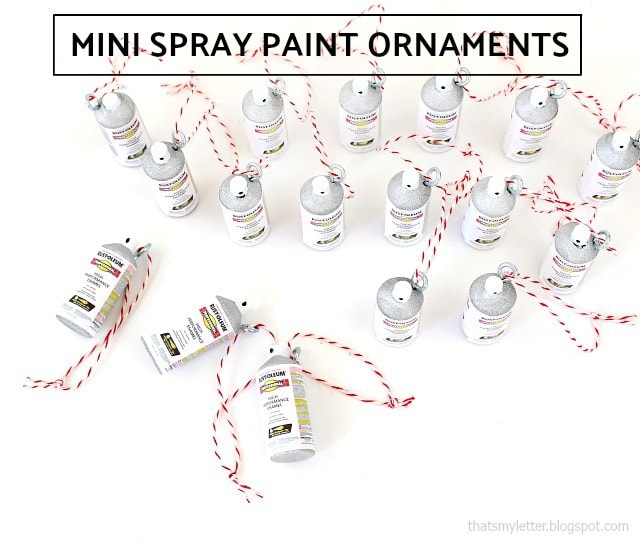 mini spray paint |




These ornaments are so cute! I've really enjoyed all the tutorials for these! I think the paint bucket is my favorite!
In love with this whole set! Wish they were available for purchase! so cute!