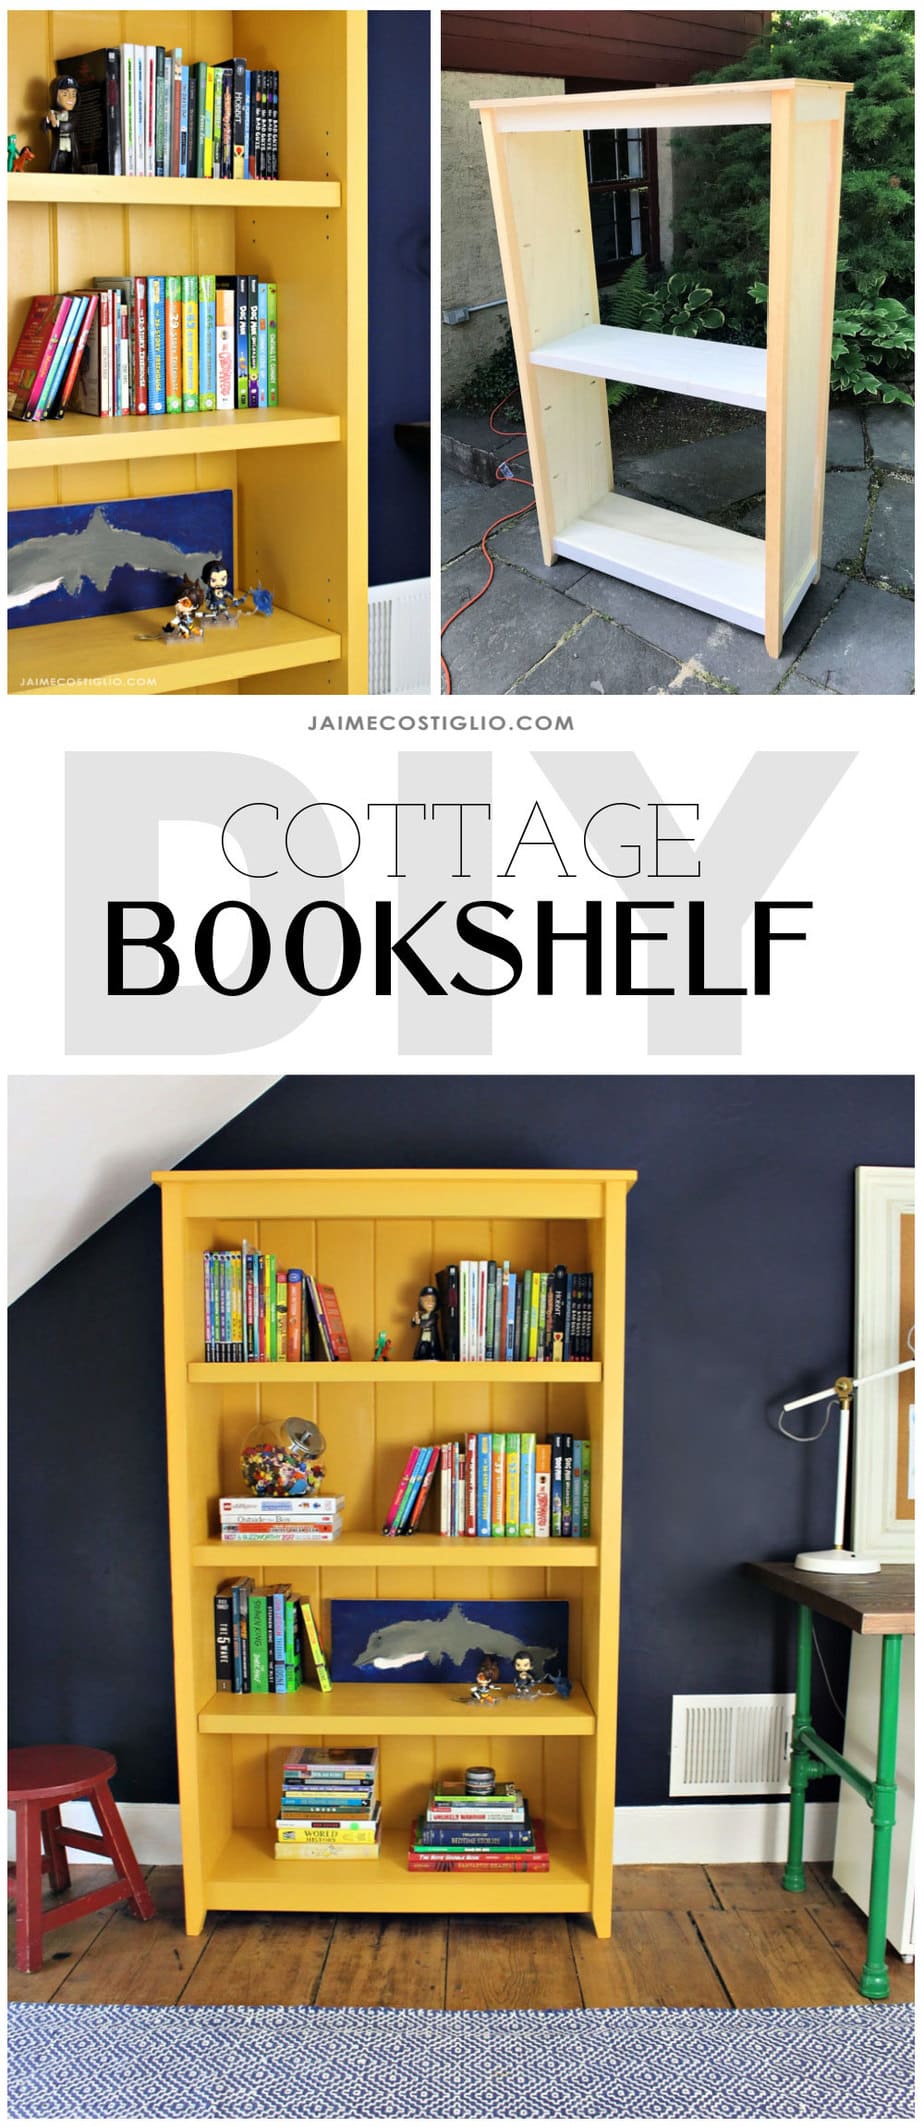
I teamed up with my friends at Build Something to bring you free plans for this cottage style bookshelf. Clean lines and a simple, straight forward build provide loads of space for books, knick knacks and more. If you’re in need of some serious organized shelving this DIY furniture piece just might be the ticket.
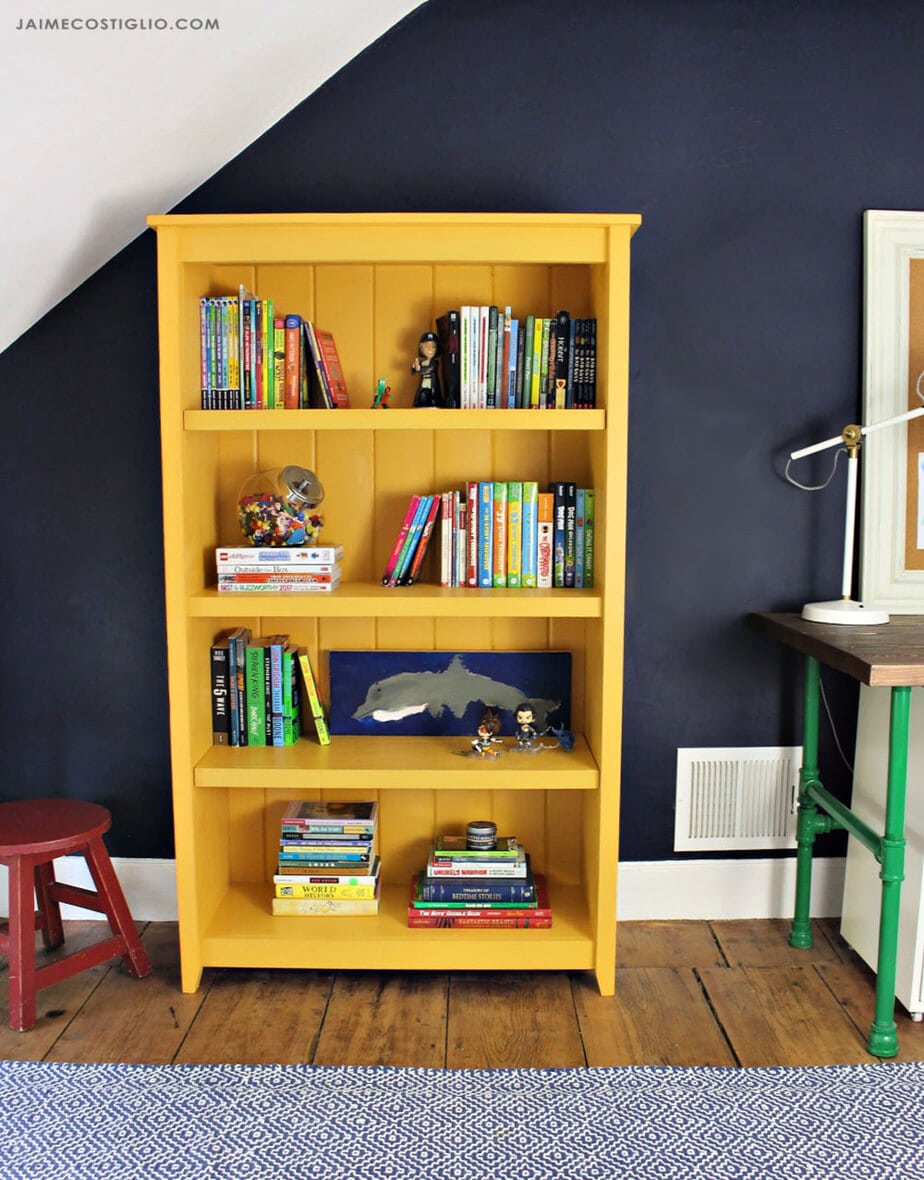
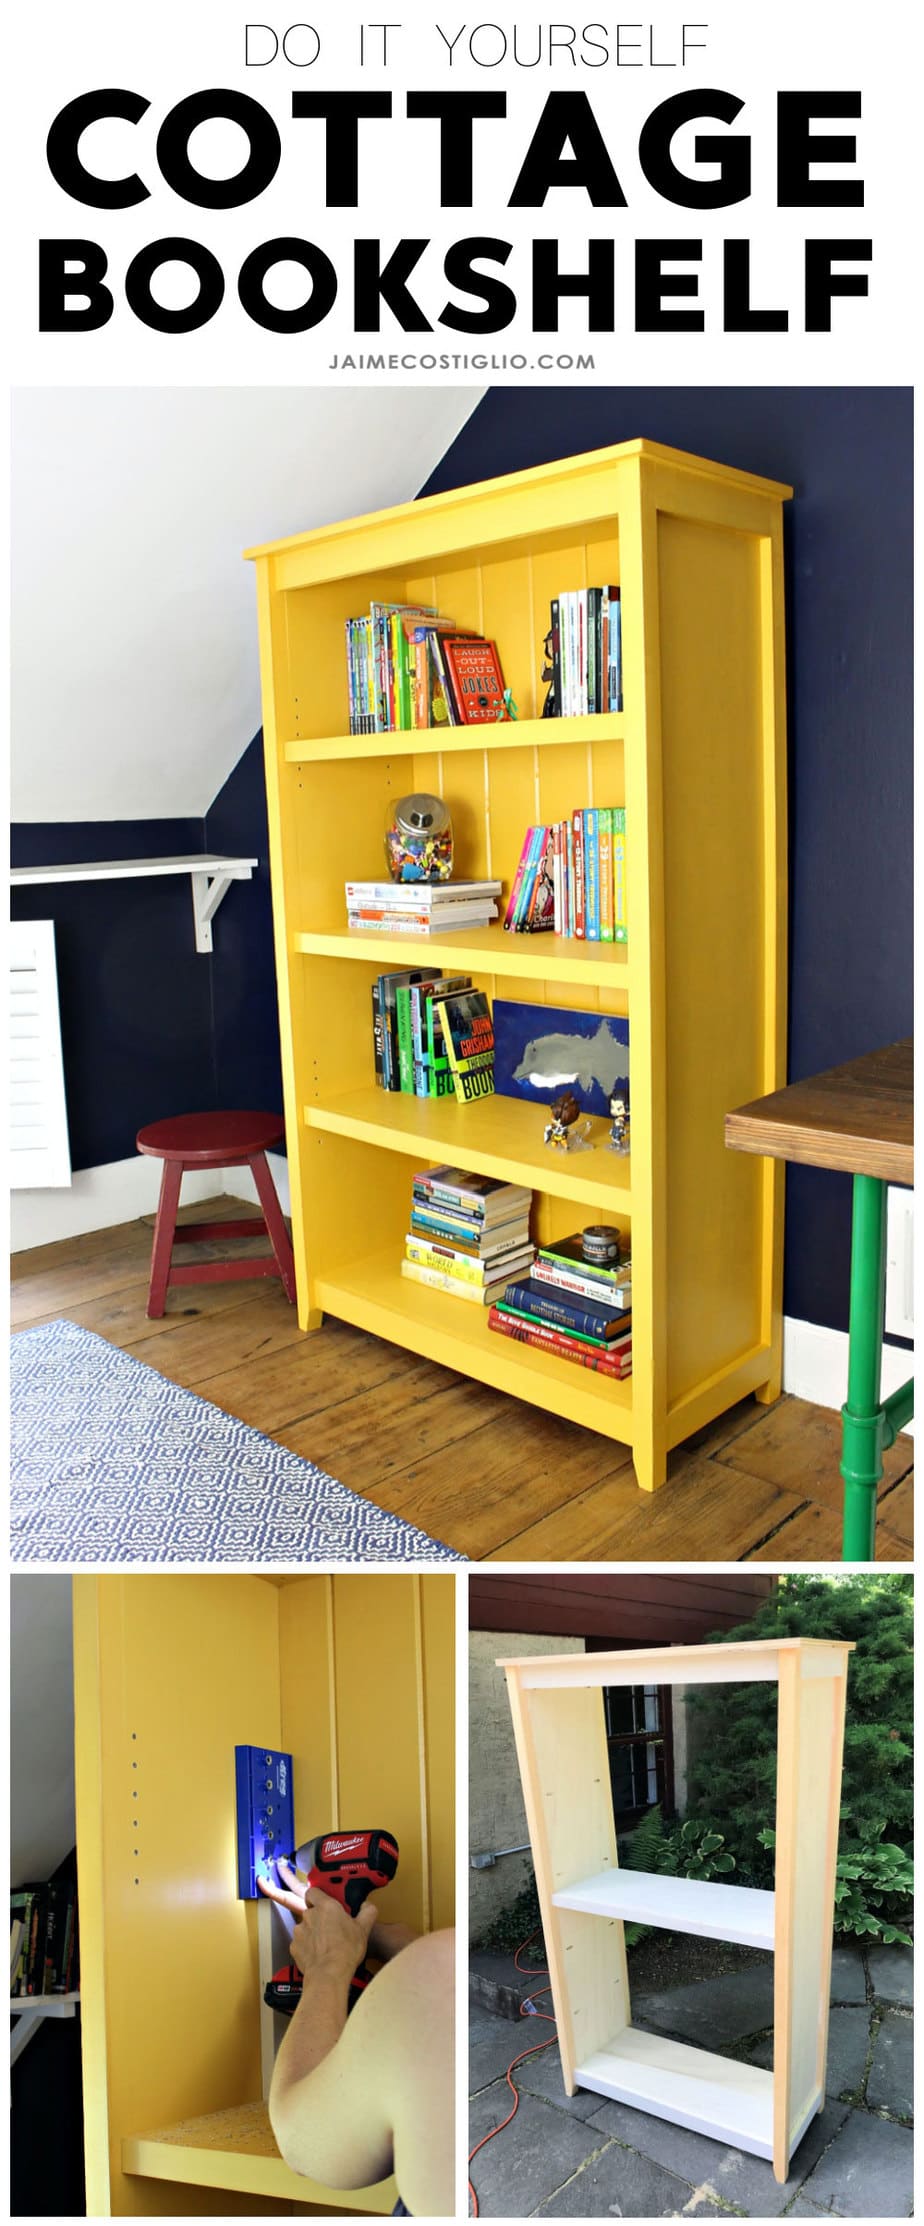
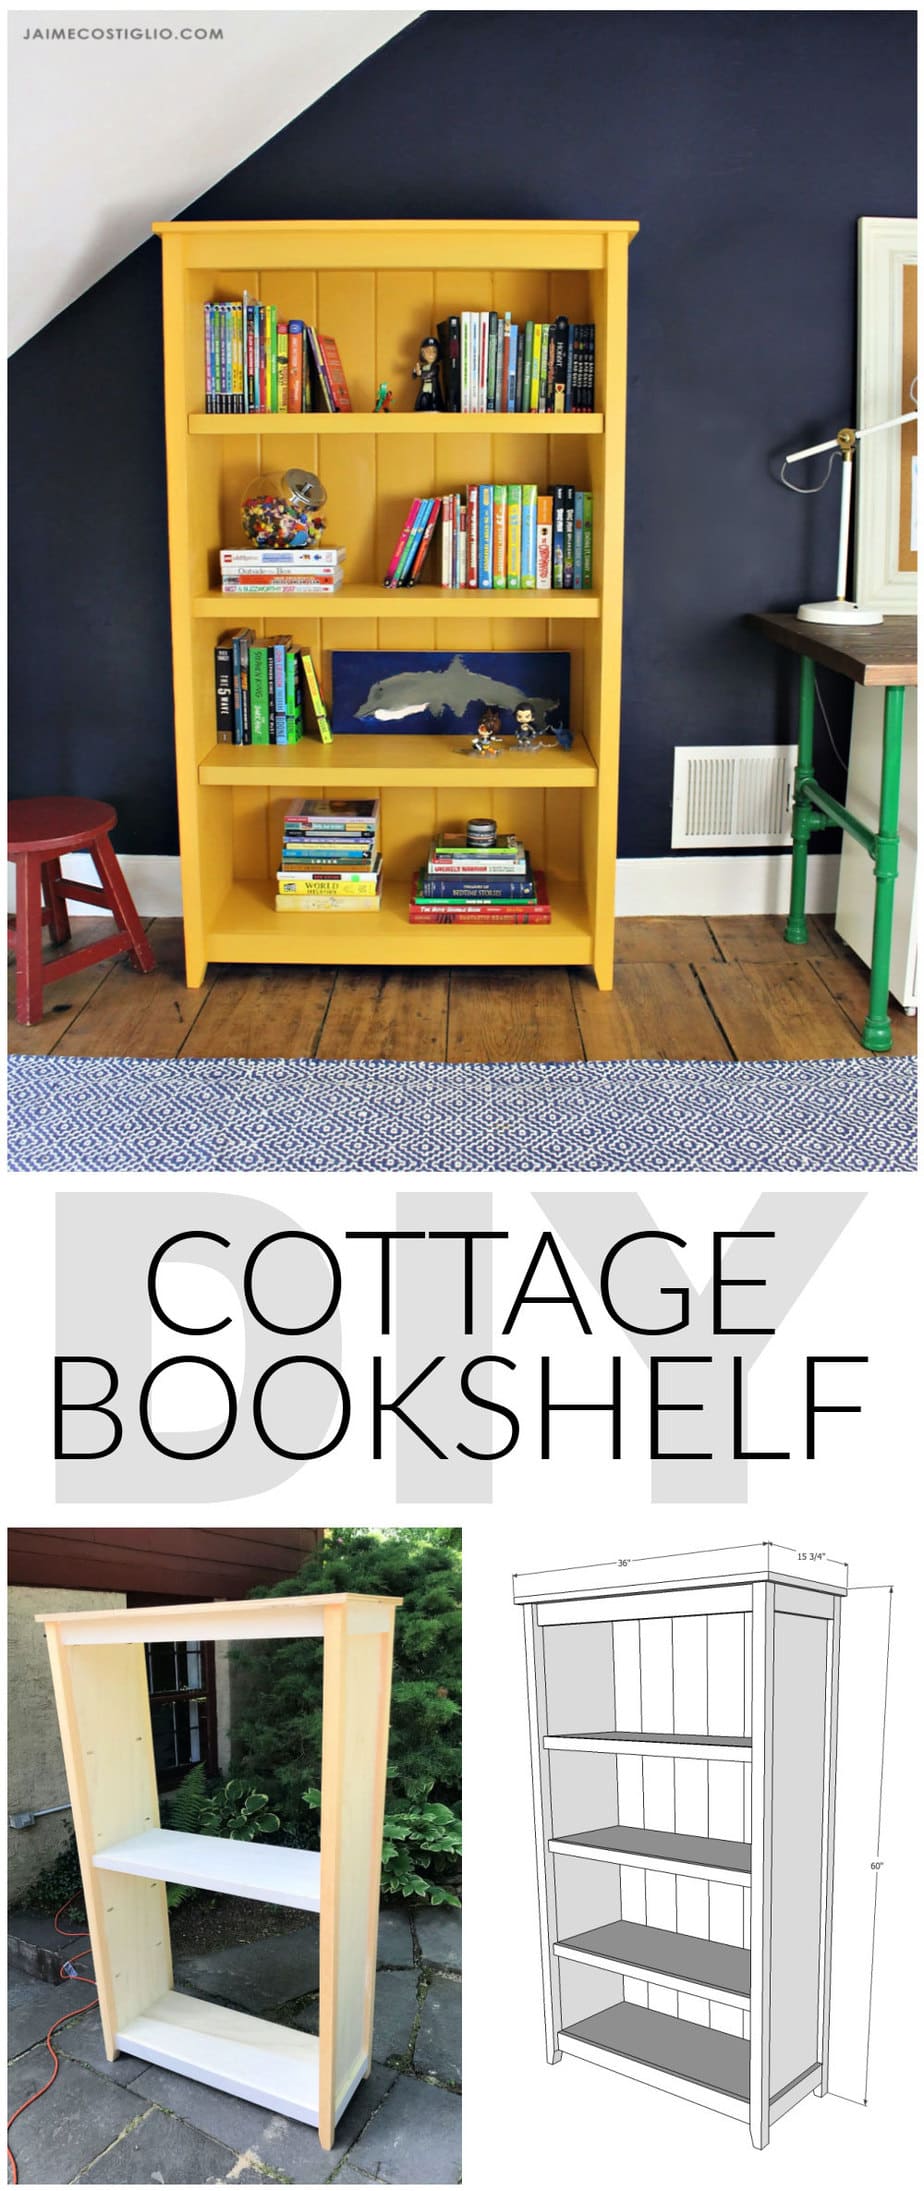
A DIY tutorial to build a cottage style bookshelf. Tons of storage for books and more with clean lines and 2 adjustable shelves.
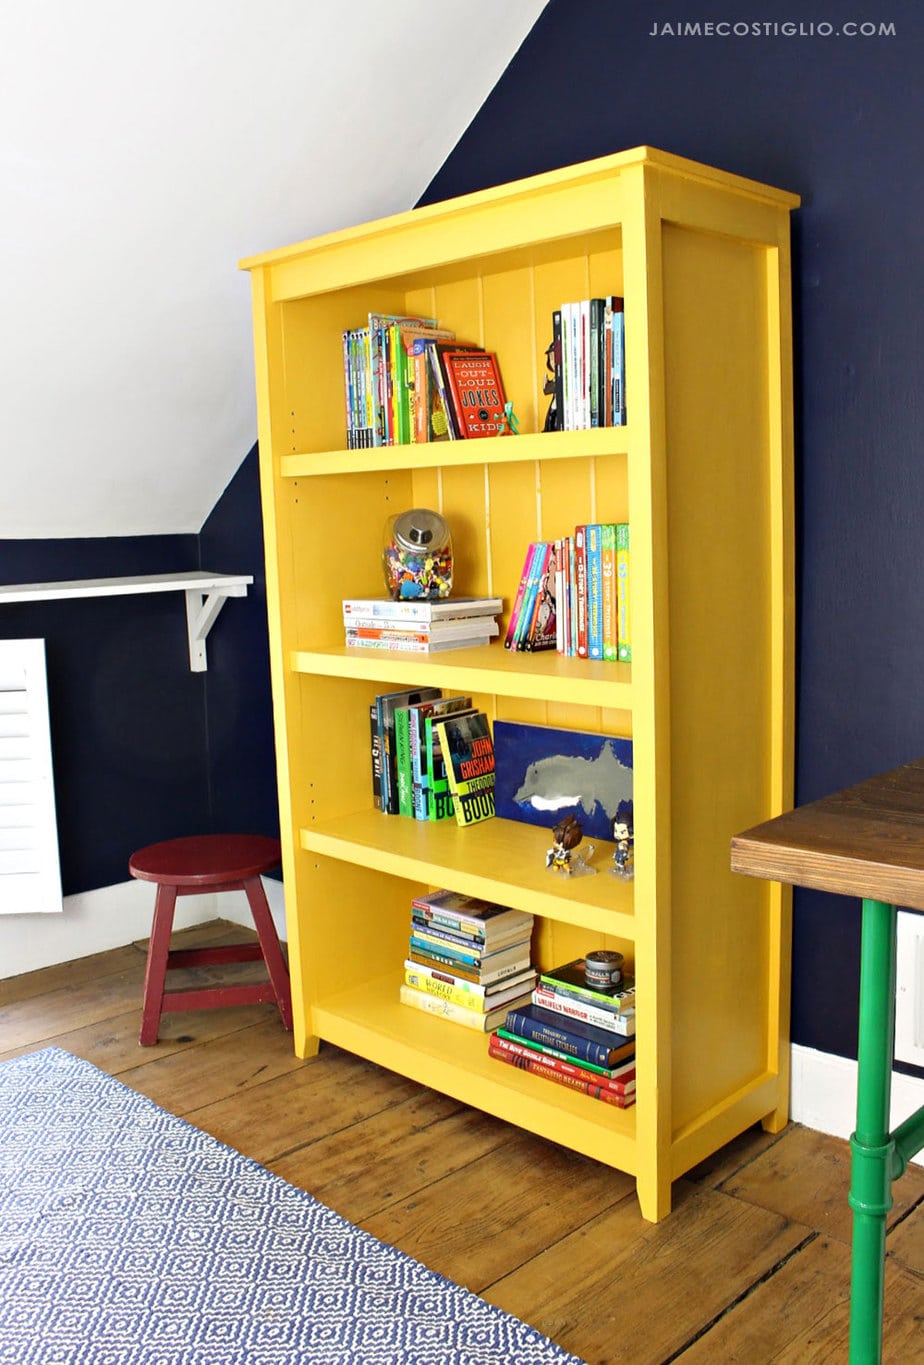
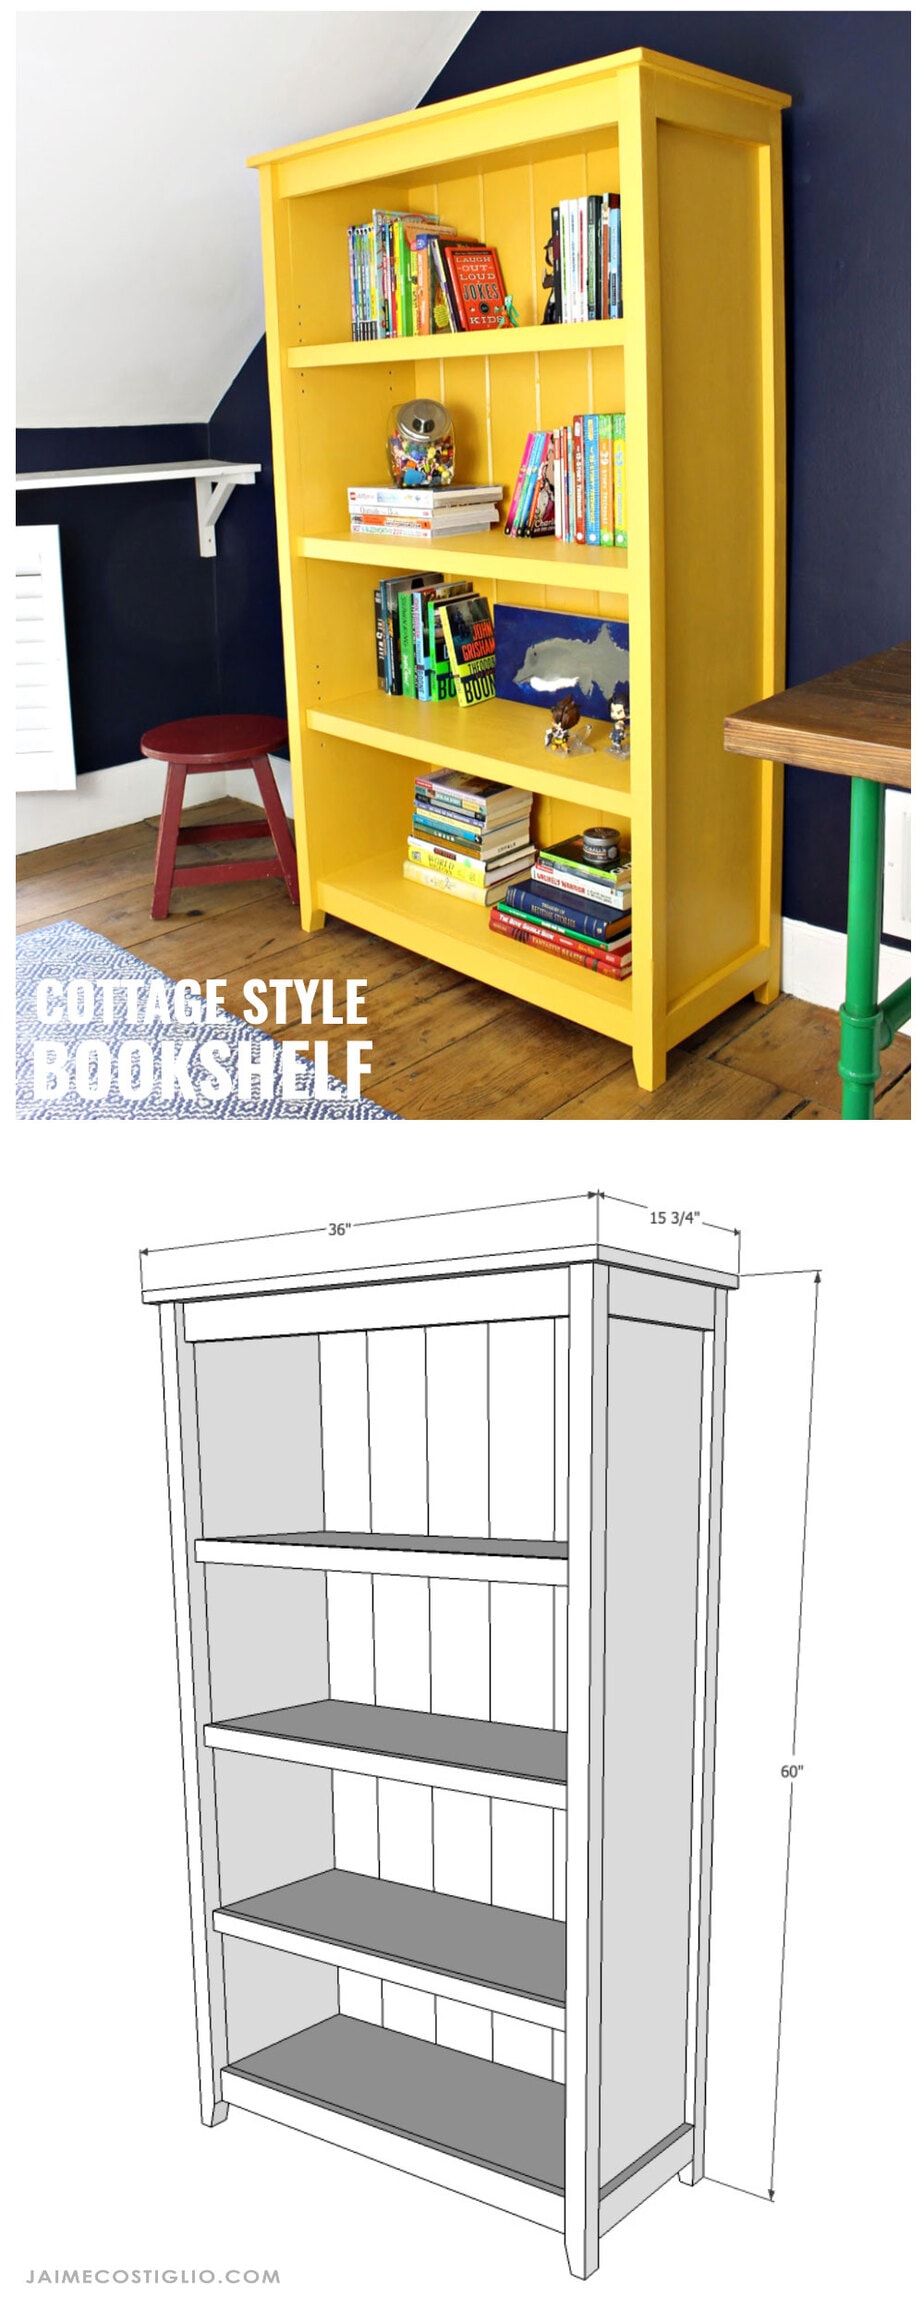
Hello cutest cottage bookshelf!! I’ll admit I went a little bold with the mustard yellow paint finish but that’s the joy of DIY, you can paint your piece any color you want. Beyond the bold paint is a solid, sturdy and spacious bookshelf that is capable of containing and displaying all the things.
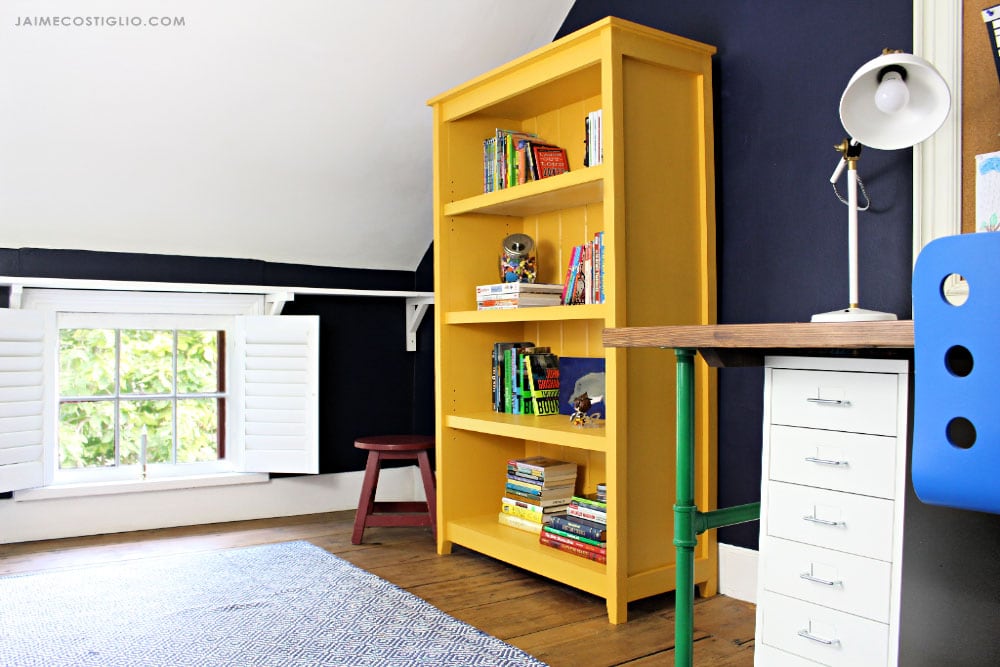
Adjustable Shelves
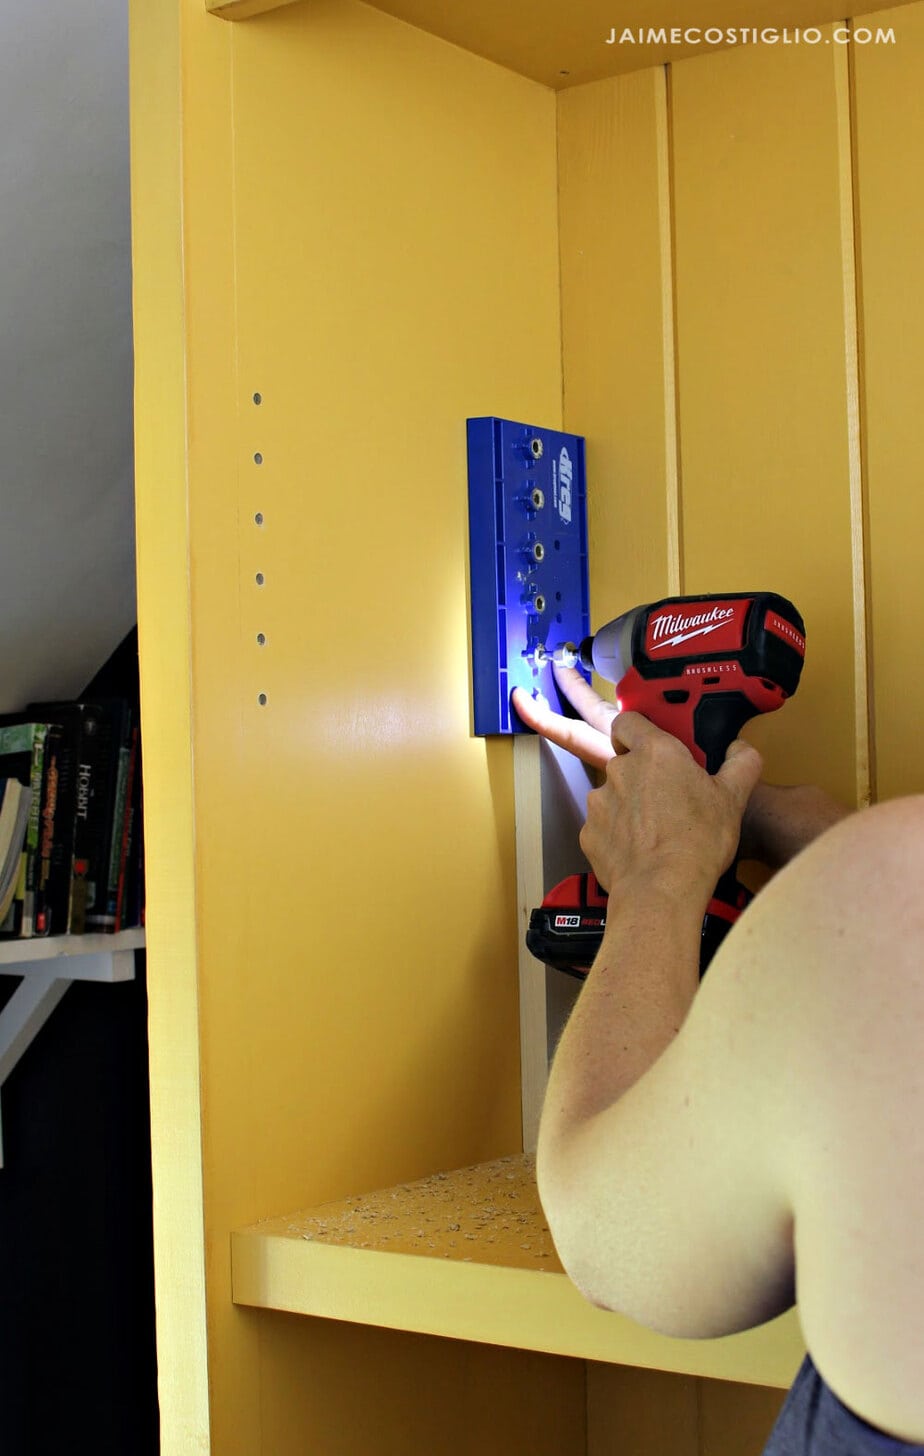
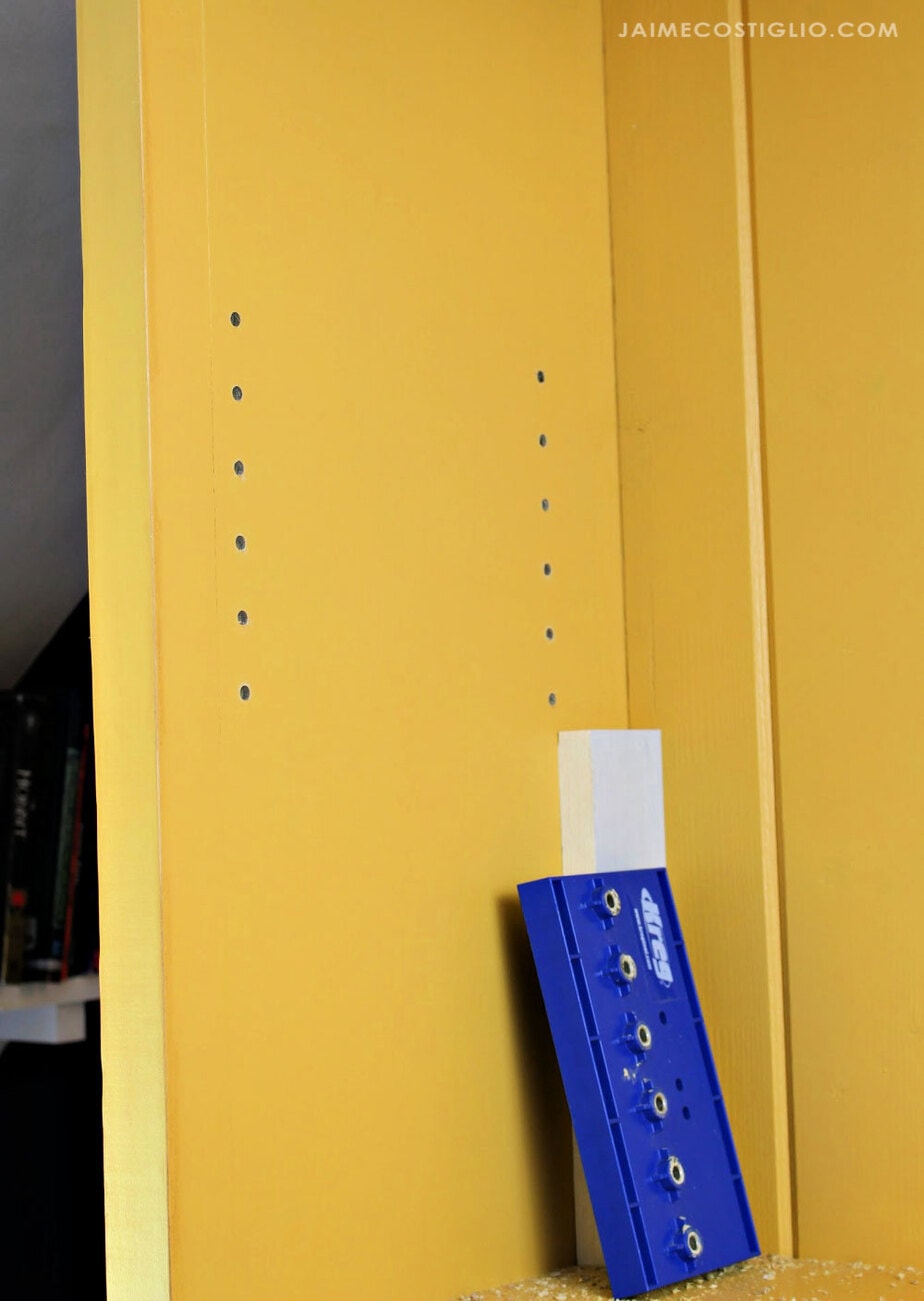
And the icing on the cake is the adjustable shelves made possible by the Kreg shelf pin jig. See those beautiful, equally spaced holes on the interior sides of the bookshelf? They are the perfect size for shelf pins. And you can incorporate shelf pin holes into your next project by using the shelf pin jig.
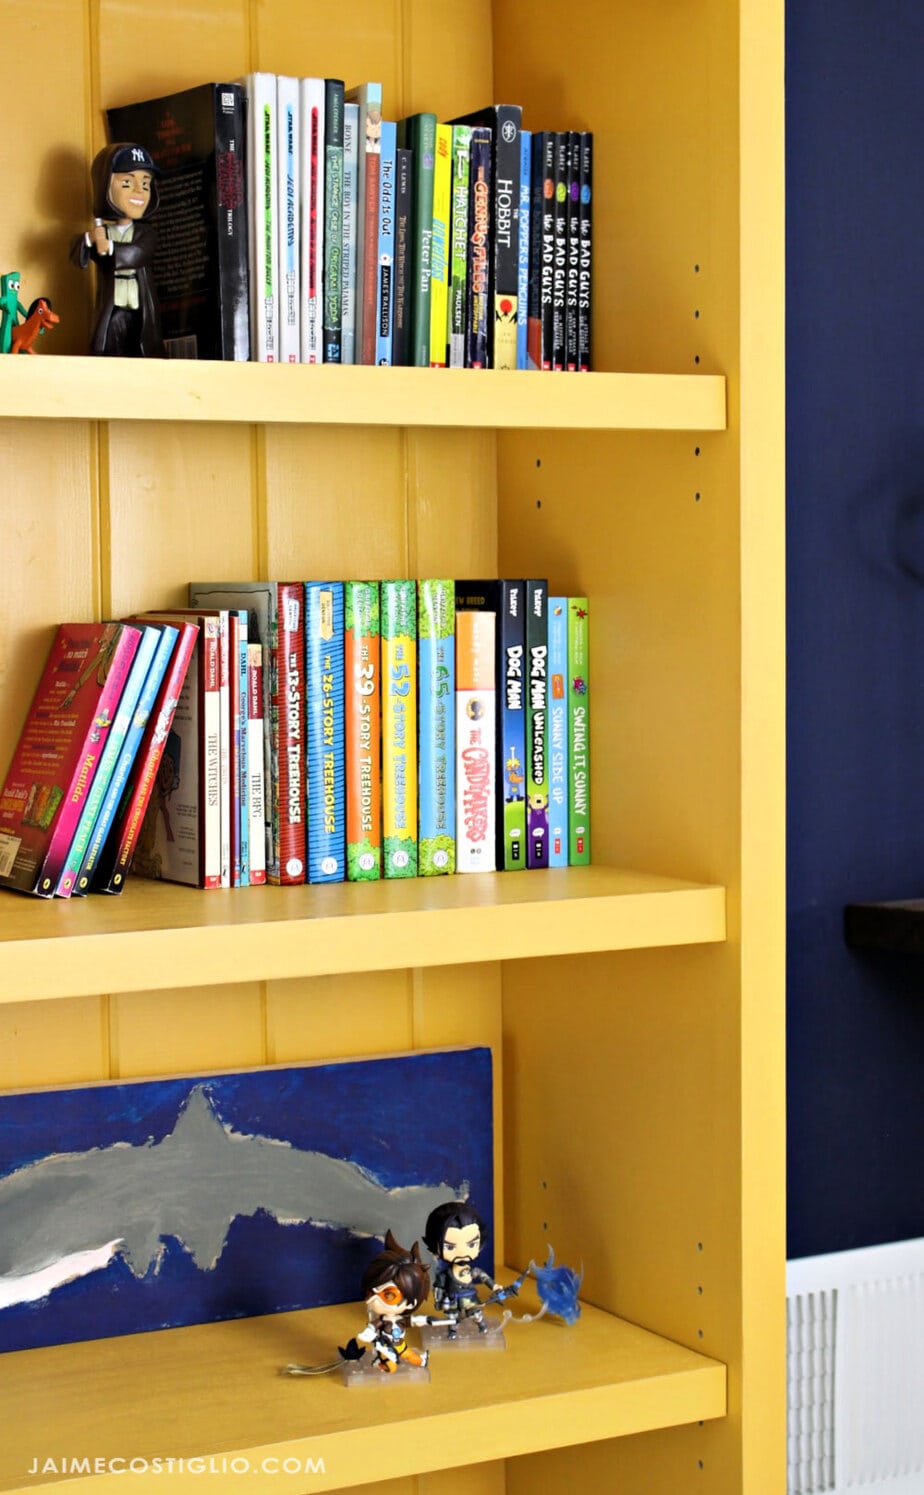
Once your furniture piece is built (I suggest waiting until at least the carcass is assembled) then you can make the shelf pin holes. I prefer to wait until I have finished the piece because I don’t want paint getting in the shelf pin holes. To use the shelf pin jig you need a piece of scrap wood cut to fit your shelf space, this is called a story stick.
Use this story stick to:
- rest the shelf pin jig
- maintain the same distance in all four corners every time you use the jig
As long as your carcass is square you are almost guaranteed perfect level shelf pin placement with the jig. It’s a complete lifesaver and takes your DIY furniture up a notch.

Now my son has a place for all his books. I previously tore out the old janky built-ins in his bedroom and replaced them with shaker style cabinets which left him without bookshelves. As a result he needed a bookshelf for his bedroom and this piece solves that problem.

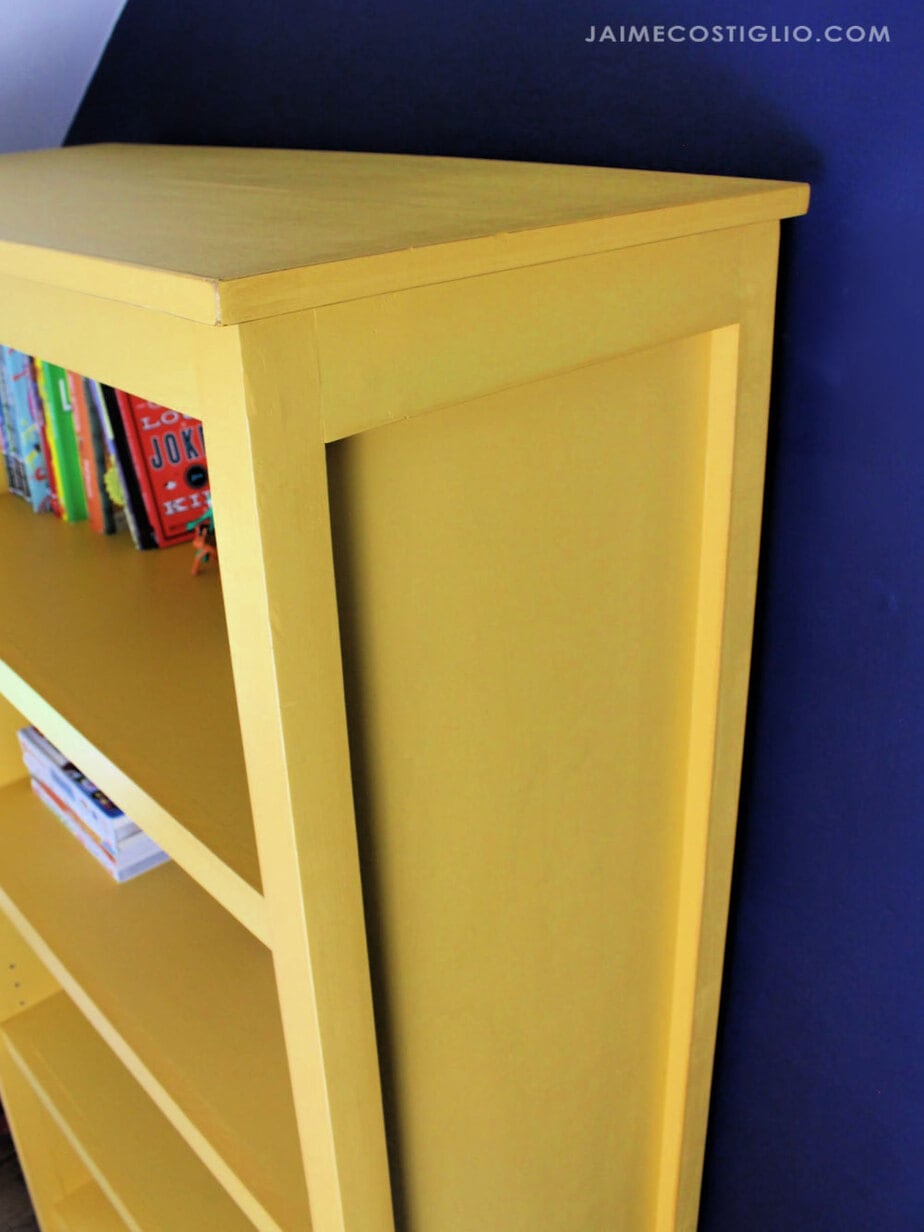
Bookshelf Paint Finish
For the finish I choose to paint this bookshelf using Benjamin Moore Glen Ridge Gold Advance in satin finish. Then I sanded the exposed edges lightly and applied Varathane Provincial stain just to the edges.
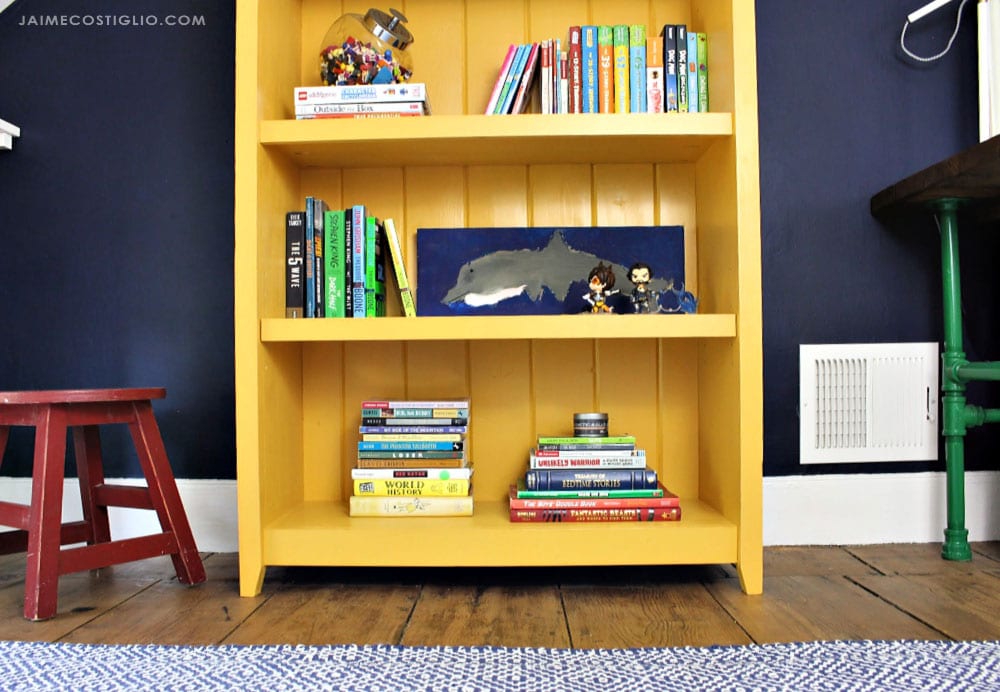
But my favorite design choice on this bookshelf is the tongue and groove backing. I actually had a few boards left over from building the sliding barn door for this room. I love the chunky grooves it creates in the back and the casual cottage feeling it evokes.
Get the Plans
To build this cottage style bookshelf you can get the complete plans over at Build Something here. Build Something is a great source for free step-by-step project plans with tons of DIY building projects. Check out their large library of certified plans and plans submitted by woodworkers and hobbyists. Definitely worth a visit if you’re looking for free plans in a wide variety of categories. And as always please read through the plans completely before beginning and follow all safety guidelines.
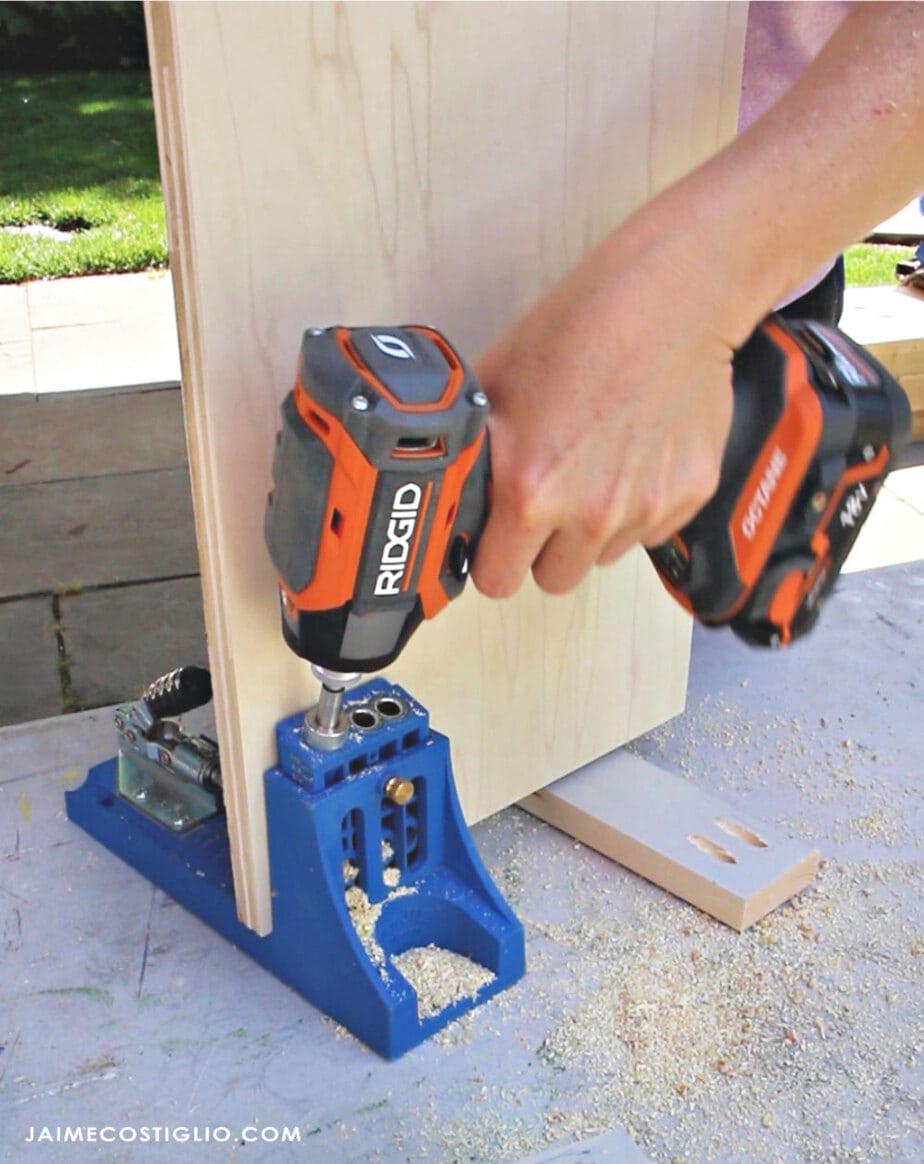
To make the pocket holes for this build I used my Kreg K4. It’s a great pocket hole jig that’s very portable and user friendly.
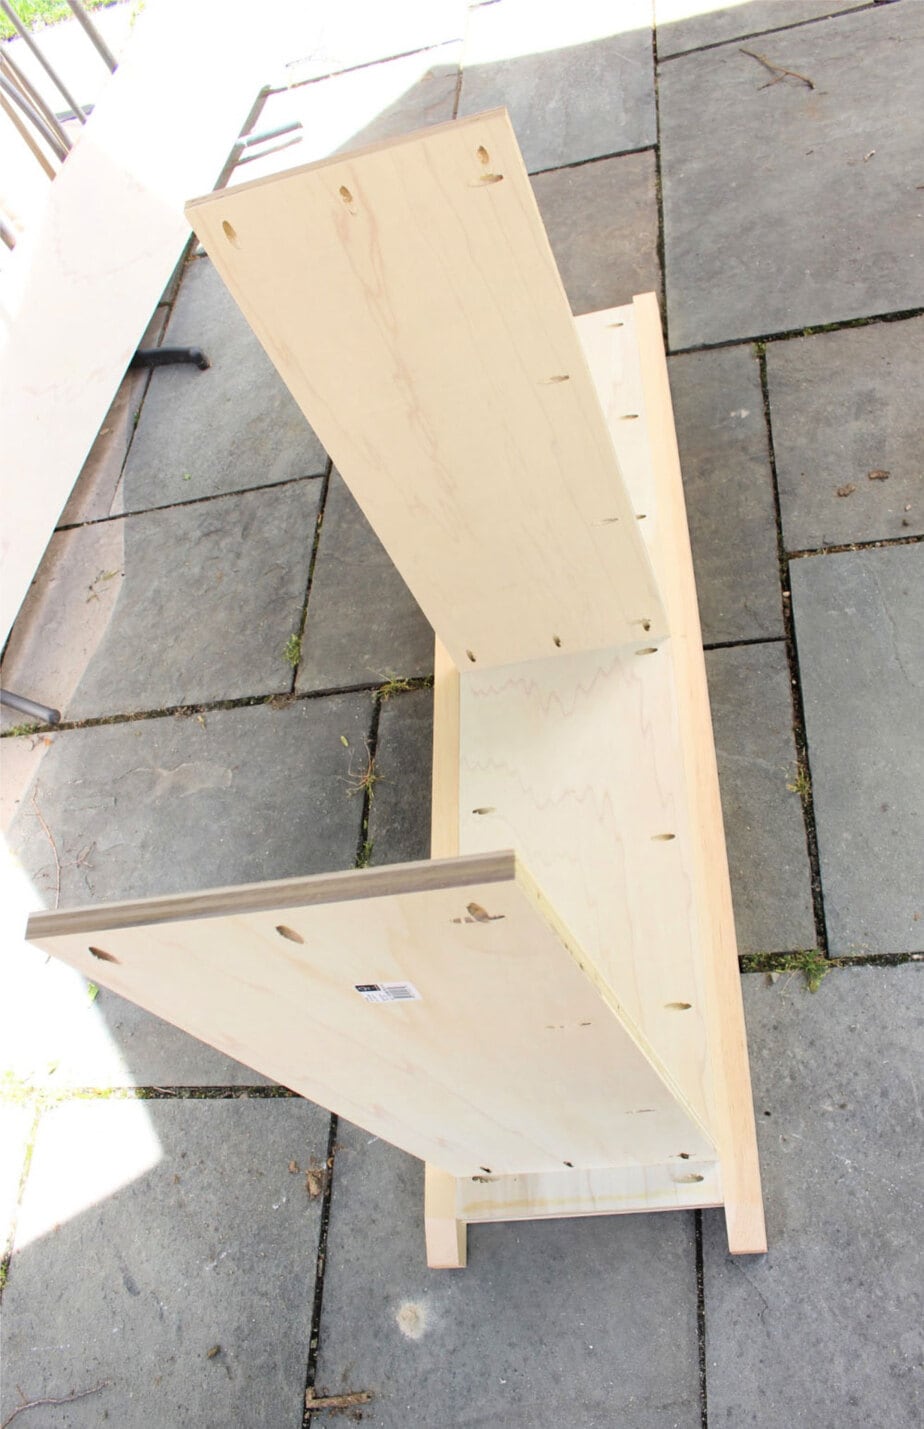
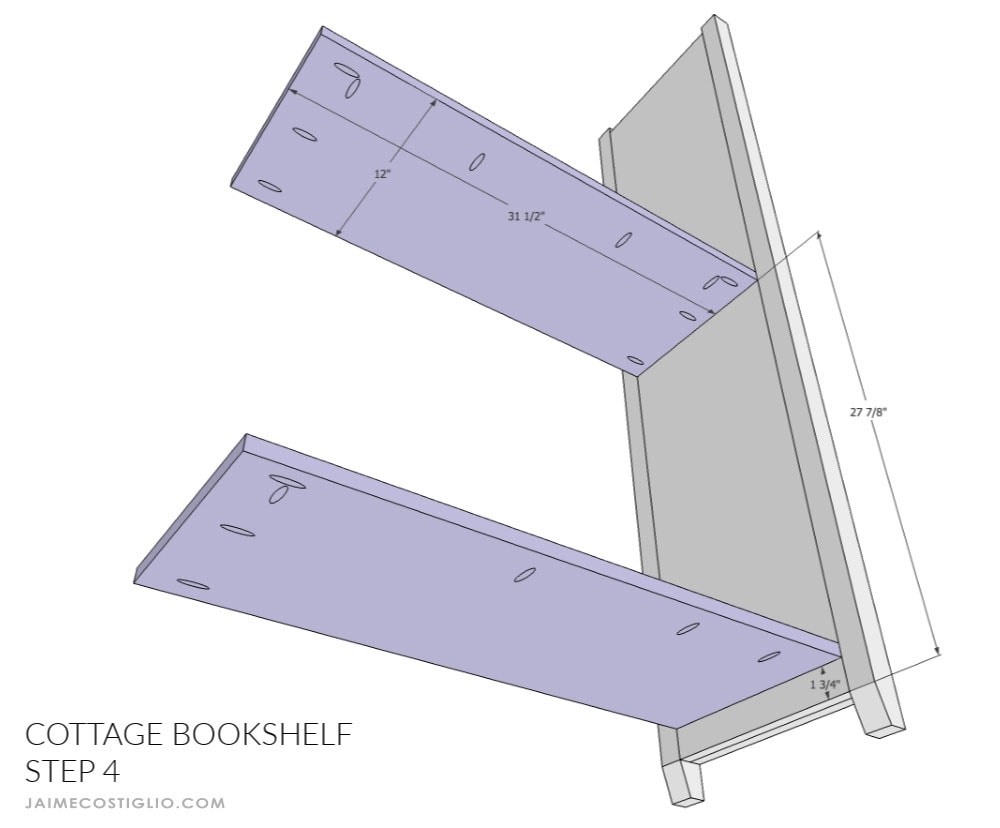
In Step 4 you will attach the fixed shelves to one side panel using pocket holes. I designed this bookshelf so the carcass and shelves are all 12″ wide making ripping boards much easier.
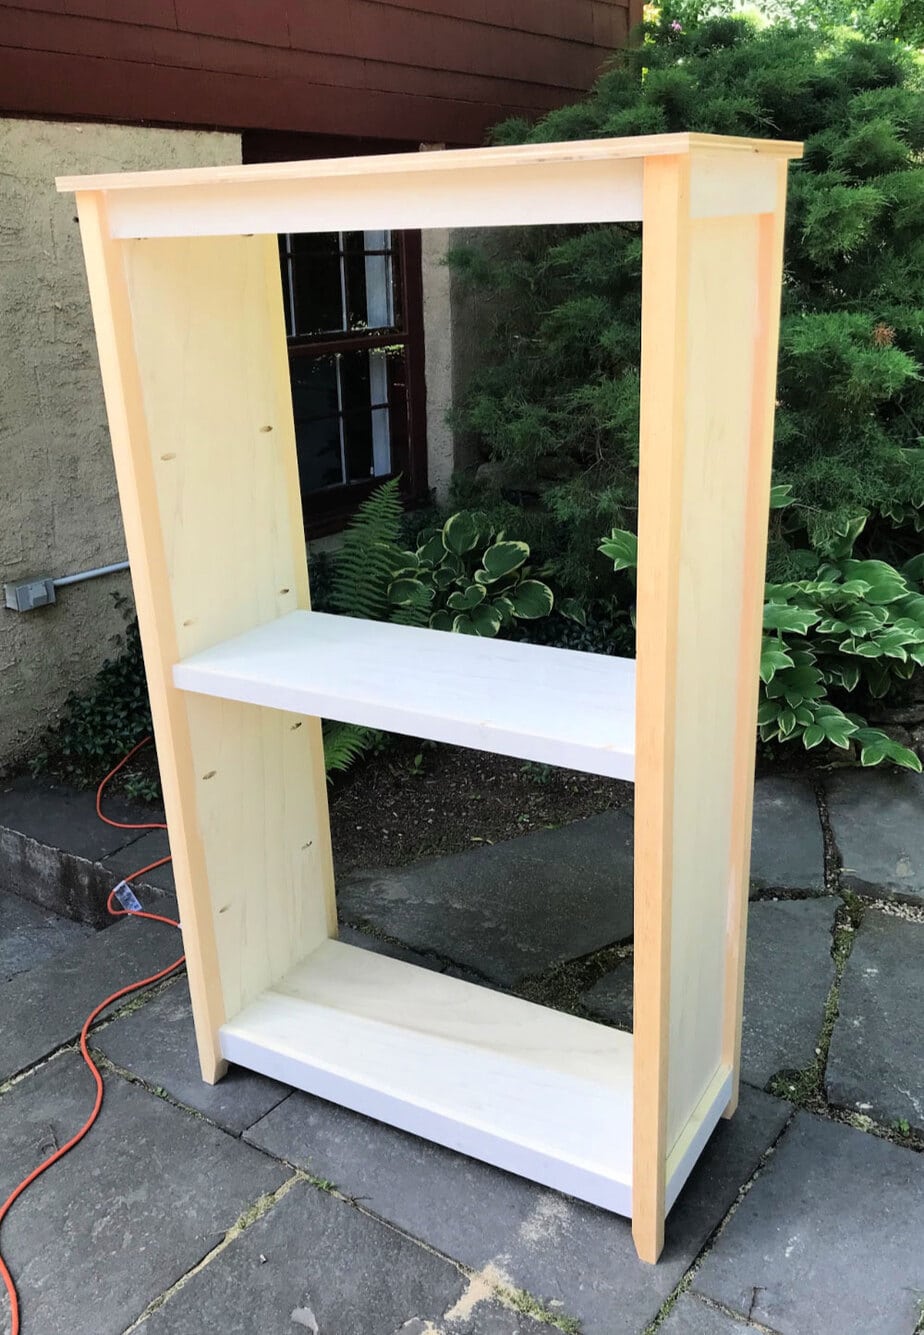
Above is the completed carcass with trim before I added the tongue and groove backing. You will need pocket hole plugs for this build and you can install them before or after the backing goes on.
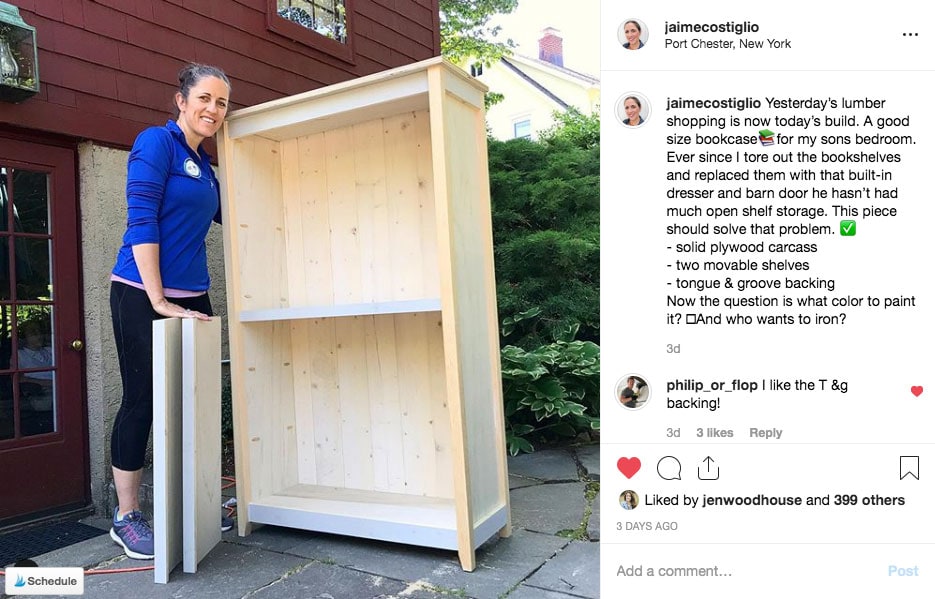
I shared this project before the paint over on Instagram here. Be sure to follow me there for sneak peeks and more project posts.
To install the movable shelves use the Kreg shelf pin jig to make evenly spaced, perfect pin holes.
Thanks for joining me for this cottage style bookshelf project. Please leave any questions in the comments below and be sure to follow me on social media for sneak peeks, tools and project inspiration:
SHOP THIS PROJECT:

Beautiful piece! How do you finish your pocket holes? Do you use the Kreg plugs or do you use wood filler? I can’t see a trace of the holes in your finished photos, and I always struggle with getting those pockets cleanly filled. Would love your advice 🙂
Hi Holly, I use the Kreg pocket hole plugs with wood glue. You can also use a 5/16″ dowel. Then once the glue is dry and set I use a flush cut blade on my multi-tool to trim the excess flush. It’s too big of an area for wood filler so I don’t recommend that. Good luck!
Excellent! i love it! great work!!! you are very skilled!!! indeed! !! From Argentina salutes. i will copy your idea ! Thanks for share!
Thanks Martin. Please do build the bookshelf and share your finished project, I love to see reader versions. Good luck!
I found your plans on BuildSomething.com, but there were some questions I had along the way. I noticed the pictures had your web address, so I came here and found the plans that were much more detailed. This is a solid bookcase, so thank you for sharing.
Thanks Matthew, my son is getting great use out of it. Definitely a fun build with tons of storage potential.