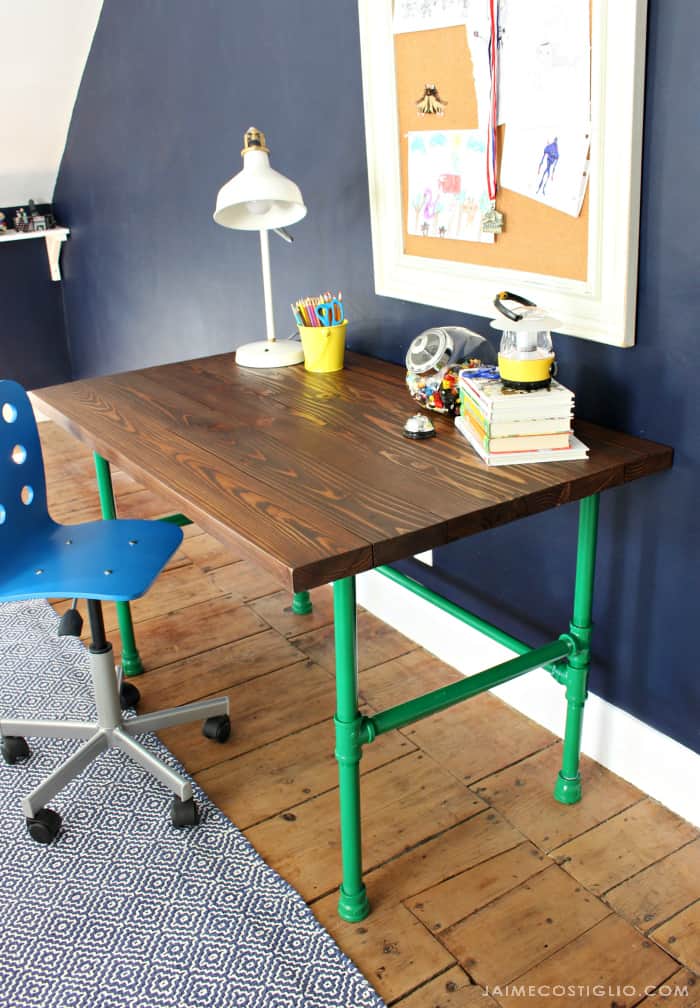
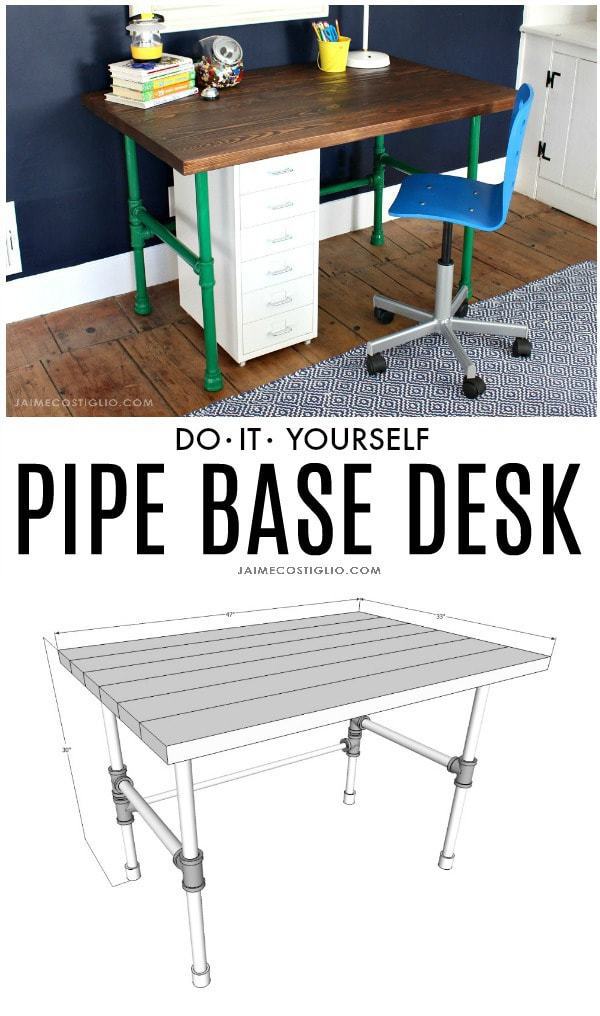
Working with pipe is like building with legos, all the pieces need to fit together in a specific order to make something awesome. This painted pipe desk I made for my son had me feeling like a kid playing with legos again. Fitting the pieces, attaching, screwing and unscrewing until it all came together just right. Today I have the plans for this desk so you can make your own.
Build a super strong but beautiful desk with a pipe base and wood top using my free plans. This painted pipe base is like legos for adults!
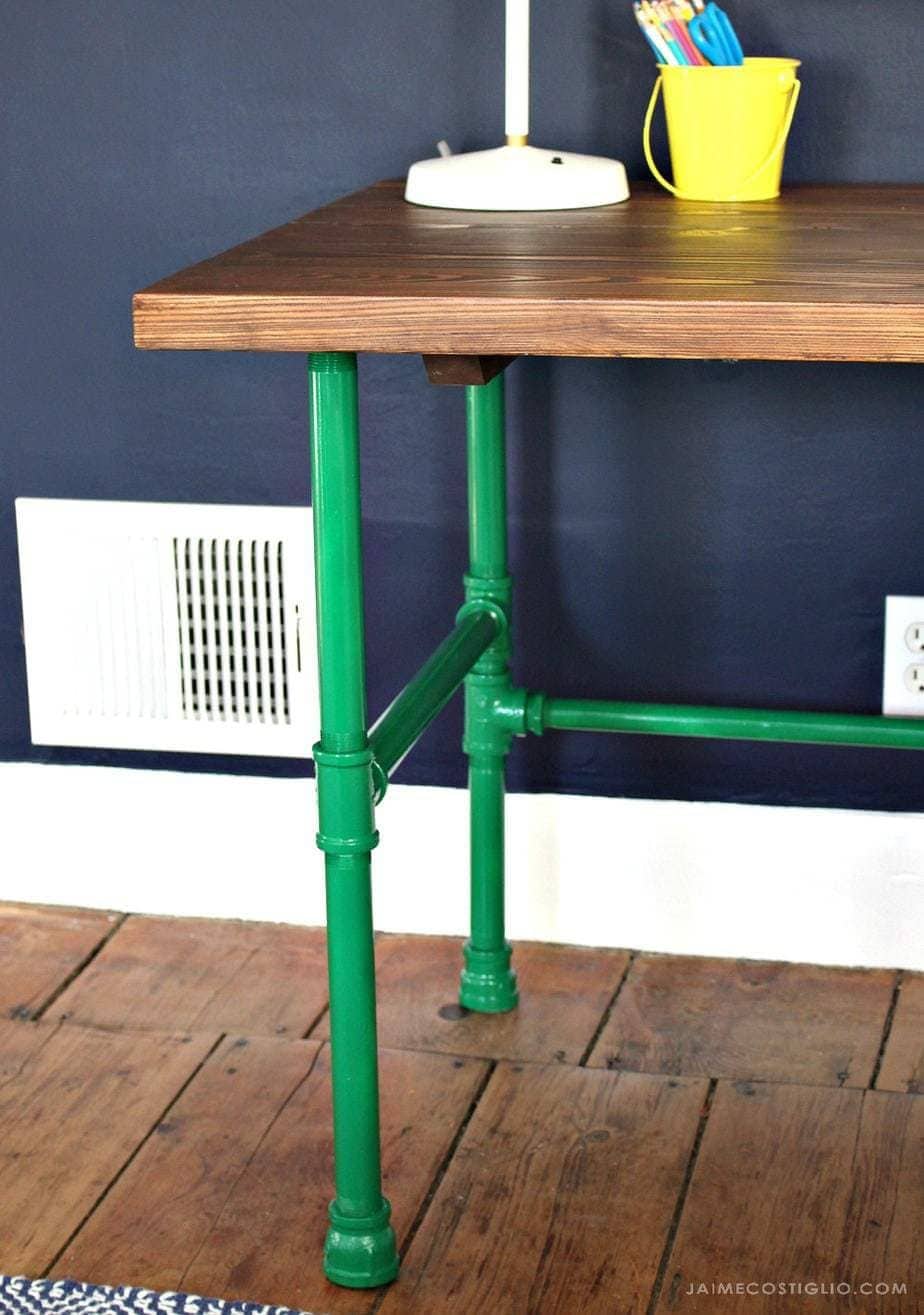
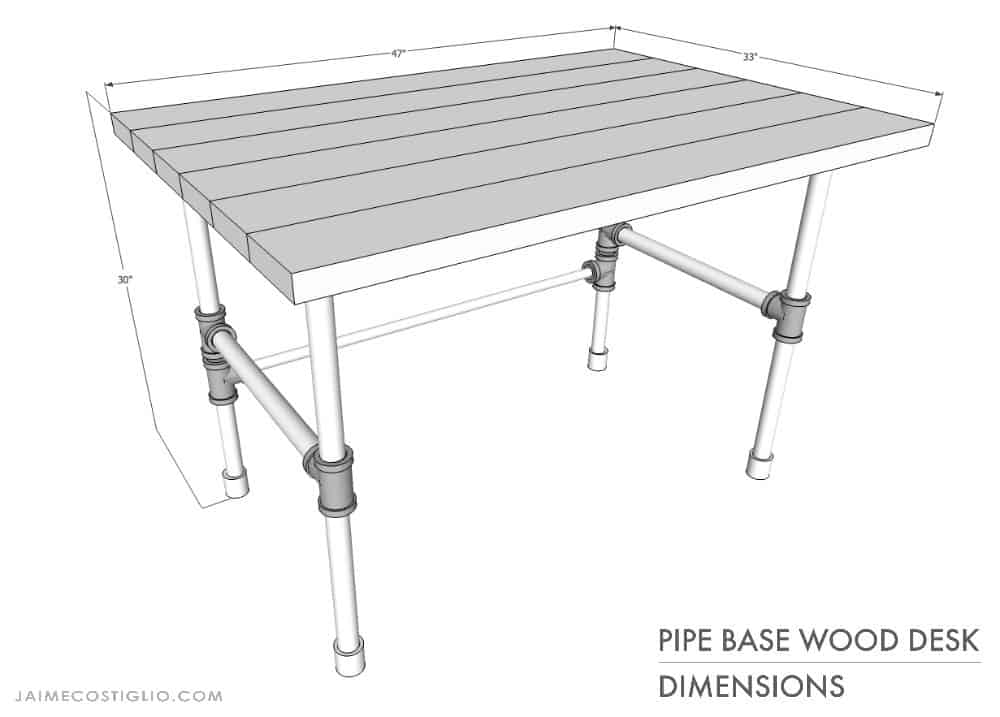
I used 1″ galvanized steel pipes for this desk base (except the back cross support is 3/4″), it’s strong and sturdy and pretty much indestructible.
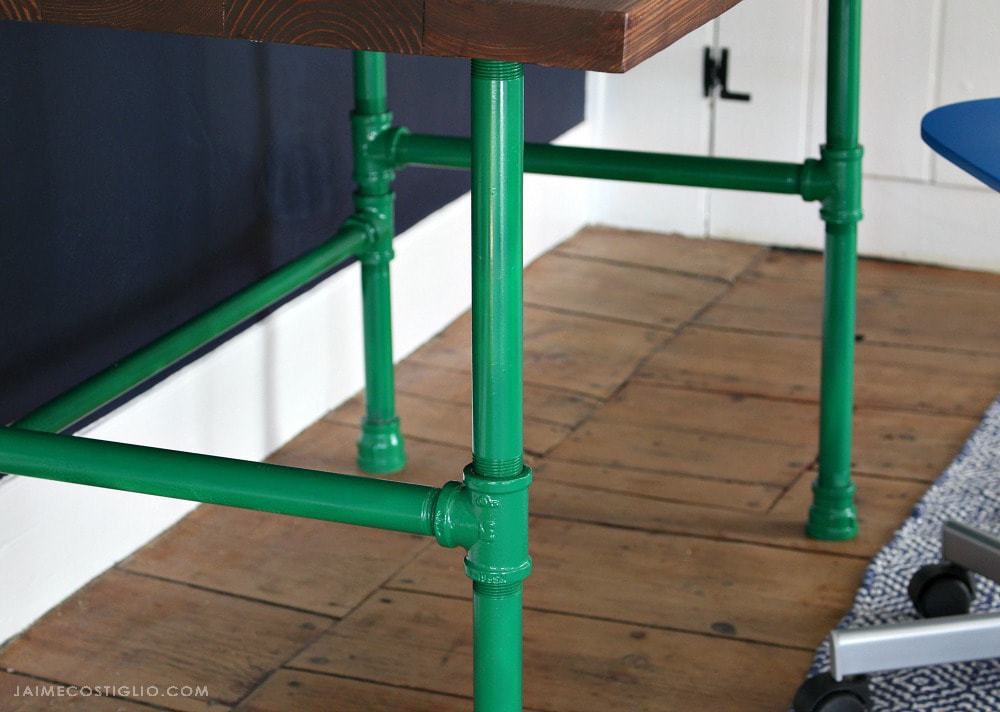
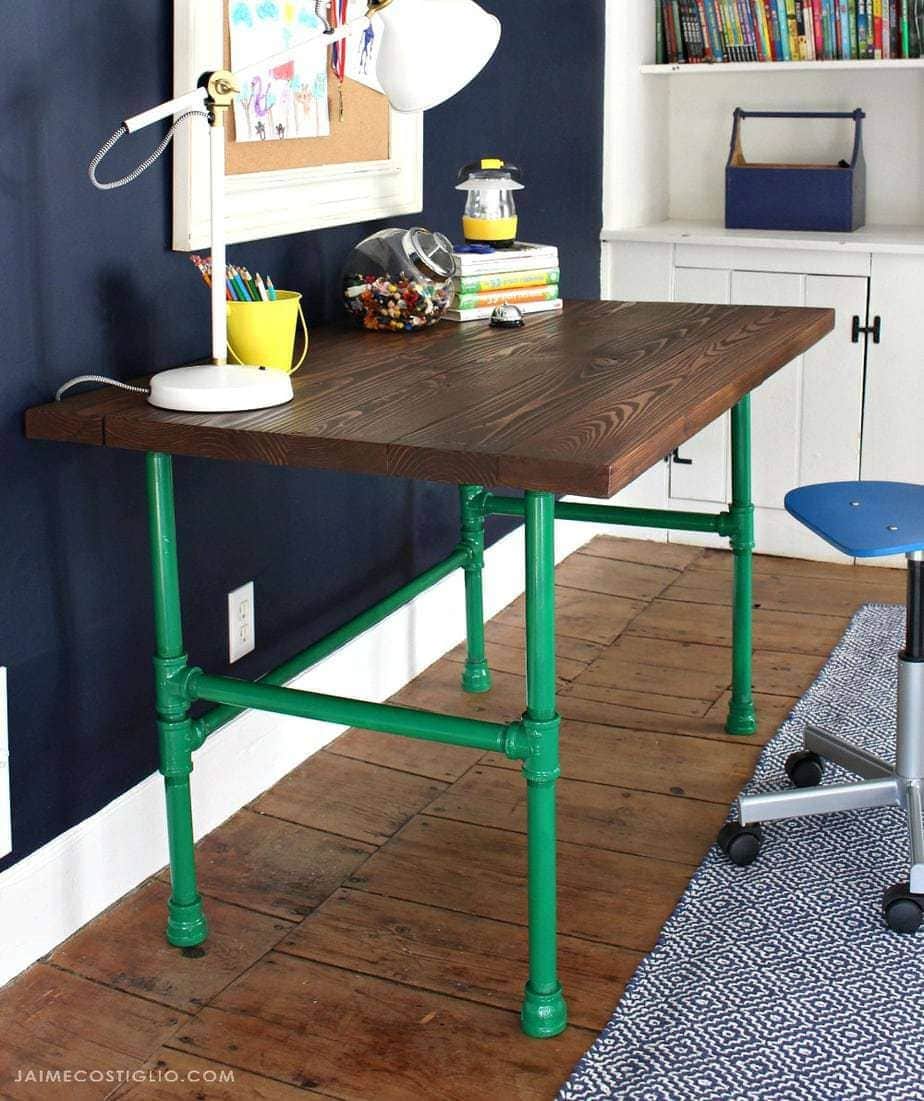
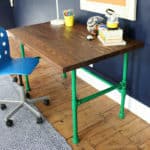
And painted it a fun glossy green for a touch of color against the navy walls and wood floors. I shared all about the wood top stain process in a previous post here and today I have the free plans to build this desk.
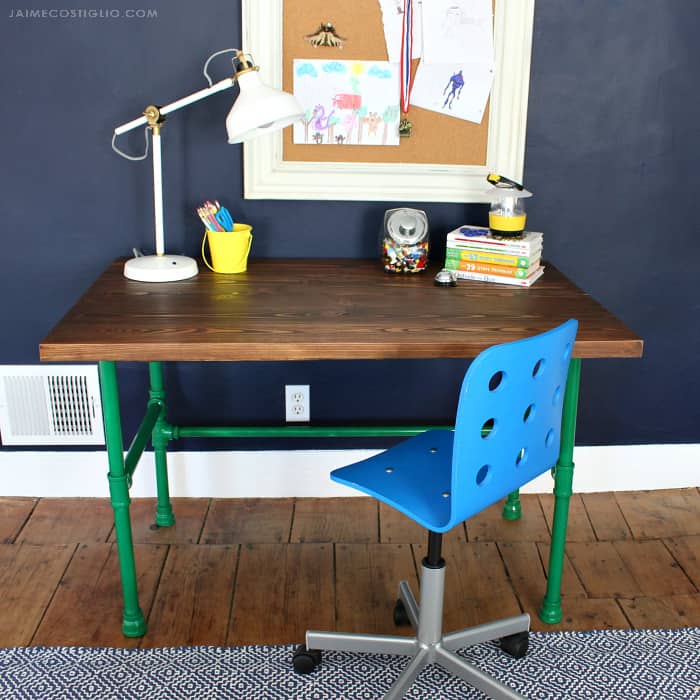
You could definitely make it deeper or wider to fit your space. It’s worth noting these galvanized steel pipes are available in standard lengths but you can also have them cut to size if you’re wanting a specific fit.
Click here for a printable version of the pipe base wood desk free plans.
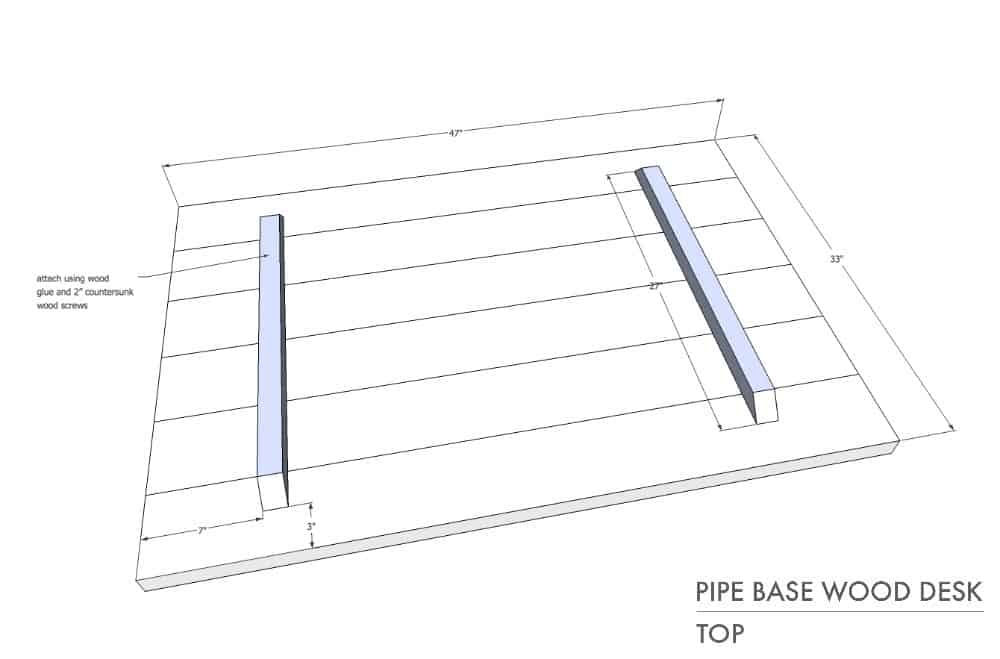
To make the top I used 2×6 boards ripping off the curved edge for a more snug, flat surface. I then joined the boards using wood glue and biscuits (optional) and two cross supports underneath.
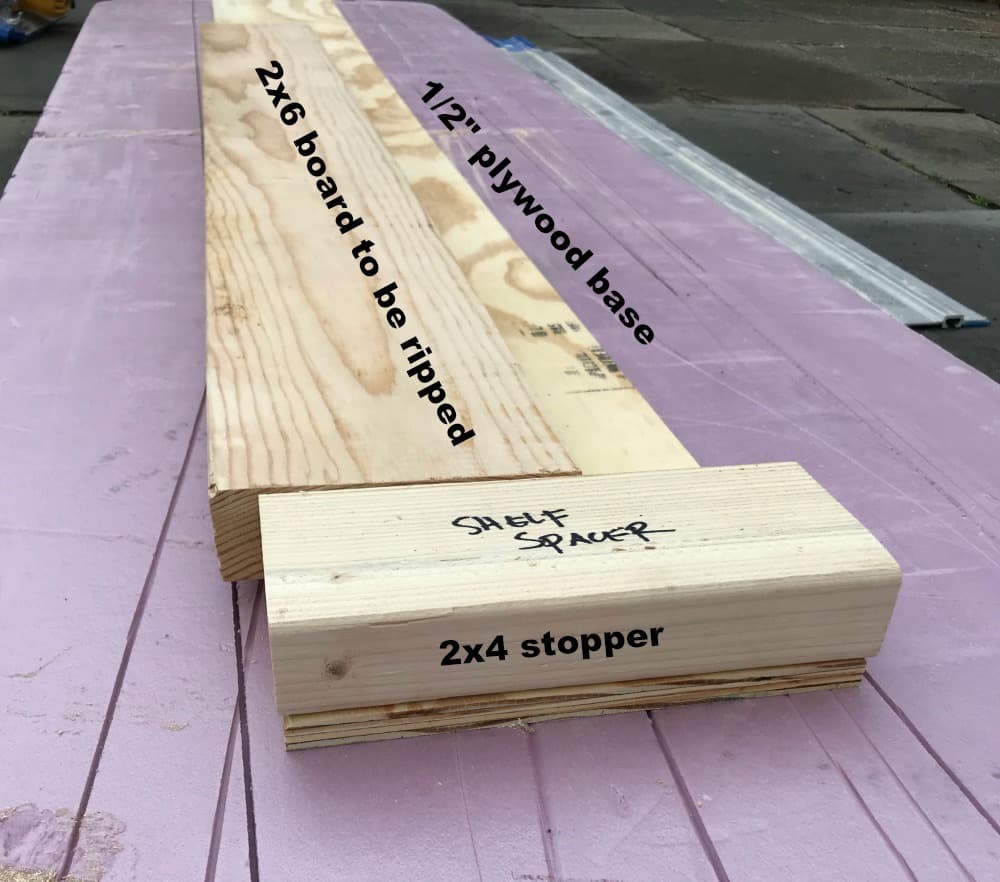
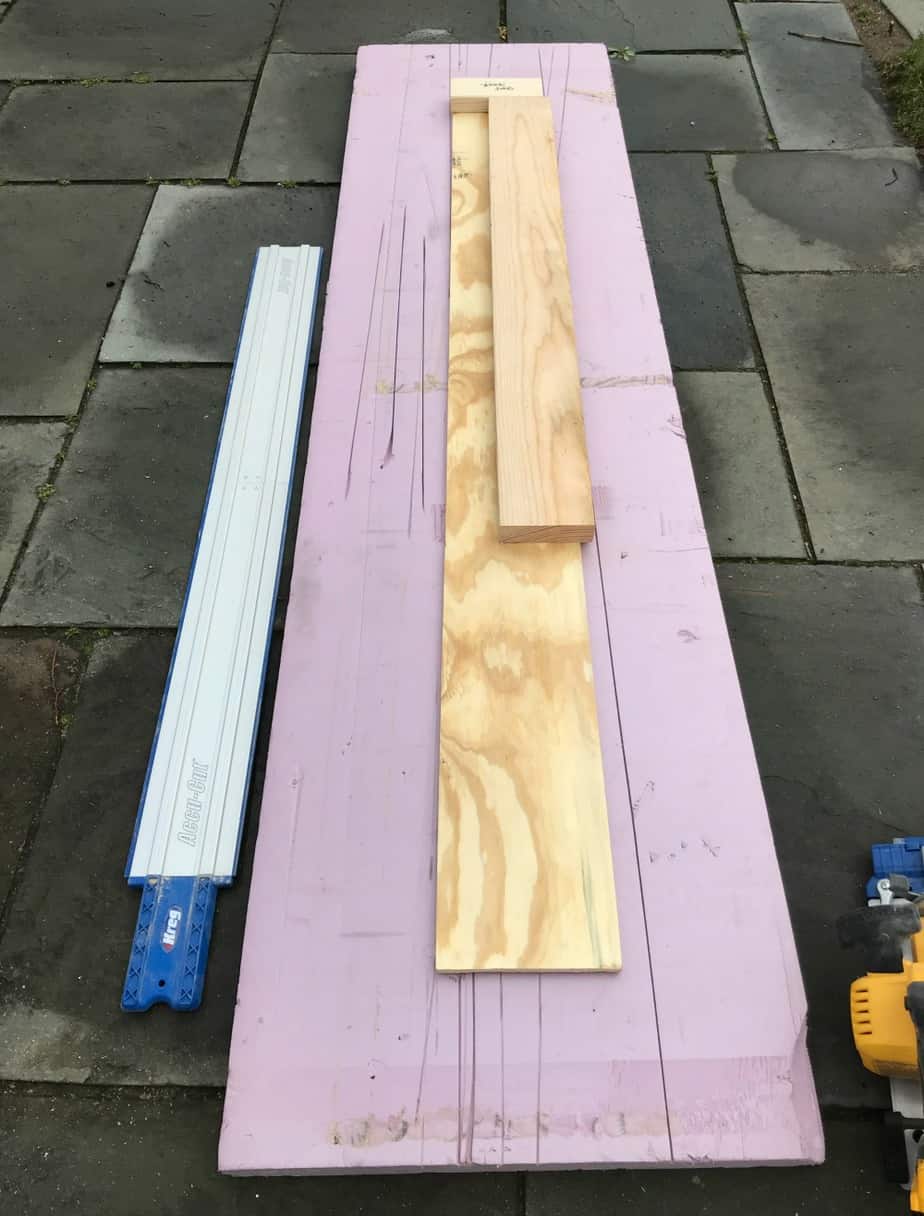
To rip the curved edge off I made a jig with a stopper to help keep the board steady. You could also clamp to your workbench. I suggest cutting the 8 foot board into two pieces and then ripping.
This view from above shows the board to be ripped on top of the plywood base with the stopper attached. Place the accu-cut on top of the board with an 1/8″ peeking out to be ripped off.
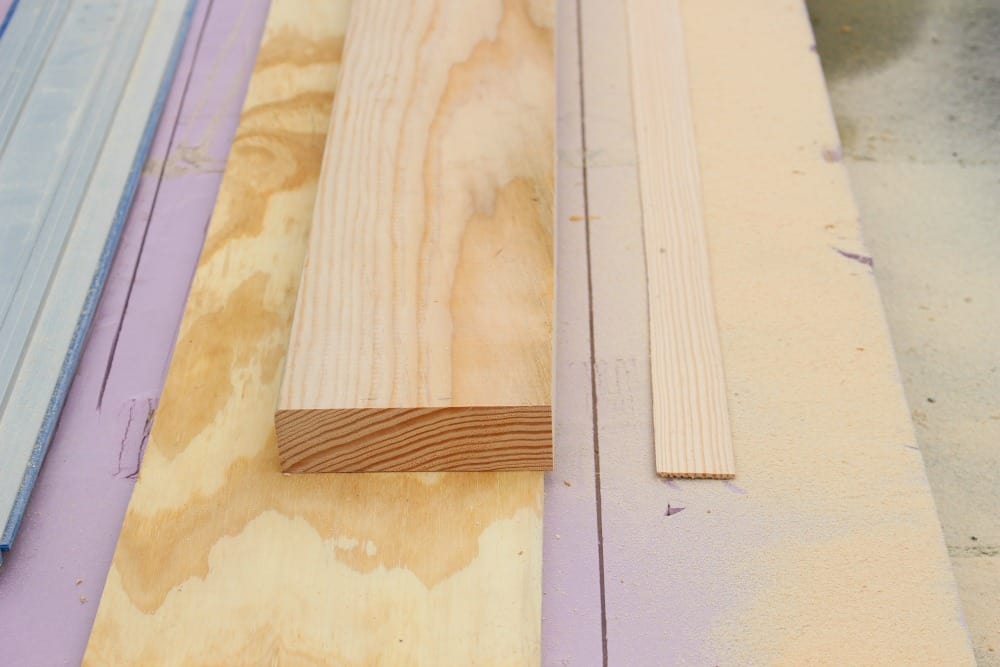
Rip off an 1/8″ to get rid of that rounded edge.
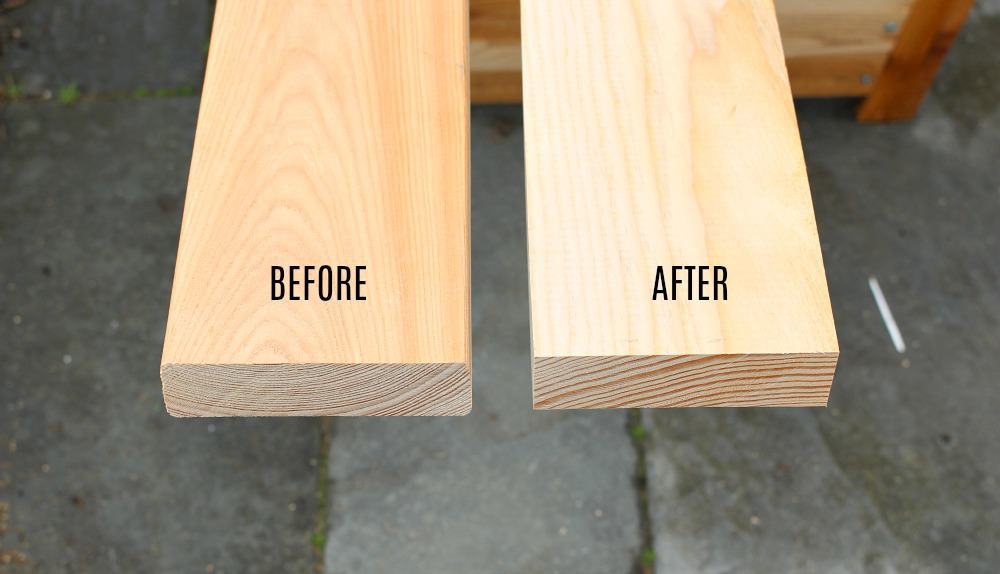
You can definitely see the difference between the rounded edge on the off-the-shelf board and the ripped board.
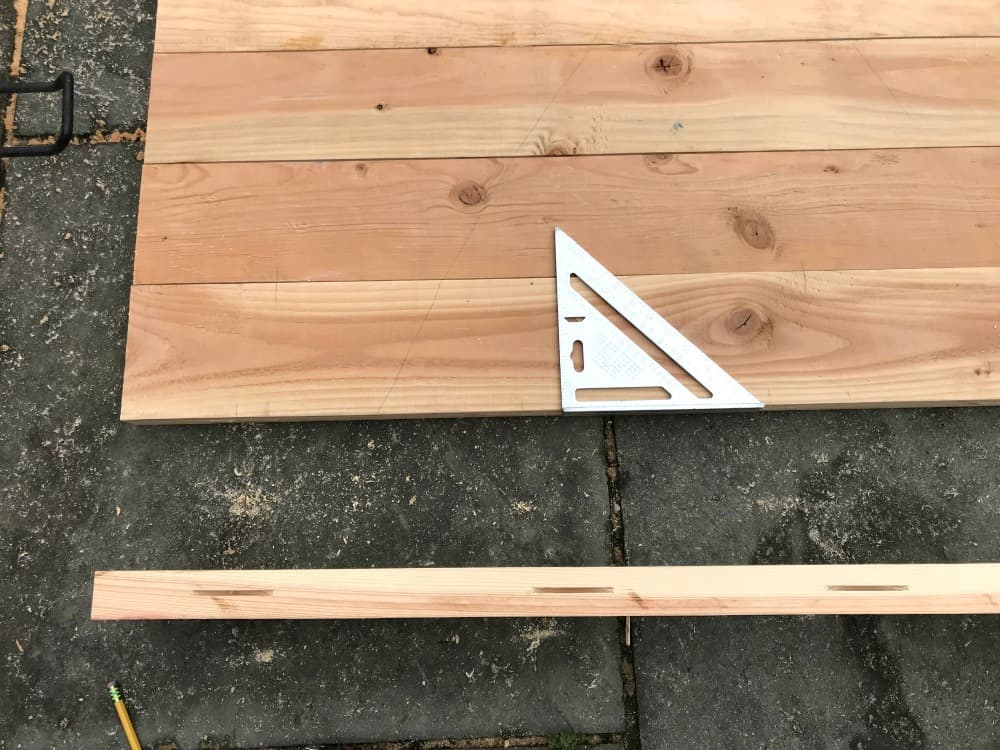
Line up the boards and mark for biscuits. Make the biscuit slots using a biscuit joiner.
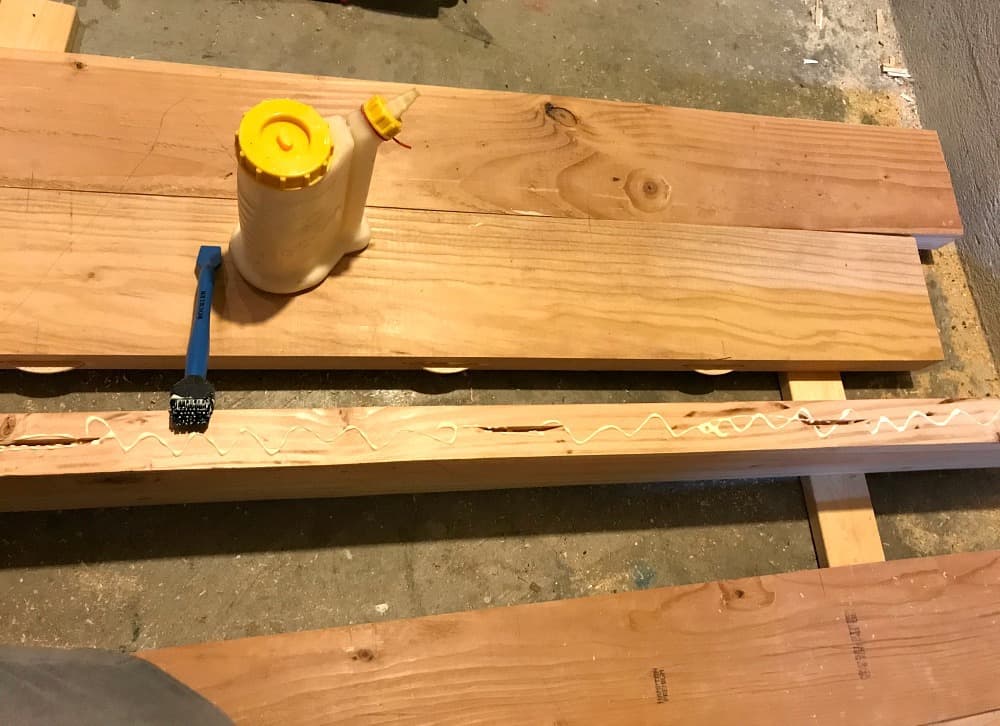
Apply glue liberally, insert biscuits and clamp all the pieces together.
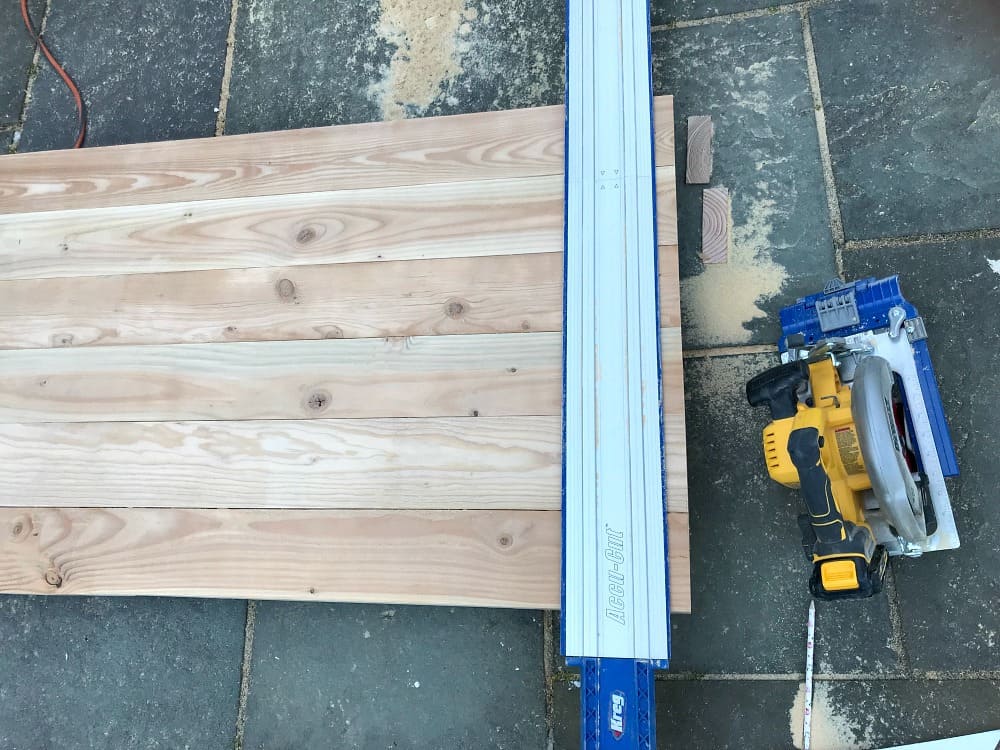
Once dry trim the rough edge to your desired length.
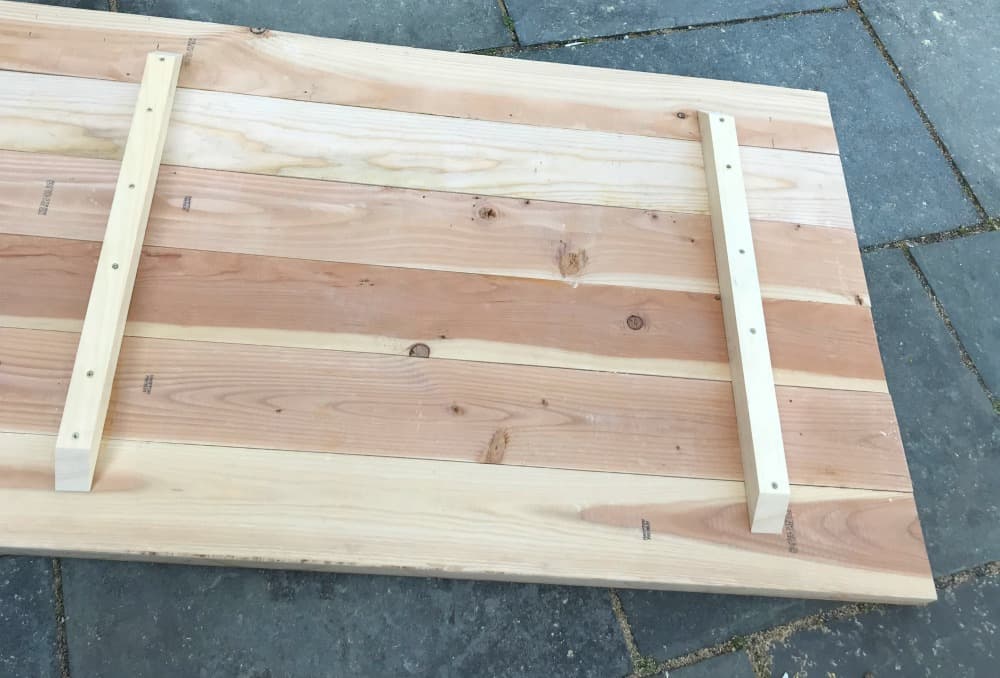
For details on how I finished this wood desk top see my post here.
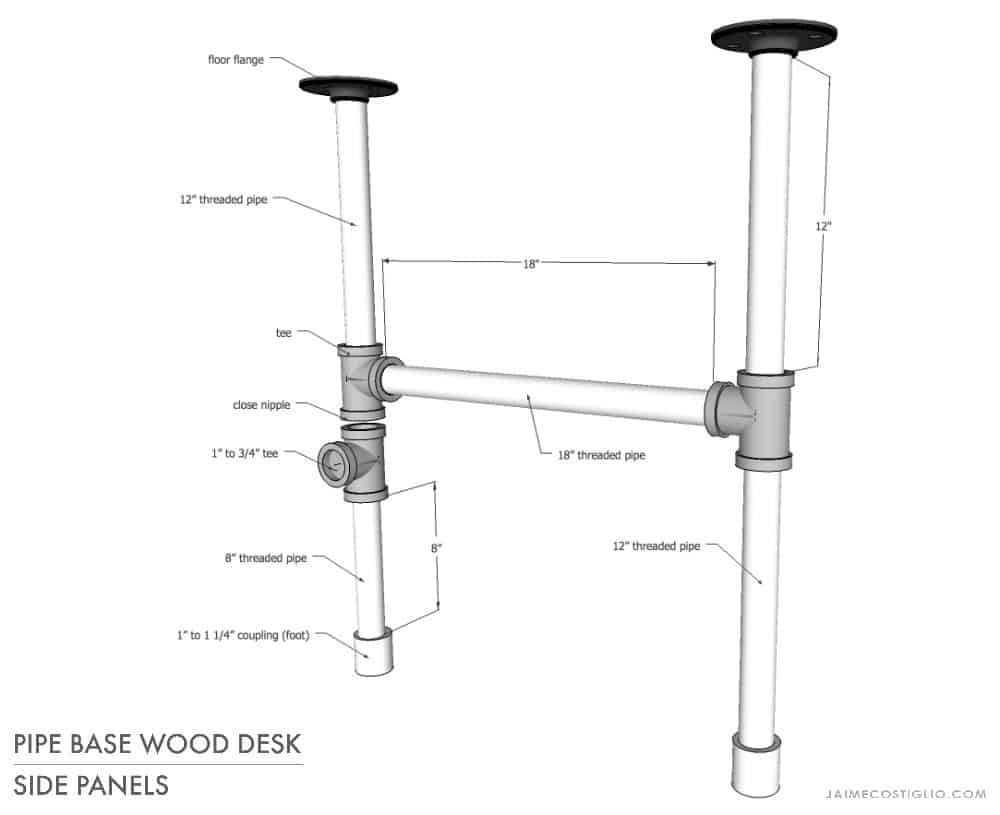
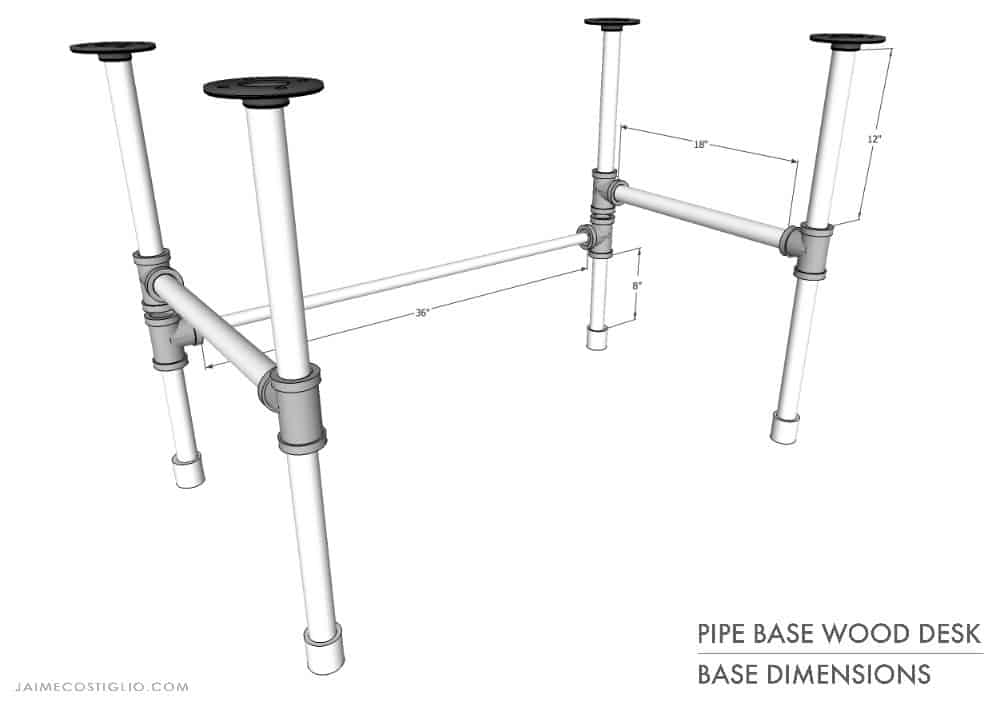
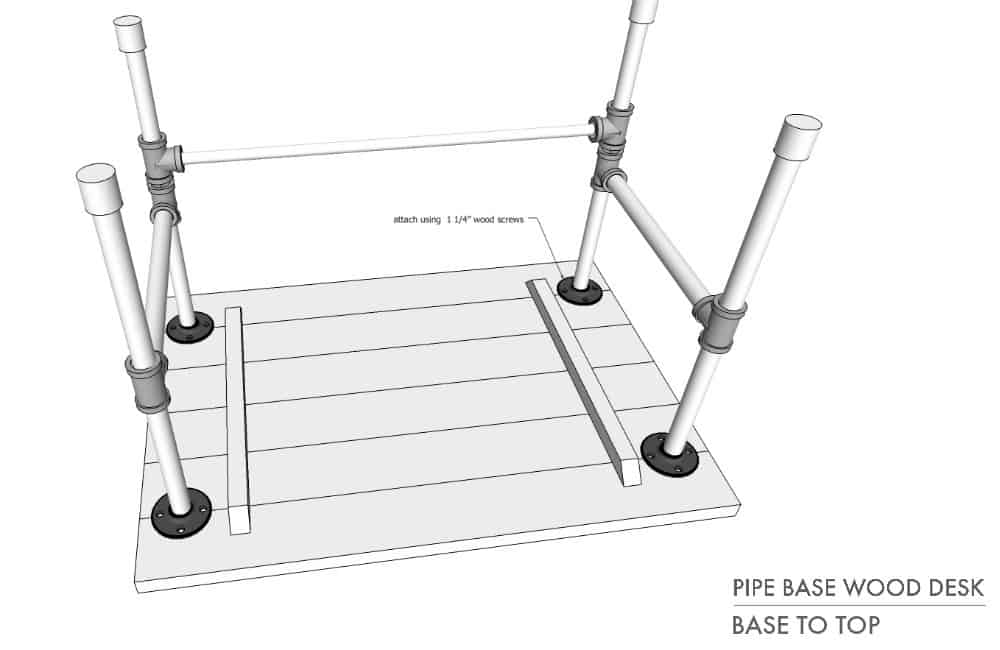
To make the pipe base construct two opposing side panels as per the above diagram.
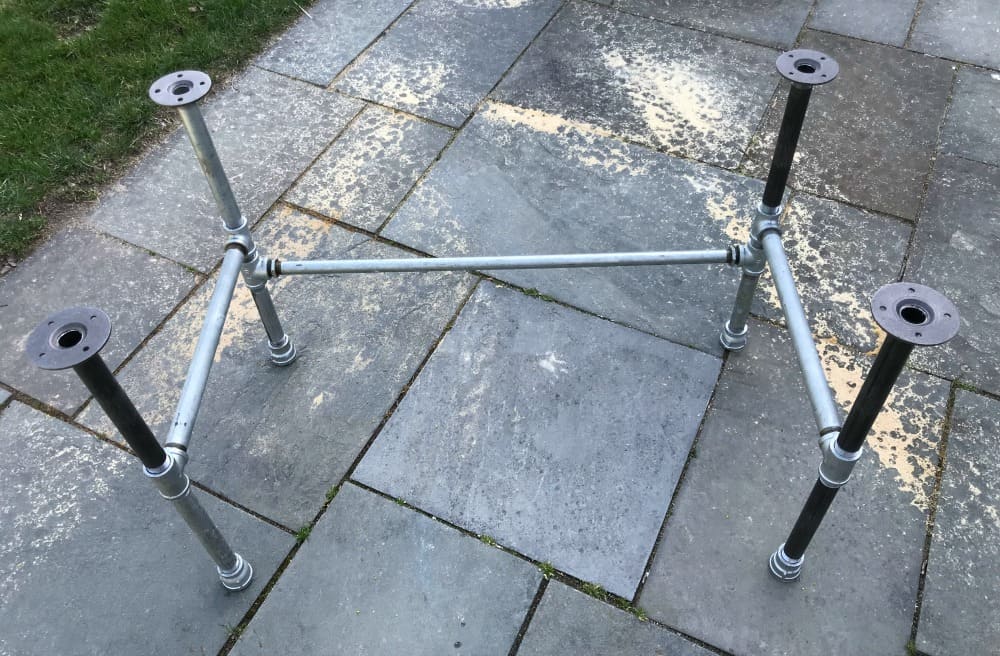
Then add the back cross support piece and the base is ready for paint.
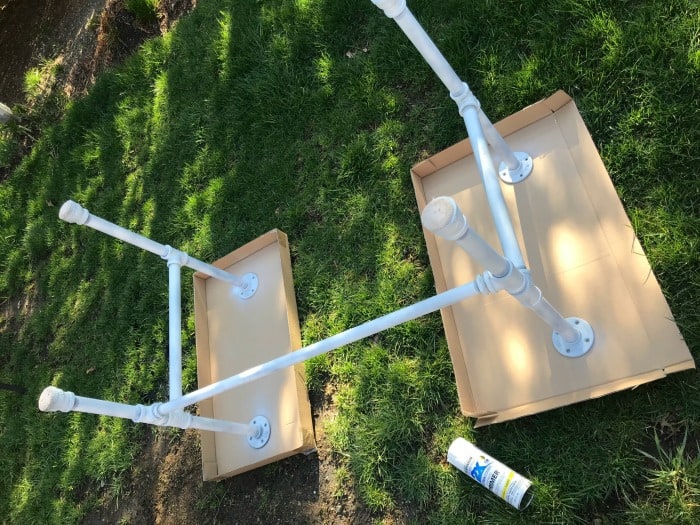
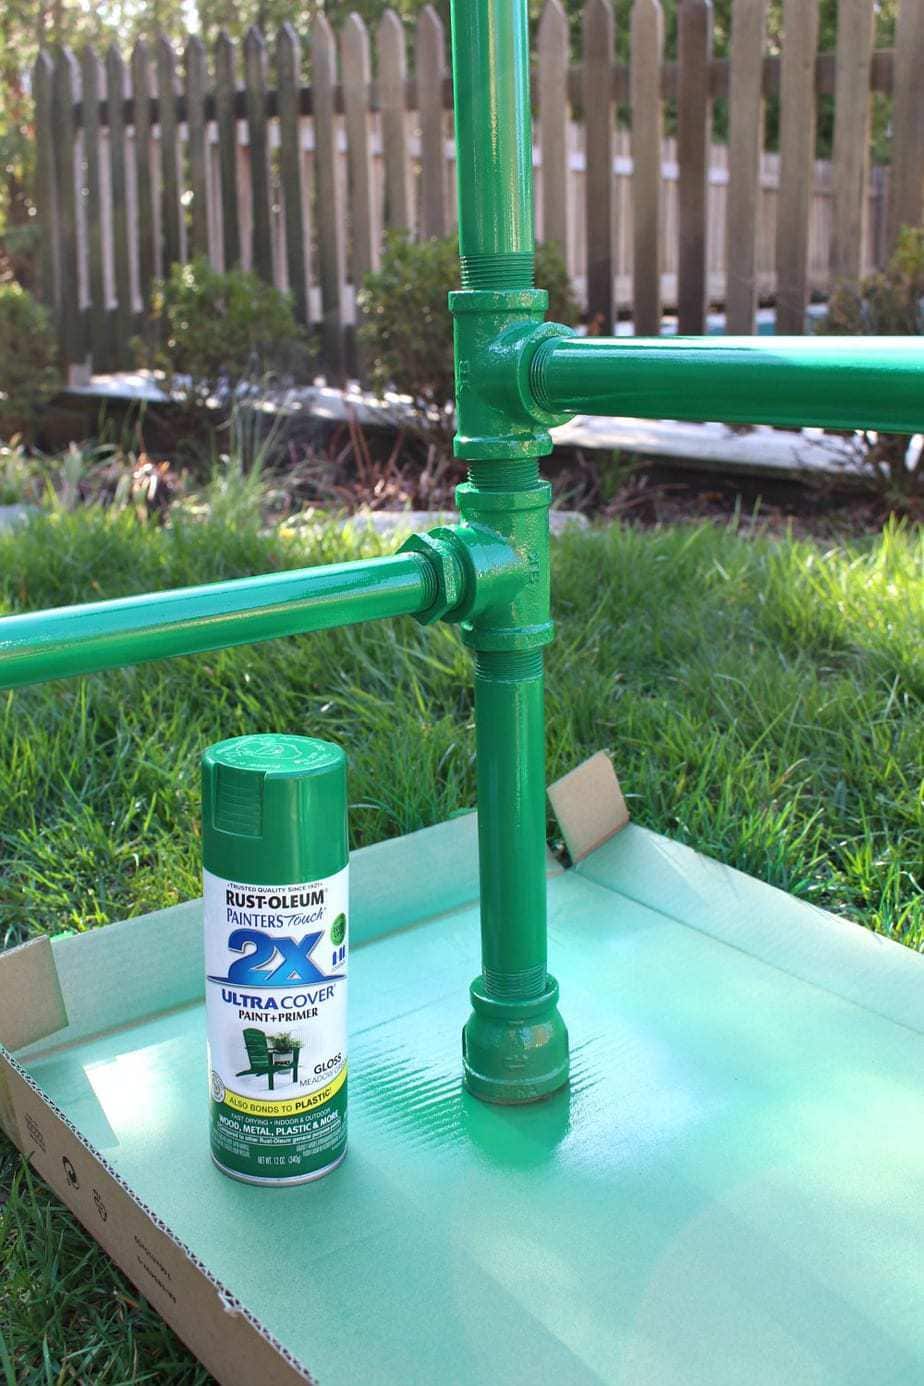
I choose to use primer only because I had a mix of black steel and galvanized pipes so I wanted to ensure an even paint job.
Then I sprayed two coats Rustoleum gloss in meadow green. Be sure it’s dry in between coats.
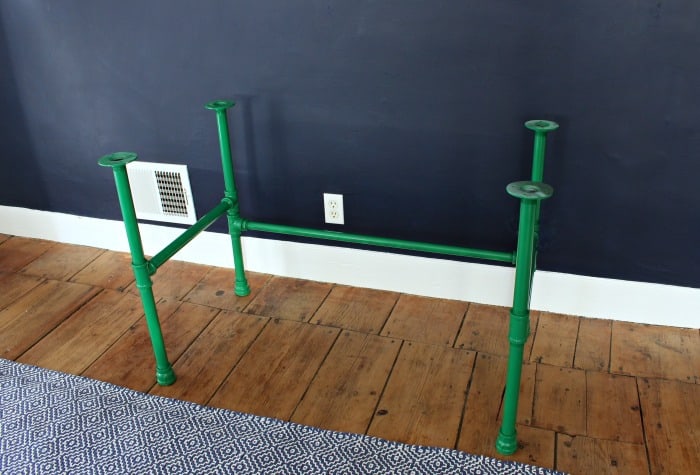
Set the pipe base in position, place the wood top on top and then attach from the underside.
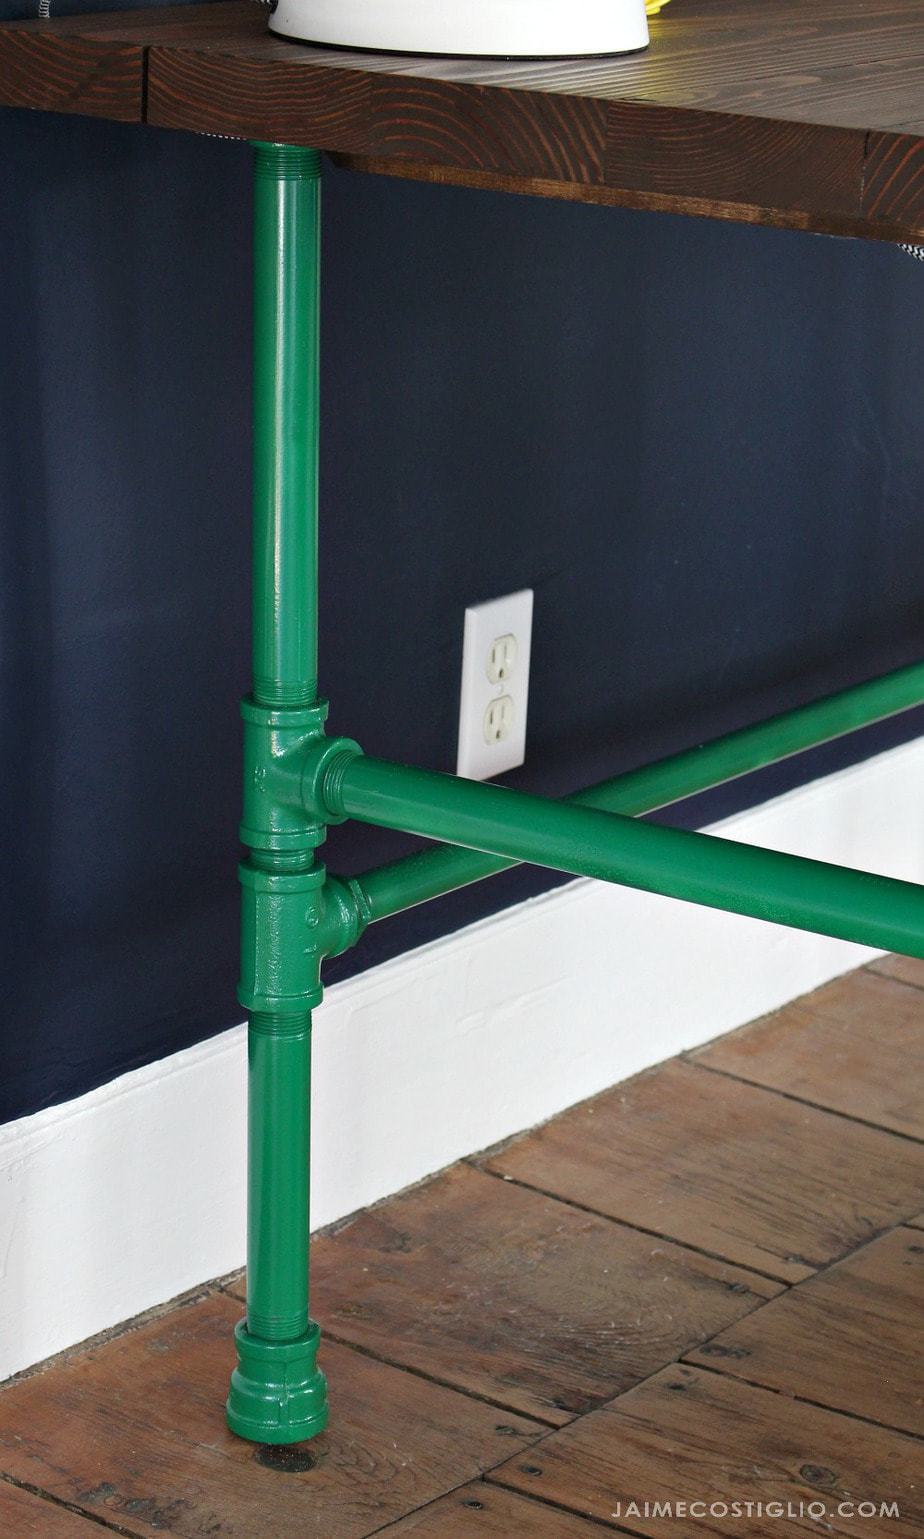
Check for level again now that all the pieces are assembled. You can unscrew to raise one leg or screw tighter to lower, that’s the beauty of working with threaded pipe. It’s very forgiving when you need to adjust.
I hope you enjoy this project. Please be sure to share your versions on social media and tag me, I love seeing what readers create.
Instagram / Pinterest / Facebook / Twitter
SHOP THIS PROJECT:


Leave a Reply