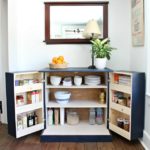
An old fashioned tall cupboard I built this past weekend sponsored by Build Something. And I’ve put together free plans so you can build it too!
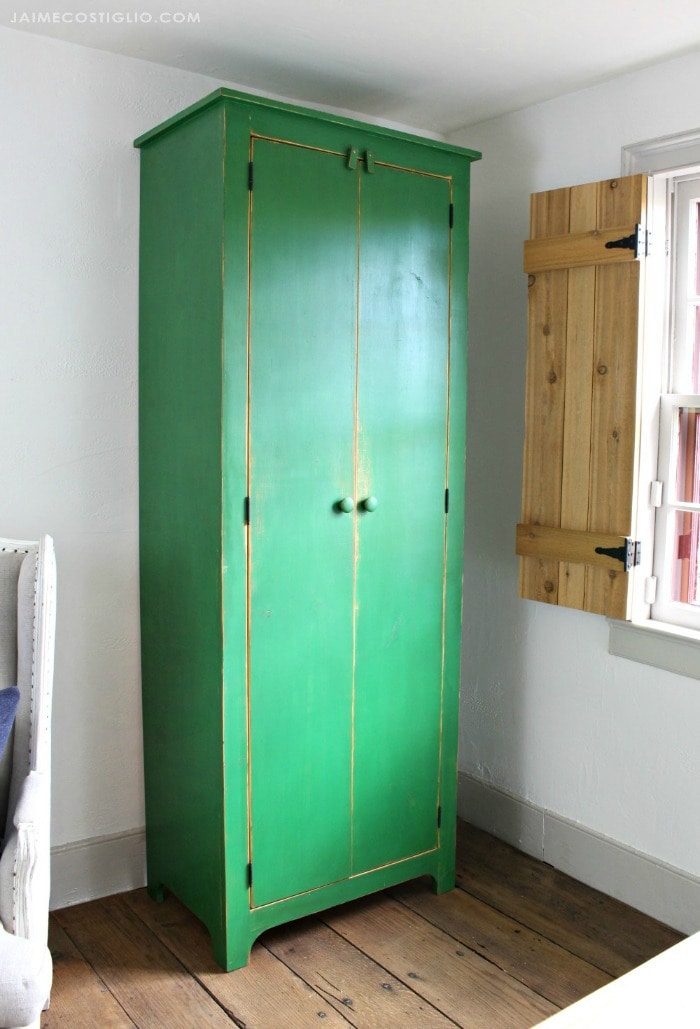
Longing for more storage in our living room / office space, I designed this primitive farmhouse style tall cupboard with concealed storage in mind. And the beauty of building it yourself means you can finish your cupboard however you like. I choose green paint with a warm stained interior.
A DIY tutorial to build a tall cupboard with tons of concealed storage. An easy to build cabinet with moveable shelves and doors.

Storage Cupboard Features
So much glorious storage space abounds on the interior of this tall cupboard. There is one fixed shelf and 3 moveable shelves (or more if you desire).
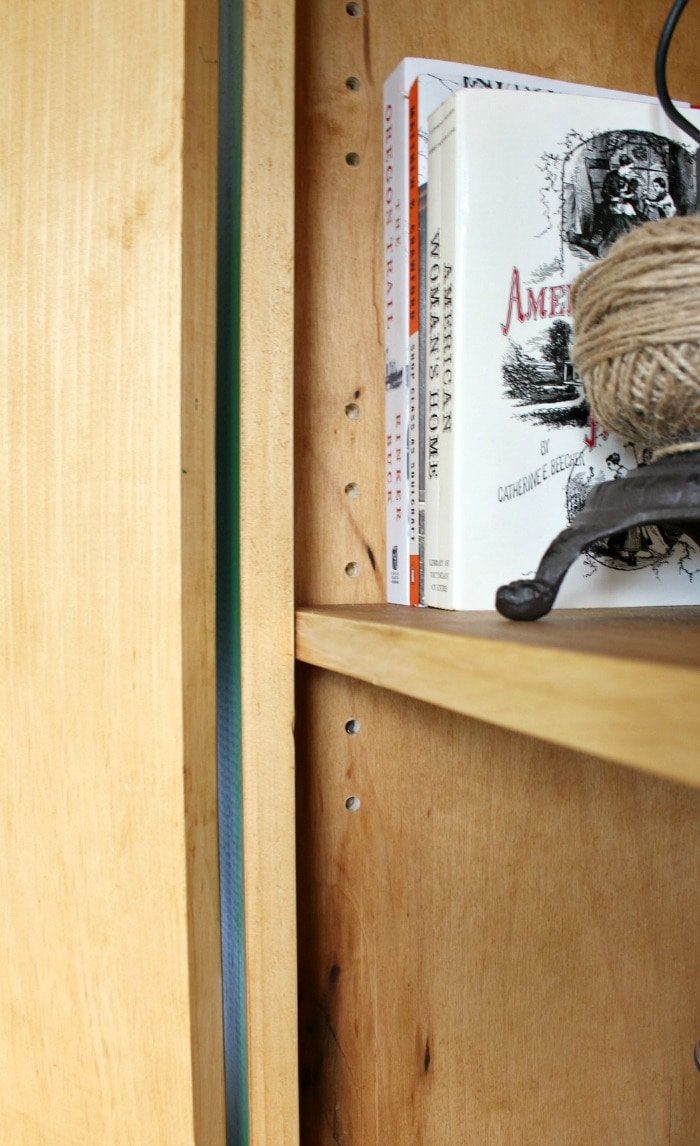
Shelf Pin Jig
Those shelves are movable courtesy of the Kreg Shelf Pin jig. Kreg makes a shelf pin jig that is easy to use and gives amazing results every time. Having the ability to reposition shelves as needed increases the functionality of your piece. I highly suggest using the shelf pin jig anytime you’re building a project with shelves.
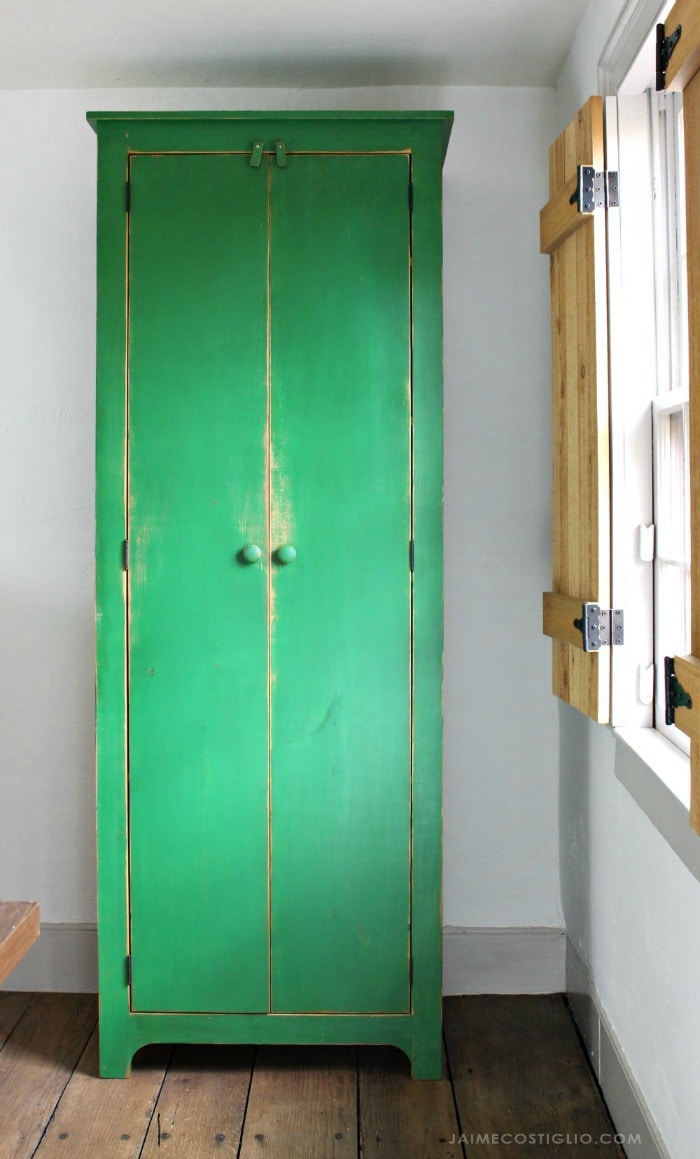
This rustic farmhouse style tall cupboard is the perfect addition to almost any room.
Cupboard Storage Ideas:
- office
- bedroom
- playroom
- linen closet
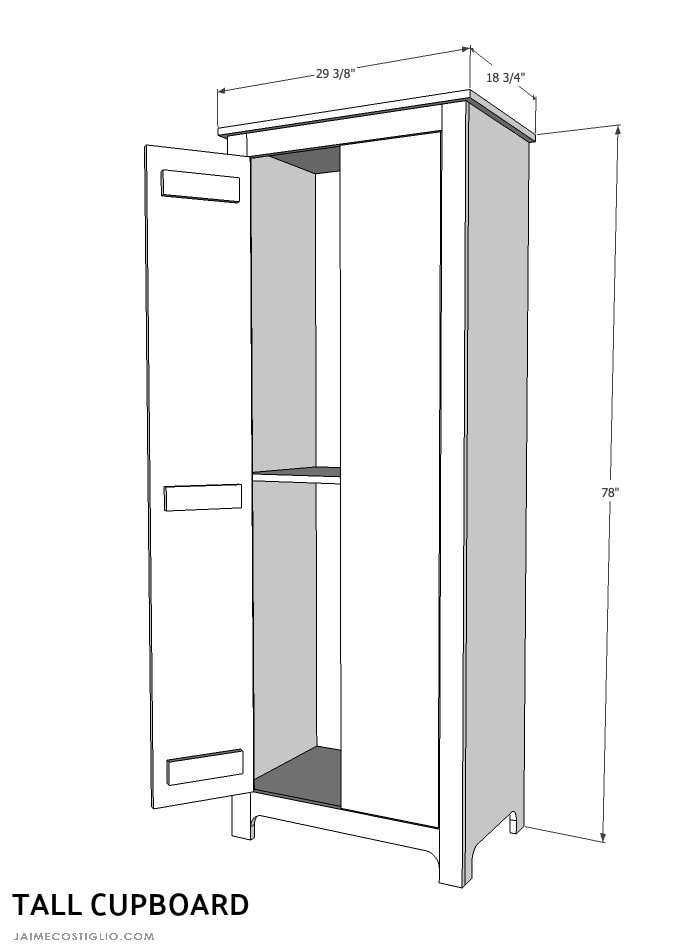
I designed the plans for this tall cupboard using standard pine boards and plywood which yields a large, versatile storage cupboard.
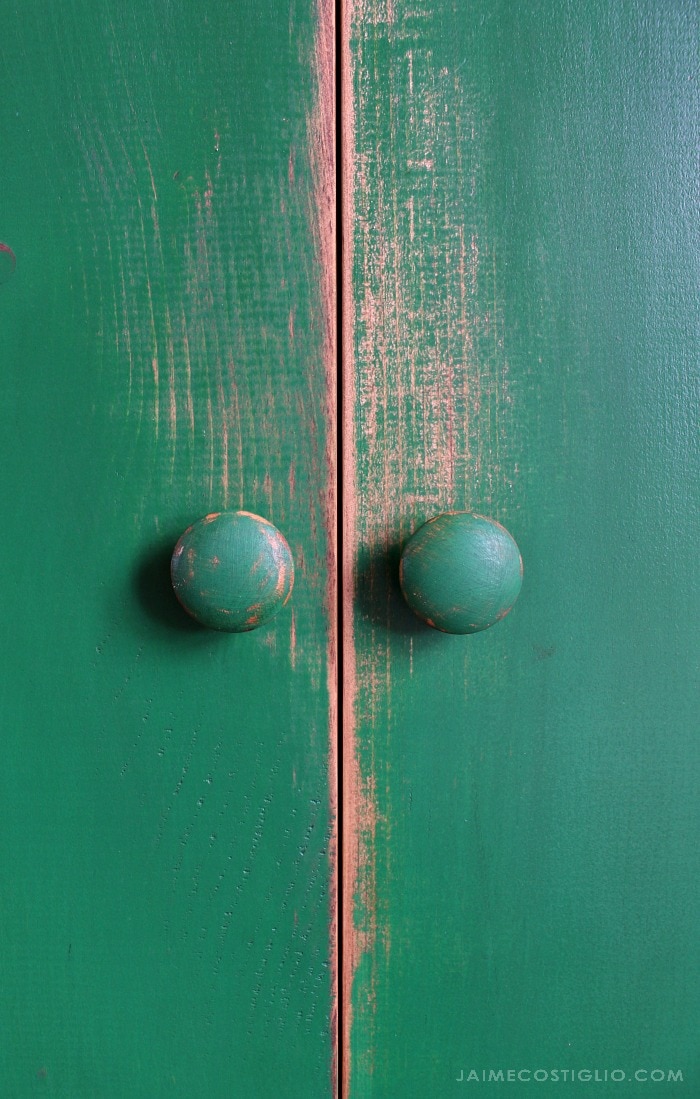
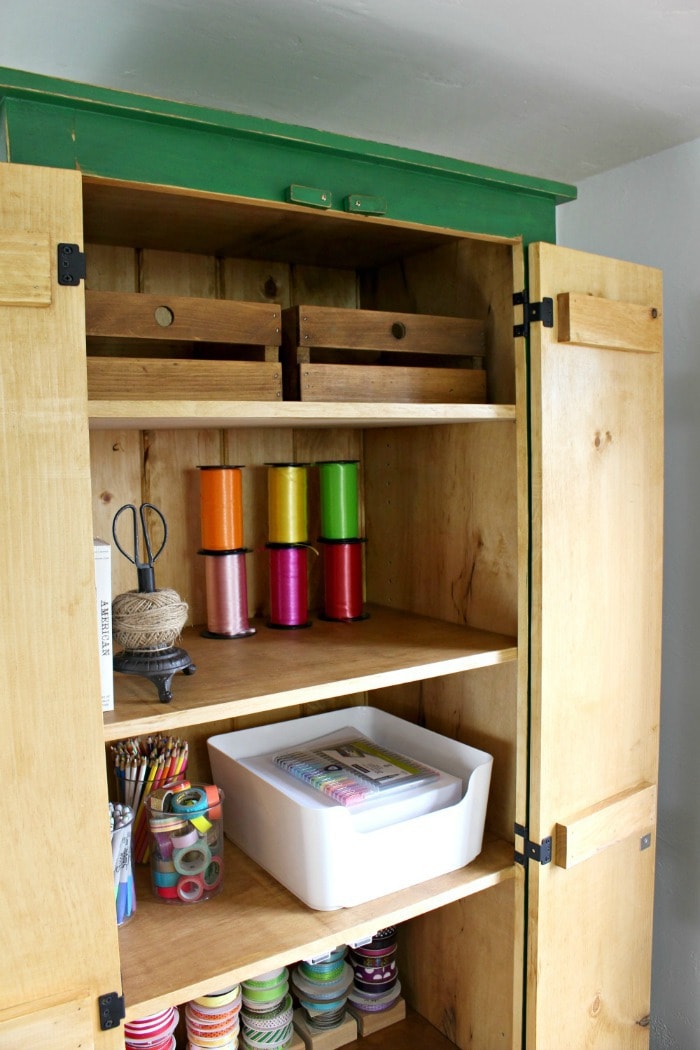
Cupboard Details:
The wood knobs and curved bottom edge add the perfect little details. However, like a book, it’s what’s on the inside that counts!
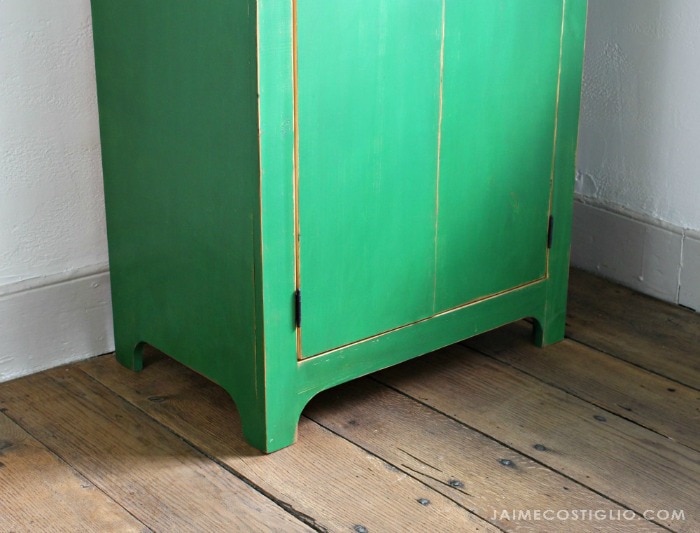
The complete plans including materials, cut list and step by step instructions are here on Buildsomething.com. Build Something a great source for free step-by-step project plans for tons of DIY building projects. They have a large library of certified plans and plans submitted by woodworkers and hobbyists. Definitely worth a visit if you’re looking for free plans in a wide variety of categories.
Building Process:
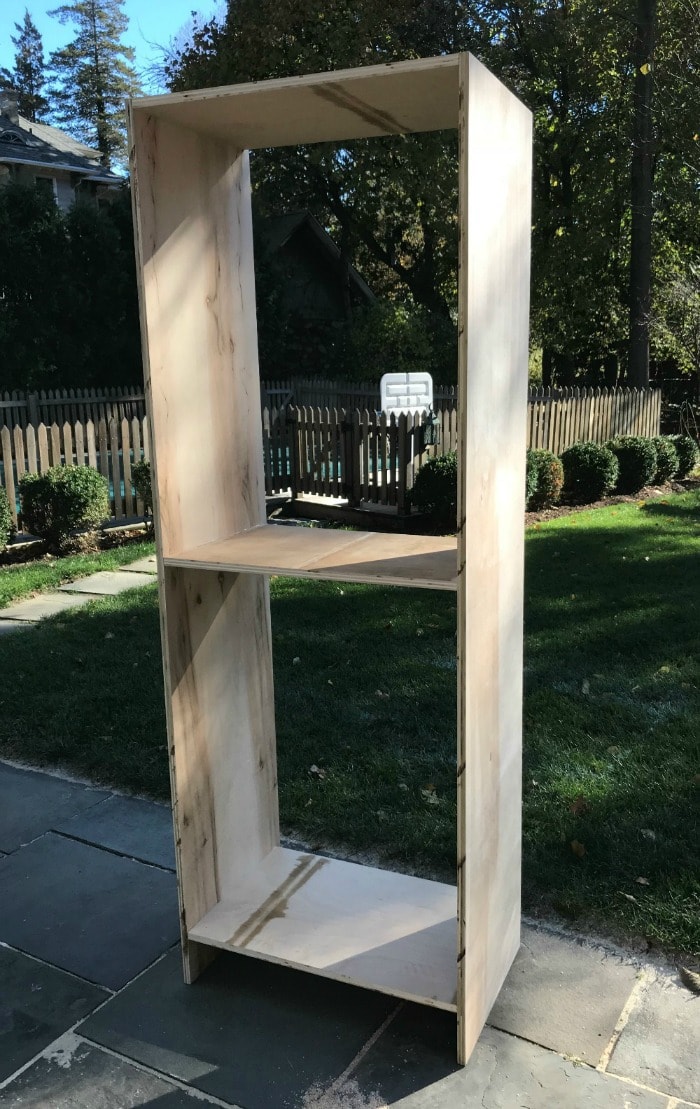
Beginning with the carcass I used the Kreg pocket hole jig to attach the horizontal supports. Be sure to keep your pocket holes hidden if possible.
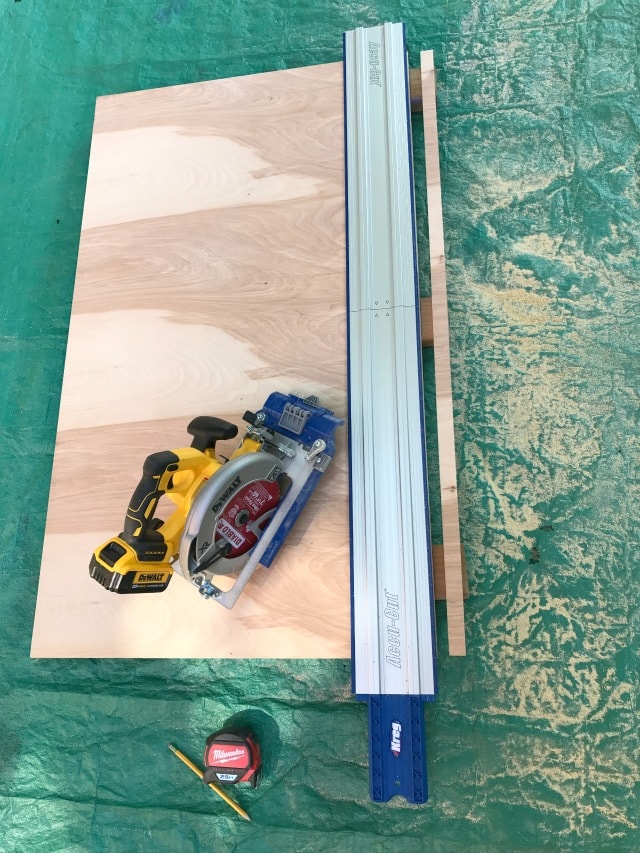
If you don’t have a table saw or your prefer not to use one I suggest the Kreg Accu-Cut circular saw track for making your plywood cuts. Although it is limited in length (you would need two sections of track to rip an 8′ board) it is invaluable for cross cuts and short rips.
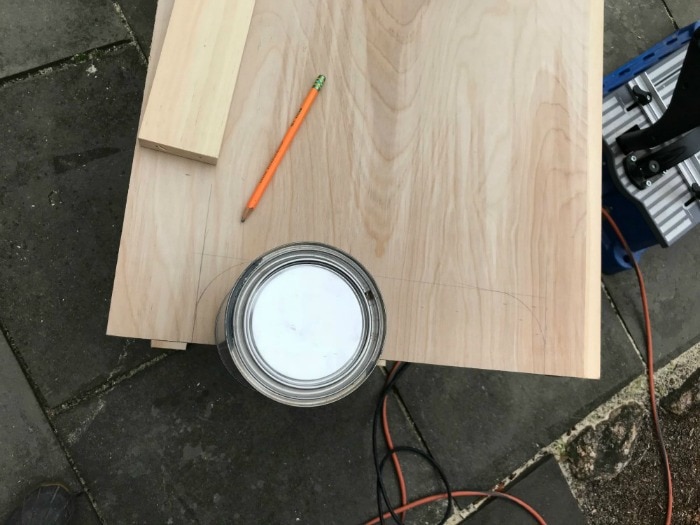
To make the curved detail at the base use a quart paint can or similar depending on how tight you want the curve.
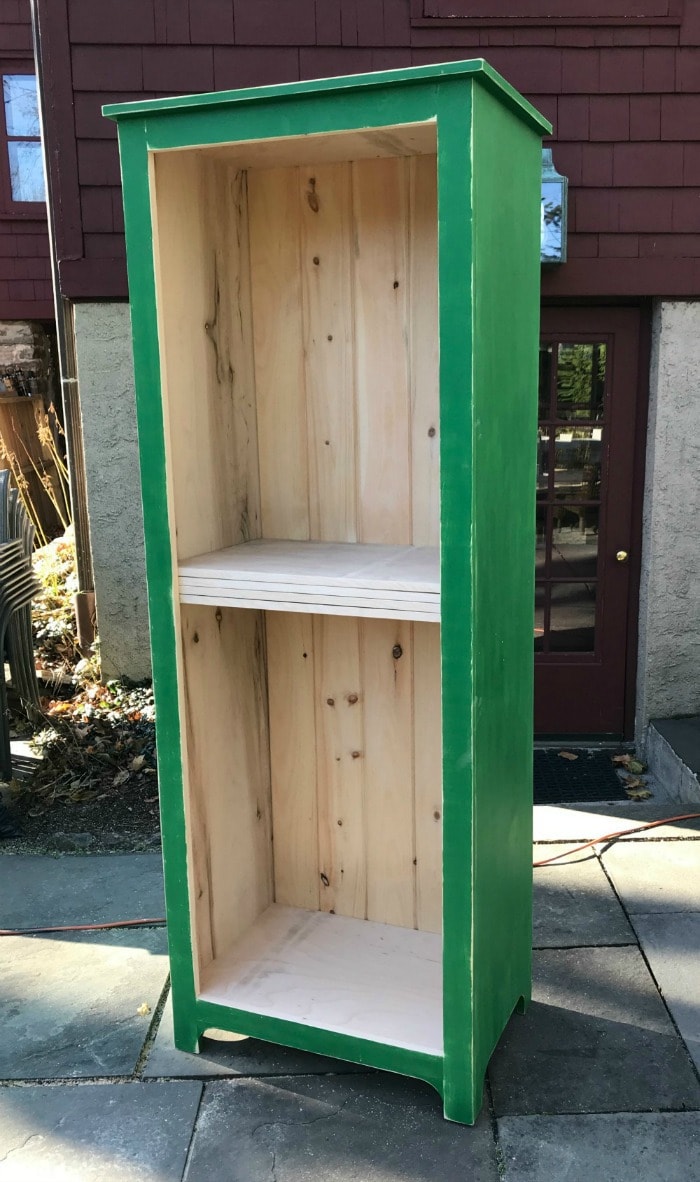
To finish I painted the exterior using Benjamin Moore irish moss then sanded the edges to distress. You can see the movable shelves stacked up on the middle fixed shelf above prior to applying stain.
For the stain I used Varathane stain in Summer Oak on the interior and Minwax Early American on the exterior.
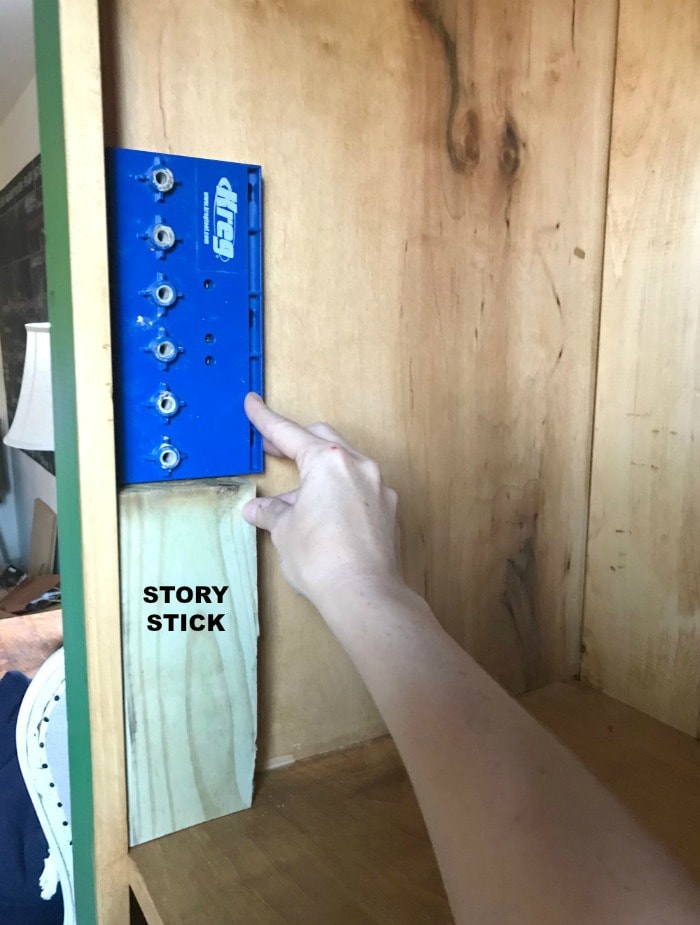
To make the shelf pin holes cut a 2×4 story stick scrap piece of wood. This will ensure you drill the shelf pin holes at the same height on all four corners. Rest the shelf pin jig on the story stick and drill your holes. Repeat this process for each corner.
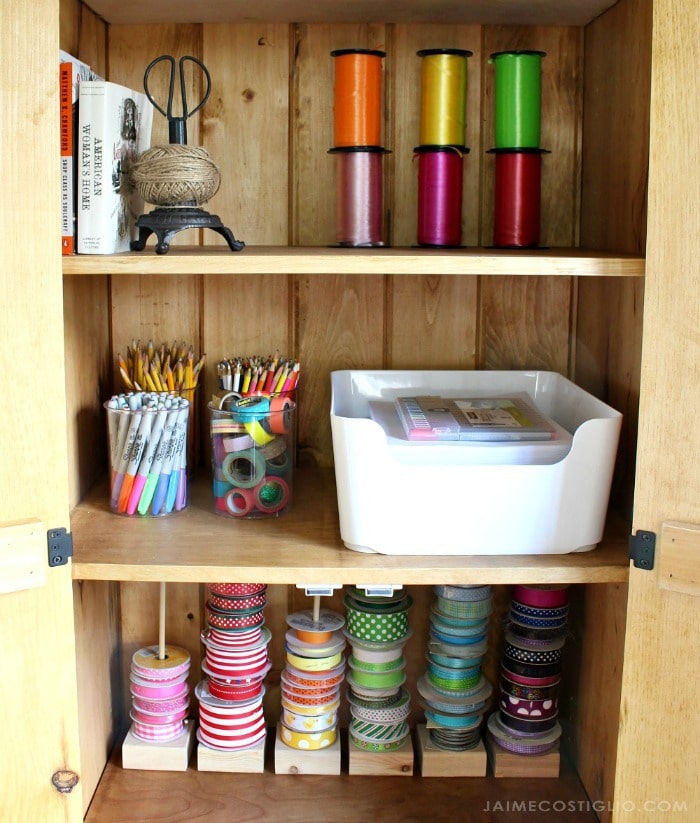
Insert shelf pins as desired and place the shelves in position. I opted to add magnetic latches on the fixed middle shelf to help insure the doors stay closed.
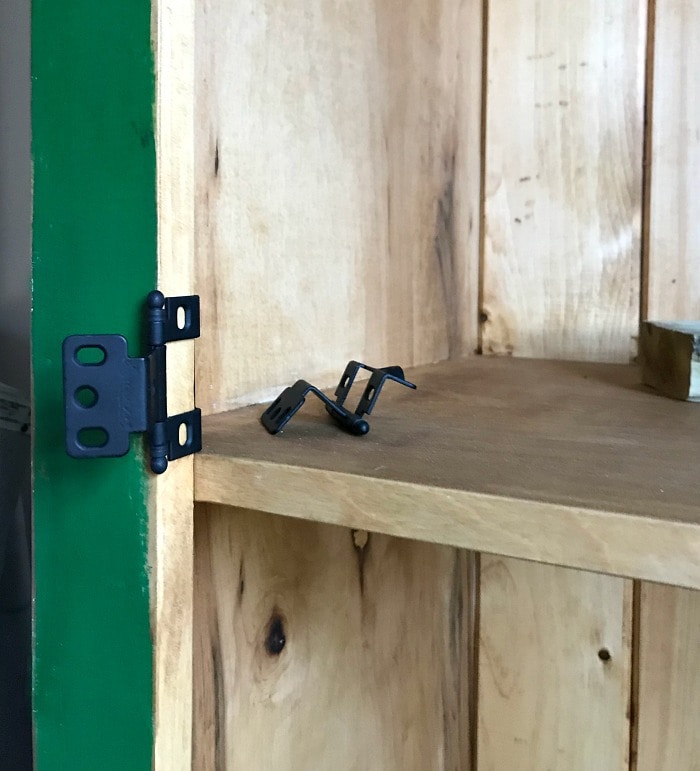
For the door hinges I used full wrap black ball tip hinges. They are by far the easiest hinges to work with in terms of installation and functionality. I probably could have used something a little more farmhouse style but I’m happy with these understated hinges.
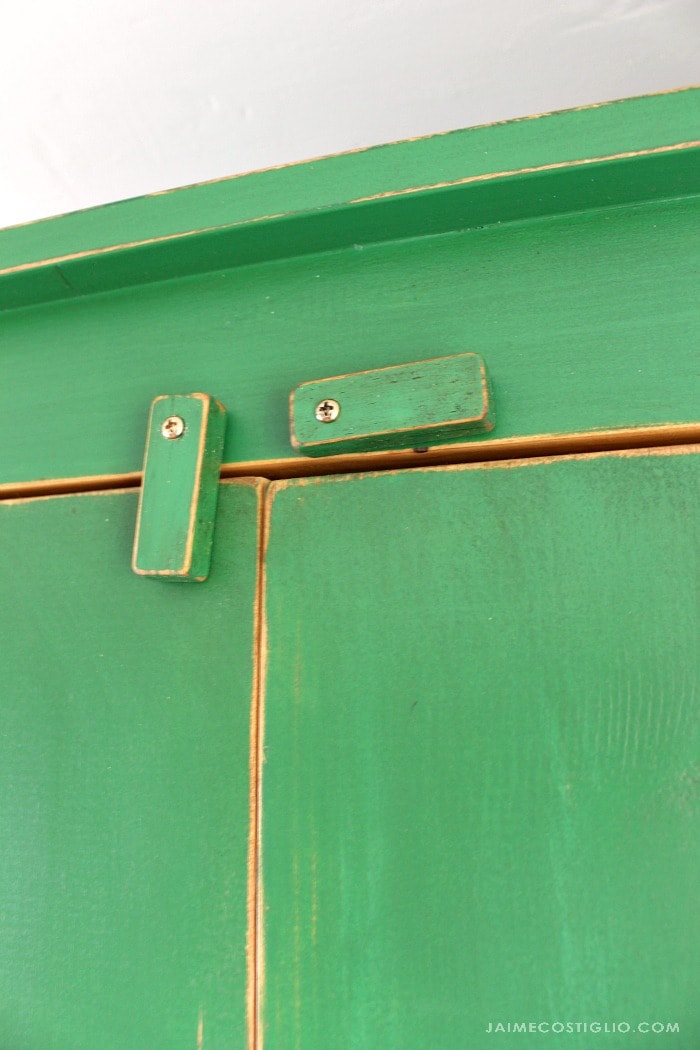
The final touch, although completely unnecessary, are these little wood swivel door locks. A primitive design detail that adds just a touch of charm.
I hope you enjoy this plan for a tall cupboard. I love seeing your versions so please be sure to tag me if you build it.
SHOP THIS PROJECT:


I need a few of these in my life! Great project Jaime
Thanks Amy, I’d love a few more too. Maybe I should rip out my kids closets and make a hanging version? Spring project 😉
Love this Jaime! A perfect linen closet at the end of my hallway.
Thanks Lisa 🙂
I love this!
Thank you, so nice to hear from readers. I may be bias but I love it and I love even more the storage it provides!
I love this cupboard!! If I had the room I could see a use for every room in the house.
Are there PDF plans for this project?
LOL…. I found the plans..
🙂
Thank you Cathy. So glad you found the plans. I agree we should make room for one in every room!
I’m curious what kind of plywood did you use? I don’t recall seeing any with such lovely knots!
Teri the plywood is Purebond Birch.
You are so creative! Thank you so much for sharing your great ideas and how to’s!!
All the best,
Dianna
Thank you Dianna, so nice hearing from readers.
by any chance do you have a layout of the cuts on the plywood, so as to create the least waste?
Hi Lee, I don’t have a layout for this plan. You can fit in on 2 sheets if you’re okay with running the shelves against the grain otherwise it will take 2.5 sheets.
that’s what I did, it will make a great addition to my kitchen as a great storage space
Hi Jaime, I’m in the middle of building this cupboard and I’m really liking the way it’s turning out. I had one question, however. What purpose do the “cross supports” for the doors serve? Do they help with the function of the hinges? Are they absolutely necessary? Thanks!
Hi Erin, you’re correct in that the cross supports don’t have much of a function except to help the door board from cupping / warping. They are not necessary just a little extra insurance.