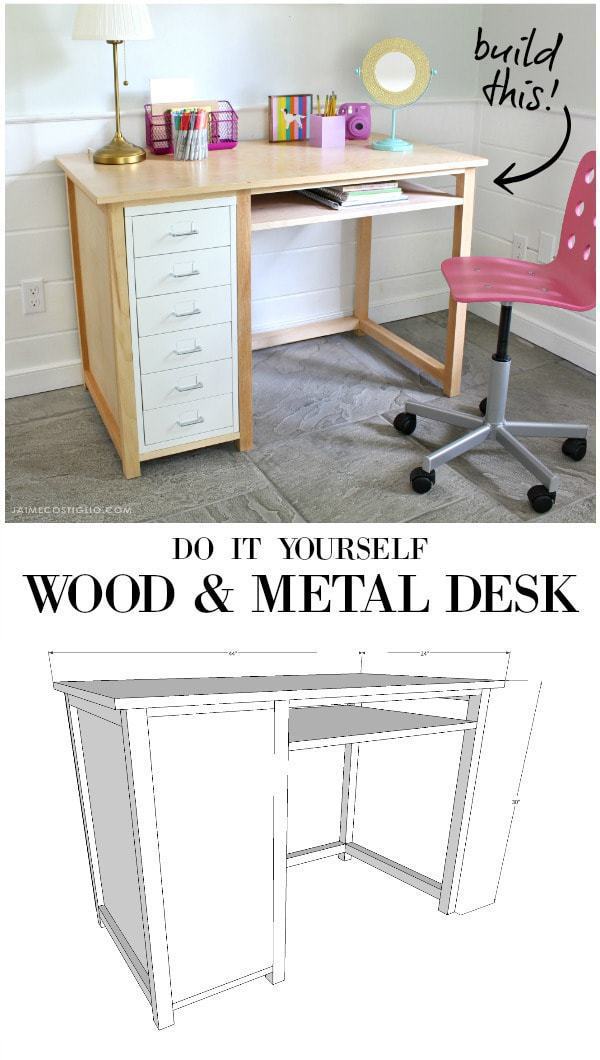
This post on how to build a wood and metal desk is sponsored by Build Something /Kreg. Everyone needs a work surface with organized storage. Let’s build a wood desk frame and incorporate metal drawers for storage and functionality. I’ll show you how.
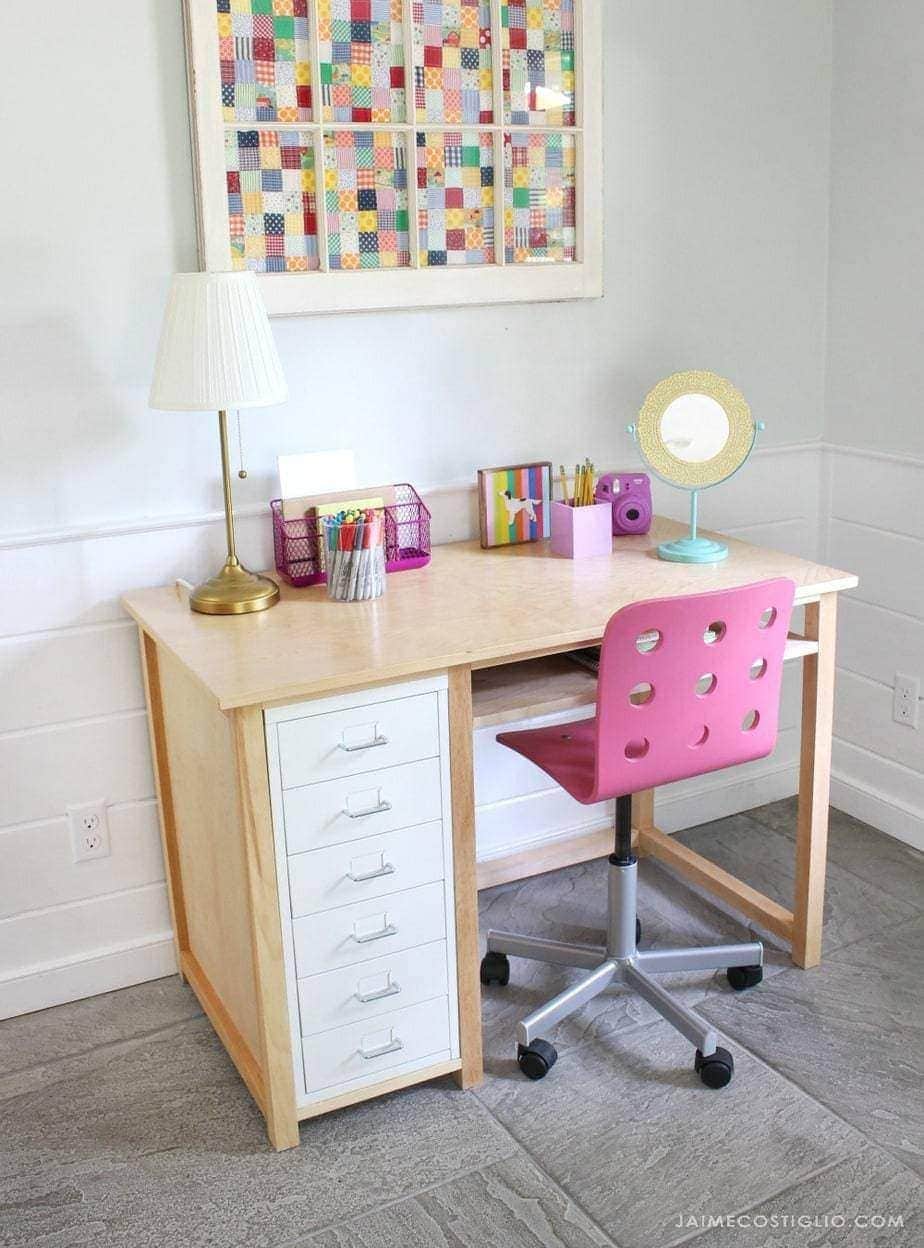
Build your own wood desk with metal drawers using my free plans here. How to incorporate a set of metal drawers with a wood desk.
I’ve teamed up with Build Something to provide the free plans for this desk build. Build Something is a great source for free step-by-step project plans with tons of DIY building projects. They have a large library of certified plans and plans submitted by woodworkers and hobbyists. Definitely worth a visit if you’re looking for free plans in a wide variety of categories.
Metal Drawers
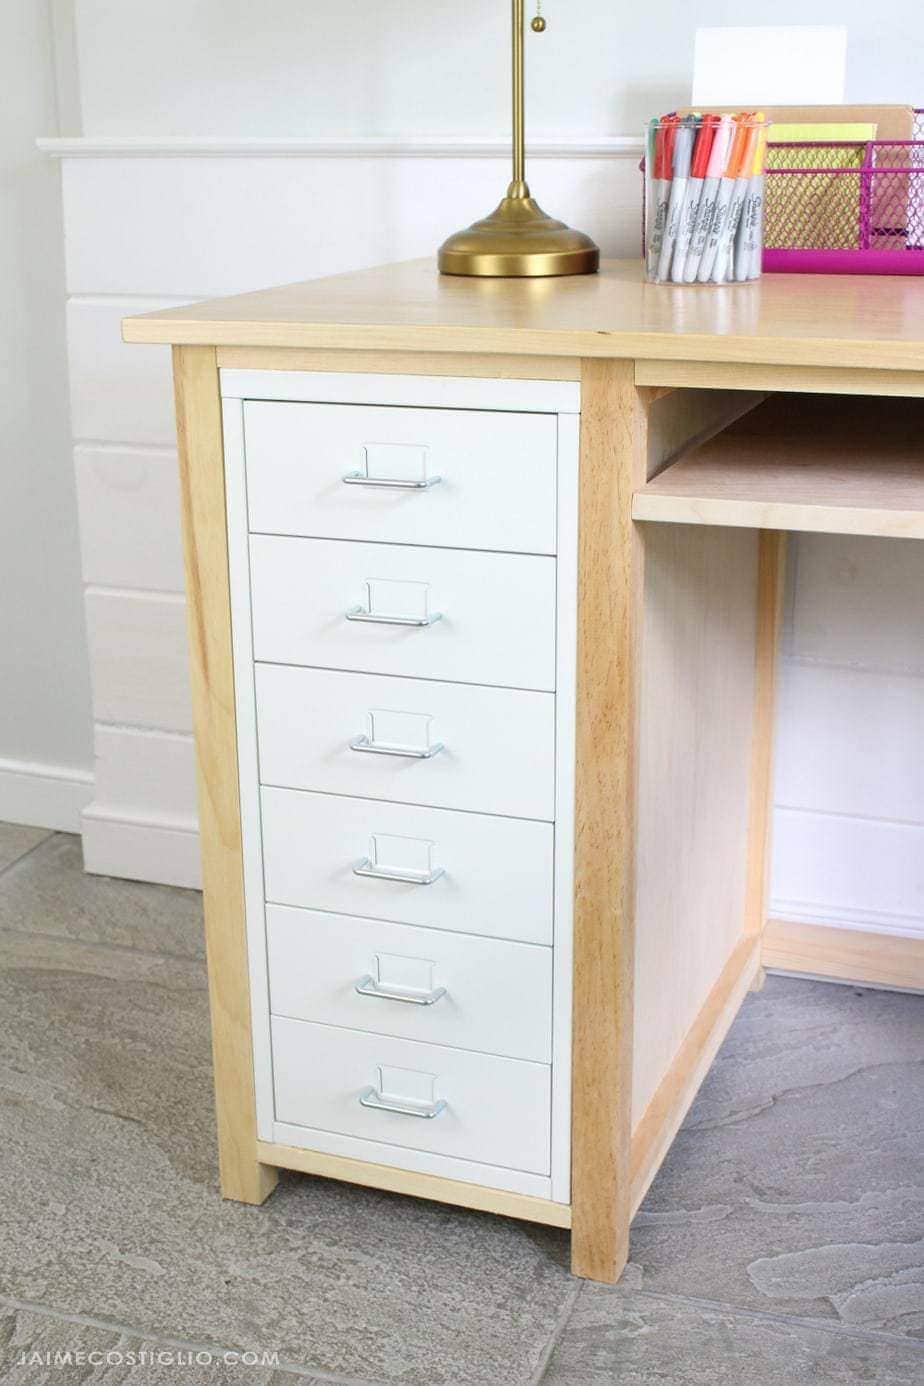
For this desk build I’ve used a metal drawer unit versus making my own drawers. If you’ve ever tackled building drawers then you know exactly how finicky drawer installation can be. This project is great for those of us who don’t want to fiddle with building and installing drawers.
- tons of storage
- practical solution
- organize items by category
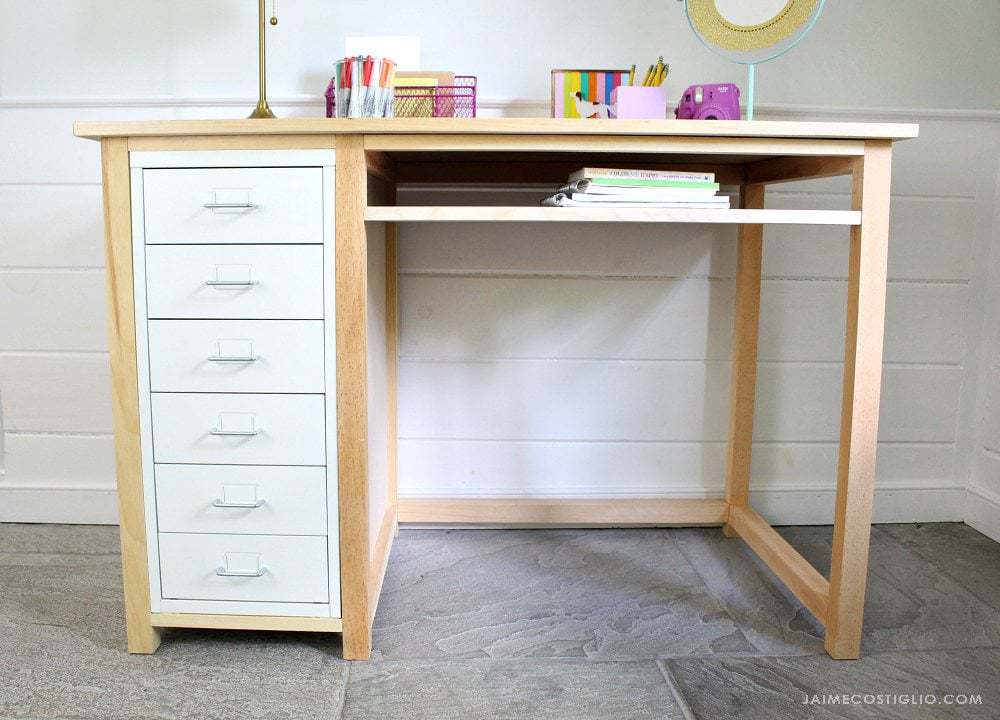
I’m loving the combination of the white metal with the natural wood. I believe this drawer unit is sold in other colors as well and you could stain or paint the wood for all sorts of different looks.
Wood Desk Frame
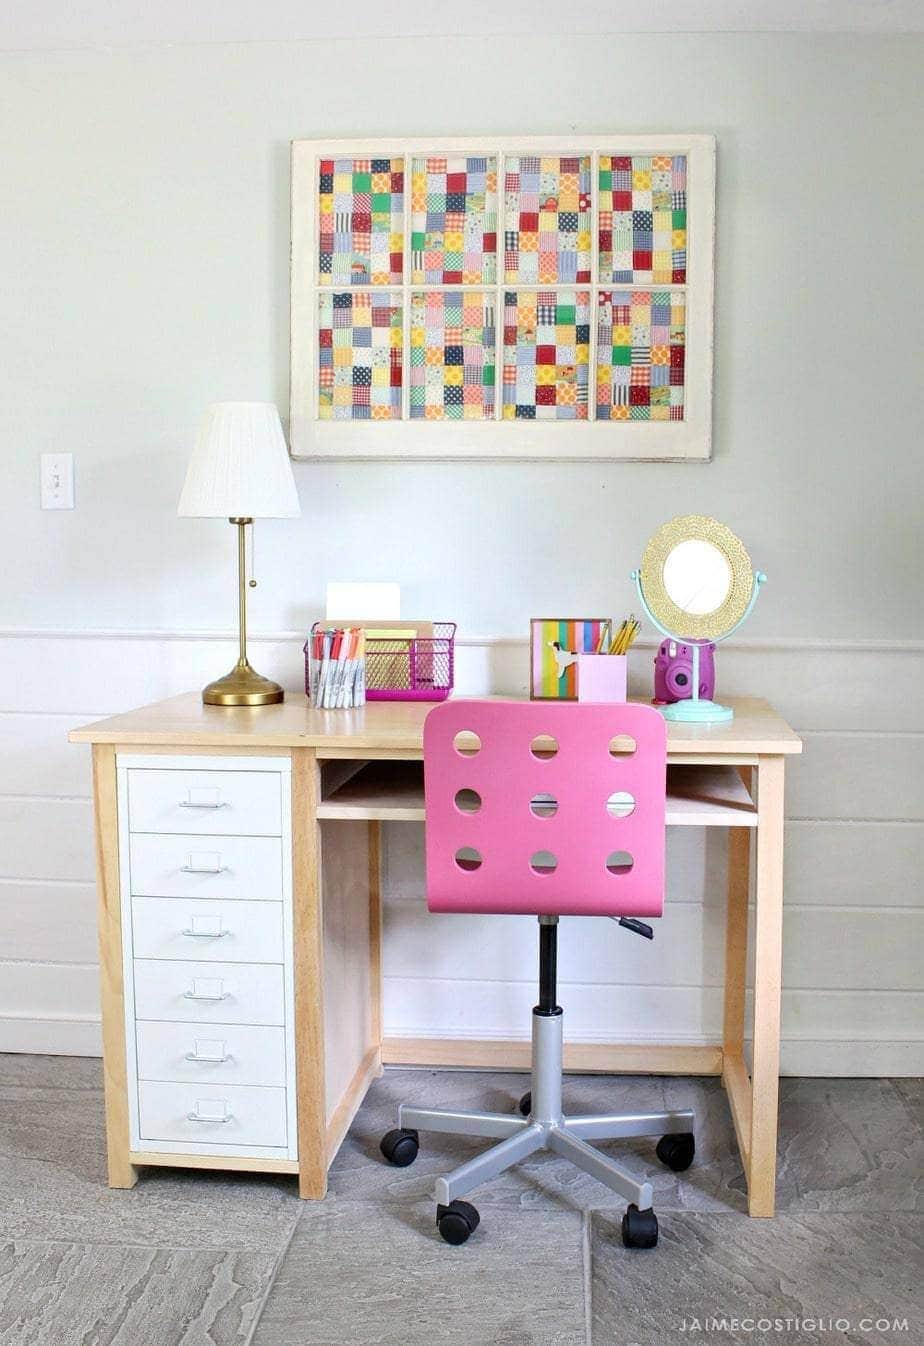
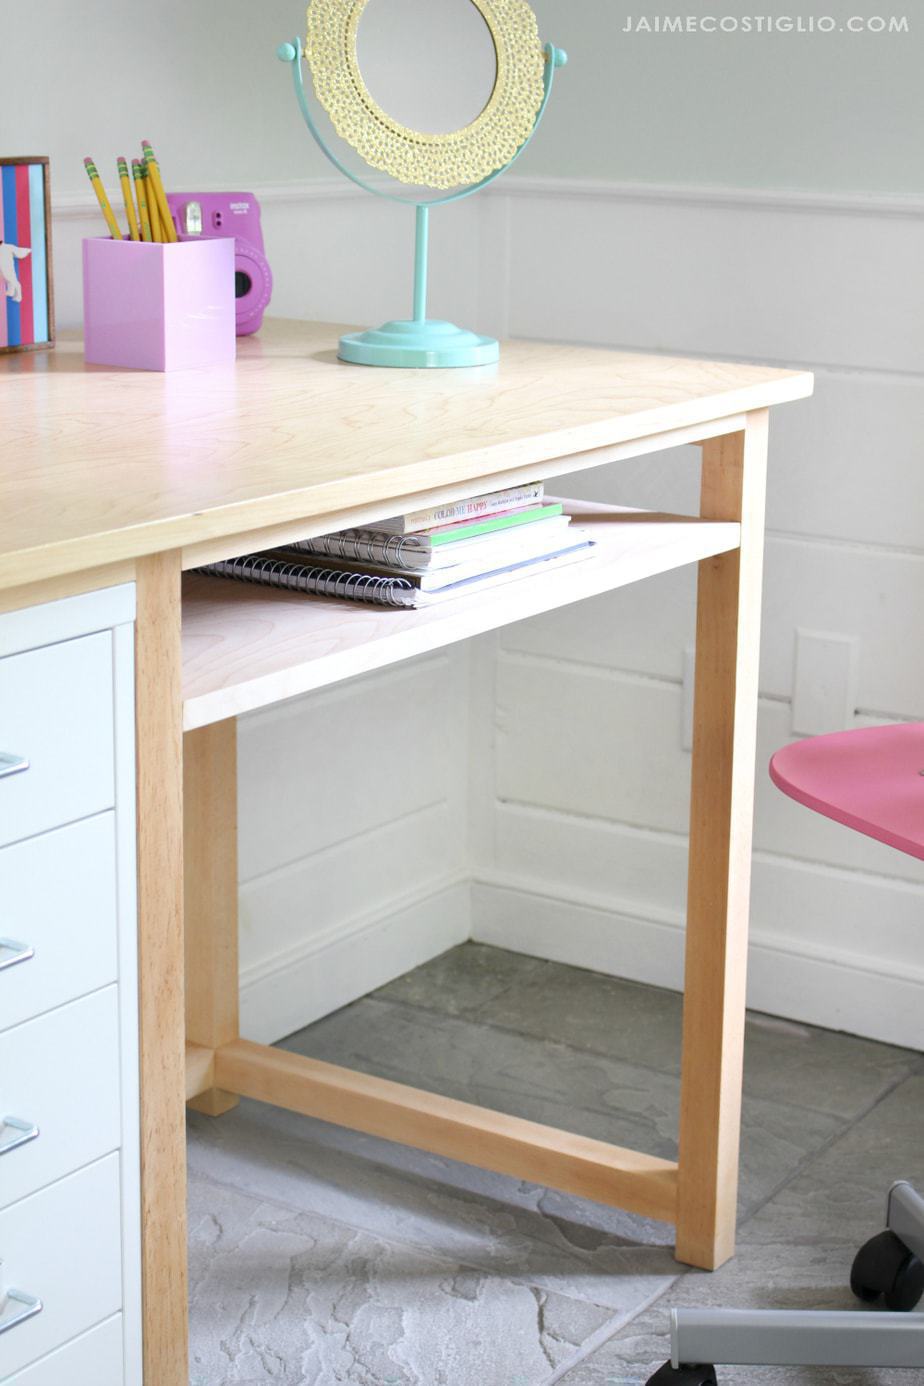
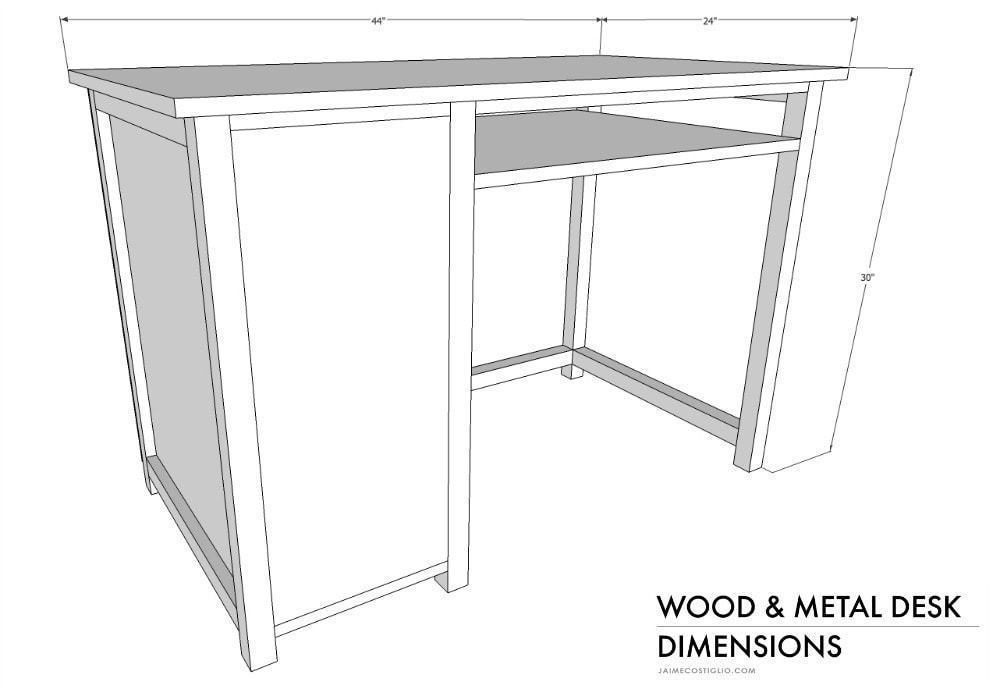
To incorporate the metal drawers I designed this wood desk frame. How about that open shelf ledge? So prefect for papers and notebooks. I am on the hunt for a skinny pencil tray to use in that open shelf area, there’s plenty of space for a tray to slide in and out. Want more DIY desks ideas? Click here.
Below are a few building tips from the construction process. The complete step by step plans can be found here. Be sure to read through entirely before beginning.
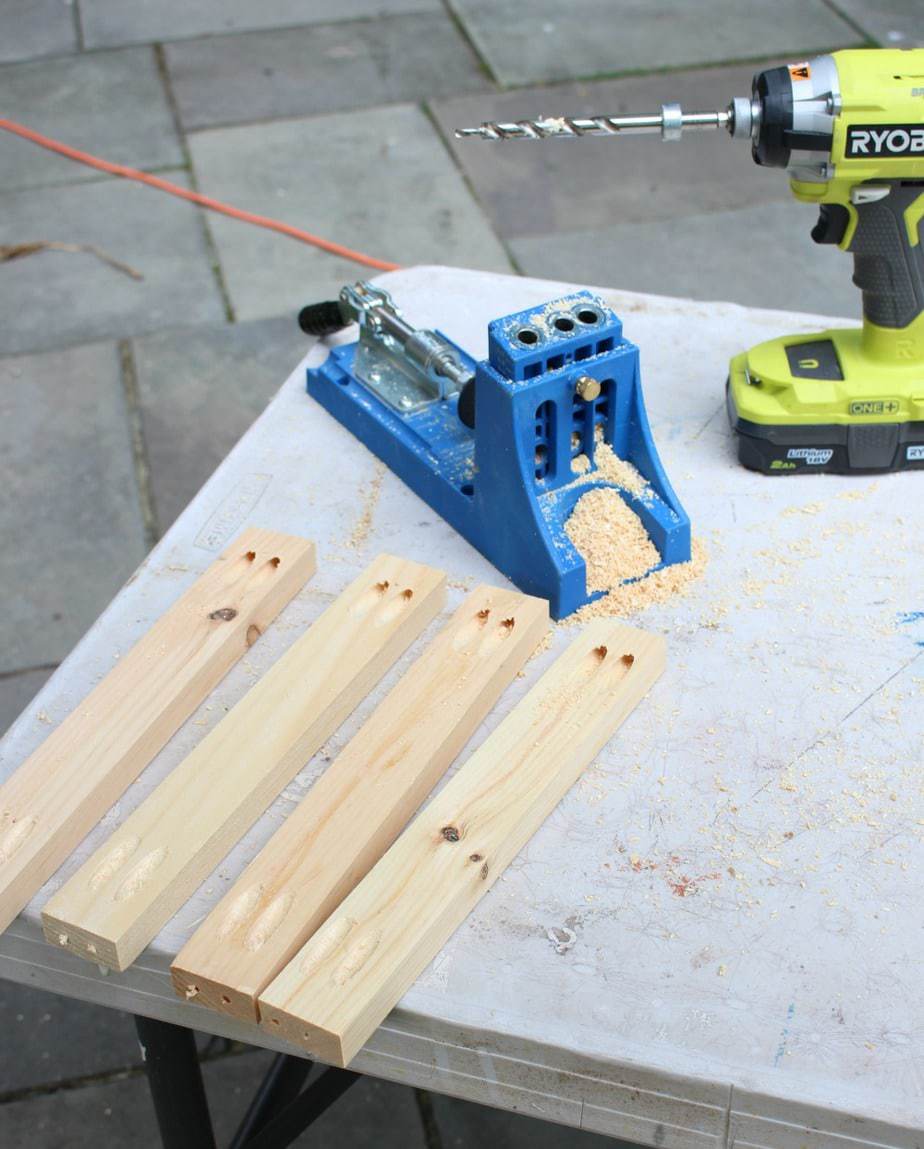
Set your Kreg pocket hole jig for 3/4″ stock and your bit for 1 1/4″ screw depth. I tend to make pocket holes as I move along in the building process in order to be sure where everything will fit and join properly.
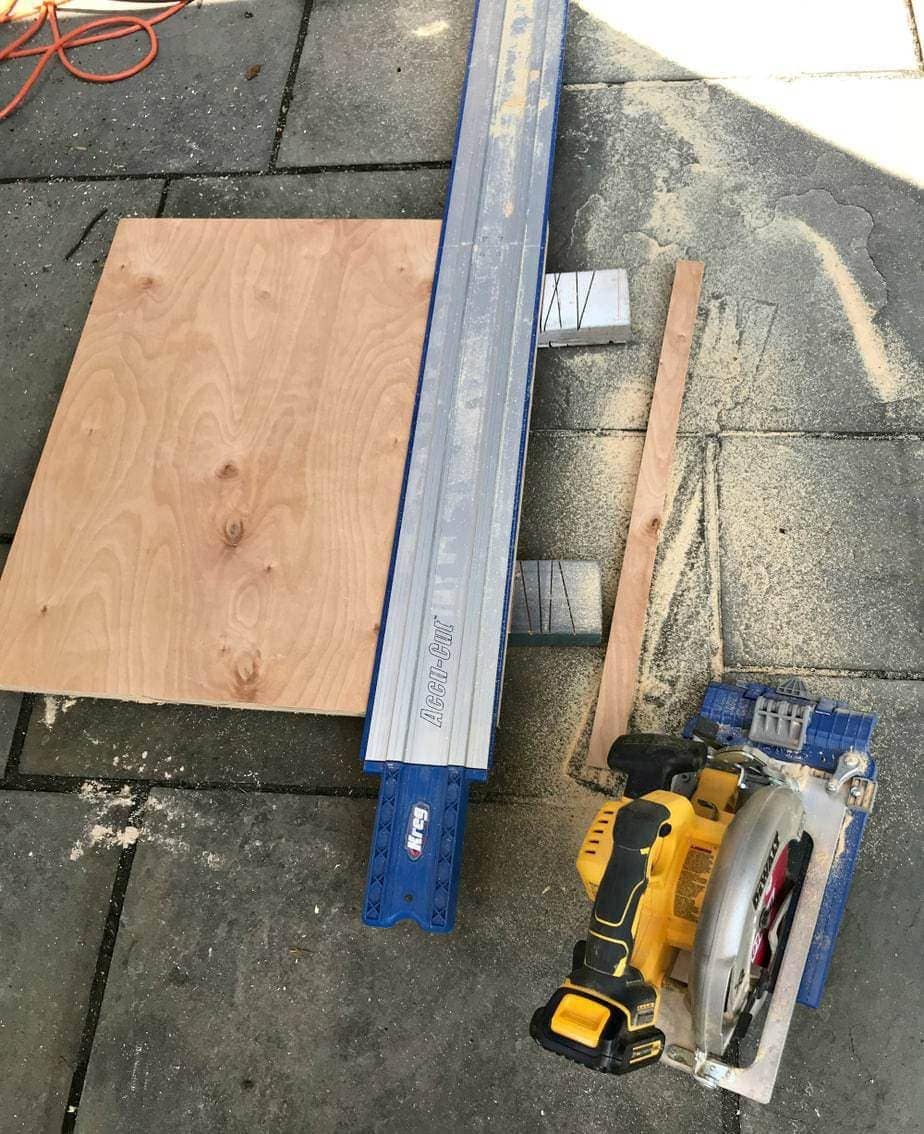
For the plywood pieces I use a Kreg Accu-cut track saw guide jig. It’s extremely user friendly if you don’t have a table saw (or don’t want to haul the table saw outside for just a few cuts). The only limitation is the track only cuts up to 48″ long.
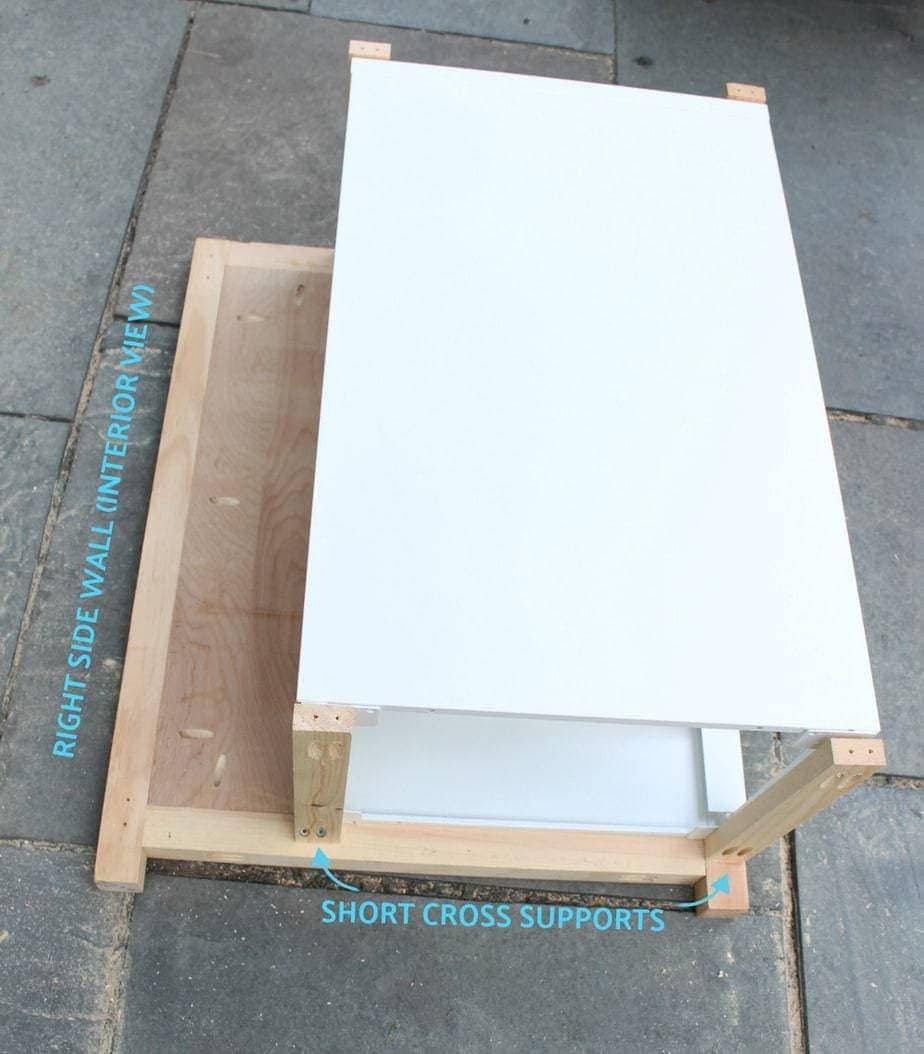
Once the two side wall pieces are assembled it’s time to add the short cross supports. I suggest placing the metal drawer unit in position temporarily to be sure the cross supports match up with the metal unit. Then attach the short cross supports to the interior of one side wall, remove the metal unit and attach the short cross supports to the other wall.
Clearly you can see the metal unit is not as deep as the desk itself so there is a bit of wasted space on the backside. I opted to make this desk top 24″ deep because having a larger work surface is beneficial despite the wasted space behind the drawers.
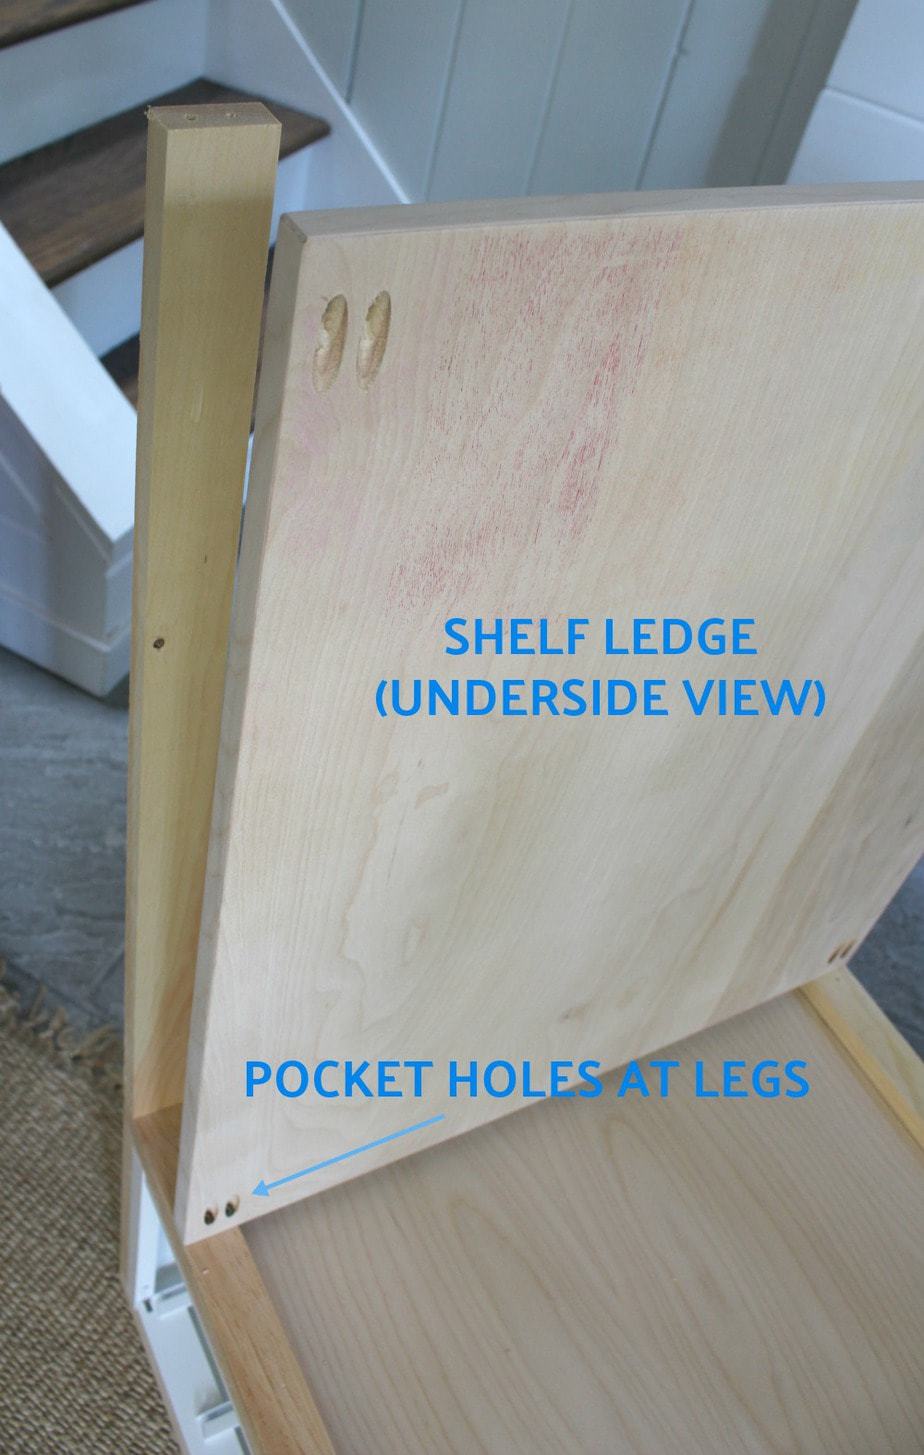
To attach the open shelf ledge to the legs be sure to predrill two pocket holes on the short ends quite near the edge in order to line up with the leg. See the photo above of the underside of the shelf ledge and note the pocket hole placement.
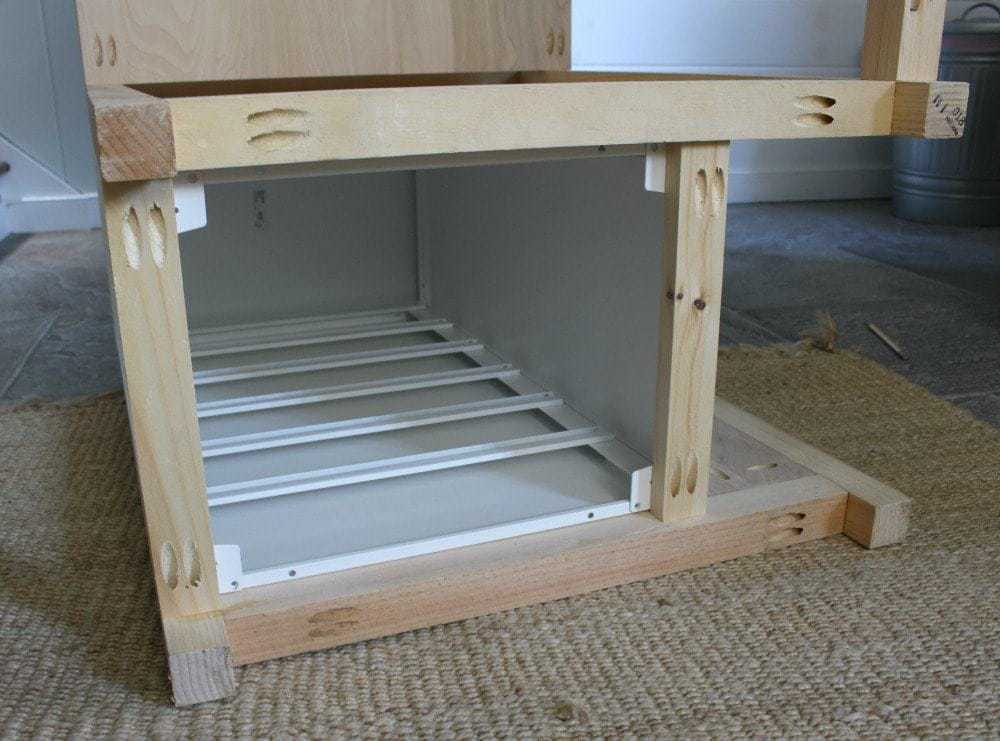
Ahh the beauty of pocket hole construction 🙂
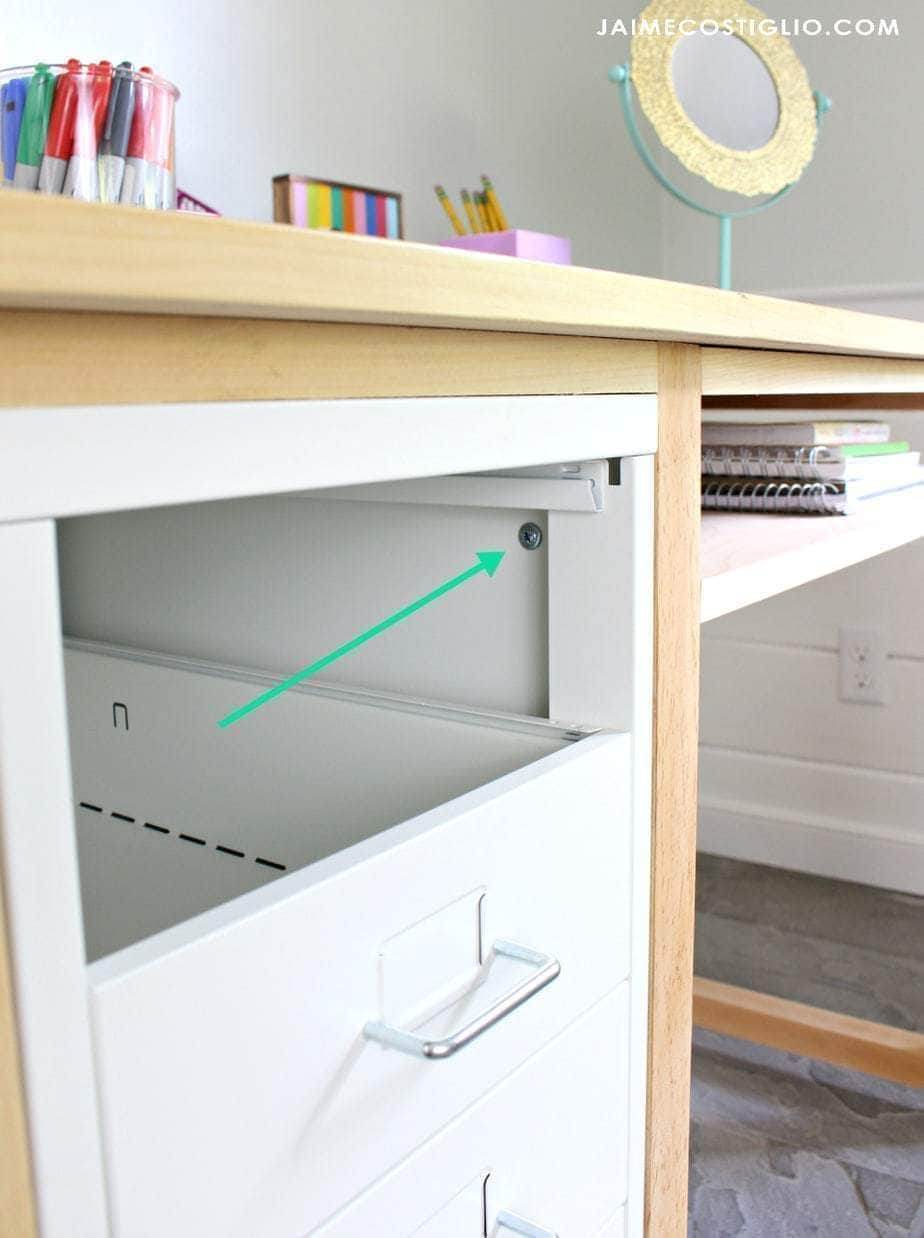
The metal drawer unit is attached to the wood side walls using 1/2″ lath screws in all four corners. Attach the unit before installing the drawers.
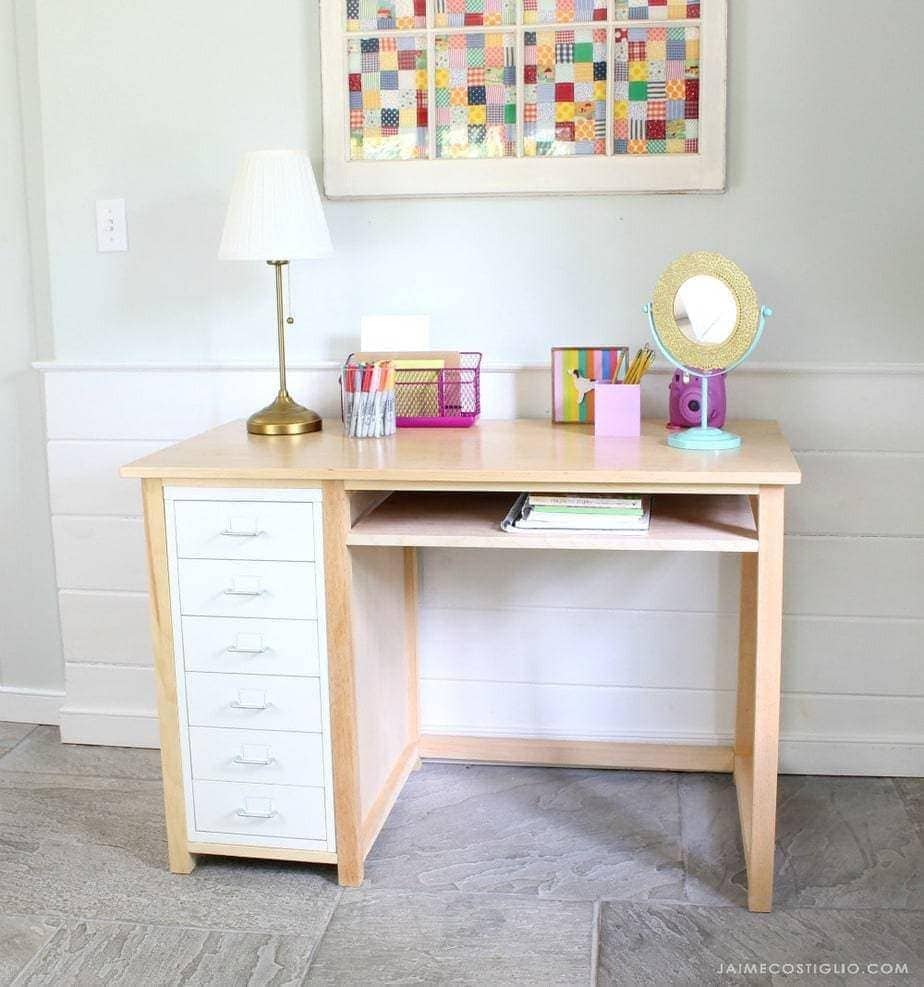
I hope you enjoyed this wood and metal desk project. It’s quite possible I might never build another wood drawer again after having used this fabricated metal unit! You can find the free plans on Build Something here.
SHOP THIS PROJECT:


I love the minimal design of that desk!