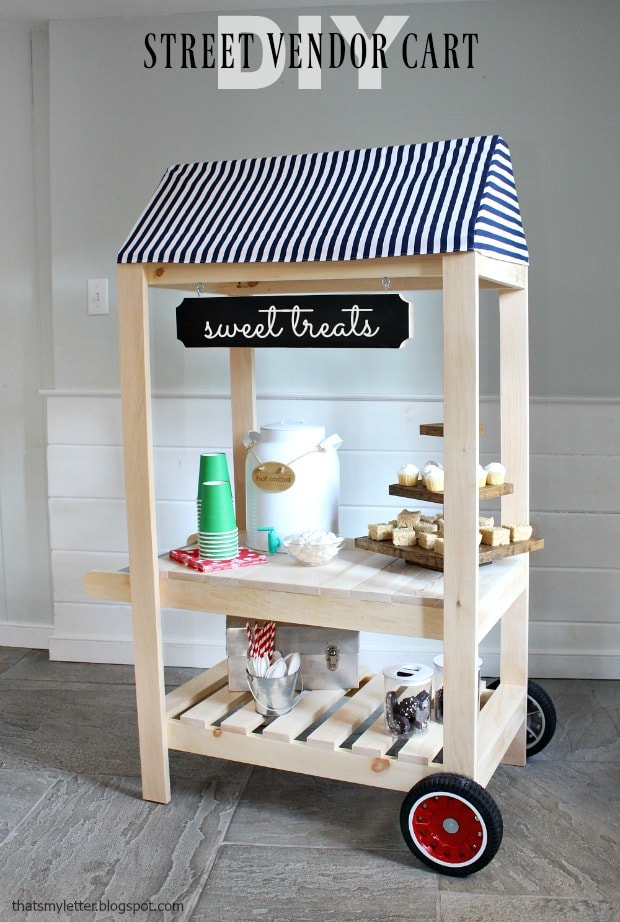
Let’s building something fun and versatile for the kids this week, how about a kids street vendor cart?
A DIY tutorial to build a kids size street vendor cart perfect for pretend play. Free plans include service area with storage shelf, awning and push handle.
It’s Friday and week 6 of the Handbuilt Holiday series with Ana White and myself. Which means we only have 6 weeks left to build all the fun gifts for Christmas!! Hooray!
Today we are sharing plans for a street vendor cart that truly could be anything:
- lemonade stand
- bookmobile
- ice cream stand
- farmers market
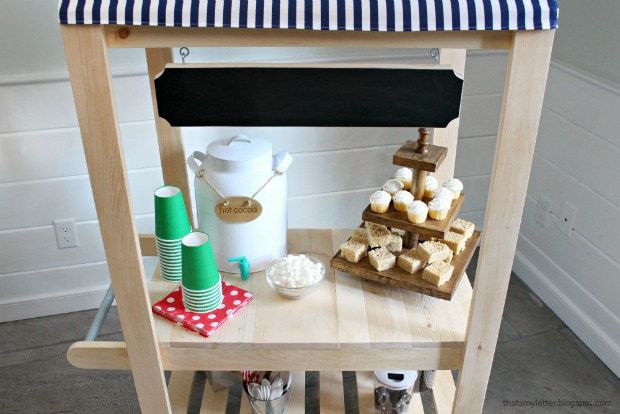
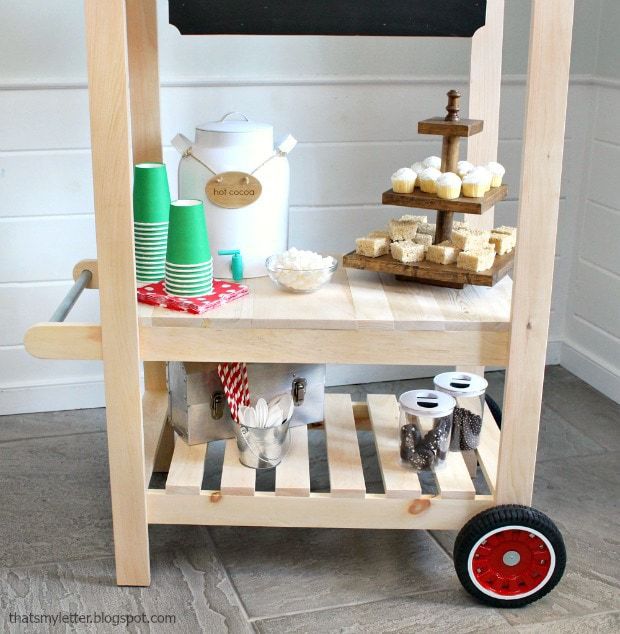
I went with the holiday goodies theme and used the street vendor cart for sweet treats and hot cocoa. The cupcake / dessert stand is a previous Handbuilt Holiday plan here.
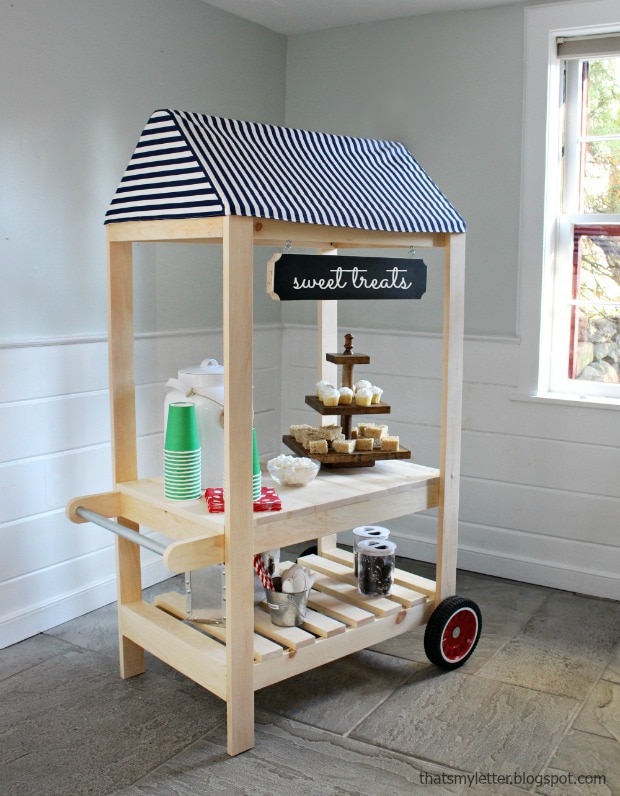
This cart is built almost completely from 1×3 boards which are very easy to handle, cut and assemble. Ana’s plans call for a 3/4″ plywood counter surface but I had a bunch of short scraps on hand so I used various boards for the counter. That’s the joy of DIY – use what you have on hand and build it to fit your needs!
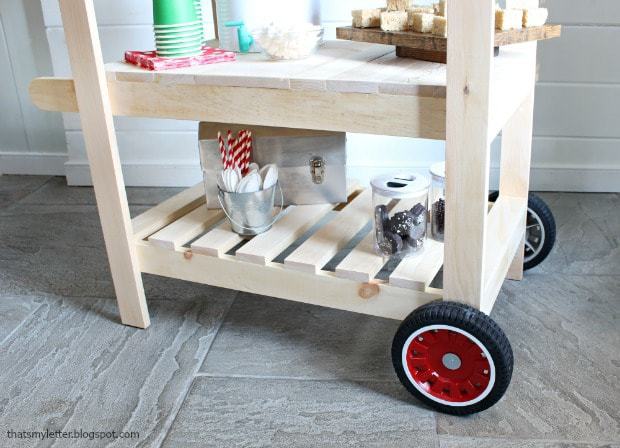
Plenty of space on the bottom shelf for display or storage.
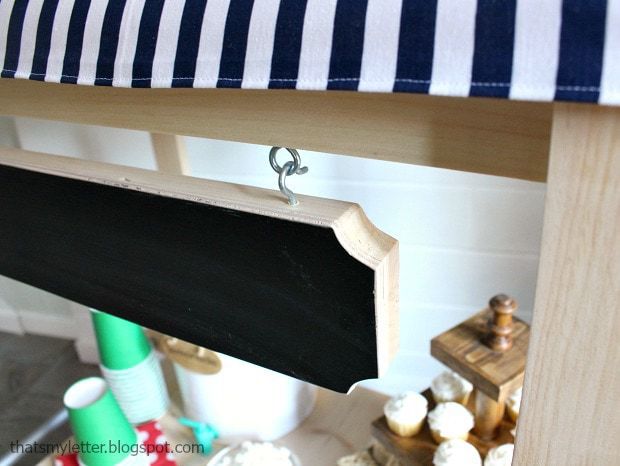
The hanging chalkboard sign is 20″l and I used a 1×2 and a 1×3 attached to a piece of 1/4″ plywood then notched out the corners with a jig saw.
Add chalkboard paint to the front then use eye hooks and screw eyes to make the sign removable.
Ana has the complete plans here. I definitely recommending cutting the boards as you build and have fun!
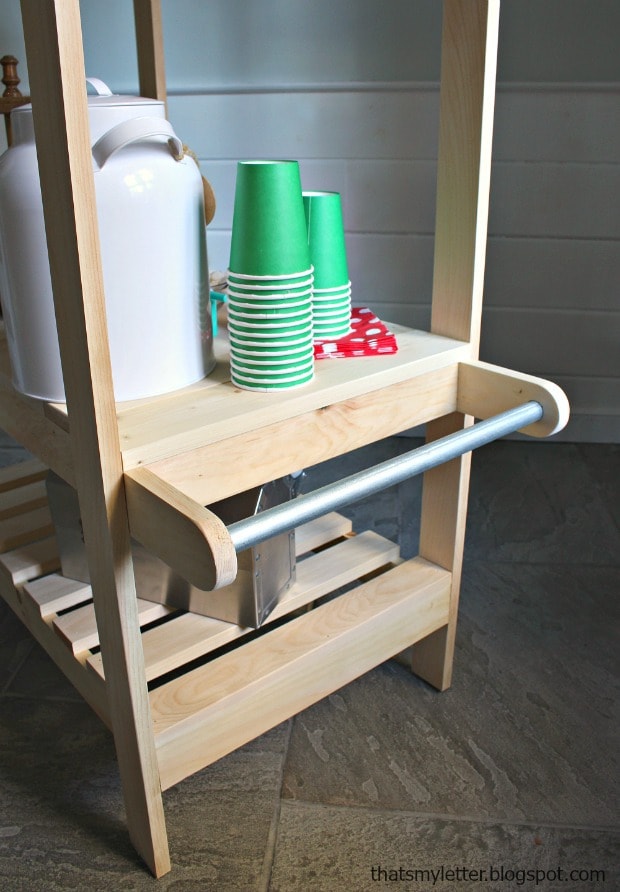
For the handle I opted to use conduit piping. Use a spade bit to drill out a 1/2″ deep well for the pipe to sit inside and then insert the pipe before attaching the longer side pieces to the top shelf frame.
I love the contrast of the shiny metal against the wood and it’s easily wipeable from any sticky kid fingers!
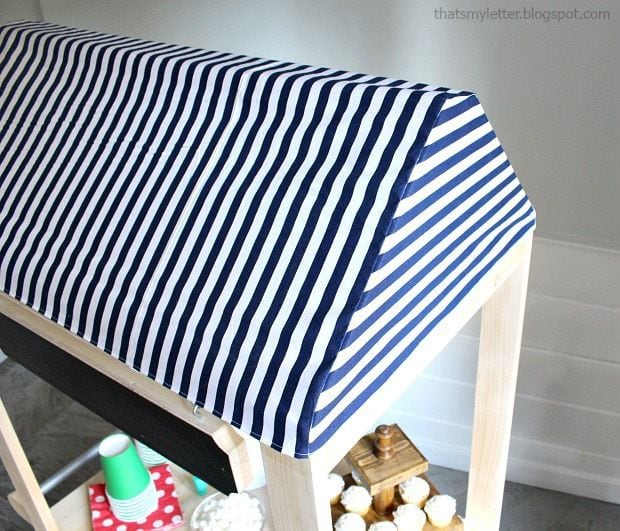
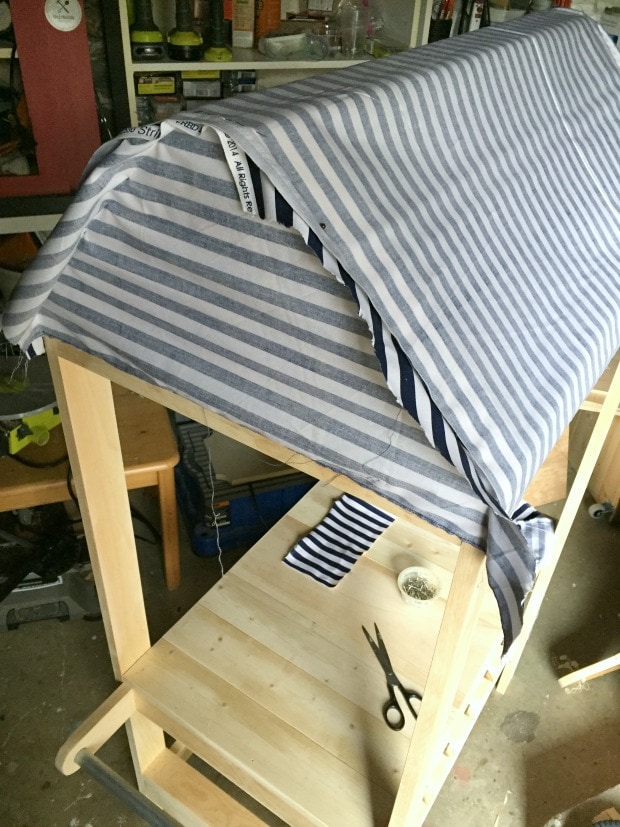
The awning is optional but if you can sew a straight line I guarantee you can make the awning. And if you opt not to sew another option would be to staple the fabric in place directly onto the wood frame.
I used 1 yard of 45″wide cotton fabric. Working just as you would to make a slipcover lay the fabric wrong side up over the roof. Cut 2 triangular pieces for the sides and pin along the edge. I used the stripes to help keep the end pieces straight. Sew the pieces together following the pins. Turn right side out and fold up the bottom edge twice to make a hem.
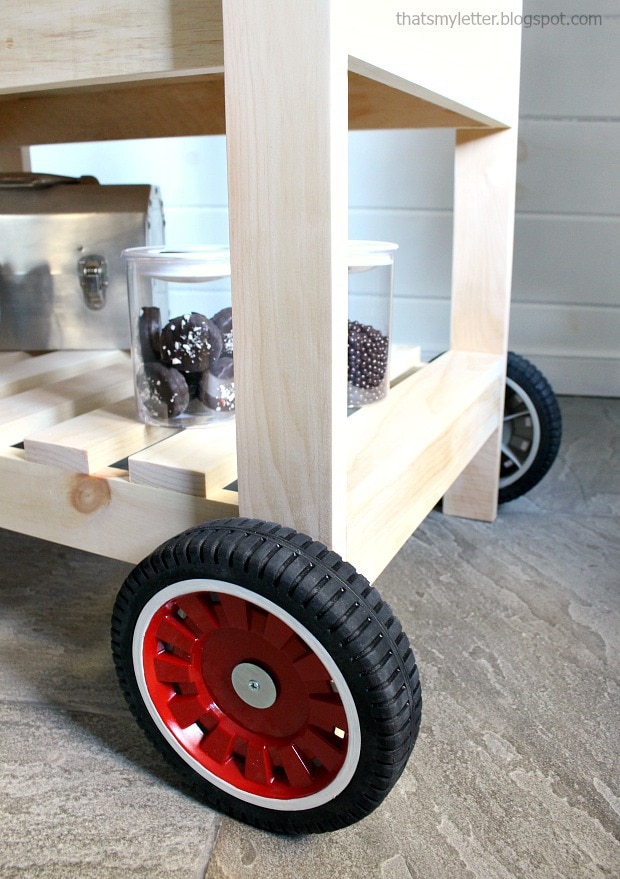
The wheels are purely decorative here but you could make them functional if you placed them a little bit lower – that would tilt your cart so be sure to add a miter cut to the bottom of the back legs.
I hope you enjoyed this project as much as I enjoyed building it. Thank you to Ana for putting together the plans. Be sure to check back every Friday until Christmas when we post a new Handbuilt Holiday gift build project.
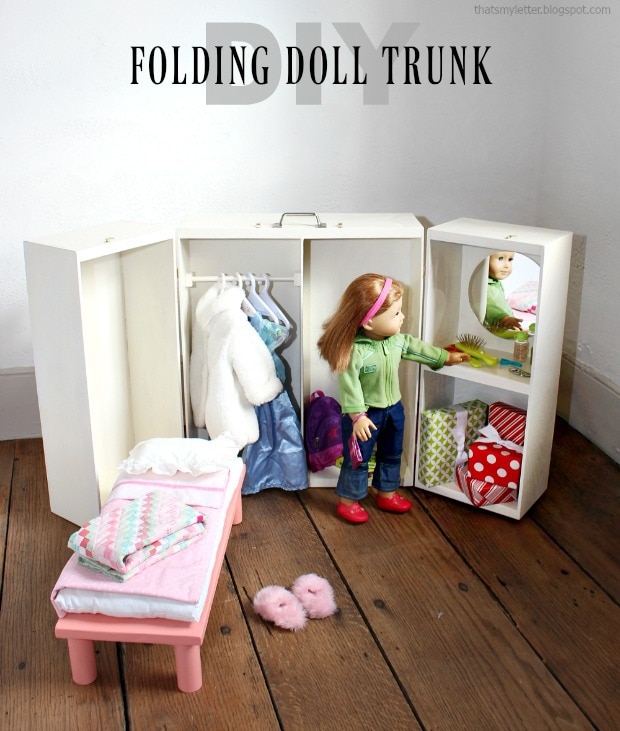
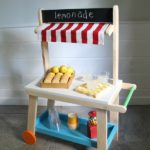
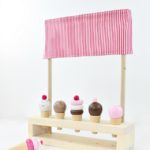
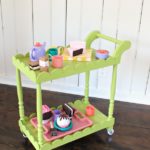
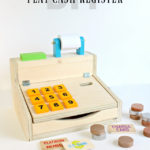
If you missed the previous plans from this year scroll down below and click on the photo to get the plans:

I would love to make this adult size with a 29-30″ top counter height. Is there a way for me to pay you to figure out the cuts of wood and new dimensions needed for that? You inspired me to make one for outside our classroom door for kids and moms to pick up thier name tags only I would need a beadboard cabinet underneath and a 3 sided 4″ collar on the rim of the top surface so name tags would not slide off. Thoughts? Thank you! 🙂
Hi Brooke, that’s a great idea for an adult size. I will send you an email with the custom plans details. Enjoy your weekend!
Hi! Did you end up converting the measurements for an adult size
Cart? I’d love to have a cart like this for my cookie business.
Hi Bethany, I haven’t made plans for an adult size yet. It’s still on my list but it just hasn’t happened yet. Someday.
Can you send me the plans as well?
Where did you find your wheels and how did you attach them? It’s the only part I am missing! Thank you!
Hi Laura, the wheels are lawn mower replacement wheels: https://www.homedepot.com/p/Power-Care-8-in-Universal-Wheel-490-322-H011/202251534 I attached them with a screw and washer, they are purely decorative in my case but you could make them functional using a connecting bolt and nut similar to the wheels here: https://jaimecostiglio.com/2017/11/diy-art-trundle-cart.html
Hi Jaime,
I was also wondering if I could buy plans for 30” height cart? My 8 year old has developmental delays and loves to play with pretend kitchens/ houses. The problem is they are all made for 2 year old height. I would love it if my husband could build this for her for Christmas. She would be over the moon to be able to stand up while playing pretend.
Best,
Brittaney
Hi Brittany, Yes I would be happy to modify these plans for 30″ height. My schedule is extremely full at the moment so it won’t be until February. In the meanwhile if you’re trying to get something built for Christmas maybe use an existing bar cart plan? Or shorten a rolling kitchen island plan? I will let you know when the modified height plans are up. Enjoy your holidays!
Hi
How can I print the plans for the lemonade cart?
Can you email them to me?
Thank you. Ruth
Hi Ruth, the plans are on Ana’s site in the link above. From there you can print as you like. Good luck!
Can you tell me the font you used for sweet treats? I love it! The cart is adorable!!!!!
Hi Mary, The font on the sign is called Sacramento. Thanks for your nice comments!