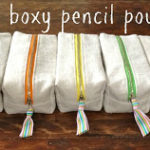
Sew: zippered chalk pouch
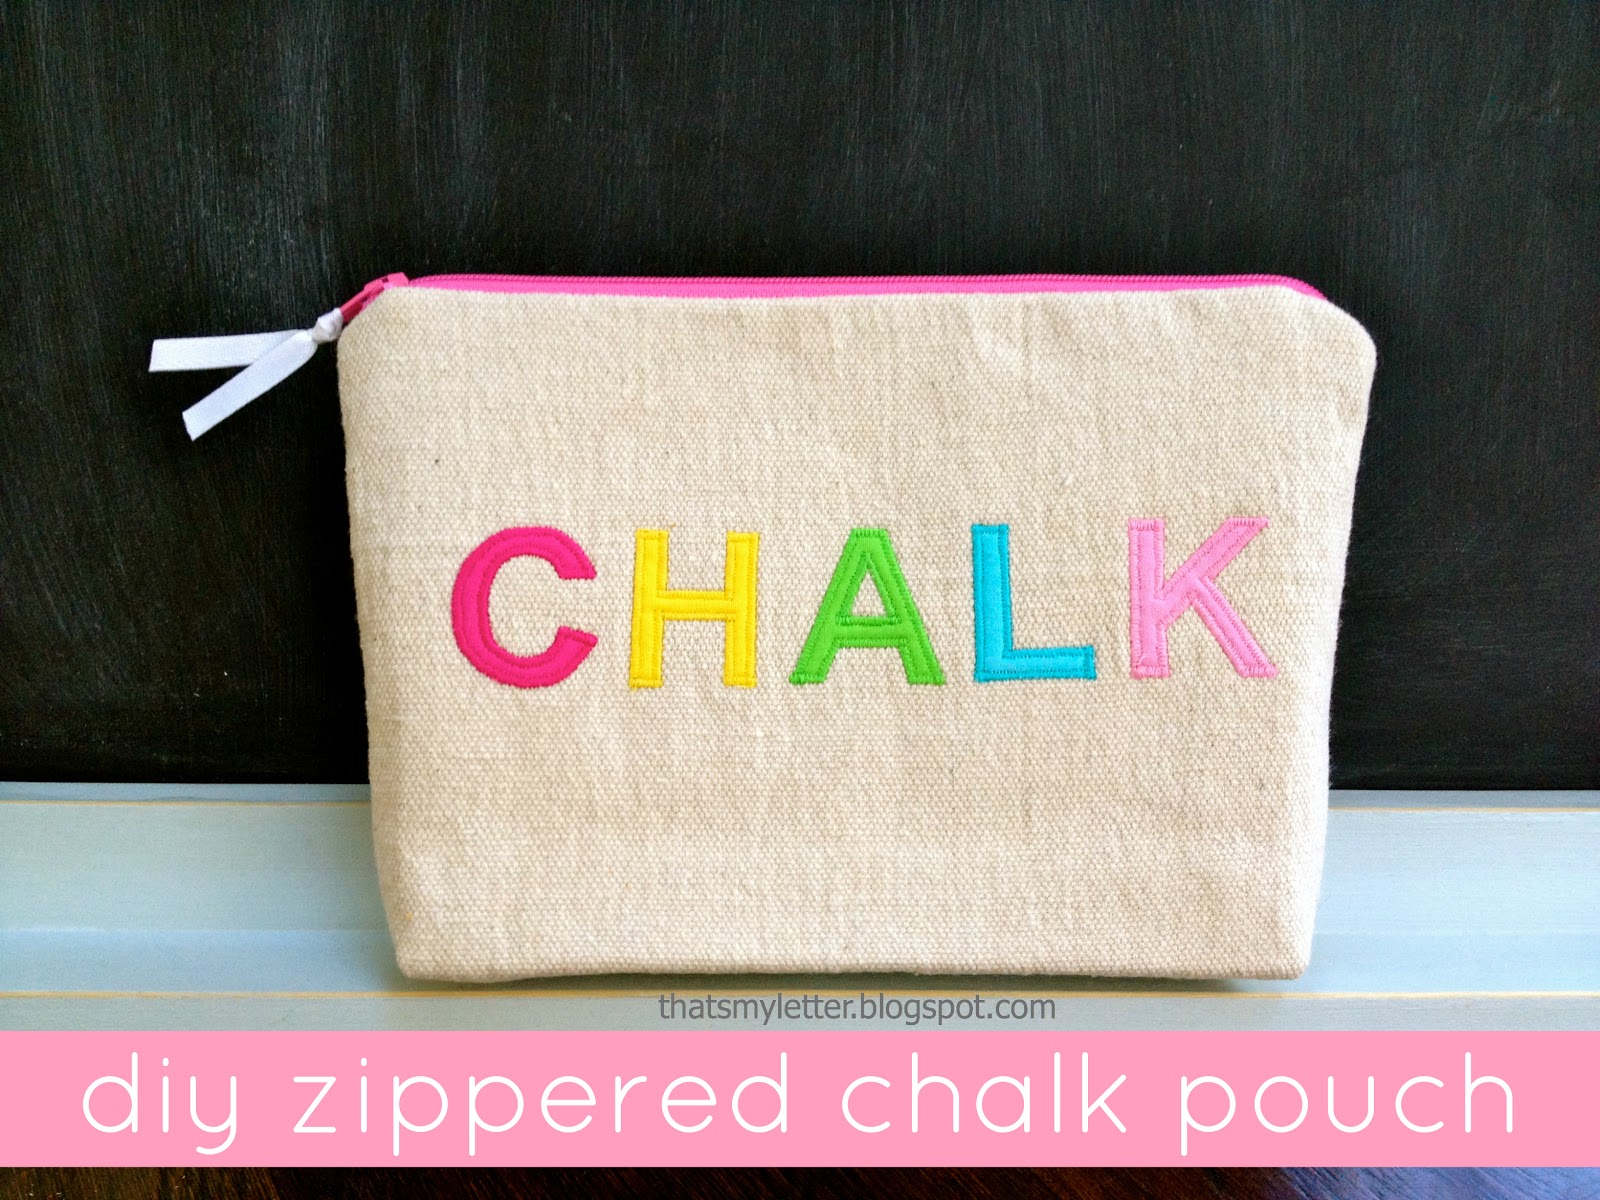
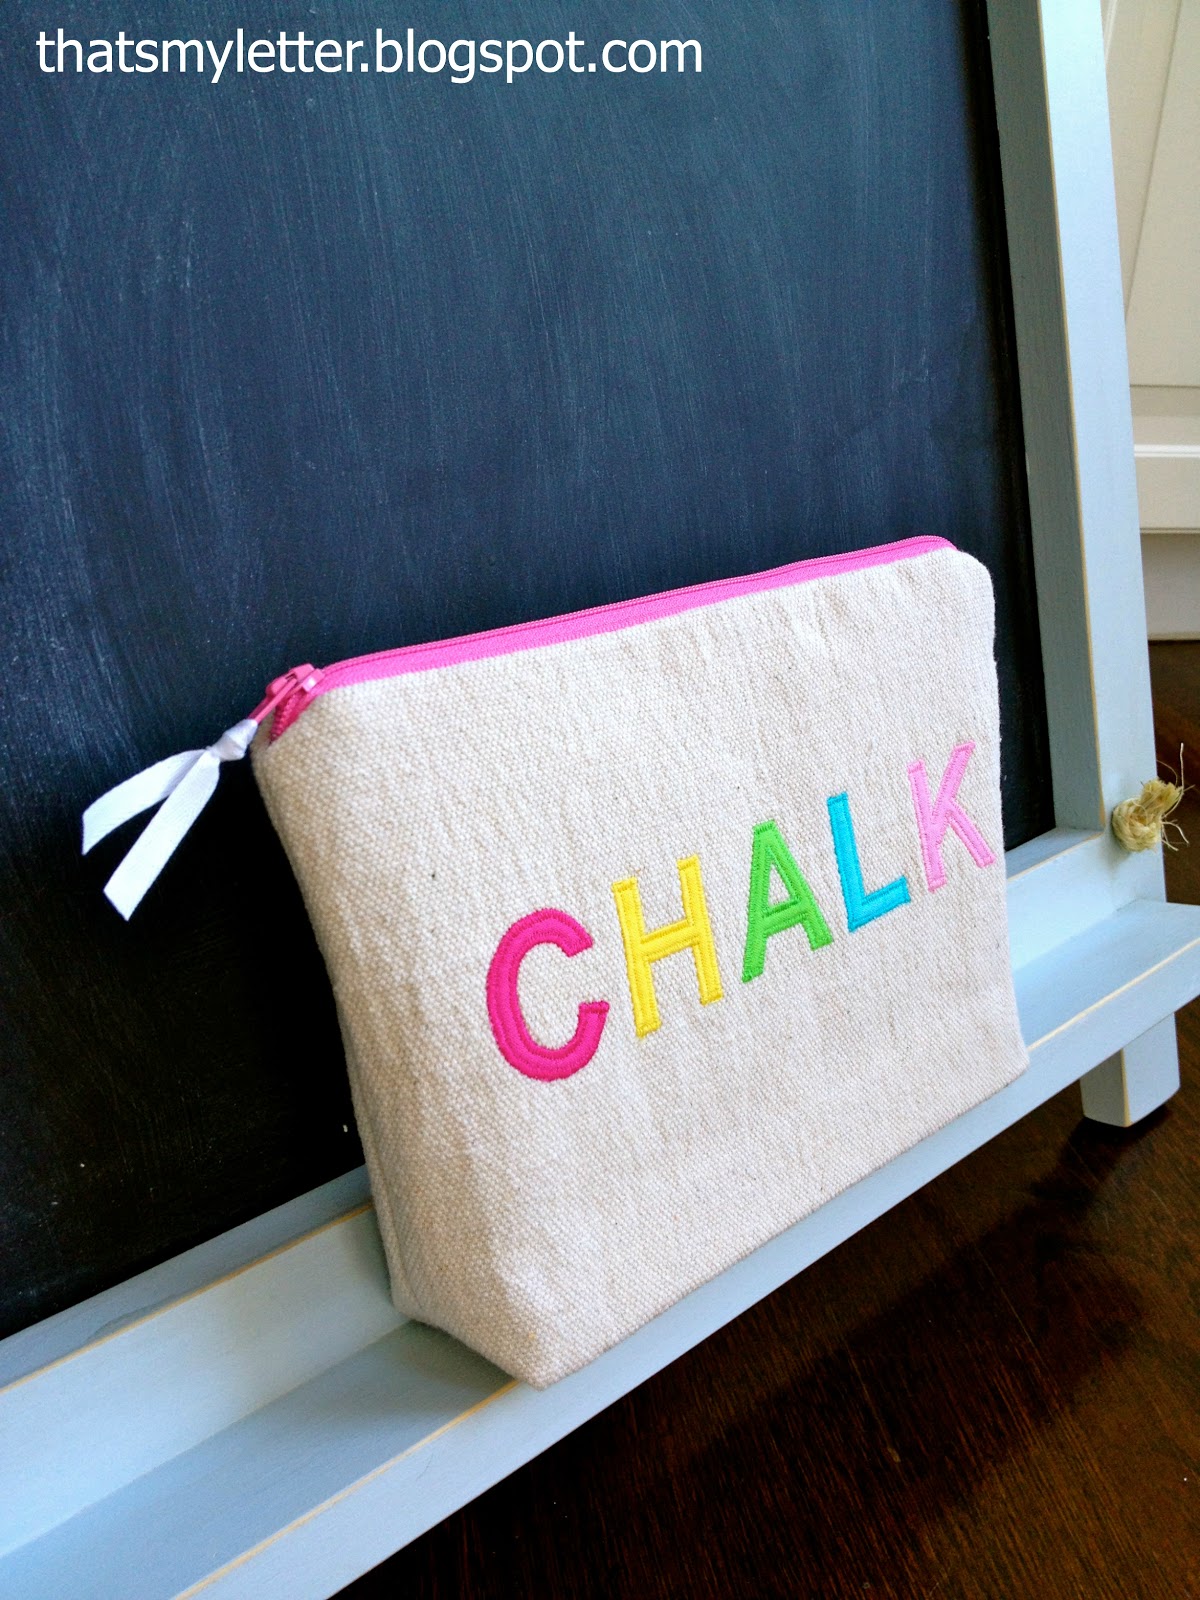
Make a drop cloth canvas zippered pouch with CHALK sewn on front in fun colors.
A great accessory for kids to store their chalk:
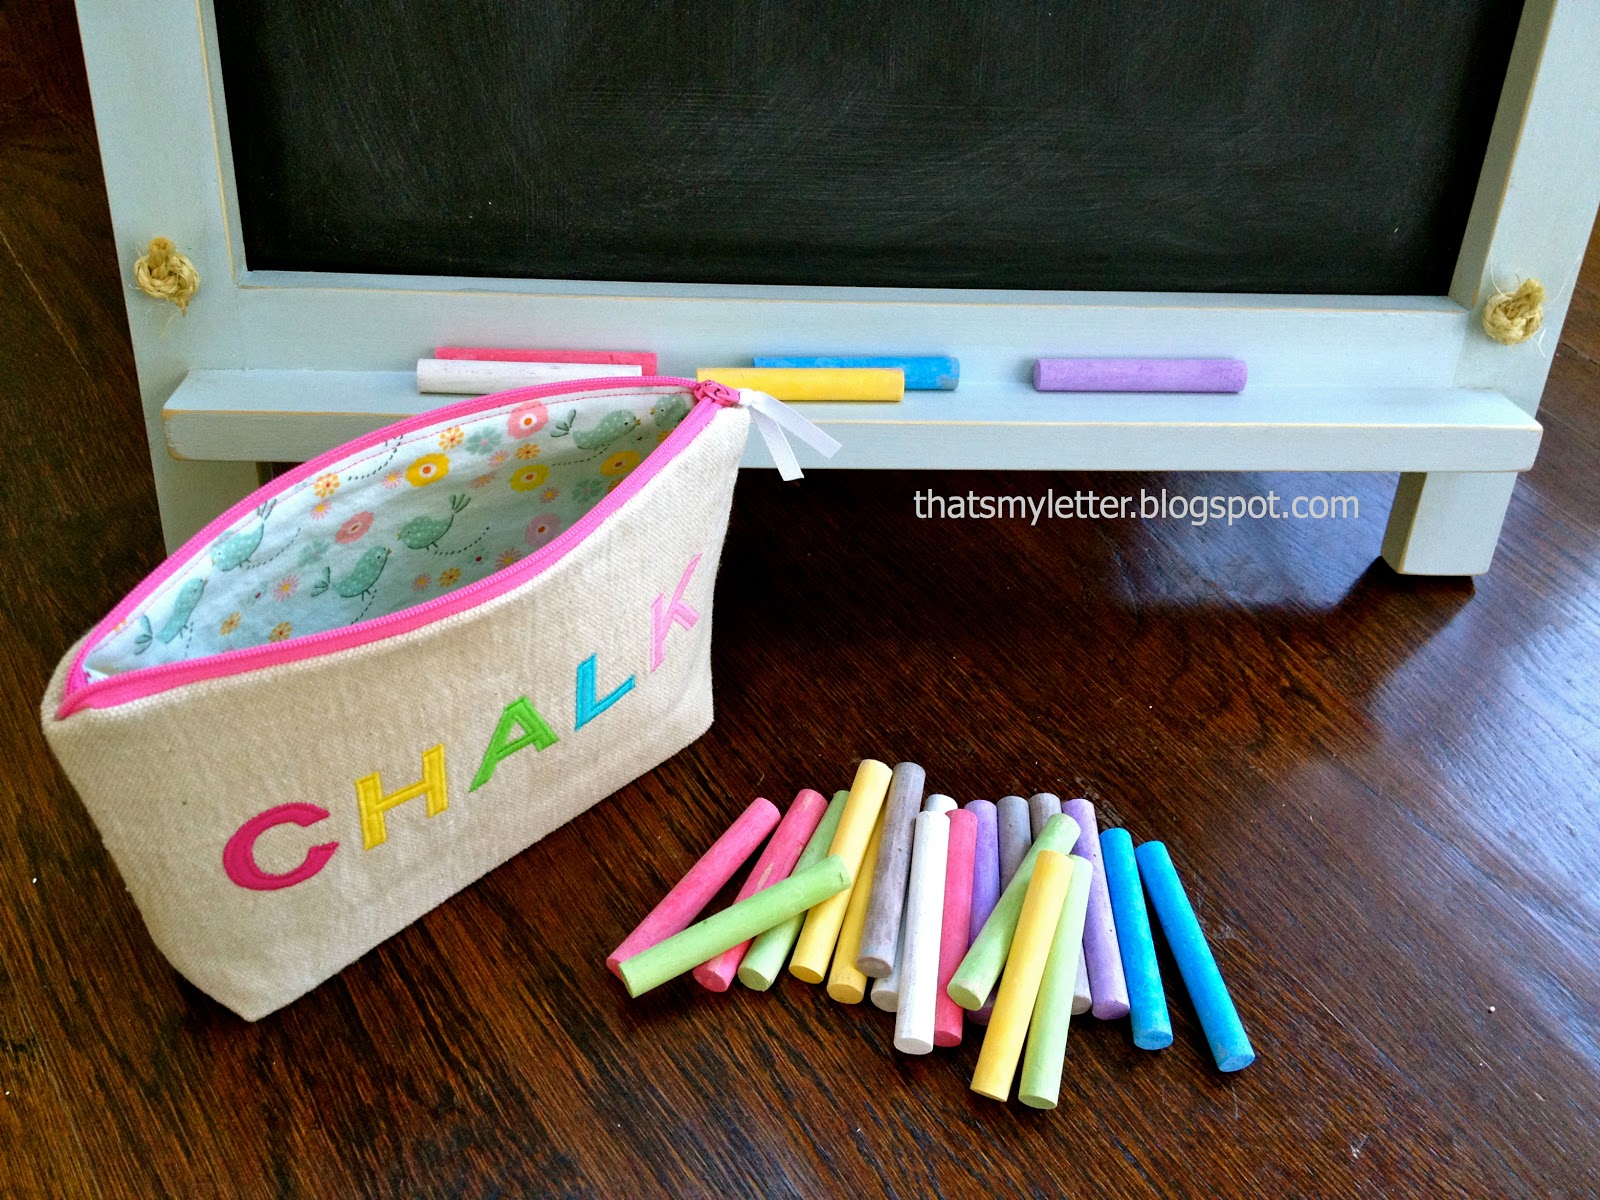
I took a pack of colored chalk, wrapped it up and put it inside the pouch:

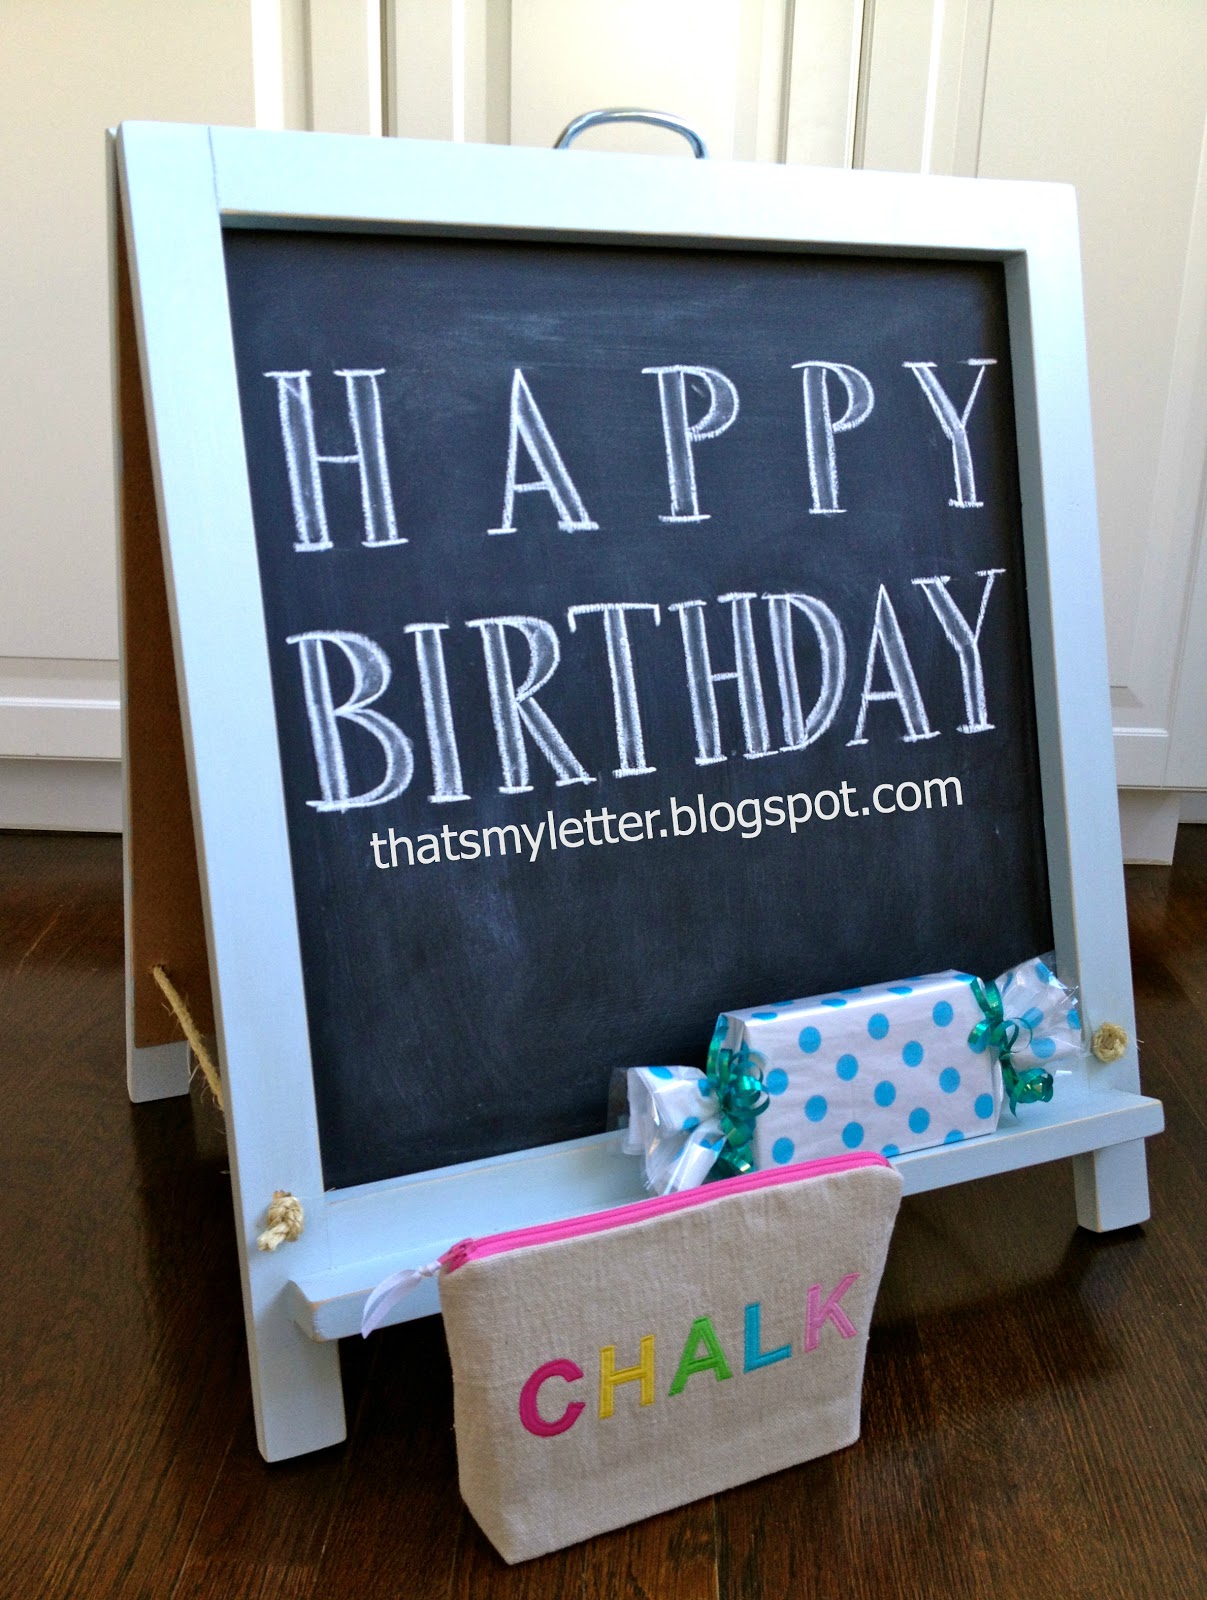
And now, along with the folding chalkboard easel I made last week, we have a great kids birthday gift:


The pouch is completely washable too!
Here’s how to make the chalk pouch:
1. Cut fabrics:
1 – drop cloth exterior 9″ x 14″
1 – cotton lining 9″ x 14″
1 – med. weight fusible interfacing 9″ x 14″
1 – 8″ zipper
fabric letters (see how to make those here), use double sided fusible on back

2. Apply interfacing to drop cloth.
Arrange fabric letters and iron in place:

3. Zig zag around letters.
4. Sew in zipper.
Place zipper face down on one end of drop cloth then place lining face down on top and using a zipper foot stitch.
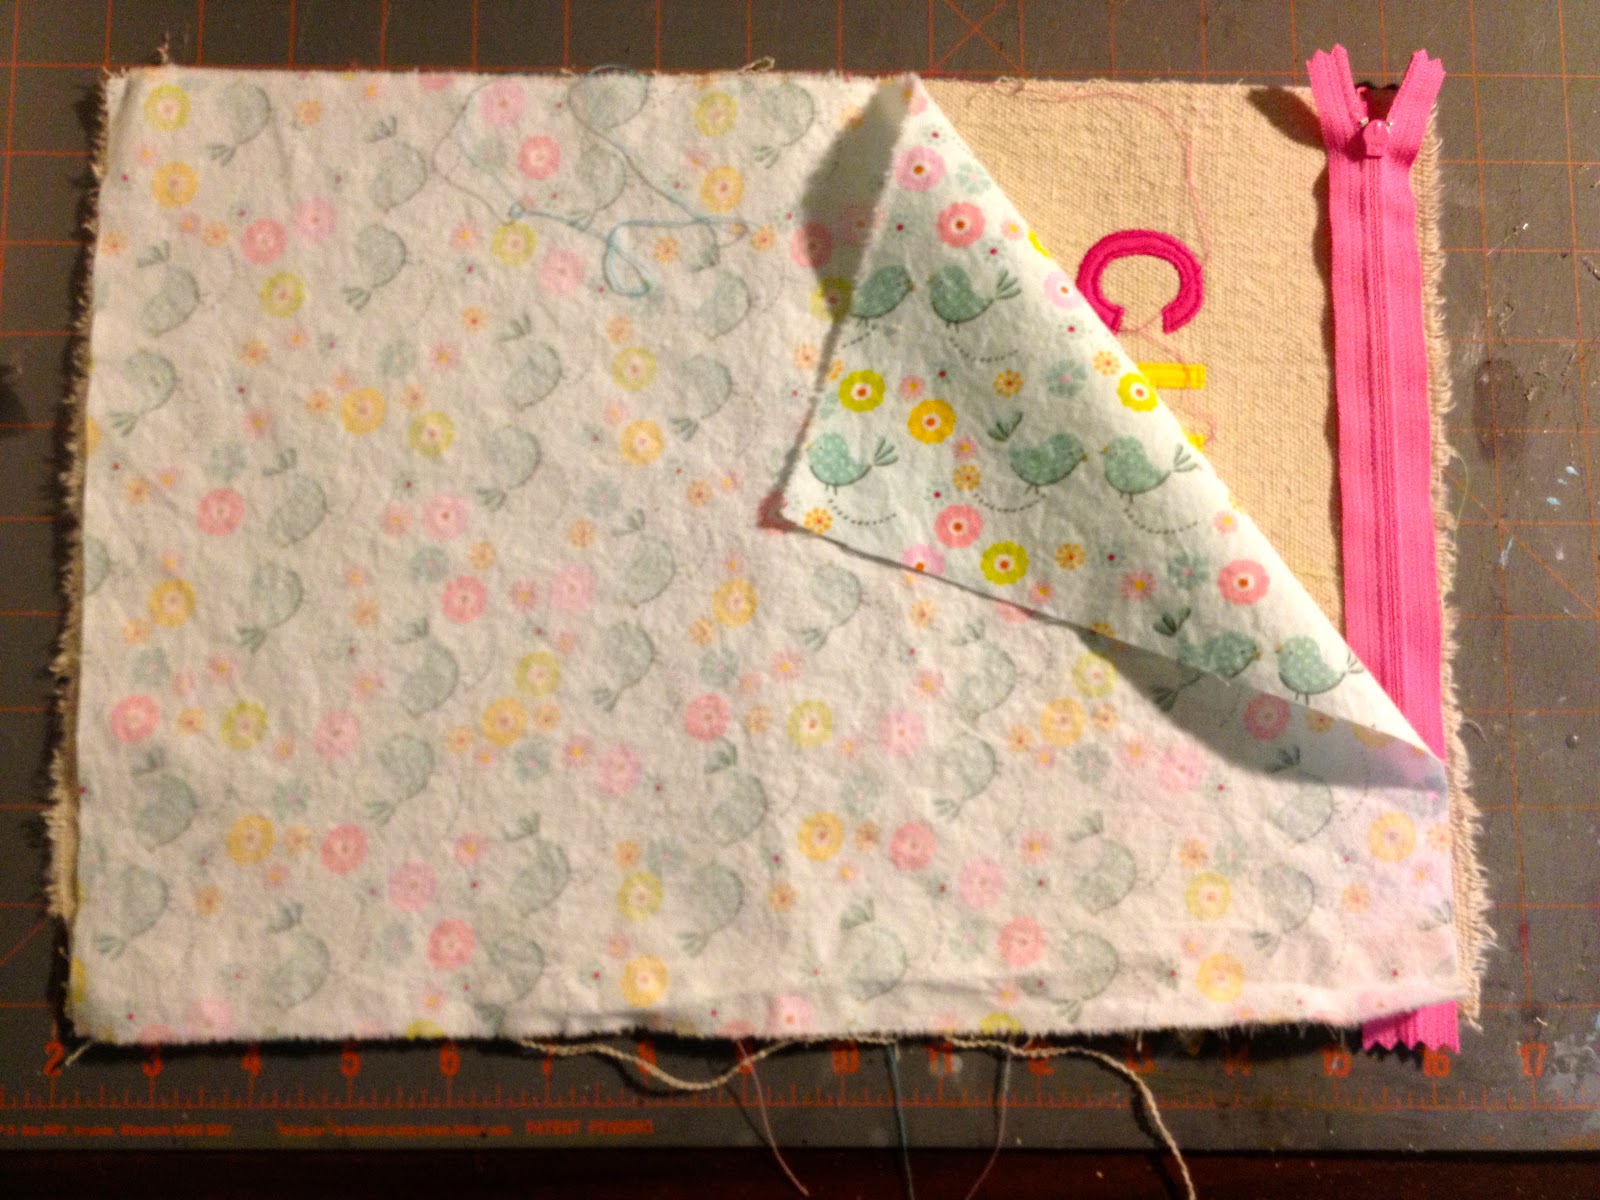
5. Open lining and top stitch:

6. Repeat for other end of drop cloth and other side of zipper.
7. Sew side seams, be sure to leave a 4″ opening in one side of lining.
Miter four corners:

8. Clip miters and turn right side out through opening in lining.
Push lining down into pouch and press. Add grosgrain ribbon to zipper pull.

I’m linking up to:
SAS @ Funky Junk
Nifty Thrifty Sunday @ Nifty Thrifty Things
That DIY Showoff @ The DIY Showoff
Tutorials & Tips Tuesday @ Home Stories A to Z
Strut Your Stuff @ Somewhat Simple
Share Awesomeness Thur @ The 36th Avenue
Pretty Things Thursday @ Scissors & Spatulas
Flaunt it Friday @ Chic on a Shoestring
Frugal Friday @ The Shabby Nest
Furniture Feature Friday @ Miss Mustard Seed
SAS @ Just a Girl
Remodelaholics Anonymous @ Remodelaholic
inspiration board @ Carolyns Homework
Sunday Showcase Party @ Under the Table & Dreaming
Weekend Bloggy Reading @ Serenity Now


What a cute idea! I love the bag. Thanks for sharing this tutorial. megan
Absolutely adorable…love it…great idea…pls come over for a visit…have a great night, Mariaelena
Such a great gift, even for an adult!
How adorable, and practical too!!! Love the little bag, very cute!!!!
Hi! This is so cute! I'm so confused, on the part that says, "repeat for the other side," I can't for the life of me figure out how to sew the other side of the zipper on without creating a cylinder that is inaccessible for sewing. I've done this with two exterior pieces and two linings, but never with one. How do you sew on the second side without cutting the single piece into two? I hope I'm just crazy because to have a way to do this with just single pieces would be glorious. Thanks!