• Home
  • Blog
  • About
  • Contact
    • Disclosure
    • Privacy Policy
  • SHOP
  • Widget area for main menu

    • Email
    • Facebook
    • Instagram
    • Pinterest
    • Twitter
    • YouTube
  • Skip to primary navigation
  • Skip to main content
  • Skip to primary sidebar

Jaime Costiglio

build - paint - sew

  • BUILD
    • BEDS
    • BENCHES
    • DESKS
    • DRESSERS
    • GAMES & TOYS
    • SCRAP WOOD
    • SHELVES
    • STORAGE
    • TABLES
  • TOOLS
  • PAINT
    • CRAFTS
    • FURNITURE
    • HOME DECOR
  • SEW
    • GIFTS
    • HOME DECOR
    • POUCHES
  • HANDBUILT HOLIDAY
    • 2021
    • 2019
    • 2018
    • 2017
    • 2016
    • 2015
    • 2014
    • 2013
  • GIFTS
    • BABIES
    • KIDS
    • FOR HER
    • FOR HIM
    • TEACHERS
    • WEDDINGS
  • SEASONAL
    • 4TH OF JULY
    • FALL
    • HALLOWEEN
    • CHRISTMAS
    • SUMMER
    • SPRING
    • ST. PATRICK’S DAY
    • THANKSGIVING
    • VALENTINE’S DAY
    • WINTER
  • SALTBOX PROJECT
    • BATHROOMS
    • DINING ROOM
    • EXTERIOR
    • FAMILY ROOM
    • FOYER / MUDROOM
    • KIDS BEDROOMS
    • KITCHEN
    • LIVING ROOM
    • MASTER BEDROOM
    • PLAYROOM
  • SCROLL SAW

“B” is for Burlap Bunting #2

July 1, 2013

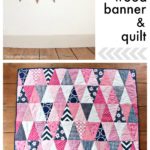
Sew: primary burlap bunting
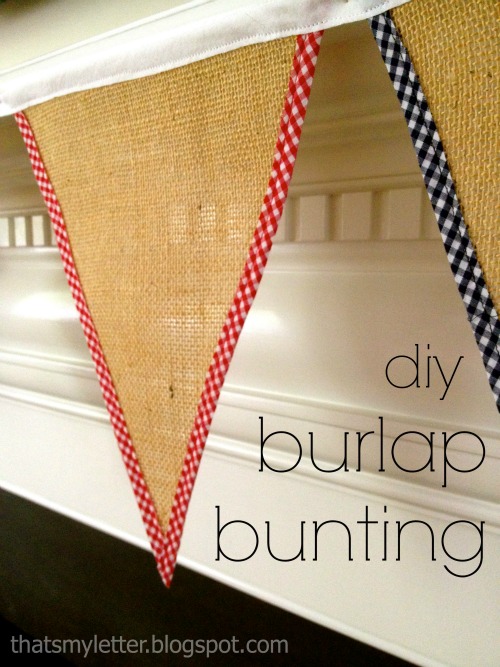
A simple sewing project that can be tailored to fit any color scheme.


 Using burlap scraps and primary colored gingham cut on the bias this bunting comes together very quickly.
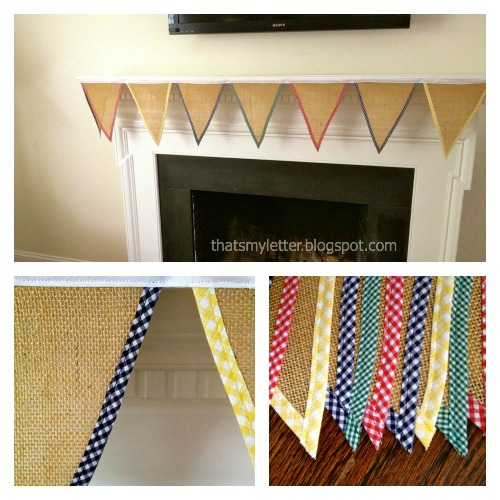
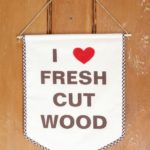
 A special request from a repeat customer who wanted to coordinate the bunting with her son’s other birthday decorations.
She also asked for larger triangles, each measuring 12″tall x 10″wide at top, with 14 triangles total.
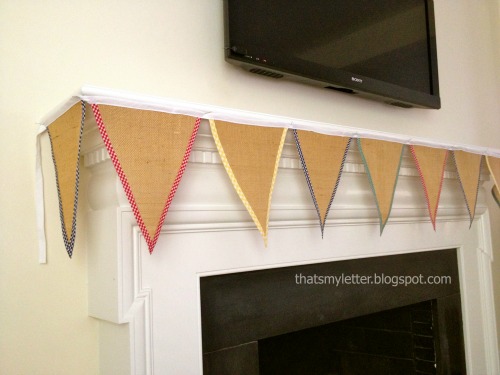
How to make gingham trimmed burlap bunting:
1. Supplies:
14 burlap triangles – 12″long x 10″w
28 bias cut gingham strips – 1″ w x 15″l
white cotton bias strip – 1″w x 5 yds.
 2. Press each bias strip in half creating a channel for the edge of the burlap to rest:
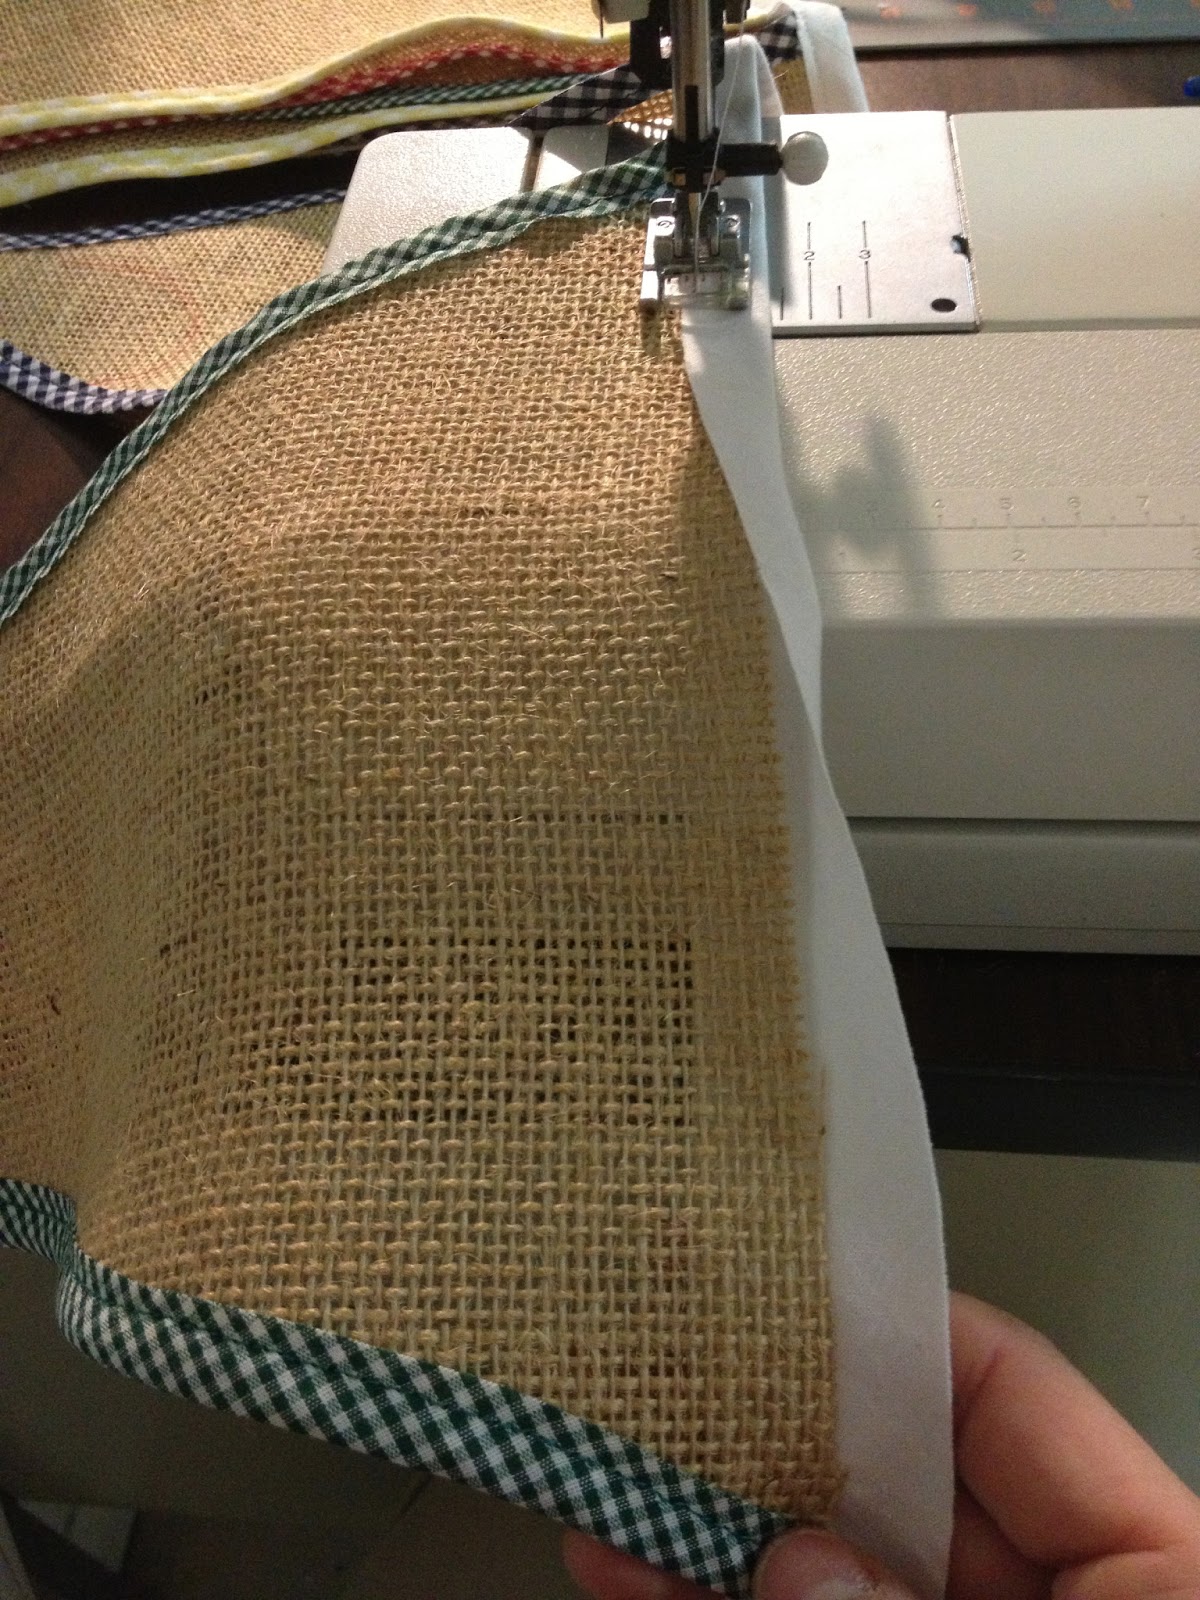
3. Place burlap in channel and straight stitch shut:

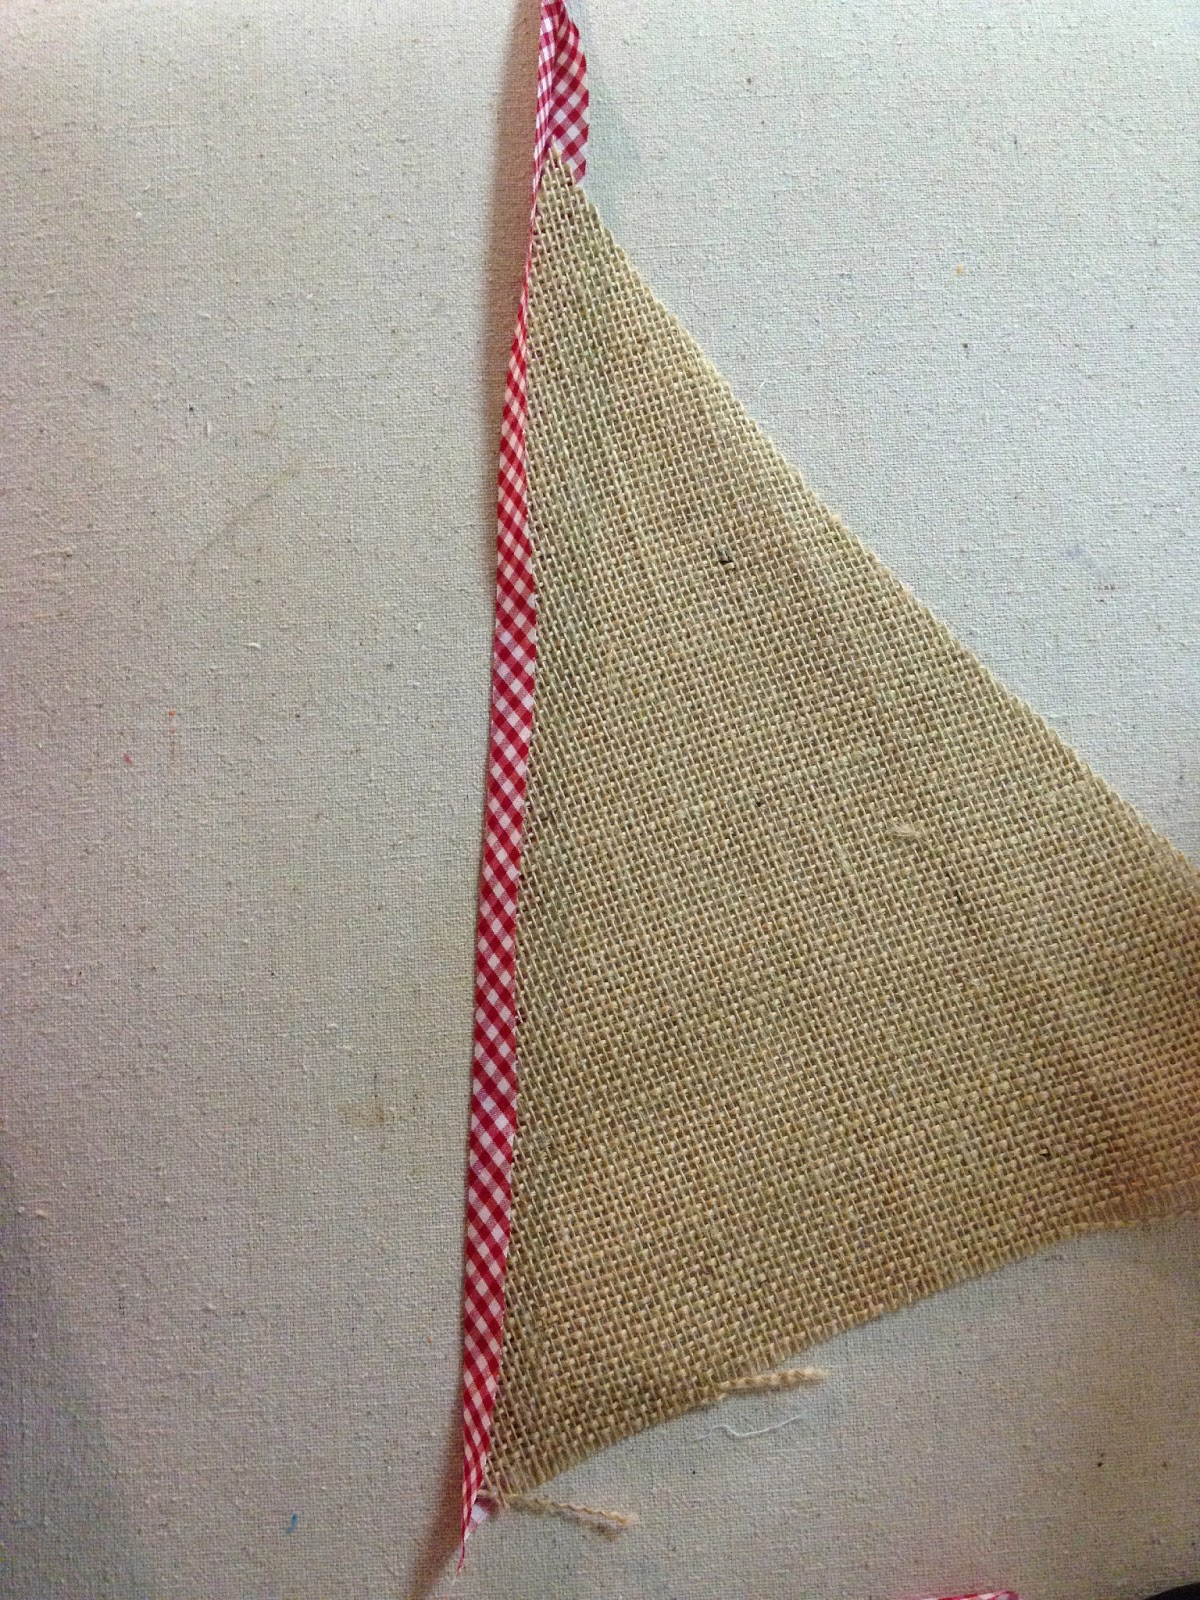
4. Trim ends flush with burlap then repeat for other side and trim.
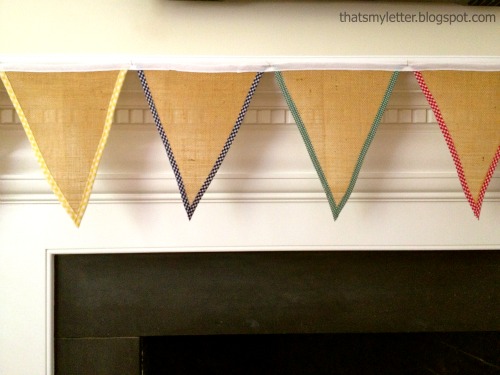
5. Add top white hanging strip in same manner, leave about 2″ between triangles:

I’m linking up to:
SAS @ Funky Junk
Nifty Thrifty Sunday @ Nifty Thrifty Things
That DIY Showoff @ The DIY Showoff
Tutorials & Tips Tuesday @ Home Stories A to Z
The Scoop @ Lolly Jane
Strut Your Stuff @ Somewhat Simple
Transformation Thursday @ The Shabby Creek Cottage
Share Awesomeness Thur @ The 36th Avenue
Pretty Things Thursday @ Scissors & Spatulas
Flaunt it Friday @ Chic on a Shoestring
Frugal Friday @ The Shabby Nest
Furniture Feature Friday @ Miss Mustard Seed
SAS @ Just a Girl
Remodelaholics Anonymous @ Remodelaholic
inspiration board @ Carolyns Homework
Sunday Showcase Party @ Under the Table & Dreaming
Weekend Bloggy Reading @ Serenity Now

You may also like...

  • DIY USA Map Wall HangingDIY USA Map Wall Hanging
  • Framed Wall QuiltFramed Wall Quilt
  • DIY Triangle Wood Banner & QuiltDIY Triangle Wood Banner & Quilt
  • DIY Fresh Cut Wood BannersDIY Fresh Cut Wood Banners
Share this post:

Filed Under: CRAFTS, DIY, HOME DECOR, HOME DECOR, SEW, SEWING7 Comments

Reader Interactions

Comments

  1. By Neymes says

    July 1, 2013 at 12:23 PM

    SUPER LEGAL AMIGA,EU IMAGINAR COMO FICAR BONITAS COM JUTA COLORIDA,PARABÉNS.BOM JULHO PARA VOCÊ.BEIJO.VALÉRIA.(BRASIL).

    Reply
  2. DaiseyJayne.com says

    July 1, 2013 at 1:09 PM

    Fantastic, the combination of burlap and gingham just says Summer to me 🙂

    Reply
  3. Kim @ NewlyWoodwards says

    July 1, 2013 at 4:49 PM

    This is a really cute idea! Love the different colors of gingham.

    Reply
  4. Michelle {Daydream Believers} says

    July 1, 2013 at 5:45 PM

    Looks great! Nice work! 🙂
    Happy Day!
    Michelle
    http://www.daydreambelievers.net

    Reply
  5. Samantha says

    July 2, 2013 at 12:44 AM

    Yay for my little man's banner!! We loved it! Thank you!!

    Reply
  6. Elizabeth Joan Designs says

    July 2, 2013 at 7:53 PM

    So cute! Burlap is my favorite fabric for decor. Love the look!

    Emily @ elizabethjoandesigns.com

    Reply
  7. Tara from The Magnolia Barn says

    July 4, 2013 at 1:41 AM

    Burlap is such a great and versatile fabric. I love the pops of color. Looks great!

    Reply

Leave a Reply Cancel reply

Your email address will not be published. Required fields are marked *

Primary Sidebar

Hi! I’m Jaime

Jaime Costiglio

Hello!

Thank you for stopping by.
Join me for lots of DIY.

Read more

Get new posts via email

Handbuilt Holiday: Gift Project Plans

handbuilt holiday gift project plans

Collection of DIY gift project plans to build.

The Home Depot Tool Prospective

THD Prospective

Tools to consider for the DIYer.

Archives

The Home Depot Logo
Copyright © 2026 Jaime Costiglio · Custom site by Moonsteam Design

Privacy Policy