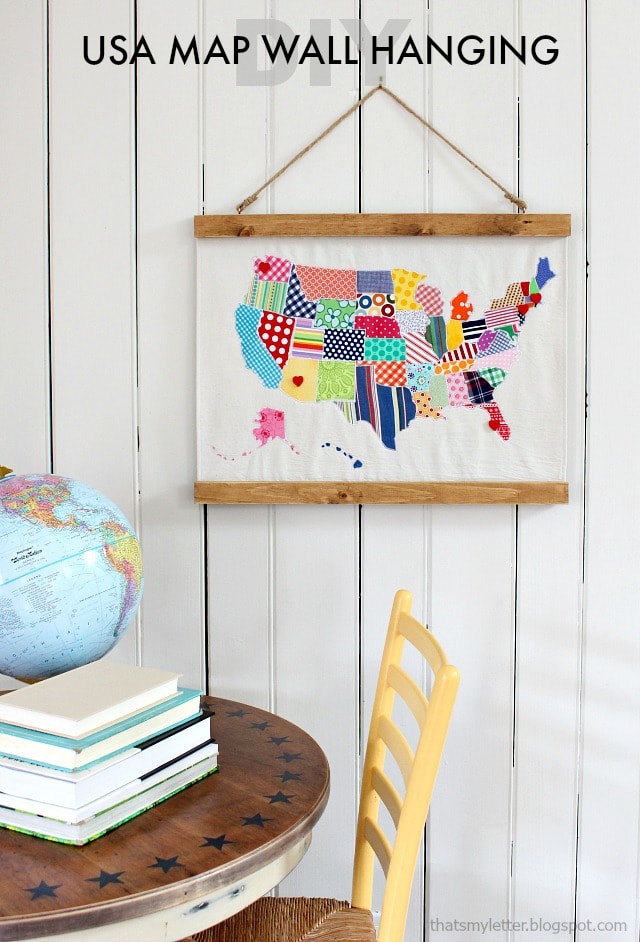
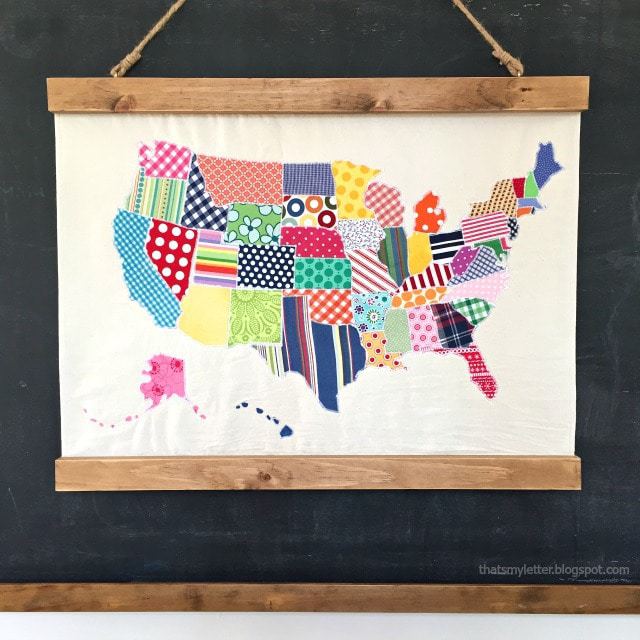
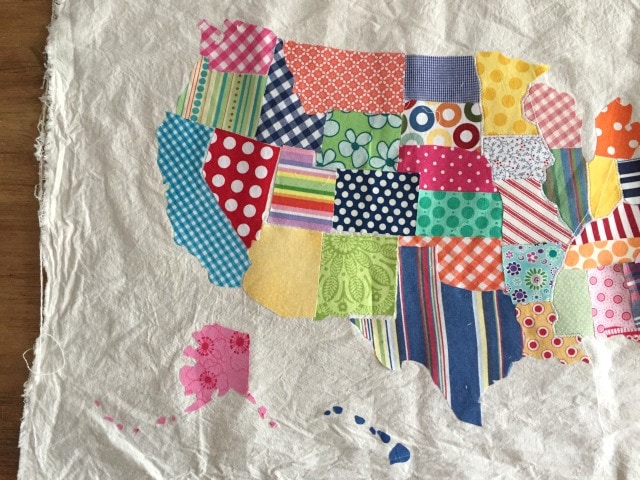
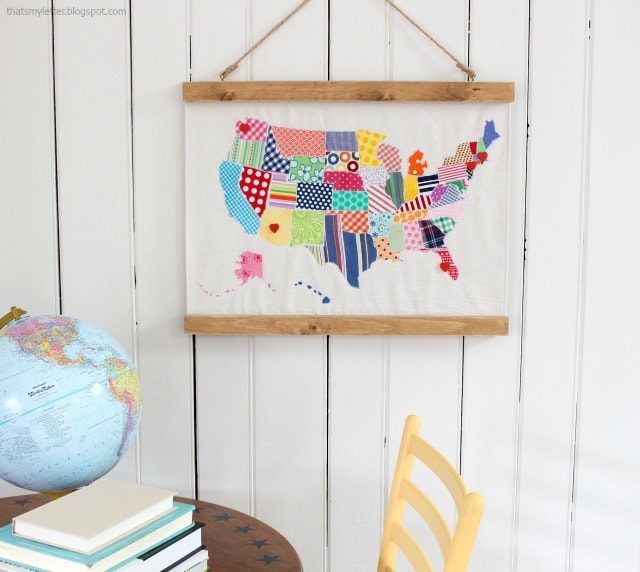
Who loves a good scrap fabric project? I’m game anytime there’s a bazillion bits of fabric involved and this USA map wall hanging project is perfect for all those scrap pieces. Collectively they make a beautiful, colorful wall hanging plus I added an extra personal touch with movable wood heart magnets to mark where loved ones are living.
A DIY tutorial to make a USA map wall hanging. Bust through that scrap fabric stash to create a colorful and fun map wall decor.
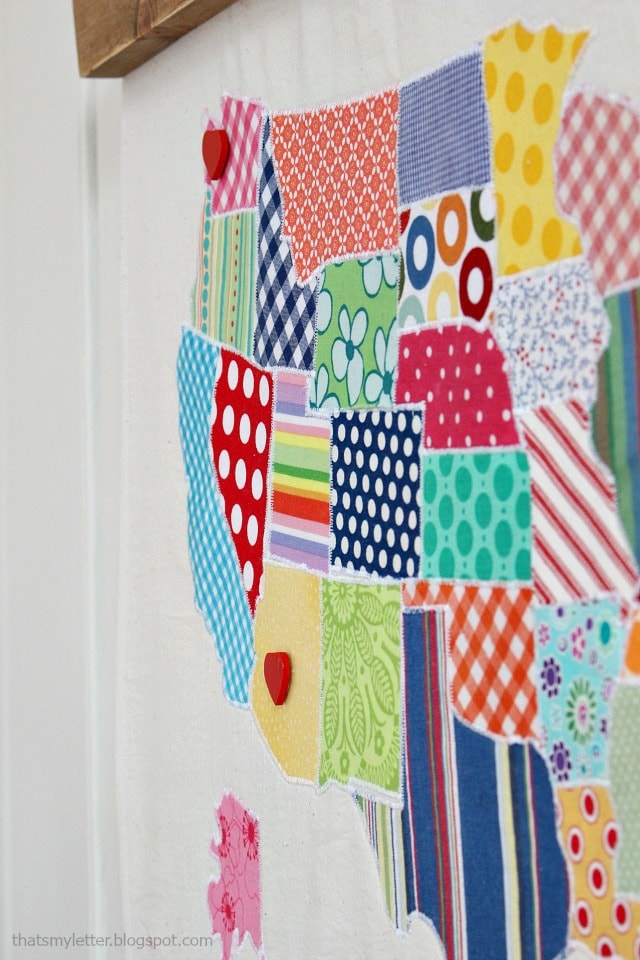
See those little red wood hearts? I made this wall hanging for my mom’s birthday and each of the hearts represents one of her kids. I’m the oldest of 5 siblings and we are spread out all over the US so this fabric map wall hanging is a daily reminder for her of where her kids are right now.
I framed the wall hanging by sandwiching the fabric between two wood boards. The wood also acts as a weight to keep the wall hanging flat. Alternatively you could make a closed wood frame similar to this project here.
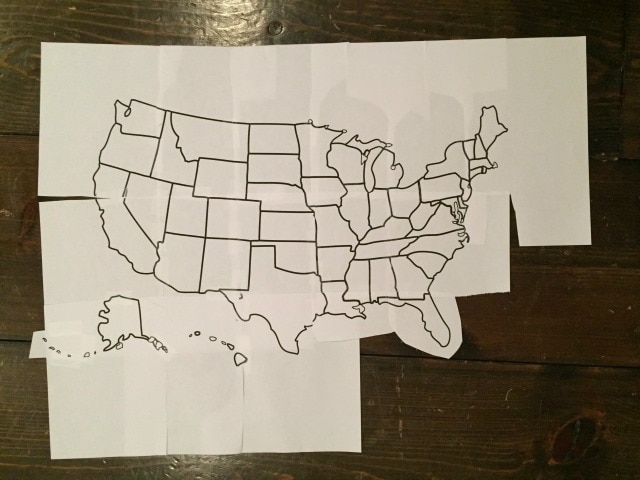
Bev at Flamingo Toes has the free printable pattern for the USA map and she made the most beautiful quilt using this pattern. She is an avid sewer and has tons of projects you will want to make. I’m extremely grateful for her pattern so I didn’t have to recreate the map on my own. Down below I’m sharing the steps on how to make this USA map wall hanging.
* This post contains affiliate links. I make a tiny commission off any item purchased through these links, it’s how I keep my blog full of free content.
Supplies:
- usa map printable pattern
- scrap cotton fabrics
- double sided fusible interfacing
- lightbox
- pencil
- scissors
- iron
- cotton muslin
- sewing machine and white thread
- ruler or yard stick
- 1×2 pine board – 4 equal pieces cut to size
- wood glue
- drill
- 1 1/4″ wood screws
- screw eyes
- jute rope
- 1/2″ wood craft hearts
- red acrylic paint & paint brush
- super magnets – tiny
- #10 washer
- super glue
Step 1: Print out the USA map free pattern and tape the pieces together.
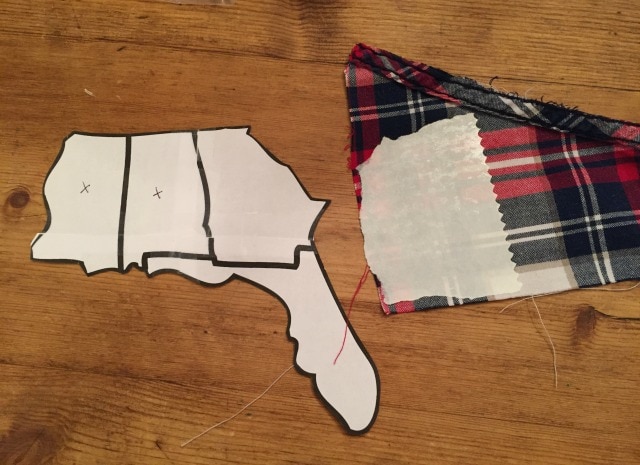
Step 2: Cut the states into manageable portions keeping 3-4 states connected so you don’t loose pieces. Iron on double sided fusible interfacing to the wrong side of the fabric, use a piece large enough for the state you are tracing.
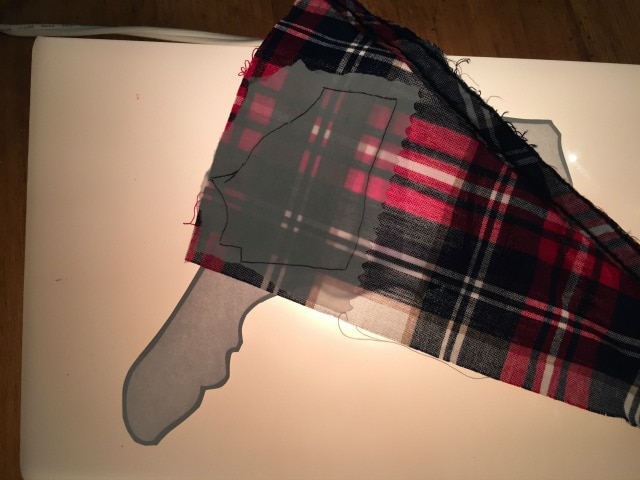
Step 3: Place the paper pattern right side onto the light box then place the fabric on top (the paper side of the interfacing should be upright). Trace the outline of the state onto the paper backing of the interfacing.
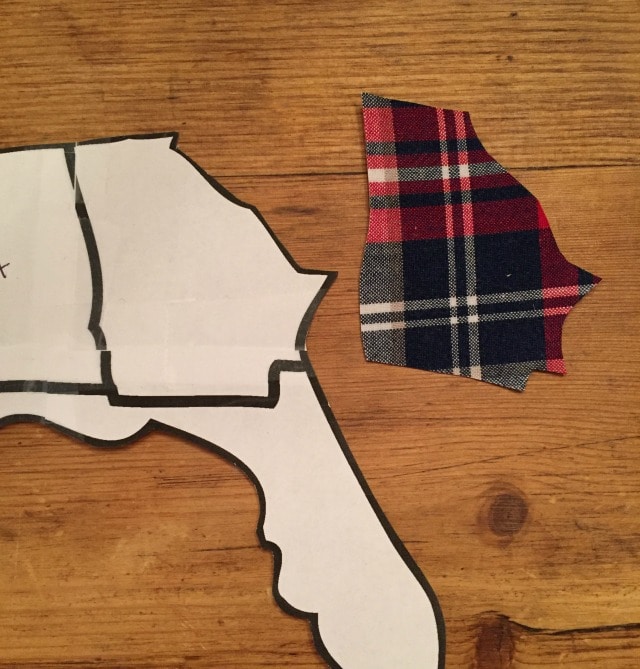
Step 4: Cut out the state shape. Keep the paper backing on the interfacing.
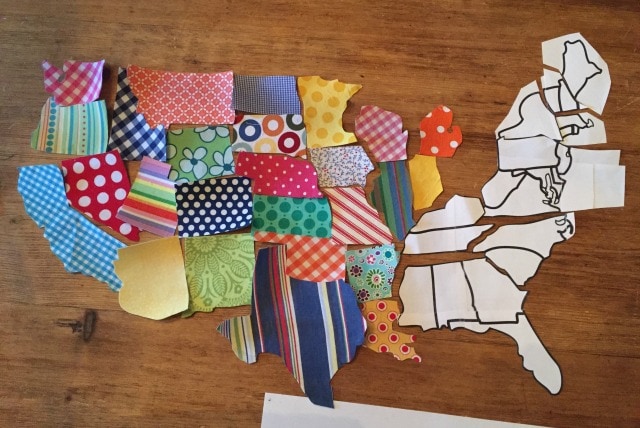
Repeat this process for all 50 states.
Step 5: Once you have all the states cut out arrange them on the muslin fabric, remove the paper backing and begin ironing in place.
Step 6: Secure the states to the muslin with a tight zig zag stitch around the edge of each state.
Step 7: Use a second piece of muslin as the backing and then sew in the ditch around the entire USA border. Hem the sides by folding over the raw edge and top stitching. Hem the top and bottom with a loose zig zag stitch to prevent fraying and keep pieces together.
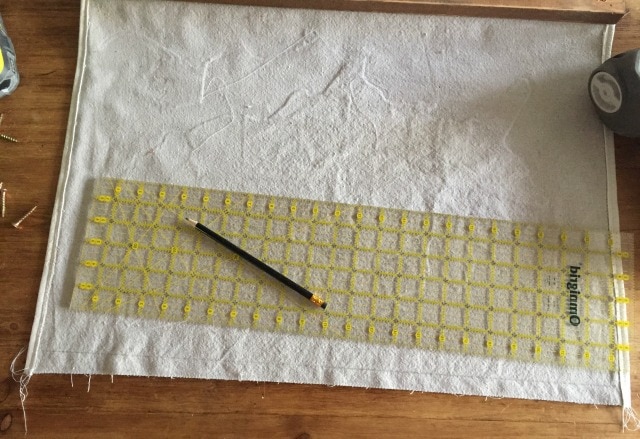
Mark a line at least 3/4″ in from bottom and top edge.
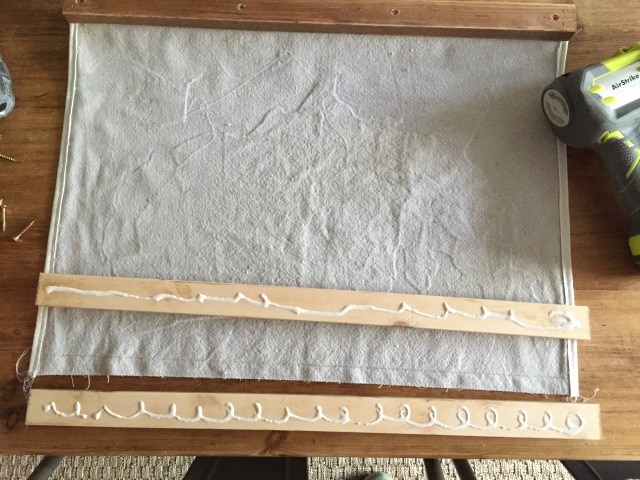
Step 8: Apply wood glue to pine boards. Place fabric between boards using the pencil line as a guide.
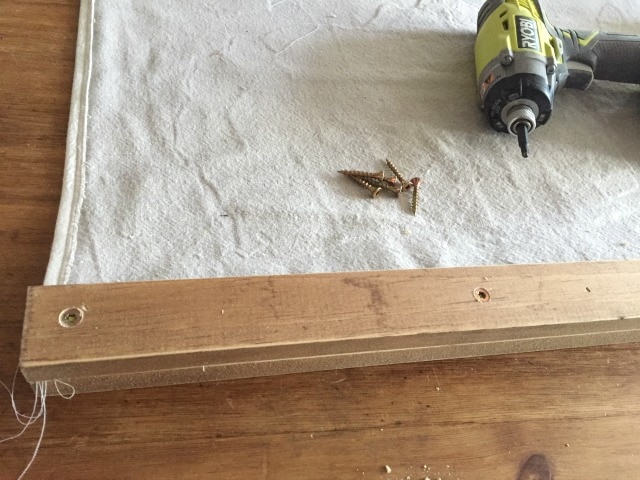
Step 9: Screw boards together to hold fabric in place using 1 1/4″ countersunk wood screws.
Insert screw eyes on top edge of boards then attach jute rope and tie in place.
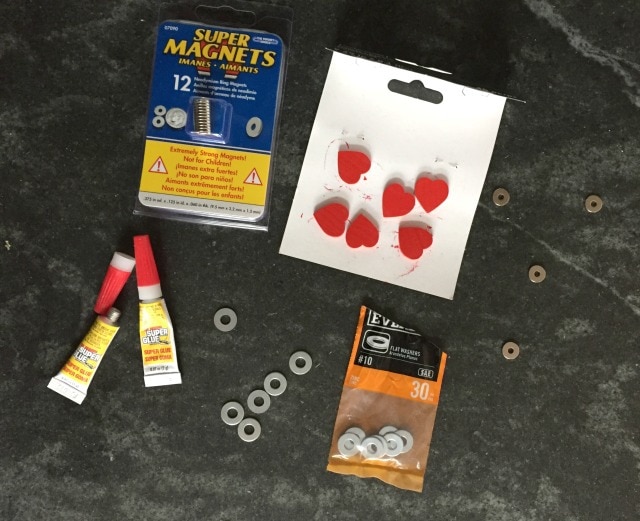
To make the heart magnets first paint wood craft heart shapes red and let dry. Then use super glue to attach one washer to the back of each heart.
Place the heart in position on the front of the wall hanging and use a super magnet on the back to hold heart in place.
Hang and enjoy!
SHOP THIS PROJECT:




I love this! It would be the perfect gift for a retire couple heading out in their RV for a traveling adventure.
Love it!
I love it but I think you forgot the Upper Peninsula of Michigan.
Thanks Vicky and yes I realized after it was too late that I forgot that extra piece of Michigian. My apologies to all your Michiganians.
Gah. I just love this project! Such a fun way to track travels, people you love, and more. Love the hearts on it and all the patterned fabric.
I am so loving this Jaime!