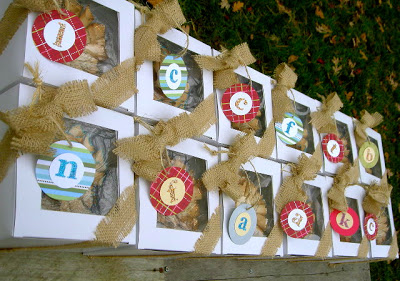
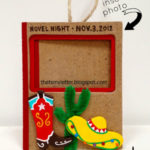
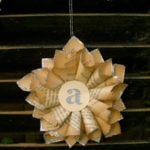
Tiny star ornaments wrapped in DIY window boxes.
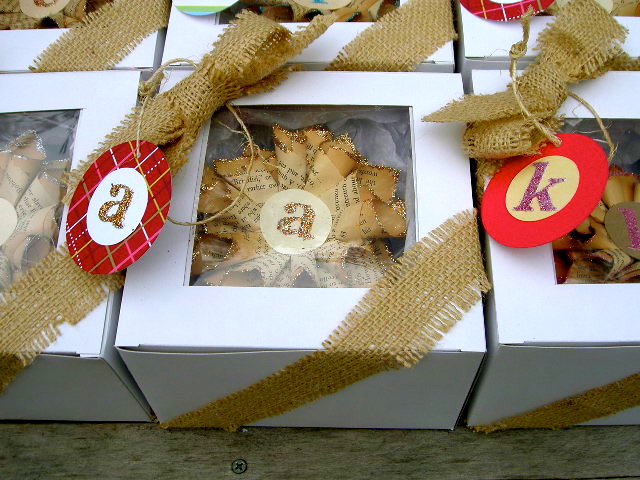
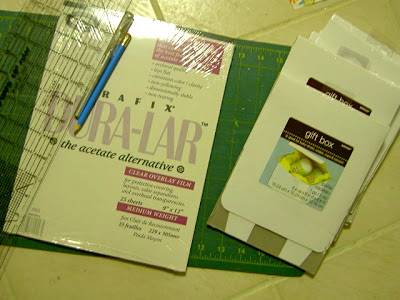
I made the window boxes using clear acetate.


Challenge: wrap these fragile ornaments for Christmas delivery:
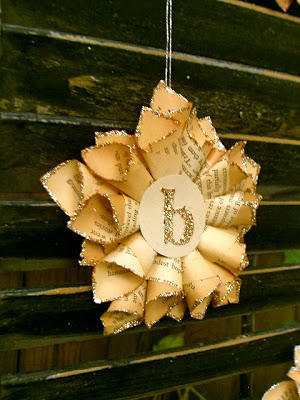
(To see how to make the ornaments click here.)

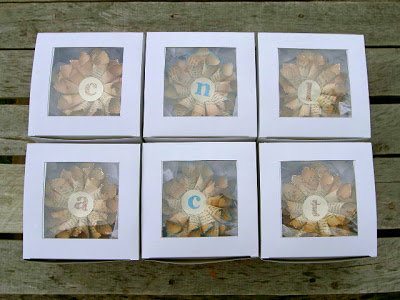
I wanted a window box so you can see the ornament inside:
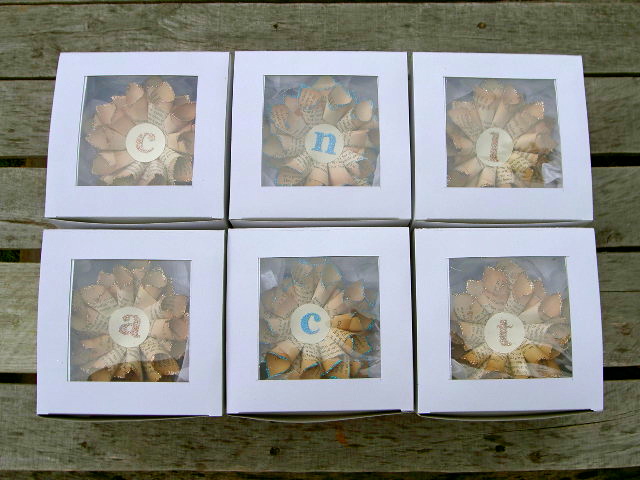
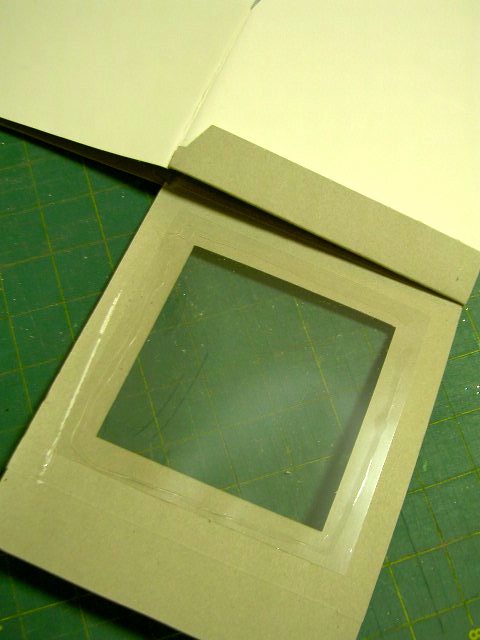
Solution: cut a hole in the top of a gift box and glue acetate to make window:

Easy and quick solution for the fragile ornaments.

Here’s how I made the window boxes:
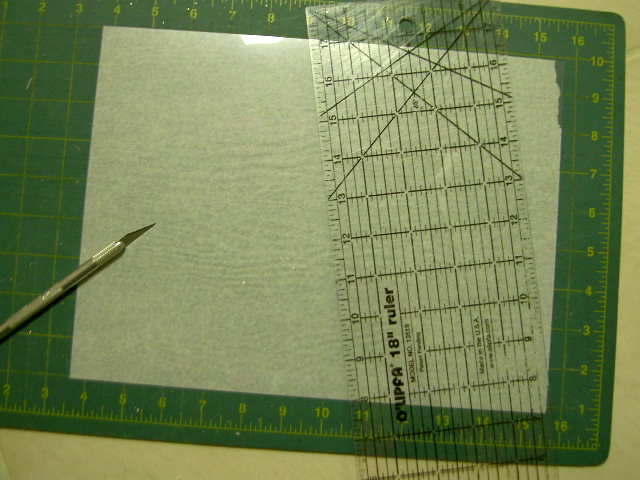
1. Use 6″ x 6″ x 4″ gift box and clear acetate:

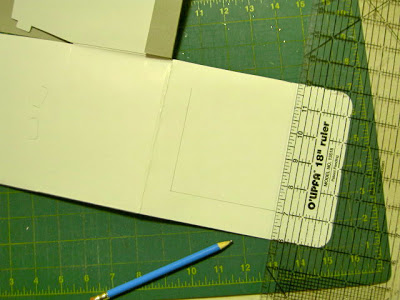
2. Lay box open so top flap is flat.
Mark 1″ border around top flap:

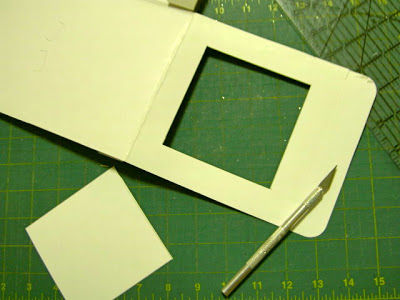
3. Cut out square using exacto knife:

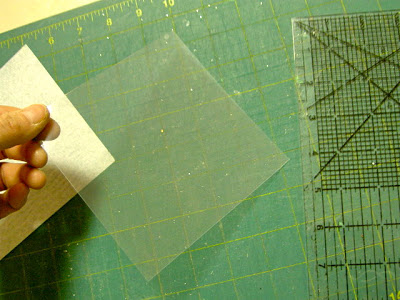
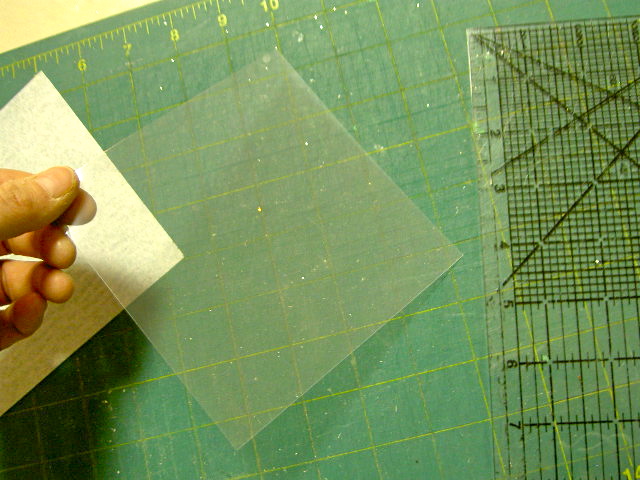
4. Cut acetate to fit opening plus 1″:
(Acetate piece here measures 5″ x 5″)
5. Flip top flap of box to wrong side, lay small bead of hot glue and quickly place acetate in opening pressing edges into glue:
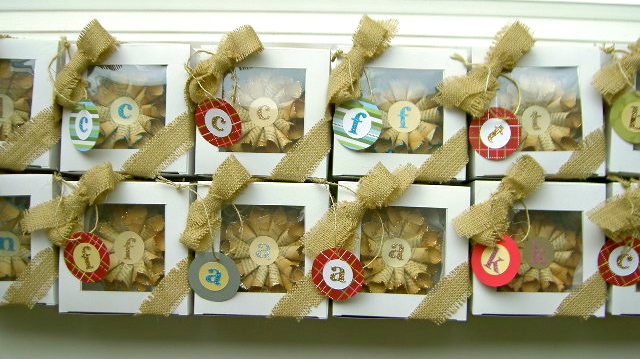
6. Use tissue and place ornament in box:
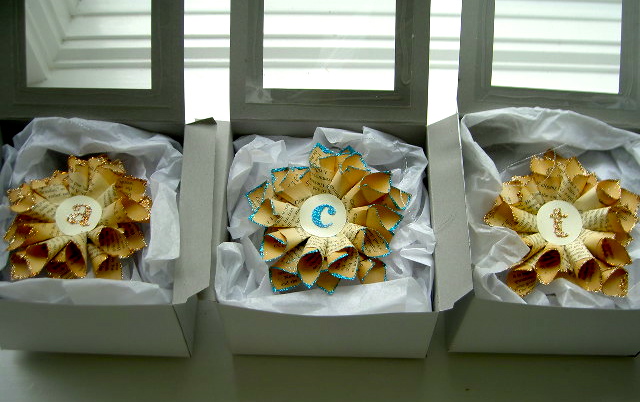
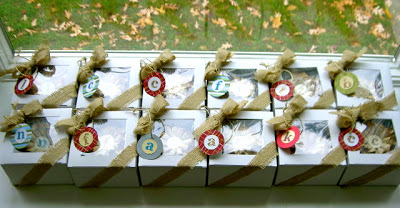
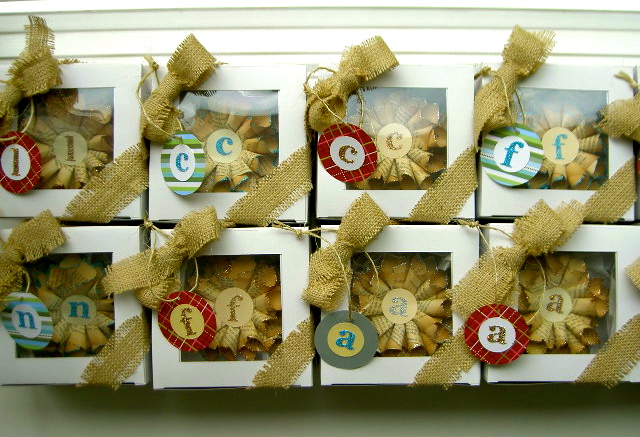
7. Add burlap strips for ribbon and matching letter tag with twine:


Ready for gift giving.
Make your own window boxes to protect those fragile gifts that are too pretty to hide.

I’m linking up to:
Whatcha Got Weekend @ Lolly Jane
SAS @ Funky Junk
Weekend Wrap Up @ Tatertots & Jello
Sundae Scoop @ I Heart Naptime
Sister Sunday @ Sisters of the Wild West
Sunday Showcase Party @ Under the Table & Dreaming
Just Something I Whipped Up @ The Girl Creative
DIY Fall Festival @ The DIY Showoff
Made by You Mondays @ Skip to My Lou
Making the World Cuter @ Making the World Cuter
Nifty Thrifty @ Coastal Charm
Tuesday Treasures @ My Uncommon Slice of Suburbia
Tutorials & Tips Tuesday @ Home Stories A to Z
Good Life @ A Beach Cottage
Delightfully Inspiring @ Delightful Order
Transformation Thursday @ The Shabby Creek Cottage
Strut Your Stuff @ Somewhat Simple
Share Awesomeness Thur @ The 36th Avenue
Flaunt it Friday @ Chic on a Shoestring
Tickled Pink @ 504 Main
Frugal Friday @ The Shabby Nest
SAS @ Just a Girl
Feathered Nest @ French Country Cottage
Remodelaholics Anonymous @ Remodelaholic


What a great tutorial! I am not in the market for something like this…but there will be a ton of peeps that will gobble this up!! Awesome and inventive idea!
These are amazing. The boxes and the ornament. What a sweet gift for teachers. I might just have to try both. 😉
Prekrasni ukrasi i kutijice..
Hvala za tutorial…
They are so sweet! I don't know anybody who wouldn't love getting one of these!
I'm planning to make a few of the star wreaths you created for my girls. I know they will love their glittery gifts! I may just have to create a BIG box for storing them.
These are just beautiful! Great job for making the packaging as pretty as what's inside.
Oh, that's much cuter than Styrofoam!
How beautiful! Such a lovely way to make a gift even more special. Thanks for the inspiration, I will definitely try this technique.
Cheers, Andrea
oh my I luv luv this, sending you my address lol.
Would luv for my readers to discover your blog, will you please join our weekly party at
http://www.passionatelyartistic.com/2011/11/thanksgiving-showcase-tutorial-with.html
have a great crafting week!
Maggie
http://passionatelyartistic.com
Is there an online source for purchasing the box's? Love your idea and I am anxious to try my hand at making several box's and ornaments!
Thank you!
I featured you in my TOP THAT post
Cheri
Love the ornaments.. and love the boxes!! Great presentation!! I want one too! ;P
those turned out great and I adore the ornament! I'd love it if you'd like this up at my link party at http://raegunwear.blogspot.com
What a great way to show them off:)
WOW!! Great job and thanks for an awesome tutorial! They are beautiful!
I love this! SO cute! Hope u have had an awesome week! *new follower*
Kennesha
http://www.restorationhouseinteriors.blogspot.com
OMG….I luv this….so clever and nice pics to follow….luv the box too, what a great idea!!! Thank you so much for sharing….its midnight here and we had our first snow….I'll be up the rest of the night making these!!! hugs…cleo
awesome!!! thanks for sharing!!
where did you get your boxes at? we are featuring you!!!
These are so incredible! And a tutorial? Yeah! I hope you don't mind that I tweeted it. Love this!