• Home
  • Blog
  • About
  • Contact
    • Disclosure
    • Privacy Policy
  • SHOP
  • Widget area for main menu

    • Email
    • Facebook
    • Instagram
    • Pinterest
    • Twitter
    • YouTube
  • Skip to primary navigation
  • Skip to main content
  • Skip to primary sidebar

Jaime Costiglio

build - paint - sew

  • BUILD
    • BEDS
    • BENCHES
    • DESKS
    • DRESSERS
    • GAMES & TOYS
    • SCRAP WOOD
    • SHELVES
    • STORAGE
    • TABLES
  • TOOLS
  • PAINT
    • CRAFTS
    • FURNITURE
    • HOME DECOR
  • SEW
    • GIFTS
    • HOME DECOR
    • POUCHES
  • HANDBUILT HOLIDAY
    • 2021
    • 2019
    • 2018
    • 2017
    • 2016
    • 2015
    • 2014
    • 2013
  • GIFTS
    • BABIES
    • KIDS
    • FOR HER
    • FOR HIM
    • TEACHERS
    • WEDDINGS
  • SEASONAL
    • 4TH OF JULY
    • FALL
    • HALLOWEEN
    • CHRISTMAS
    • SUMMER
    • SPRING
    • ST. PATRICK’S DAY
    • THANKSGIVING
    • VALENTINE’S DAY
    • WINTER
  • SALTBOX PROJECT
    • BATHROOMS
    • DINING ROOM
    • EXTERIOR
    • FAMILY ROOM
    • FOYER / MUDROOM
    • KIDS BEDROOMS
    • KITCHEN
    • LIVING ROOM
    • MASTER BEDROOM
    • PLAYROOM
  • SCROLL SAW

“B” is for Book Style Ornaments

February 11, 2013

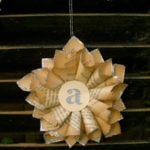
Craft: book style ornaments

I made these book style ornaments for a novel night party with an “All the Pretty Horses” theme.
Unfortunately, because of Hurricane Sandy, the party never happened but I thought I’d still share the ornaments:

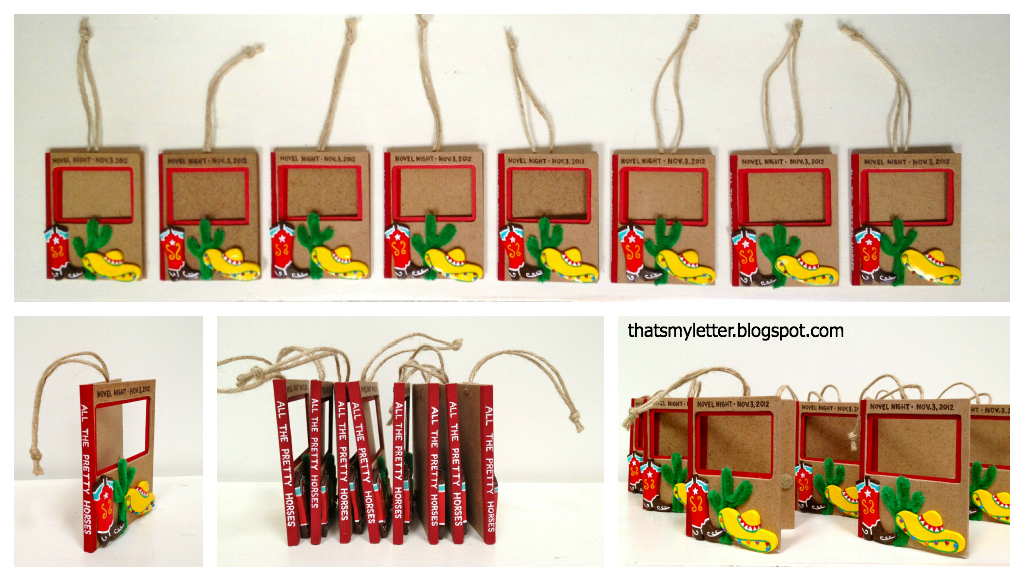
The ornaments were intended to be favors for the guests.
At the party each couple was to take a polaroid picture and insert the picture into the front opening then velcro the book shut:
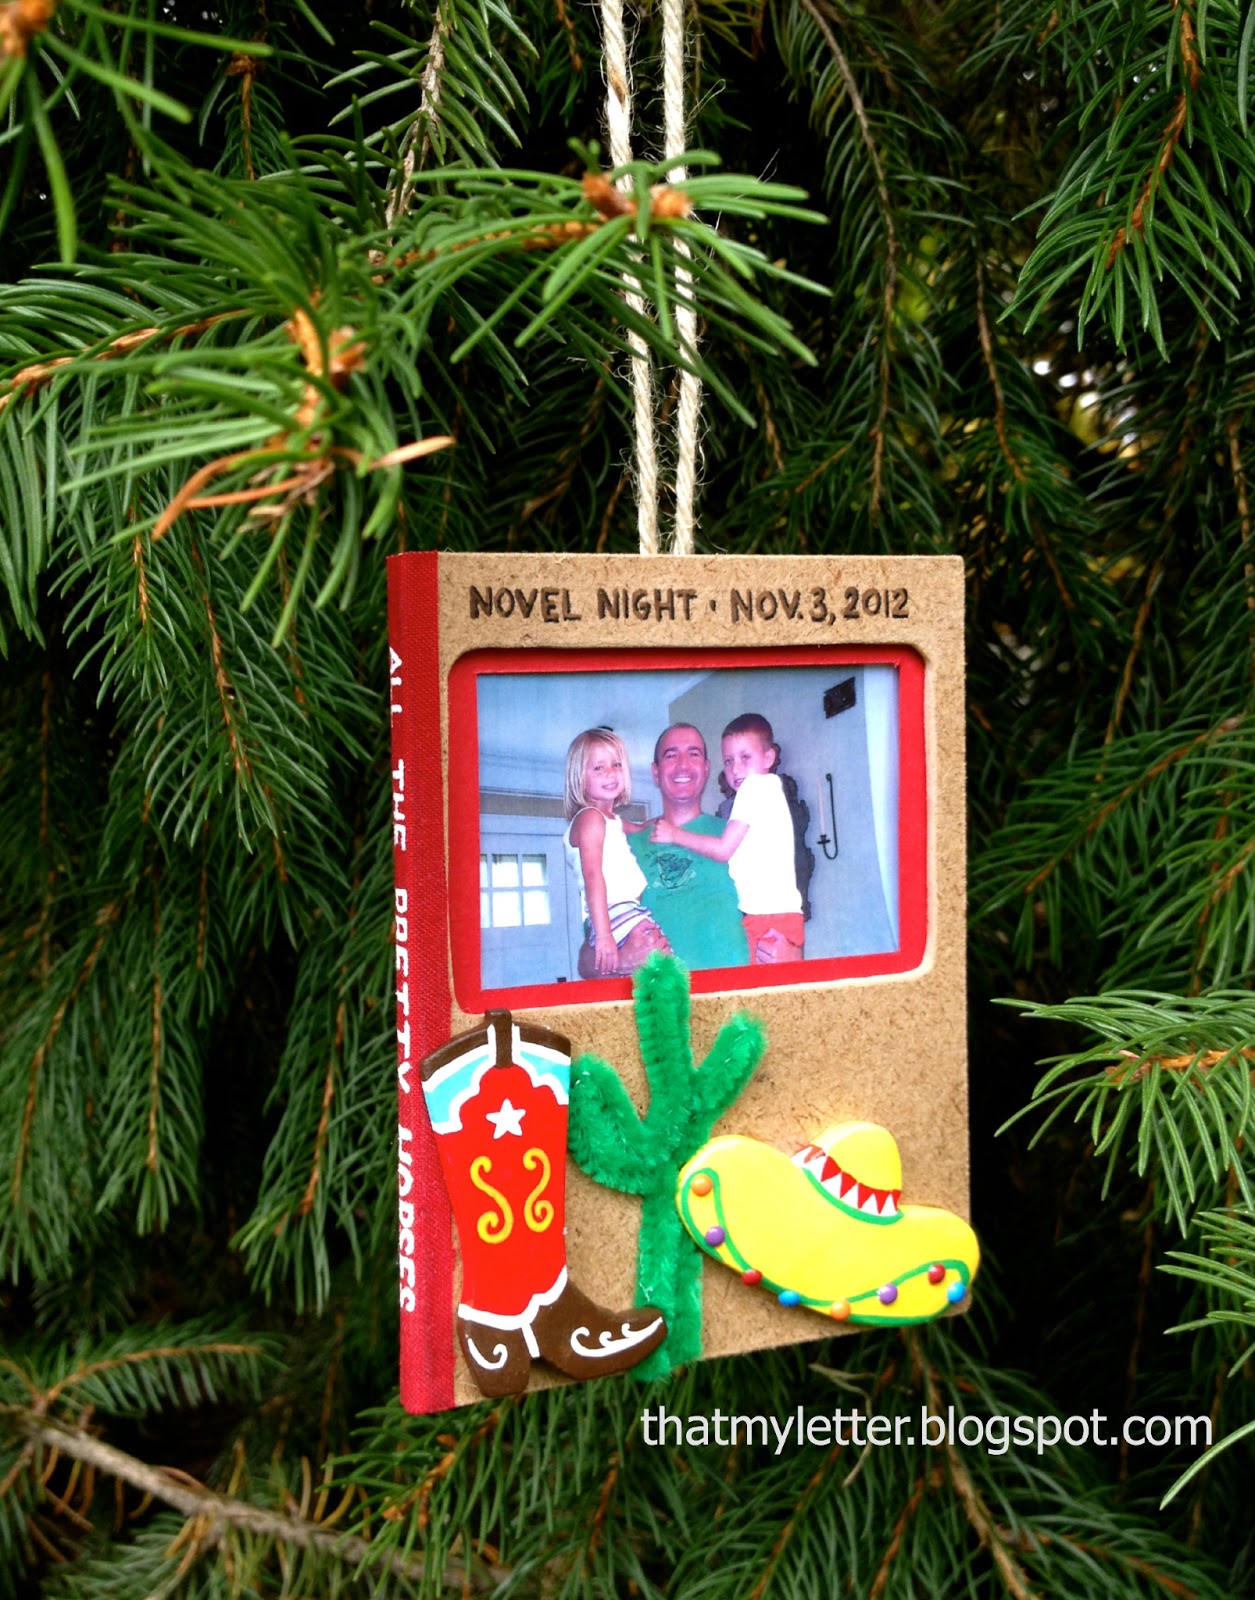
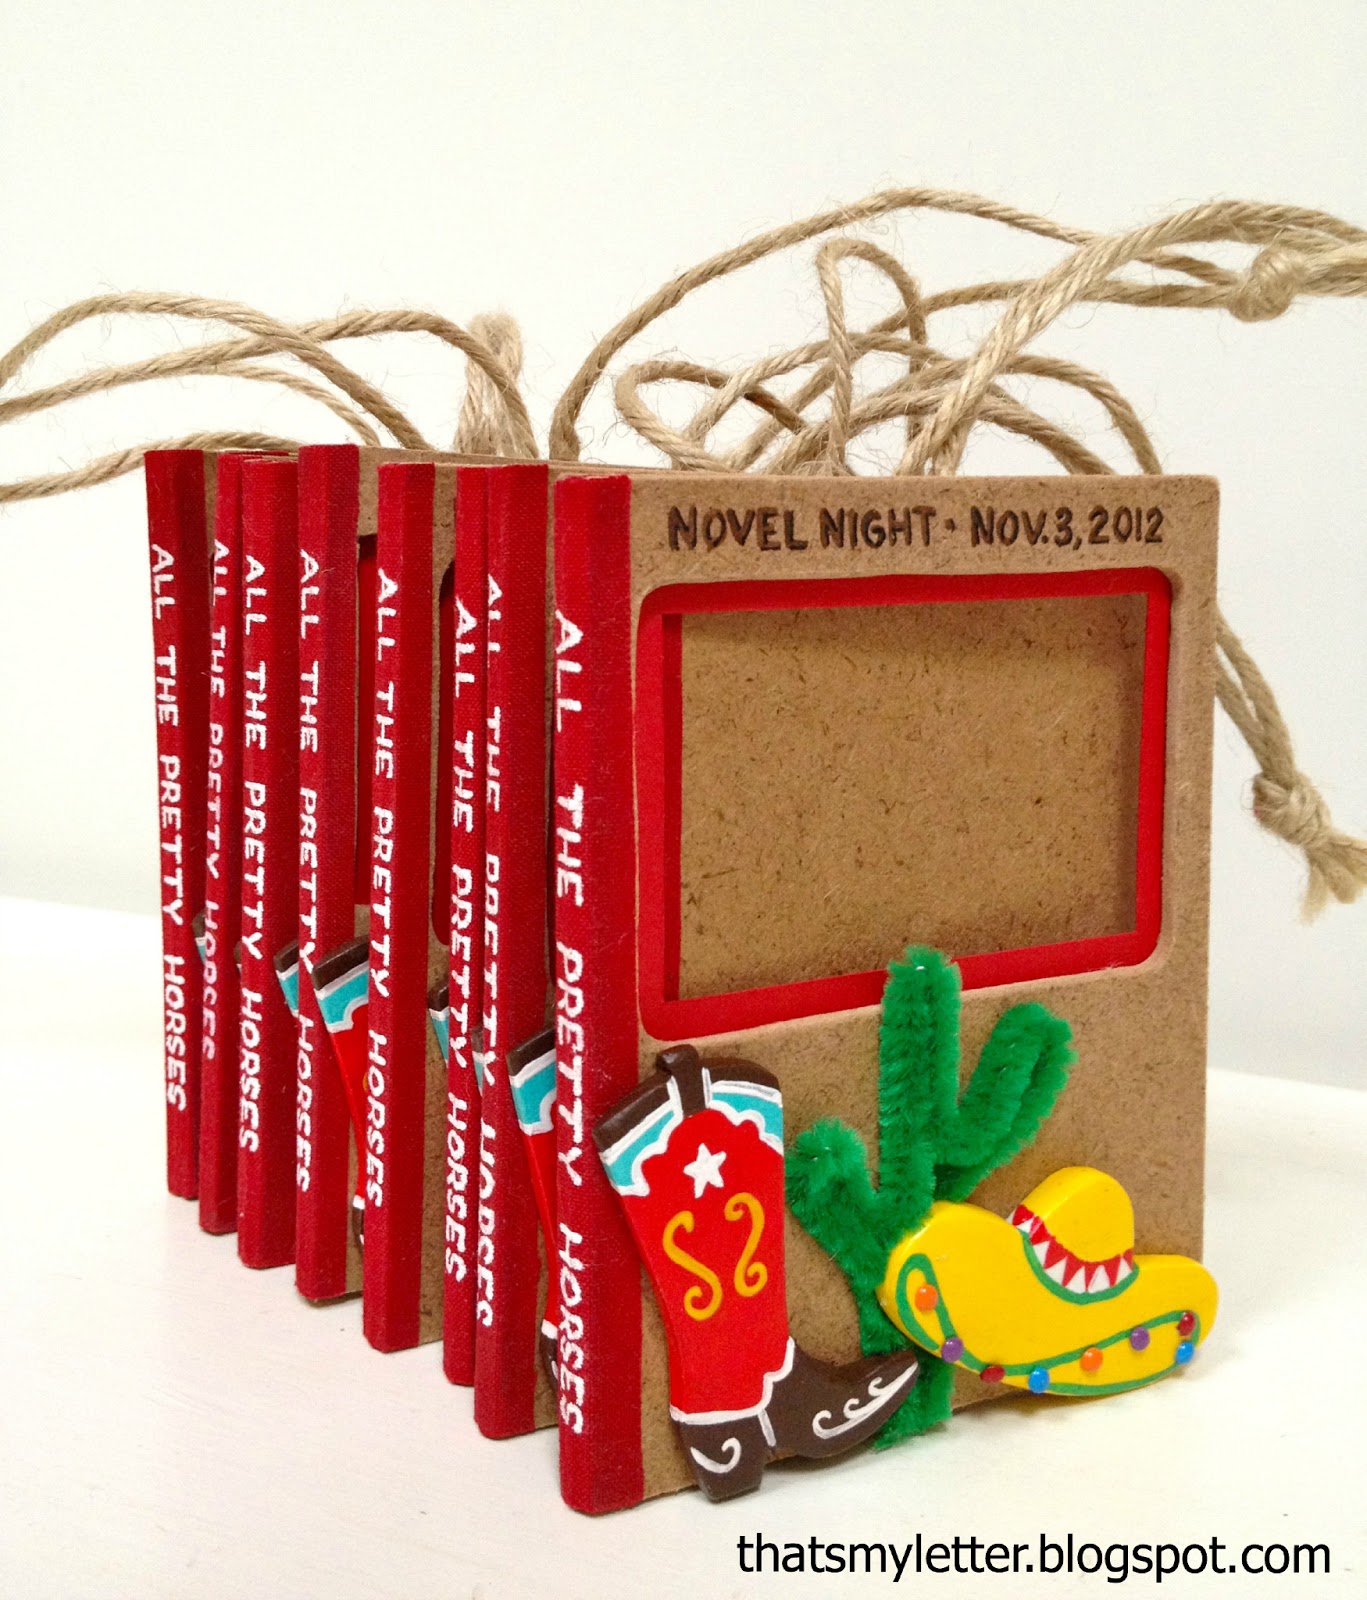
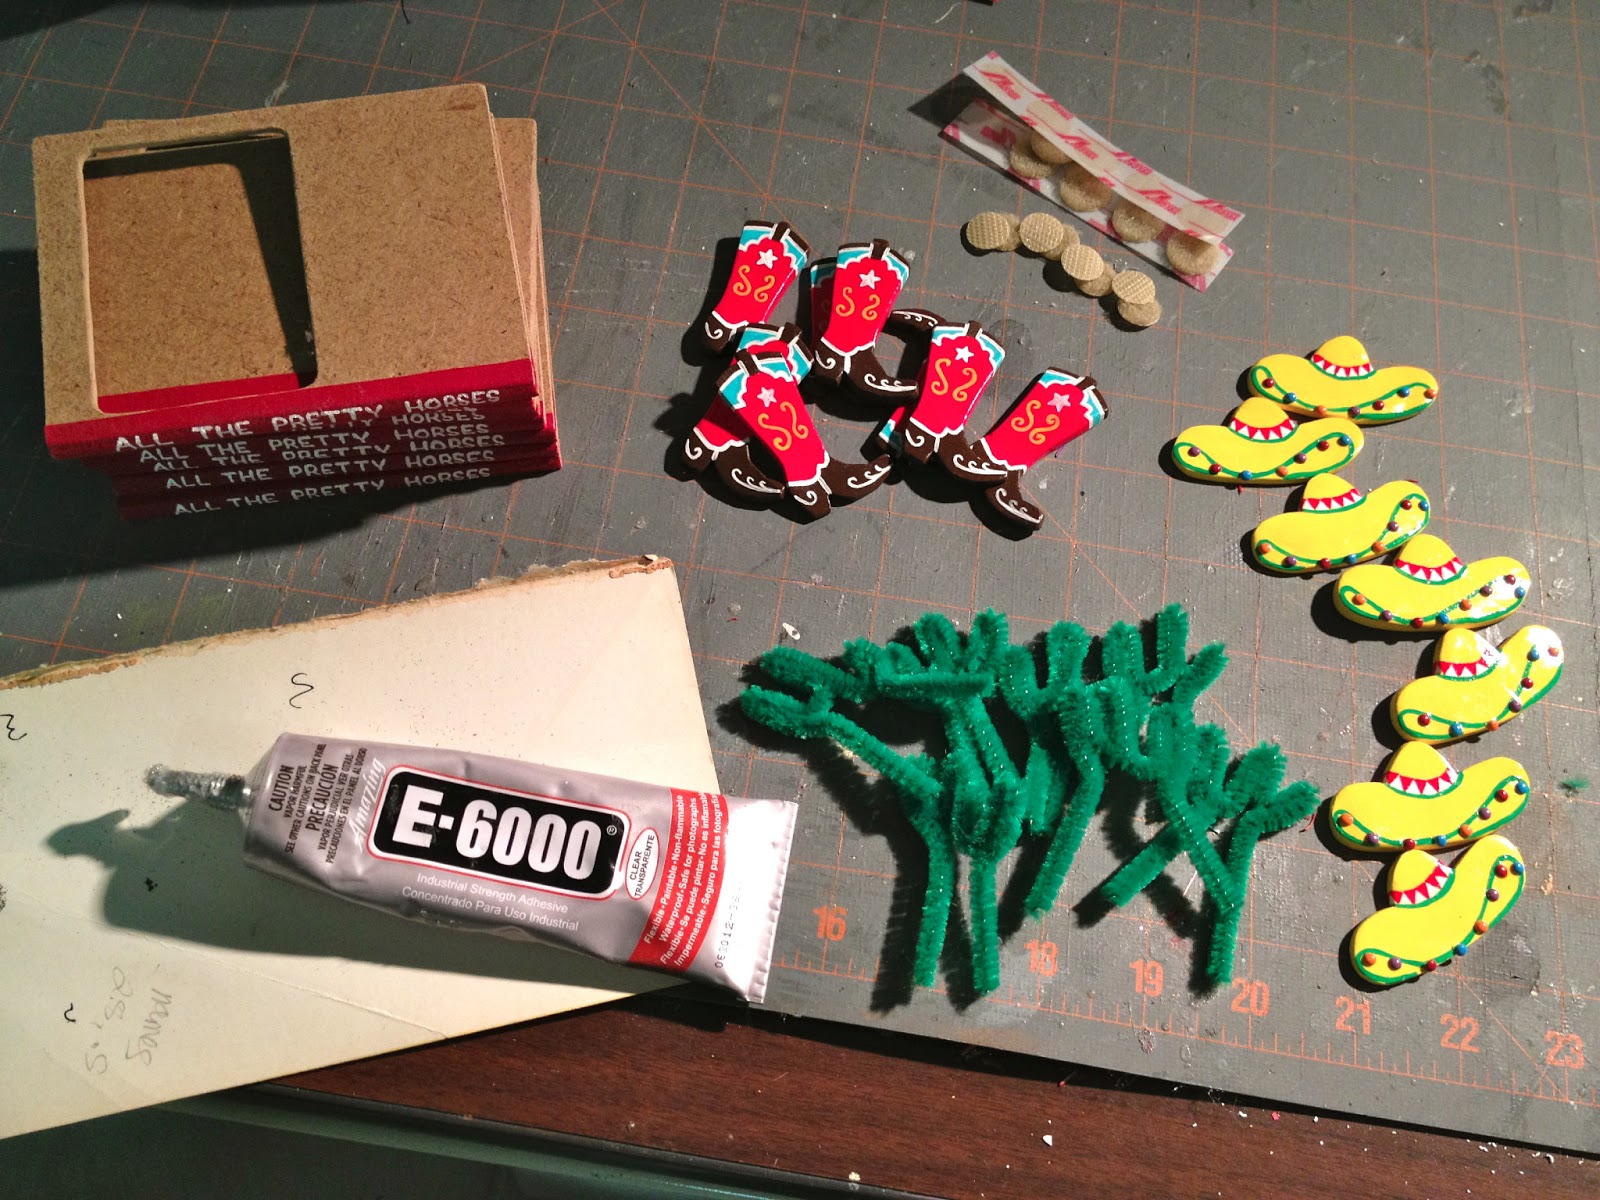
I made clay cowboy boots and sombreros then painted them bright colors and added a green pipe cleaner cactus:
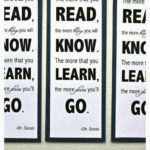
 Below are the invitations I had made for the novel night party, see the full post here:
 
Here’s how to make the book style ornaments:
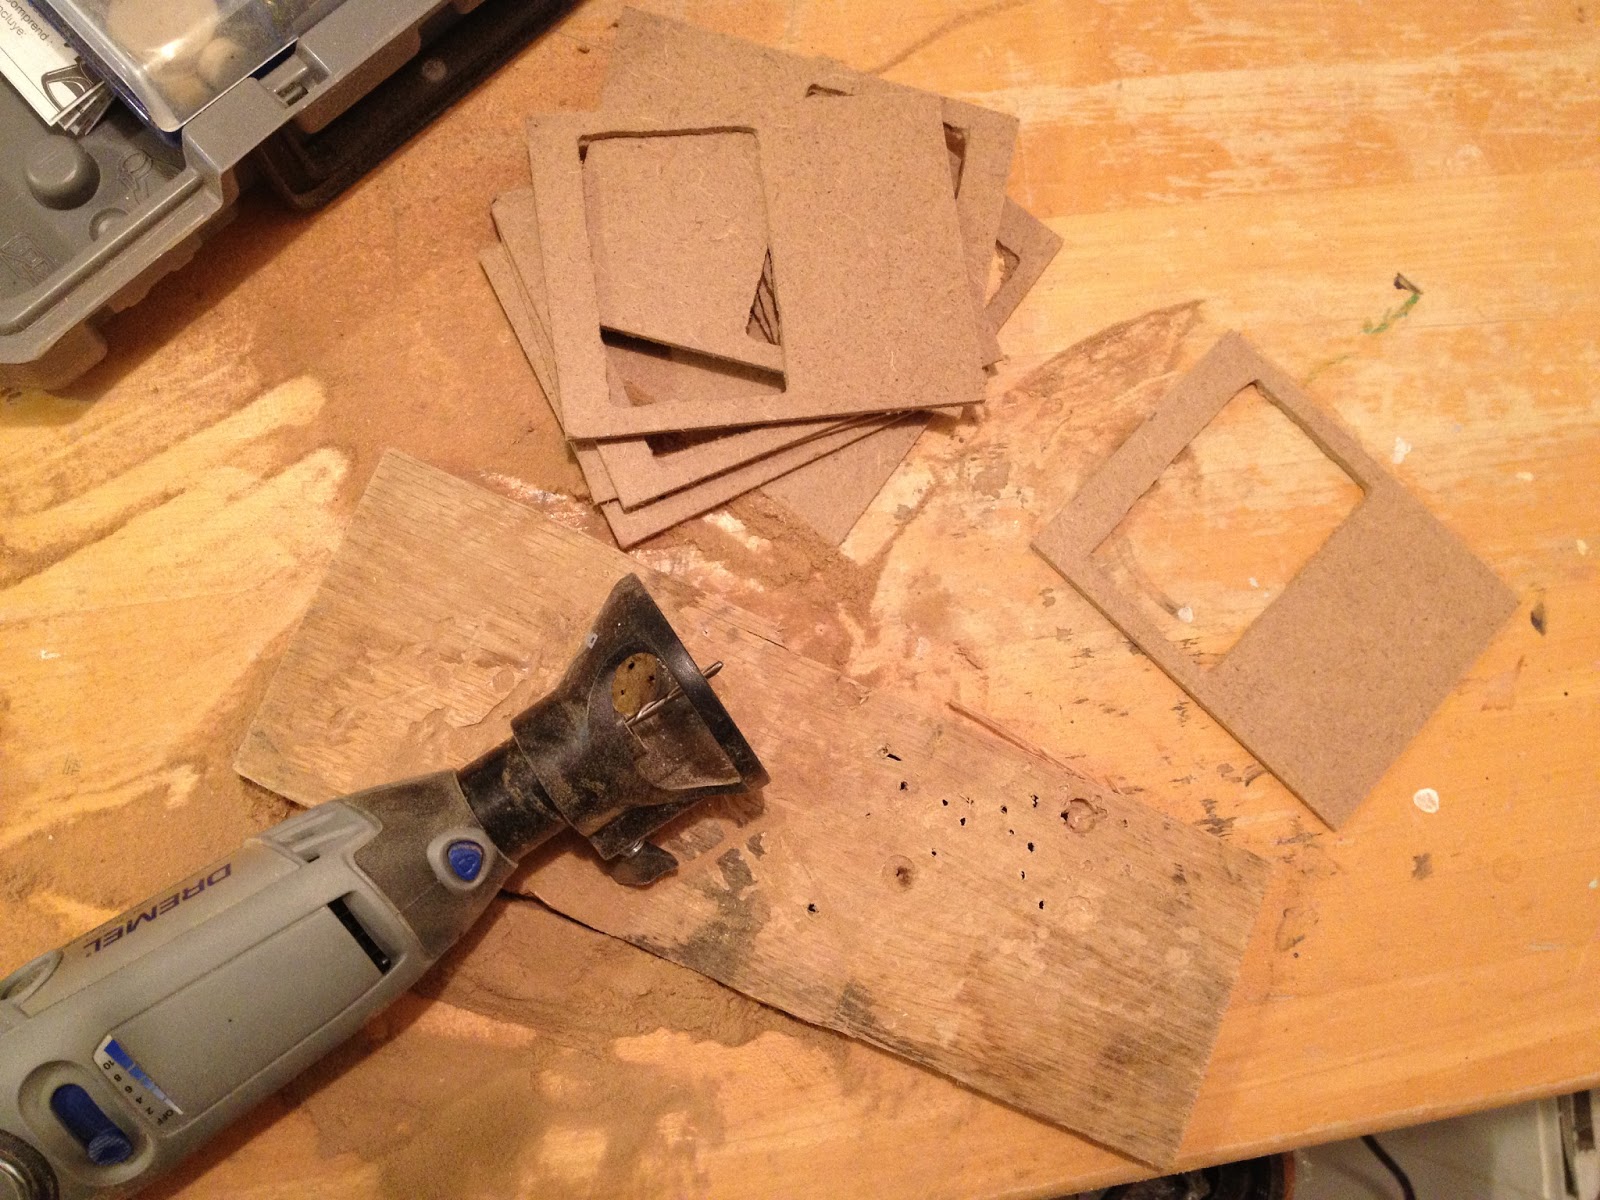
1. Cut 1/8″ hardboard to size and trace template for picture opening:
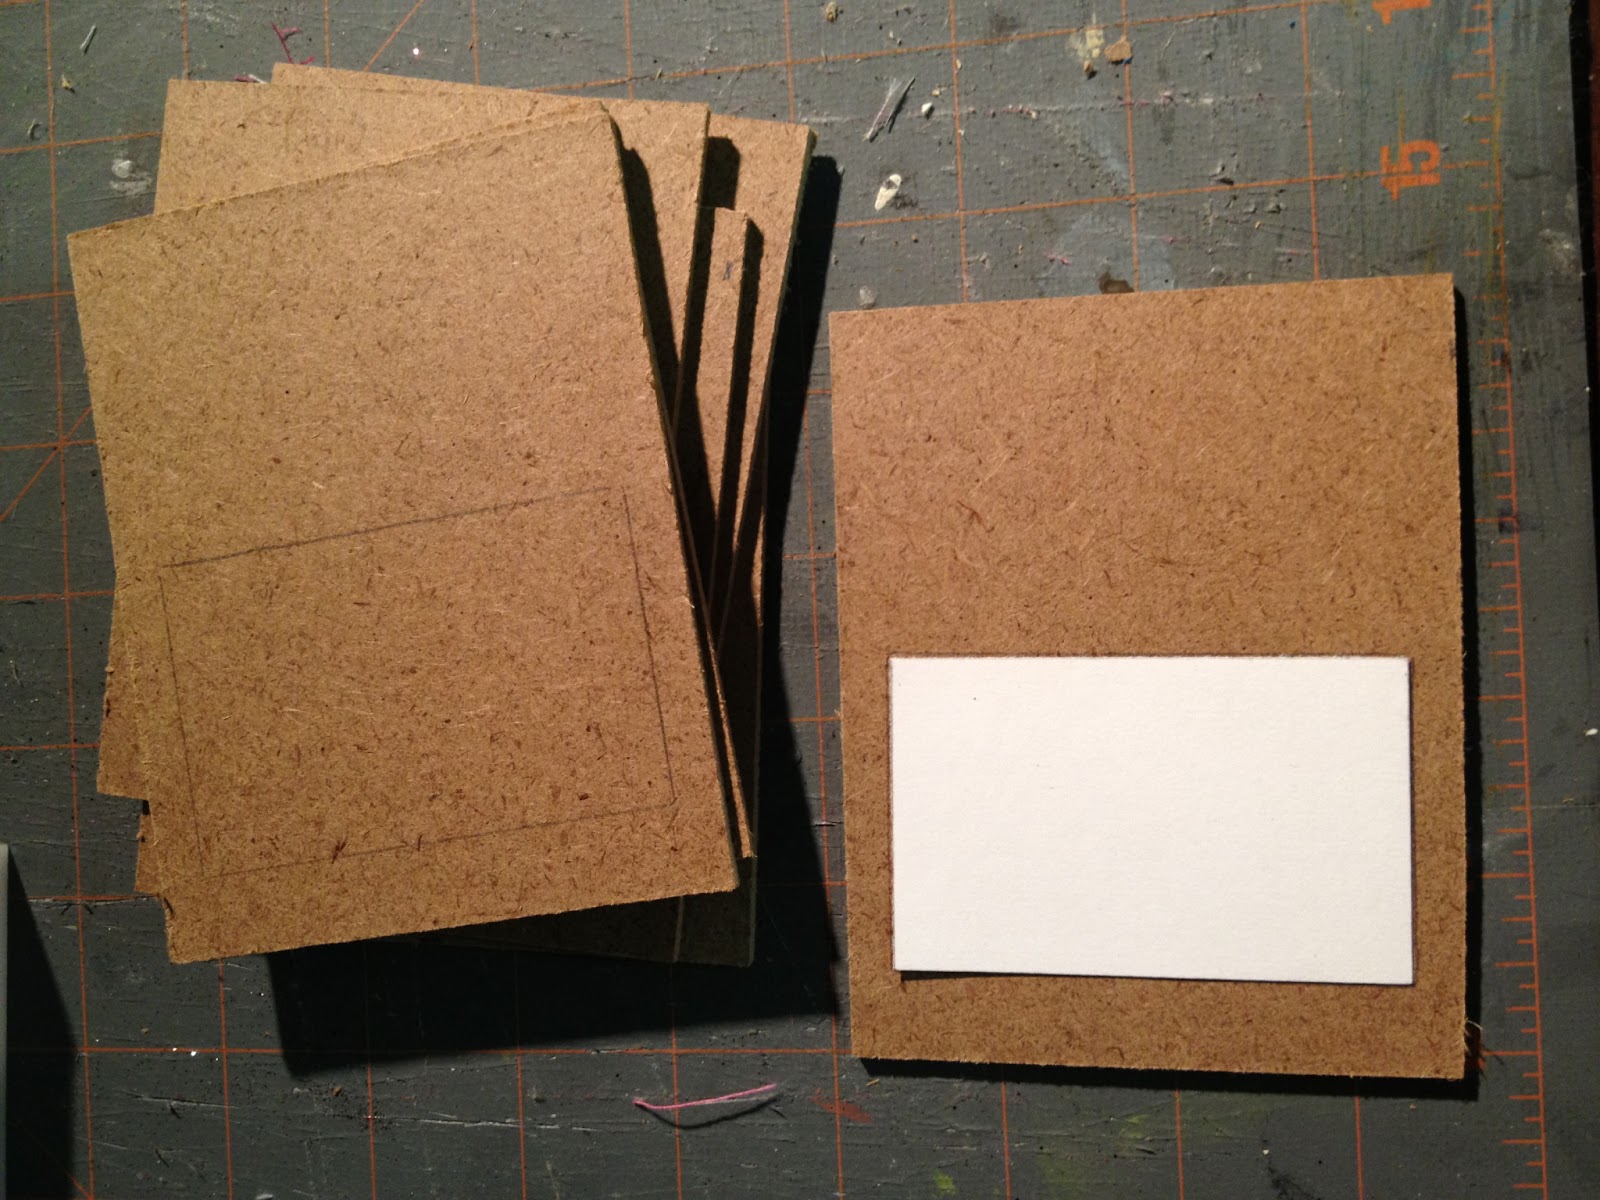
2. Cut out picture opening with dremel:
Sand all edges.
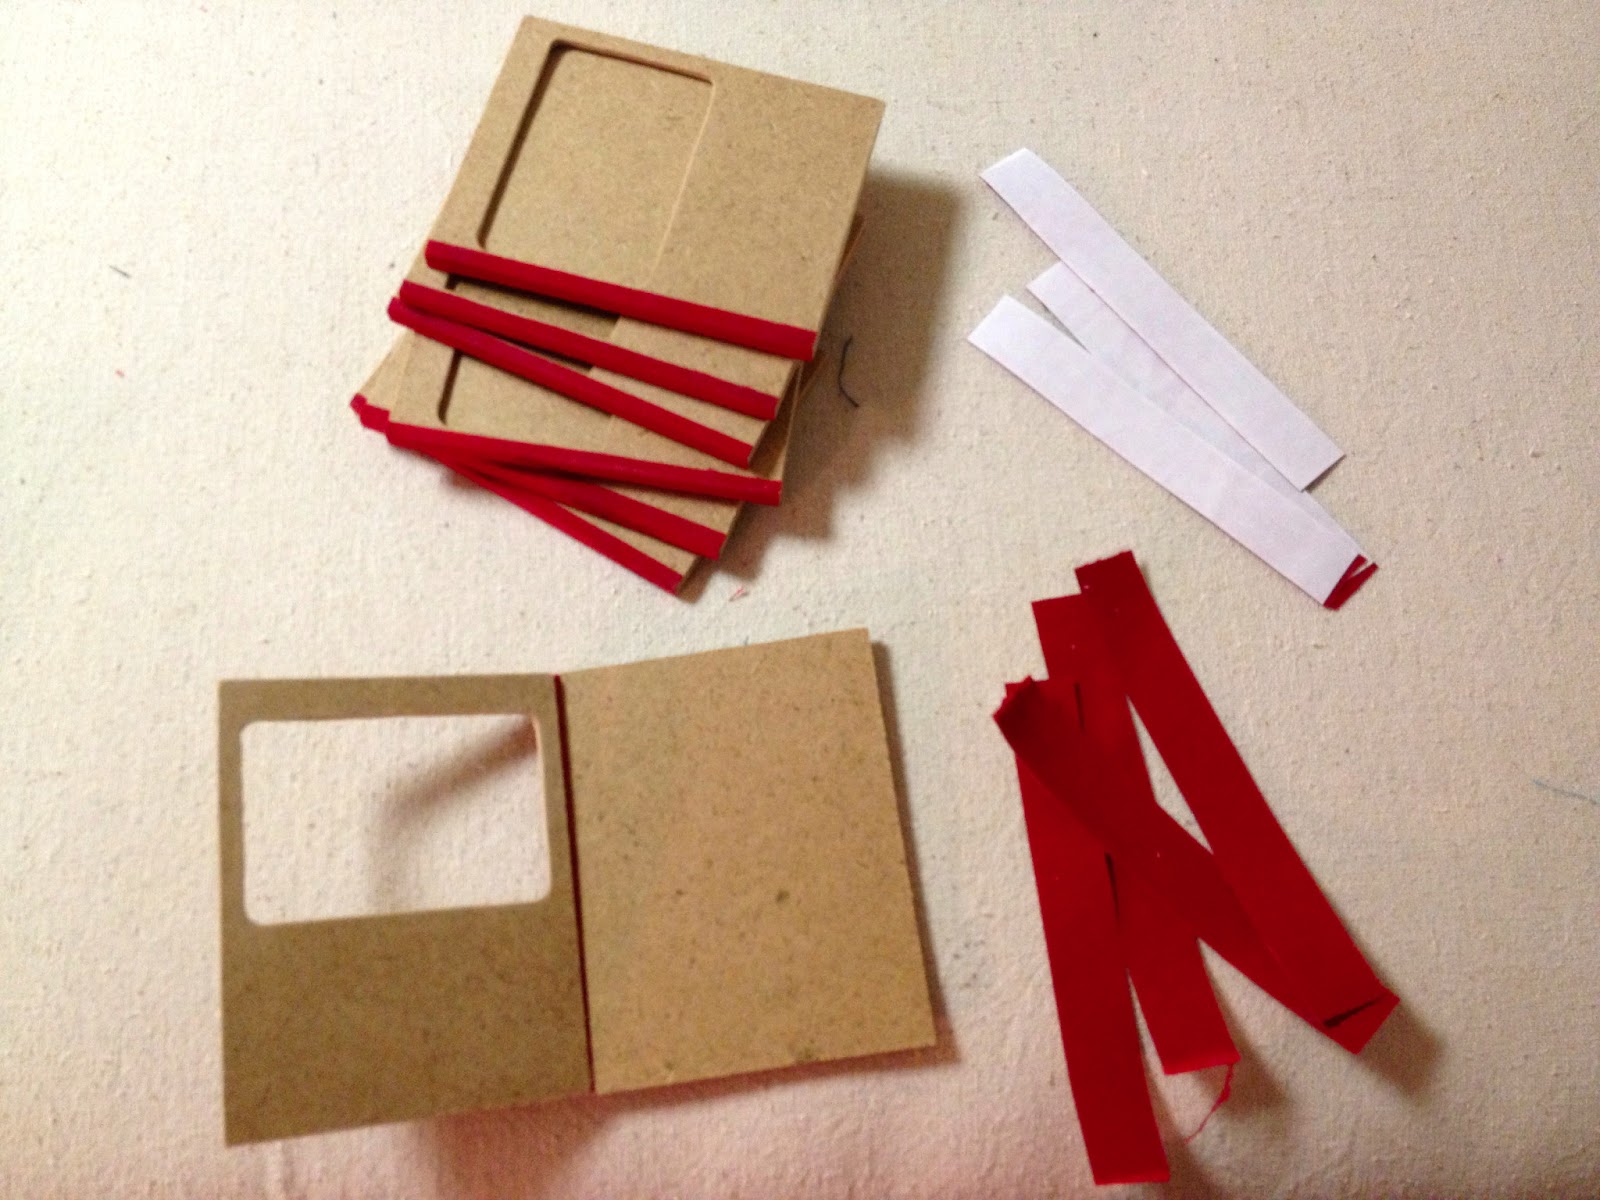
3. Prepare binding: red cotton fabric strips with double sided fusible interfacing (heat-n-bond).
Apply one strip to outer edges and another strip to inside, be sure to leave a gap for book to open/close.
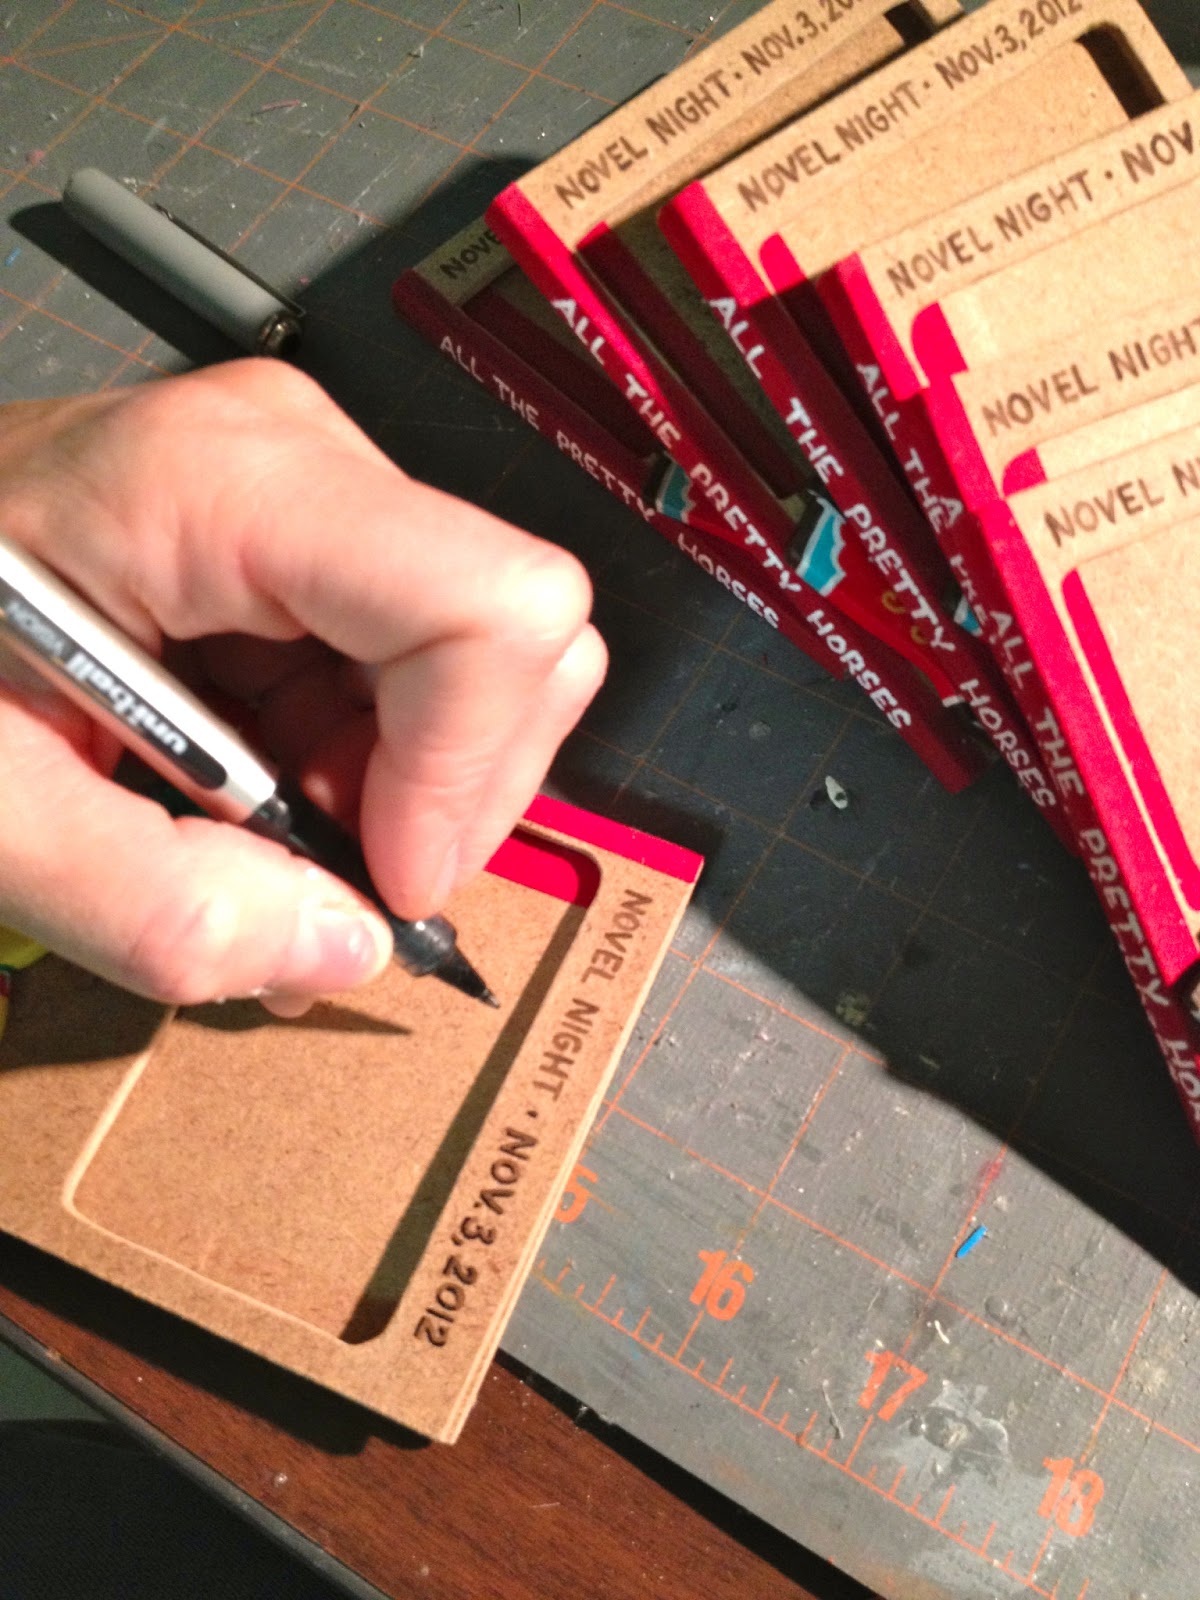
4. Hand paint book title with high gloss white enamel:
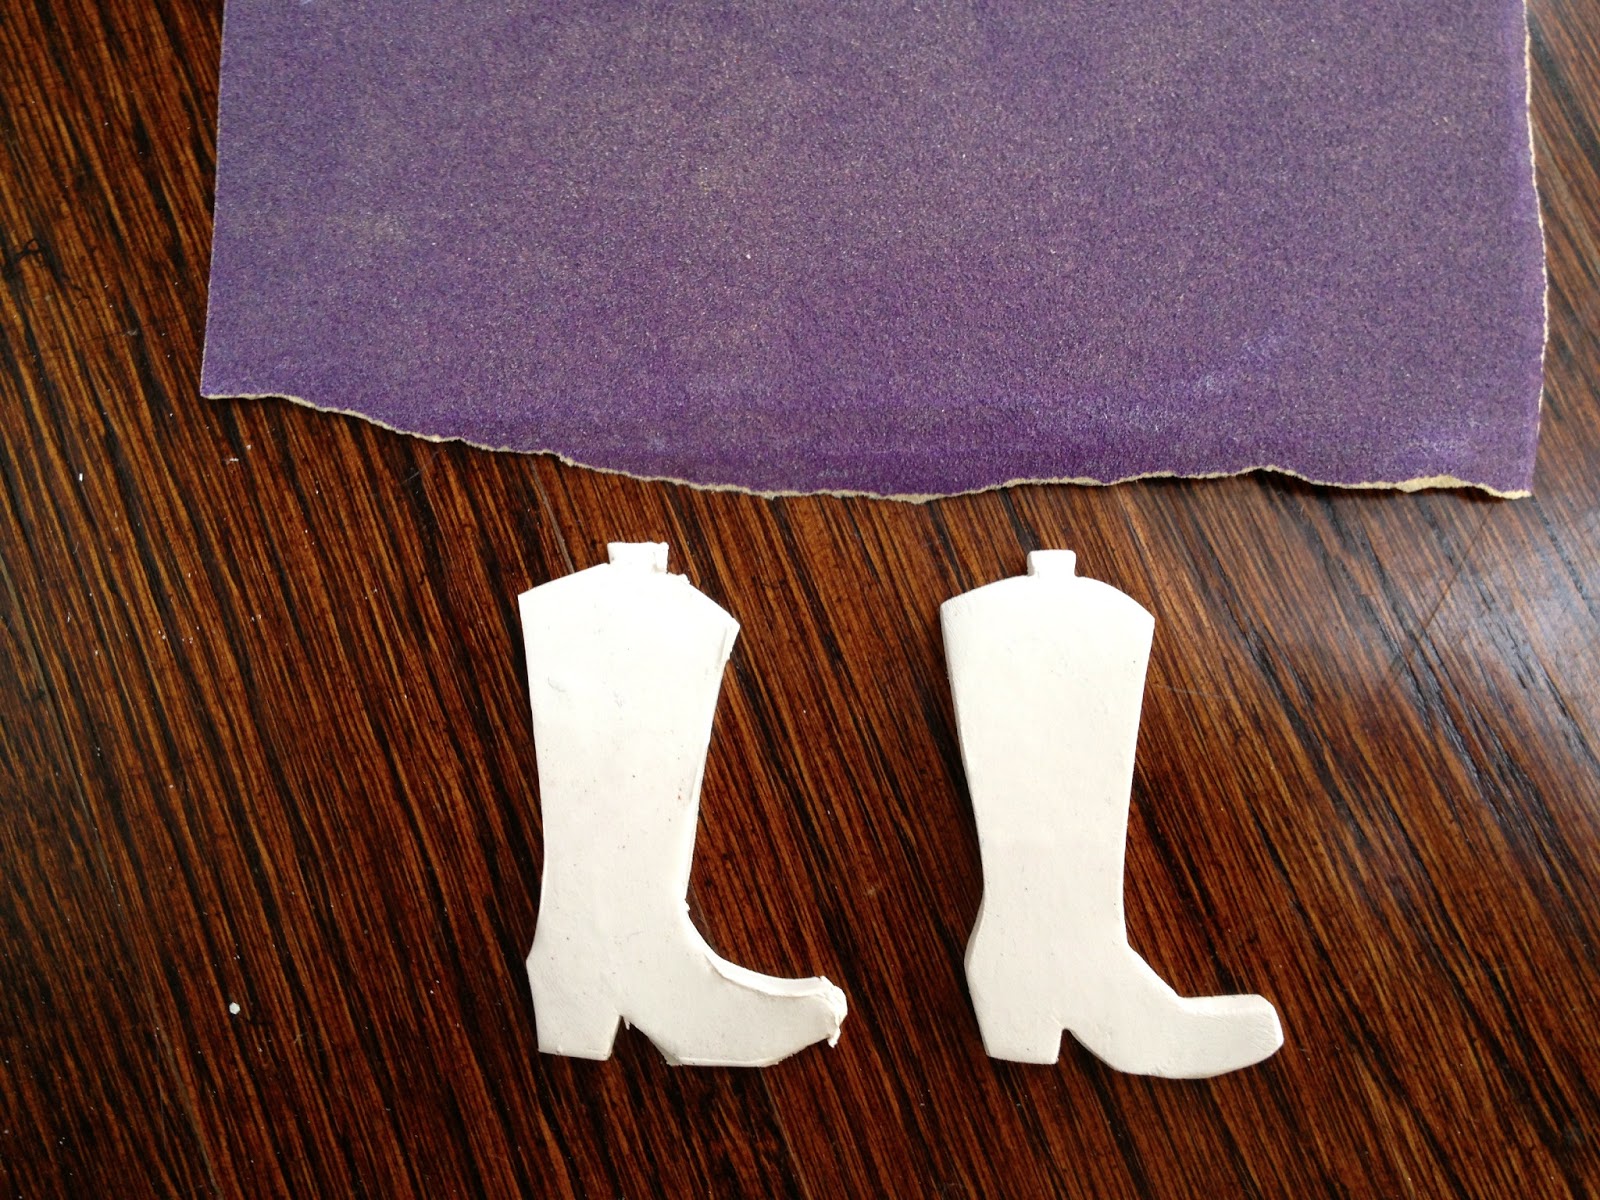
5. Make cowboy boot and sombrero using white Sculpey clay.
I made a cardboard template:
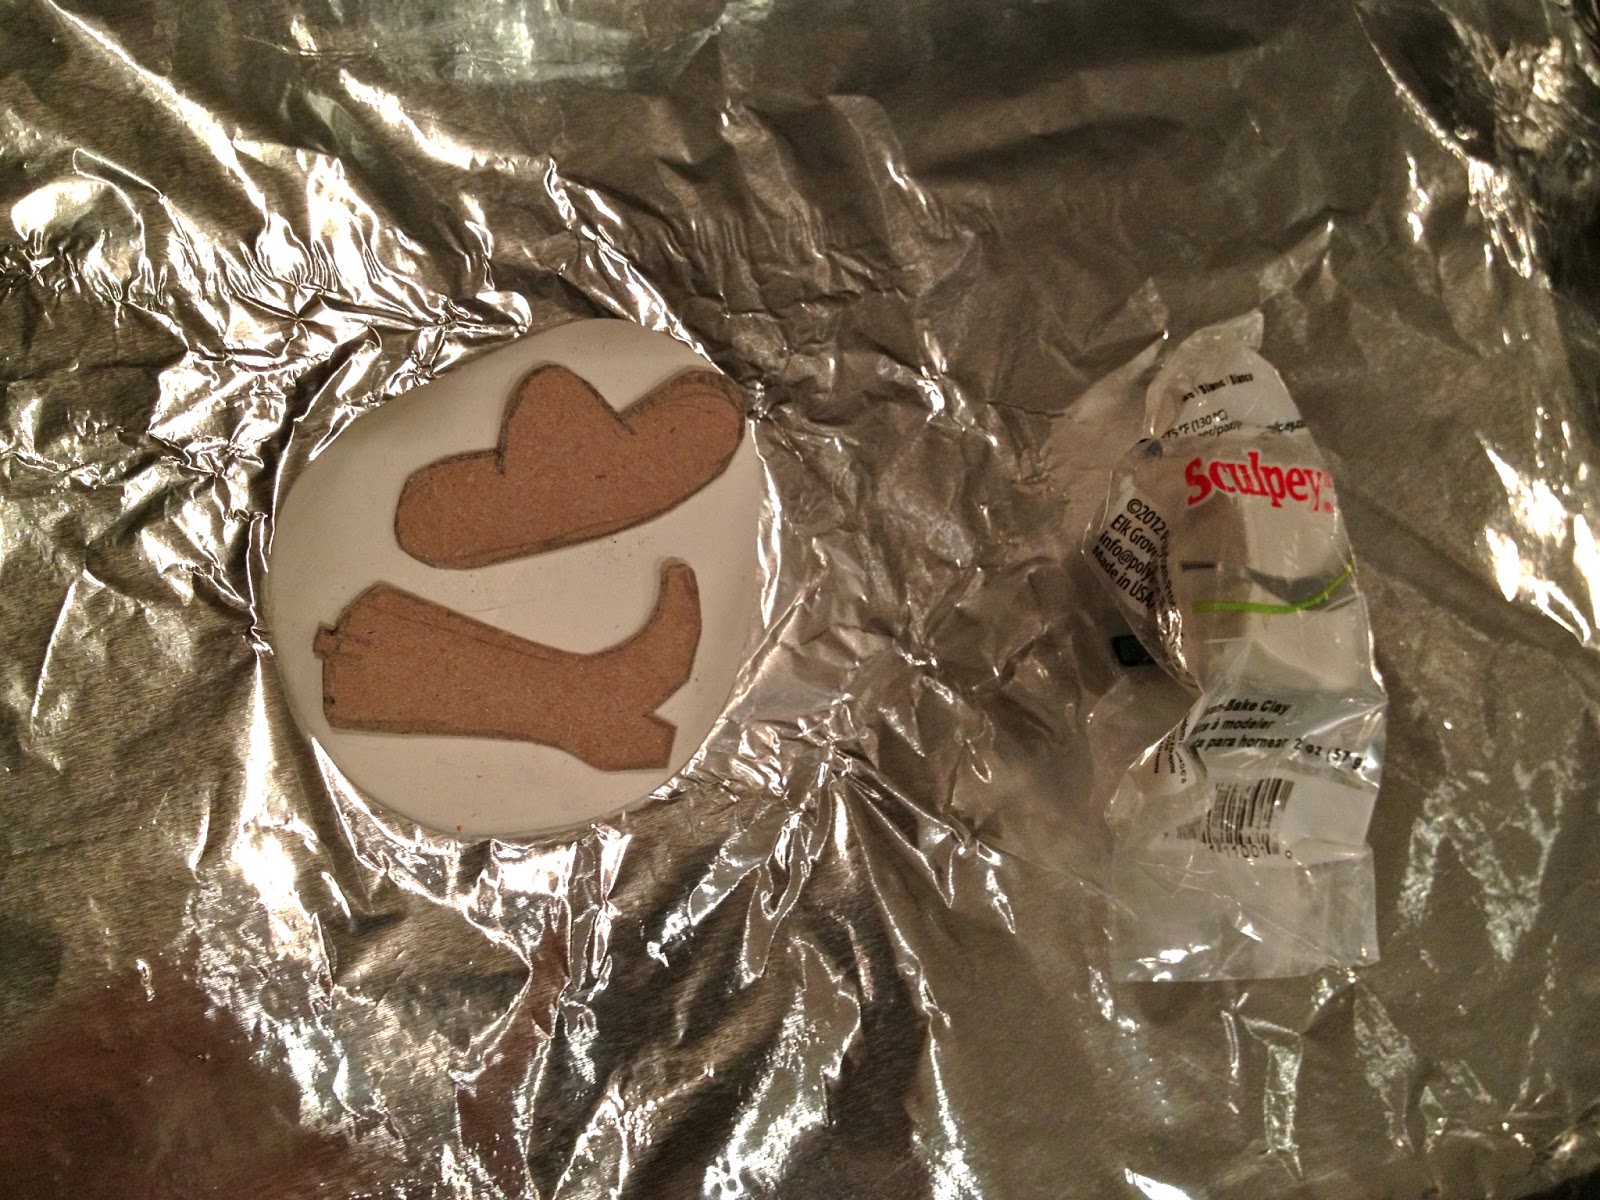
6. Cut around cardboard template:
Bake as directed.
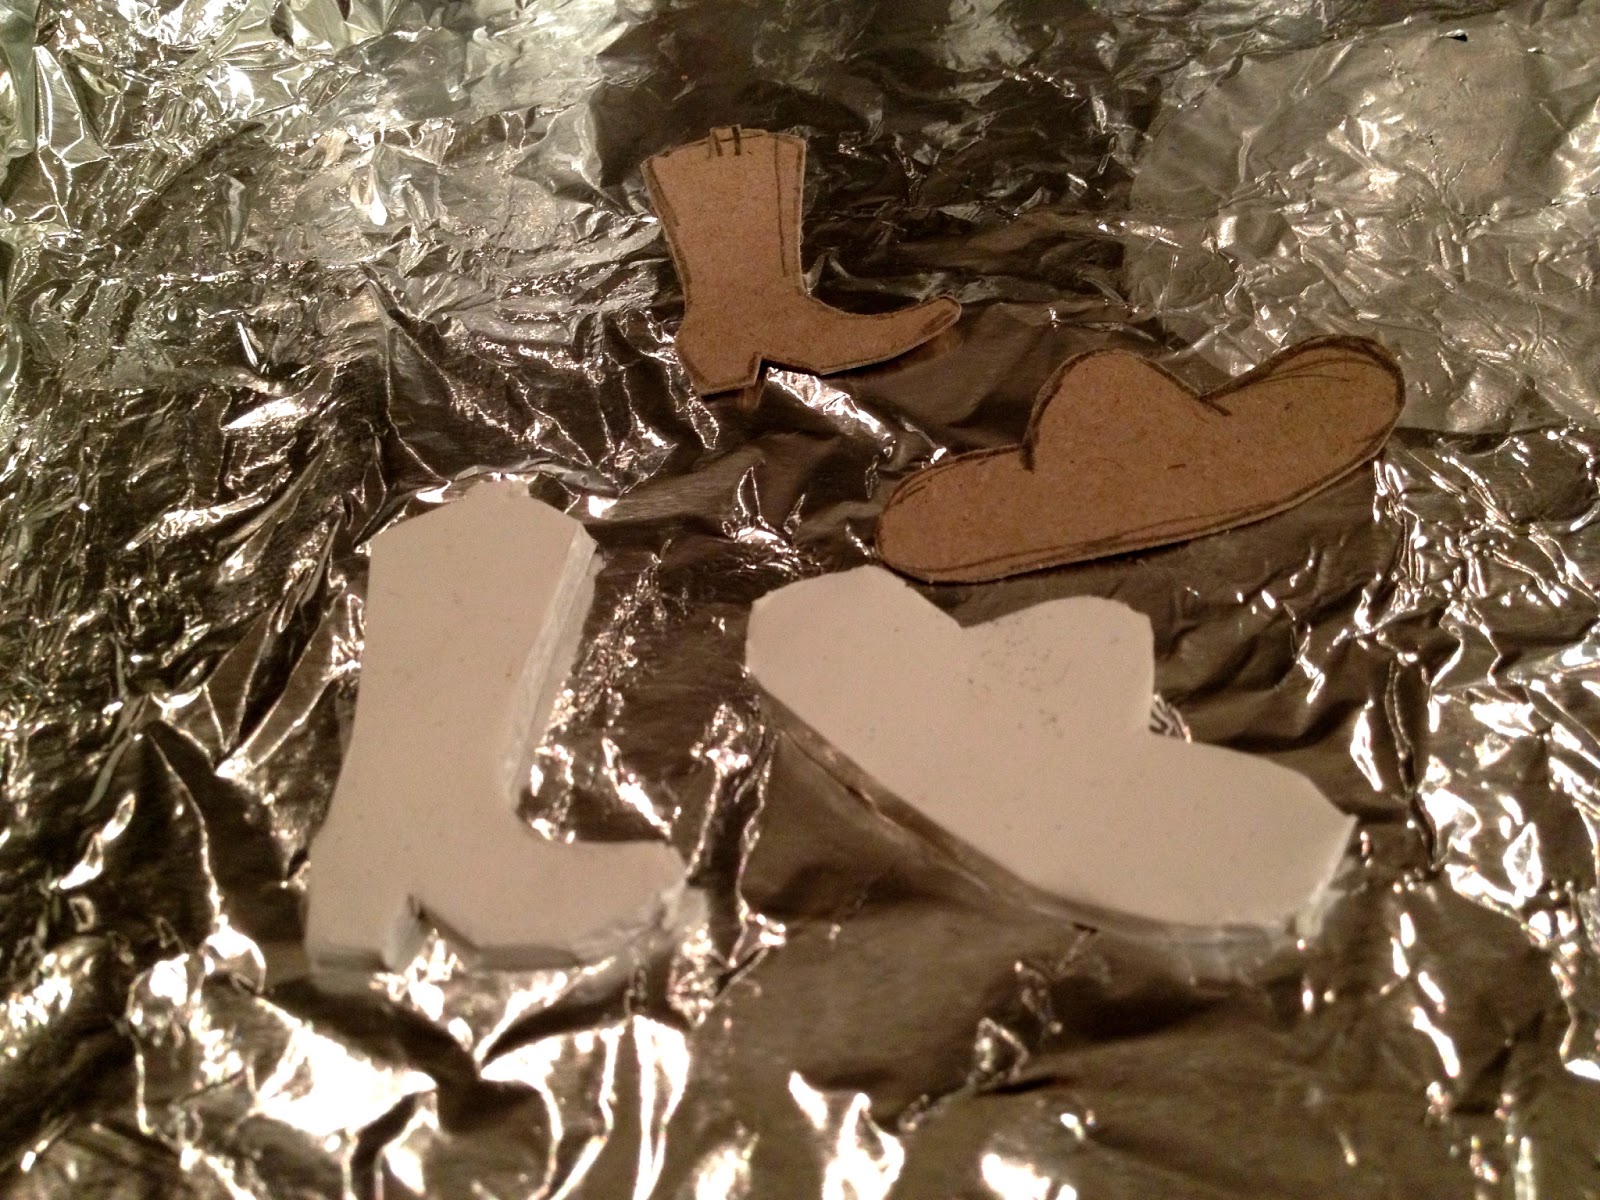
7. Once baked and hard sand edges smooth:
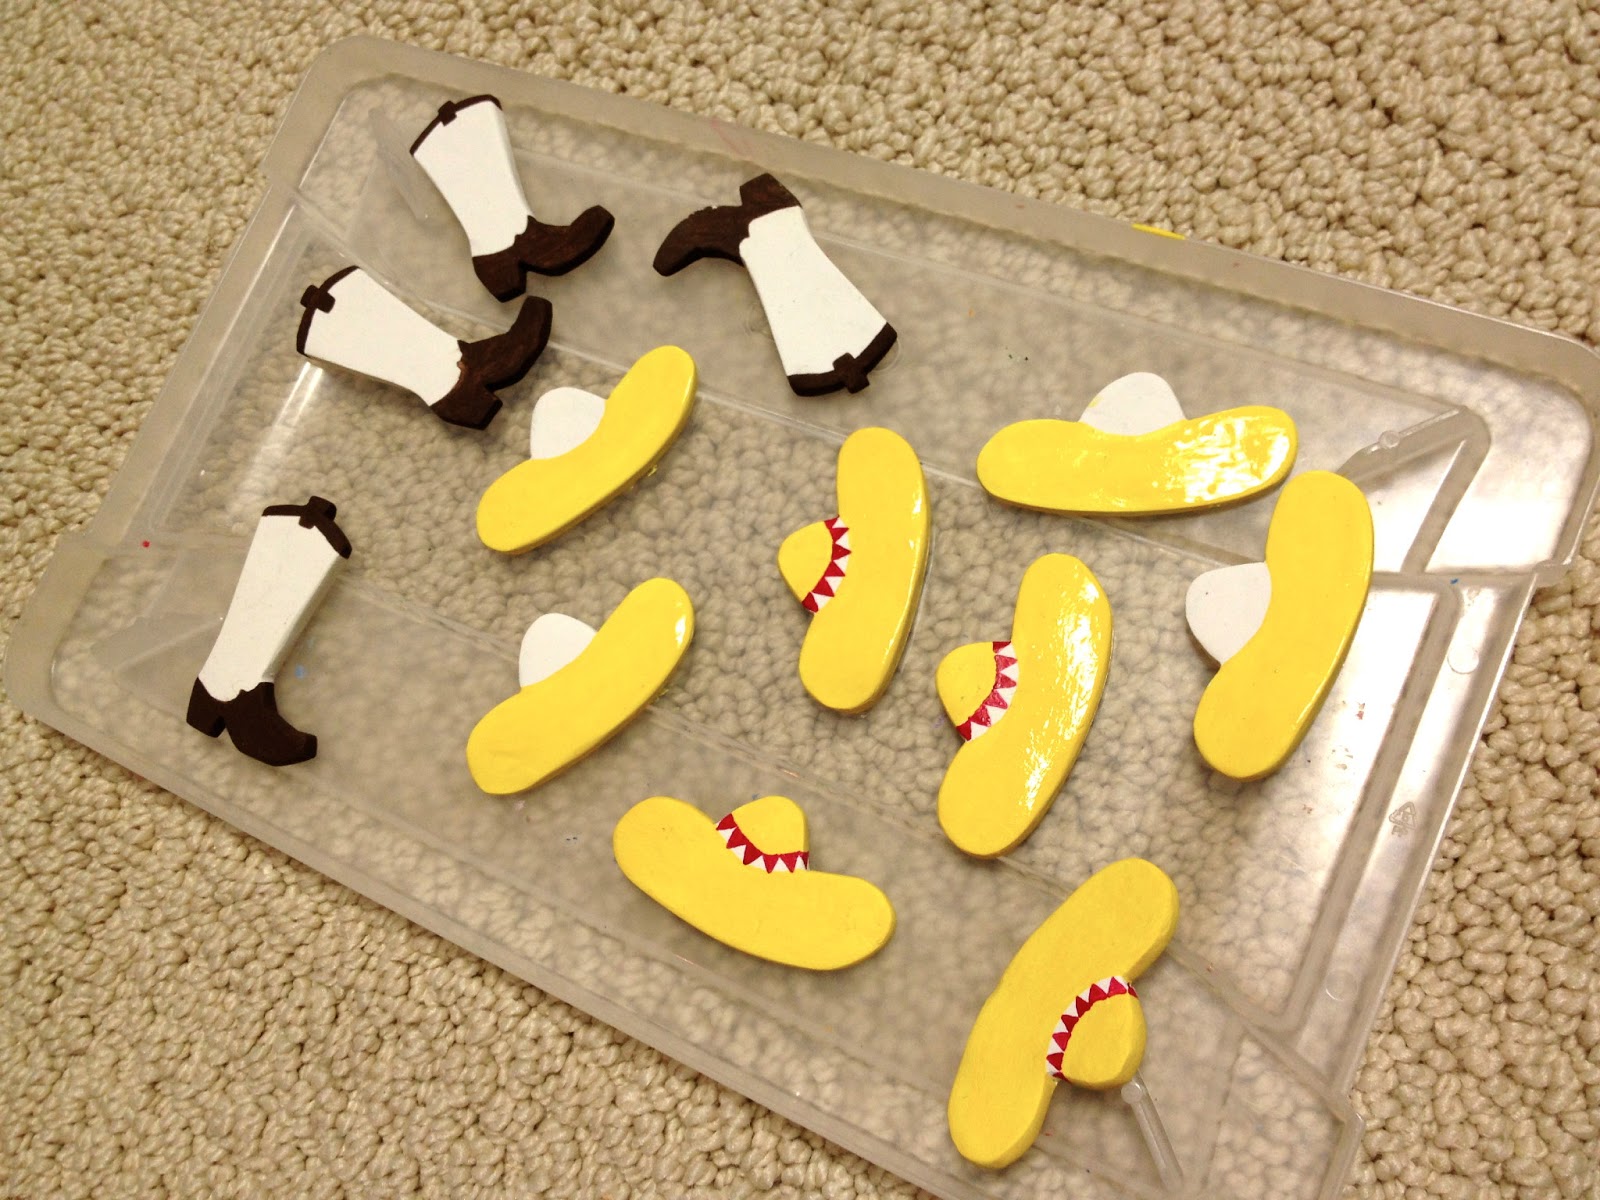
8. Paint as desired with acrylics:

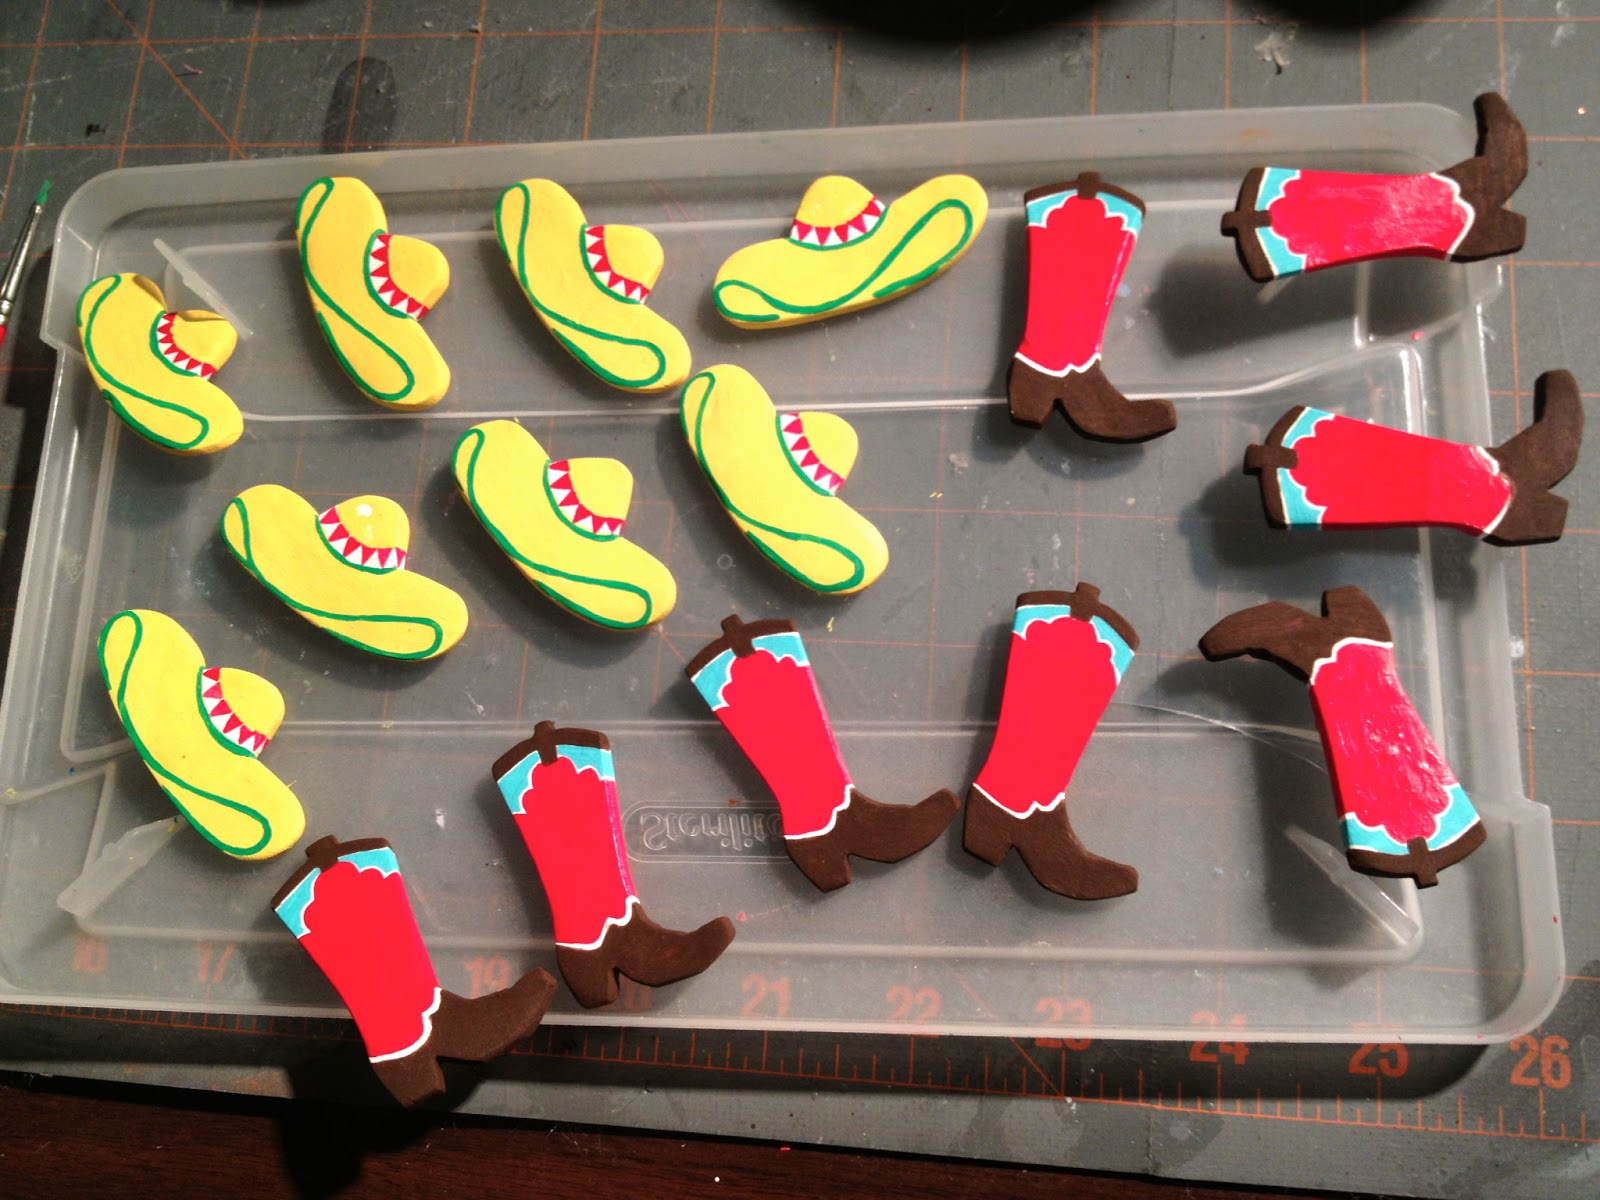
9. Once painted and sealed with clear gloss predrill holes in sombrero for ‘pom pom’ trim:
10. To make pom pom trim cut down mini brads:
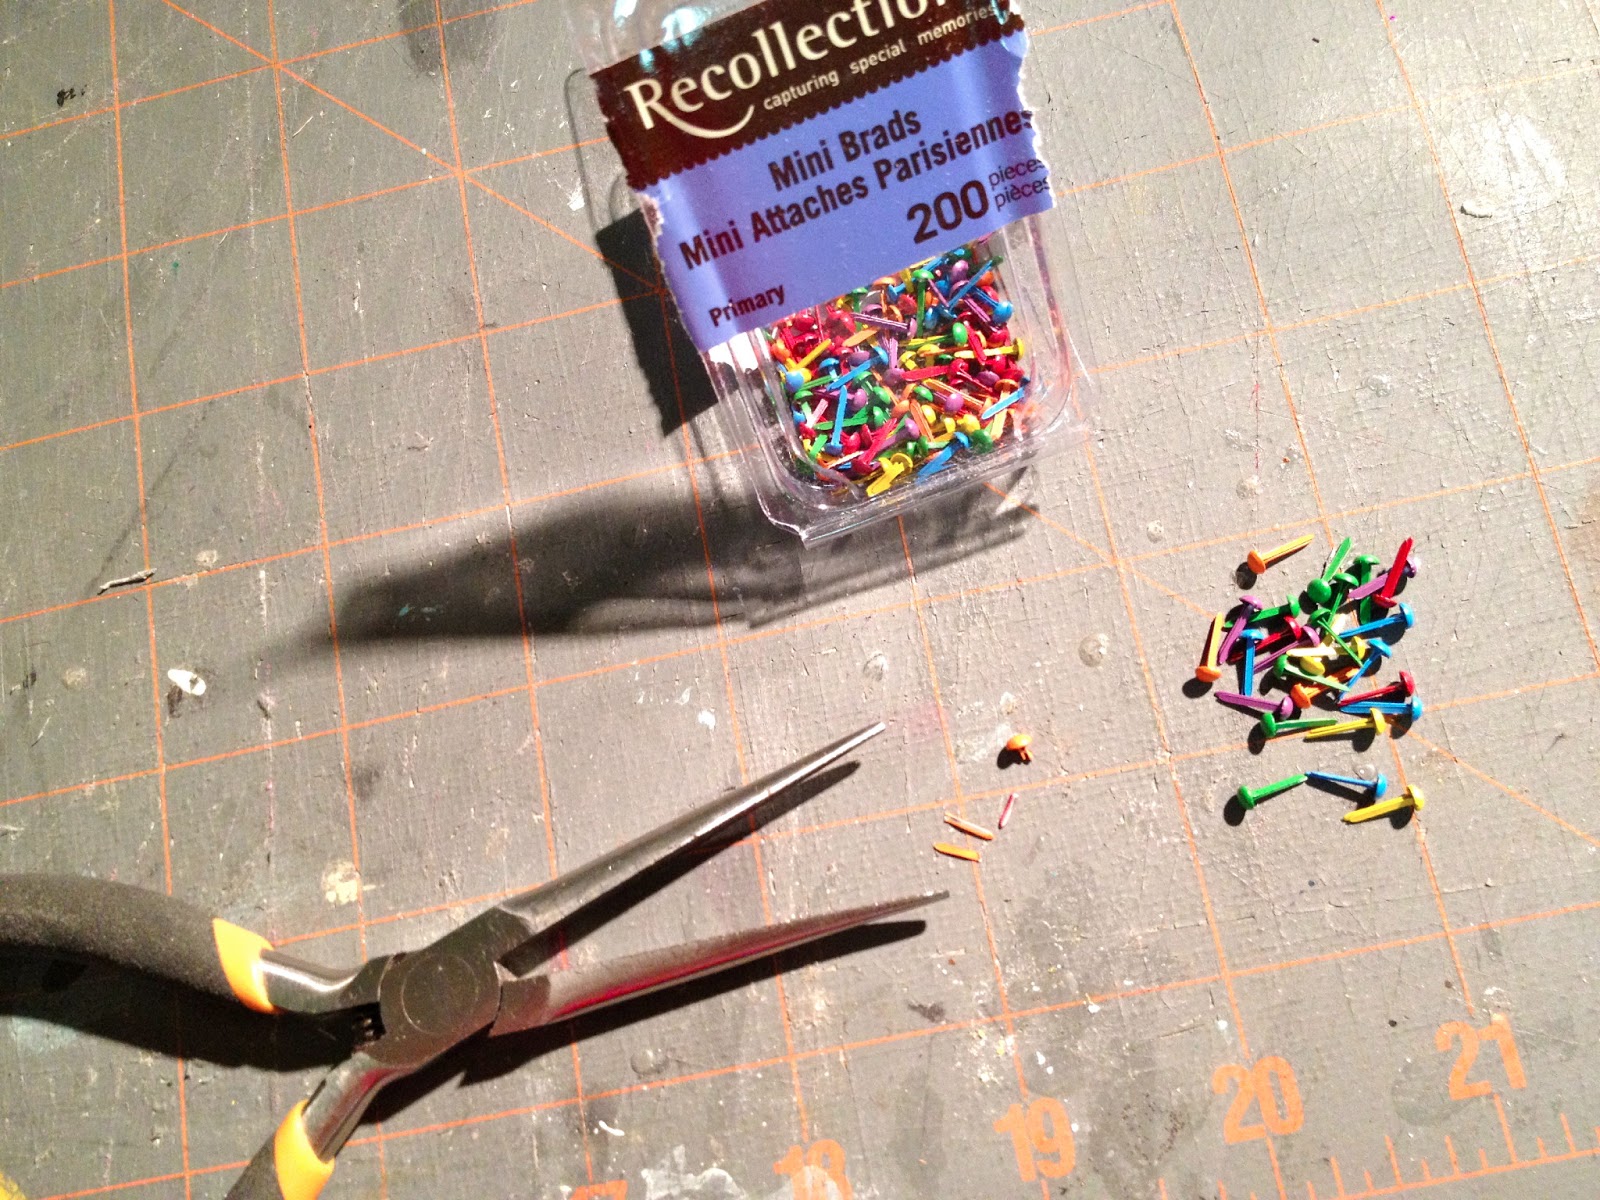
Stick end of brad with E6000 glue down into predrilled hole:
 
11. Use E6000 glue to attach all pieces to front of ornaments:
12. Handpaint lettering at top of ornament and create shadow with black pen:
Jute string hanger is stapled just inside the back cover.

You may also like...

  • “D” is for Dr. Seuss Bookmarks“D” is for Dr. Seuss Bookmarks
  • “C” is for Cake Party“C” is for Cake Party
  • “T” is for Tiny“T” is for Tiny
  • Cross Stitch Monogram Ornament PlacecardCross Stitch Monogram Ornament Placecard
Share this post:

Filed Under: CHRISTMAS, CRAFTS, CRAFTS, DIY, GIFTS, PAINT, SEASONALLeave a Comment

Reader Interactions

Leave a Reply Cancel reply

Your email address will not be published. Required fields are marked *

Primary Sidebar

Hi! I’m Jaime

Jaime Costiglio

Hello!

Thank you for stopping by.
Join me for lots of DIY.

Read more

Get new posts via email

Handbuilt Holiday: Gift Project Plans

handbuilt holiday gift project plans

Collection of DIY gift project plans to build.

The Home Depot Tool Prospective

THD Prospective

Tools to consider for the DIYer.

Archives

The Home Depot Logo
Copyright © 2023 Jaime Costiglio · Custom site by Moonsteam Design

Privacy Policy