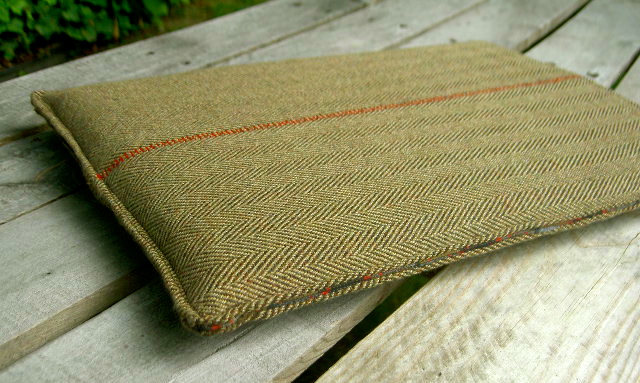
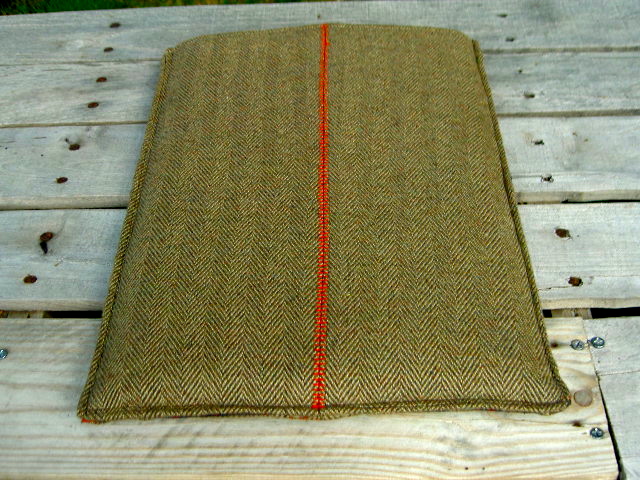
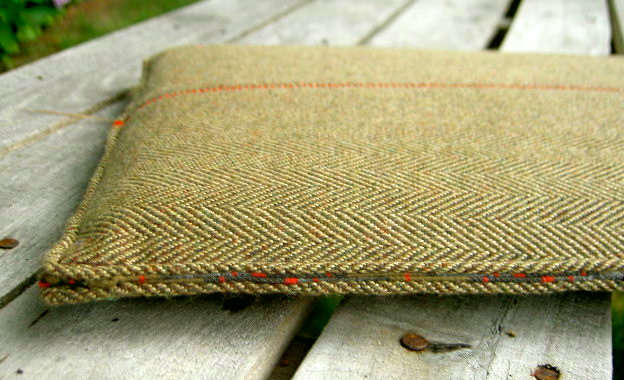
Wool sportcoat turned into a laptop sleeve.

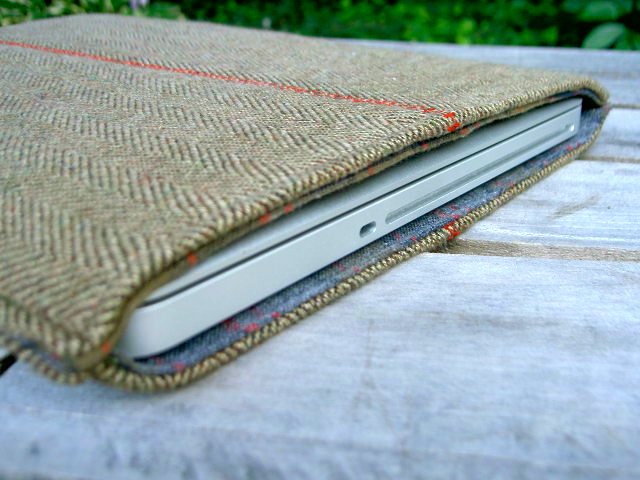
Lined with flannel.

Here’s how I made the sleeve:
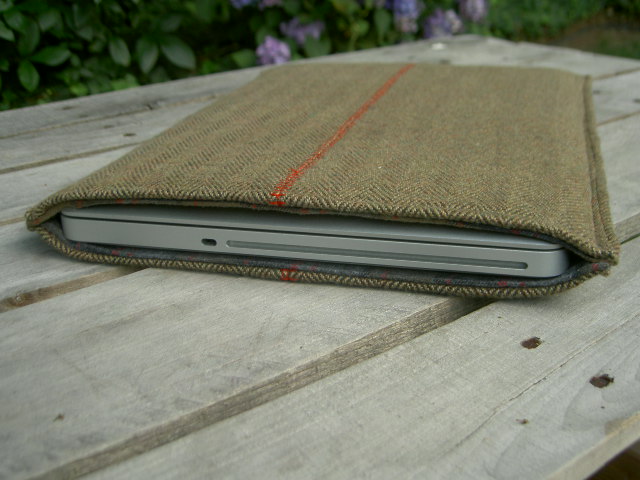
(This fits a 13″ x 9″ Macbook Pro.)
1. Cut pieces:
wool – cut 2 (15″x 11.5″) (I used the center back of the jacket.)
flannel lining – cut 2 (15″ x 11.5″)
extra stiff interfacing – cut 2 (13.5″ x 10.25″)

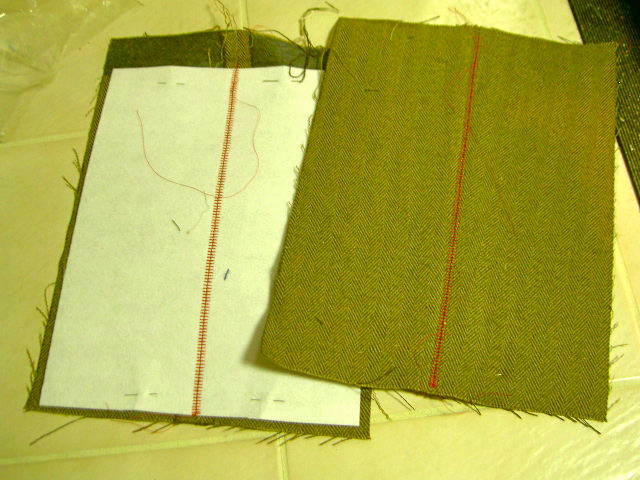
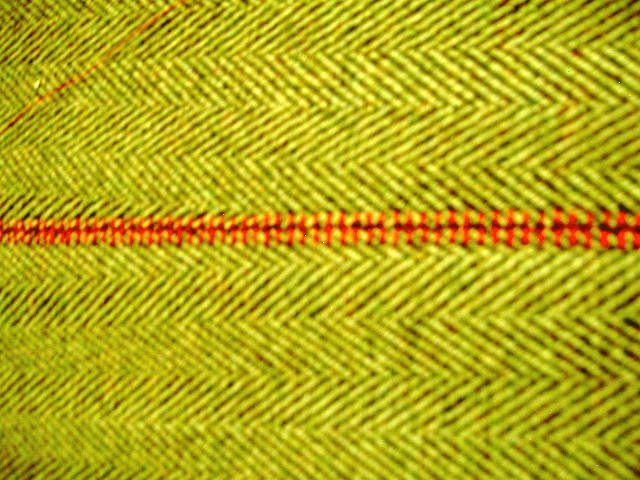
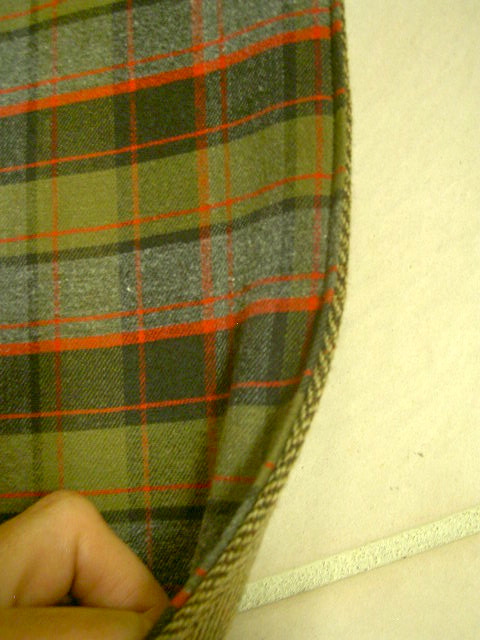
2. Pin the interfacing to wrong side of wool, I choose to enhance the center back seam by adding a decorative ‘baseball’ stitch in the gutter. This also keeps the wool in place or you could use fusible interfacing.
3. Iron one edge of lining about 3/8″, wrap wool over interfacing and line up wrong sides to enclose the interfacing with straight stitch.

4. Continue around all four sides. Be sure lining and wool are flat and flush to end of interfacing, use lots of pins and ironing.
5. Both sides complete:
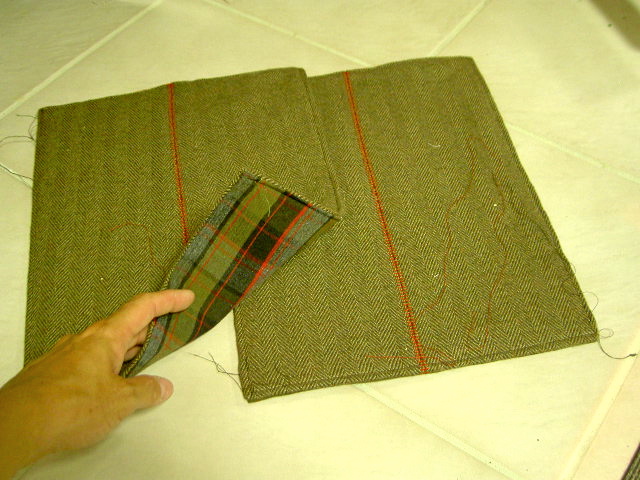
6. Place lining sides together to make sleeve, straight stitch around three edges.
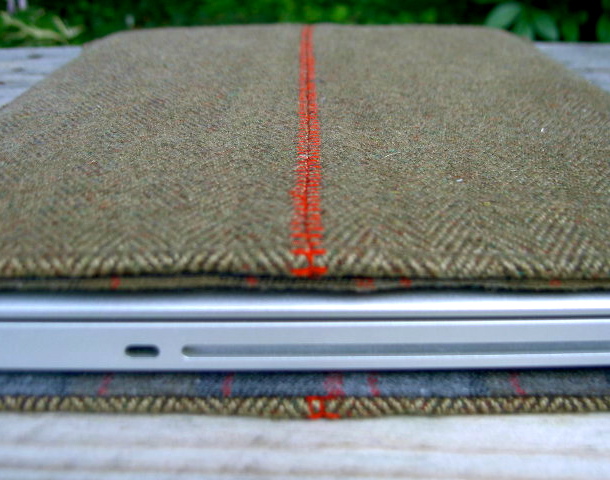
It will be a snug fit, that’s what you want:

Here’s the before and after:
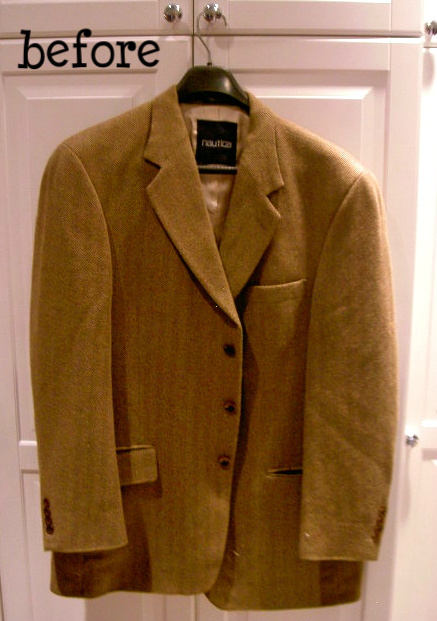

A bit masculine (this one is for my brother), stylish and a great way to reuse a wool sport coat.
Hope you like it Chonce.


I do like it! You are a great seamstress!
Susan
That's cute! You're so creative!!
Such a great way to recycle! Thanks for sharing all your steps! As a newbie to sewing I soak up all tutorials (I should just take some lessons but what fun would that be??) Your blog is wonderful! I visit weekly to see what other fun you have to share…thanks!
Fantastic, Jamie! You always amaze me with your talents!
This is so awesome!!! I want one of these – this is going on my Things I Want to Make pinboard for sure!! I would love it if you linked up to Saturday Social this weekend!!
http://socialsalutations.blogspot.com/2011/07/saturday-social-week-8.html
– Jenn @ Social Salutations
What a fun cover. I've been thinking of making myself a cover for my laptop and yours makes me want one even more.
You always have great repurposing projects!
great idea, it turned out beautiful.
i wish i could sew this good. ive done pillows so far thats it..
Super fabulous! Great job!
I adore this. It's going on my to do list.
megan
craftycpa.blogspot.com
That is so classy! I have a couple of boys who would love one of those!
I have an old suit in the closet and this would be a great way to use it! Thanks for sharing!
Very nifty! And gosh, I envy your sewing skills! Such neat seams and stitches.
What an absolutely adorable DIY! Well done.
I hope that you will stop by and enter my giveaway.
Happy Monday!
That is seriously cute – will have to try that for my hubby's MacBook!
Allie @ [email protected]
The "after" looks a lot better. I'm having a party today and every Monday at http://diyhshp.blogspot.com Would love for you to stop by and link up this project and any other projects.
So clever!! I desperately need one of these!! Come check out my blog and enter to win my very first giveaway!! http://www.hopesewell.com
Ingenious!! I love it! I featured you today in my Friday I'm In Love favorites. Have a great weekend!!
http://socialsalutations.blogspot.com/2011/07/friday-im-in-love_22.html
– Jenn @ Social Salutations
so creative! great job 🙂
I'm a follower of your site now – everything is so creative!
I love this. I'm going to try it this weekend.
Is it a 13" mac or a 15" ?
I have the same question – what size is your mac?
Hi Jodene, this is a 13″ x 9″ macbook pro. Hope that helps.