• Home
  • Blog
  • About
  • Contact
    • Disclosure
    • Privacy Policy
  • SHOP
  • Widget area for main menu

    • Email
    • Facebook
    • Instagram
    • Pinterest
    • Twitter
    • YouTube
  • Skip to primary navigation
  • Skip to main content
  • Skip to primary sidebar

Jaime Costiglio

build - paint - sew

  • BUILD
    • BEDS
    • BENCHES
    • DESKS
    • DRESSERS
    • GAMES & TOYS
    • SCRAP WOOD
    • SHELVES
    • STORAGE
    • TABLES
  • TOOLS
  • PAINT
    • CRAFTS
    • FURNITURE
    • HOME DECOR
  • SEW
    • GIFTS
    • HOME DECOR
    • POUCHES
  • HANDBUILT HOLIDAY
    • 2021
    • 2019
    • 2018
    • 2017
    • 2016
    • 2015
    • 2014
    • 2013
  • GIFTS
    • BABIES
    • KIDS
    • FOR HER
    • FOR HIM
    • TEACHERS
    • WEDDINGS
  • SEASONAL
    • 4TH OF JULY
    • FALL
    • HALLOWEEN
    • CHRISTMAS
    • SUMMER
    • SPRING
    • ST. PATRICK’S DAY
    • THANKSGIVING
    • VALENTINE’S DAY
    • WINTER
  • SALTBOX PROJECT
    • BATHROOMS
    • DINING ROOM
    • EXTERIOR
    • FAMILY ROOM
    • FOYER / MUDROOM
    • KIDS BEDROOMS
    • KITCHEN
    • LIVING ROOM
    • MASTER BEDROOM
    • PLAYROOM
  • SCROLL SAW

DIY Wood Planked Sign

April 22, 2014

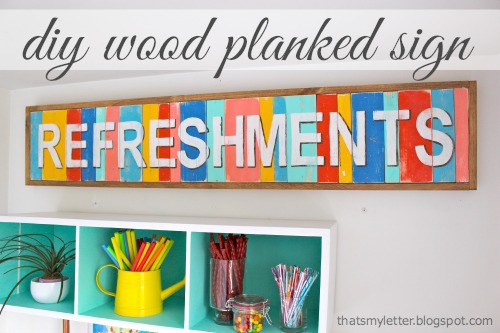
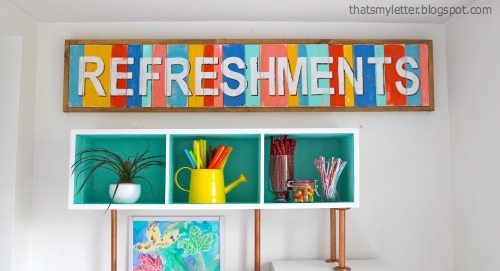
Paint: diy wood planked REFRESHMENTS sign
diy multi-color wood planked sign
Make this large wood planked sign using scrap pieces and bright paint.
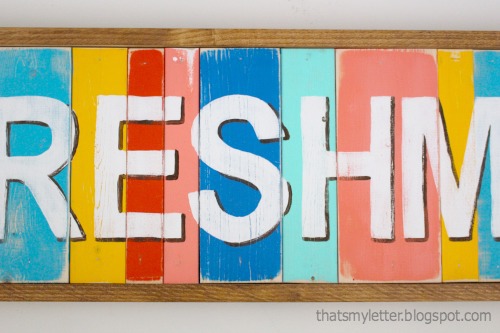
diy handpainted multi-color sign
I recently participated in the Creating With the Stars contest where 12 diy bloggers were selected to create a project based on a certain theme.  Each blogger was paired up with a star blogger who served as a mentor, I got lucky being paired up with Becky from Infarrantly Creative and we actually won the first round with our knock off project: sliding barn door console.
Then came Round 2: Paint.
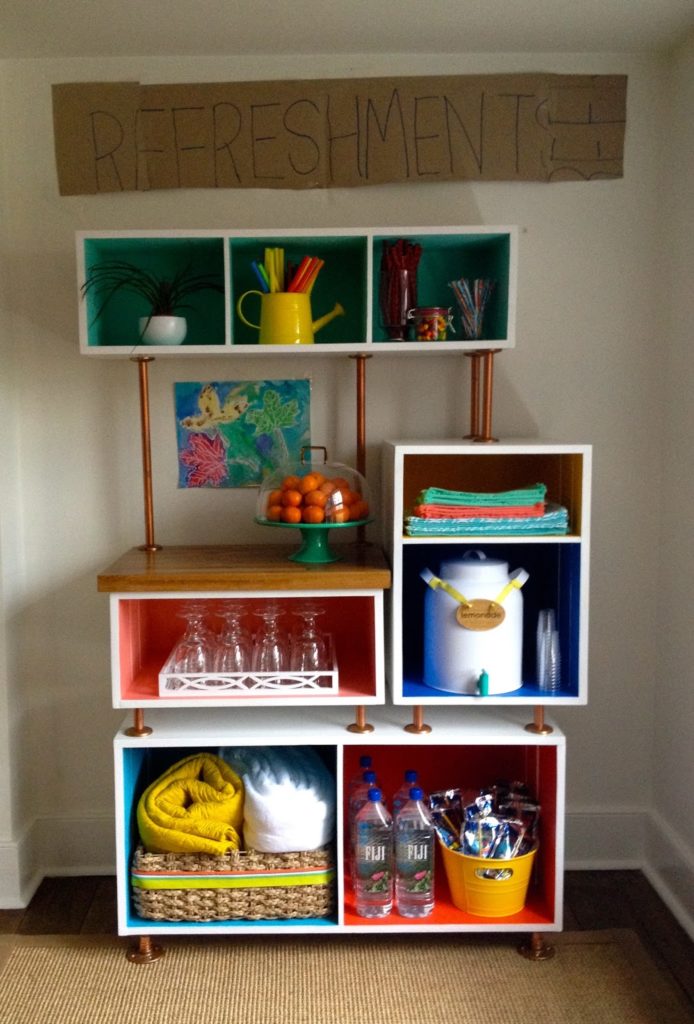
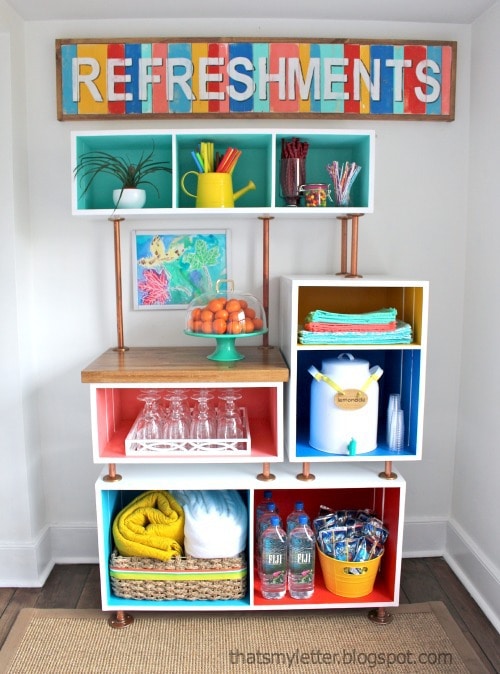
And we came in 2nd to last place 🙁 with our family refreshments station:
diy family refreshments station
But I still love the giant refreshments planked sign and today I’m sharing the full tutorial so you can make your own.
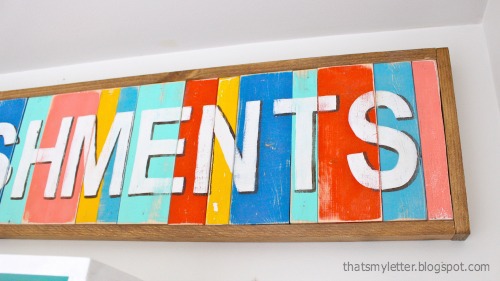
diy handpainted multi-color sign with frame
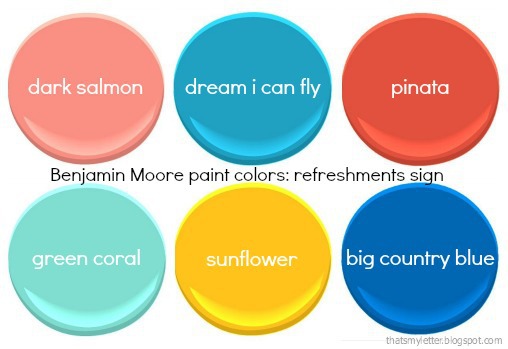
bright Benjamin Moore colors
diy handpainted multi-color sign
How to make a wood planked sign:
 
SUPPLIES:
– 1x wood scraps of different widths all cut @ 10″l
– 1/2″ plywood (10″ x 52″l)
– 2 – 1×2 @ 52″l
– 2 – 1×2 @ 11 1/2″l
– finish nails & nailer
– wood glue
– paint of multiple colors
– stain
how to make a sign
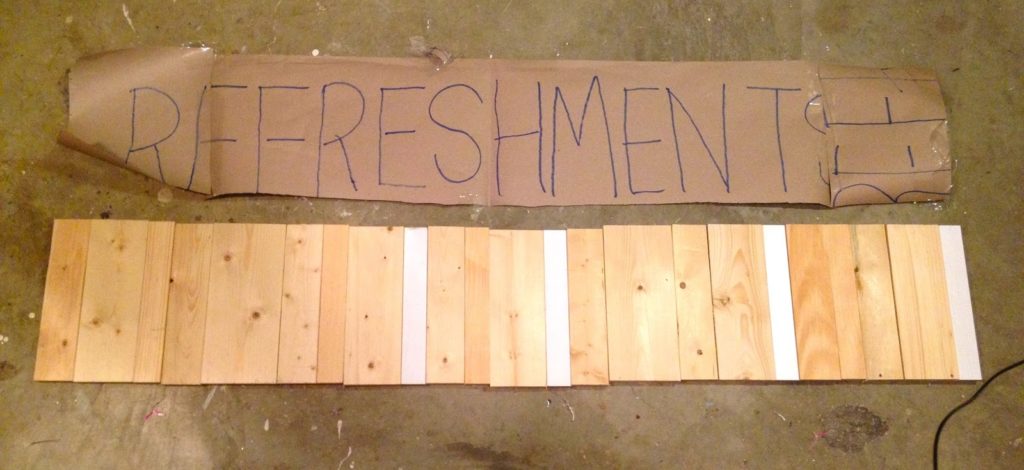
Step 1: Determine the size of your sign using brown kraft paper.
diy signmaking steps
Step 2: Cut enough 1x wood scraps at 10″l to make up the width of your kraft paper.  My sign measures 52″w.  I used 1x2s, 1x3s, 1x4s, and 1x5s wood scraps.


diy planked sign painted boards
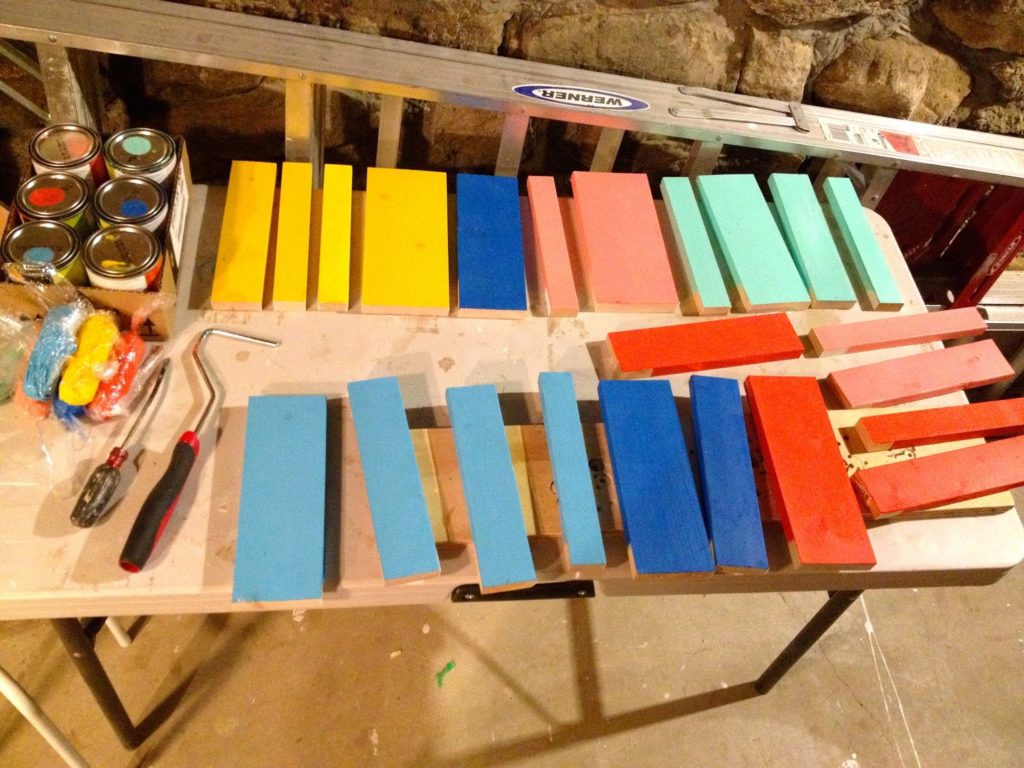
Step 3: Paint wood pieces.


diy multi-color planks
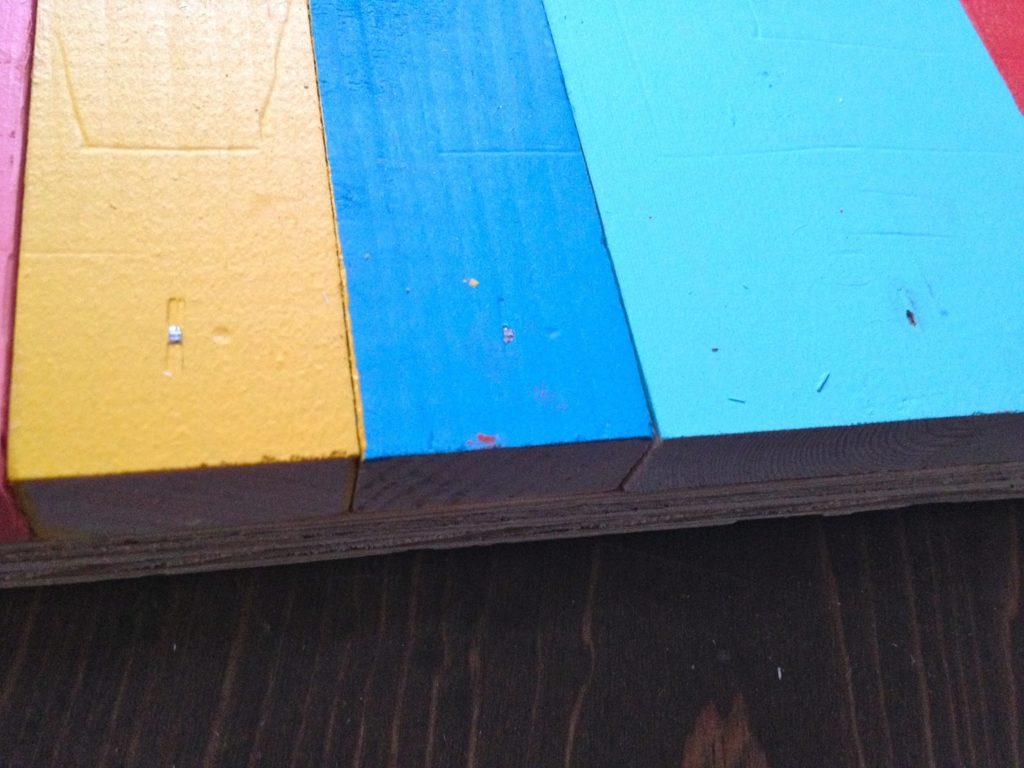
Step 4: Determine placement of painted pieces then glue and nail onto plywood backing.


diy handpainted sign with computer print outs
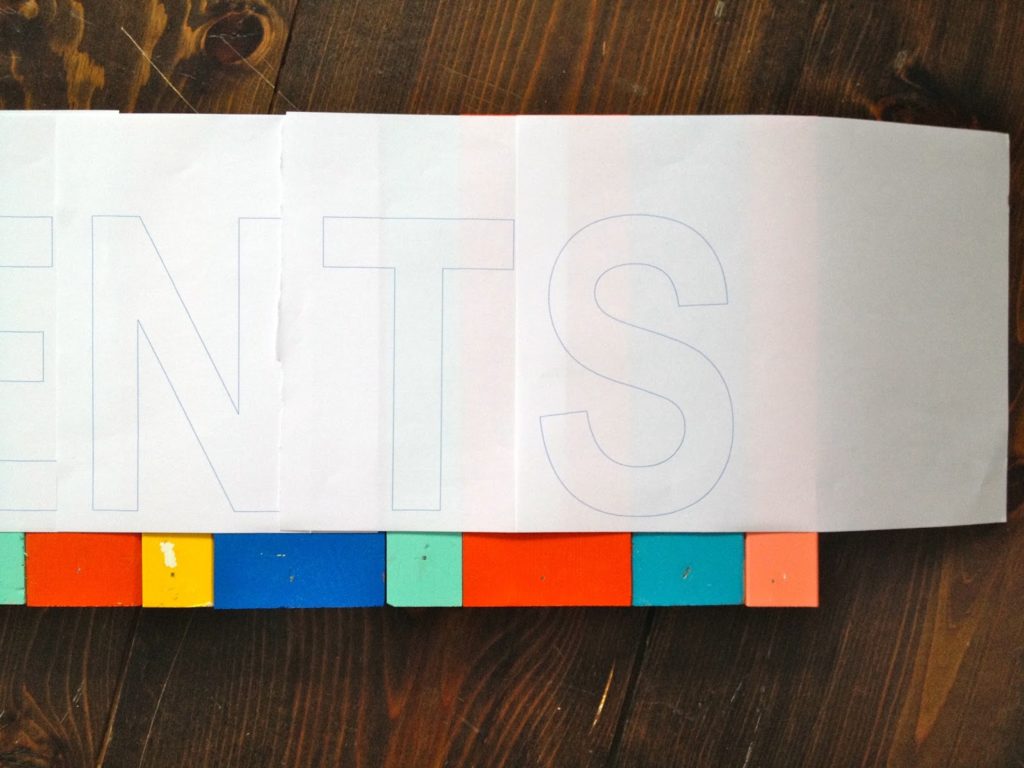
Step 5: Print out letters.  I used Ariel Narrow Bold font at 600 point.


diy handpainted sign using computer
Step 6: Line up printed letters on wood boards, work from the center outwards and be sure to center letters top to bottom.


handpainted lettering without stencil
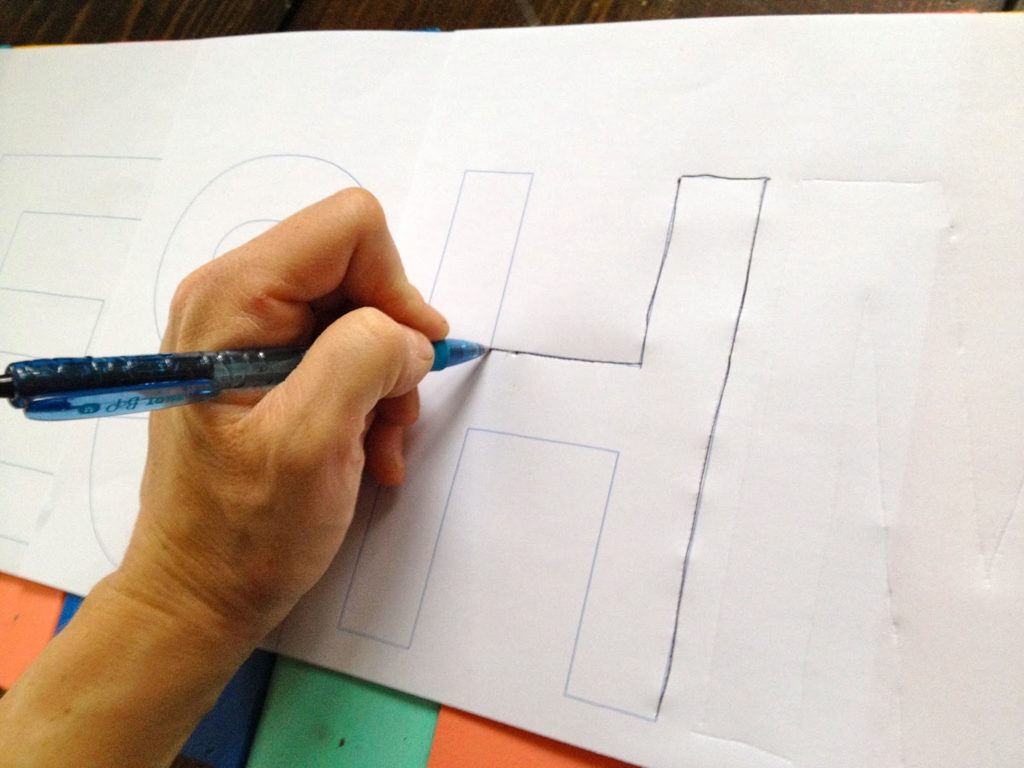
Step 7: Using a ballpoint pen trace outline of letters using heavy pressure.


handpainted lettering using indent
The pressure of the pen creates an indent in the wood.


handpainted lettering on planked sign
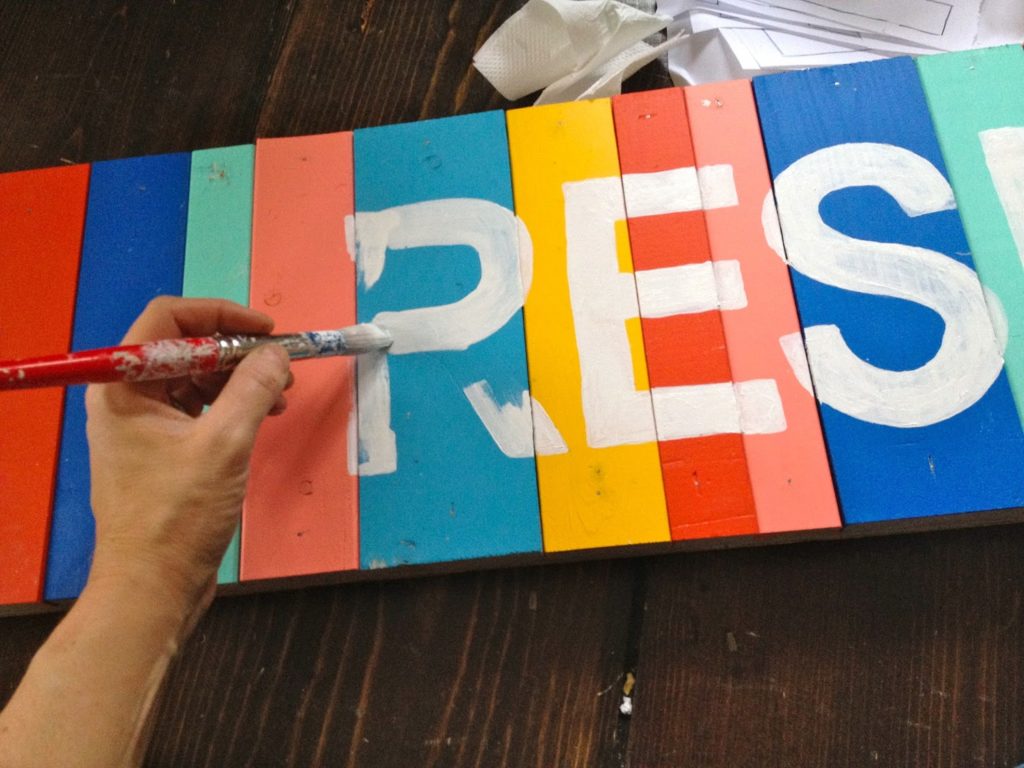
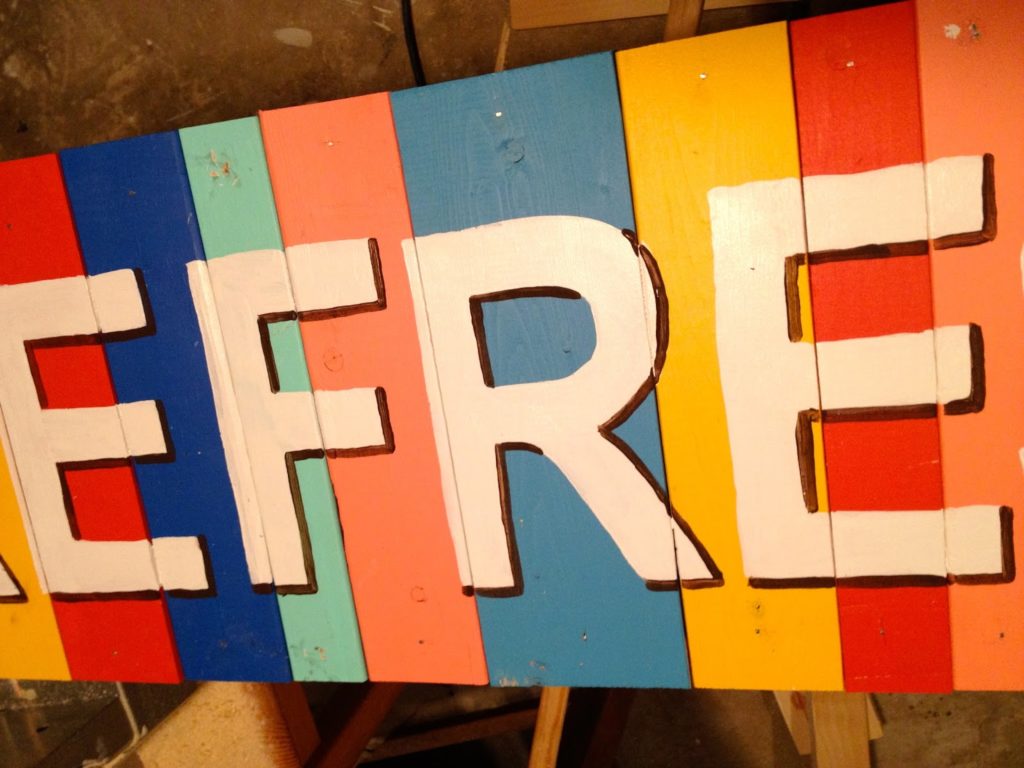
Step 8: Paint on and inside the indent with white paint.


handpainted lettering with shadow
Step 9: Add dimension to the letters with dark brown shadows.


distressing handpainted sign
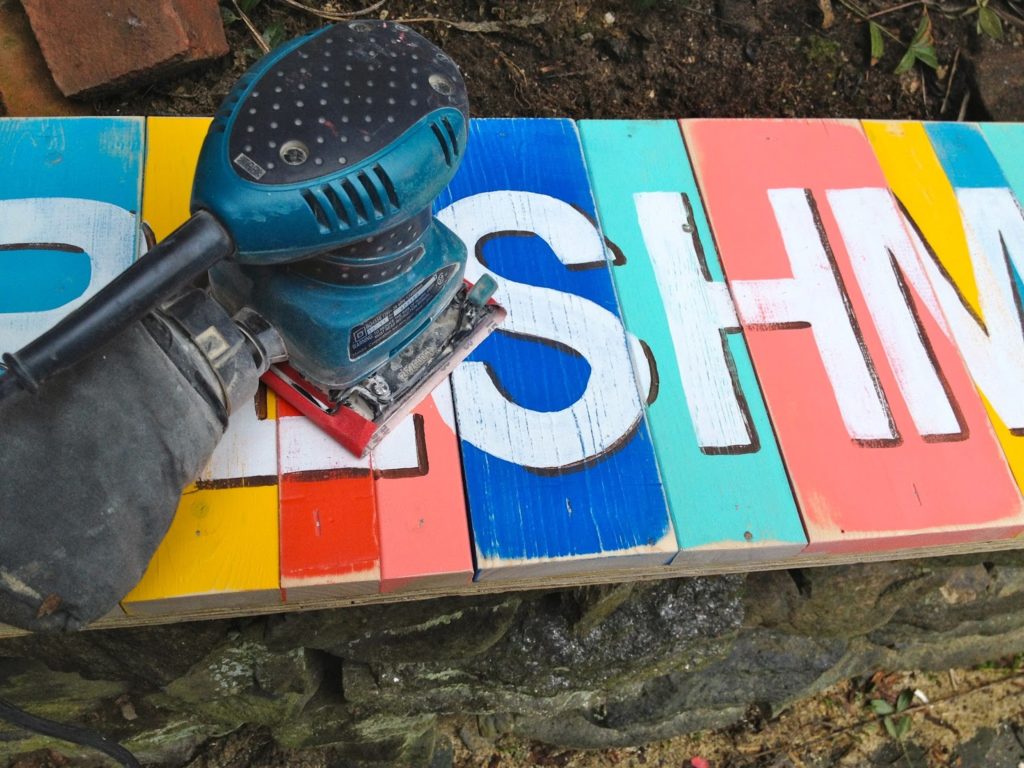
Step 10: Sand to distress.


adding a frame to handpainted sign
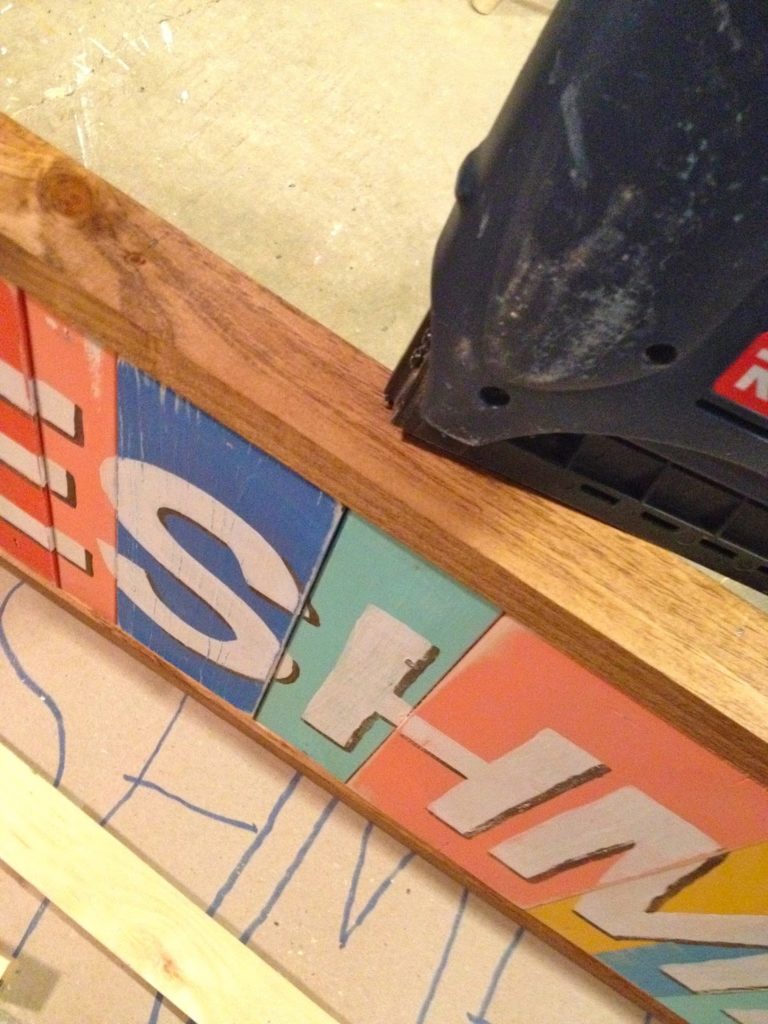
Step 11: Add 1×2 stained frame using glue and finish nails.


framed handpainted sign with cleat
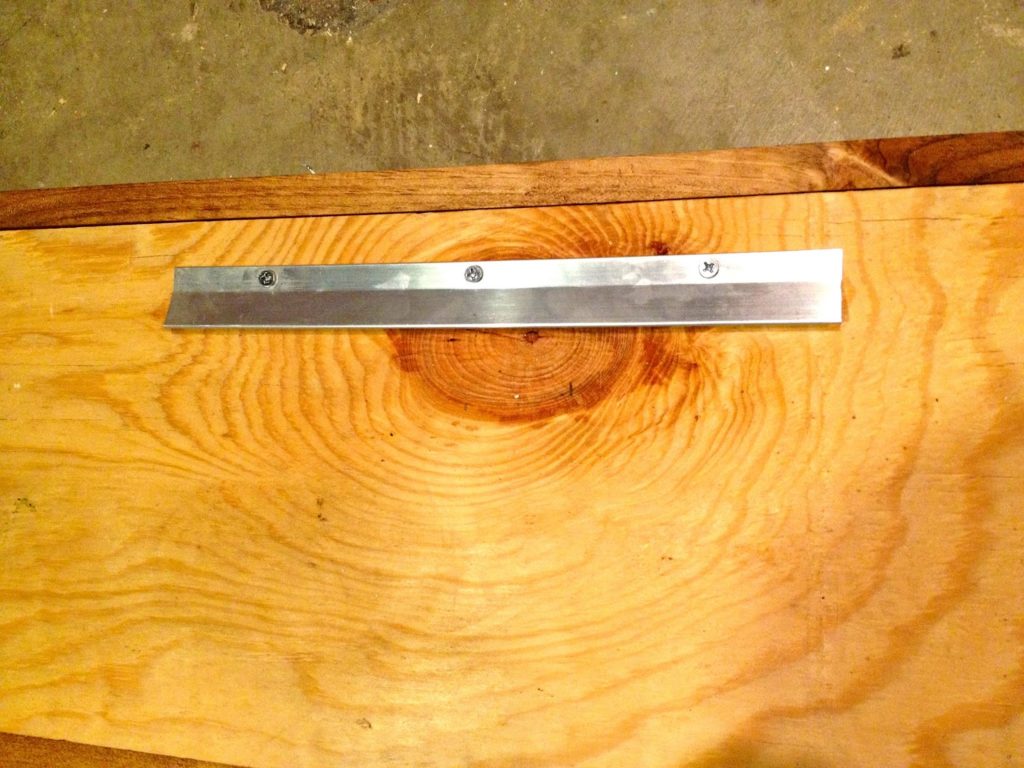
Step 12: To hang use a French cleat.
You may also like...

  • DIY Mason Jar Tote free plansDIY Mason Jar Tote free plans
  • DIY Handpainted SignDIY Handpainted Sign
  • DIY Danger Keep Out Skull & Crossbones SignDIY Danger Keep Out Skull & Crossbones Sign
  • “A” is for Arrow Signs“A” is for Arrow Signs
Share this post:

Filed Under: BUILD, DIY, HOME DECOR, HOME DECOR, PAINT, SCRAP WOOD5 Comments

Reader Interactions

Comments

  1. Jenny says

    April 22, 2014 at 10:28 AM

    Last place or not, I think it's adorable! So many possibilities too – you could make a sign like this for a kid's room, a basement bar, etc. Very fun – thanks for sharing!

    Reply
  2. Our Pinteresting Family says

    April 22, 2014 at 12:01 PM

    Love this project, Jaime! Thanks for always sharing such detailed tutorials.

    Reply
  3. Cassie @ Primitive & Proper says

    April 22, 2014 at 12:06 PM

    i love this sign! pinned it!

    Reply
  4. [email protected] says

    April 22, 2014 at 2:02 PM

    Love this sign!

    Reply
  5. Ariadne Skyrianidou says

    April 22, 2014 at 2:47 PM

    I loved it, I wonder why it came 2nd to last. AriadnefromGreece!

    Reply

Leave a Reply Cancel reply

Your email address will not be published. Required fields are marked *

Primary Sidebar

Hi! I’m Jaime

Jaime Costiglio

Hello!

Thank you for stopping by.
Join me for lots of DIY.

Read more

Get new posts via email

Handbuilt Holiday: Gift Project Plans

handbuilt holiday gift project plans

Collection of DIY gift project plans to build.

The Home Depot Tool Prospective

THD Prospective

Tools to consider for the DIYer.

Archives

The Home Depot Logo
Copyright © 2023 Jaime Costiglio · Custom site by Moonsteam Design

Privacy Policy