*This post contains affiliate links.
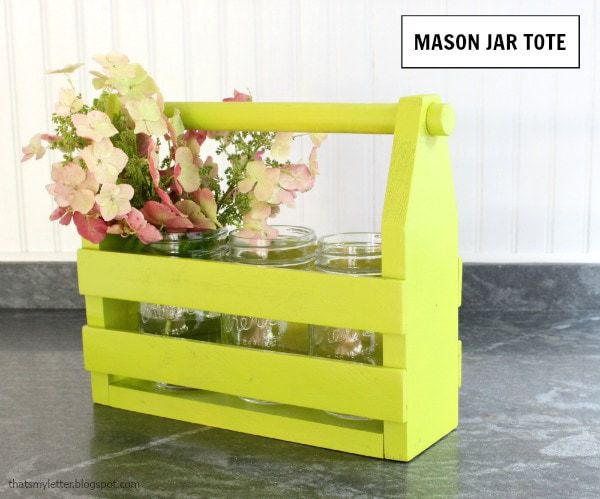
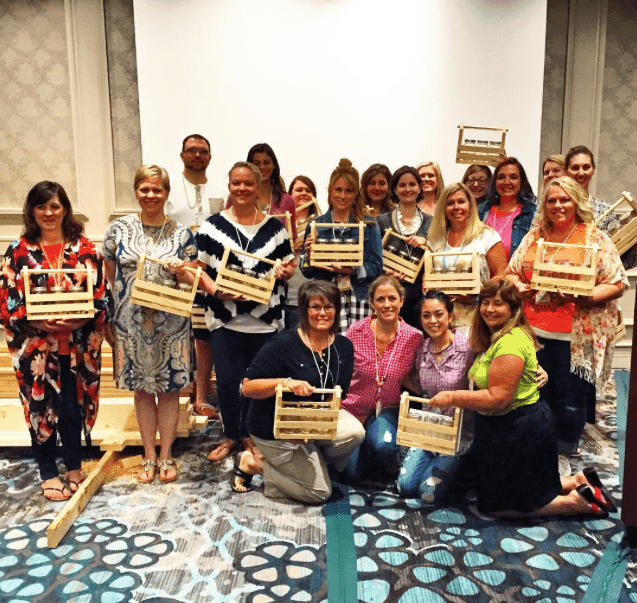
I know you all have mason jars looking for a new home so today I’m sharing how to build your own diy mason jar tote. We actually built these totes during the Make & Take class I taught with Jen from House of Wood at the Haven Conference so I thought I would share the plans with everyone.
Here we are with all the completed totes:
A huge thank you to everyone who attended our class. You were so enthusiastic and quick too!
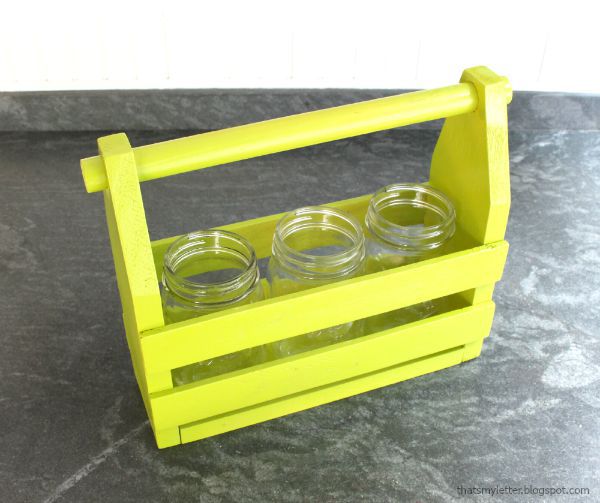
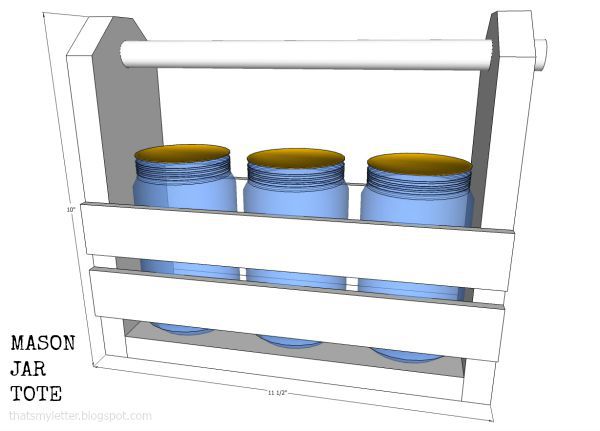
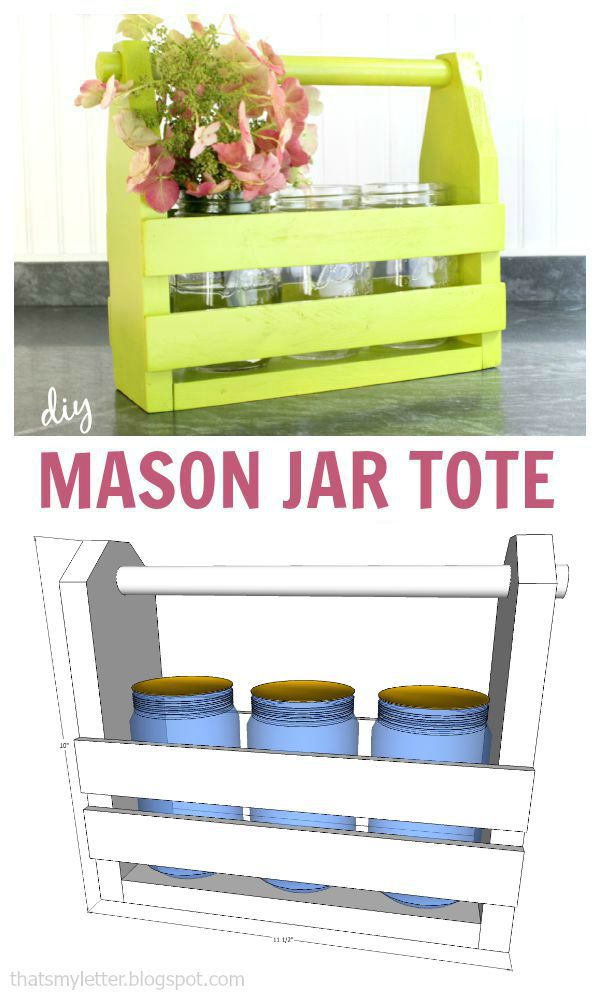
This tote is sized for three regular mason jars. Of course you could fill the mason jars with almost anything and you have a great gift all packaged up!
Materials:
1 – 1x4x6 pine board
4′ – 1 1/2″ x 1/4″ flat moulding
1 – 3/4″ dowel
1 1/4″ finish nails
wood glue
Cut List:
3 – 1×4 @ 10″ (sides and base)
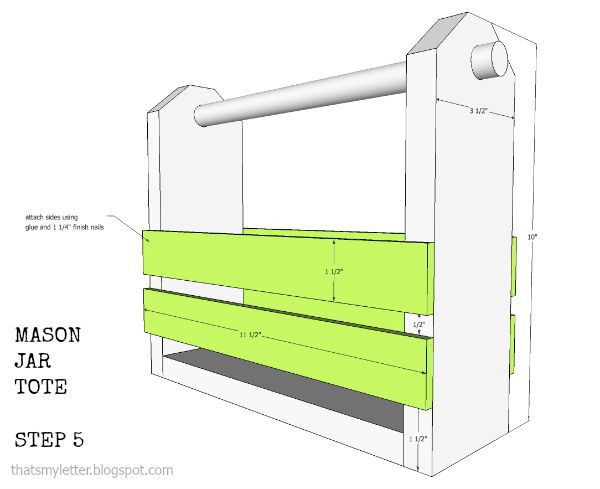
4 – 1 1/2″ x 1/4″ flat moulding @ 11 1/2″ (slats)
1 – 3/4″ dowel @ 12 1/2″ (handle)
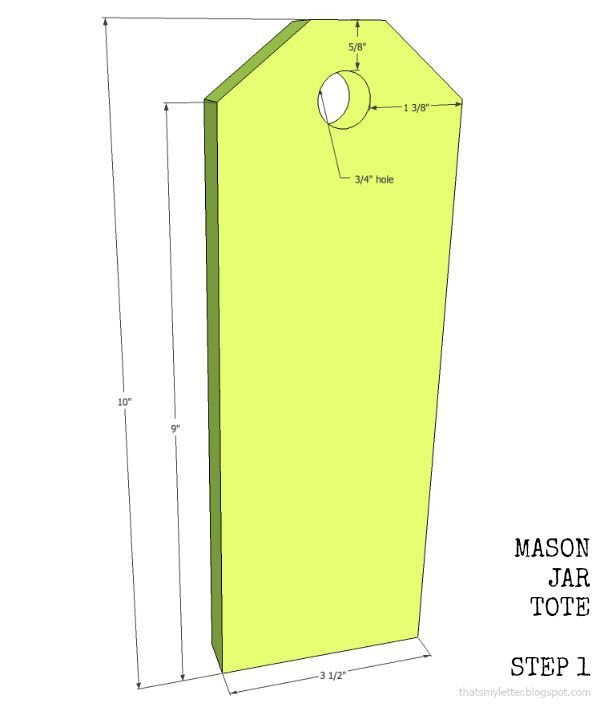
Step 1: Make sides. Cut dog ears off (2) 10” side pieces. Drill one ¾”
hole at center top for handle.
hole at center top for handle.
Make 2.
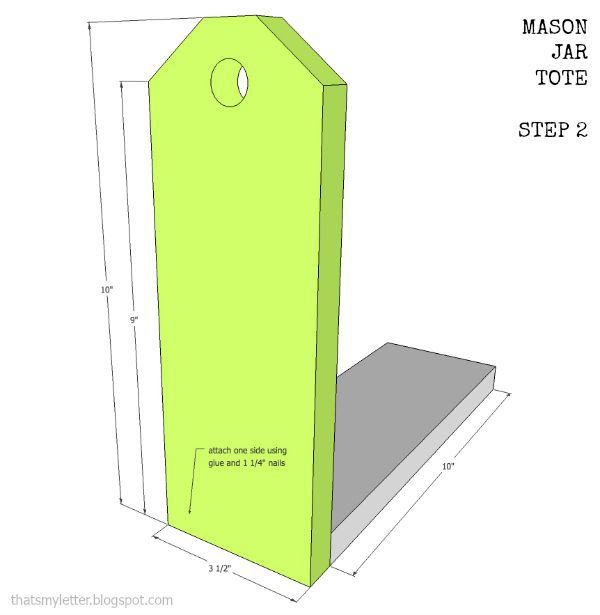
Step 2: Base. Attach sides to base using glue and 1 ¼”
finish nails.
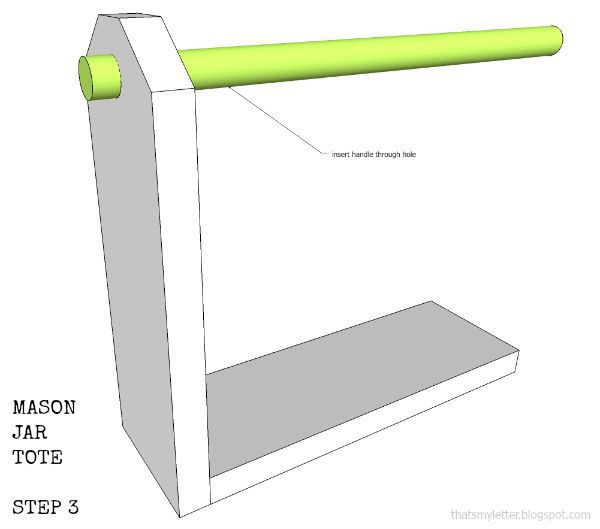
Step 3: Slide handle in place. If desired to secure handle use 1 ¼” finish nail at top.
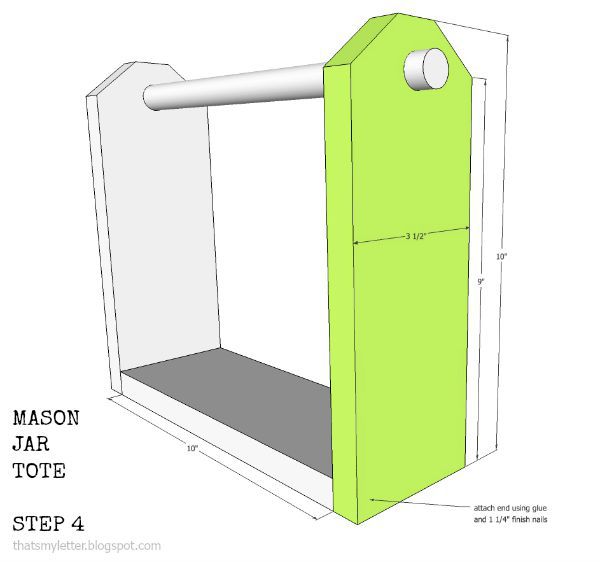
Step 4: Attach other side using glue and 1 1/4″ finish nails.
Step 5: Attach side slats using glue and 1 1/4″ finish nails.
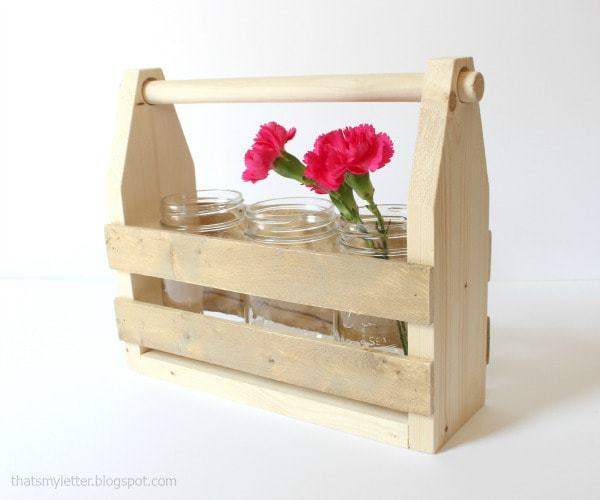
The natural wood is beautiful or you can finish as you like.
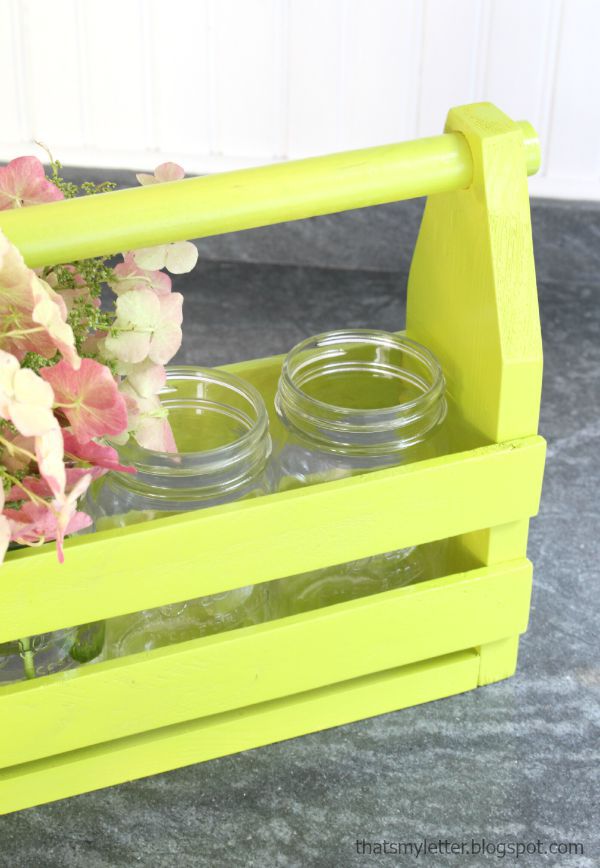
I choose to spray paint using Rustoleum green citrus in gloss.
SHOP THIS POST:


I attended the workshop and loved it, thank you! I can't wait to paint mine!
Love All these wood DYI ideas .. This mason jar tote is a Great gift all painted up. Thank You for posting
Hi,
Just found some of your great pins on Pinterest. I love your word work, can’t wait to try some.