Build: diy family refreshments station
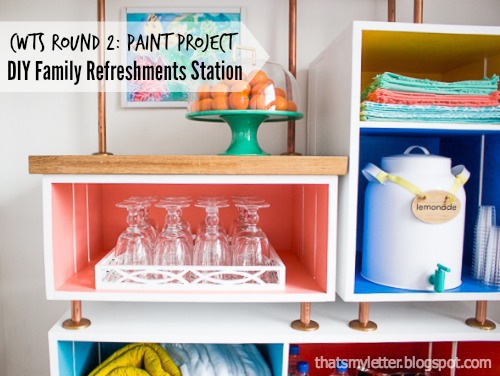
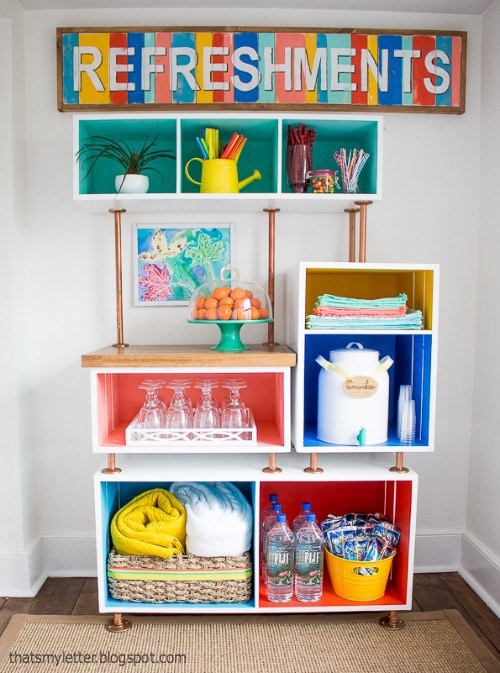
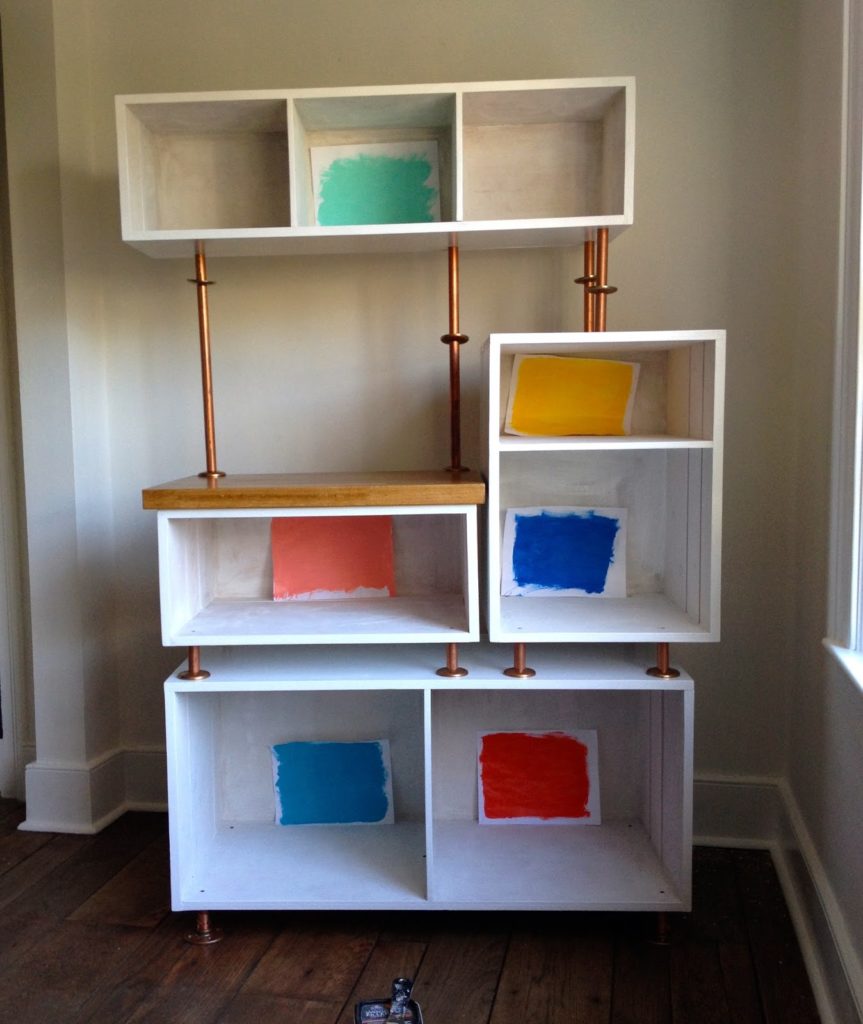
Back in March I was a contestant on Creating With the Stars at East Coast Creative. I made it to Round 2 (after winning Round 1!) and built this family refreshments station for the paint project category.
I realized I never shared the tutorial on how I built this piece.
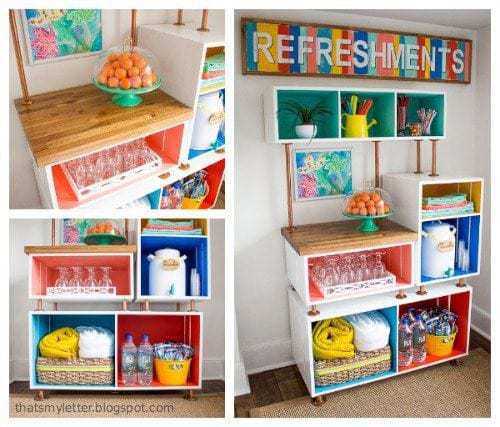
This refreshments station is made from wood scraps, copper piping and a piece of butcher block.
You could totally customize the boxes to fit your space and needs.
Because I used all scraps the sides of the boxes look more like crates with small gaps between the boards which let the paint colors peek through.
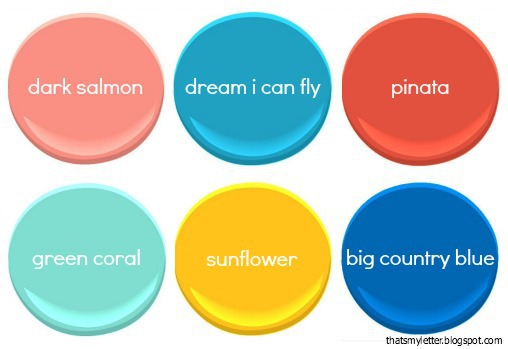
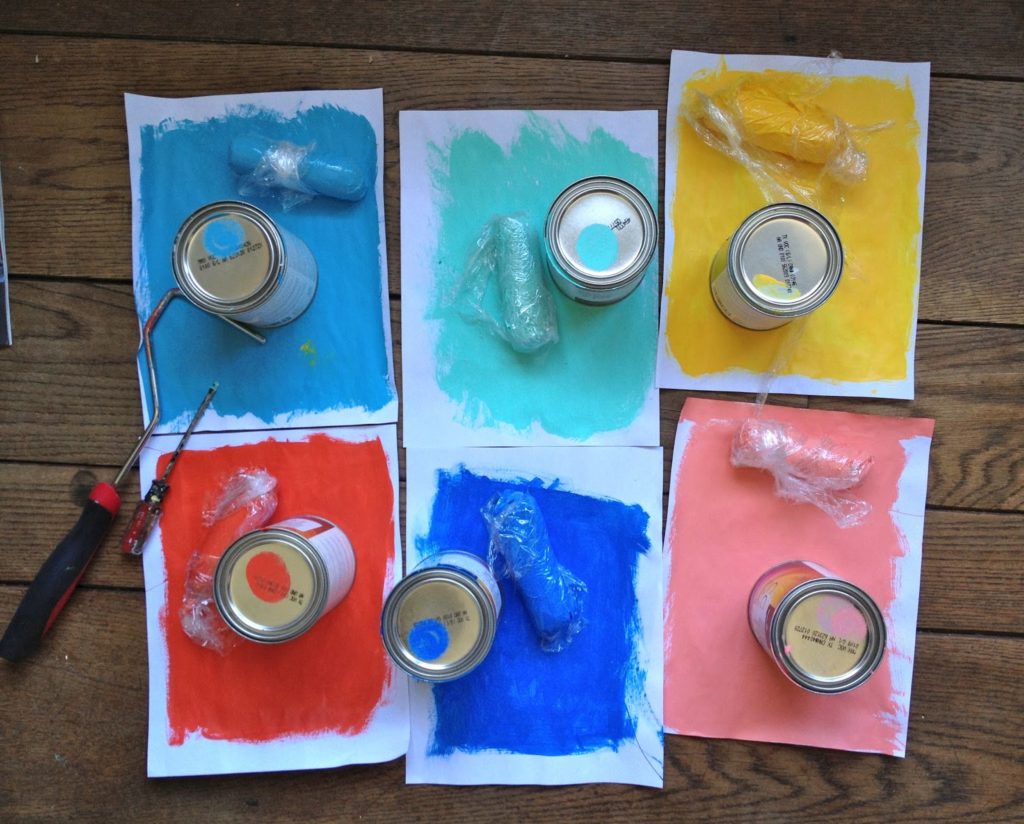
Above are the paint colors I used on the interior, all Benjamin Moore.
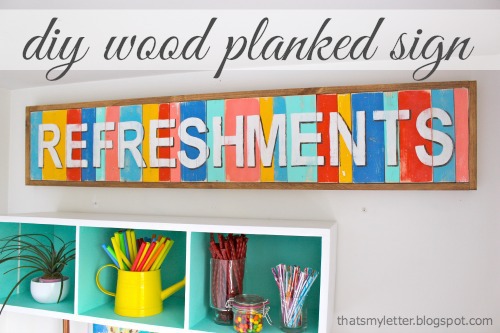
If your curious about the refreshments sign that was also a DIY project and the tutorial is here.
How to build a refreshment station:
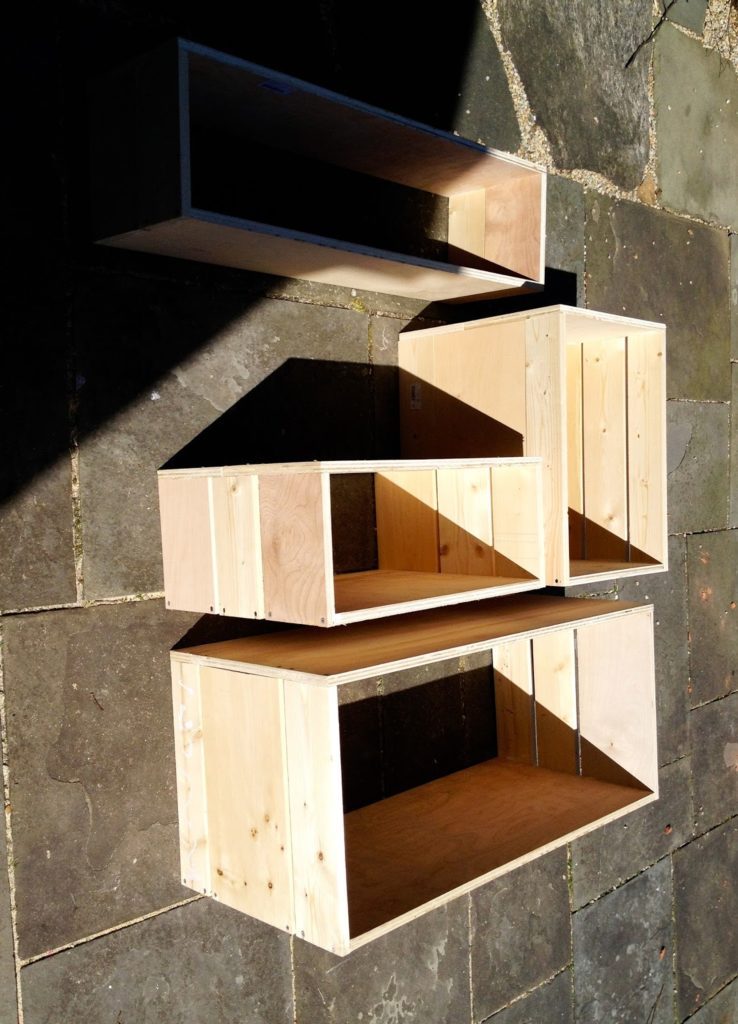
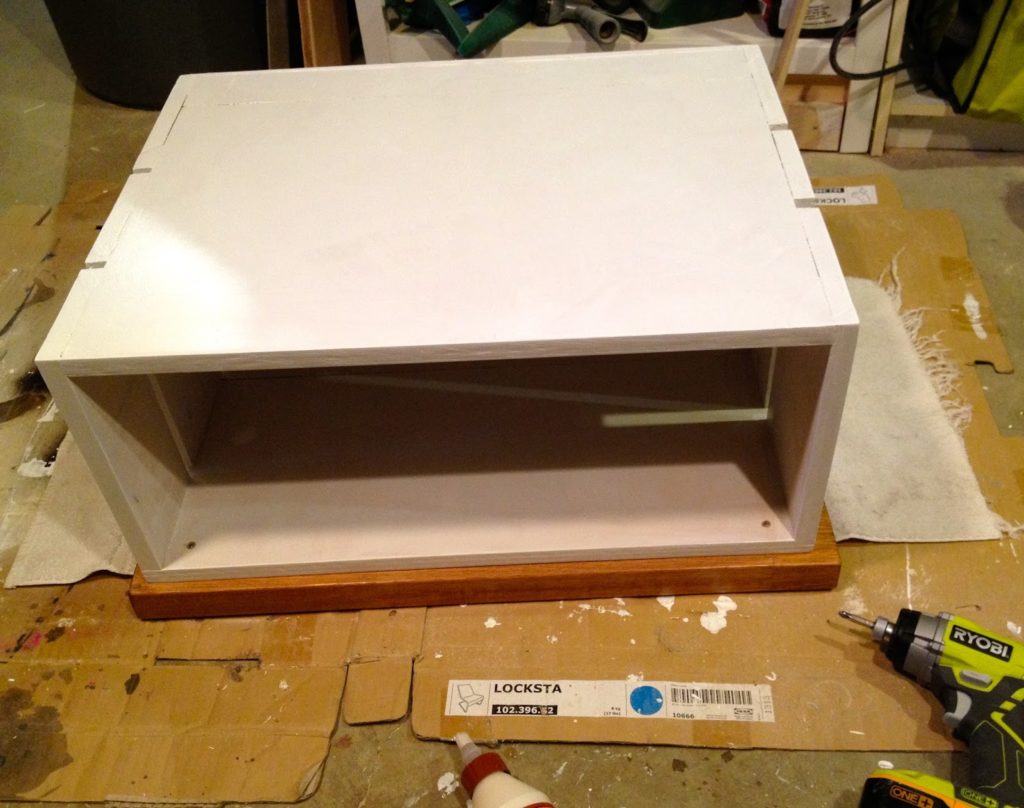
1. Using all 3/4″ plywood scraps and 1x pine boards construct the boxes.
I allowed a 1/2″ maximum gap between boards and made sure the bottom board in each box was one solid piece.
Build the boxes, all 18″ deep except the top horizontal box is 12″ deep.
2. Prime inside and out, paint the exterior two coats high gloss white enamel.
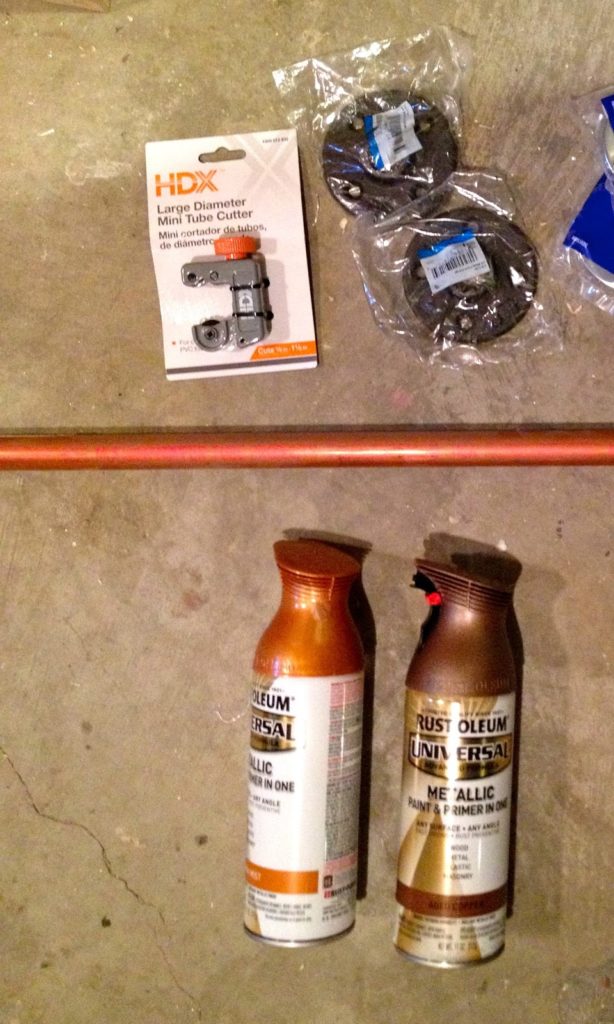
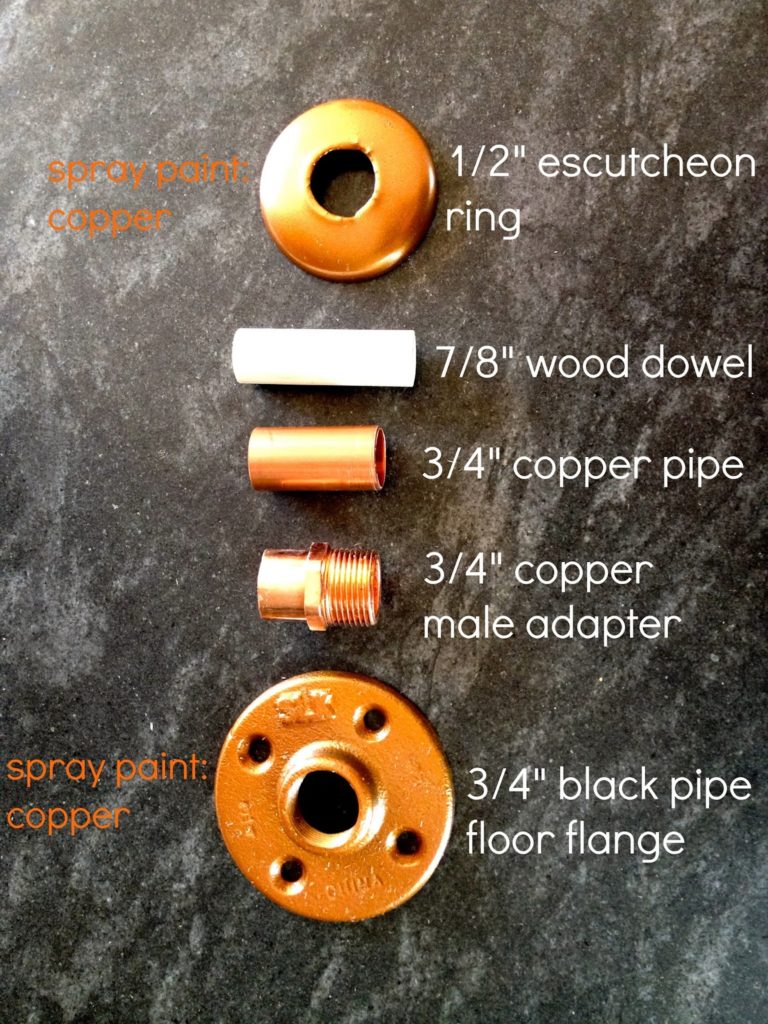
3. Copper pipe supports supplies list:
– 3/4″ copper pipe x 8′
– 5 – 3/4″ black pipe floor flanges
– 3 – 7/8″ wood dowel @ 48″ each
– 20 – 1/2″ pipe escutcheon
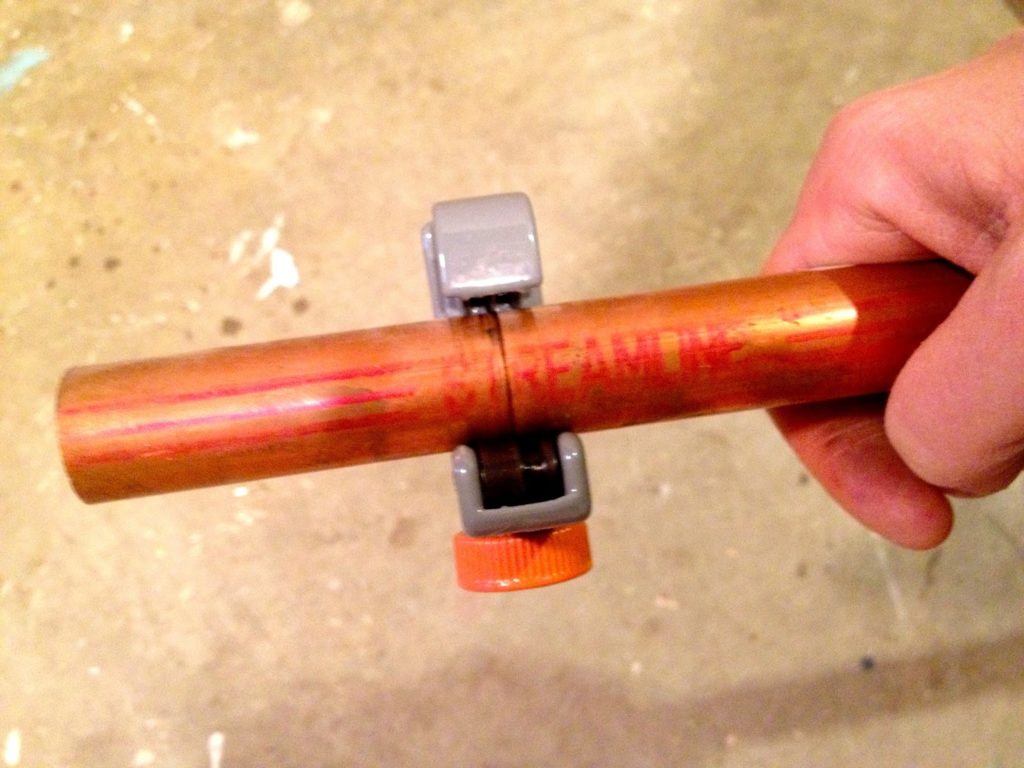
Cut 3/4″ copper pipes using a pipe cutter.
Keep tightening the cutter as you go around and around and eventually the pipe snaps off.
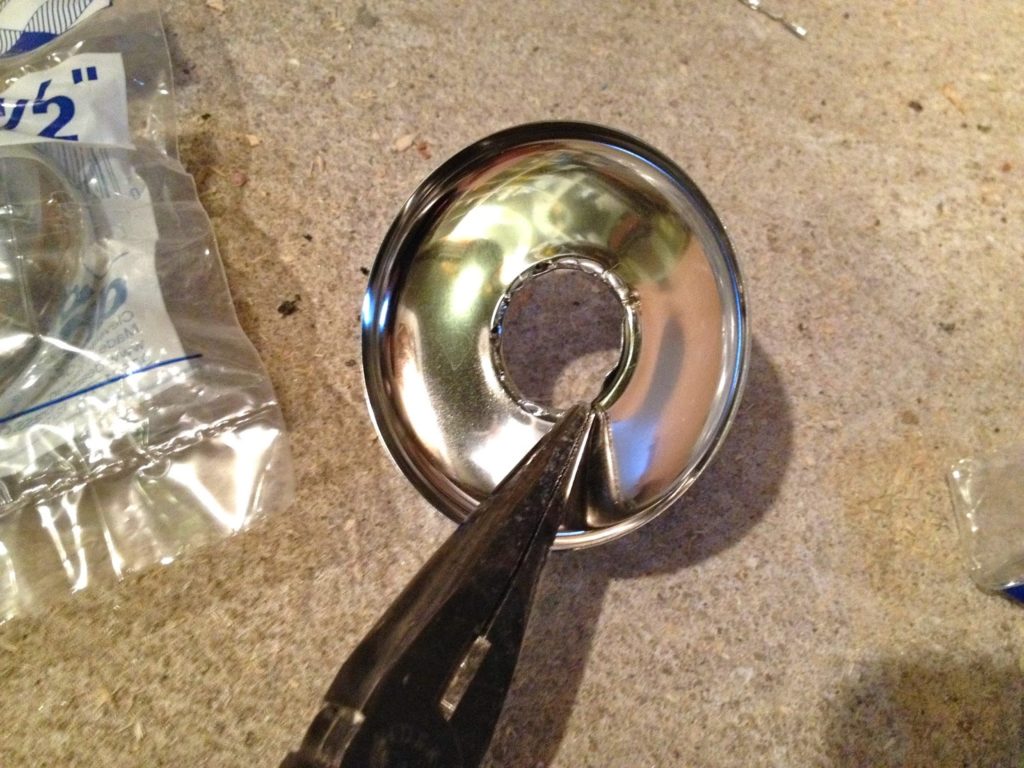
4. Prepare the escutcheon rings.
Using a pliers bend back the inner hole opening just enough for your copper pipe to fit through:
5. Spray paint all the escutcheon rings and floor flanges in copper.
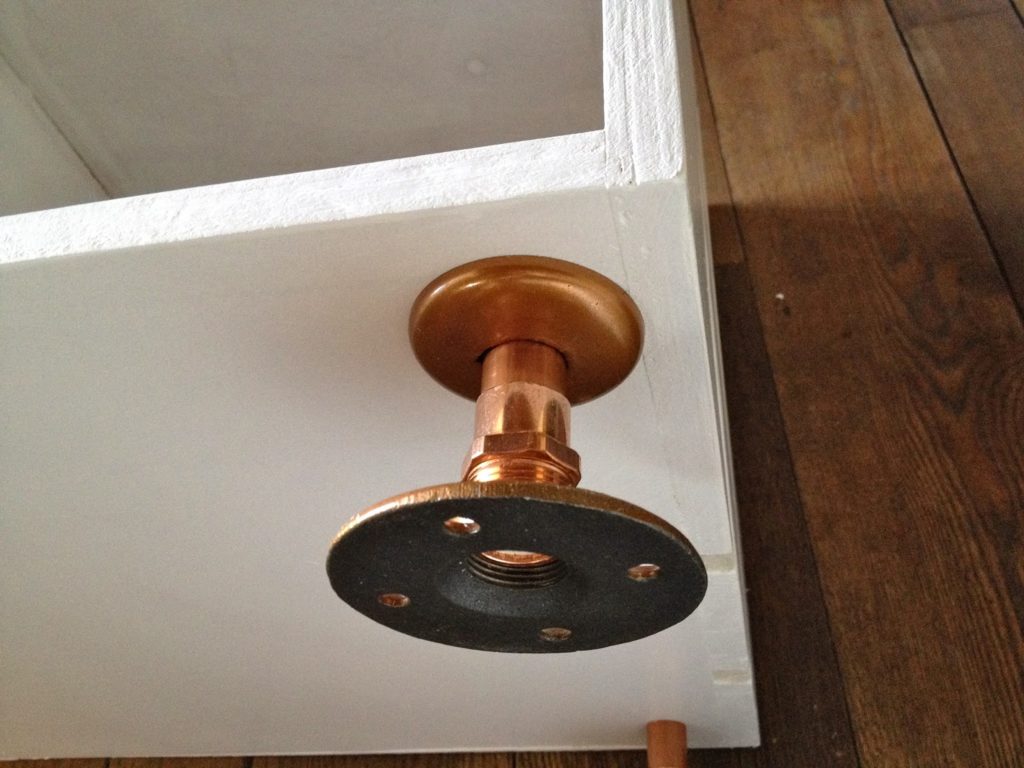
6. Assemble the feet:
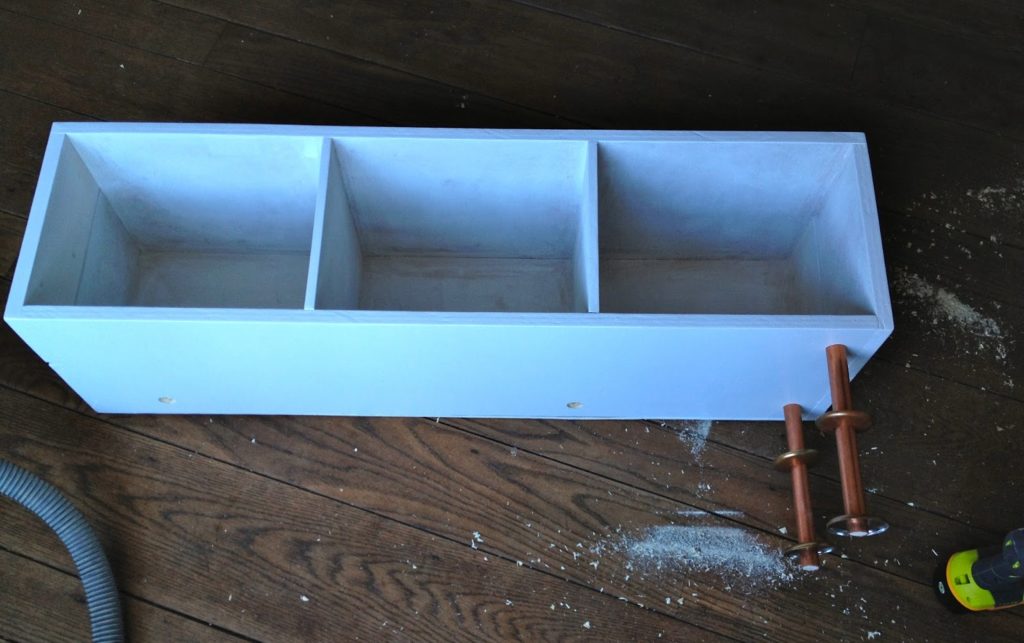
7. Predrill hole in bottom of base box 2″ in from both sides:
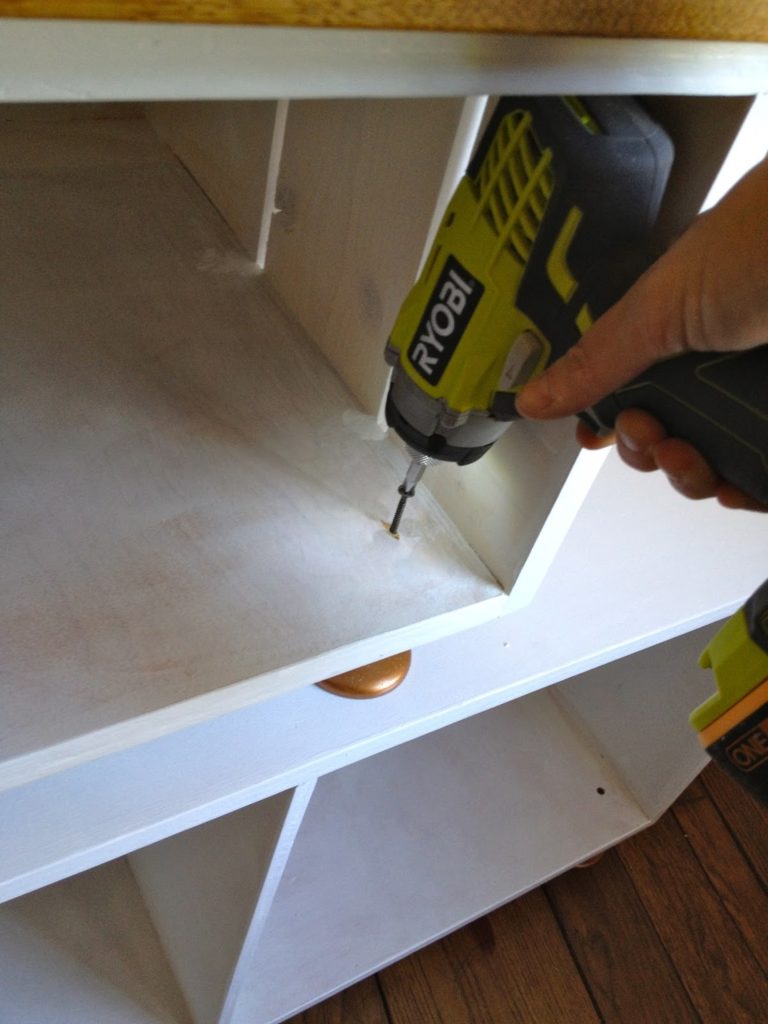
8. Secure foot assembly to bottom of box from interior with 2″ wood screw down into the wood dowel:
Repeat this process for all 4 corners and one middle support leg.
9. Attach the butcher block counter piece to middle box from the upper interior:
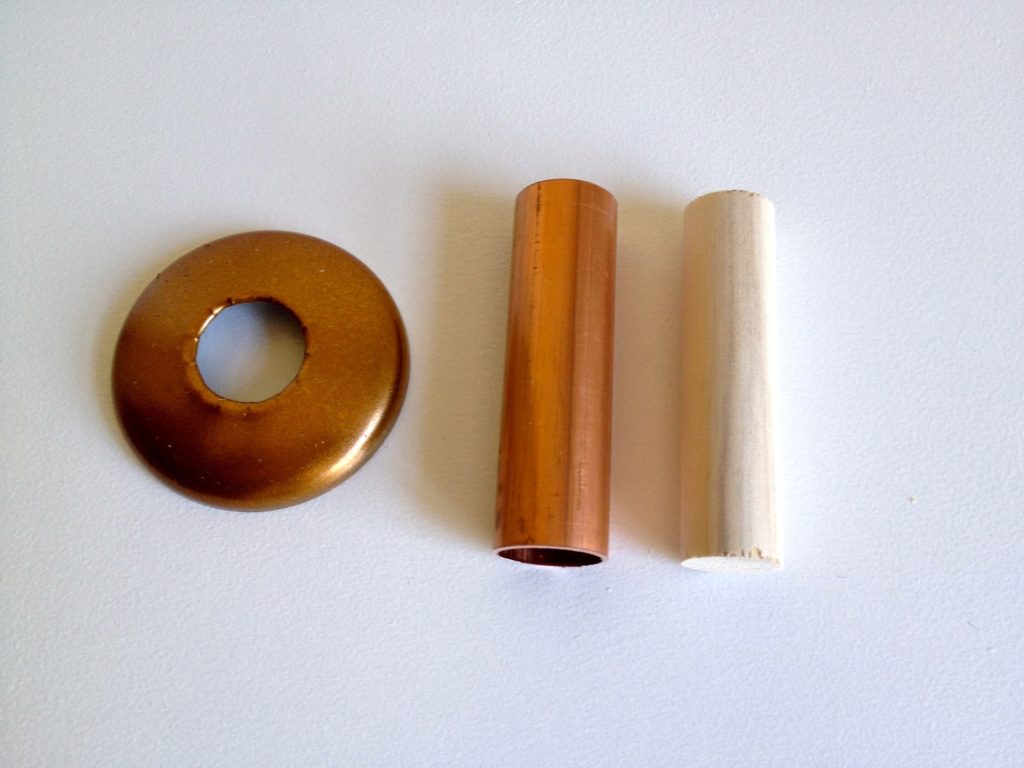
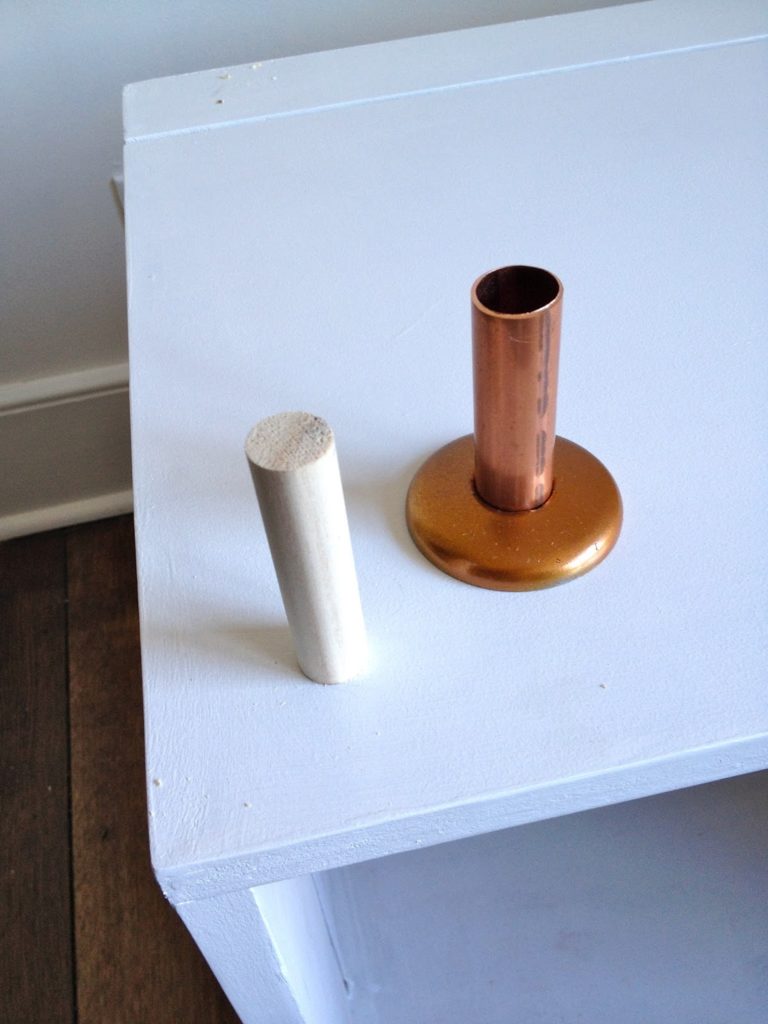
10. Prepare copper spacers.
Cut pipe and wood dowel at 3″:
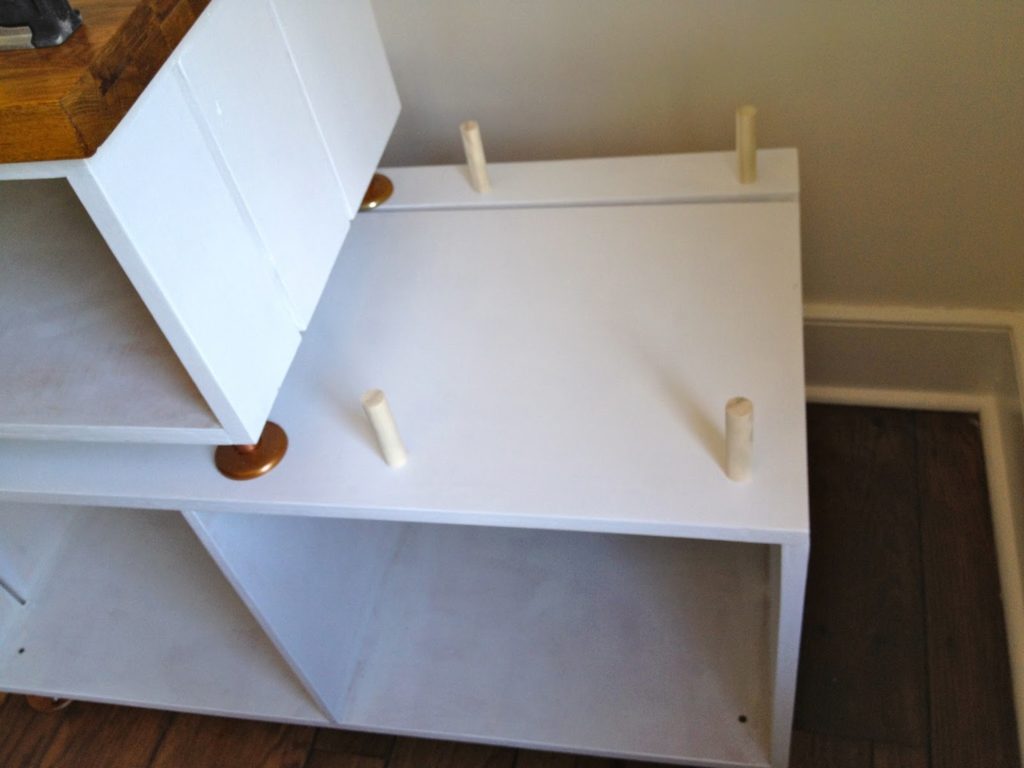
11. Attach spacers to top side of bottom box from the inside of the top box.
(Screw wood dowel in place then slide copper piece over dowel. Copper is merely a sleeve but does provide some support.)
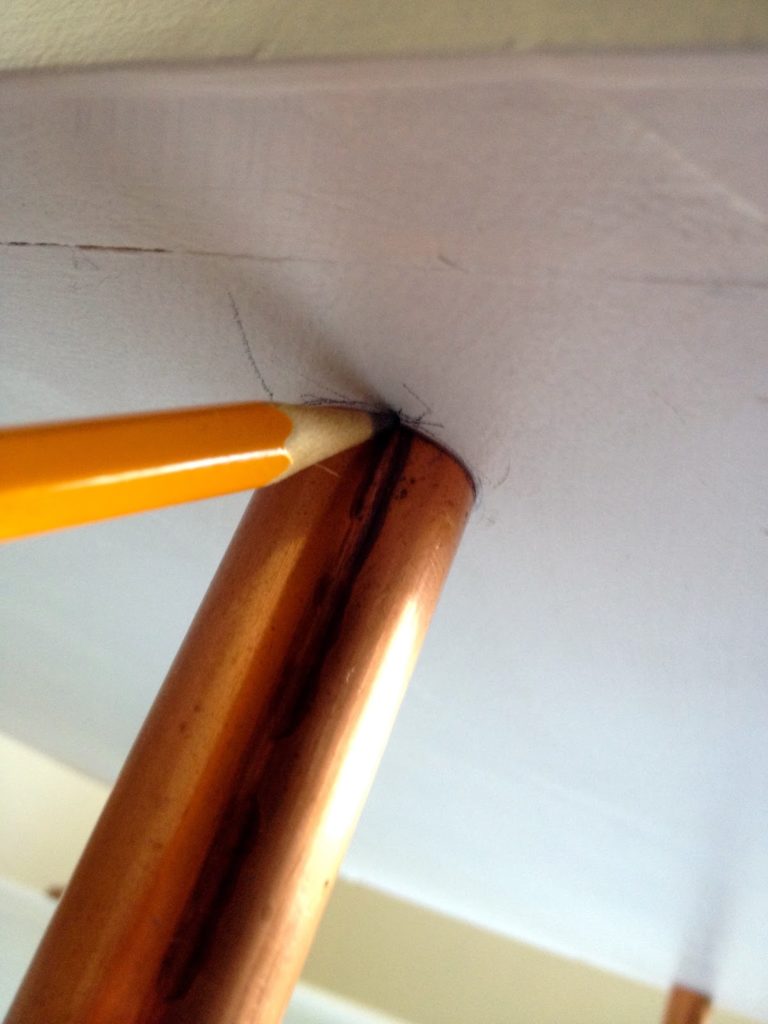
12. Place middle box in position and mark location of spacers onto underside of middle box:
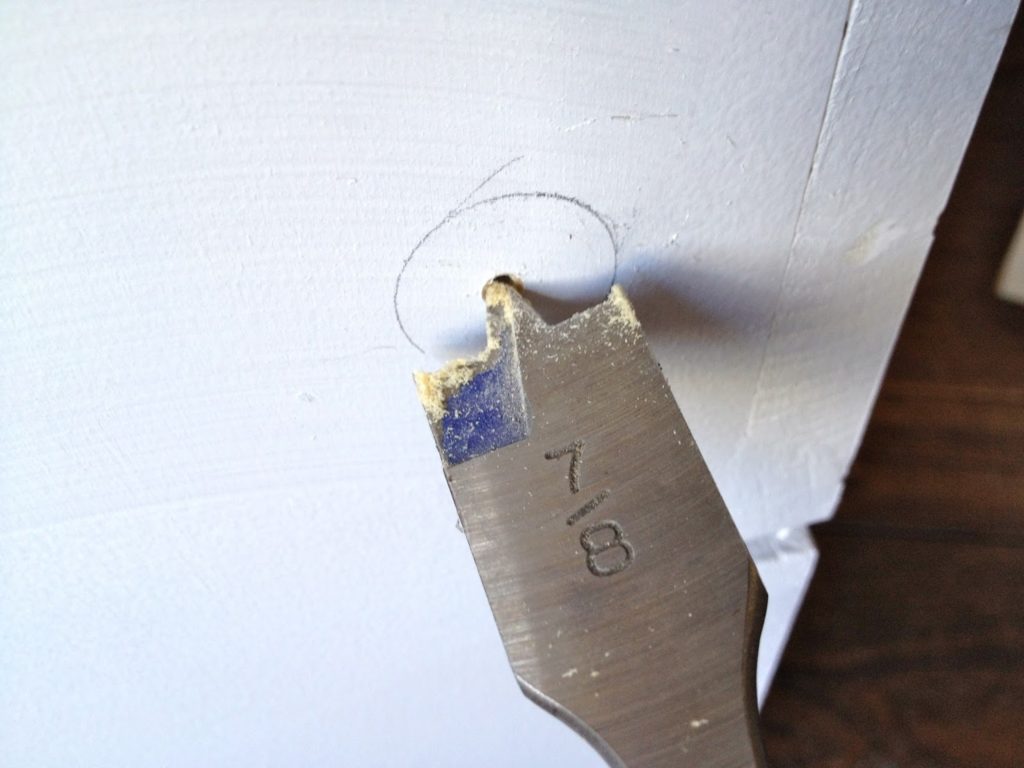
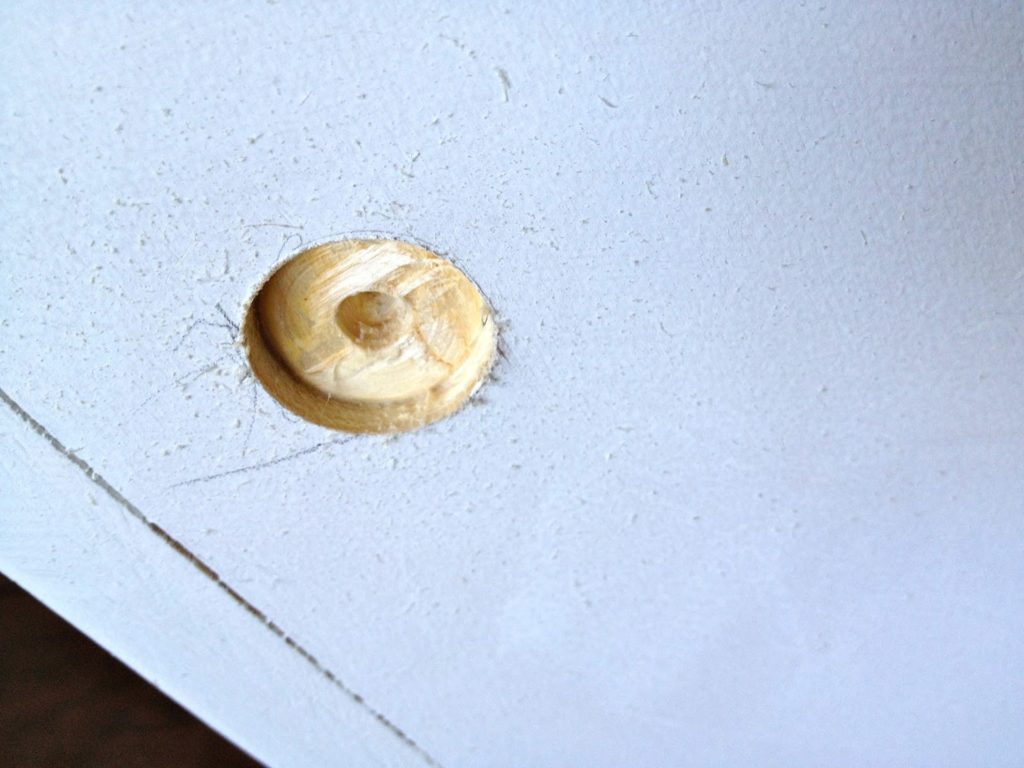
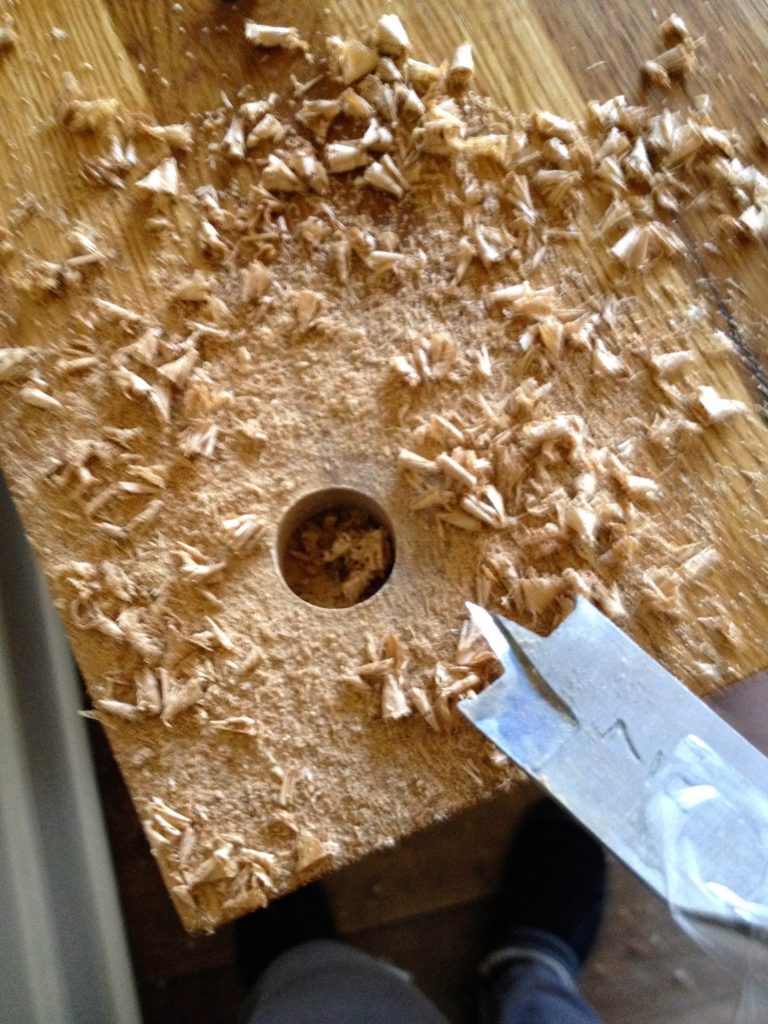
13. Using a 7/8″ spade bit drill out 1/4″ from underside of middle box at all four marks:
14. Secure middle box to spacers from interior using 2″ wood screws:
15. Repeat process for right side middle box:
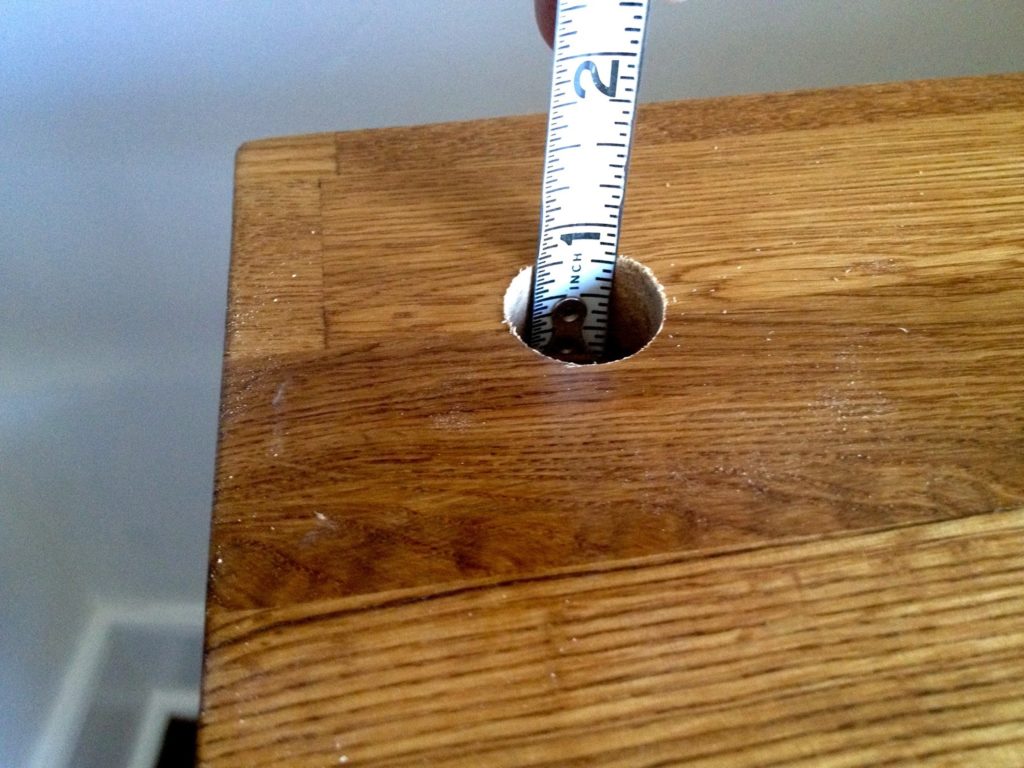
16. To add the top box predrill holes into butcher block:
Drill at least 3/4″ deep:
17. Prepare top box by adding side supports:
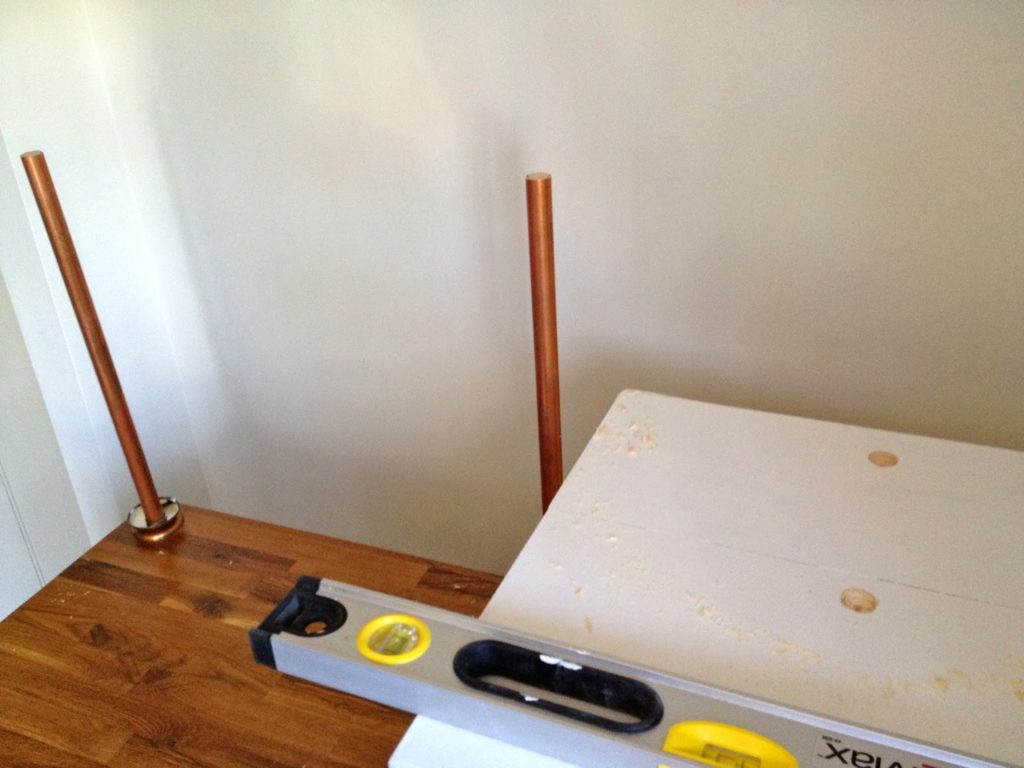
18. Then place long back supports into butcher block:
19. Secure long back supports in place from interior.
20. Make paper samples using paint colors to determine best layout:
21. Paint interior boxes:
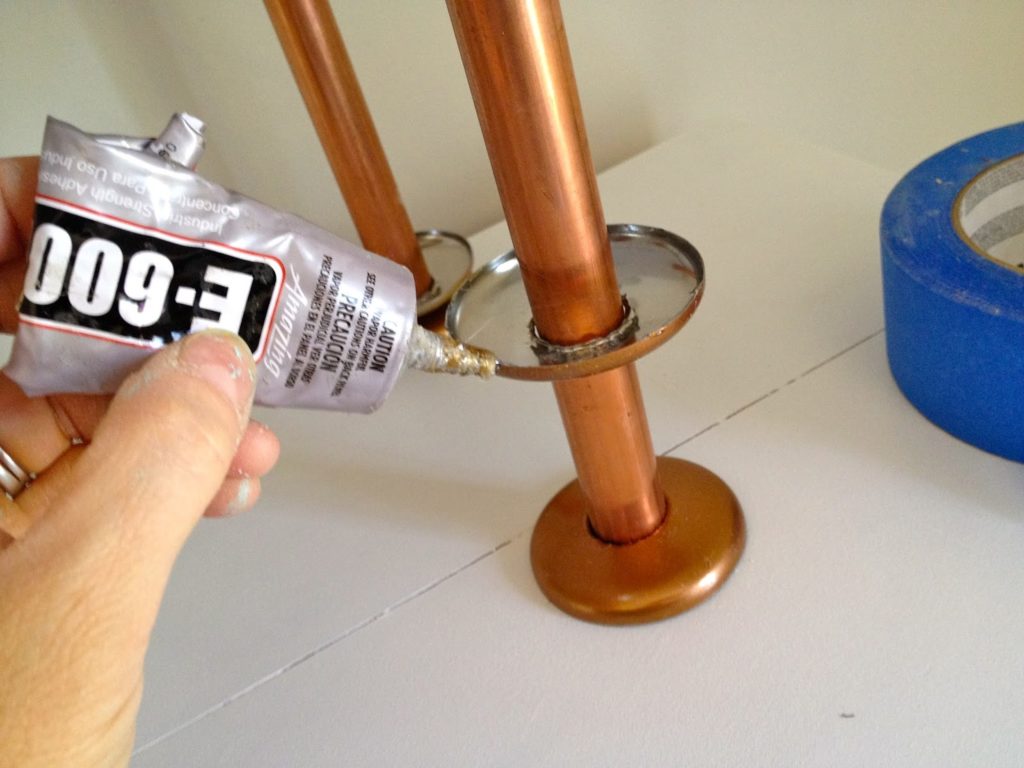
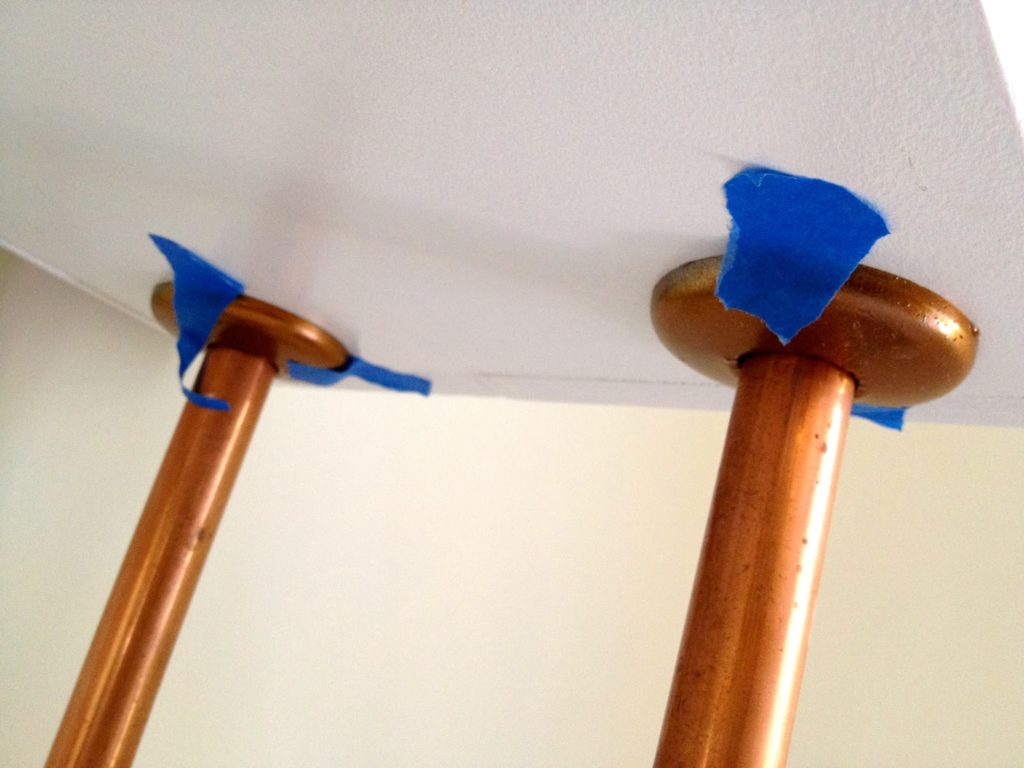
22. Adhere top escutcheon rings to underside of top box using E6000:
Use painters tape to keep rings in place while adhesive dries:






I love this idea! This would be so super cool for an after school snack station!
Very cute! I would love it if you joined and contribute your awesome posts at my link party at City of Creative Dreams, starts on Fridays 😀 Hope to see you there at City of Creative Dreams Link Party.