Build: TV cover up

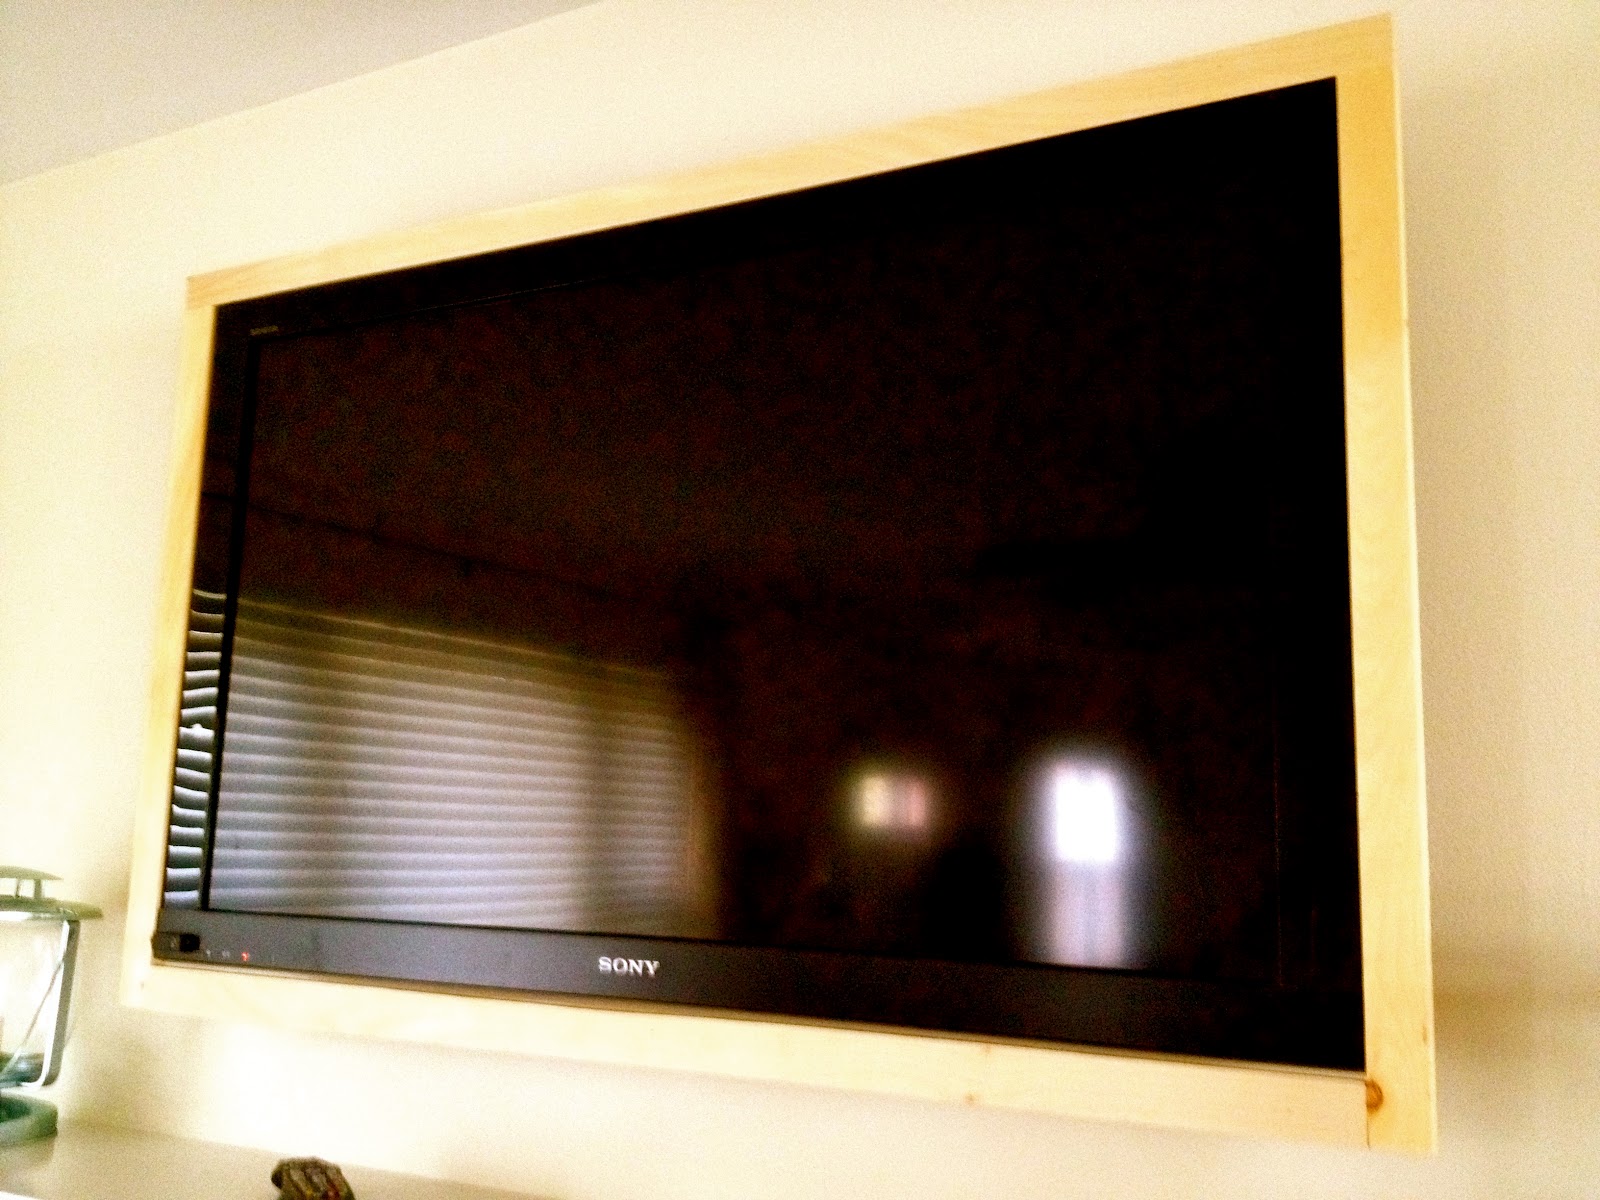
Yes the wall mounted TV is hiding behind that birthday sign:

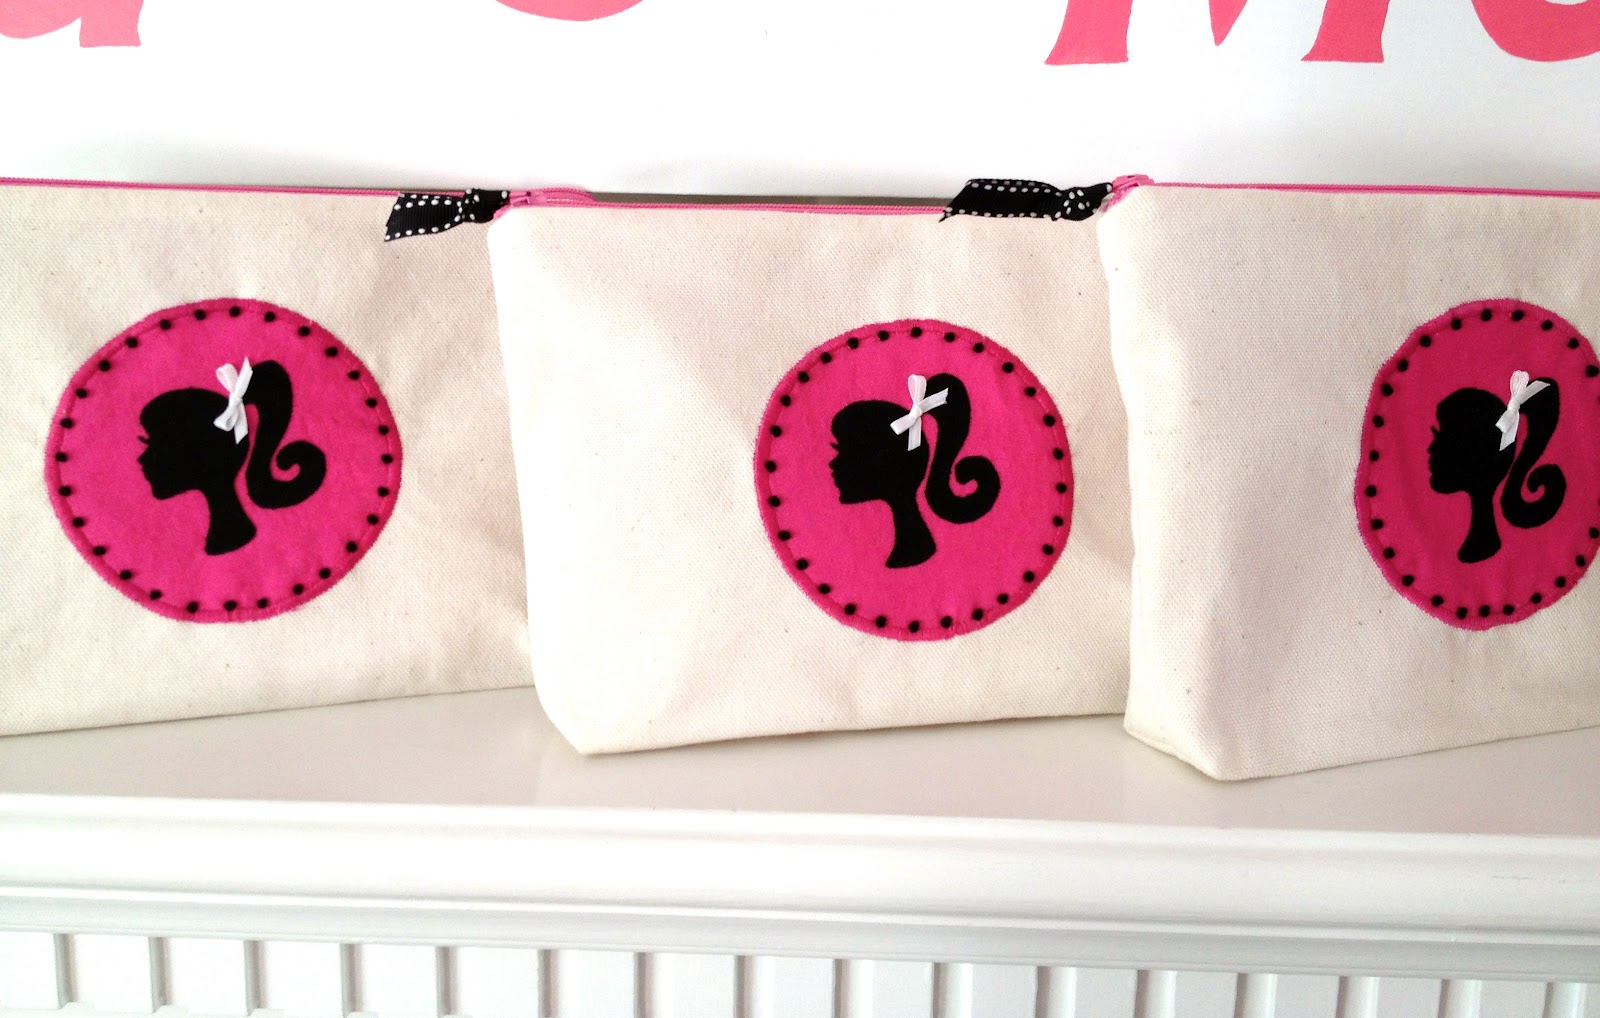
Complete with the Barbie silhouette, Barbie font lettering and Barbie pouches as favors:

Here’s how I built the TV cover up:
1. Measure length and width of TV, add 1/4″ to each measurement (this allows for 1/8″ space around the TV).
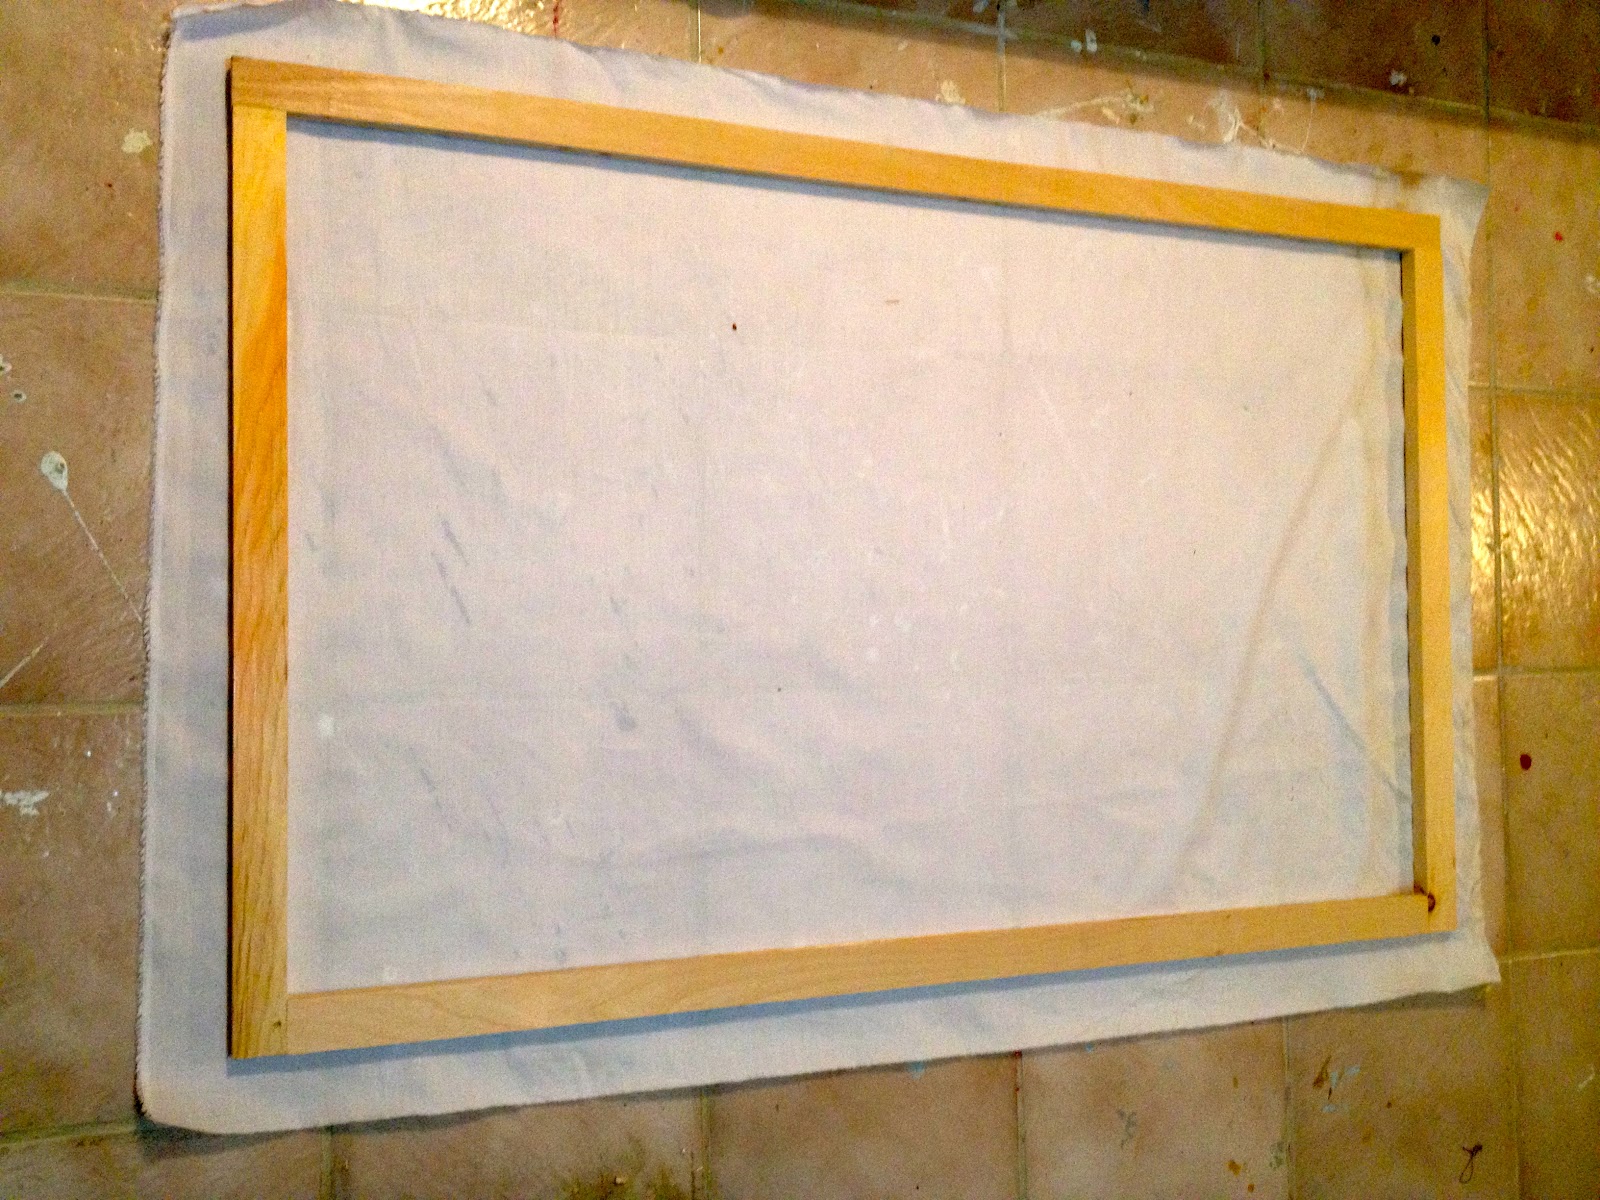
Cut 1×2 pine boards to fit or use scrap 3/4″ plywood:
Be sure to accommodate for any wires by notching out wood:
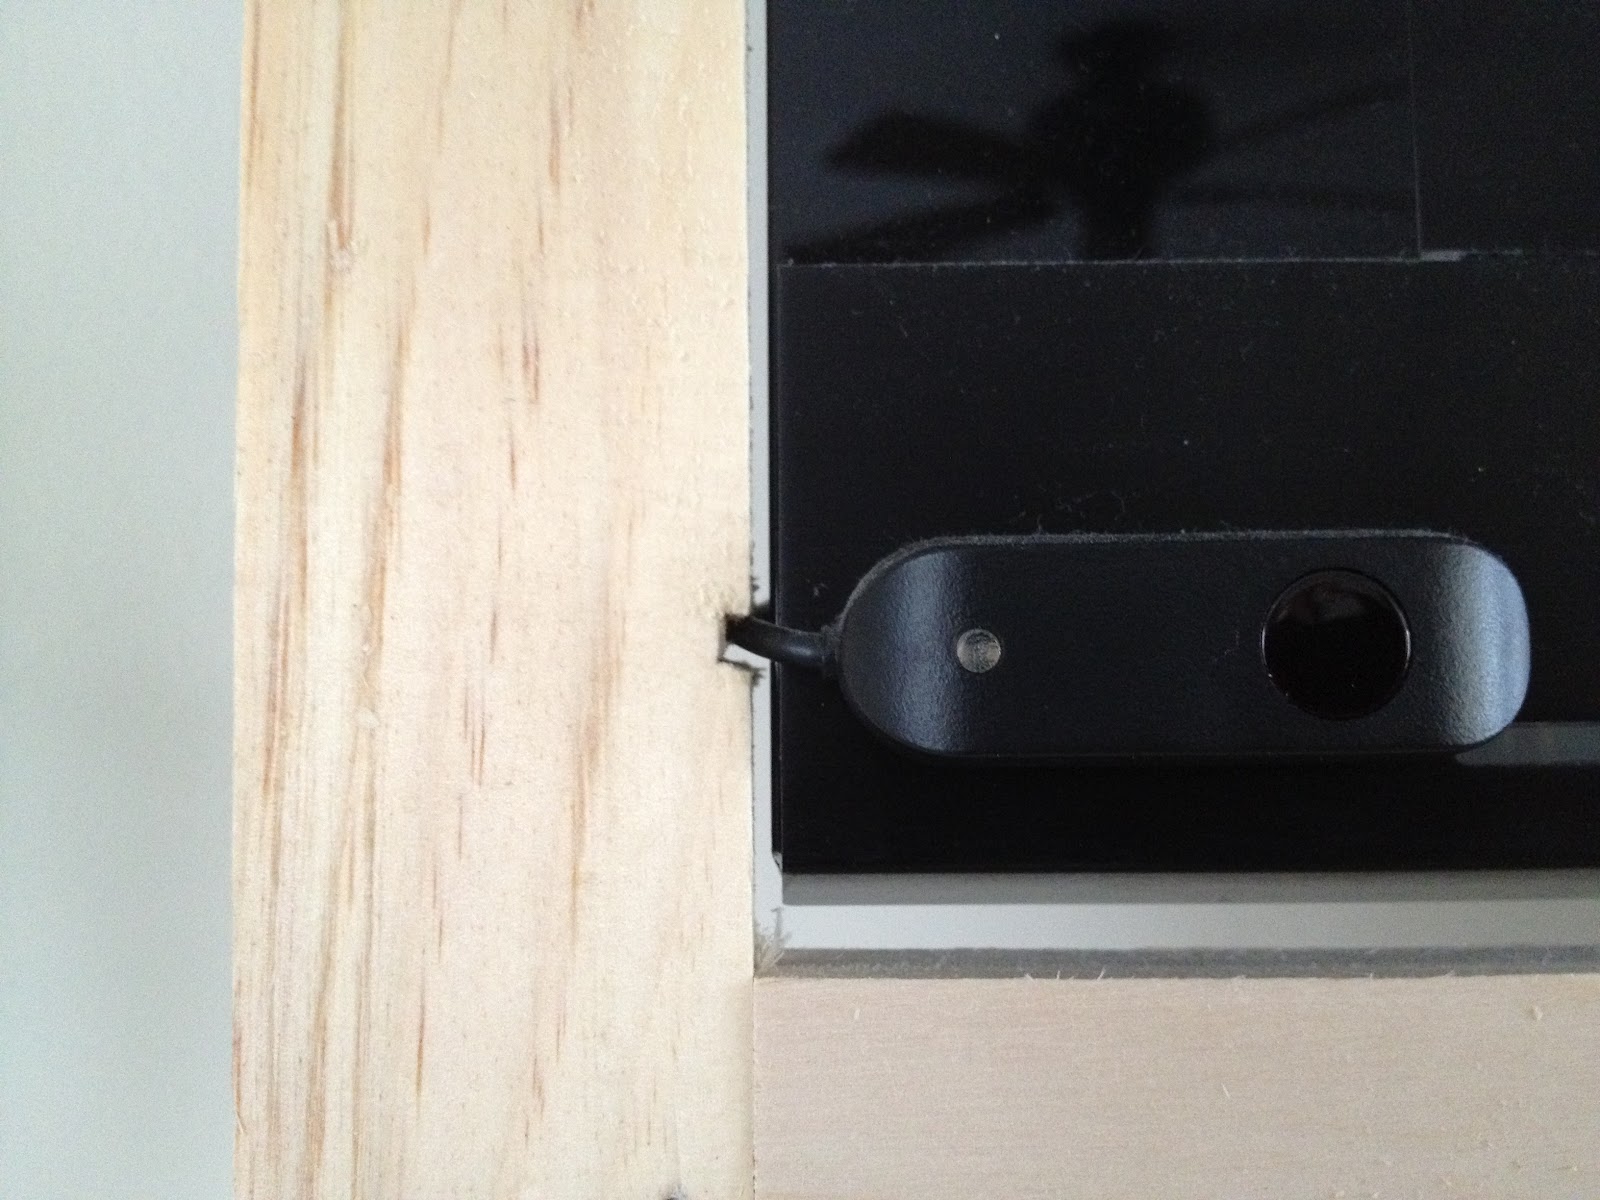
Here you can see the 3/4″ thickness rests on the TV top ledge:

2. Secure frame with pocket holes or 2″ finish nails through the sides:

3. Cut lightweight fabric to fit leaving excess 2″ around edges (I used drapery lining but an old bed sheet would work):
4. Tape fabric to floor and prime:

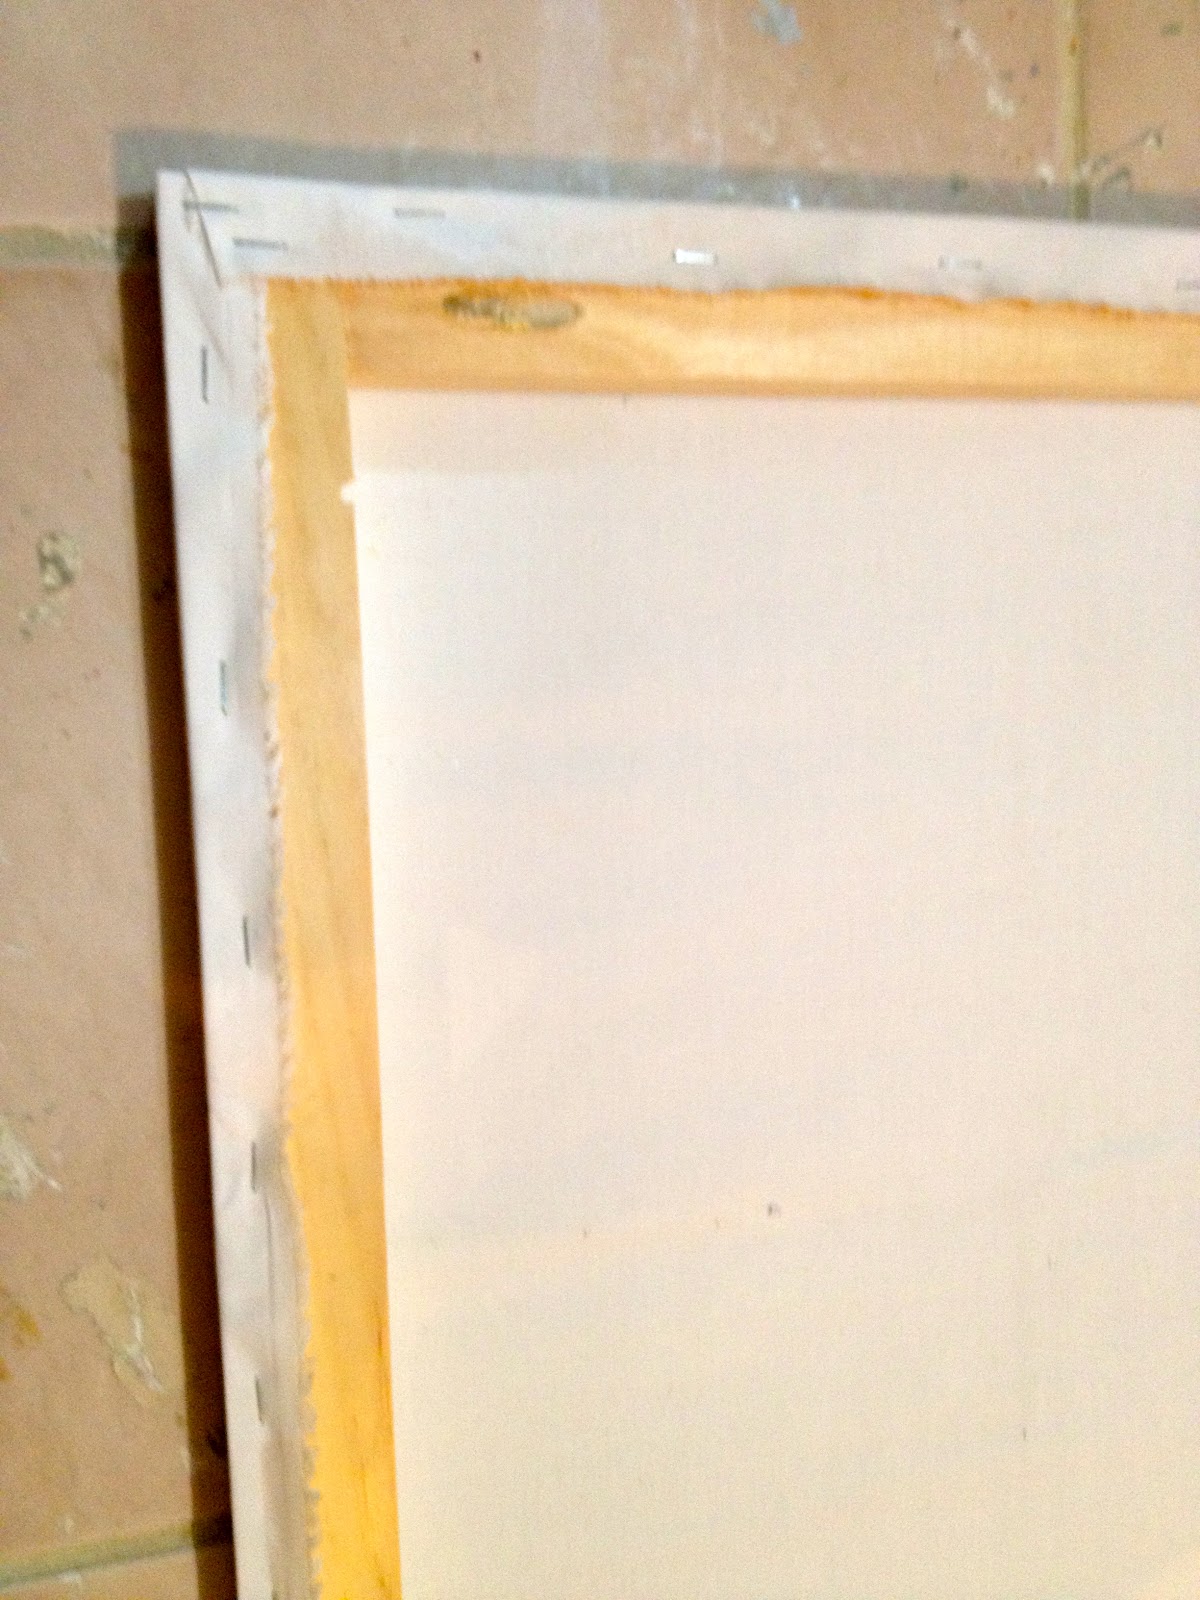
5. Stretch fabric over frame and staple around edges, be sure to start in the middle of each edge working opposite and pulling snug as you go:
6. Print out lettering to fit, I used Barbie font at 450 point:
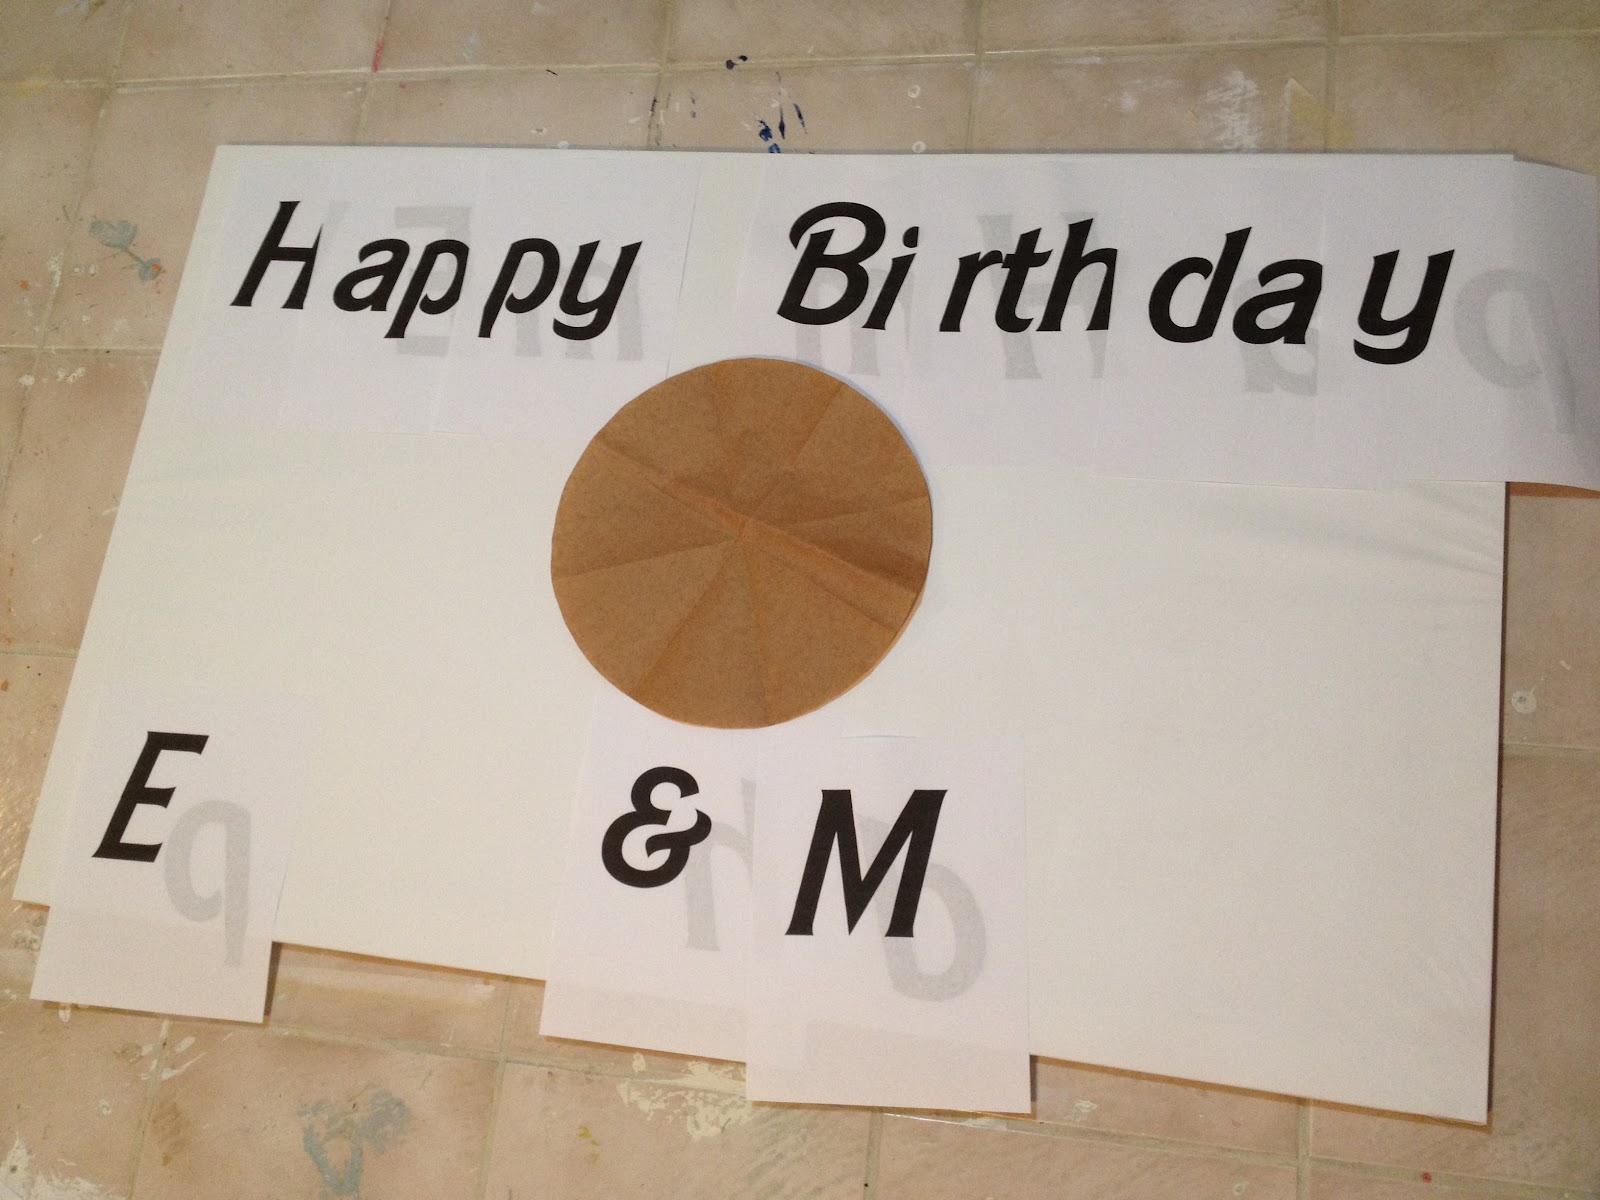
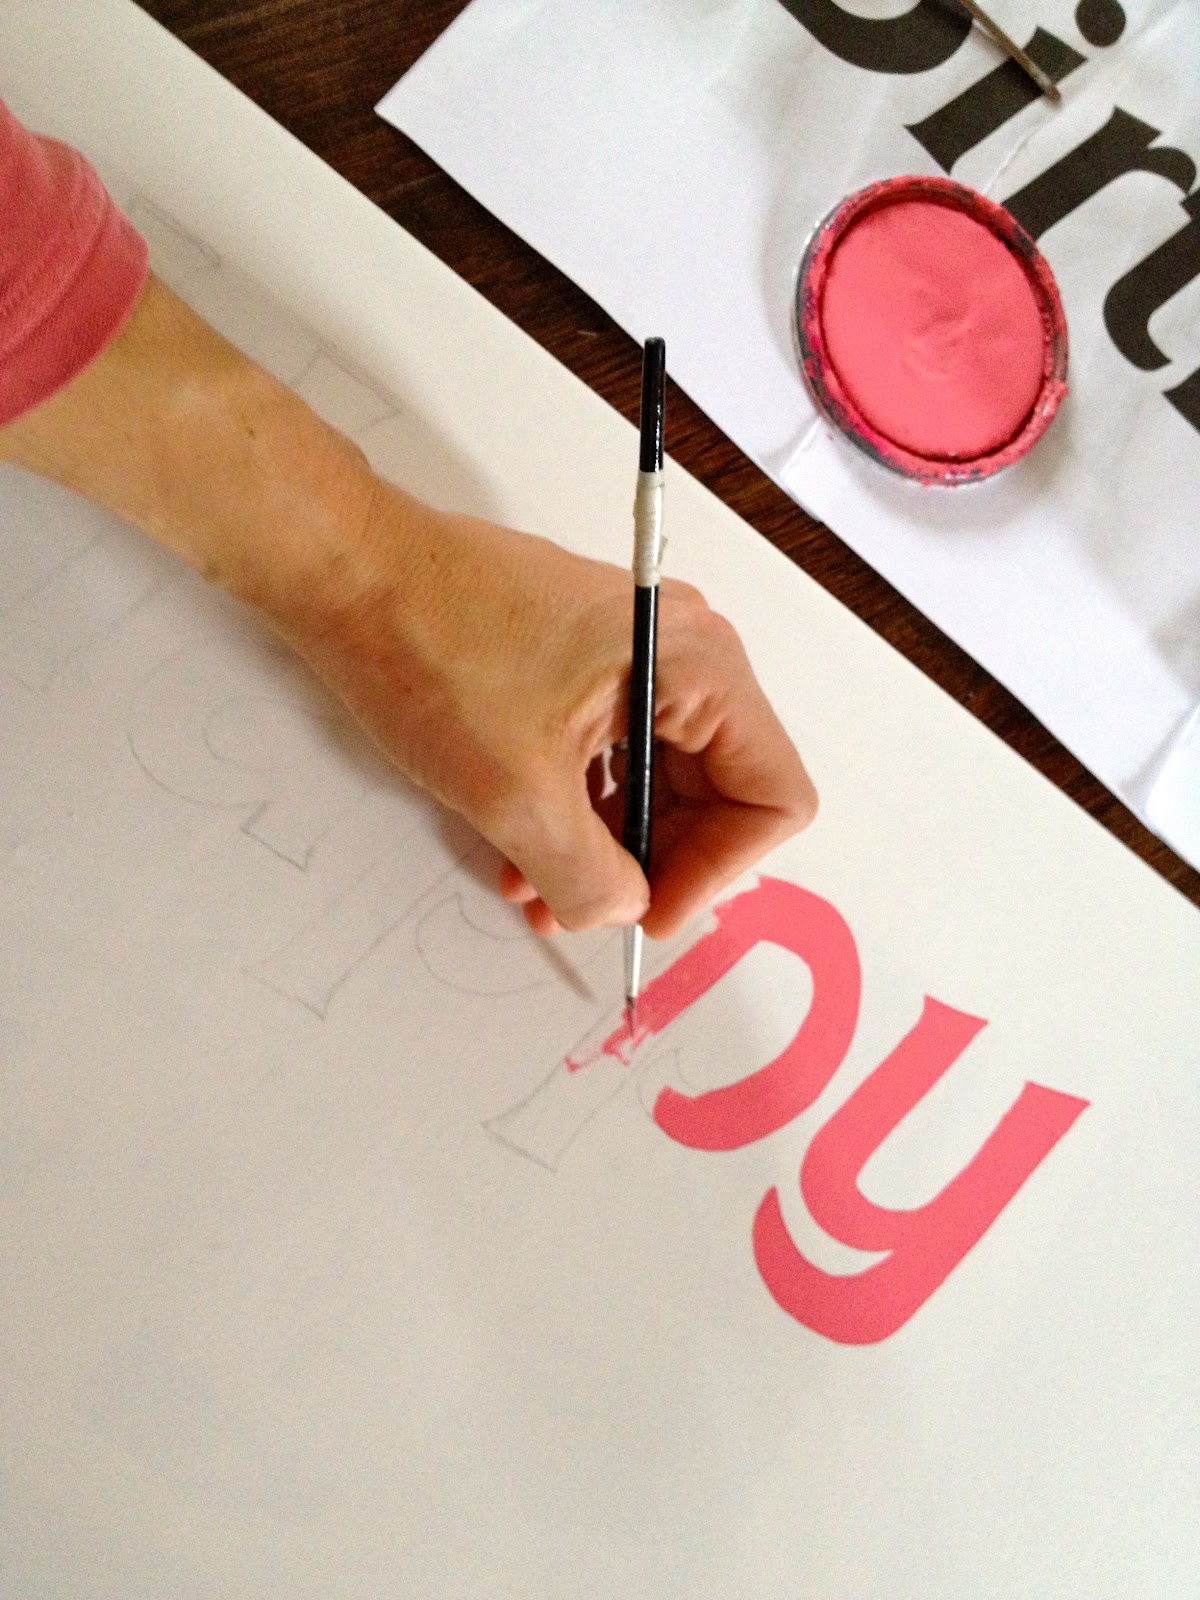
7. Place print out behind fabric and trace outline with pencil:
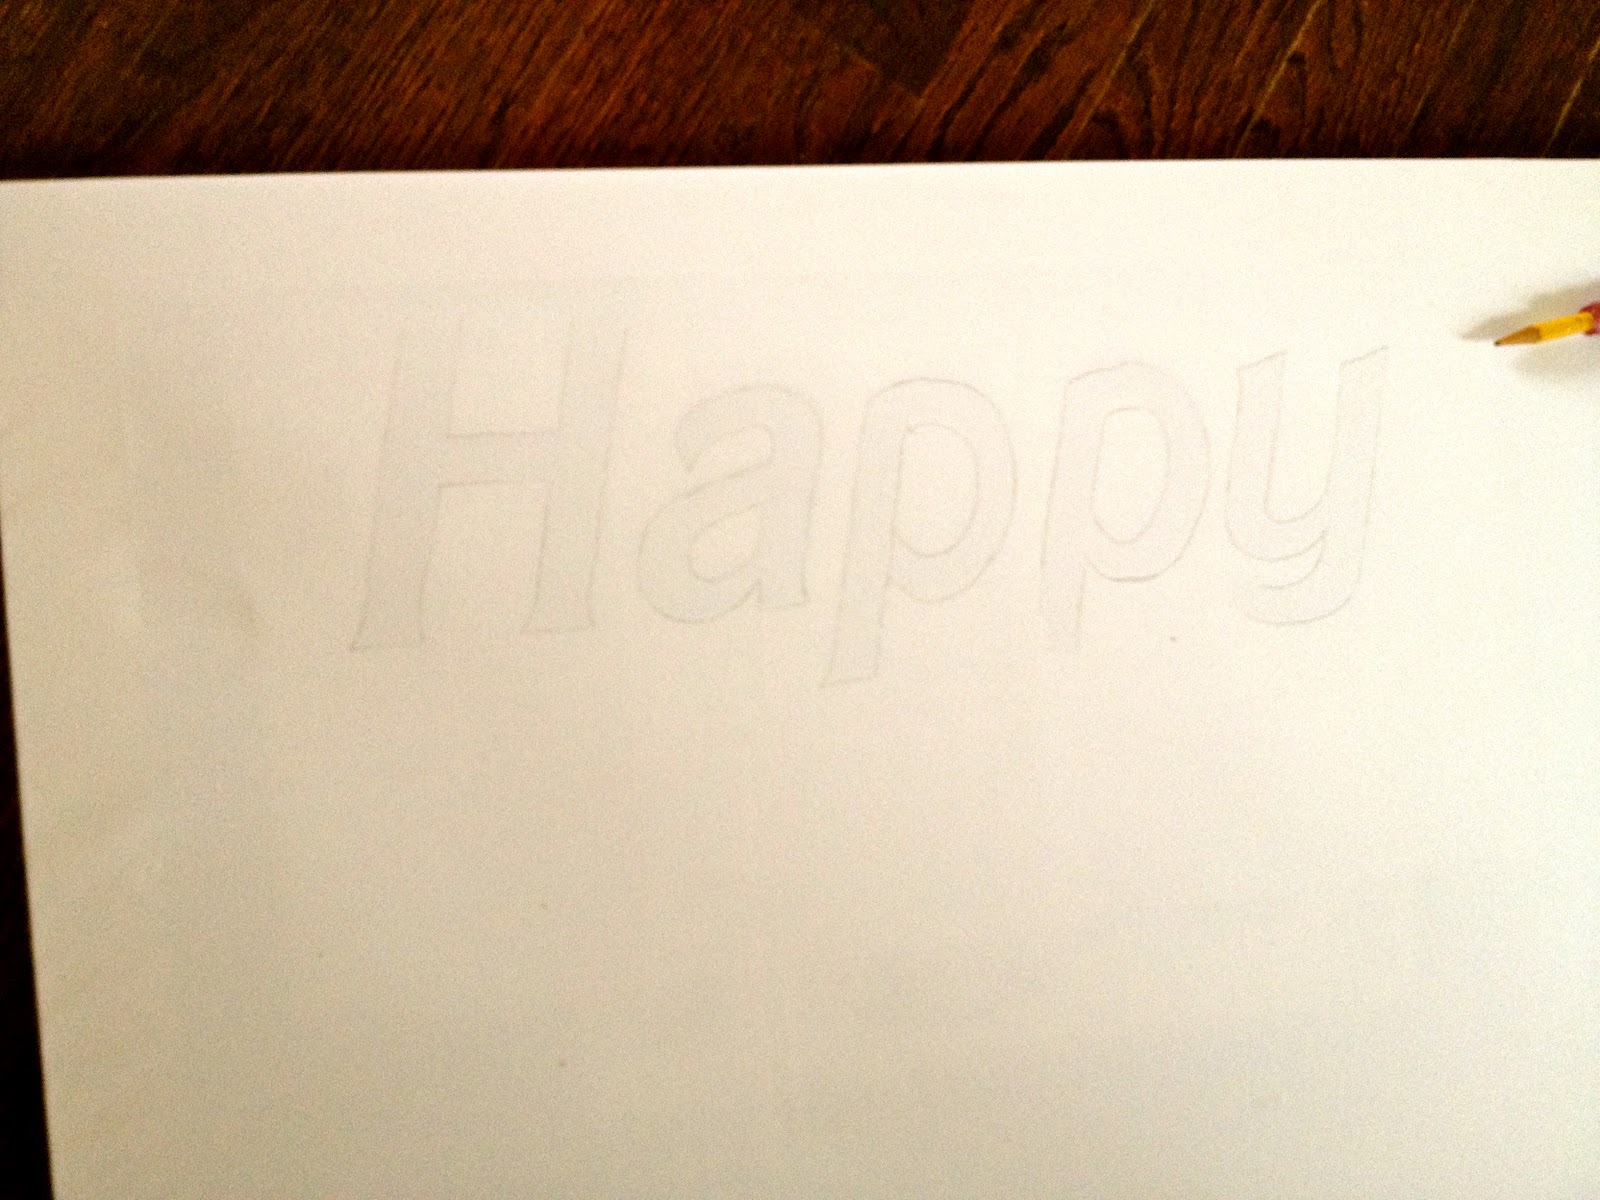
8. Paint inside the traced letters:
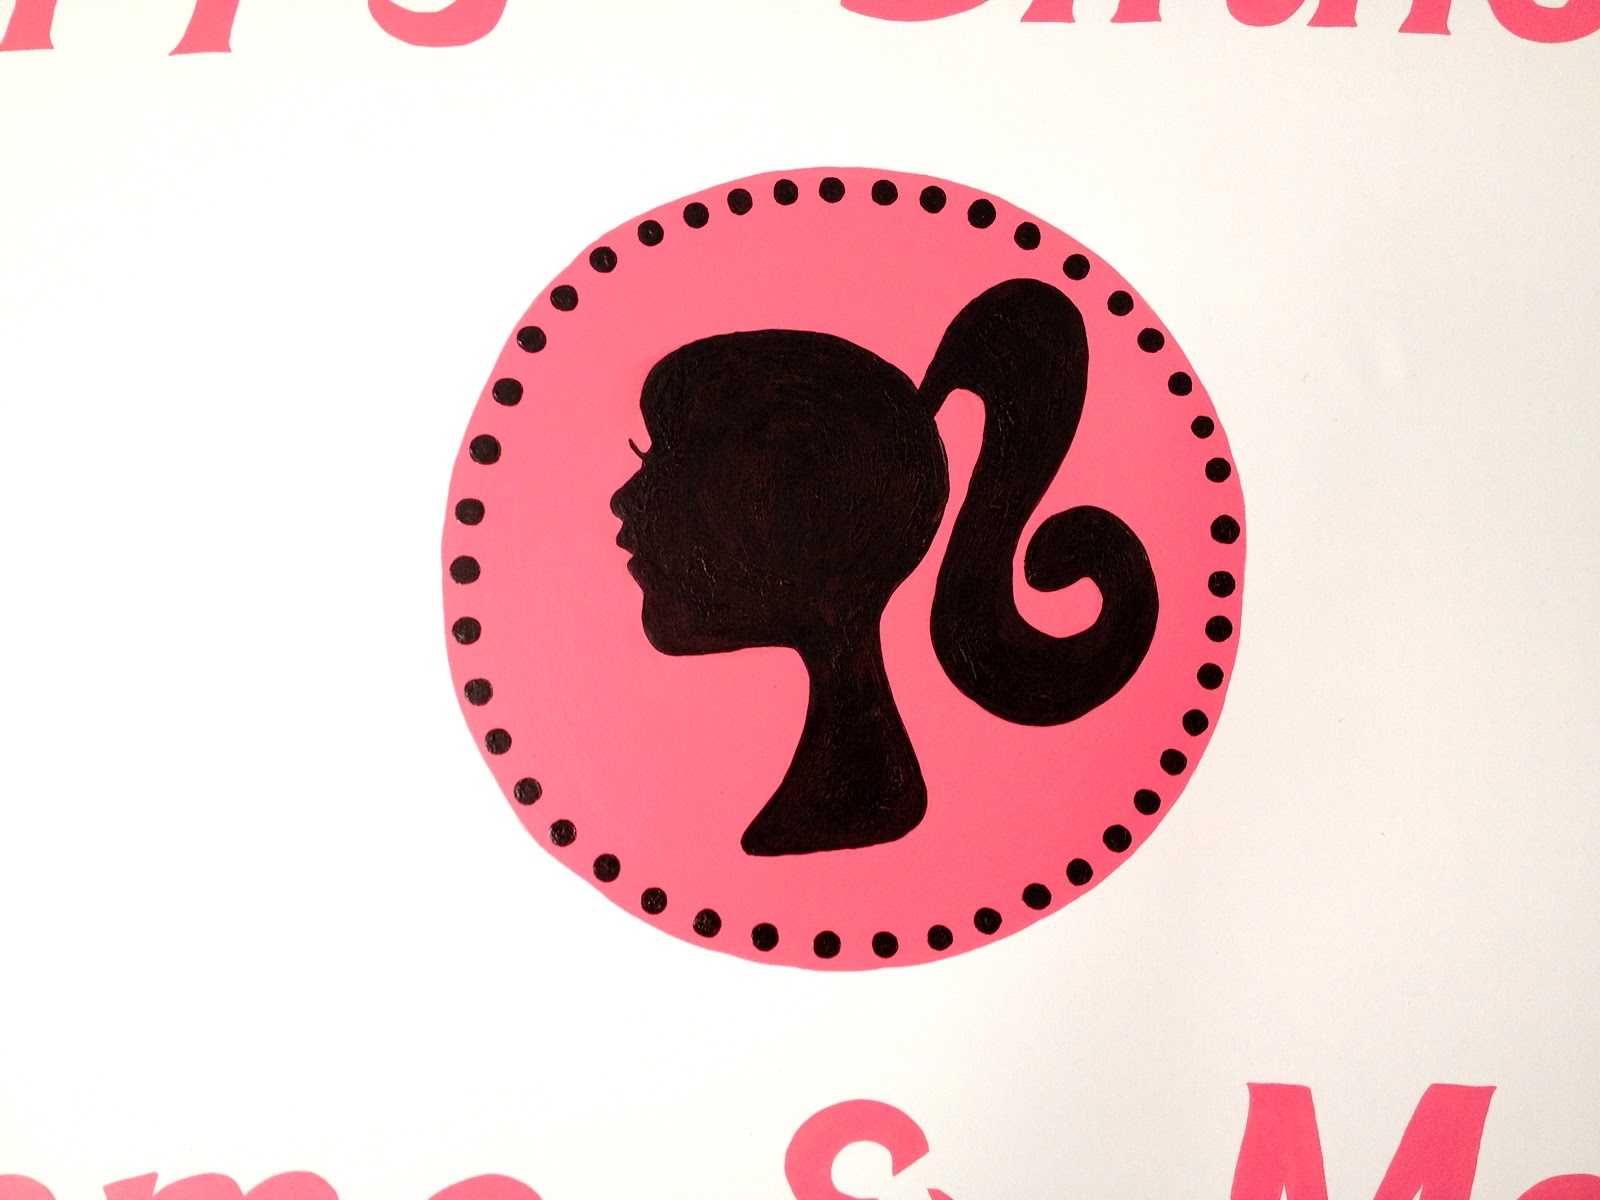
9. Paint center pink circle for Barbie silhouette background.
Print out silhouette (I used a screenshot from the cupcake toppers purchased here), transfer silhouette free hand with pencil onto pink circle:

10. Paint silhouette black and add dots around edge:
Hang completed sign on the TV:

The Barbie silhouette pouches were filled with candy as party favors.
You can see the full tutorial on how to make the pouches here.
A great way to temporarily hide the TV and provide a fun decoration for your party.

I’m linking up to:
Whatcha Got Weekend @ Lolly Jane
SAS @ Funky Junk
Weekend Wrap Up @ Tatertots & Jello
Sundae Scoop @ I Heart Naptime
Sister Sunday @ Sisters of the Wild West
Sunday Showcase Party @ Under the Table & Dreaming
Just Something I Whipped Up @ The Girl Creative
DIY Project Parade @ The DIY Showoff
Made by You Mondays @ Skip to My Lou
Making the World Cuter @ Making the World Cuter
Nifty Thrifty @ Coastal Charm
Tuesday Treasures @ My Uncommon Slice of Suburbia
Tutorials & Tips Tuesday @ Home Stories A to Z
Good Life @ A Beach Cottage
Delightfully Inspiring @ Delightful Order
Transformation Thursday @ The Shabby Creek Cottage
Strut Your Stuff @ Somewhat Simple
Share Awesomeness Thur @ The 36th Avenue
Flaunt it Friday @ Chic on a Shoestring
Tickled Pink @ 504 Main
Frugal Friday @ The Shabby Nest
SAS @ Just a Girl
Feathered Nest @ French Country Cottage
Remodelaholics Anonymous @ Remodelaholic
inspiration board @ Carolyns Homework


ha ha you're so more AWESOMER than Martha.
😉
Wow! This is amazing! I've had this party pinned on my board for a long time and just now clicked the link to your tutorials and I am super impressed!!! Way to go! You are so creative. 🙂