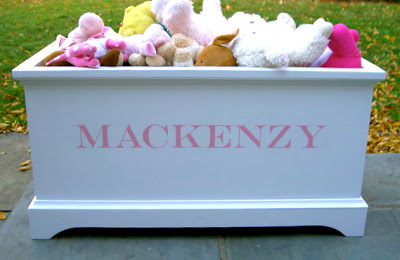
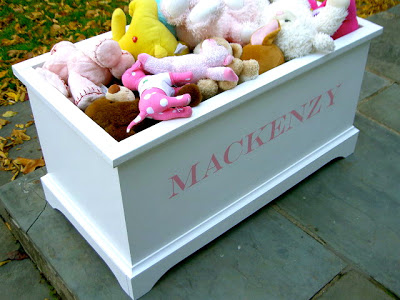
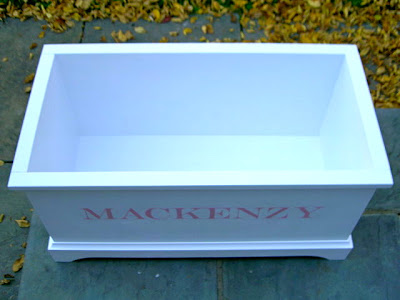
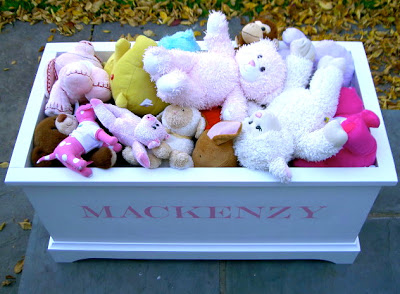
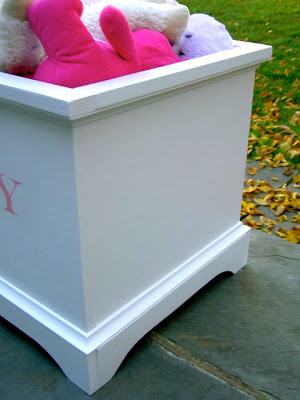
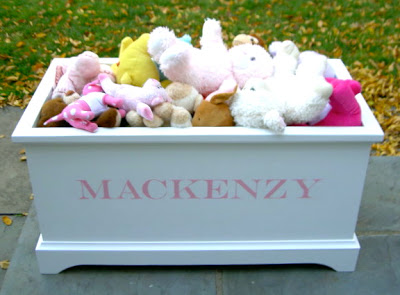
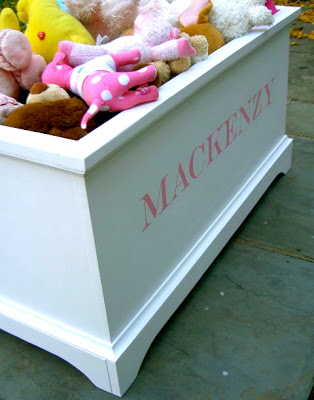
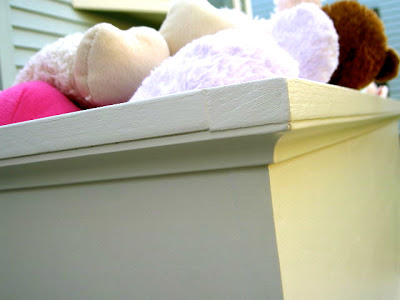
I built another toy box, this one is for Mackenzy:
Perfect for corralling all those toys.
And a beautiful piece of furniture too!
Here’s how I made the toy box:
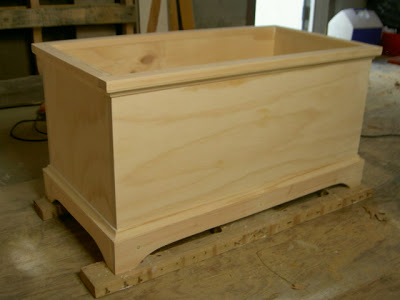
1. Build per Ana’s plans here.
Sand and wood putty.
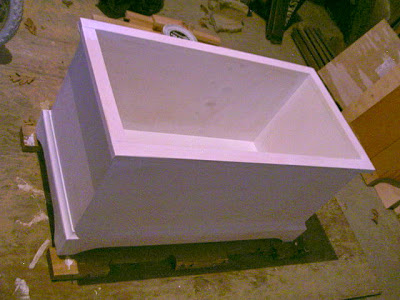
2. One coat primer.
Sand again.
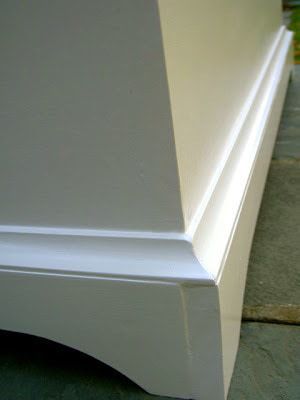
3. Two coats semi-gloss white.
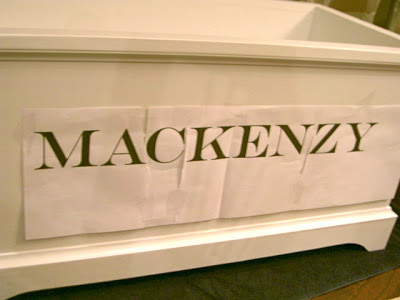
4. Prepare lettering, print out to size.
(I used Engravers MT font 250 point.)
Center and tape onto side of box.
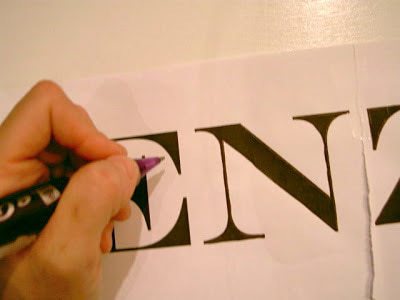
5. Trace letters using ballpoint pen to leave indent in wood.
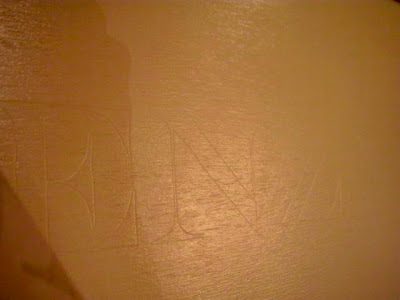
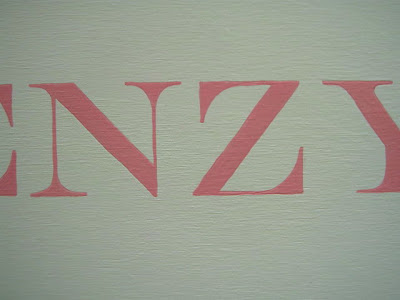
6. Here’s the indent left behind:
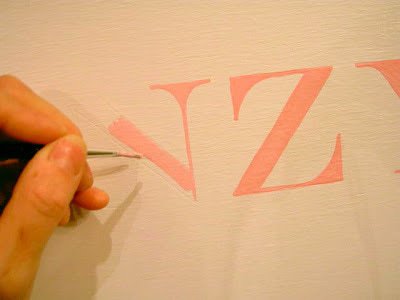
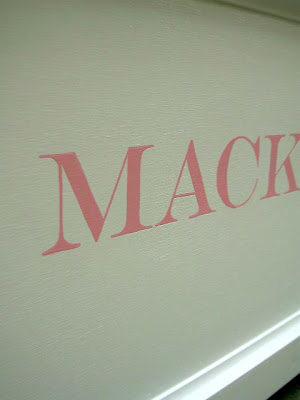
7. Paint inside the indent:
8. Seal name with clear spray acrylic:
Ready.
A nice addition for a little girls room.
Just in time for the holidays.
Great toy box! I dunno how you get the lettering so perfect.
Prekrasna ti je ova kutija za igračke…
Pozdrav.
This is so pretty. I think my husband needs to see how to build this! Thanks for posting this. Would you like to guest post this idea on my blog birthday celebration? If so, email me at [email protected] for more information :).
Beautiful! I love it!
That's so much cuter than the dirt brown vinyl covered thing my kids had!
So pretty! If you don't mind me asking, what type of paint do you use for all of the personalized projects you do?
What an idea! Love it. Thanks for sharing.
Hope to see you on my blog:)
That is so nice Jaime! I wish I had a steady hand like you. Perfect letters! It's time again for my monthly linky and would love to have you share this. Tuesday's Nursery party is on Dec 6th and its for all ages of kids decor! Have a great weekend! Nan
could you please tell me the dimensions of the toy box?