• Home
  • Blog
  • About
  • Contact
    • Disclosure
    • Privacy Policy
  • SHOP
  • Widget area for main menu

    • Email
    • Facebook
    • Instagram
    • Pinterest
    • Twitter
    • YouTube
  • Skip to primary navigation
  • Skip to main content
  • Skip to primary sidebar

Jaime Costiglio

build - paint - sew

  • BUILD
    • BEDS
    • BENCHES
    • DESKS
    • DRESSERS
    • GAMES & TOYS
    • SCRAP WOOD
    • SHELVES
    • STORAGE
    • TABLES
  • TOOLS
  • PAINT
    • CRAFTS
    • FURNITURE
    • HOME DECOR
  • SEW
    • GIFTS
    • HOME DECOR
    • POUCHES
  • HANDBUILT HOLIDAY
    • 2021
    • 2019
    • 2018
    • 2017
    • 2016
    • 2015
    • 2014
    • 2013
  • GIFTS
    • BABIES
    • KIDS
    • FOR HER
    • FOR HIM
    • TEACHERS
    • WEDDINGS
  • SEASONAL
    • 4TH OF JULY
    • FALL
    • HALLOWEEN
    • CHRISTMAS
    • SUMMER
    • SPRING
    • ST. PATRICK’S DAY
    • THANKSGIVING
    • VALENTINE’S DAY
    • WINTER
  • SALTBOX PROJECT
    • BATHROOMS
    • DINING ROOM
    • EXTERIOR
    • FAMILY ROOM
    • FOYER / MUDROOM
    • KIDS BEDROOMS
    • KITCHEN
    • LIVING ROOM
    • MASTER BEDROOM
    • PLAYROOM
  • SCROLL SAW

Stained Vintage Desk Makeover with Monogram

April 9, 2013

desk makeover
An old school desk makeover complete with personalization.  How a dark, painted desk got refinished with stain, new hardware pulls and a monogrammed top.


vintage teachers desk details
This desk belongs to my neighbors and has been in the husband’s family for a long time.
It had multiple, multiple coats of paint under the thick, shiny black enamel:

vintage teachers desk before and after
I completely stripped it down to the bare wood, then added stain and poly.
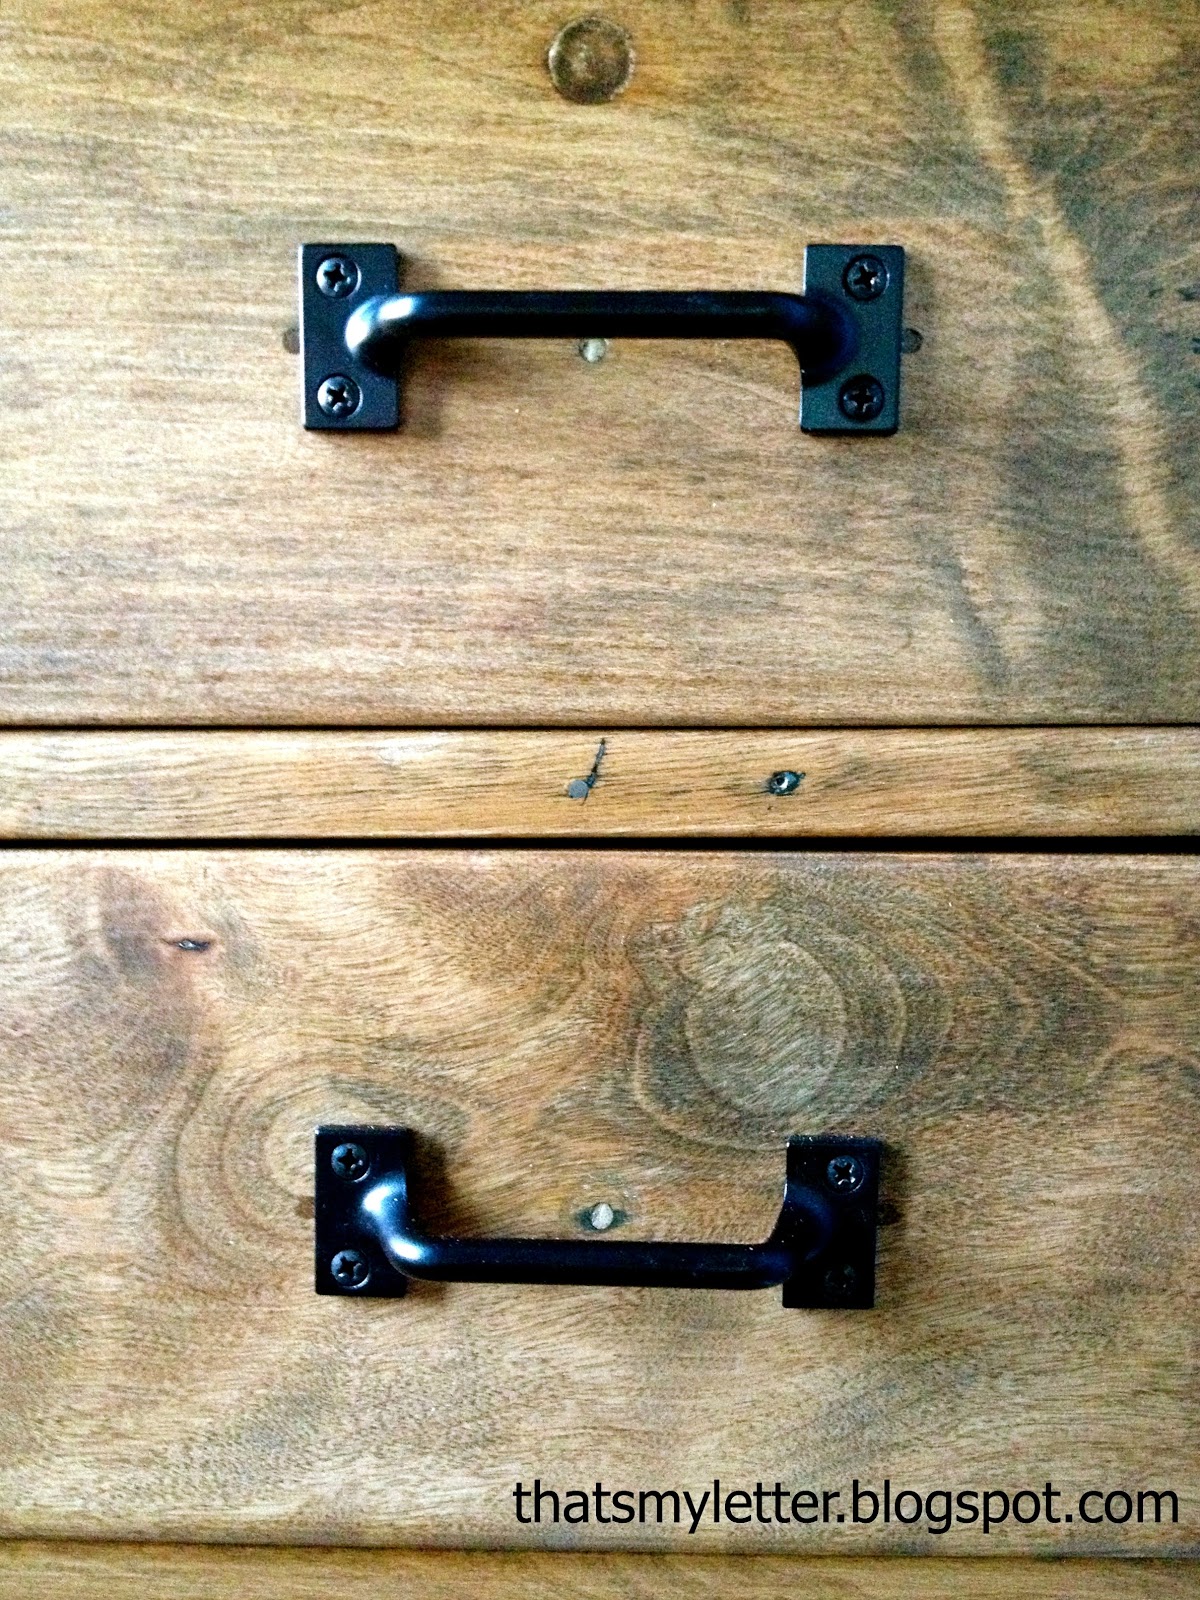
The drawer pulls are basic Home Depot stock in black.
Even the gorgeous brass leg bottoms were covered in paint.
vintage teachers desk drawers with black pullsvintage teachers desk leg brass detail
Now the desk resides in their son’s new bedroom in a nook created perfectly to fit:
vintage teachers desk monogrammed top
teachers desk makeover monogrammed top
The top surface is not wood but clay – I think – we couldn’t stain it so decided on paint and adding the giant B:
kids desk with monogrammed top
Here’s how I refinished the desk:
 
1. Using liquid stripper strip all the paint.
I used an entire large can with multiple applications.


chemical stripper to remove paint
All sanded and stripped:
vintage desk stripped to bare wood
The clay? top:


vintage desk stripped top
2. Clean the brass feet with salt/vinegar/flour paste:
vinegar mixture on brass feet
3. Stain all the wood portions Minwax Early American.
Tape off the top, prime (and putty for smoothness):
stained wood vintage desk
4. Paint top two coats BM chamois high gloss enamel.
Draw ‘B’ in pencil:


refinished clay teachers desk top
5. Paint B using acrylic/latex, I mixed up a grey/blue color to coordinate with the dark blue walls:


handpainted monogram on desk top
6. Seal everything two coats Minwax polyurethane satin.
refinished teachers vintage wood desk

You may also like...

  • DIY Personalized Fabric BuntingDIY Personalized Fabric Bunting
  • DIY Open Toy BoxDIY Open Toy Box
  • DIY Desktop TrayDIY Desktop Tray
  • DIY Wood Cut Out Name PlaqueDIY Wood Cut Out Name Plaque
Share this post:

Filed Under: DESKS, DIY, FURNITURE, FURNITURE, HOME DECOR, PAINT8 Comments

Reader Interactions

Comments

  1. Jacque n Matt Knowlton says

    April 9, 2013 at 12:16 PM

    Jaime, Love the personalization that you've added to this desk! And love that you breathed new life into a family hand me down! Great job!

    Reply
  2. Jenny says

    April 9, 2013 at 12:41 PM

    I adore this desk, and the personalization really sends it over the top! Beautiful job!

    Reply
  3. Cassie @ Primitive & Proper says

    April 9, 2013 at 12:52 PM

    such an awesome desk! i love the finish, love the letter, and hello to those sweet feet!

    Reply
  4. DaiseyJayne.com says

    April 9, 2013 at 1:17 PM

    What a transformation! Love the brass feet and how you stripped them, never heard of that "recipe".

    Reply
  5. Korrie@RedHenHome says

    April 9, 2013 at 3:08 PM

    Wow! It's so much harder to bring a piece "back" that has been painted. You did an amazing job!

    Reply
  6. Ryan Naylor says

    April 9, 2013 at 11:09 PM

    Every time I see something like this, I'm like, "Man, I wanna do that!" So rewarding I bet. Nice work!

    Reply
  7. Desiree @ The 36th AVENUE says

    April 23, 2013 at 3:41 AM

    Love it!
    I am featuring you tomorrow 🙂

    Reply
  8. Suzan Sweatman says

    April 23, 2013 at 8:35 AM

    Just popped in from 36th ave – this is fabulous looking – I'm in love!
    Hugs,
    Suzan

    Reply

Leave a Reply Cancel reply

Your email address will not be published. Required fields are marked *

Primary Sidebar

Hi! I’m Jaime

Jaime Costiglio

Hello!

Thank you for stopping by.
Join me for lots of DIY.

Read more

Get new posts via email

Handbuilt Holiday: Gift Project Plans

handbuilt holiday gift project plans

Collection of DIY gift project plans to build.

The Home Depot Tool Prospective

THD Prospective

Tools to consider for the DIYer.

Archives

The Home Depot Logo
Copyright © 2026 Jaime Costiglio · Custom site by Moonsteam Design

Privacy Policy