• Home
  • Blog
  • About
  • Contact
    • Disclosure
    • Privacy Policy
  • SHOP
  • Widget area for main menu

    • Email
    • Facebook
    • Instagram
    • Pinterest
    • Twitter
    • YouTube
  • Skip to primary navigation
  • Skip to main content
  • Skip to primary sidebar

Jaime Costiglio

build - paint - sew

  • BUILD
    • BEDS
    • BENCHES
    • DESKS
    • DRESSERS
    • GAMES & TOYS
    • SCRAP WOOD
    • SHELVES
    • STORAGE
    • TABLES
  • TOOLS
  • PAINT
    • CRAFTS
    • FURNITURE
    • HOME DECOR
  • SEW
    • GIFTS
    • HOME DECOR
    • POUCHES
  • HANDBUILT HOLIDAY
    • 2021
    • 2019
    • 2018
    • 2017
    • 2016
    • 2015
    • 2014
    • 2013
  • GIFTS
    • BABIES
    • KIDS
    • FOR HER
    • FOR HIM
    • TEACHERS
    • WEDDINGS
  • SEASONAL
    • 4TH OF JULY
    • FALL
    • HALLOWEEN
    • CHRISTMAS
    • SUMMER
    • SPRING
    • ST. PATRICK’S DAY
    • THANKSGIVING
    • VALENTINE’S DAY
    • WINTER
  • SALTBOX PROJECT
    • BATHROOMS
    • DINING ROOM
    • EXTERIOR
    • FAMILY ROOM
    • FOYER / MUDROOM
    • KIDS BEDROOMS
    • KITCHEN
    • LIVING ROOM
    • MASTER BEDROOM
    • PLAYROOM
  • SCROLL SAW

DIY Kid Size Stool

June 29, 2012

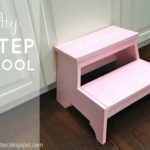
Build: kids size play stool
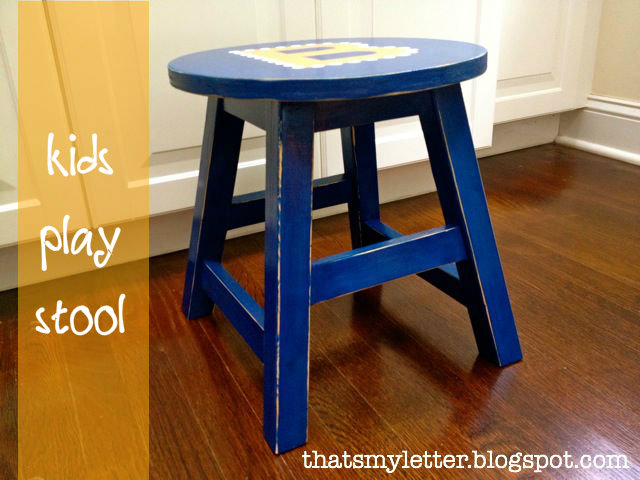
I used Ana White’s play table stool plans to build this stool for a birthday gift.
This birthday boy’s name starts with B, hence the personalization on the stool seat:

The distressed edges are perfect for kids who tend to ‘distress’ furniture in their own way:

My kids got the first build of this stool in red:
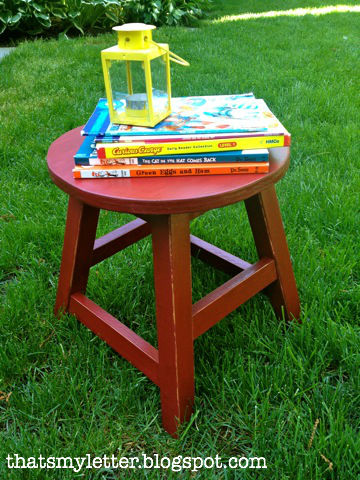
And we put it under the clubhouse fort bed in their room to use as a table:

Here’s how I made the stool:

1. Cut wood to size as per Ana’s plans here:
2. Assemble stool using Kreg jig:

3. Sand then paint two coats Behr lake blue:
4. Sand to distress:

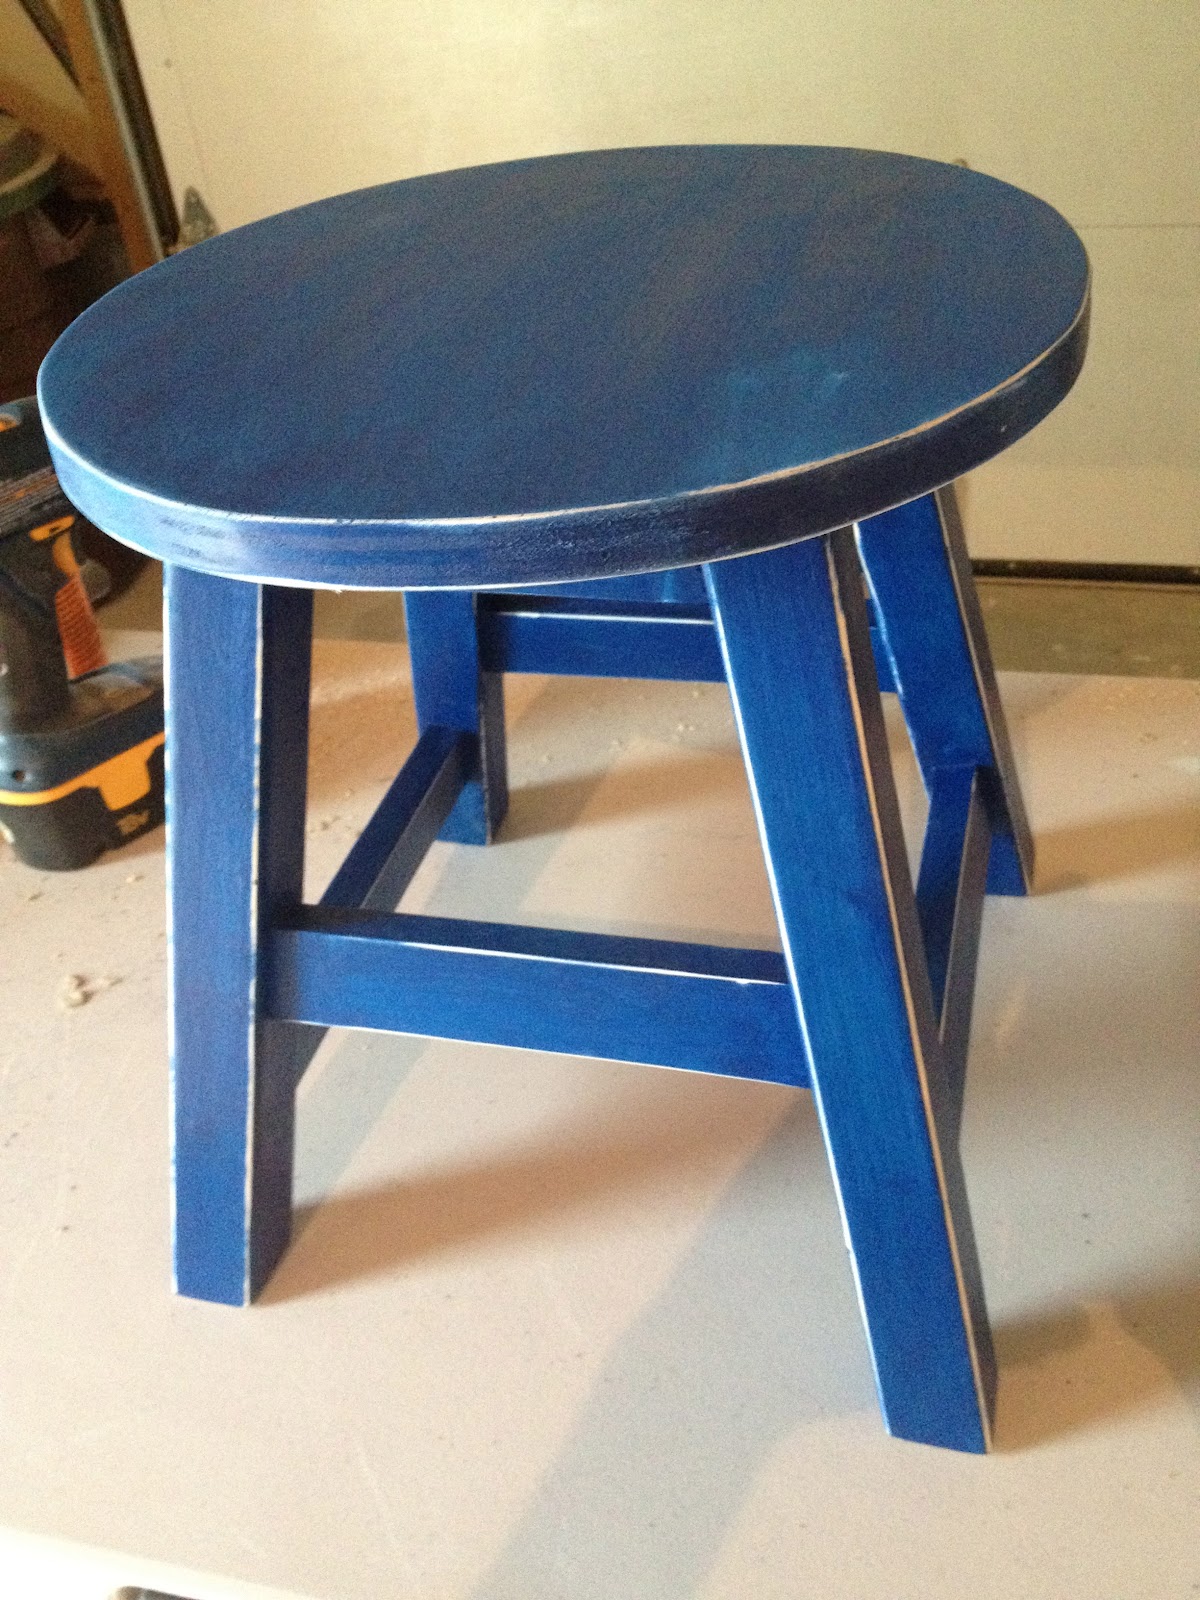
5. Stain with Minwax Early American:

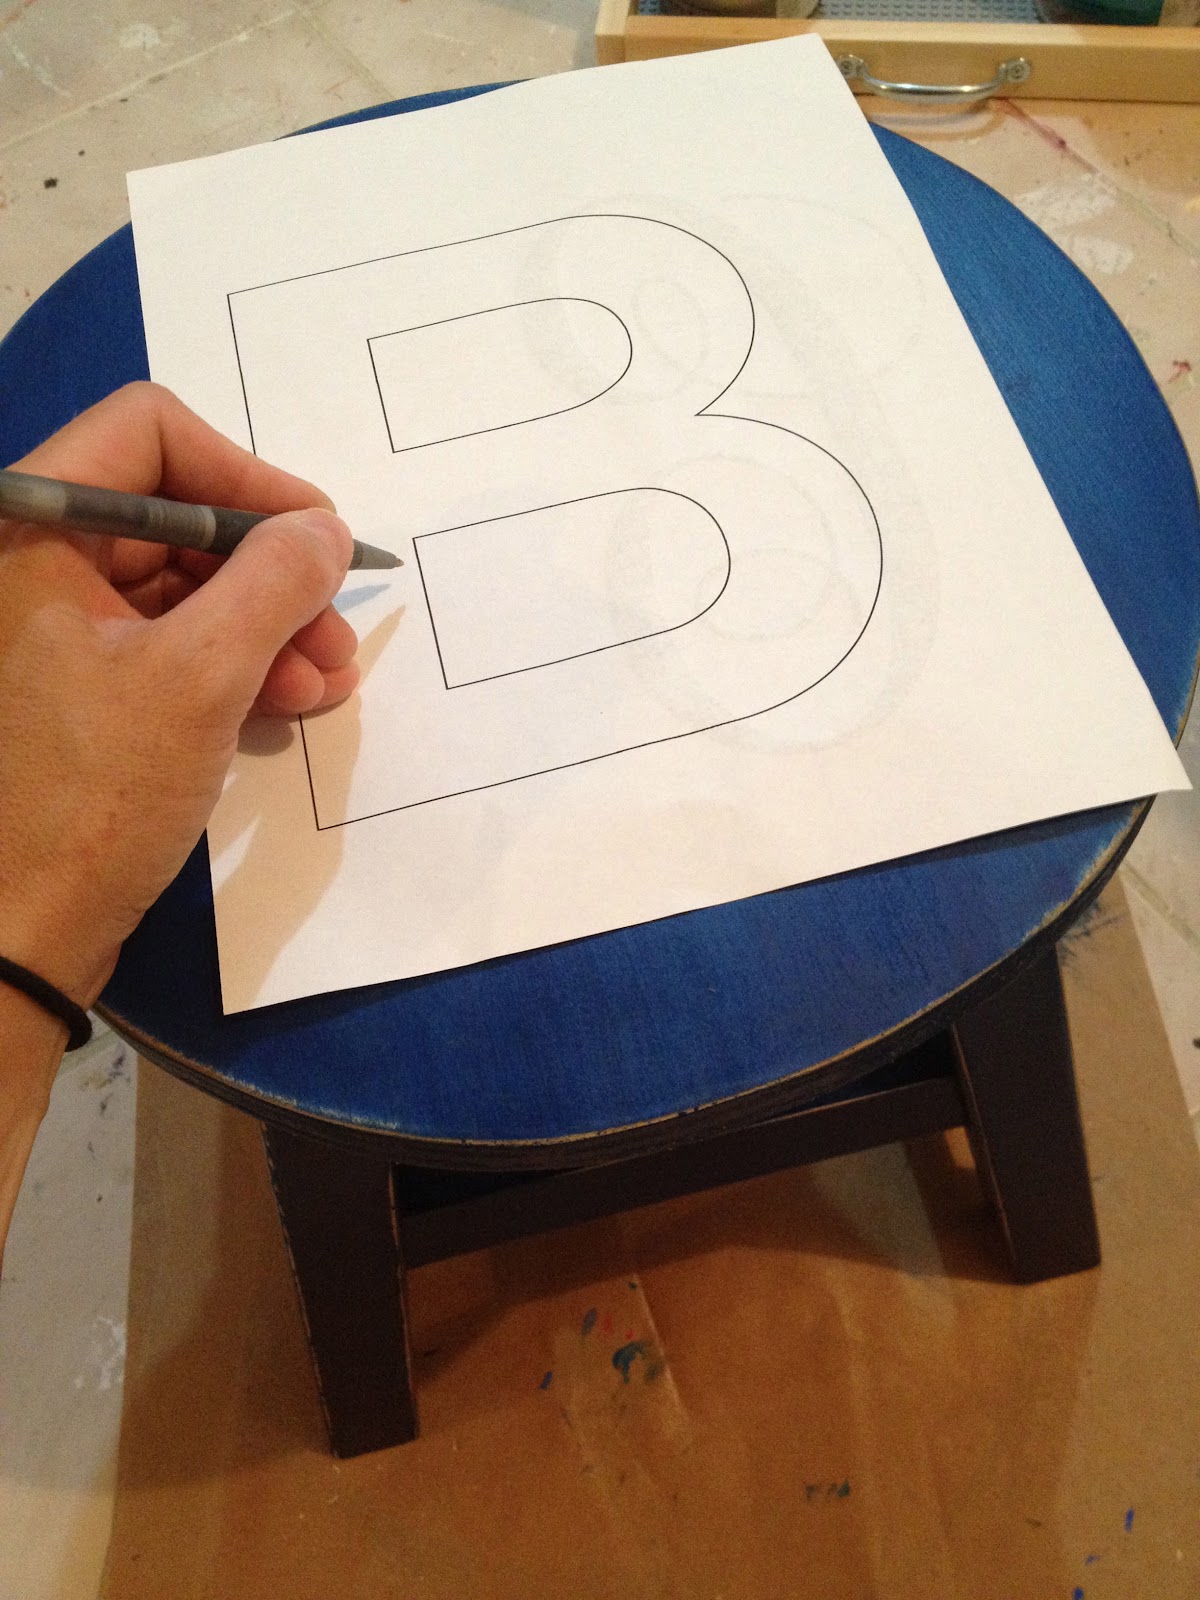
6. Print out monogram (I used Ariel font 700 point).
Trace letter using ballpoint pen:
7. Paint on and inside the indent left behind by the pen, start with white acrylic:

8. Then paint over the white with Glidden sunbaked orange, two coats:

9. Add decorative dots with white acrylic:
(I used the end of a glue stick.)

10. Seal with clear gloss spray poly:

Ready for little ones to play:

You may also like...

  • DIY Jewelry Stand Free PlansDIY Jewelry Stand Free Plans
  • “K” is for Kids Step Stool“K” is for Kids Step Stool
  • DIY Personalized Trug (the naked version)DIY Personalized Trug (the naked version)
  • DIY Square Mudroom BinsDIY Square Mudroom Bins
Share this post:

Filed Under: BENCHES, BUILD, DIY, FURNITURE, FURNITURE, GIFTS, KIDS, PAINT1 Comment

Reader Interactions

Comments

  1. Karen Mary Butterfly says

    June 29, 2012 at 5:25 PM

    Wow. What a great tutorial! I love your glue stick trick! So smart! Thank you! What a cute bed/fort!!!!!!!!

    Reply

Leave a Reply Cancel reply

Your email address will not be published. Required fields are marked *

Primary Sidebar

Hi! I’m Jaime

Jaime Costiglio

Hello!

Thank you for stopping by.
Join me for lots of DIY.

Read more

Get new posts via email

Handbuilt Holiday: Gift Project Plans

handbuilt holiday gift project plans

Collection of DIY gift project plans to build.

The Home Depot Tool Prospective

THD Prospective

Tools to consider for the DIYer.

Archives

The Home Depot Logo
Copyright © 2023 Jaime Costiglio · Custom site by Moonsteam Design

Privacy Policy