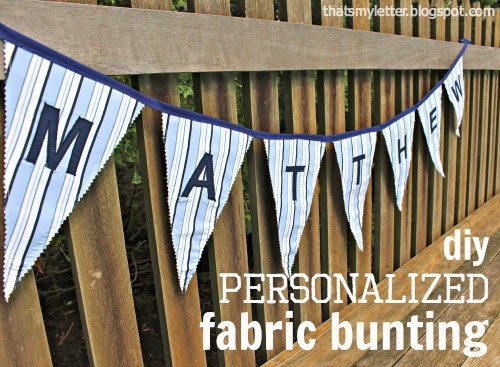
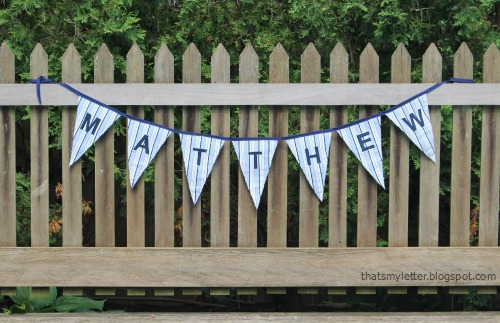
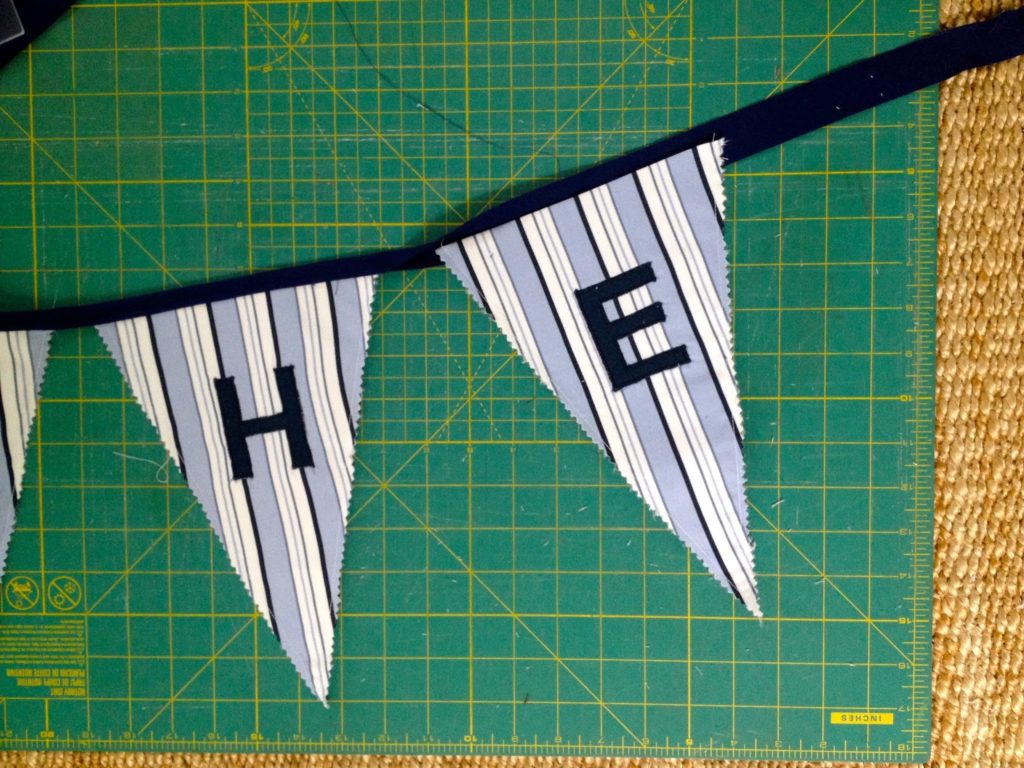
Sew this personalized fabric bunting with letters made using a lightbox, no fancy machines.
How to sew personalized fabric bunting:
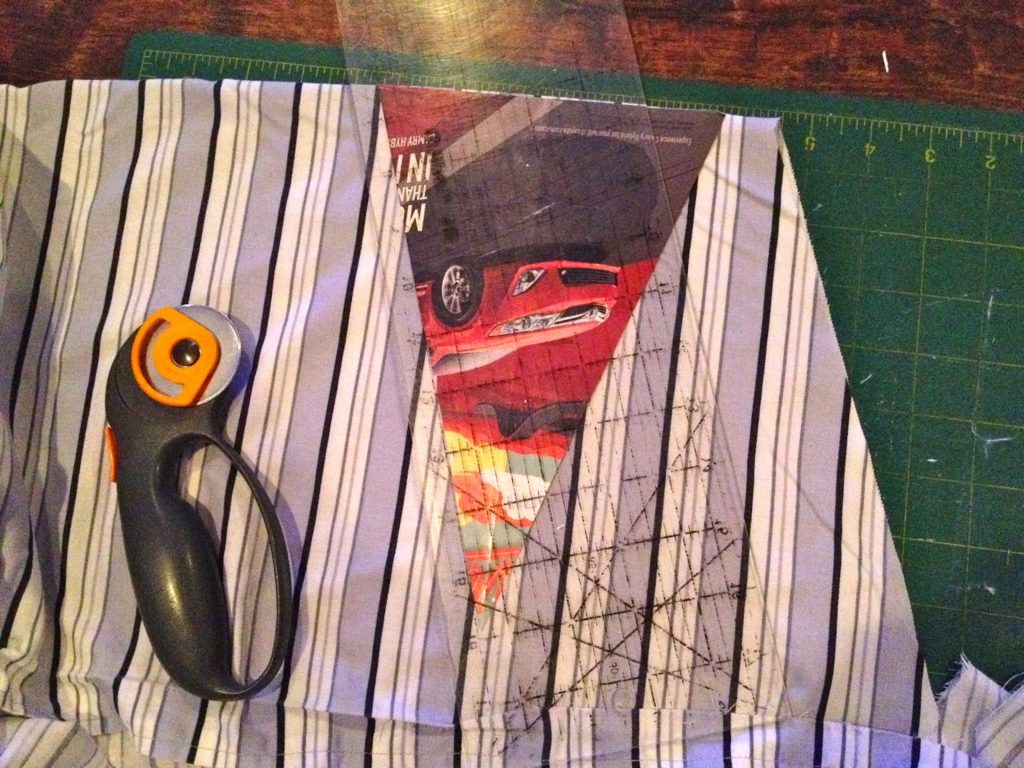
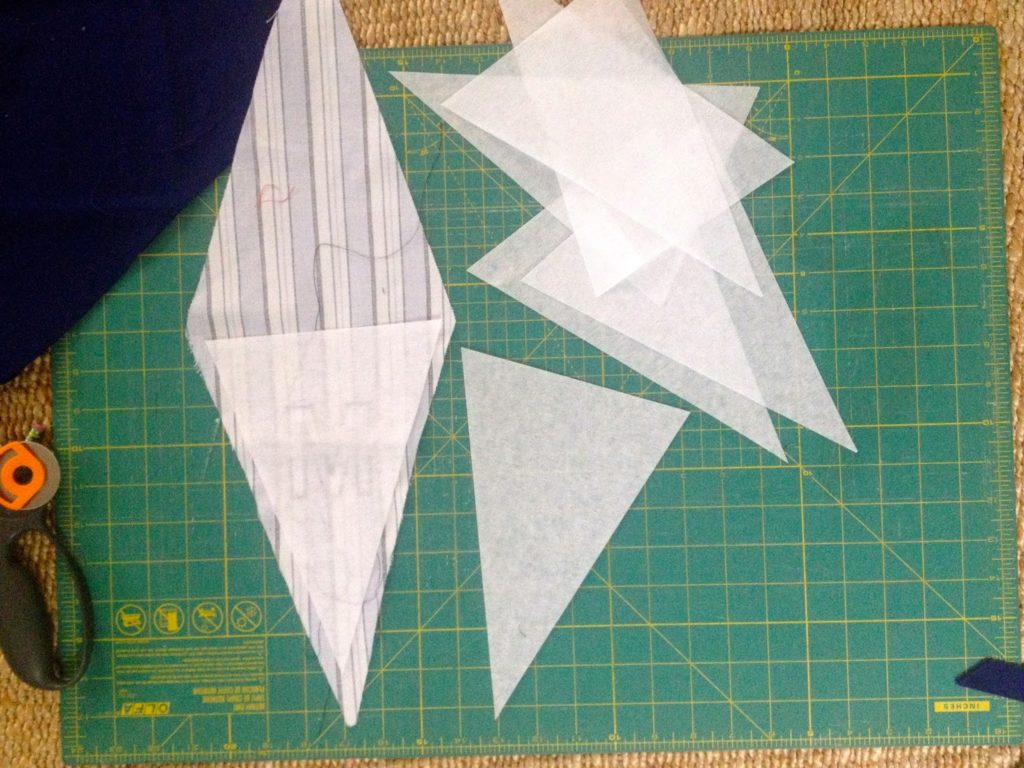
Step 1: Cut fabric triangles ON THE FOLD. Use a paper template.
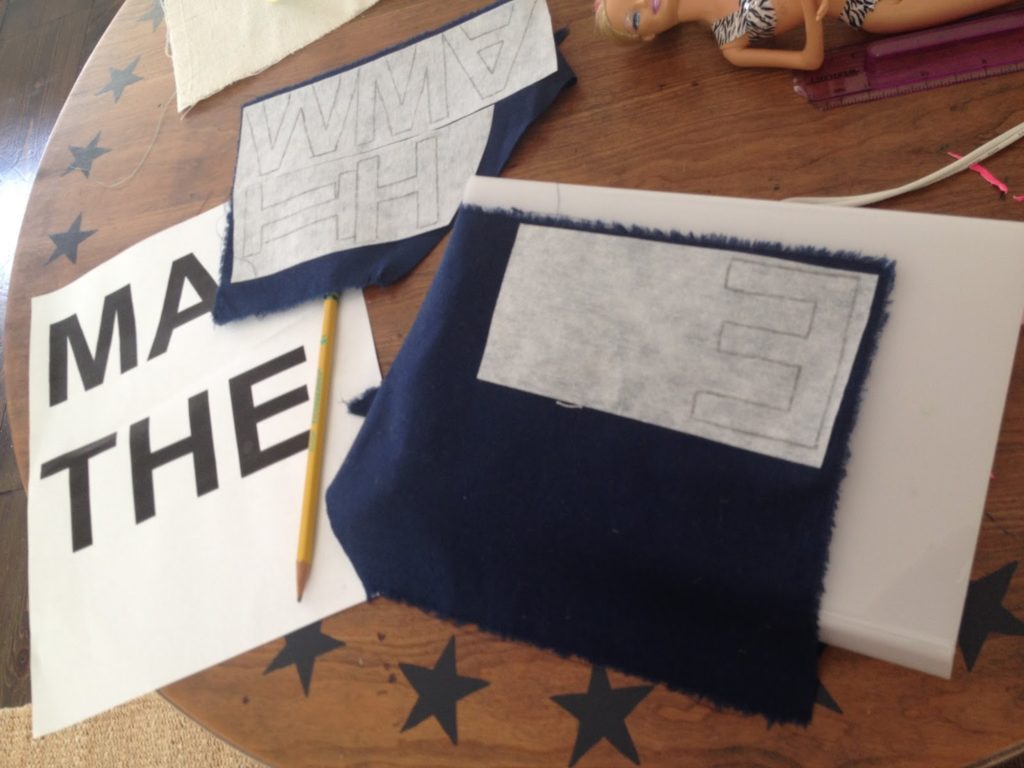
Step 2: To make letters iron interfacing to wrong side of fabric. Print out letters. Using a lightbox place printout right side down on lightbox then fabric right side down on top. Trace outline of fabric onto interfacing. (For more fabric letter making details see my post here.)
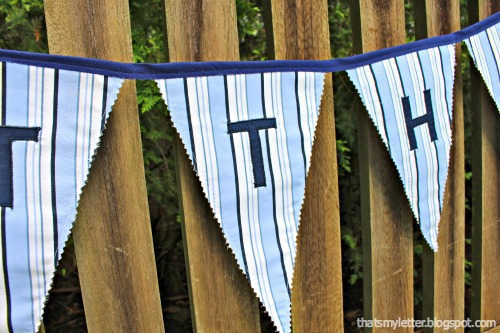
Cut out letters.
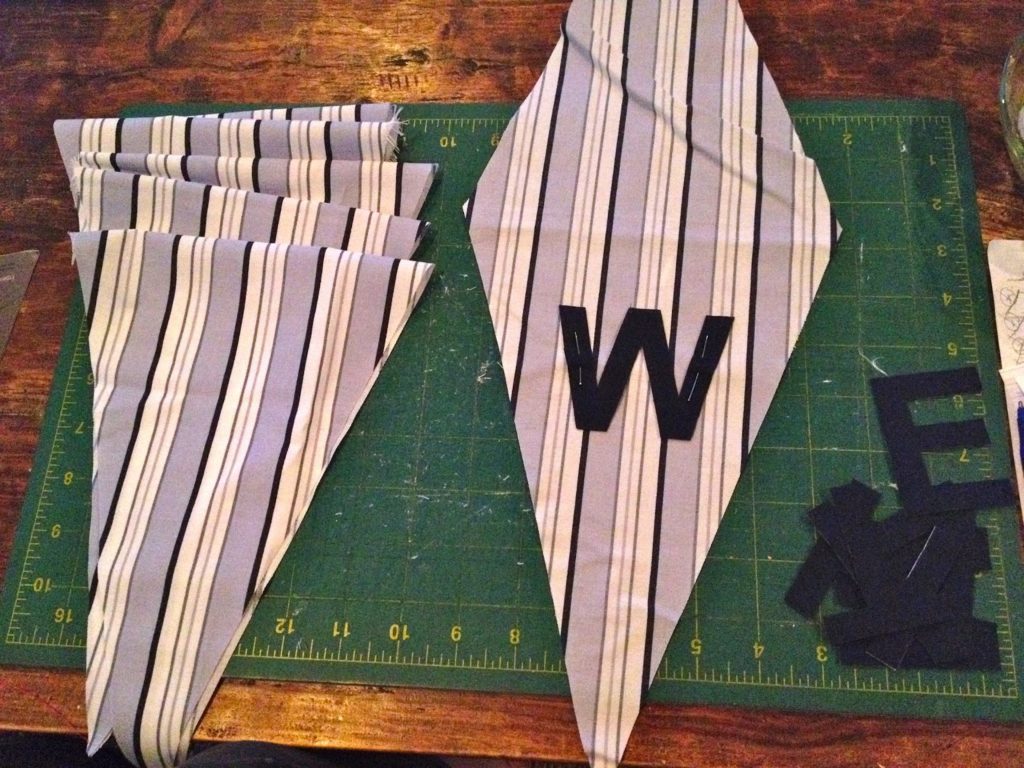
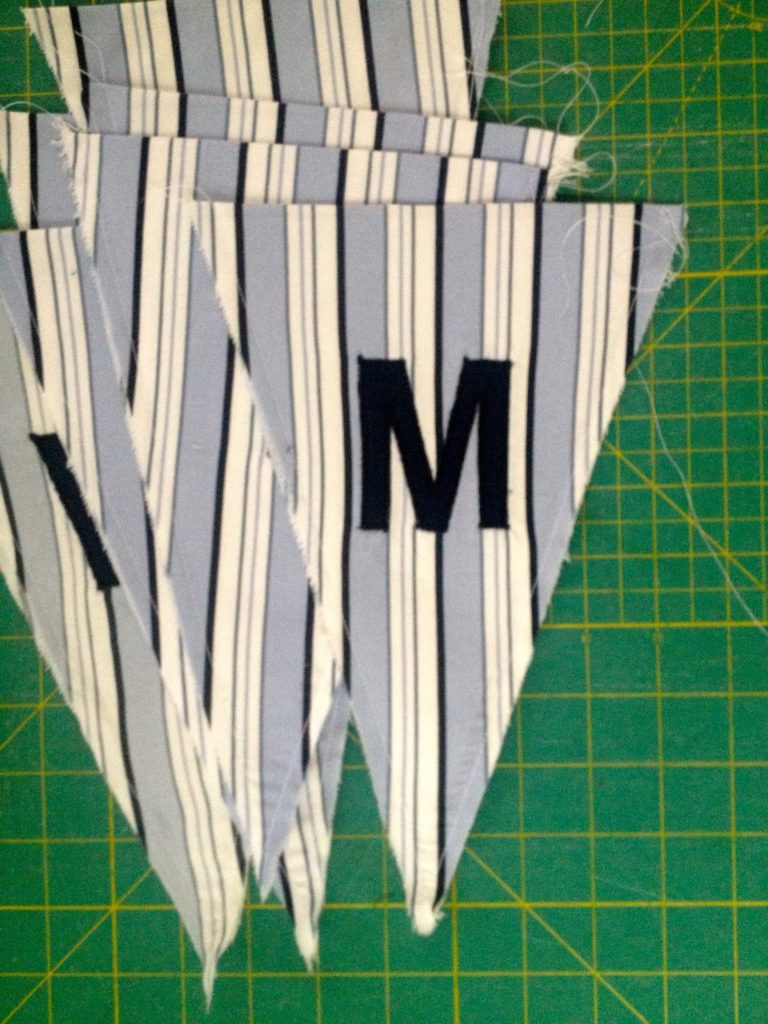
Step 3: Pin letters to one side of triangle.
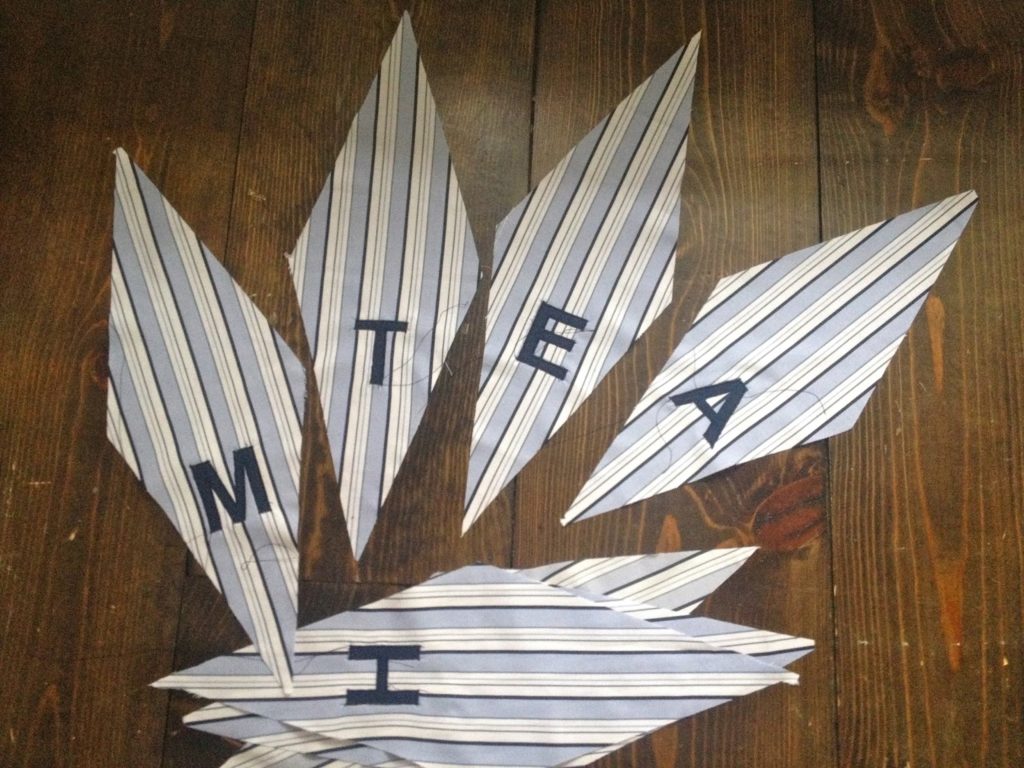
Step 4: Sew letters in place with tight zig zag stitch.
Step 5: To increase stability of fabric iron on double sided fusible interfacing in between each triangle.
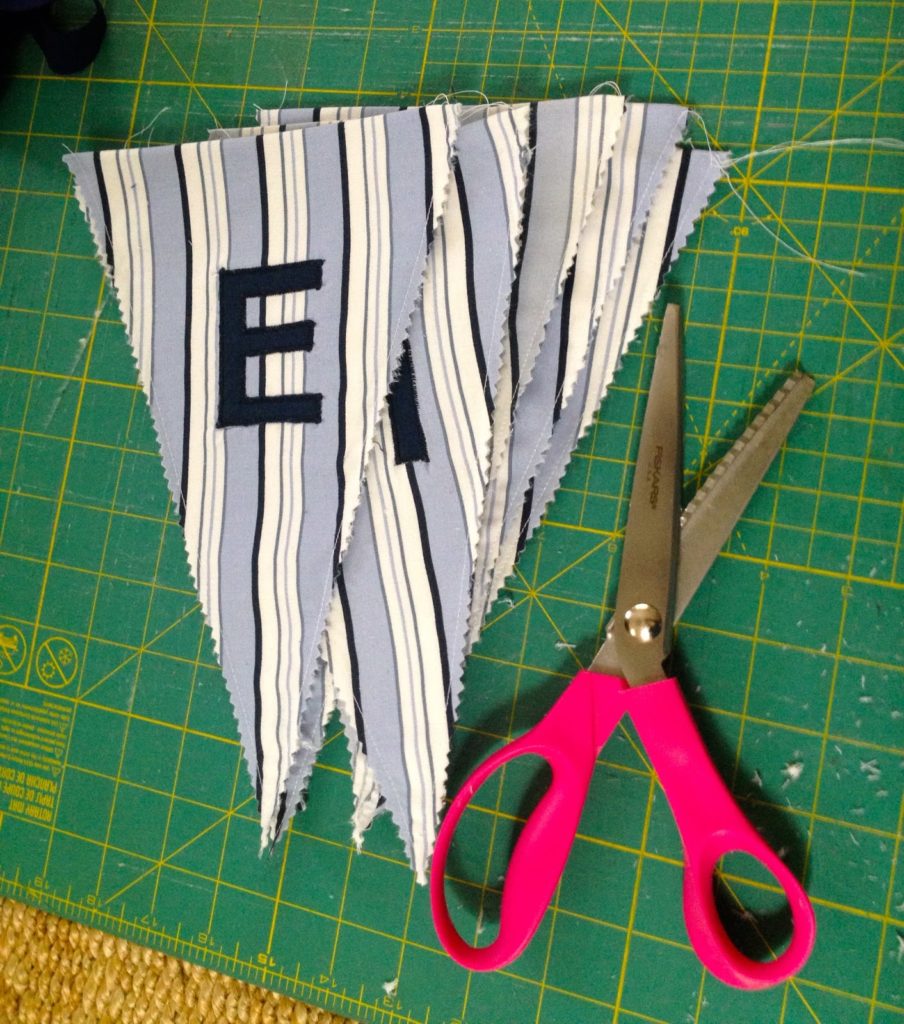
Step 6: Sew each triangle shut on both long sides about 1/2″ in from raw edge.
Step 7: Trim raw edge with pinking shears.
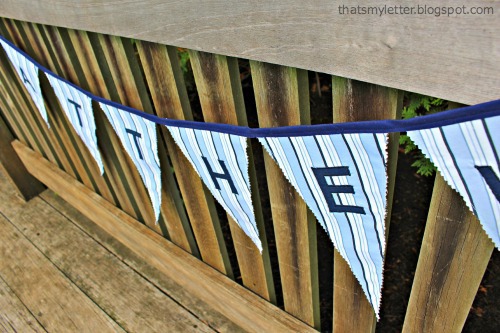
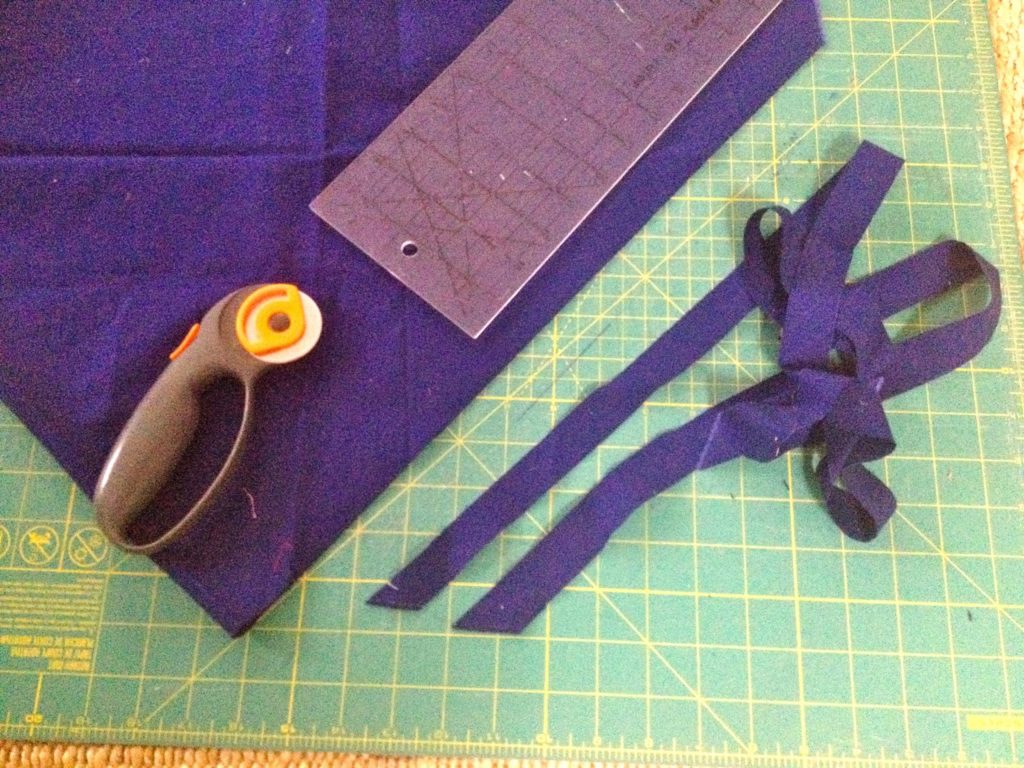
Step 8: Cut bias strip for top (or use a wide ribbon).
Step 9: Place fold edge of triangles into bias stripe at center, fold over and top stitch shut.
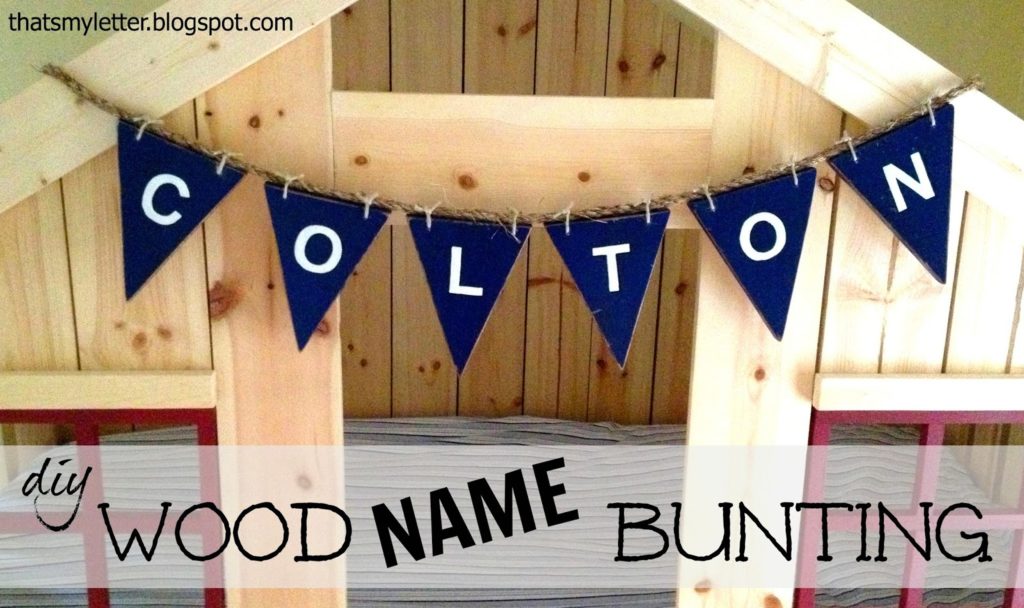
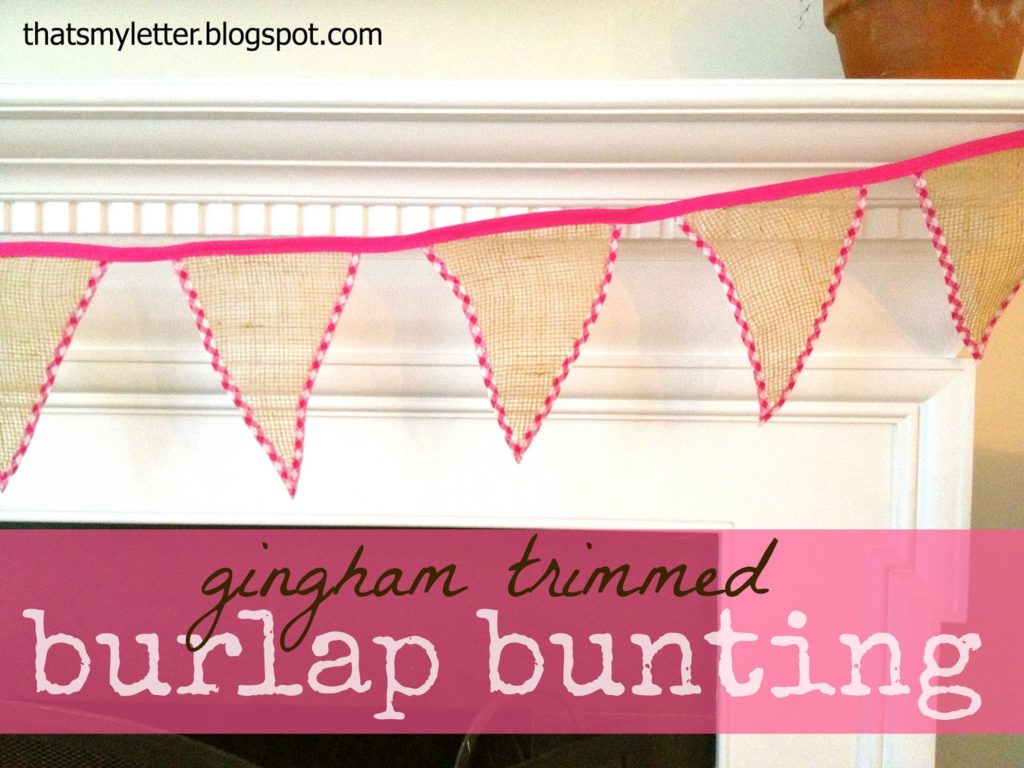
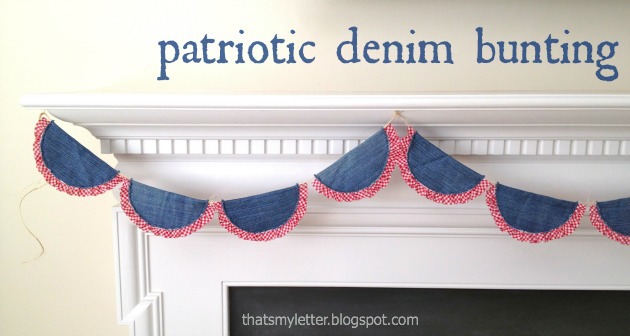
For more bunting ideas:



Adorable banner! 🙂