Build: kids play teepee

If you can sew a straight stitch you can definitely make this teepee.
Ana White whipped up great plans for this simple teepee build, I gathered the supplies and 3 hours later we had a kids play teepee ready for fun:
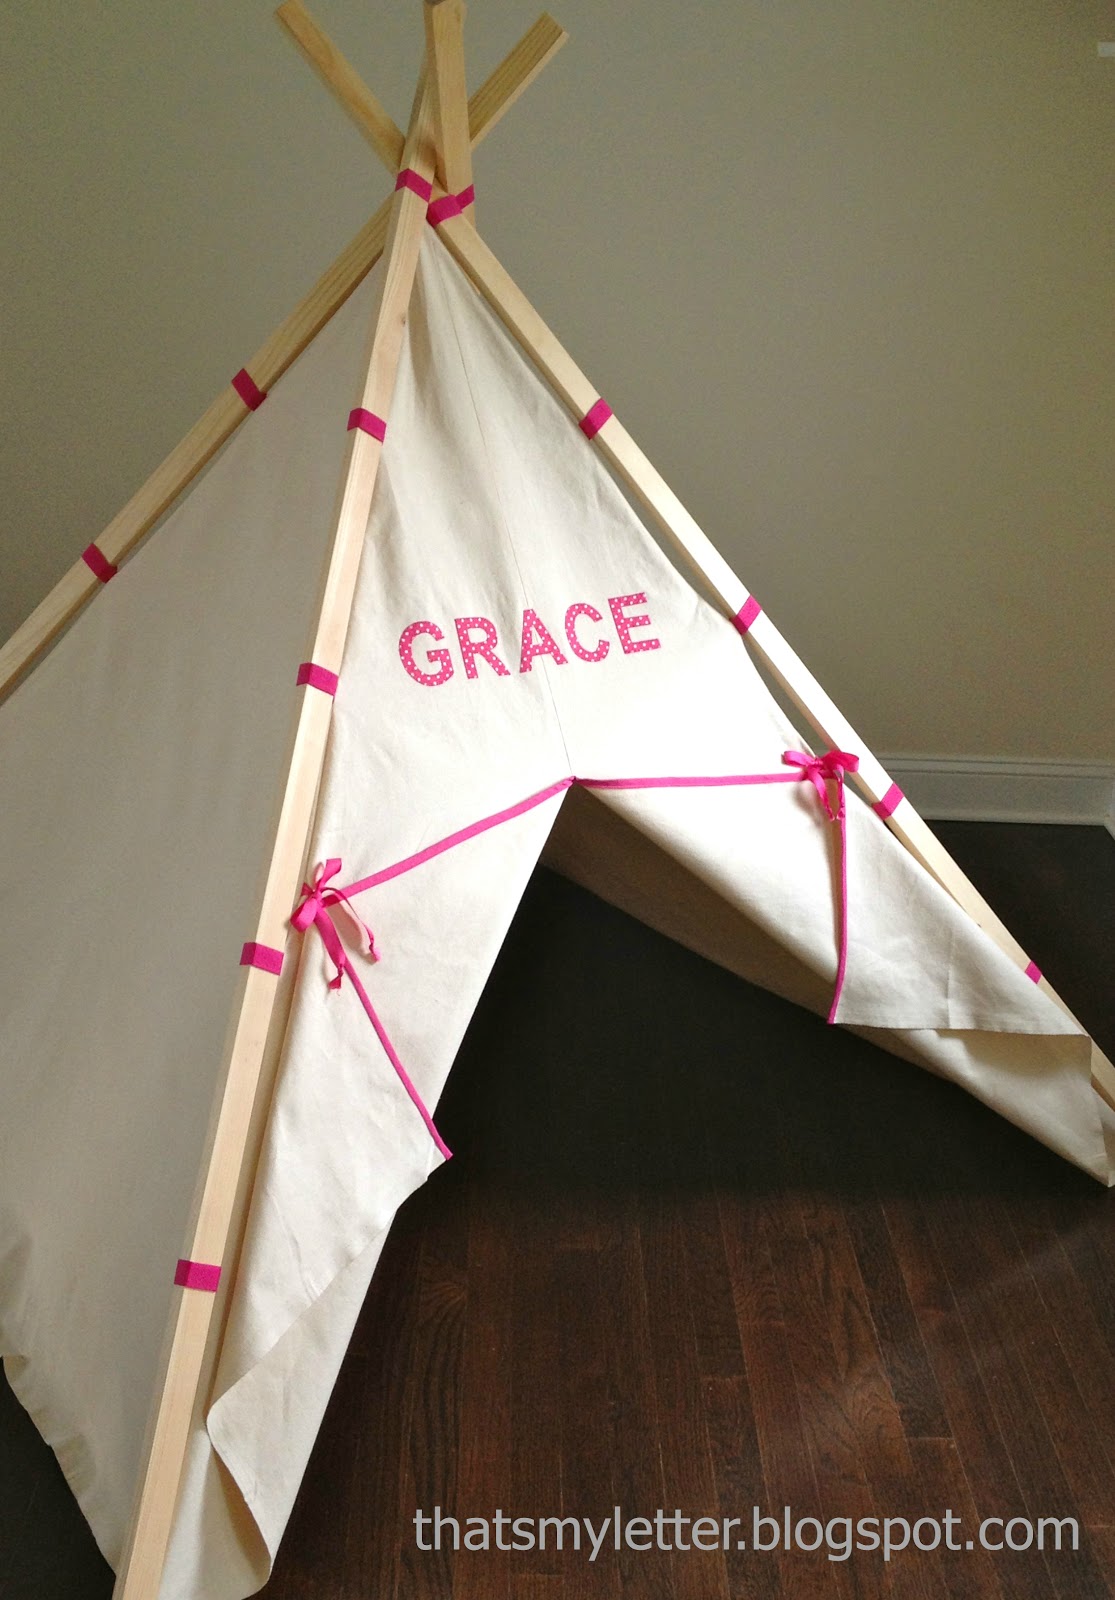
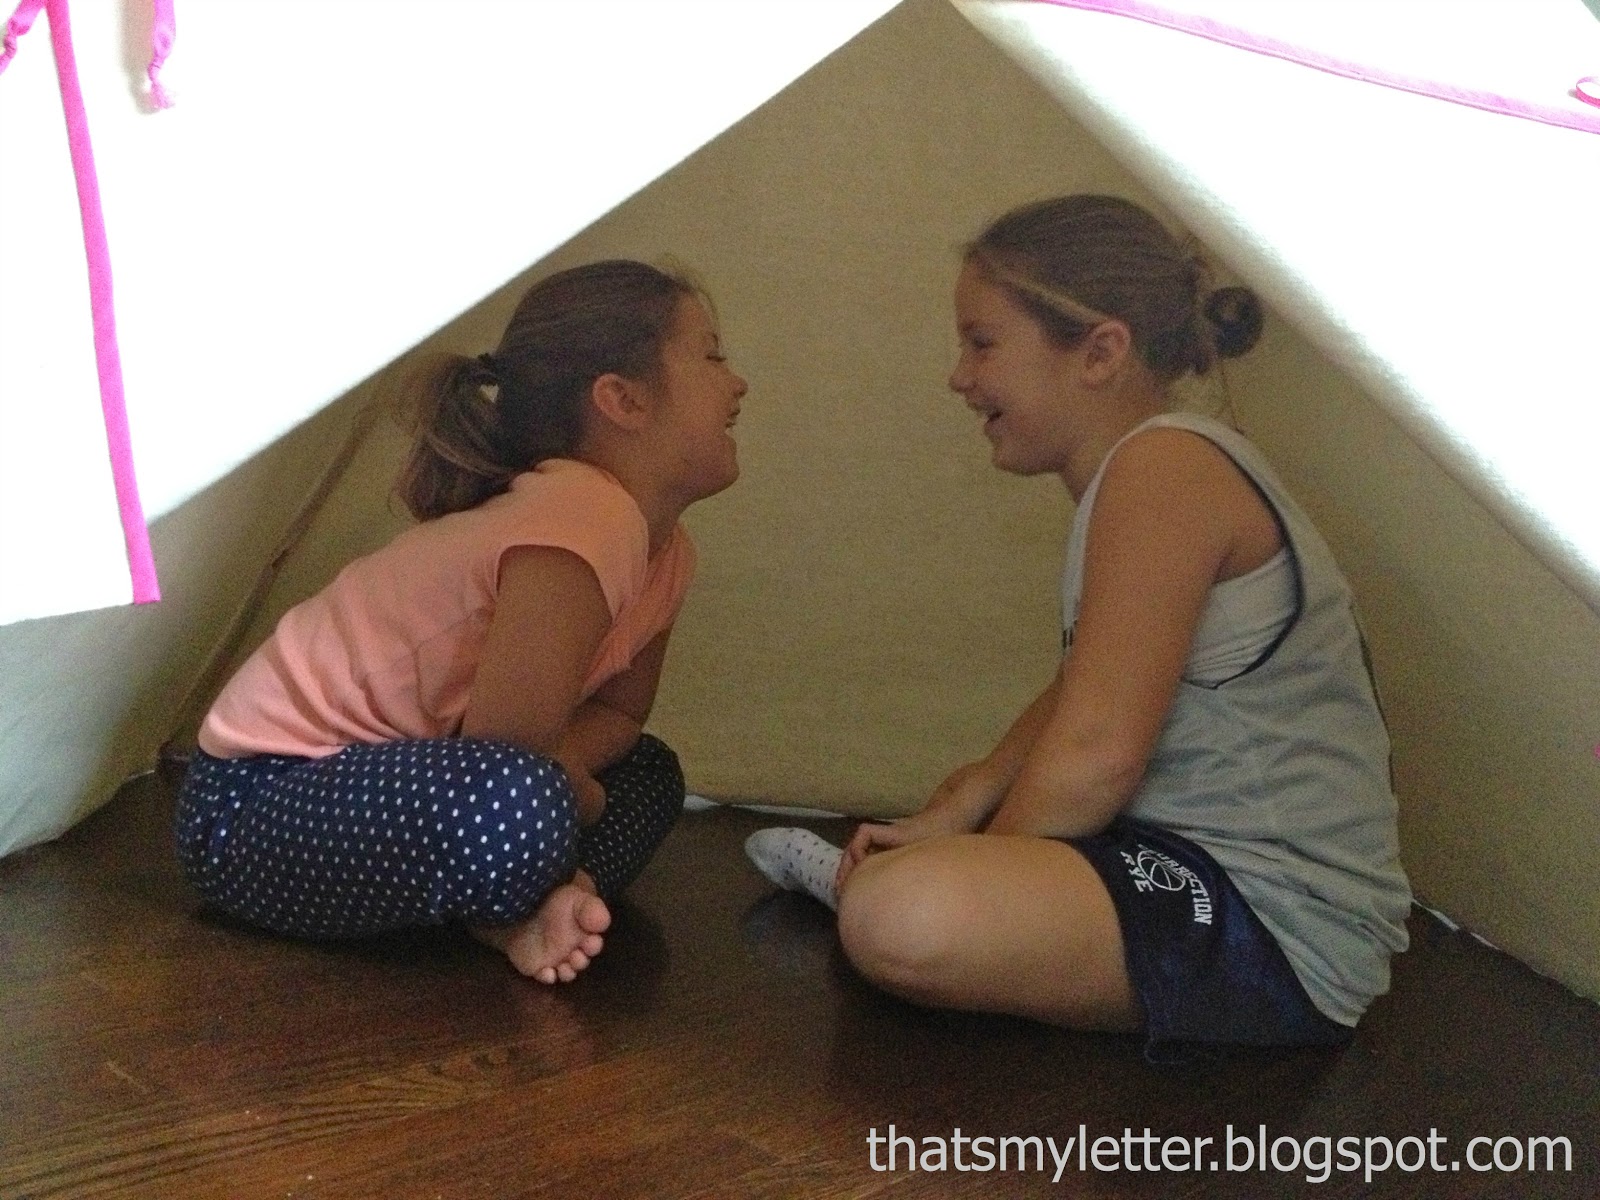
And it’s big enough for all three of my kids:

Inspired by this play teepee with a hefty price tag:
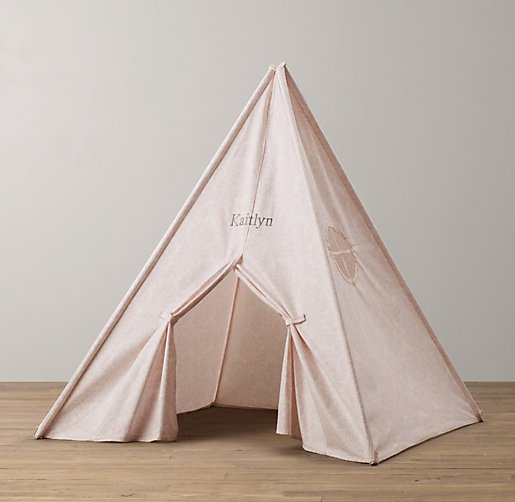
image from rhbabyandchild.com
I spent just under $40 for all the supplies to build this version:
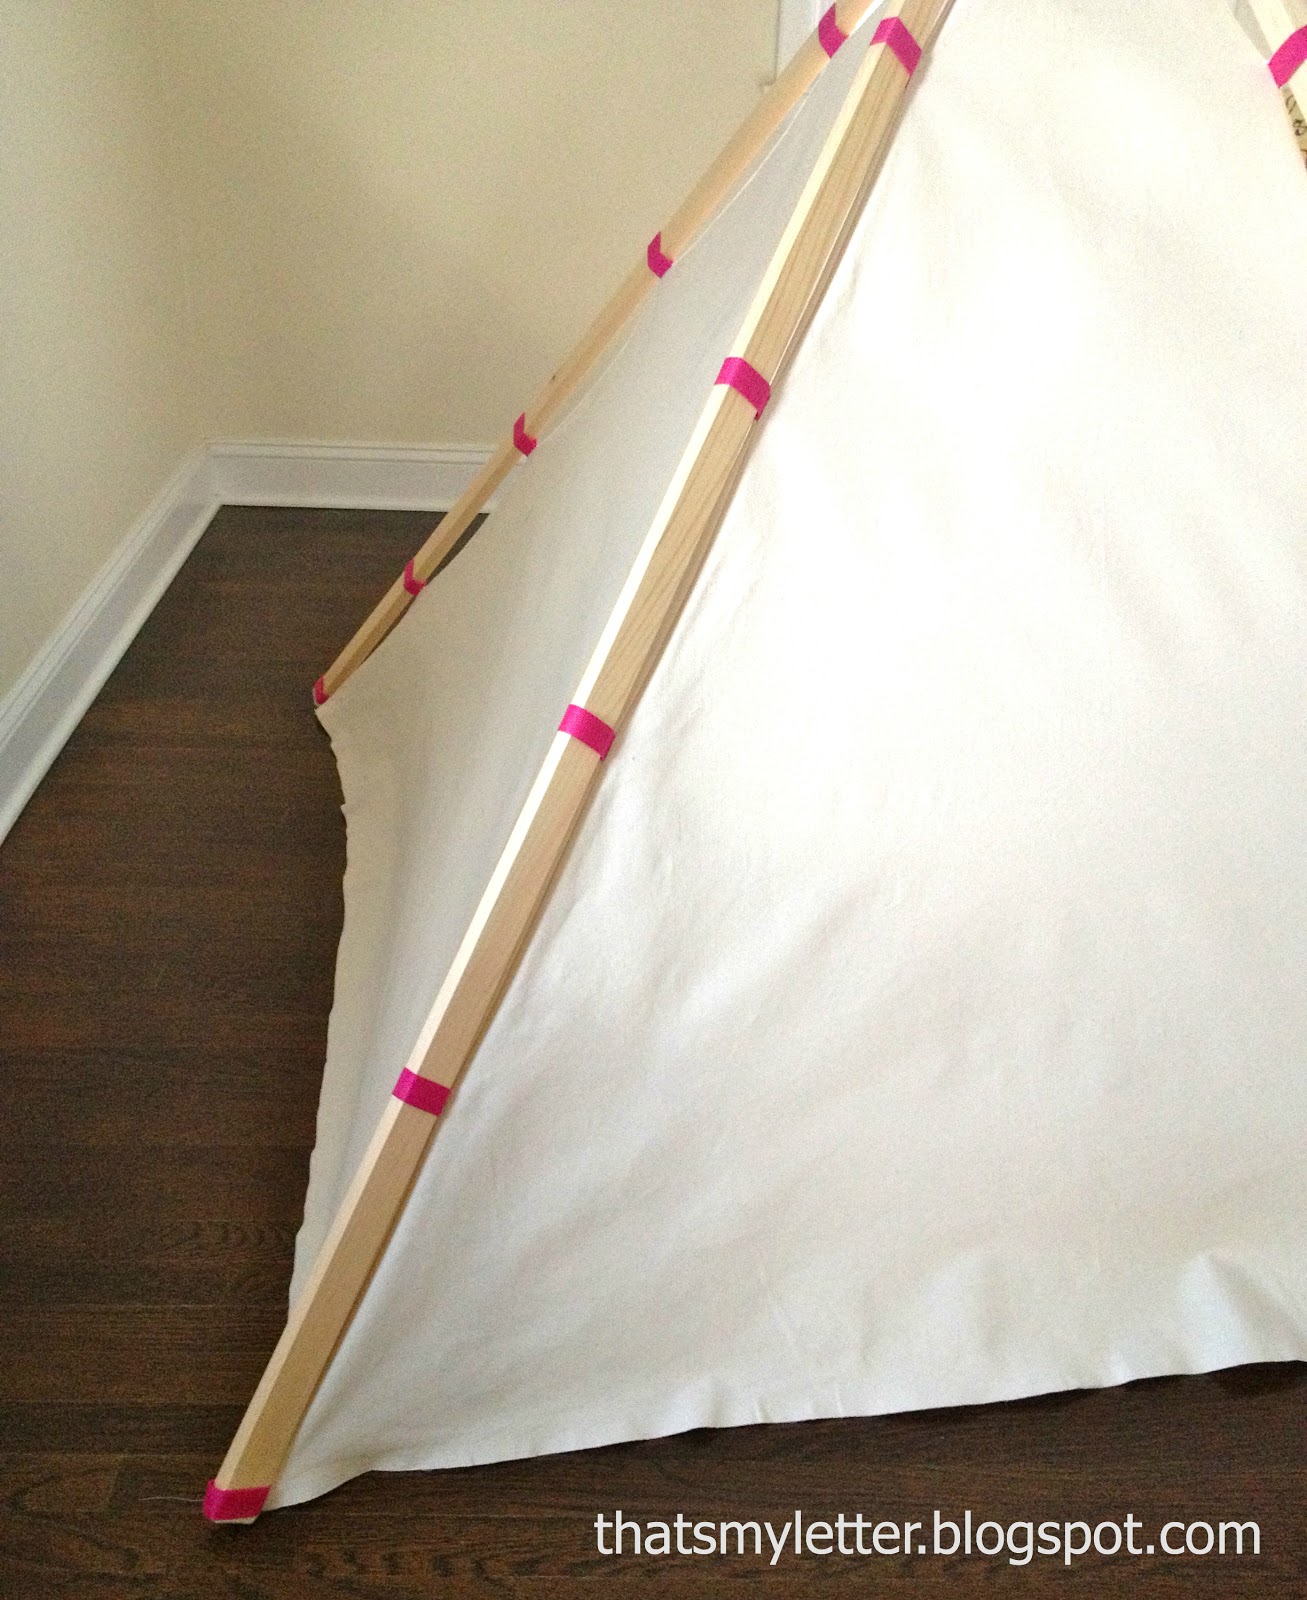
I used duck cloth canvas and nylon webbing for the pole supports.
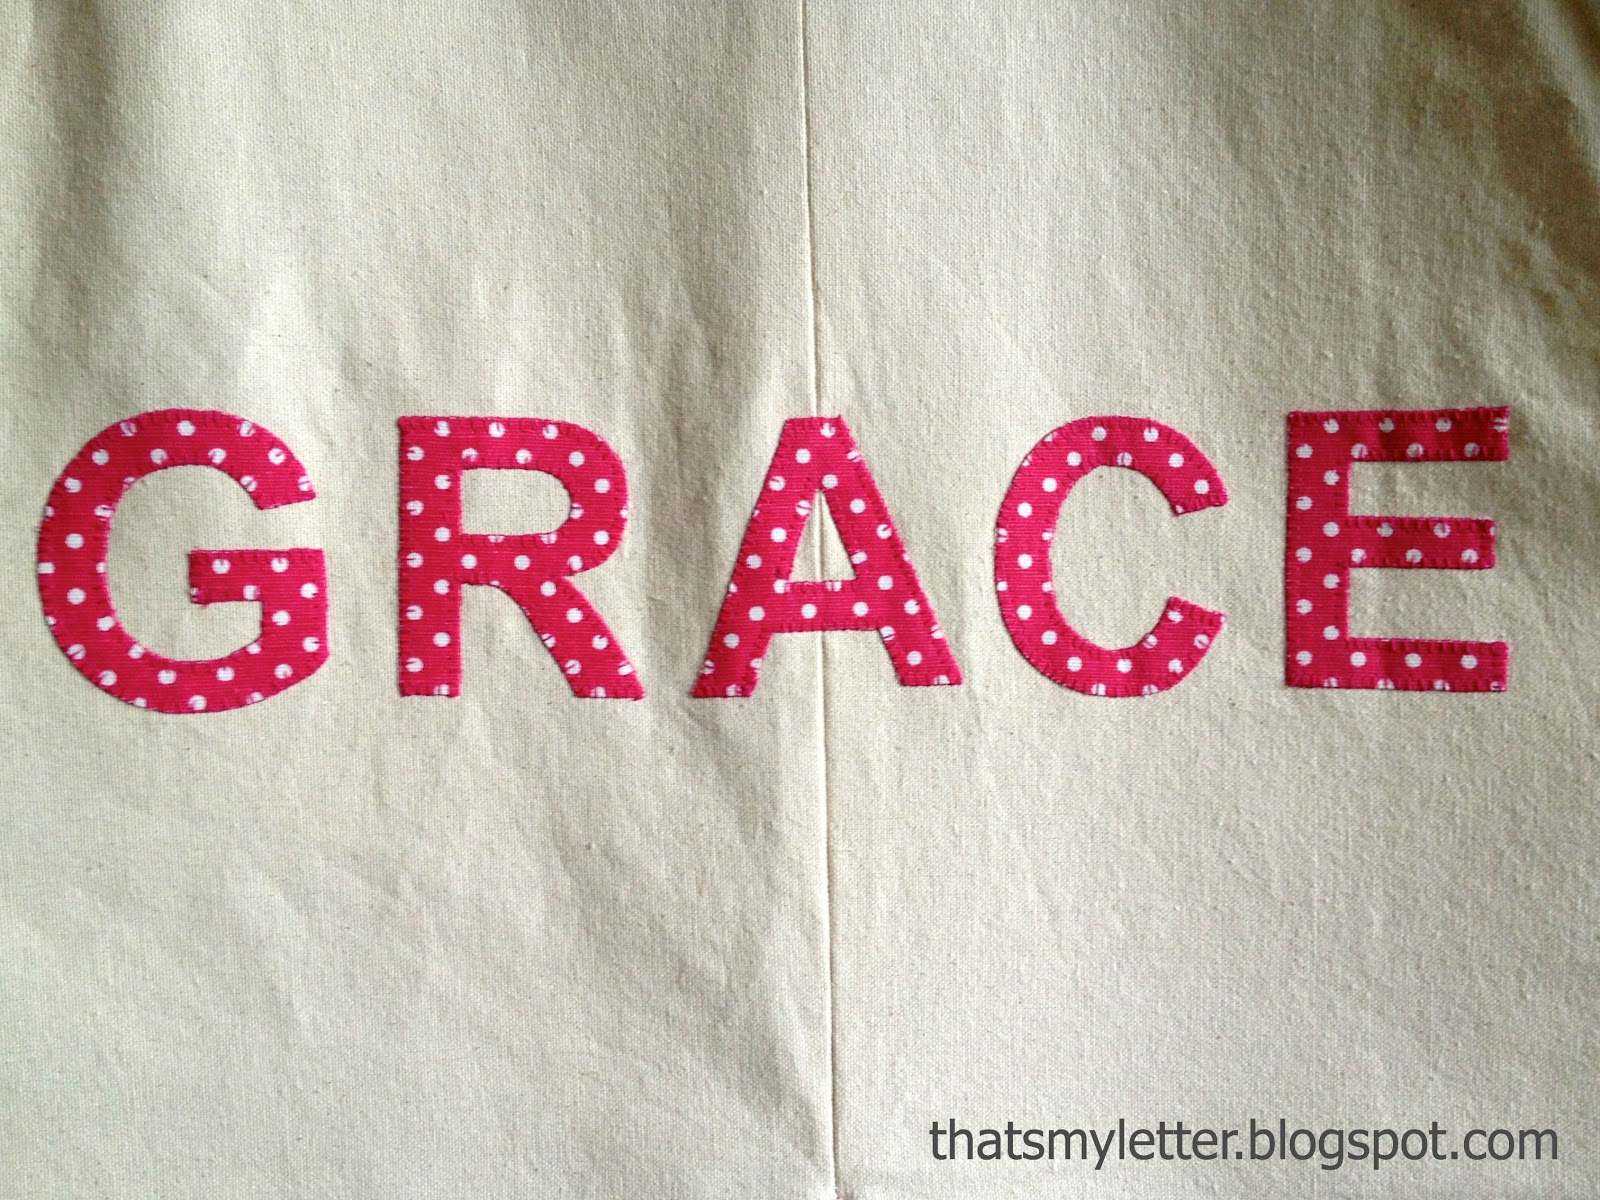
Then added the personalization and pink binding on the front opening, slide in the wood supports and the teepee was ready.
Truly it’s a simply sew and a simple build requiring only 4 – 1×2 pine boards cut to length.
Ana’s plans feature a smart layout of the teepee pattern pieces (she’s just as clever with fabric and she is with a plywood sheet!) and easy to follow sewing instructions.
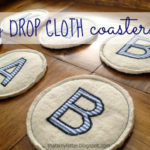
I added the personalization with fabric letters but you could easily paint with acrylics directly onto the duck canvas.
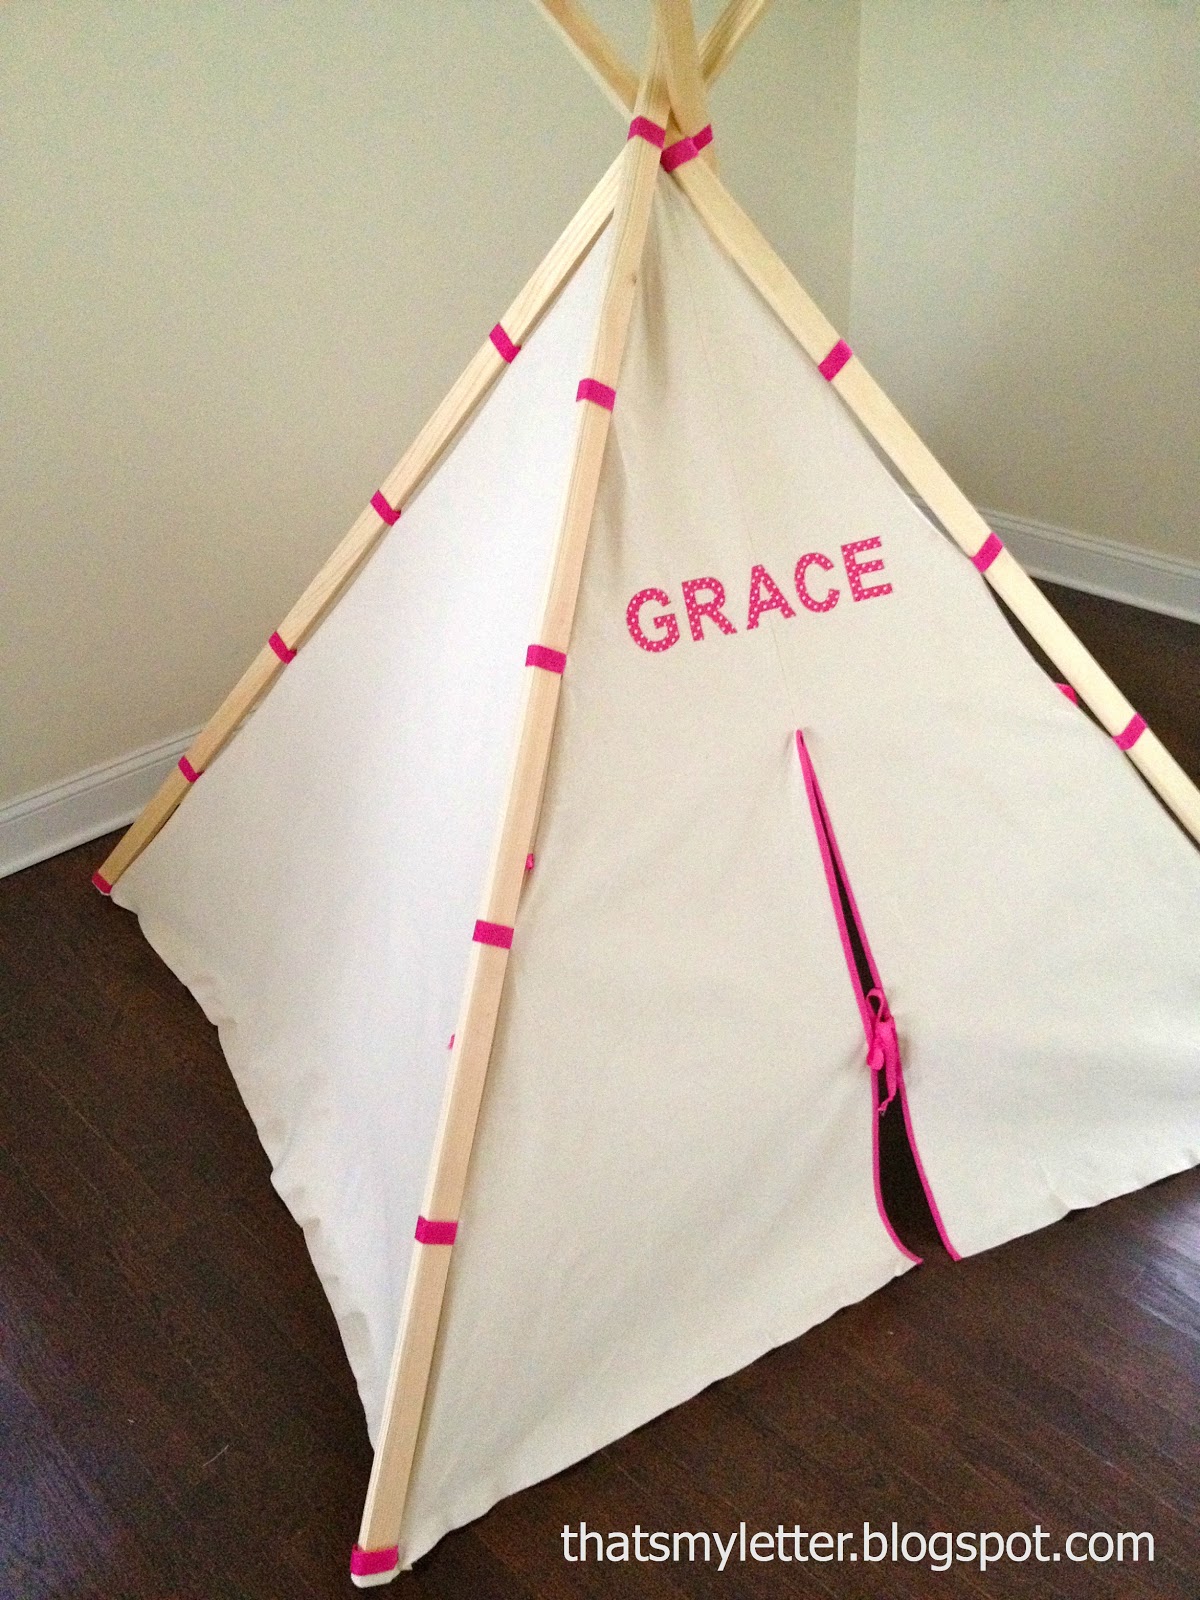
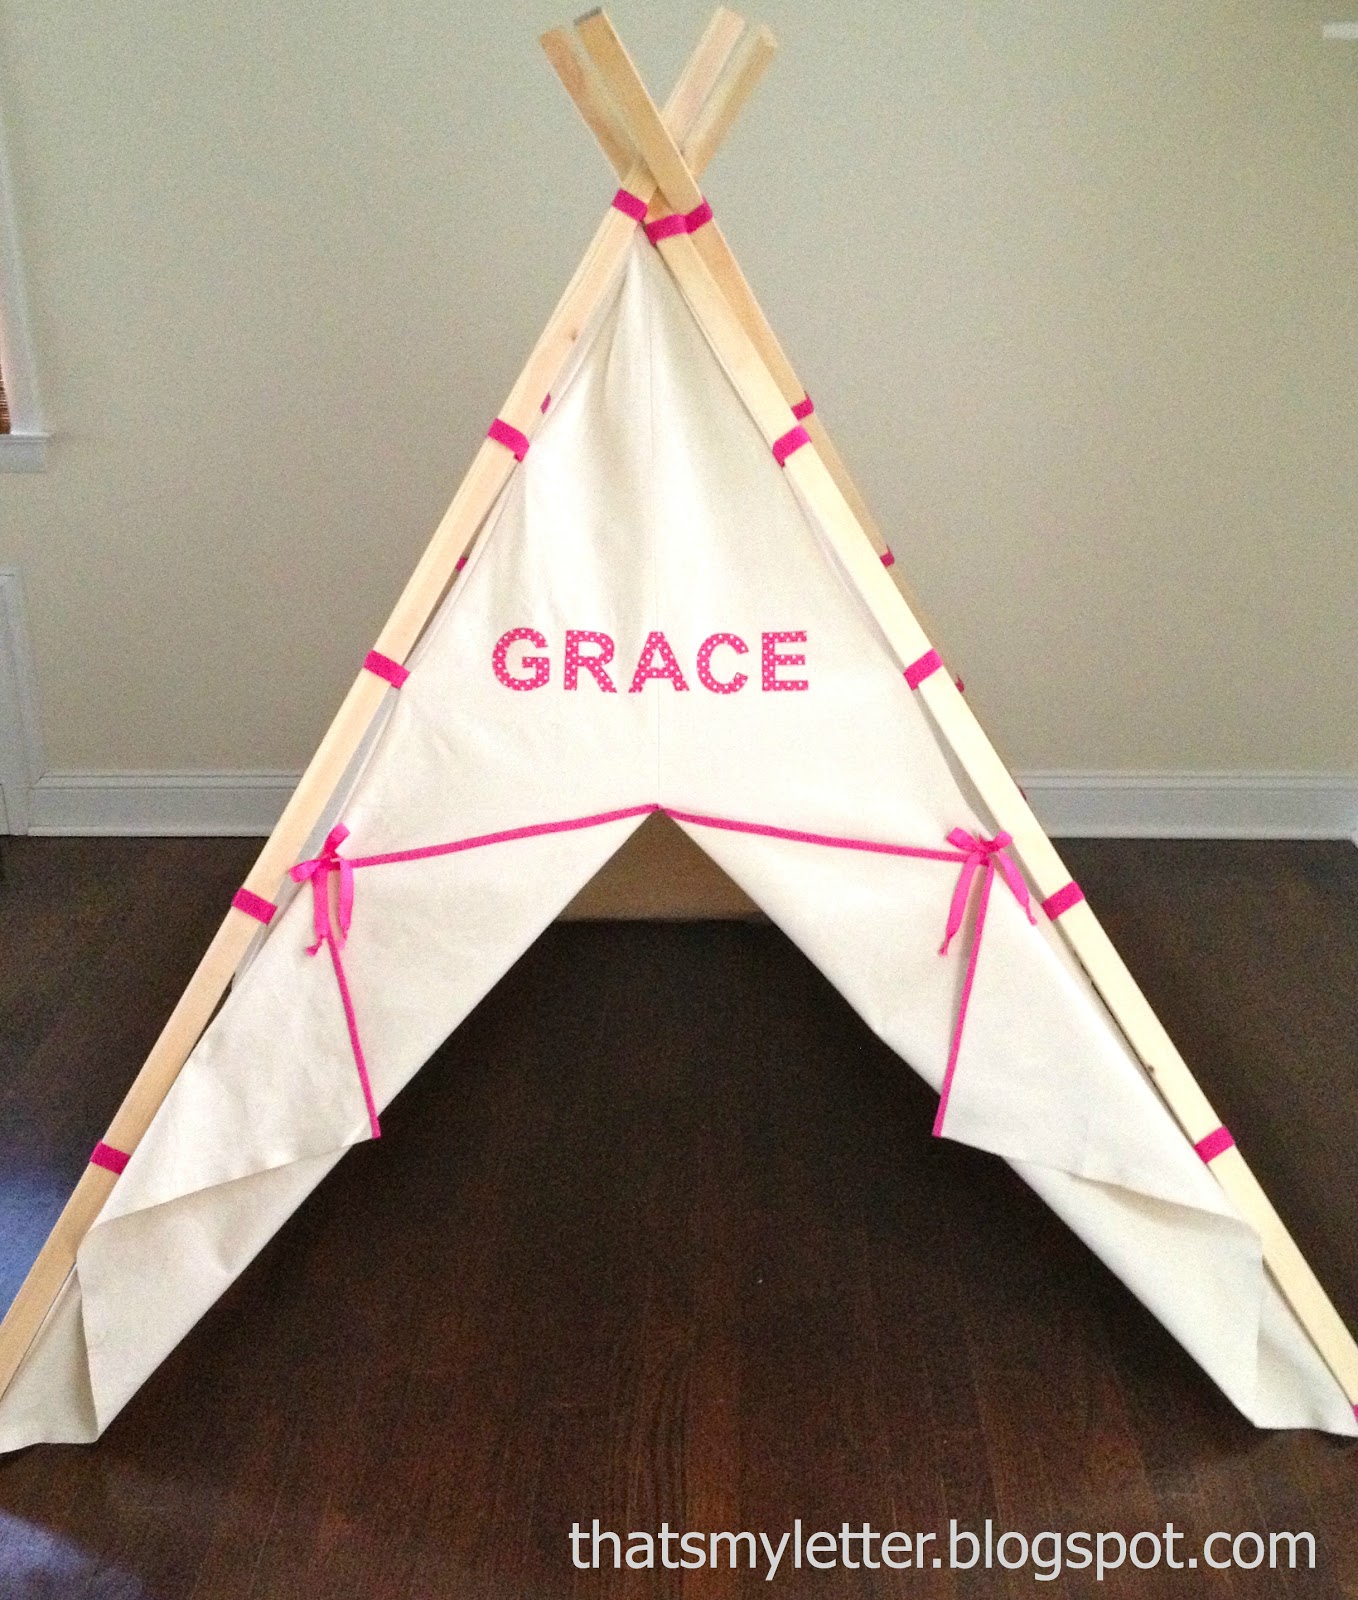
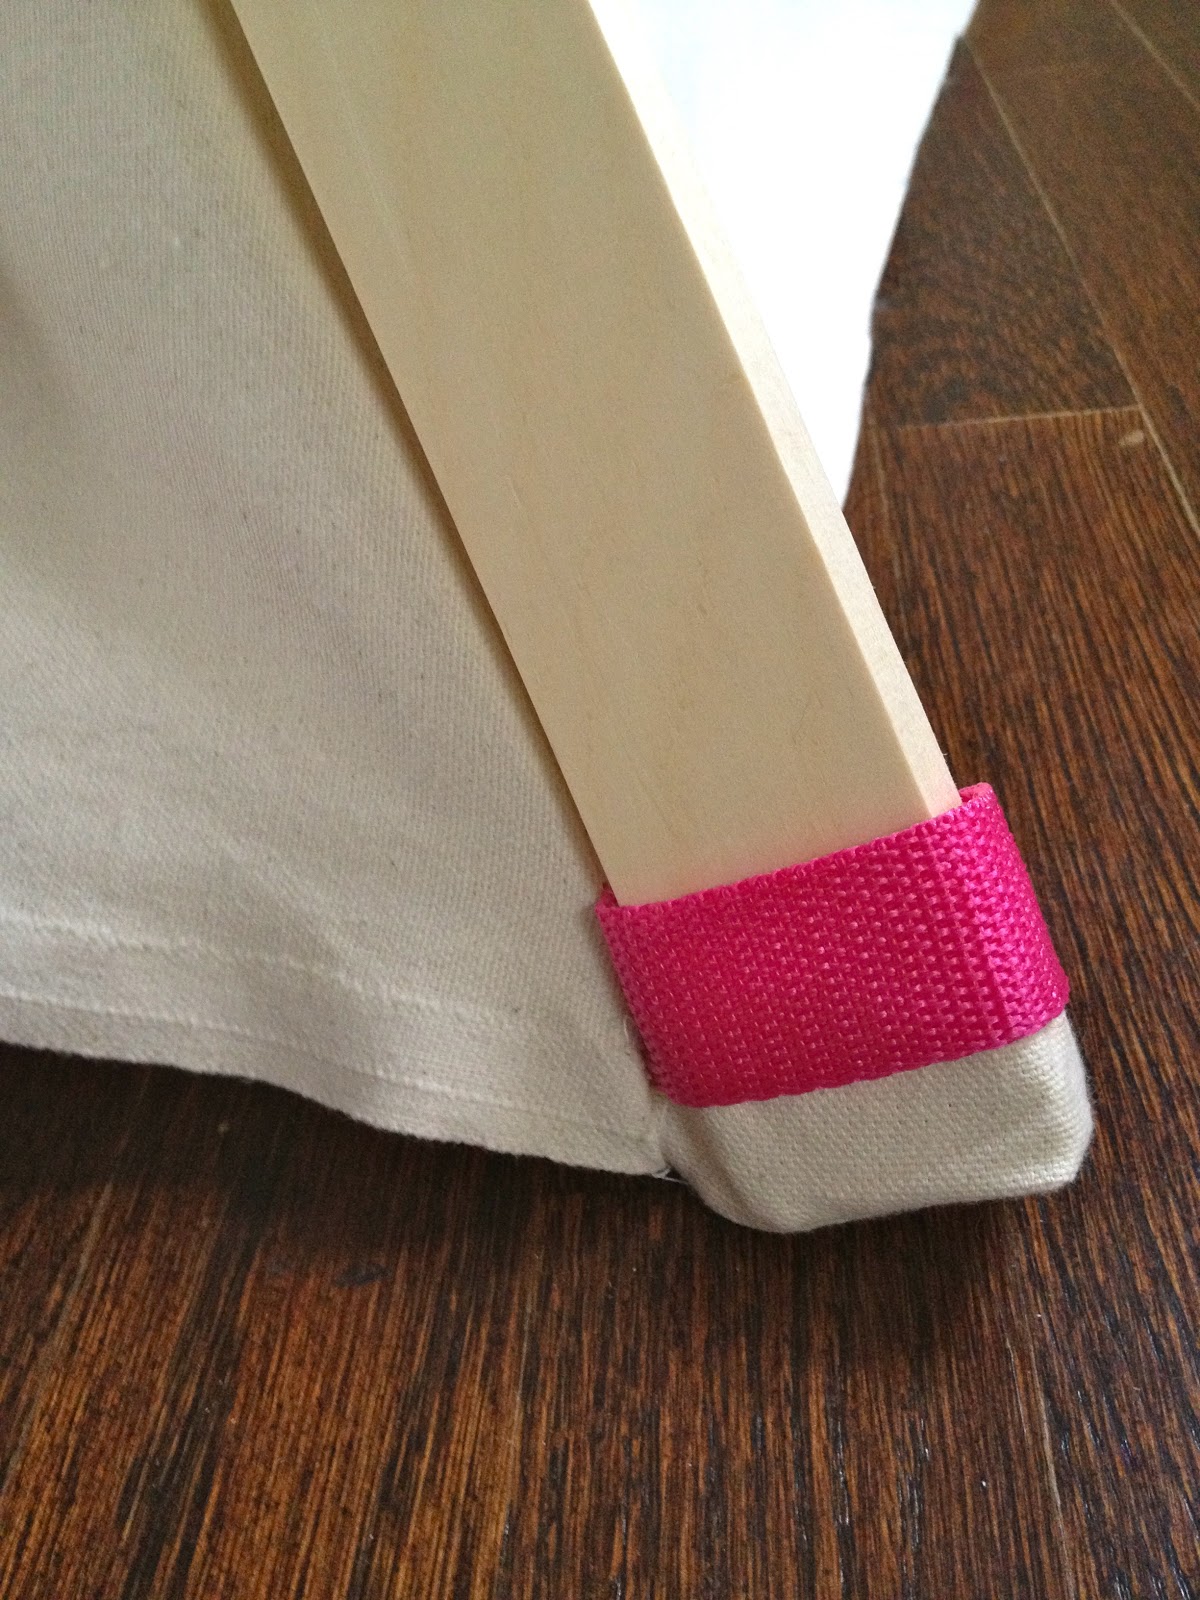
Some detail shots from left to right: pink nylon webbing loop, pink ribbon ties to hold the door open, small canvas pocket at base of four corners to hold 1×2 in place:

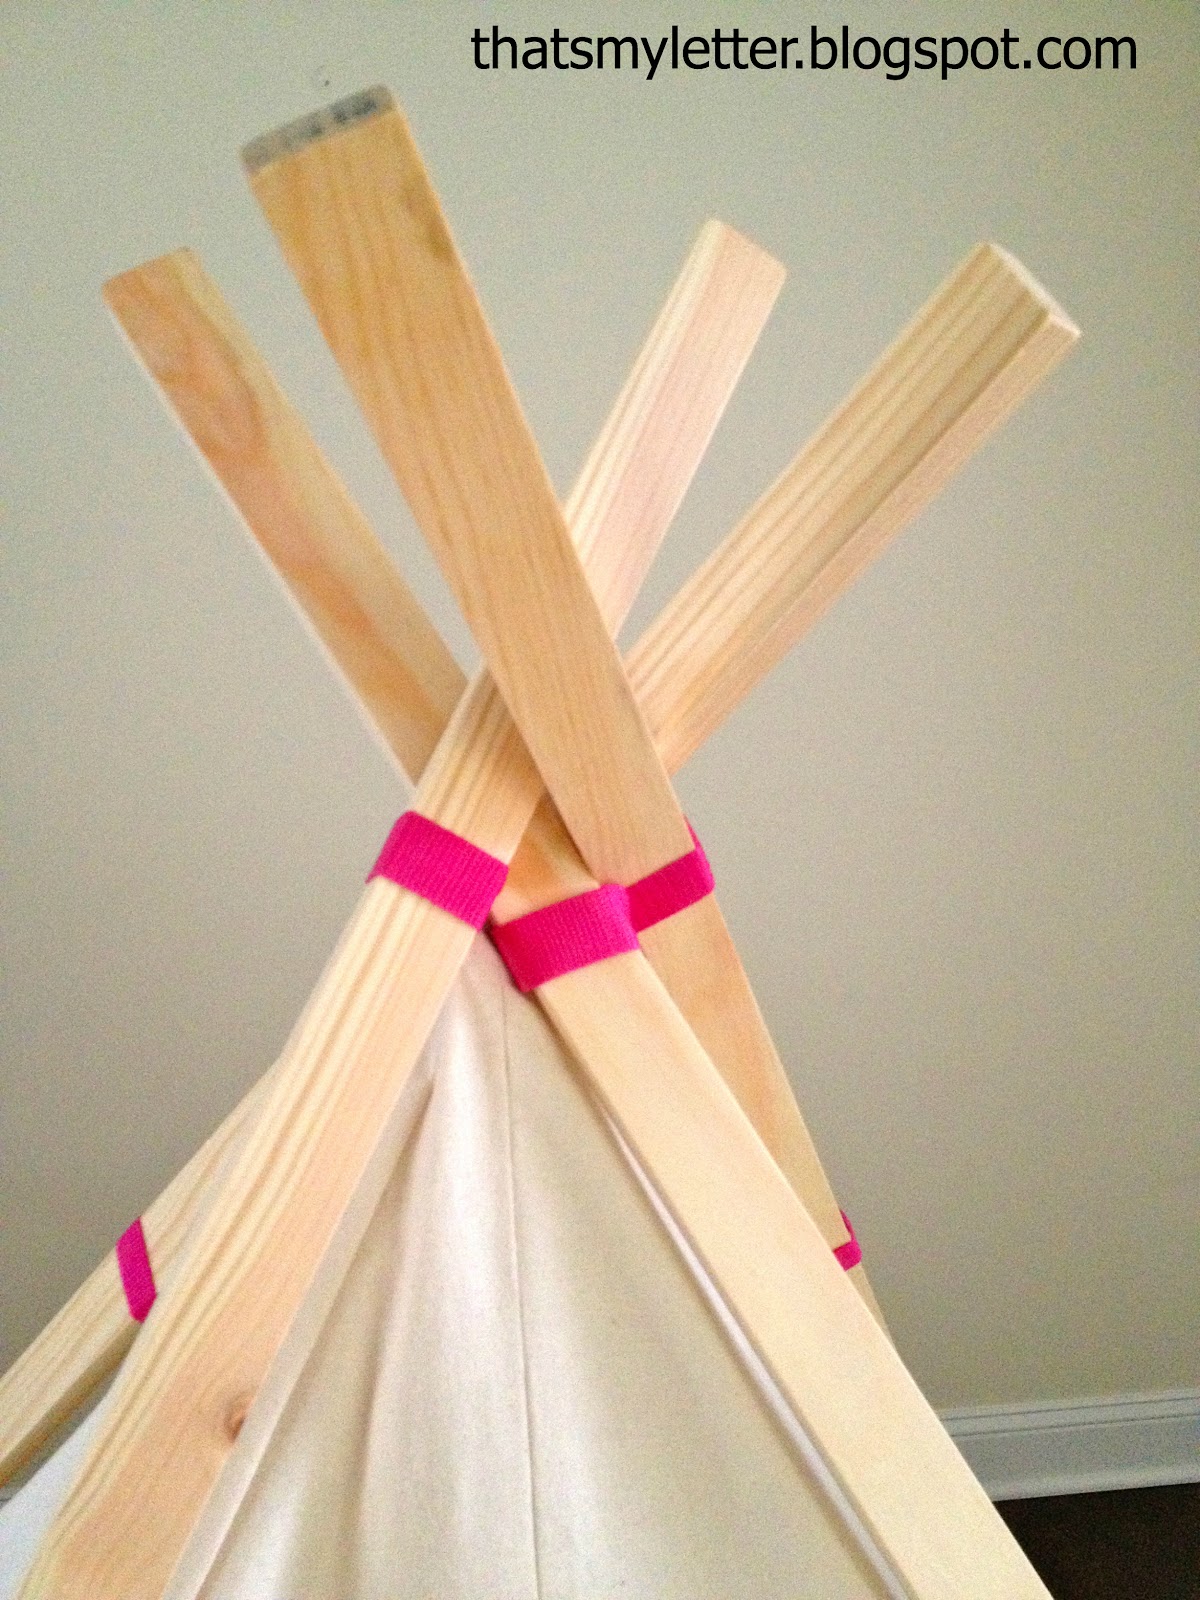
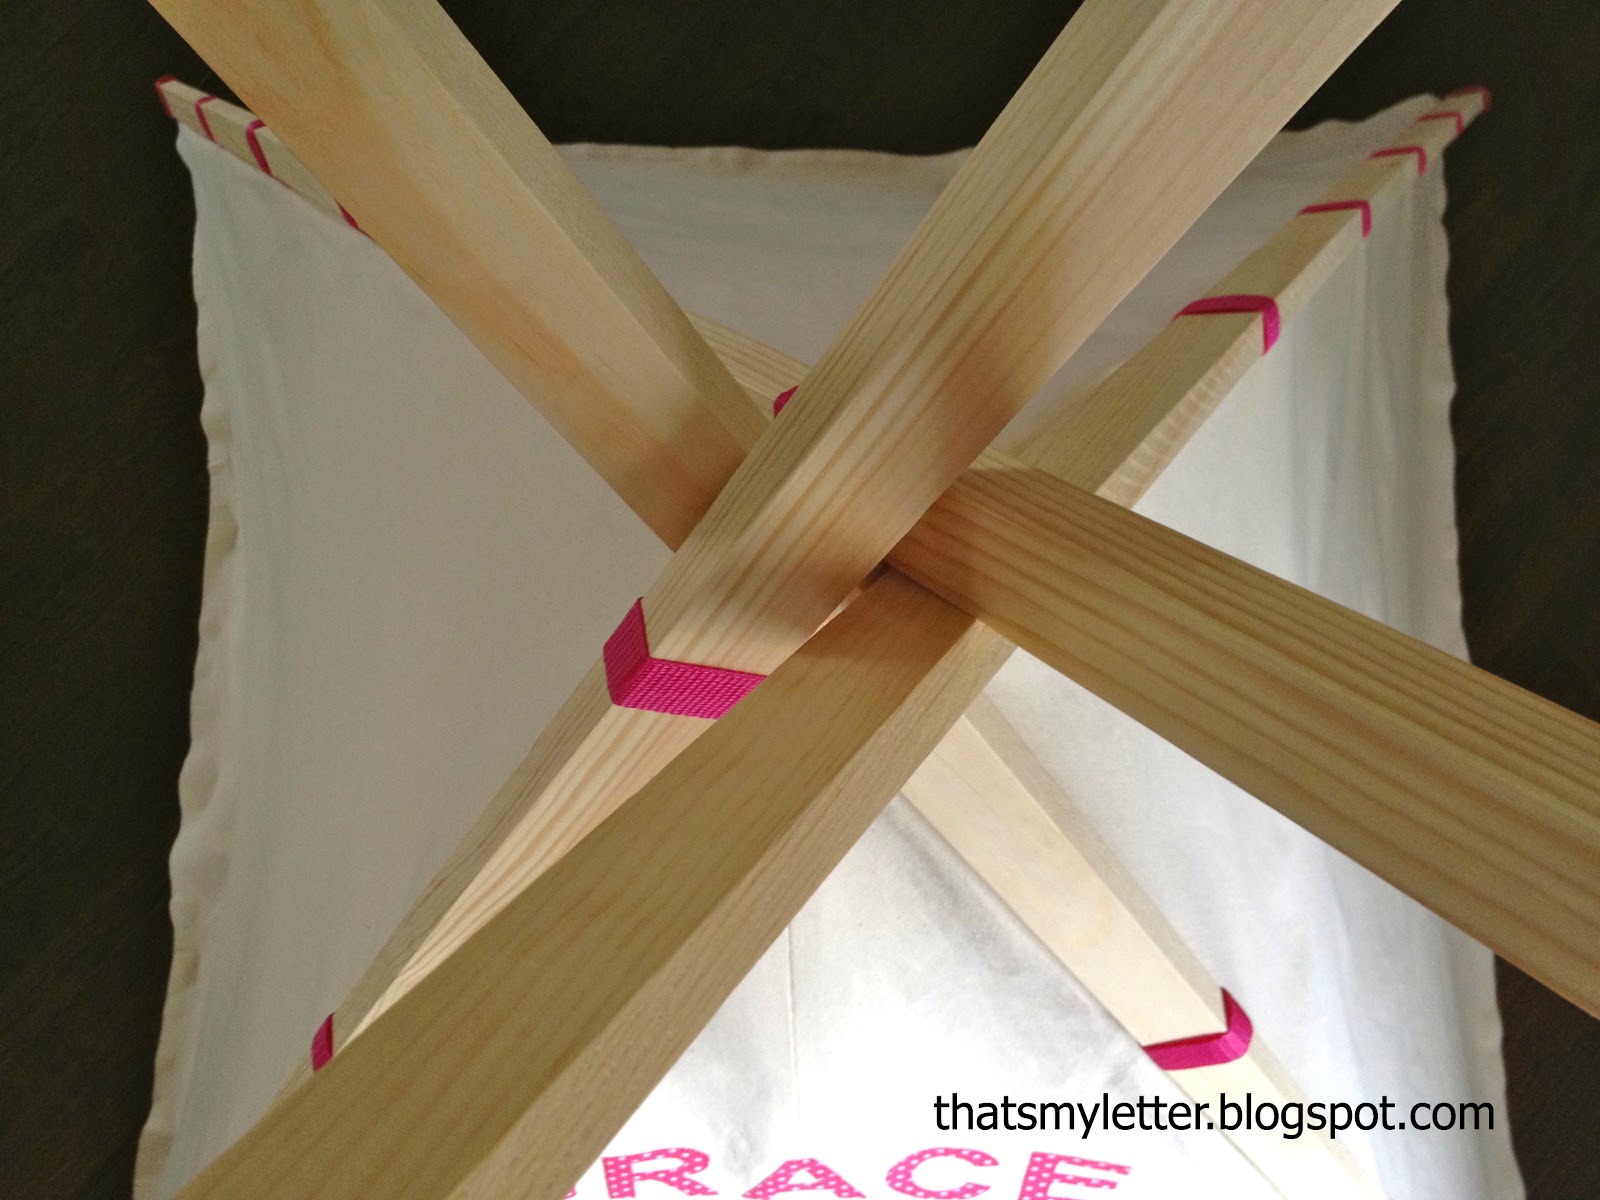
The poles come together at the top and rest on each other for support, it took a few tries to get the poles to sit against each other just right but eventually it worked out and I didn’t need any additional top tie support. You could definitely add a tie support around all the poles for security:
Another view of the poles from above:
This teepee stands alone with no additional support, it’s sturdy as can be and

a great place to play hide out for kids:
*Don’t forget to enter the giveaway for Ana’s new book The Handbuilt Home.
I have TWO copies to give away to lucky readers on Friday, Nov. 16th, 2012. *
Here’s how I made the kids play teepee:
1. Cut wood supports and duck cloth canvas as per Ana’s plans here.
2. Determine the length for your nylon webbing loops.
Wrap the nylon around the 1×2 (or pole support you’re using) and add 1″ for seam allowance plus 1″ for give:
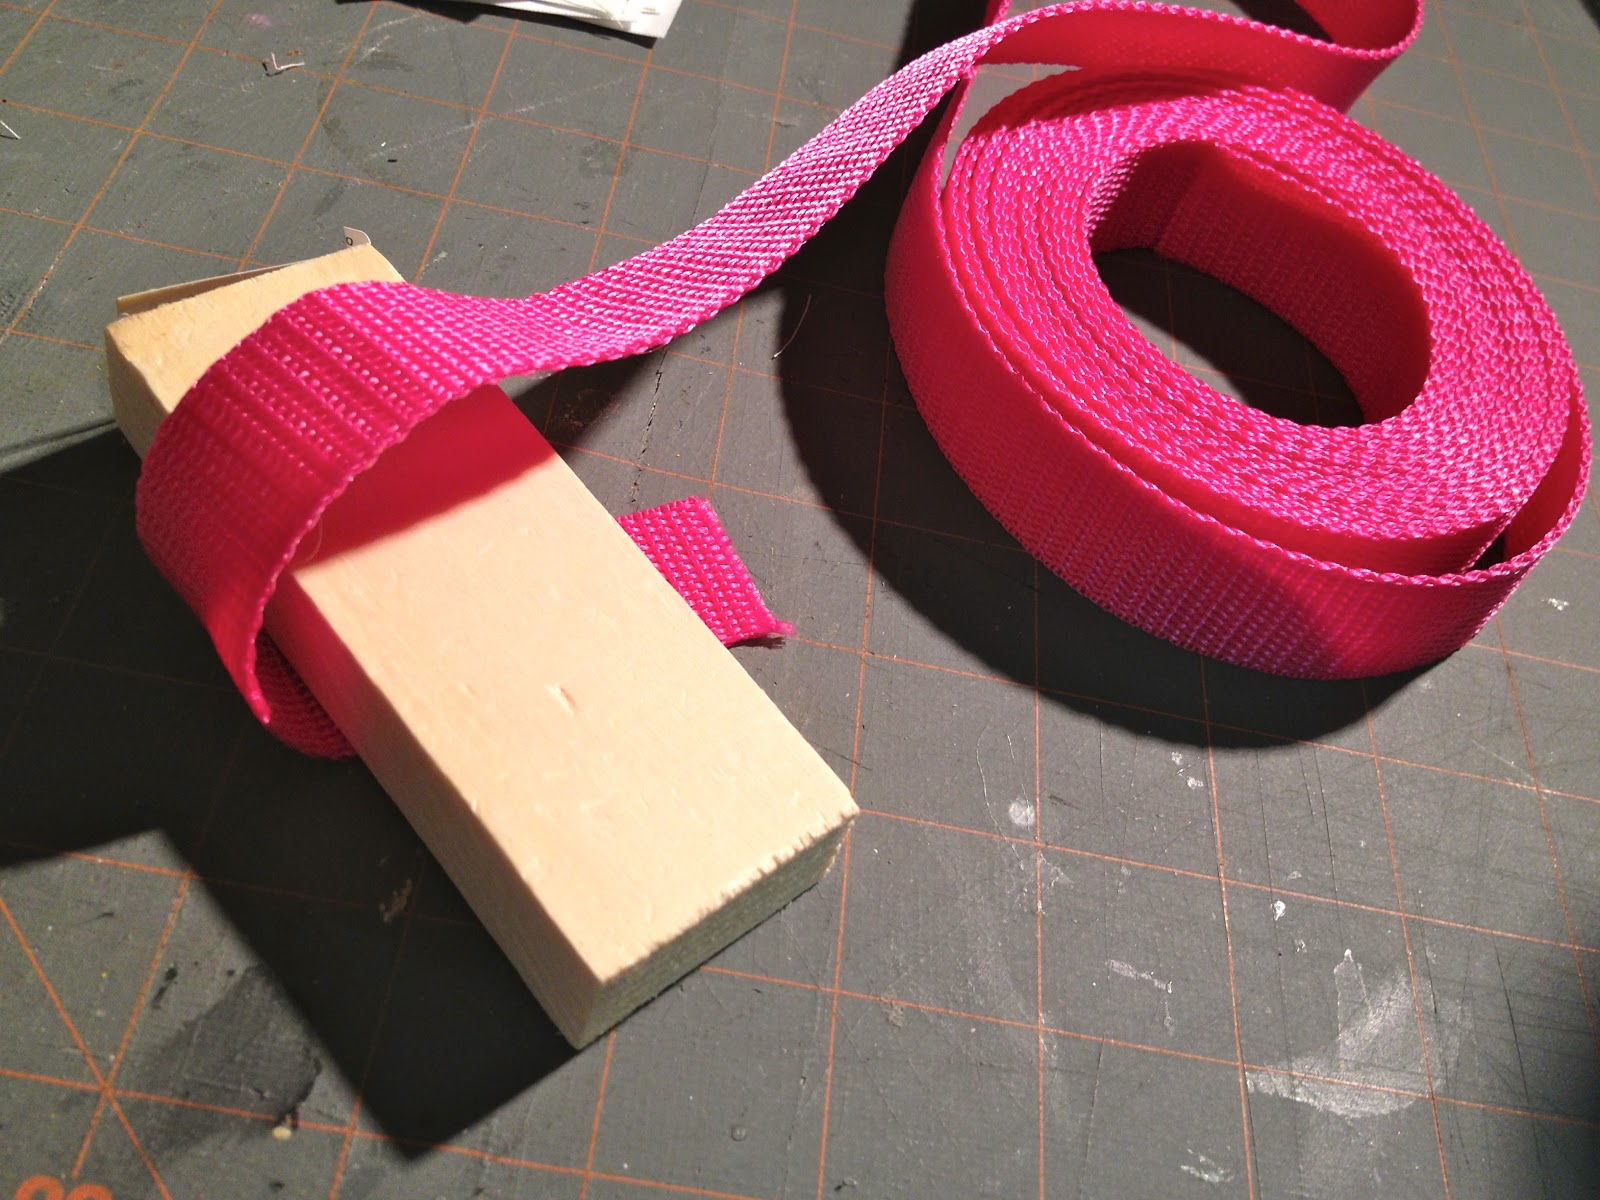
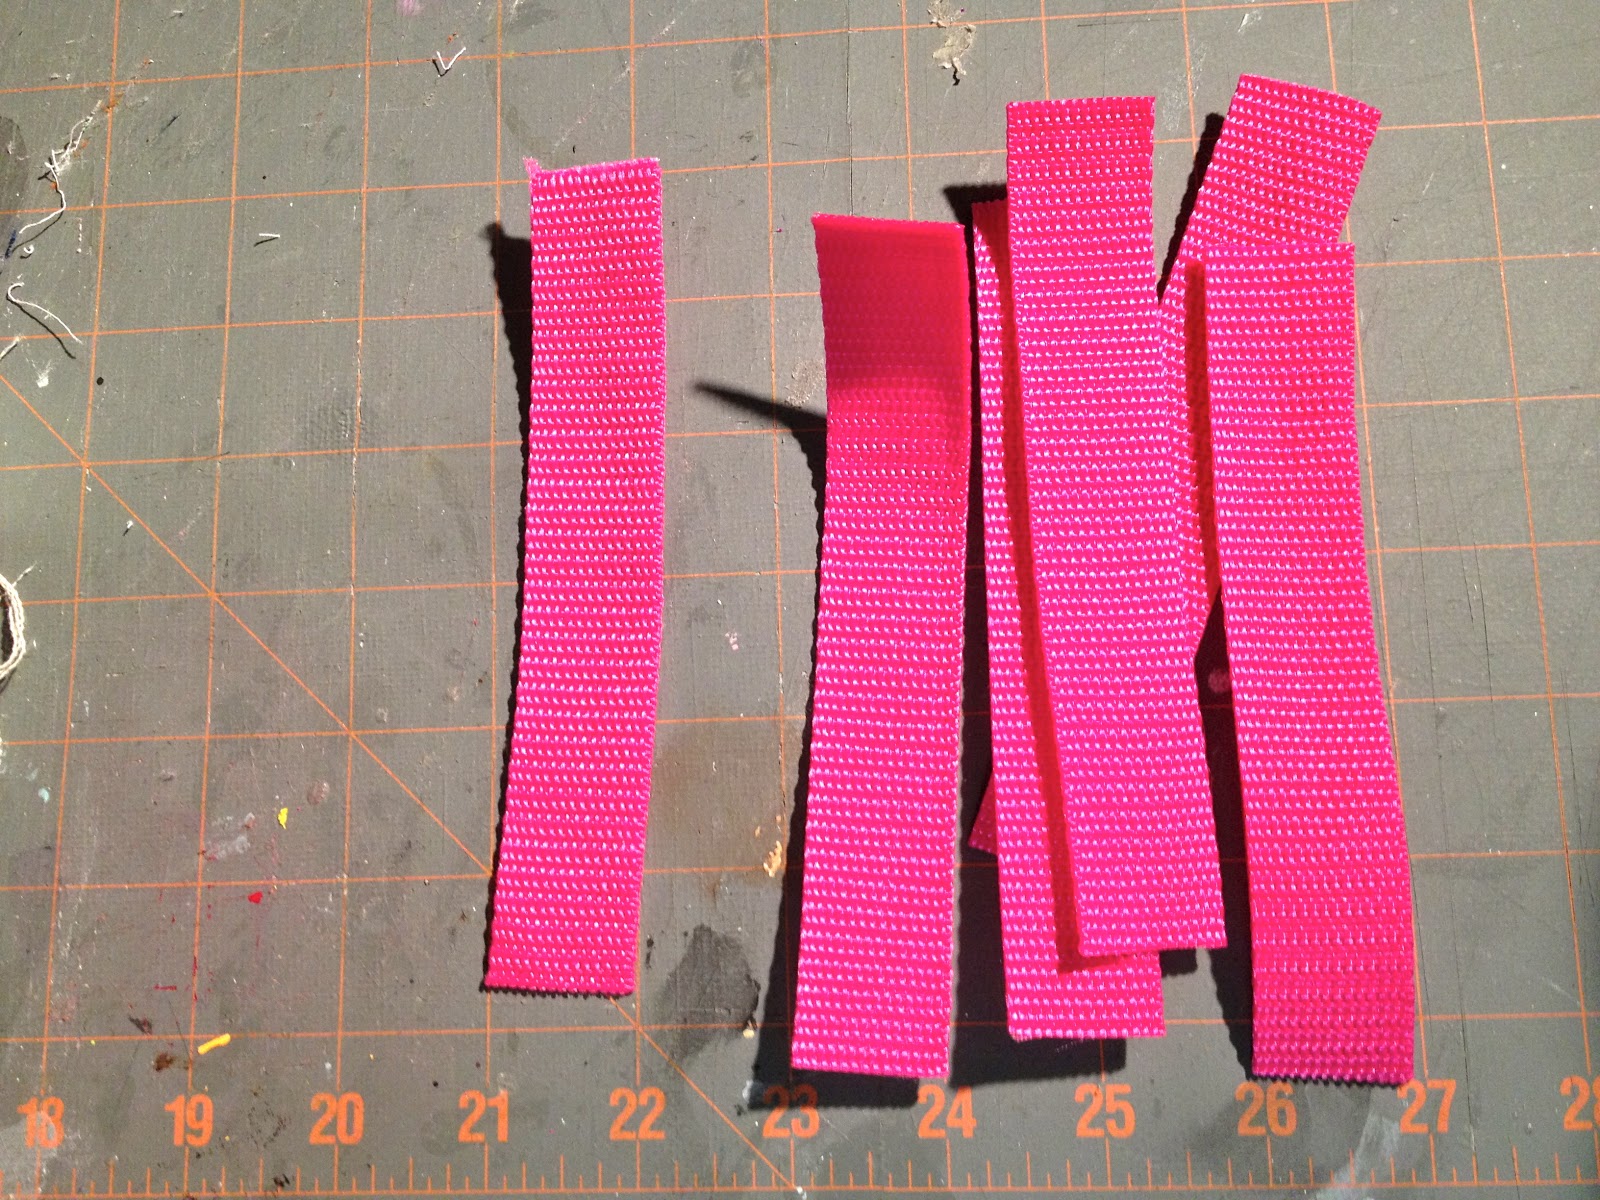
I used a standard 1×2 pine board and cut my loops at 6″:
3. Pin loops every 12″ in seams:

4. Back and sides are sewn:
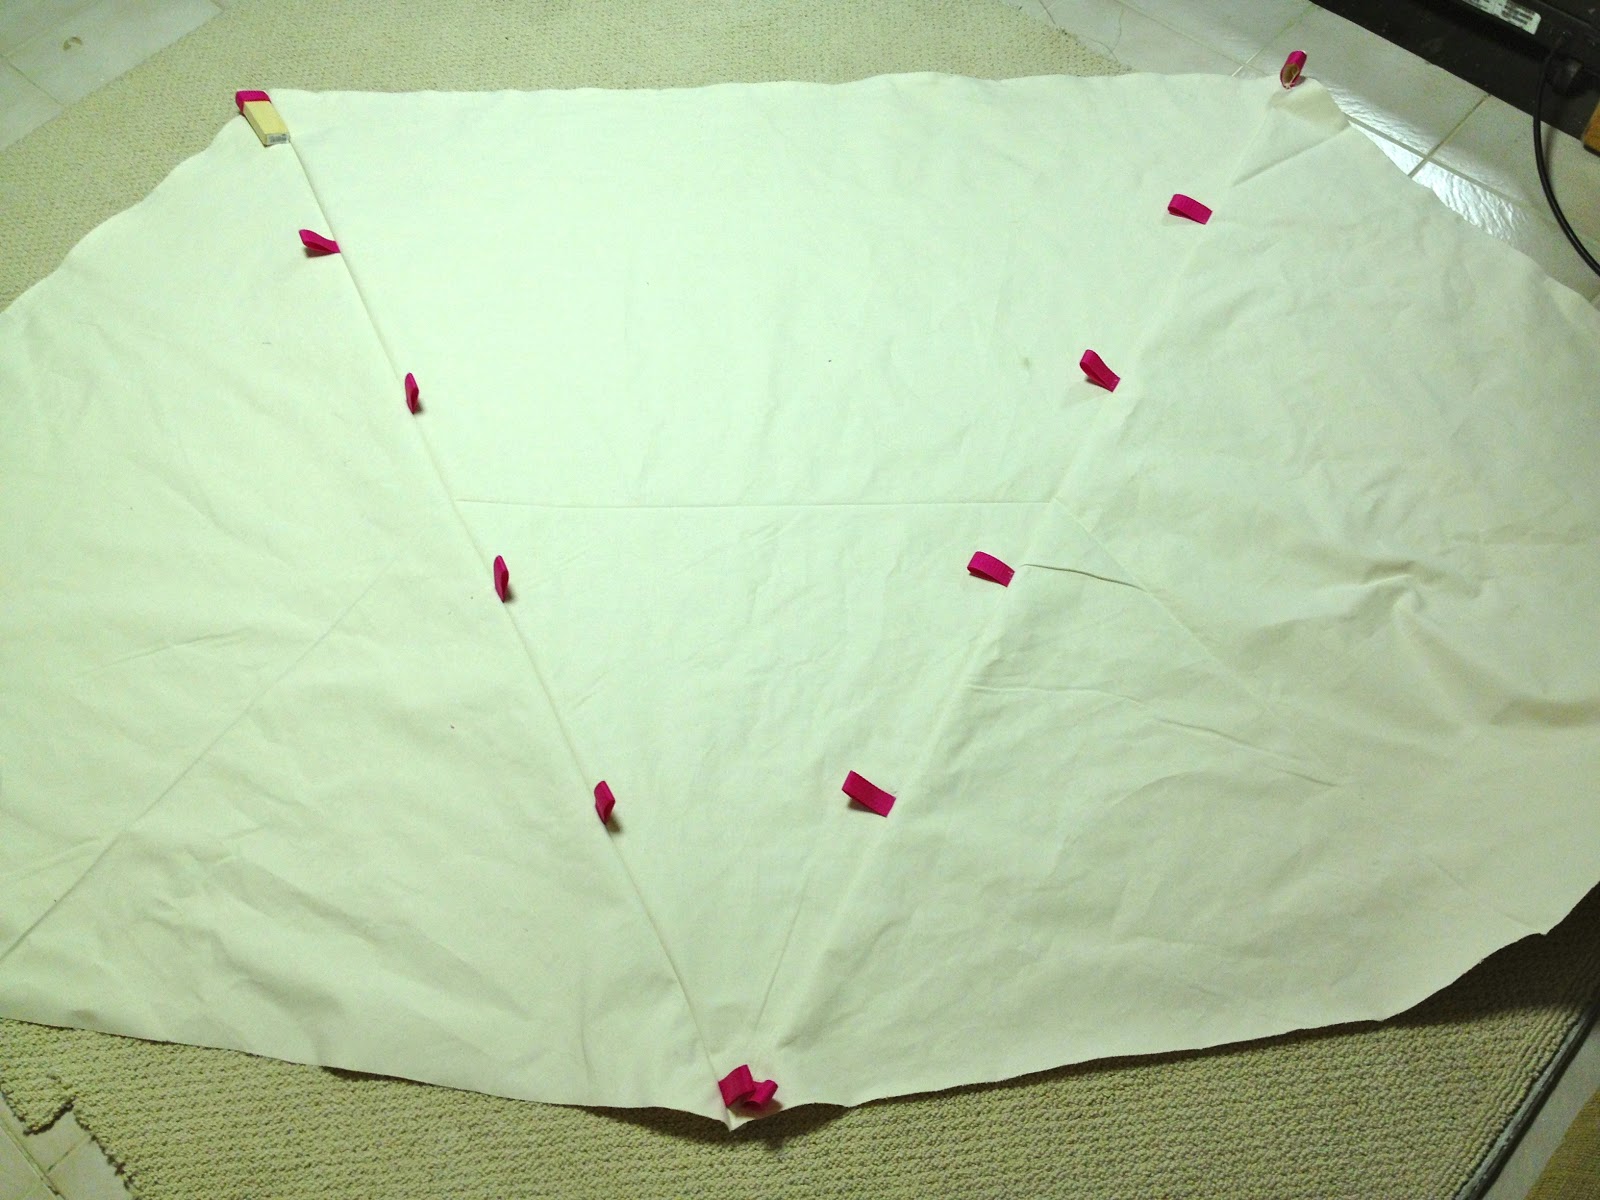
** I did add a small canvas pocket at the base of each seam to hold the 1×2 in place:
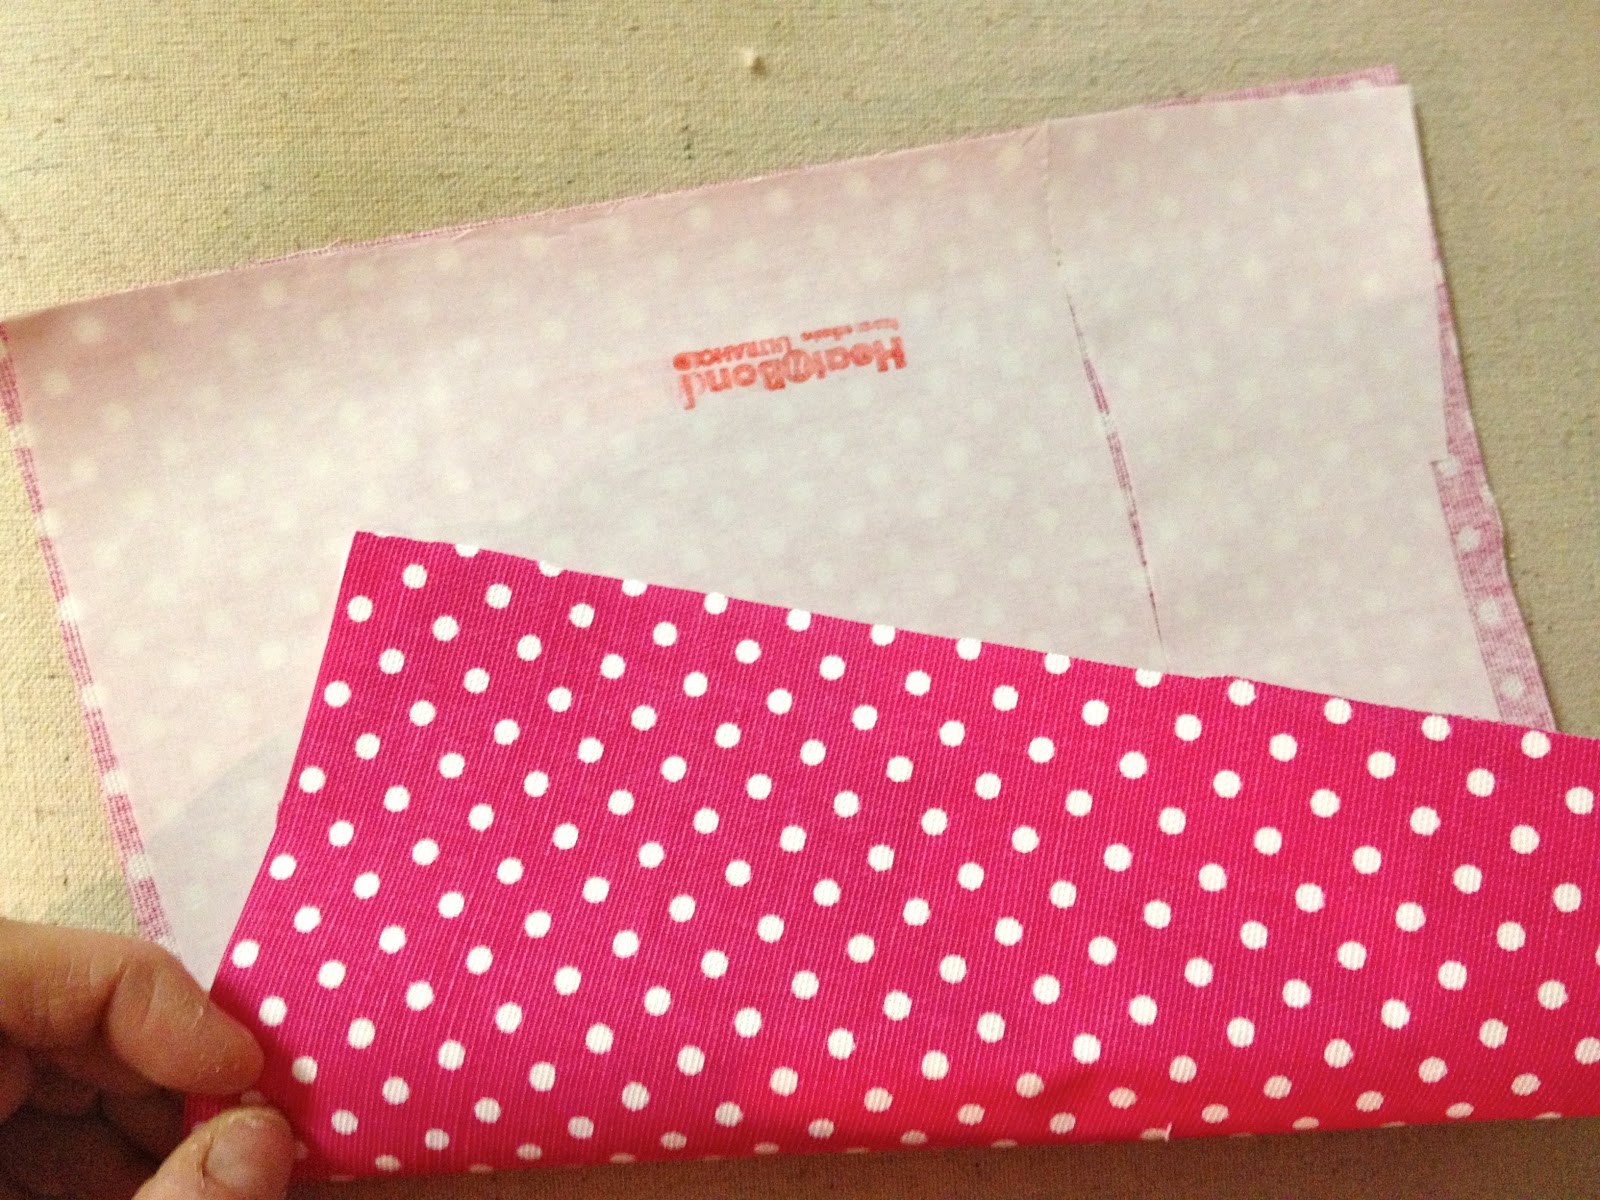
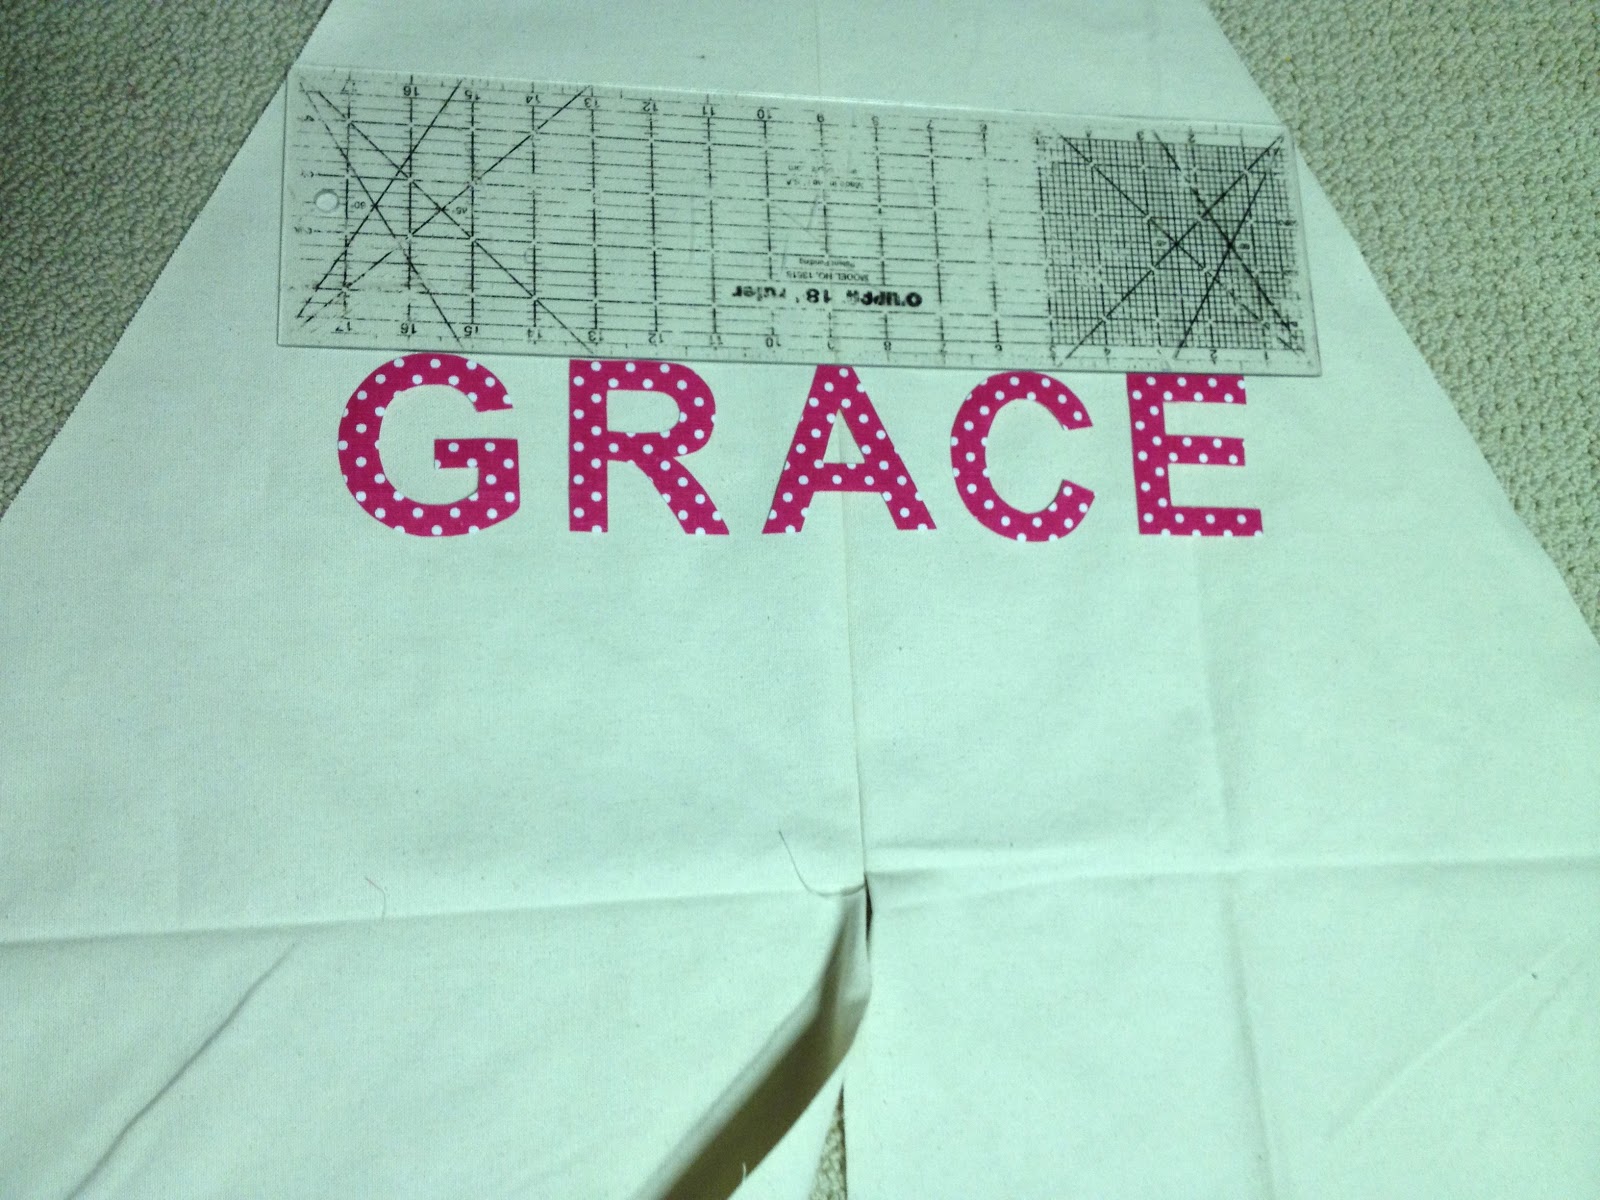
5. For the personalization apply heat-n-bond double sided adhesive to the wrong side of your fabric:
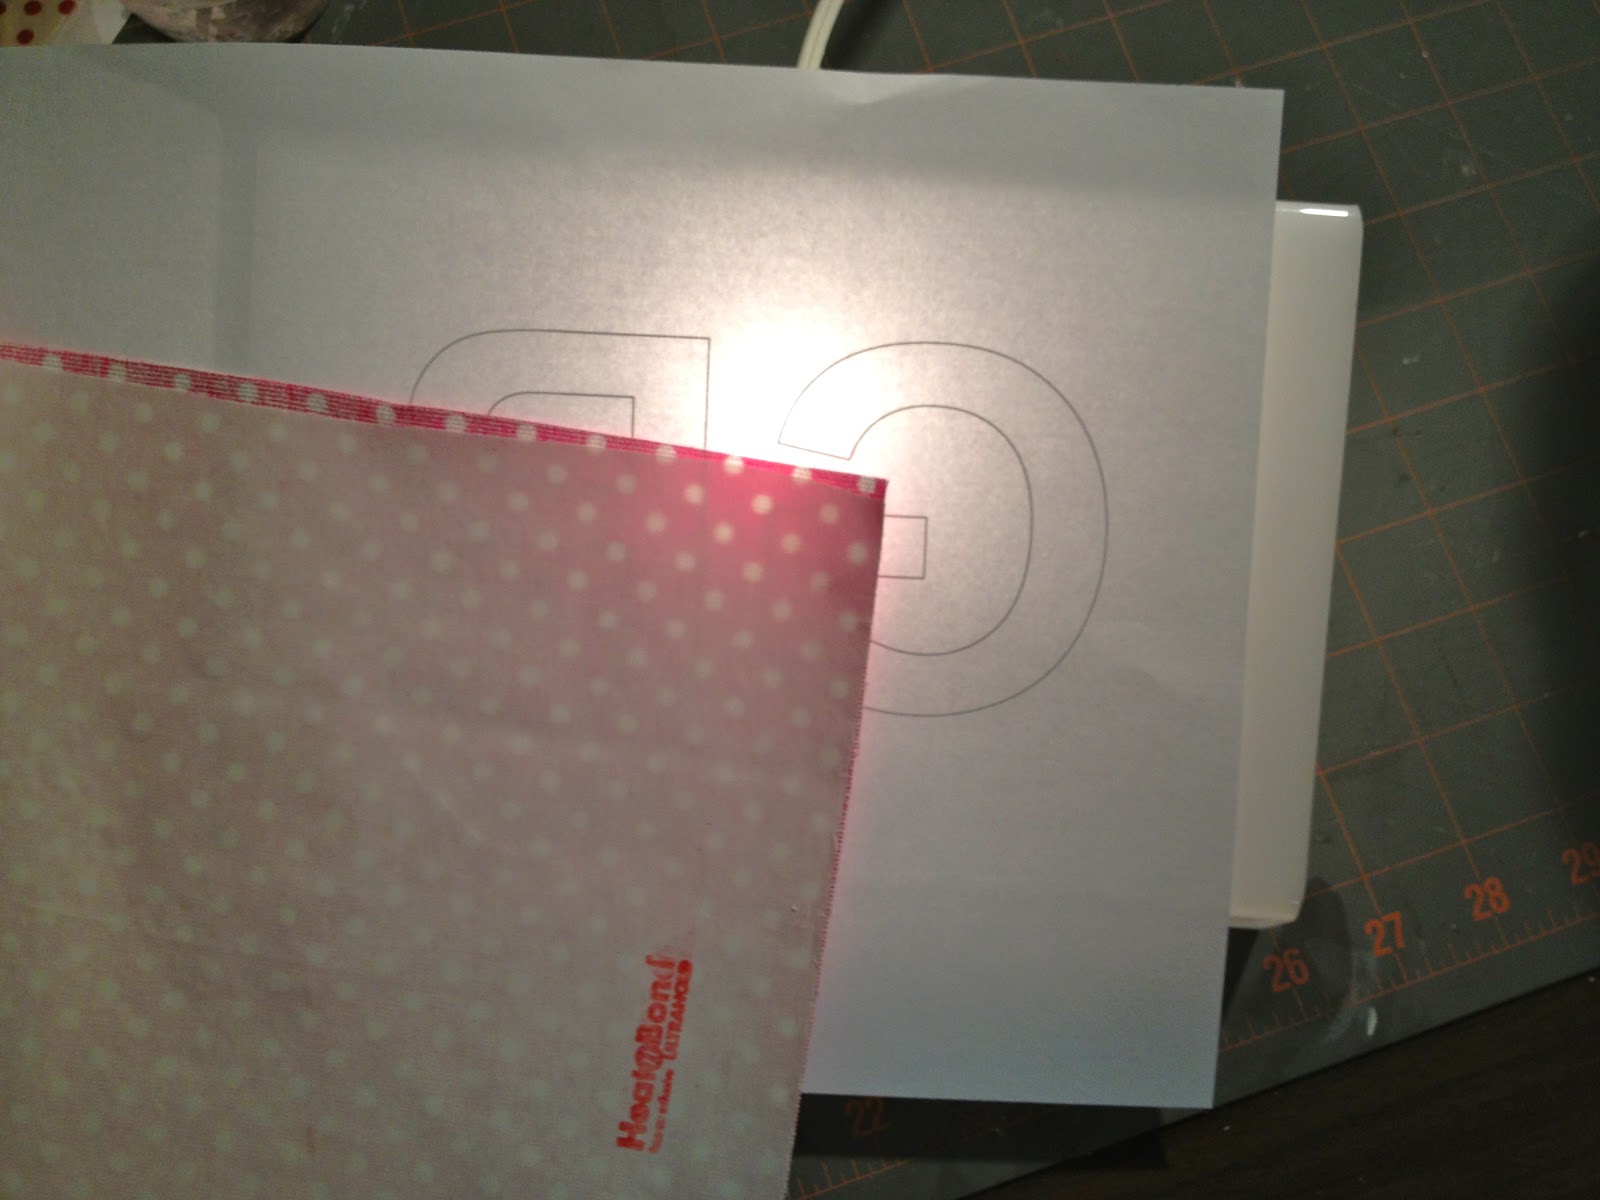
6. Print out the letters (I used Ariel font at 300 point).
Place print out right side down on light box (or sunny window) then place fabric right side down on top of print out:
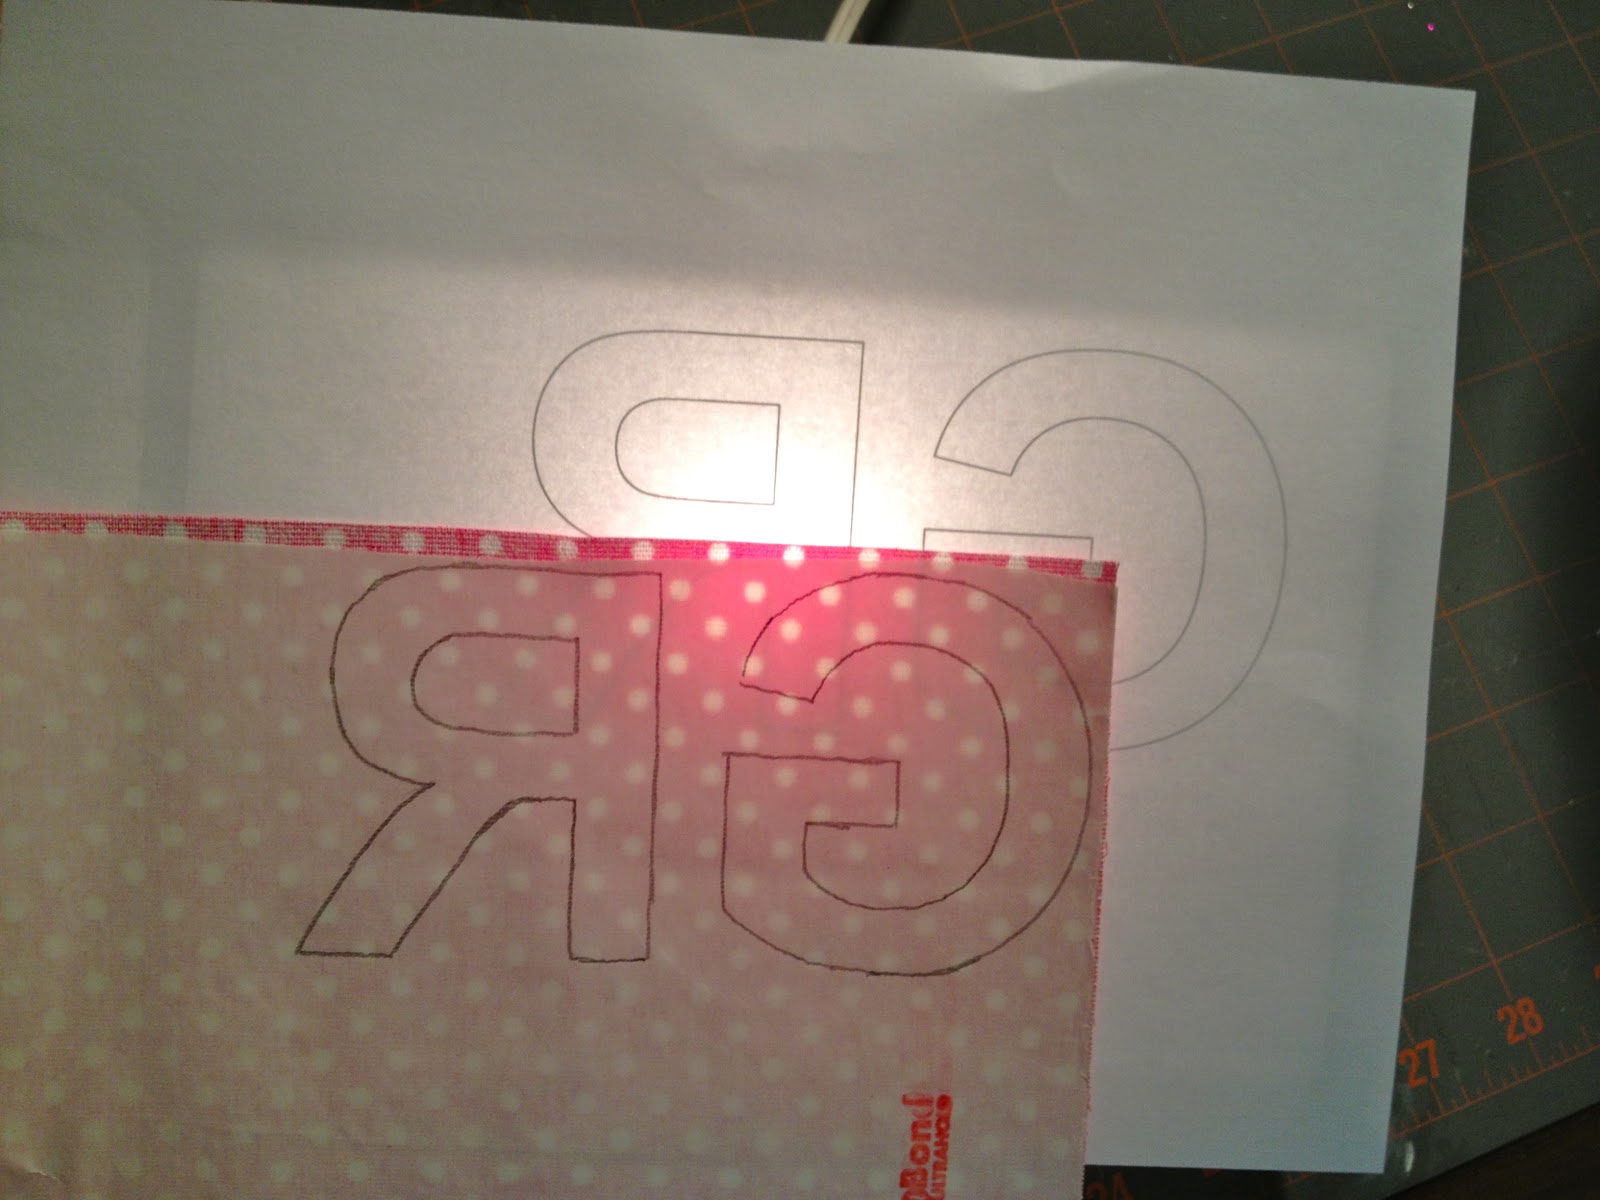
7. Trace outline of letters onto paper backing of adhesive:
8. Cut out letters and iron into place:
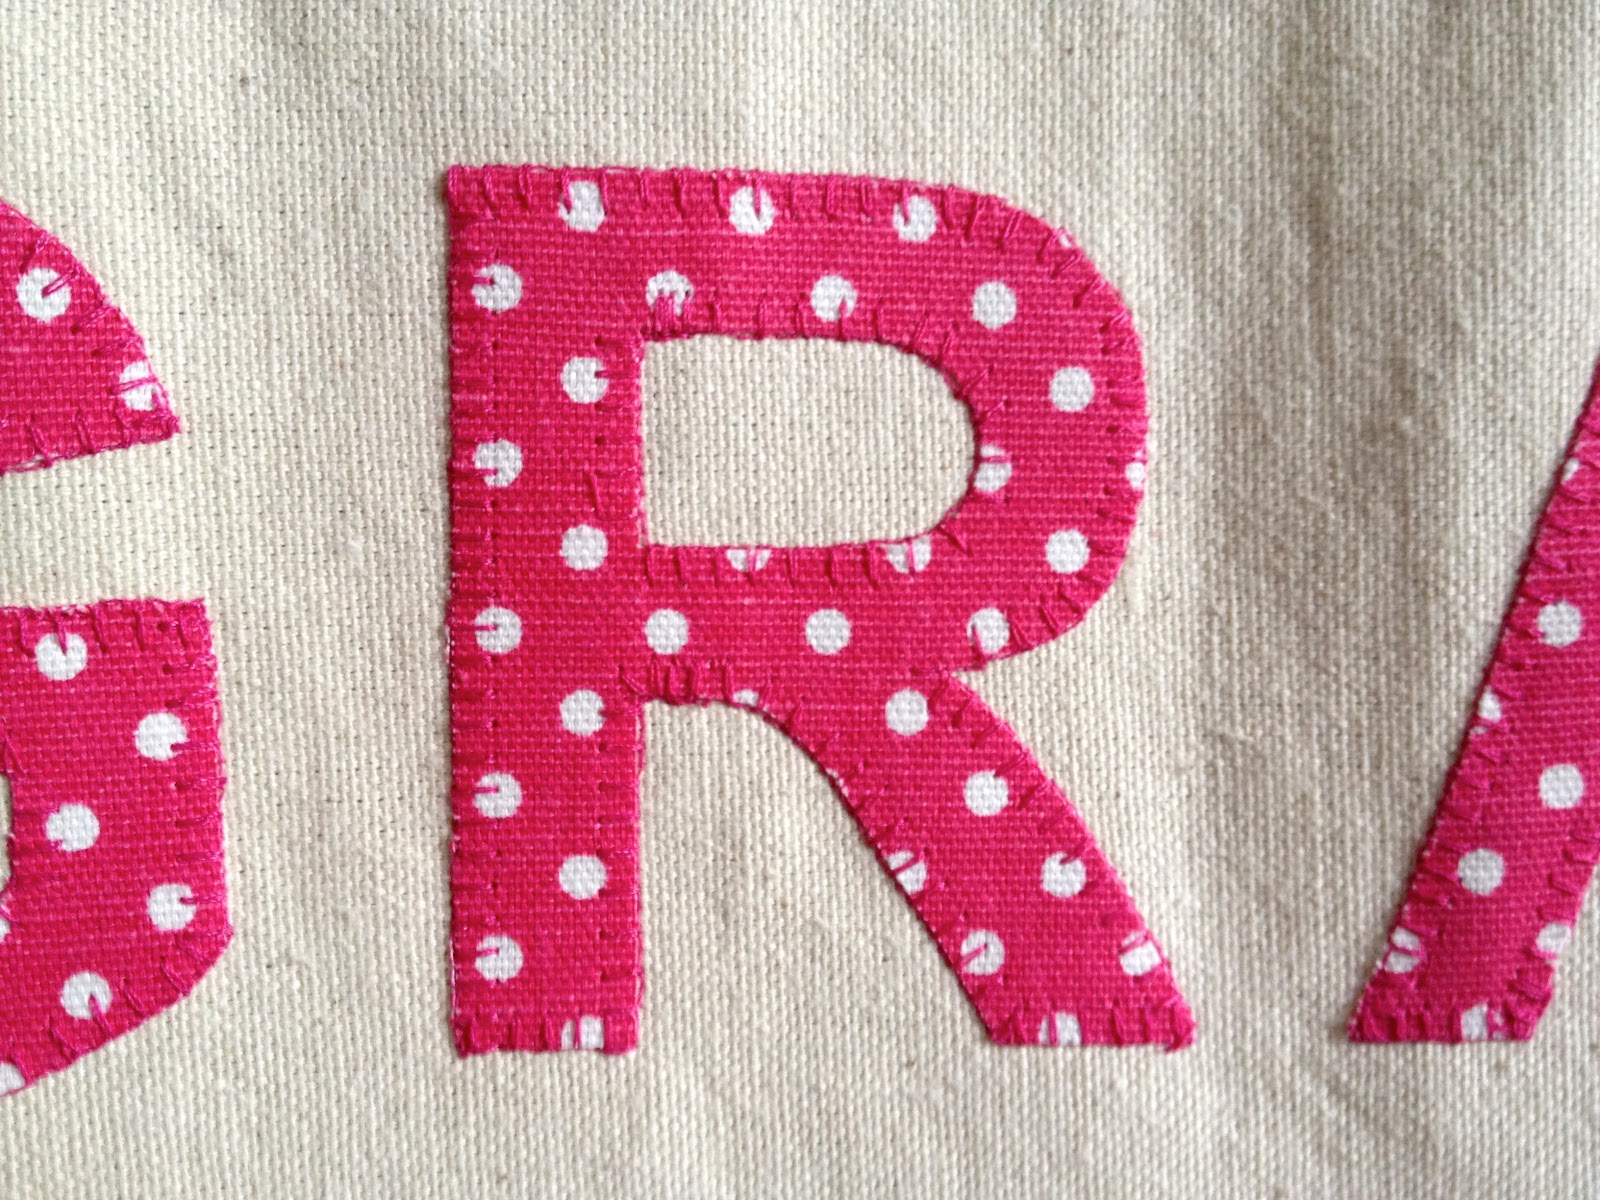
9. For a finished edge use a buttonhole or zig zag stitch around the edge of the letters:
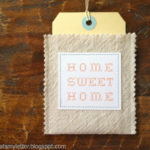
10. You can simply hem the front opening folding back the raw edge twice and straight stitch
OR
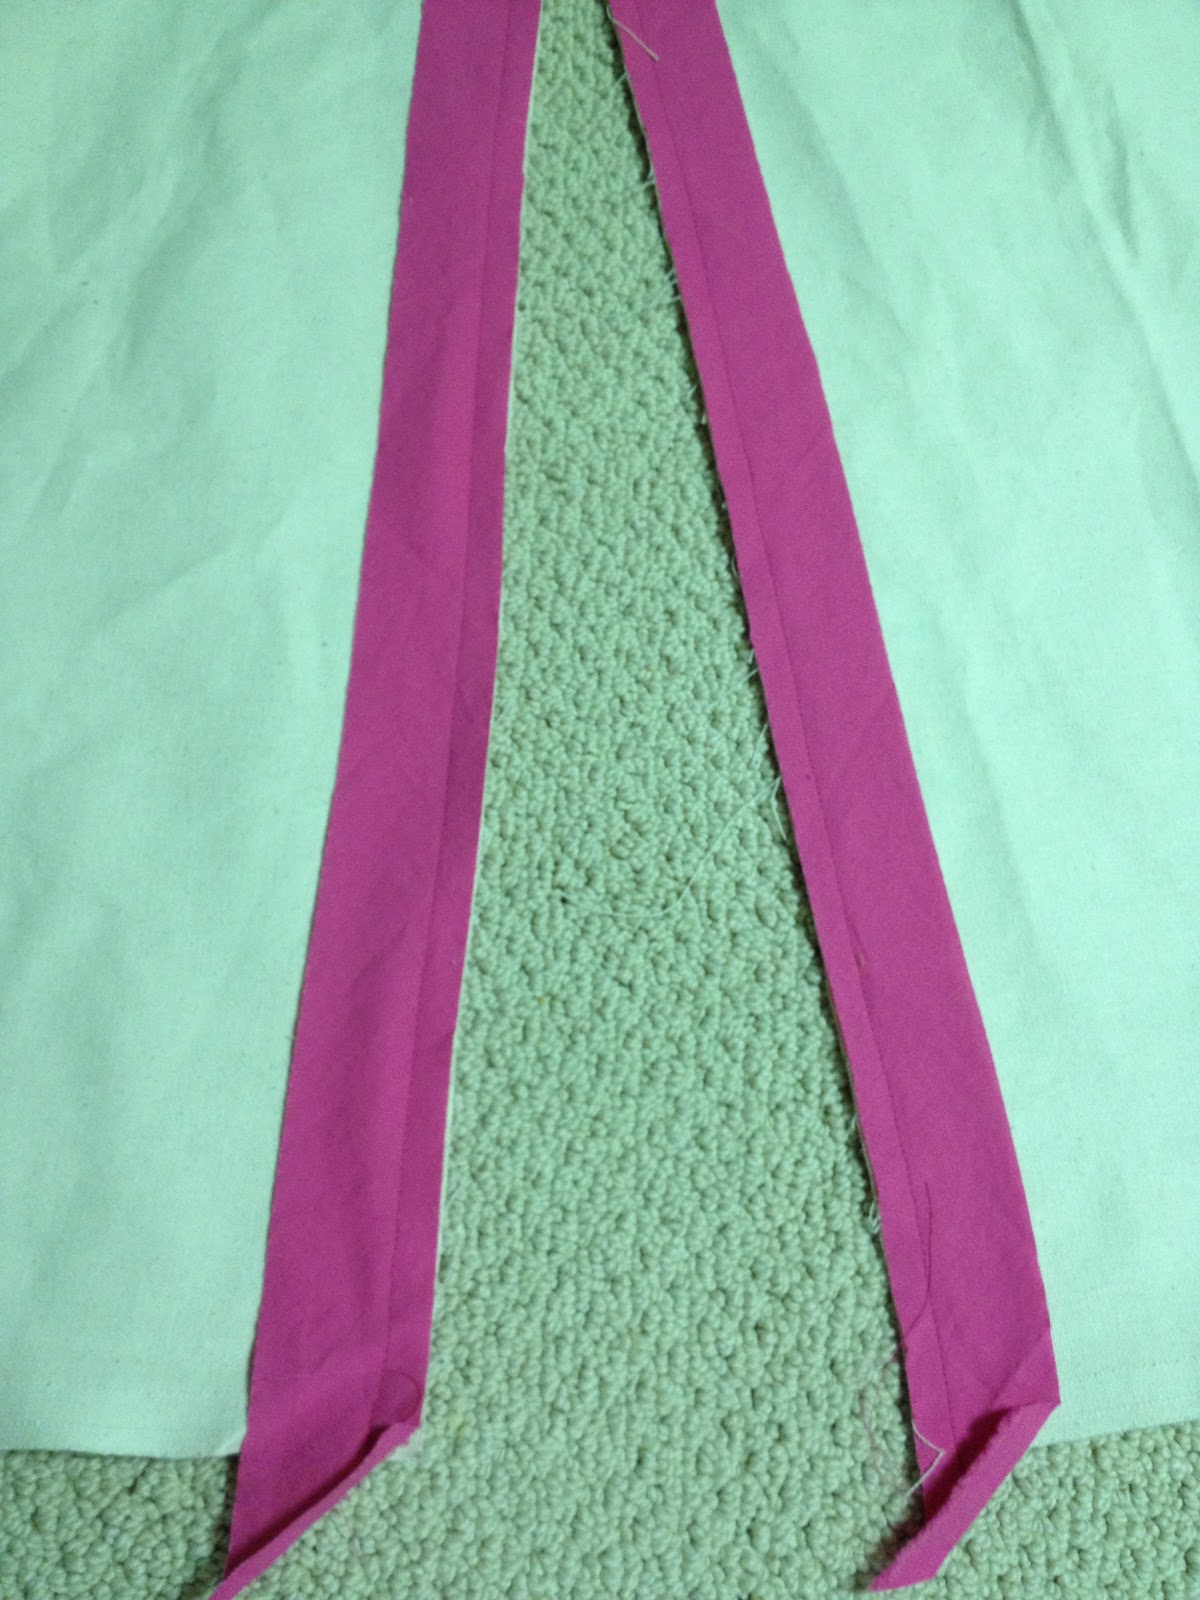
Add contrasting binding as I did to match the letters.
Cut a bias strip at 1 1/4″ wide x 60″ then sew onto front opening with 1/4″ seam allowance:
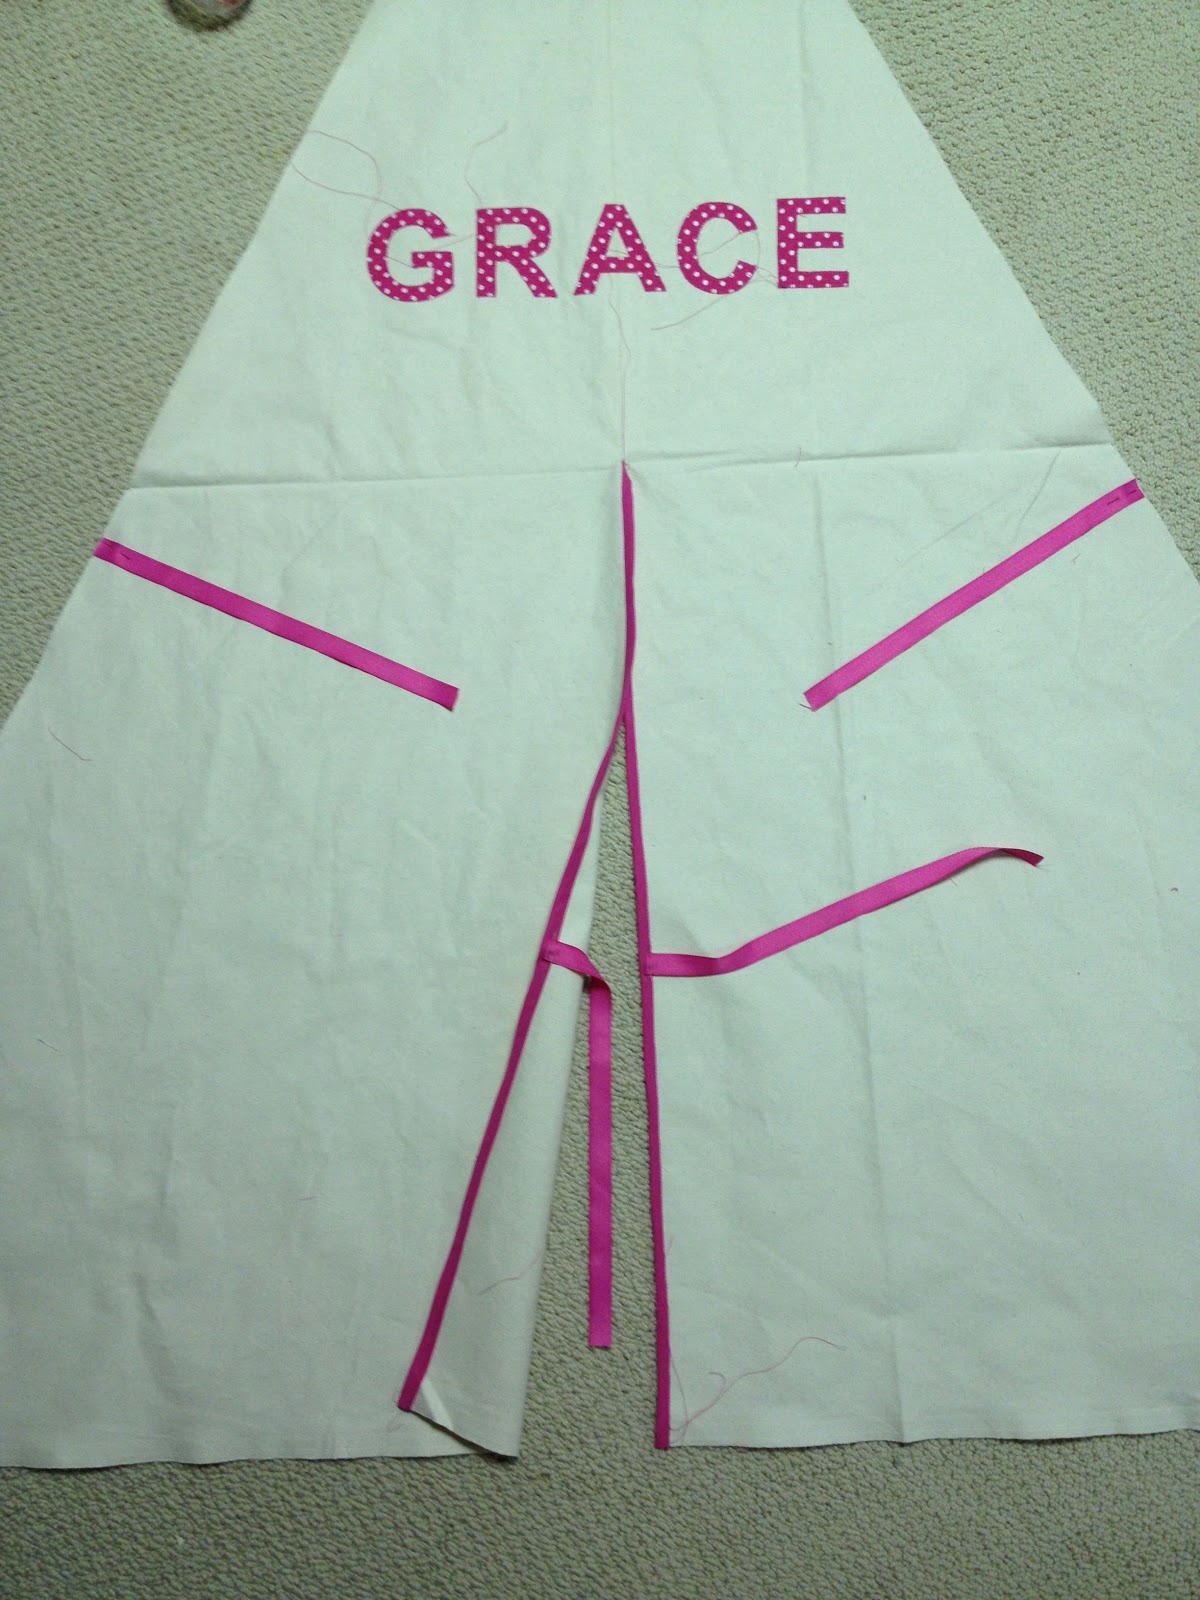
11. Press and fold over the raw edge to the back side, pin in place then blind stitch in the gutter from the top:

12. Then add the ribbon ties to hold the doors open:
13. Now sew the front piece to the side pieces just the same as the back with the loops in place.
Slide the 1×2 wood supports in place:

Slide all 4 wood supports in place before attempting to stand up the teepee:

Now stand up and maneuver the wood supports at the top until it’s secure and you’re ready for kid fun:


Where's the Pin button?
Just curious…but how did you make the pockets at the bottom for the poles?
Oh that's so great, pinned this 🙂
This is so cool! My little guy is still too small to appreciate it, but I kinda think I need my own teepee for momma time. 😉
Oh, and I wanted to tell you I'm stopping over from Serenity Now.
This looks so cool! The more I look at it, the more I think "I can do this… I think!" My kiddos would DIE to find this when they came out of their rooms on Christmas morning! 🙂
Did you use the same dimensions as Ana's plan? We followed her instructions today and feel like the triangle is off. When completed and stood up, there is too much fabric on the ground.
Did you encounter anything like this?
Fabulous! I'm also curious about how you made the pocket at the bottom for the poles! Could you show us?
I love it! We are thinking of making our daughter one for Christmas. How sweet would that be to put all her gifts inside on a small rug? And thanks so much for showing your kids inside for scale! I can see this teepee being used for a long time.
I would also love to see how you made the pockets at the bottom.
It is absolutely adorable! Great job, looks like a fun place to play!
That is so cool! My kids would love it. I am a new follower. Can't wait to check out your other projects. Thanks for Sharing! Hope to see you at True Aim.
i want one for my little pup bella luna! let me know if you decide to sell custom ones!
would love to have you stop by if you haven't already and check out my giveaway:
http://www.hellolovelyinc.blogspot.com/2012/12/personalized-lovely-giveaway.html
happy new week to you.
michele
This is a great idea! My nephew and godson would love this! Thank you for sharing!
Shelly
minettesmaze.blogspot.com
En français qu est ce 60″merci