Build: back to school teacher notes board:
We’re still two weeks away from school starting here but we’re all set with some back to school gifts for my kids teachers.
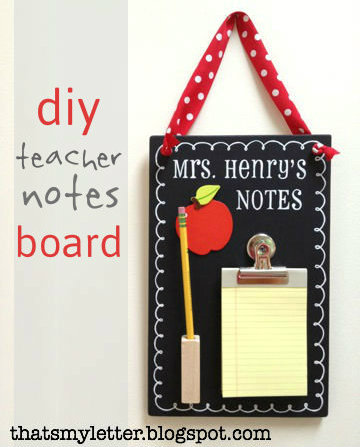
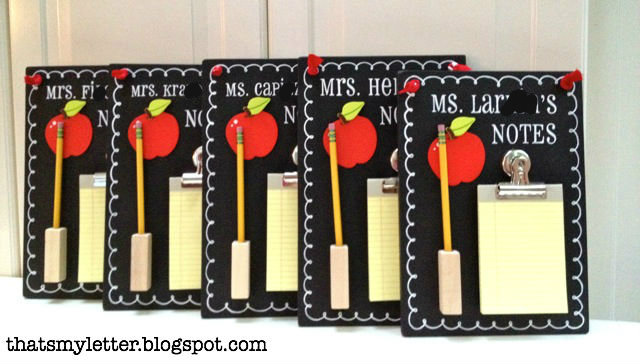
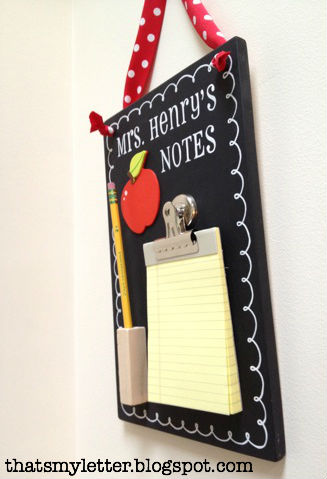
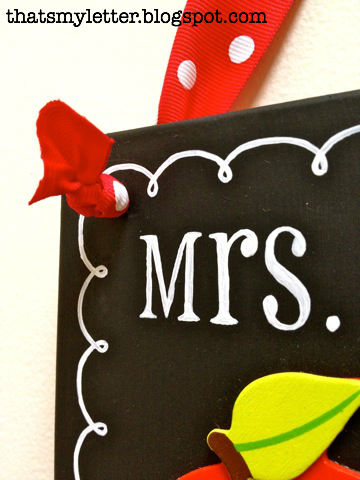
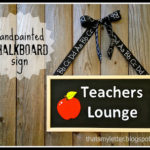
Personalized teacher notes board, each teacher’s name handpainted on a chalkboard:
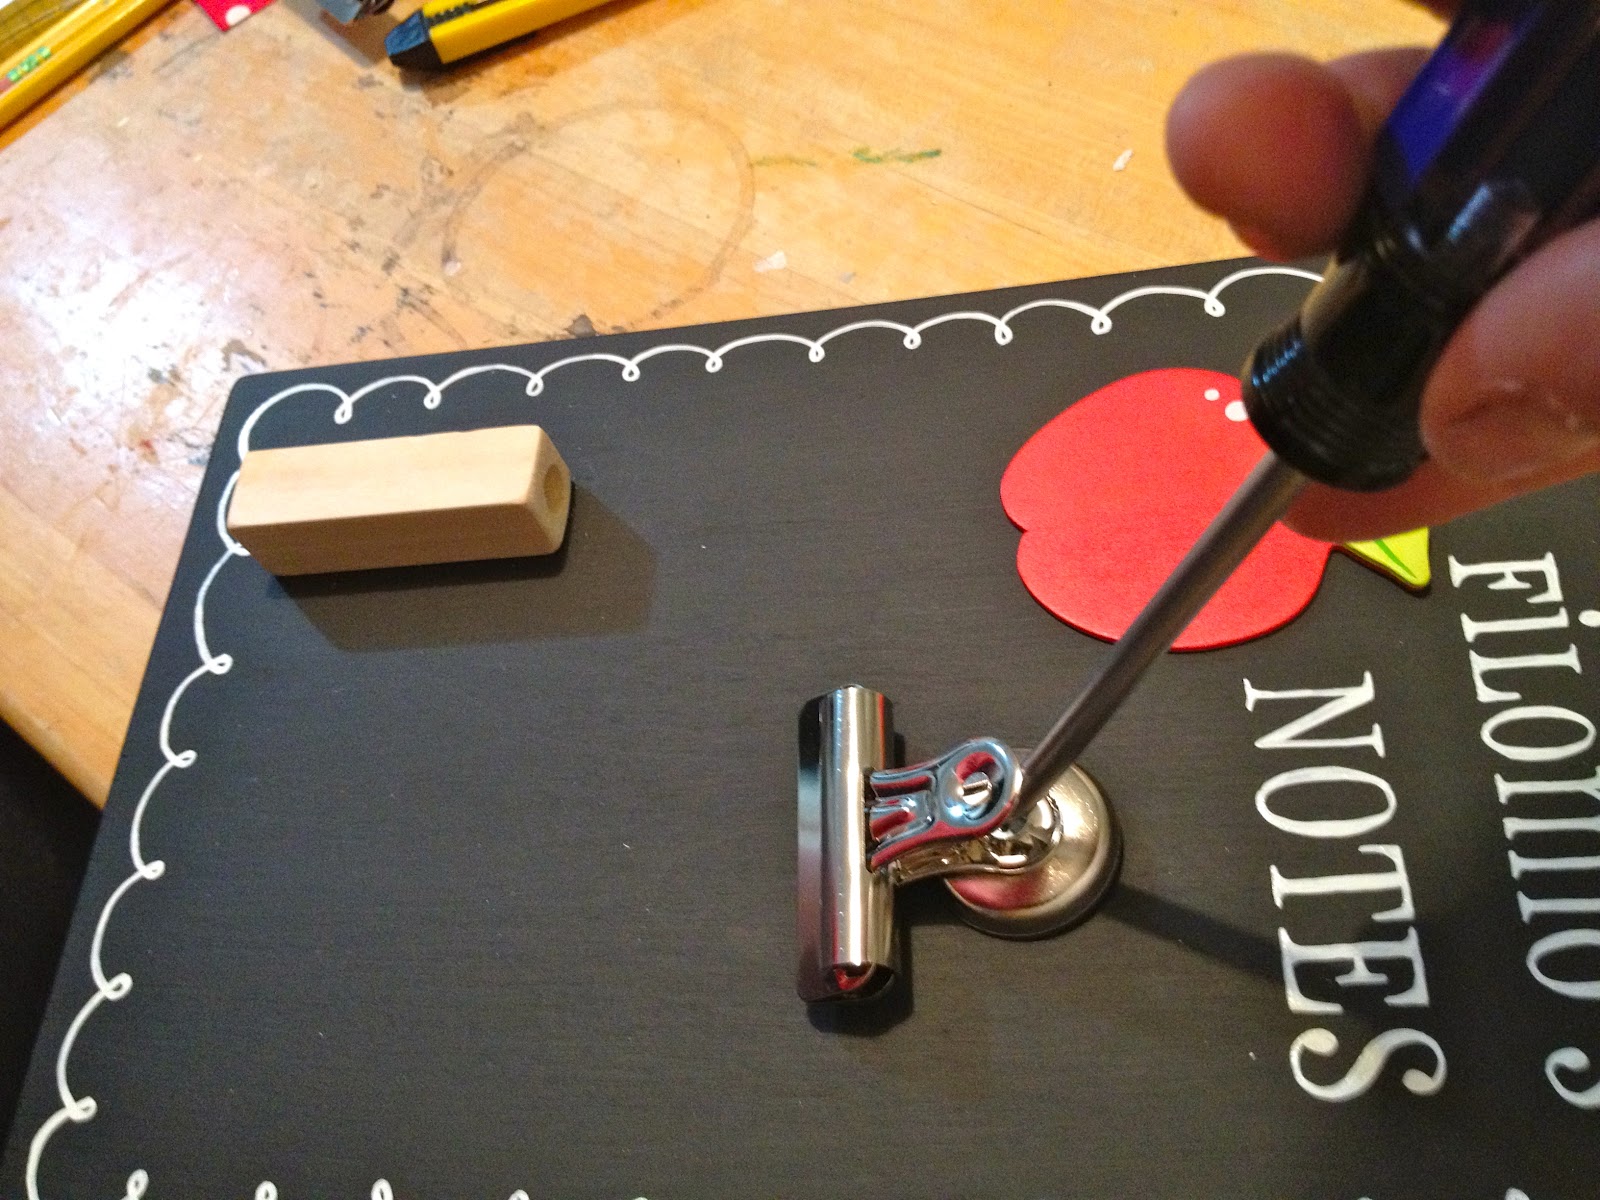
with a mini notepad attached on a clip and a pencil holder:

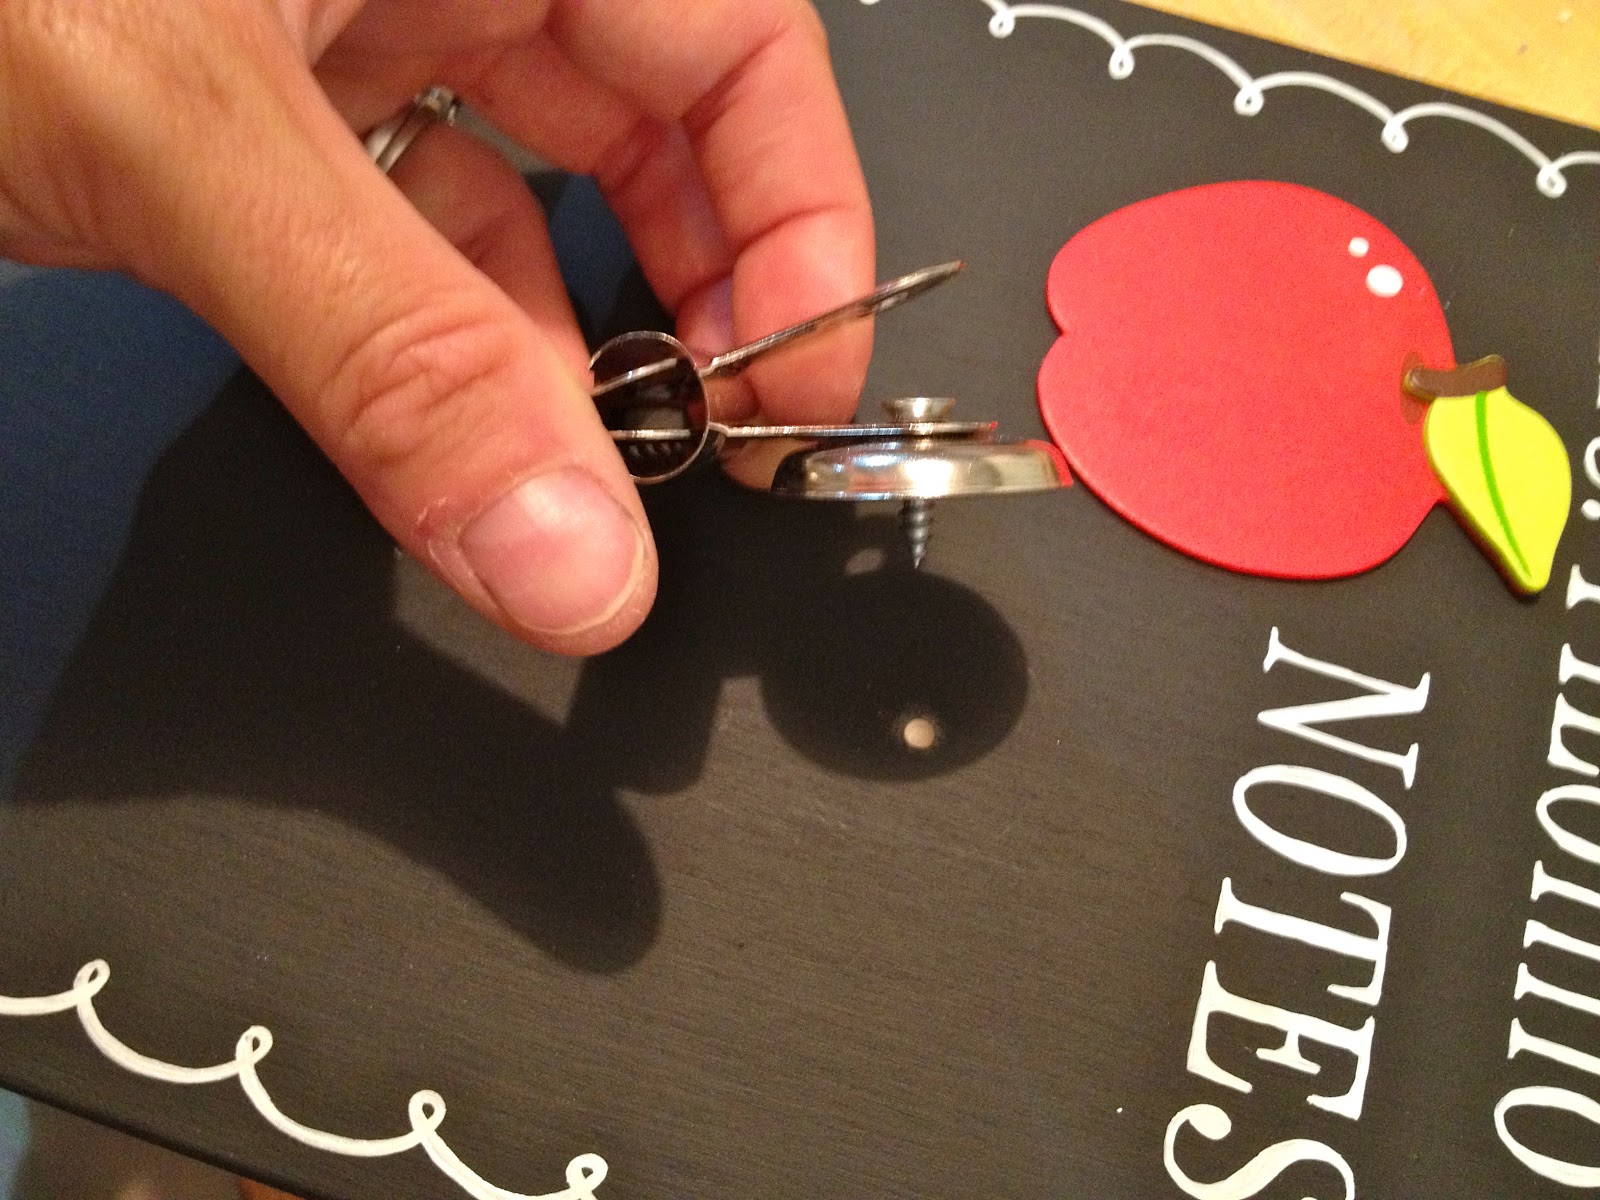
The bulldog clip is secured into the chalkboard with a screw:

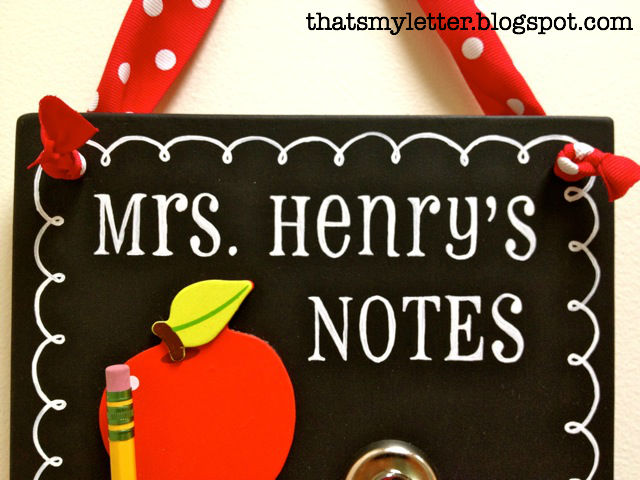
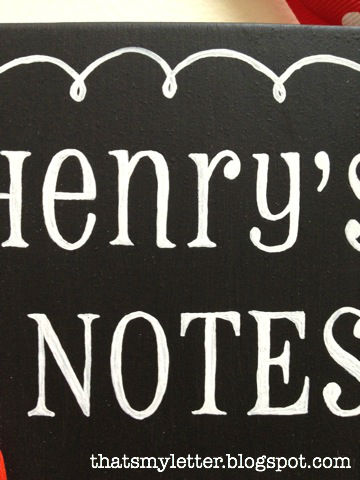
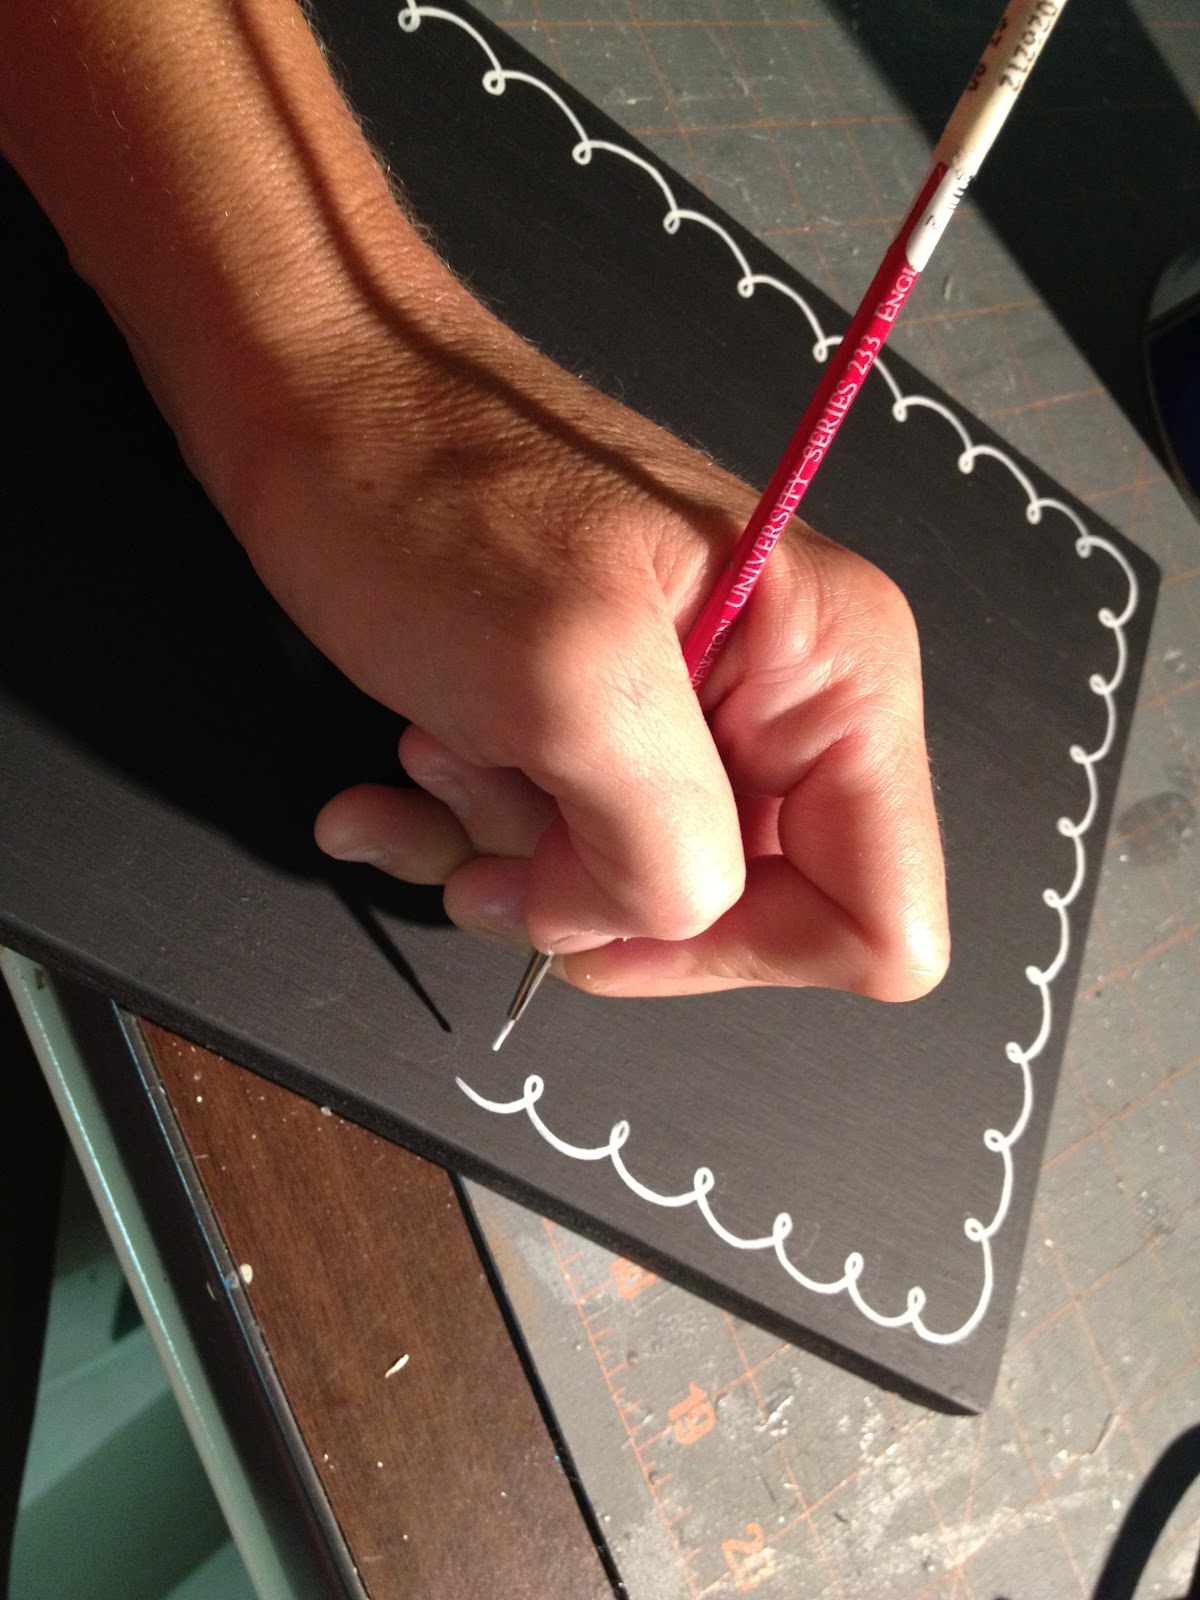
Each name handpainted and I added a swirly border:
All wrapped up in cellophane and tied with ribbon to match:


Here’s how I made the teacher notes boards:
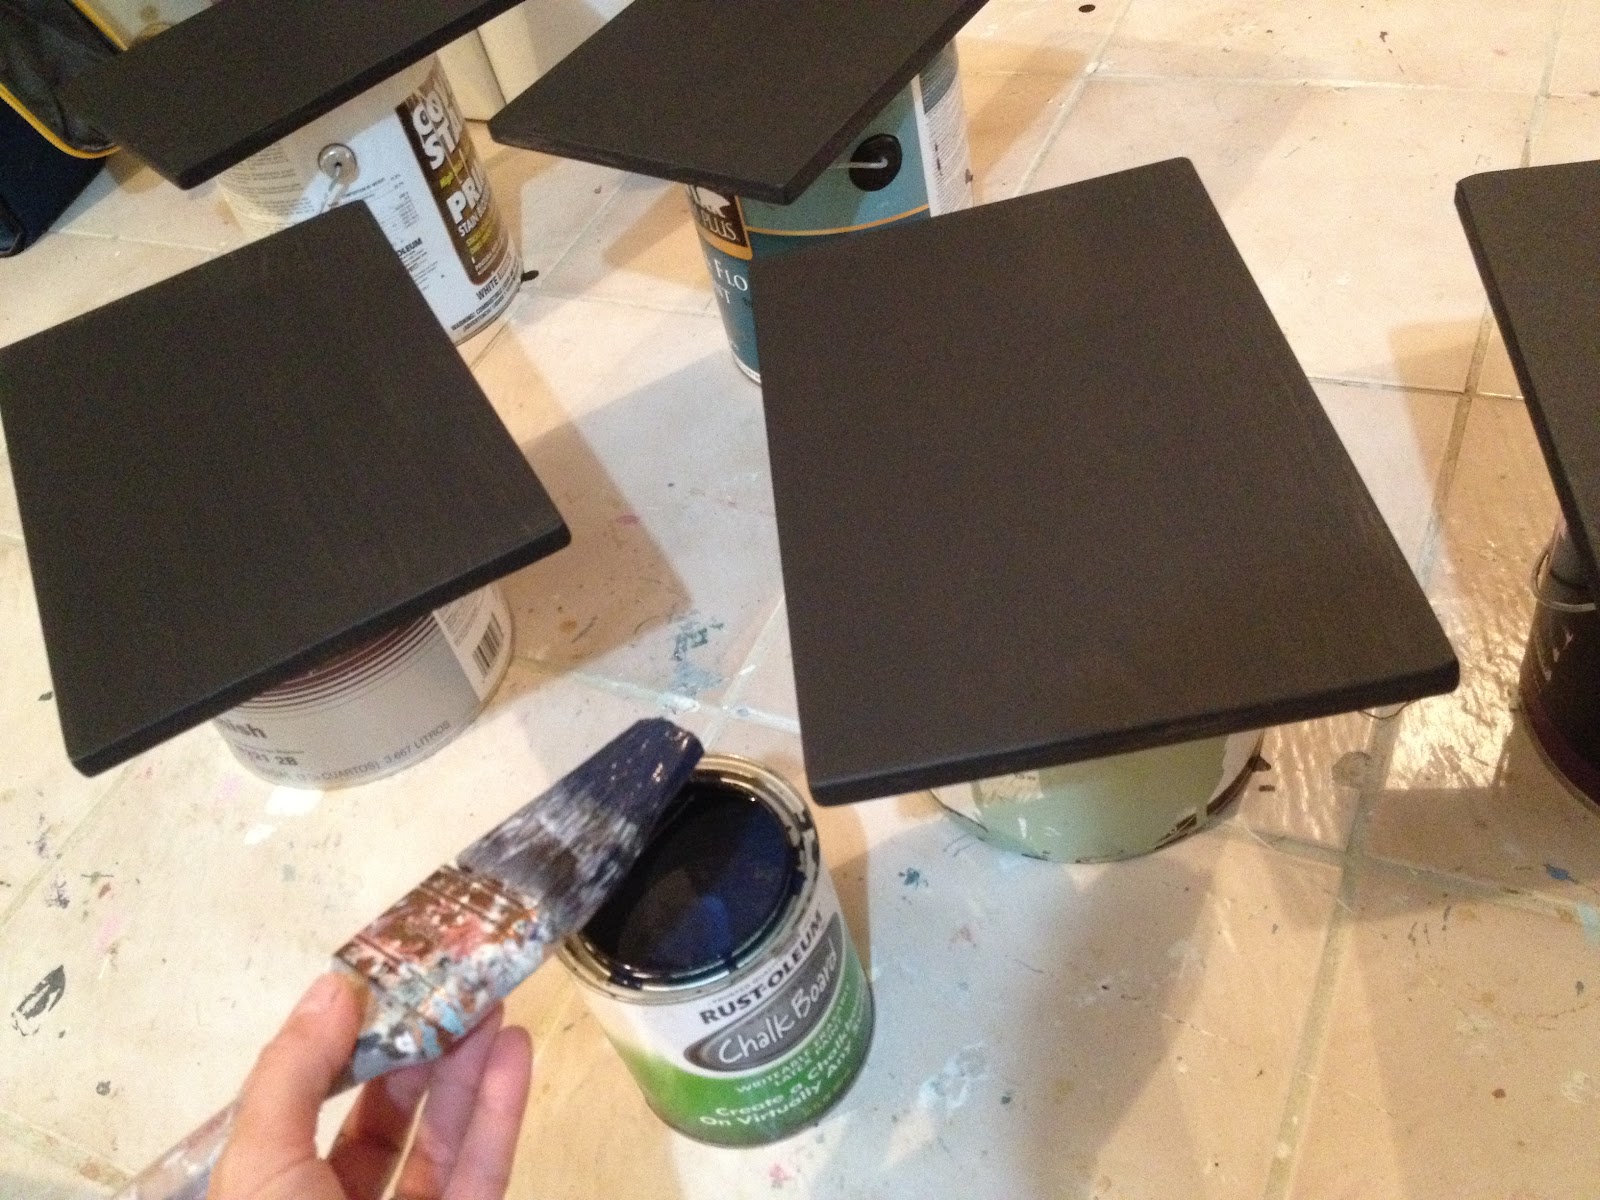
1. Cut 1/2″ plywood 12″ x 8″.
Paint two coats Rustoleum black chalkboard paint:
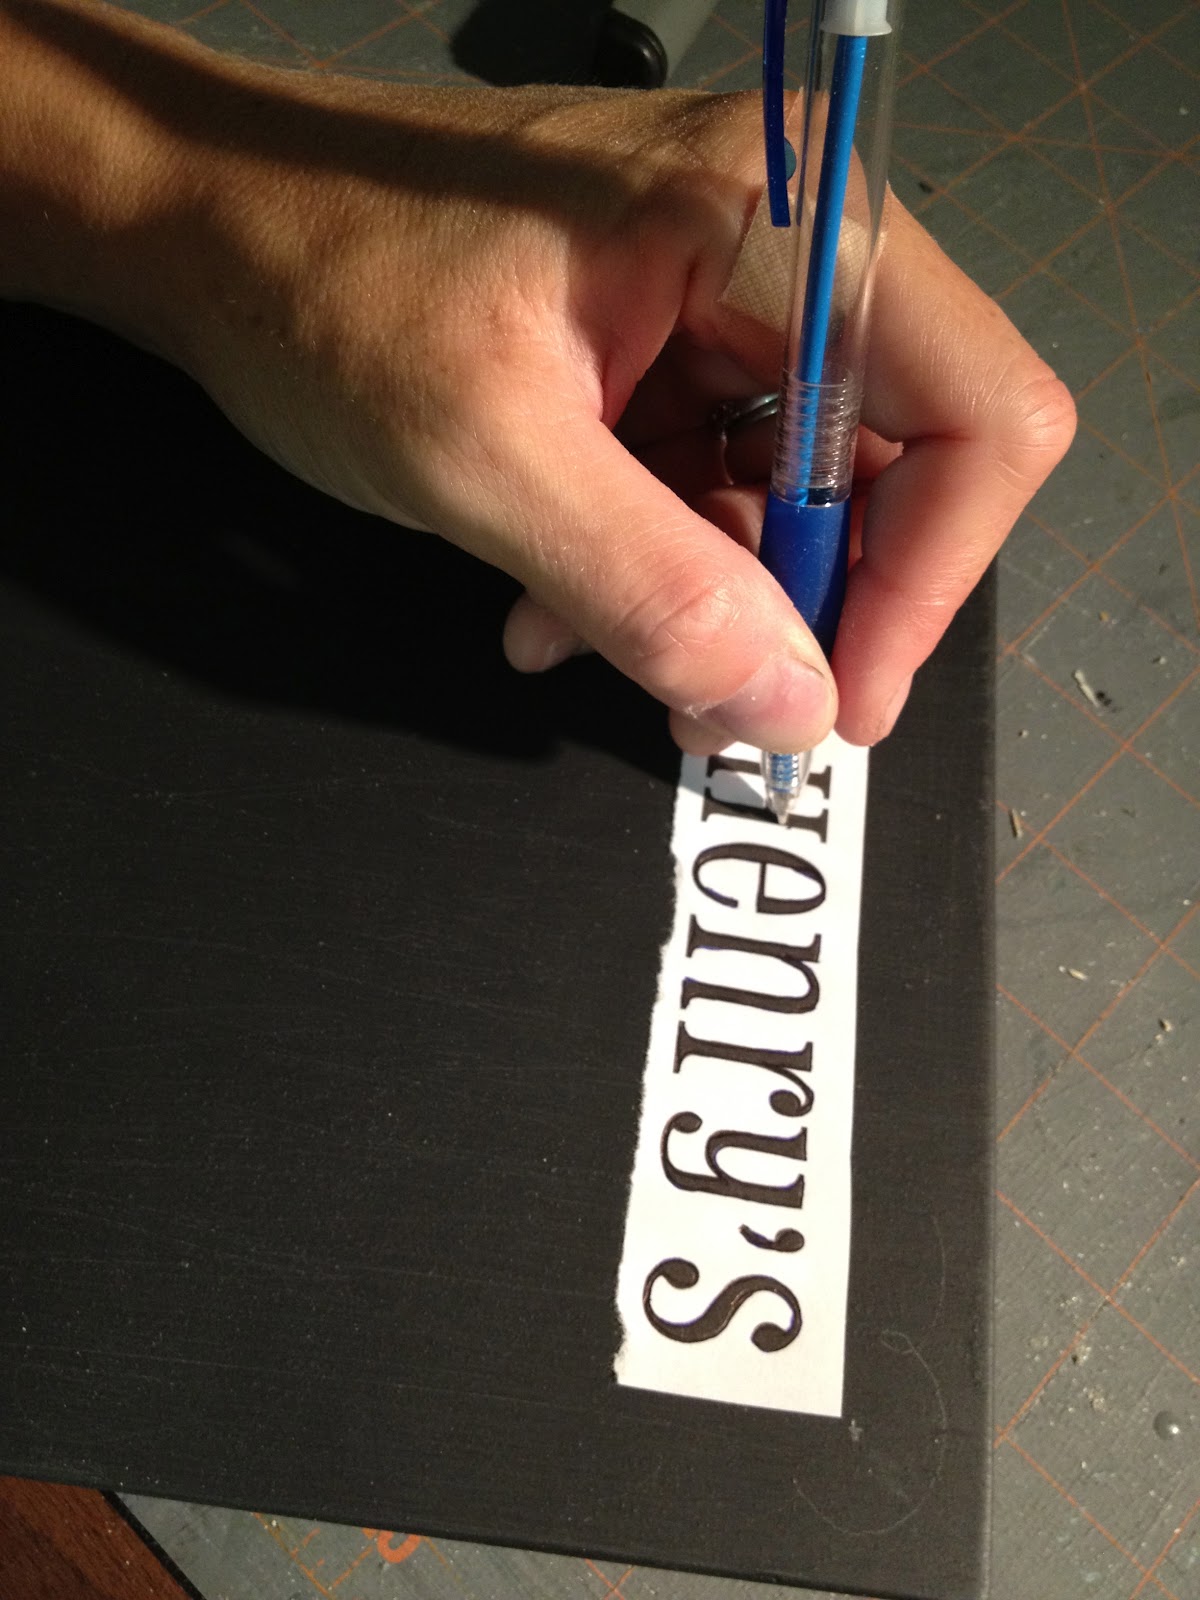
2. Print out teacher names to fit space.
(I used Pharmacy font at 80 point.)
Line up lettering in place and trace outline using ballpoint pen:
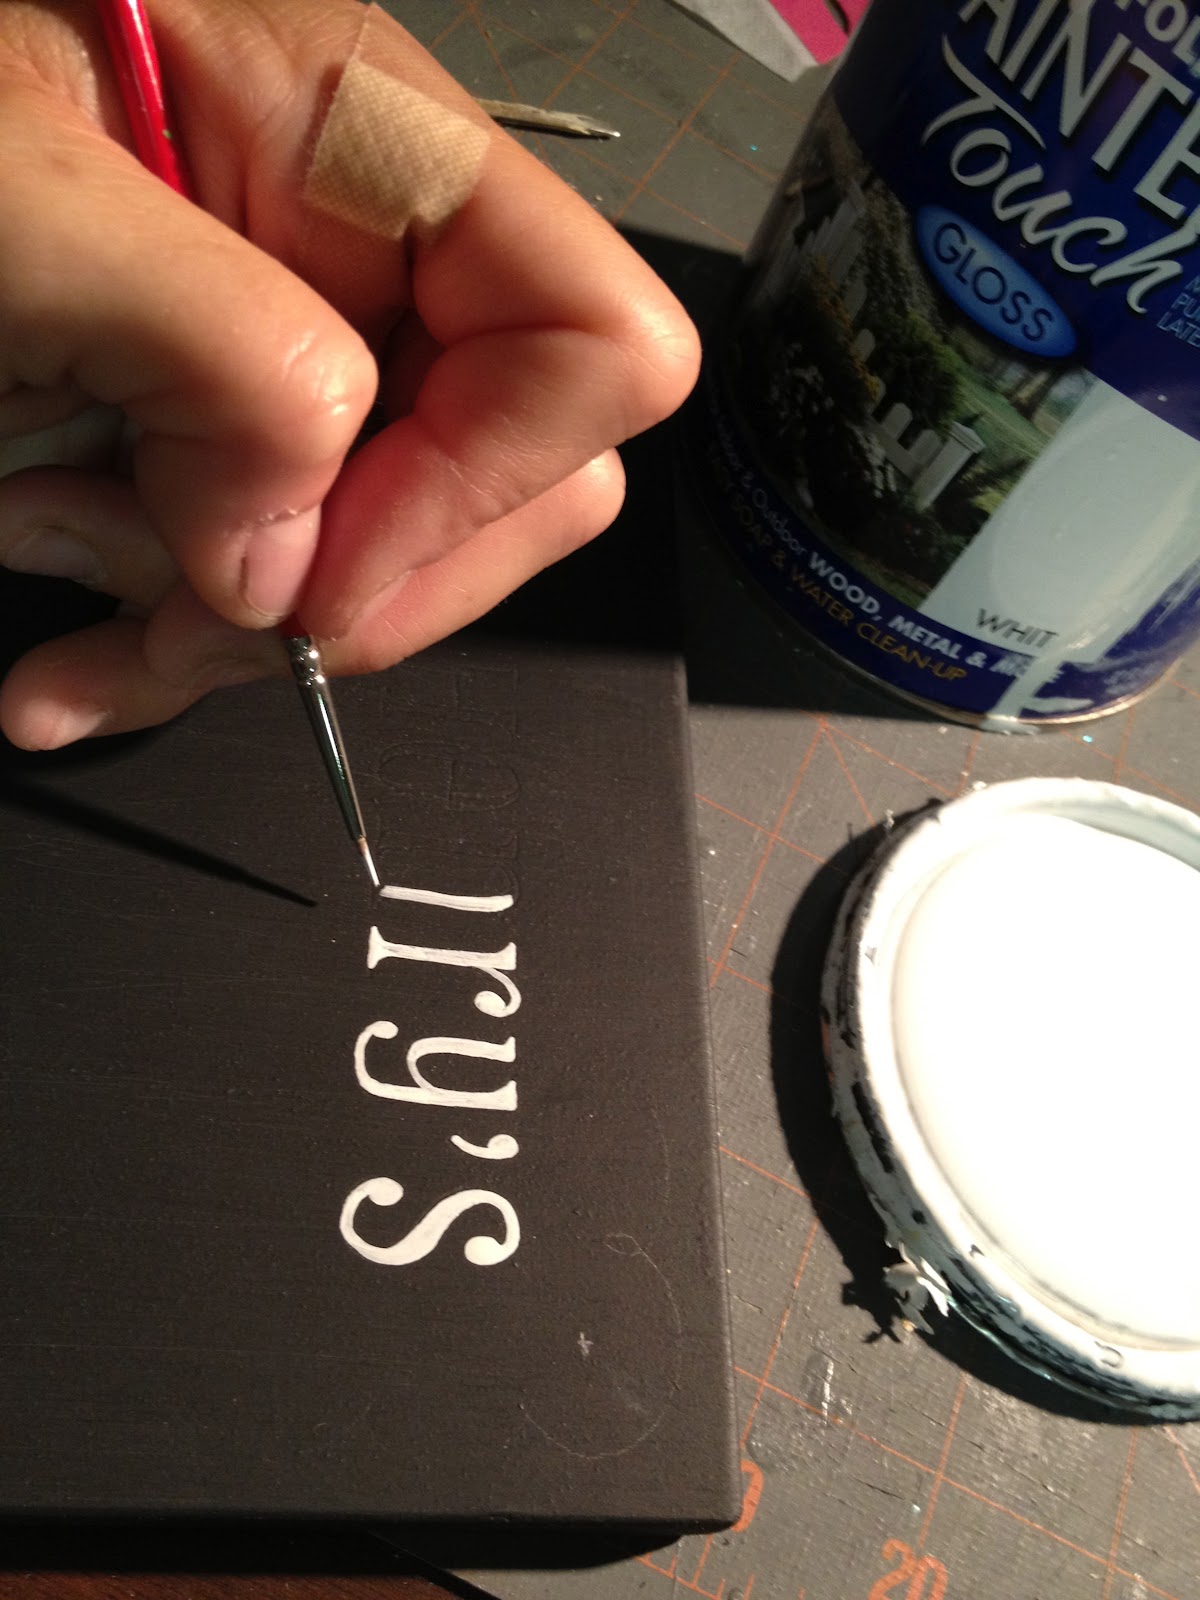
3. Paint letters on and inside indent left behind by pen.
I used Rustoleum hi gloss white enamel.
4. Add swirly border detail:
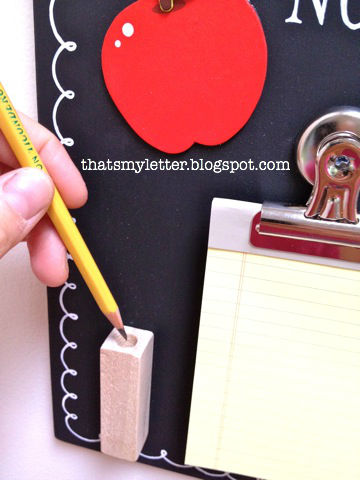
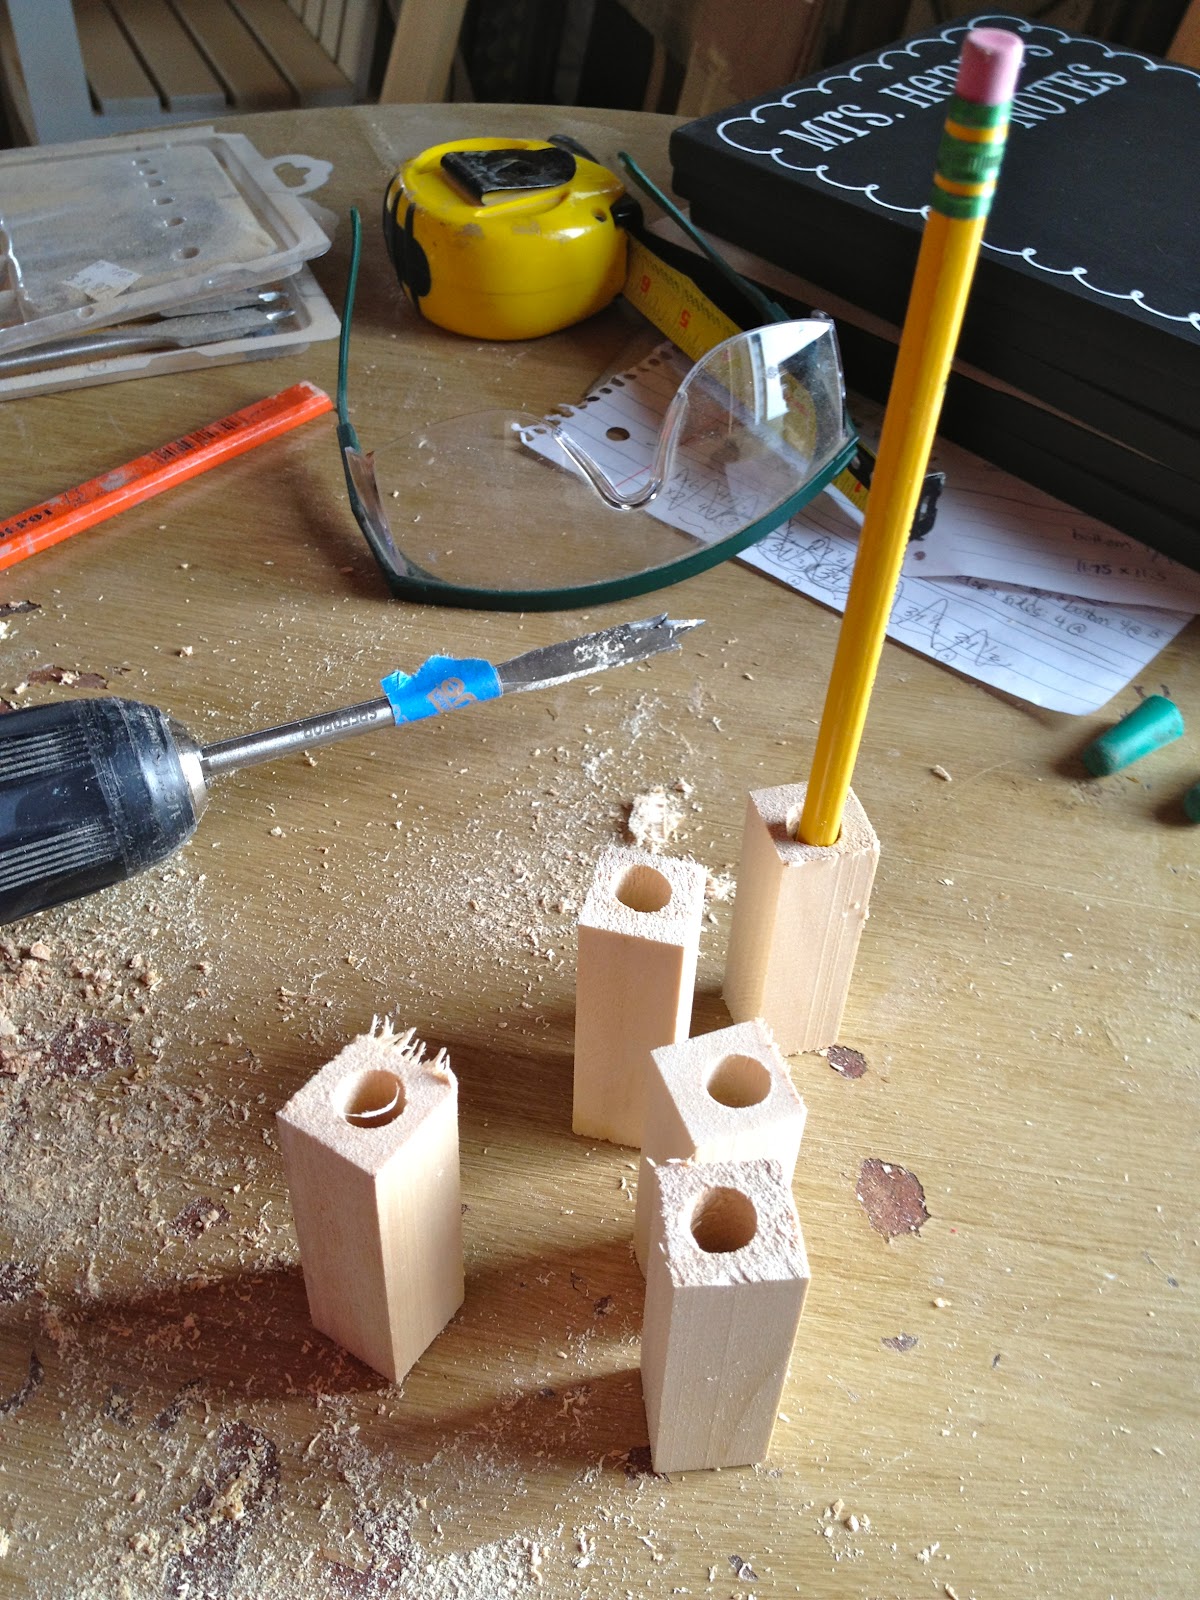
5. For the pencil holder use a 3/4″ square dowel cut to 2 1/2″.
Using a 3/8″ circular bit mark off the depth of the hole on your drill bit:

Drill the hole:

And the pencil fits!
6. Glue and clamp the pencil holder in place:

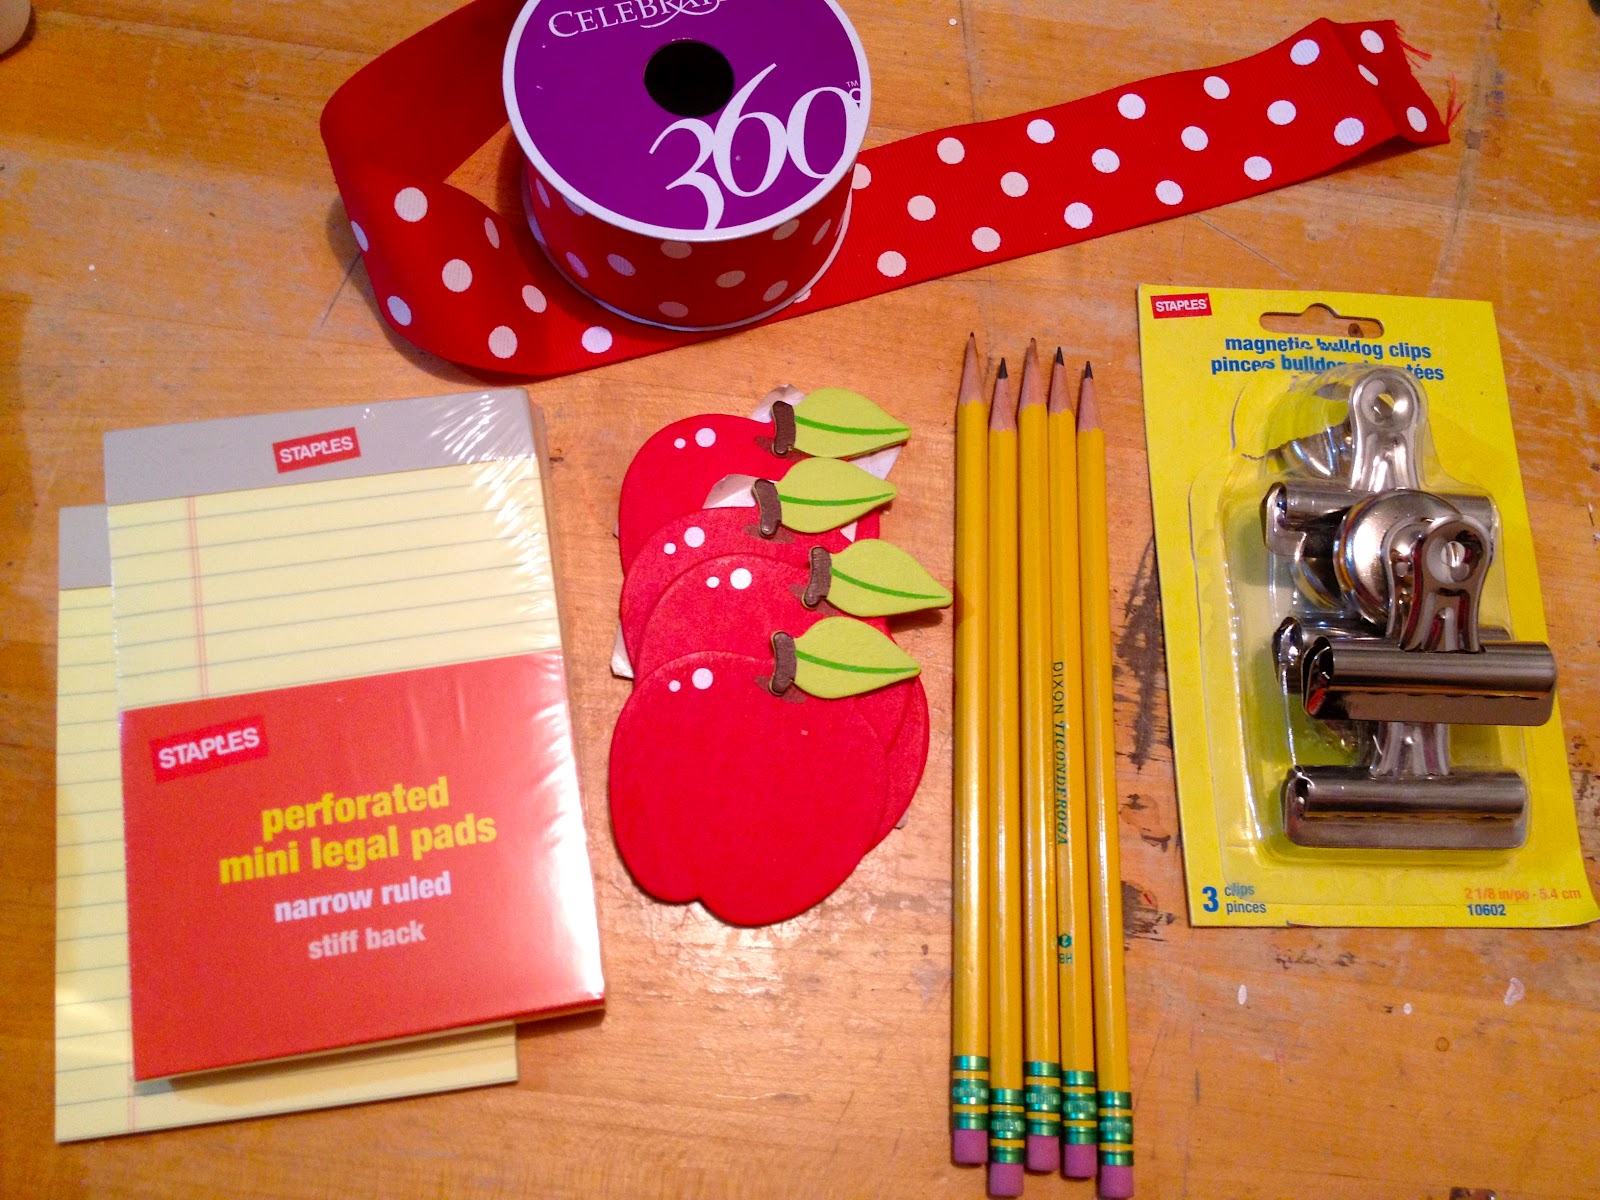
Remaining supplies: ribbon, painted wooden apple cut outs, bulldog clips, mini notepads:
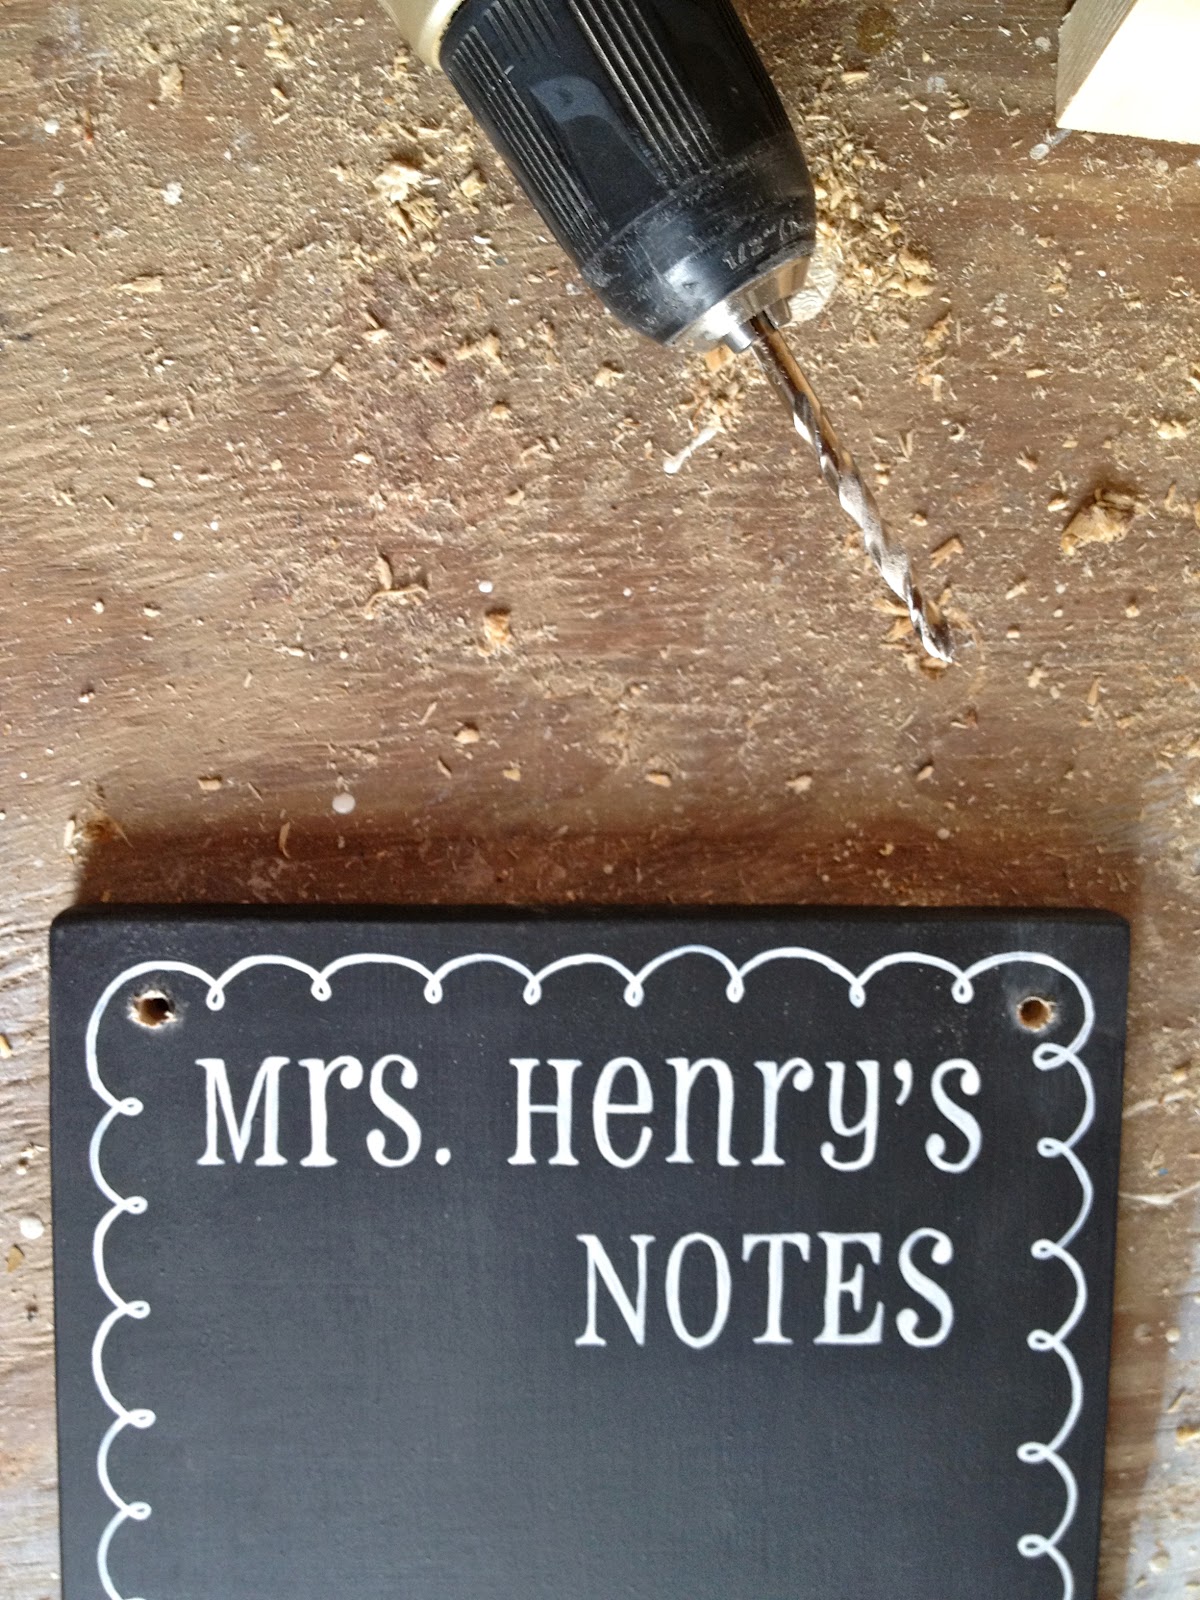
7. Drill holes for ribbon hanger:
8. Push ribbon through holes and tie knots:
9. Predrill and screw bulldog clip in place:
Add notepad and pen:
I’m linking up to:
SAS @ Funky Junk
DIY Project Parade @ The DIY Showoff
Tutorials & Tips Tuesday @ Home Stories A to Z
Strut Your Stuff @ Somewhat Simple
Share Awesomeness Thur @ The 36th Avenue
Pretty Things Thursday @ Scissors & Spatulas
Flaunt it Friday @ Chic on a Shoestring
Frugal Friday @ The Shabby Nest
SAS @ Just a Girl
Remodelaholics Anonymous @ Remodelaholic
inspiration board @ Carolyns Homework
Sunday Showcase Party @ Under the Table & Dreaming

What a cute idea. I miss the days when we needed teachers' gifts. Sigh. Great project, as usual.
Too cute…you newest follower. Found you through Pinterest.
Anissa from Chasing Hailey
http://chasinghailey.blogspot.com/
How cute! I don't think I'd want to give any away after seeing how cute they are all packaged up 😉 I LOVE the swirl border. Great idea! I would love if you shared this at my Throwback Thursday party. I hope to see you there and thanks for sharing! http://www.hubbymademe.com/throwback-thursday-no-7/
Oh my word these are the sweetest! What a great idea!
please accept our invitation to link up at the Back to School Resource page at http://www.mercyinkblog.com/back-to-school-tips-tricks-tools
this would be a fab addition!
xo,
lauren
I love this! Thanks for sharing and thanks for linking up to our Pretty Things party. Hope to see you back next week!
Love it so much I have to feature it tomorrow! 😉