• Home
  • Blog
  • About
  • Contact
    • Disclosure
    • Privacy Policy
  • SHOP
  • Widget area for main menu

    • Email
    • Facebook
    • Instagram
    • Pinterest
    • Twitter
    • YouTube
  • Skip to primary navigation
  • Skip to main content
  • Skip to primary sidebar

Jaime Costiglio

build - paint - sew

  • BUILD
    • BEDS
    • BENCHES
    • DESKS
    • DRESSERS
    • GAMES & TOYS
    • SCRAP WOOD
    • SHELVES
    • STORAGE
    • TABLES
  • TOOLS
  • PAINT
    • CRAFTS
    • FURNITURE
    • HOME DECOR
  • SEW
    • GIFTS
    • HOME DECOR
    • POUCHES
  • HANDBUILT HOLIDAY
    • 2021
    • 2019
    • 2018
    • 2017
    • 2016
    • 2015
    • 2014
    • 2013
  • GIFTS
    • BABIES
    • KIDS
    • FOR HER
    • FOR HIM
    • TEACHERS
    • WEDDINGS
  • SEASONAL
    • 4TH OF JULY
    • FALL
    • HALLOWEEN
    • CHRISTMAS
    • SUMMER
    • SPRING
    • ST. PATRICK’S DAY
    • THANKSGIVING
    • VALENTINE’S DAY
    • WINTER
  • SALTBOX PROJECT
    • BATHROOMS
    • DINING ROOM
    • EXTERIOR
    • FAMILY ROOM
    • FOYER / MUDROOM
    • KIDS BEDROOMS
    • KITCHEN
    • LIVING ROOM
    • MASTER BEDROOM
    • PLAYROOM
  • SCROLL SAW

“C” is for Classroom

September 19, 2012

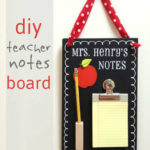
Paint: chalkboard classroom signs
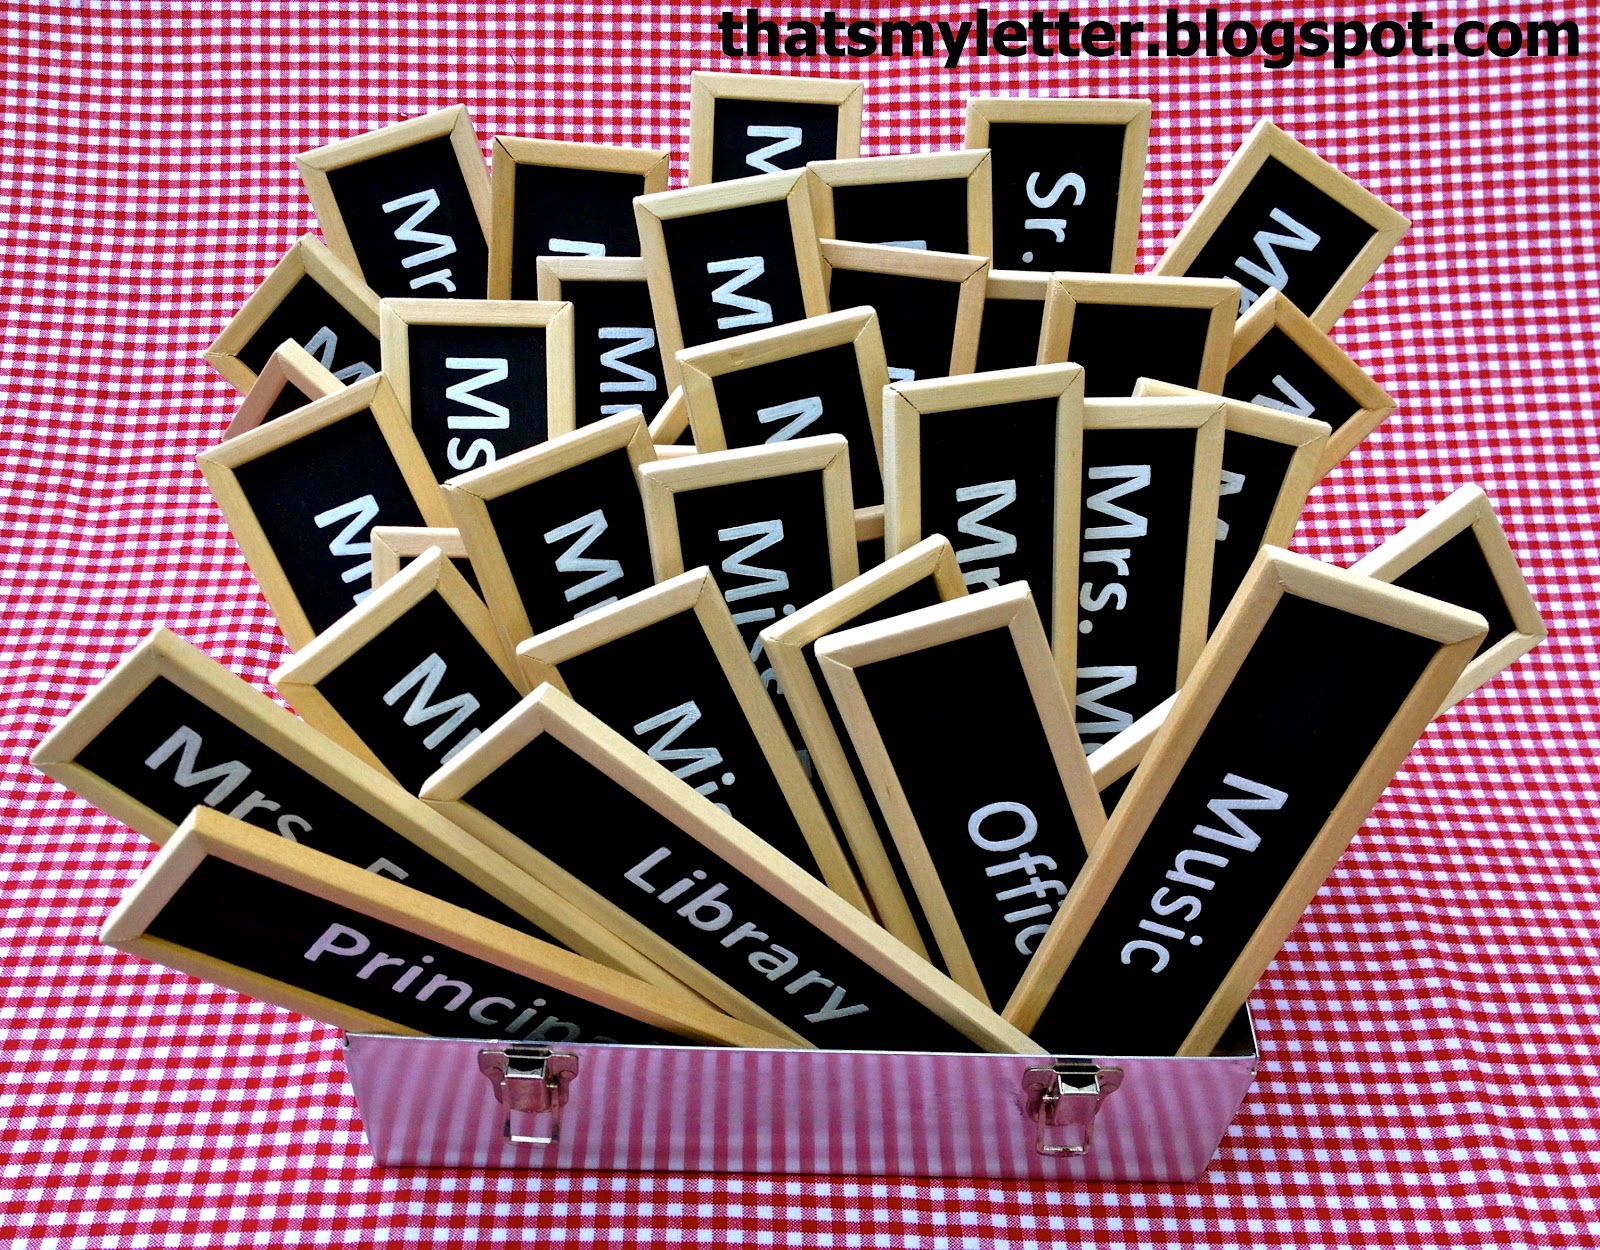
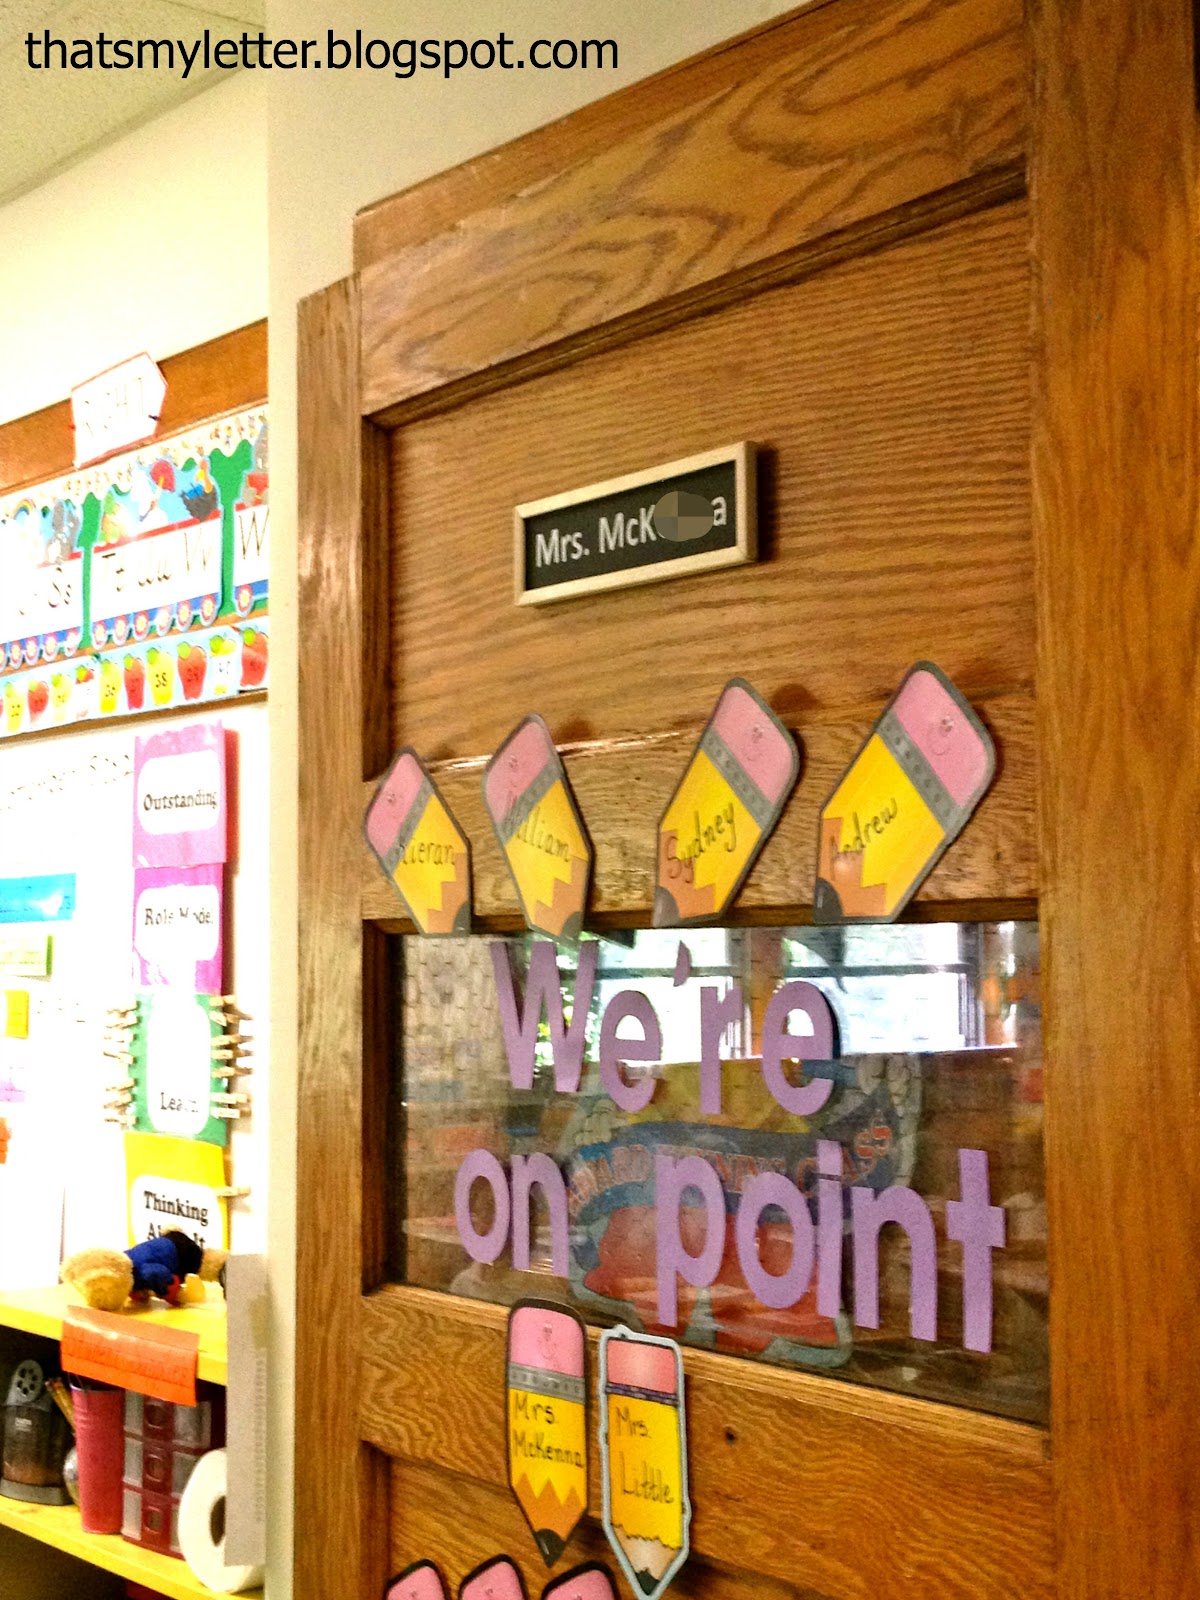
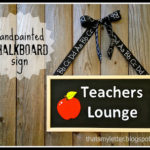
I made chalkboard classroom signs for each teacher at my kids school:
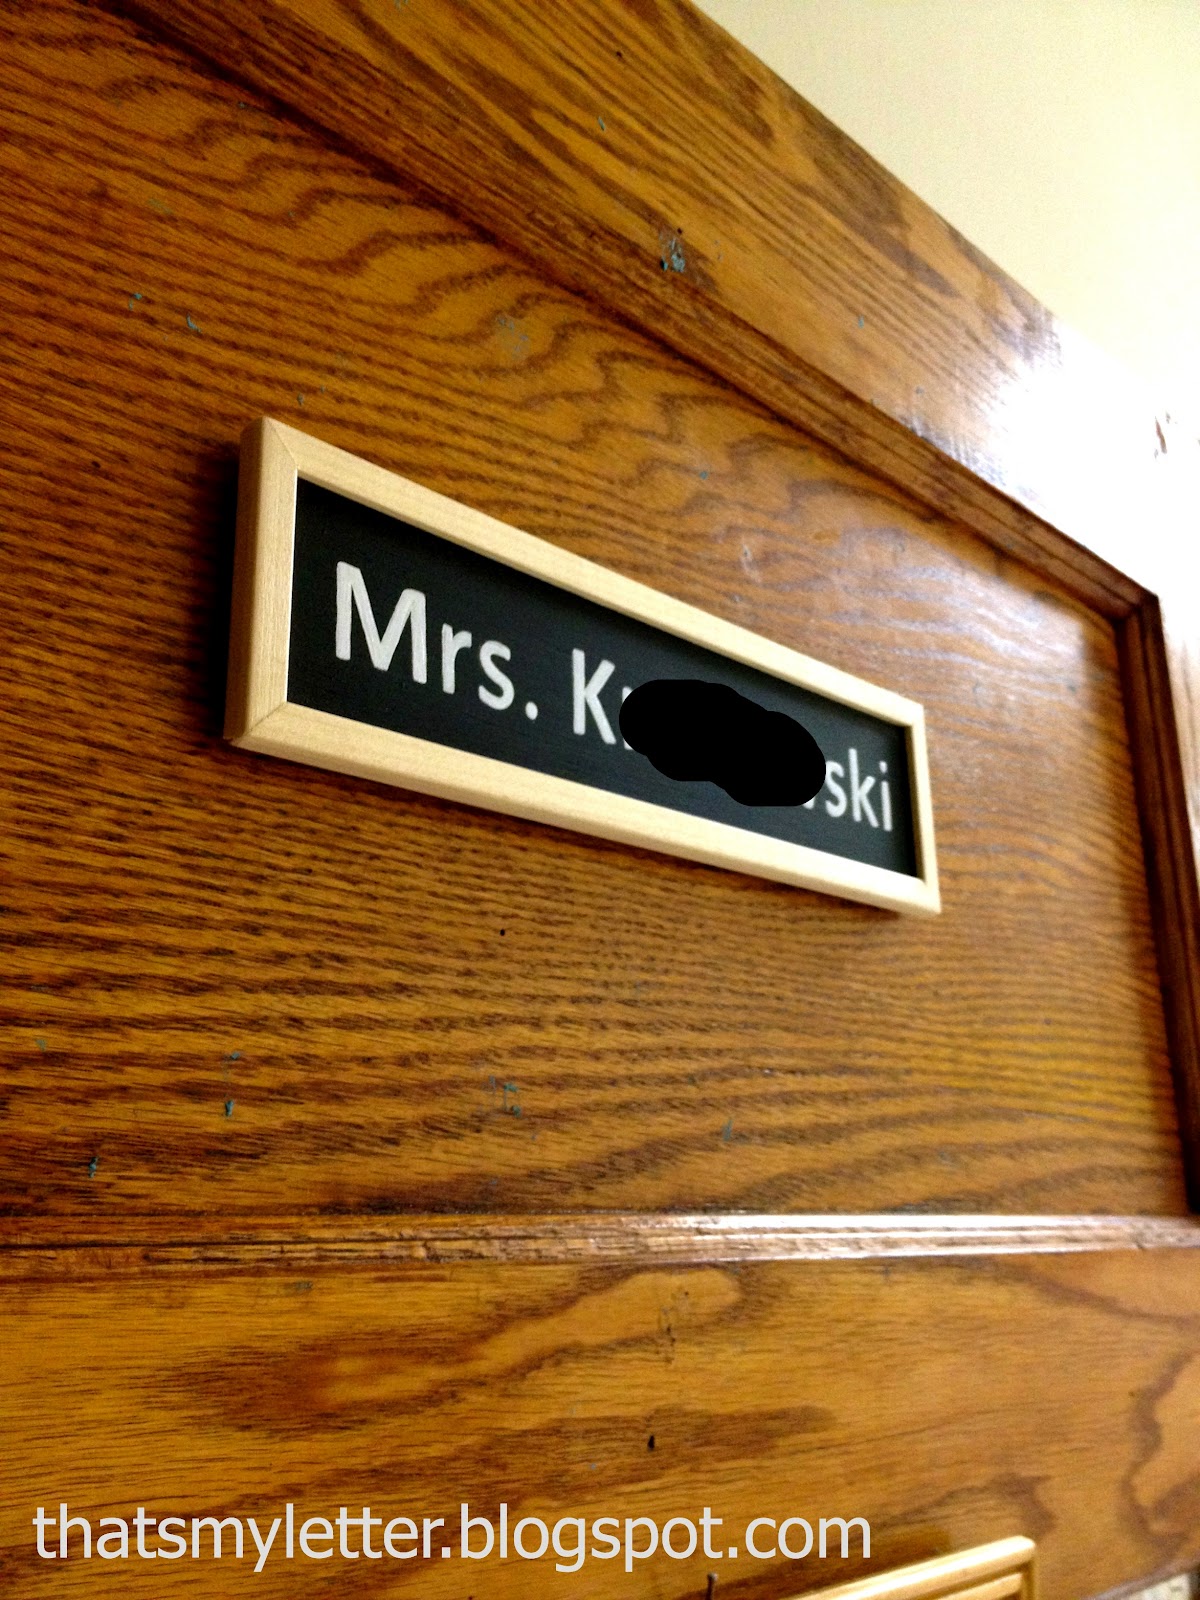
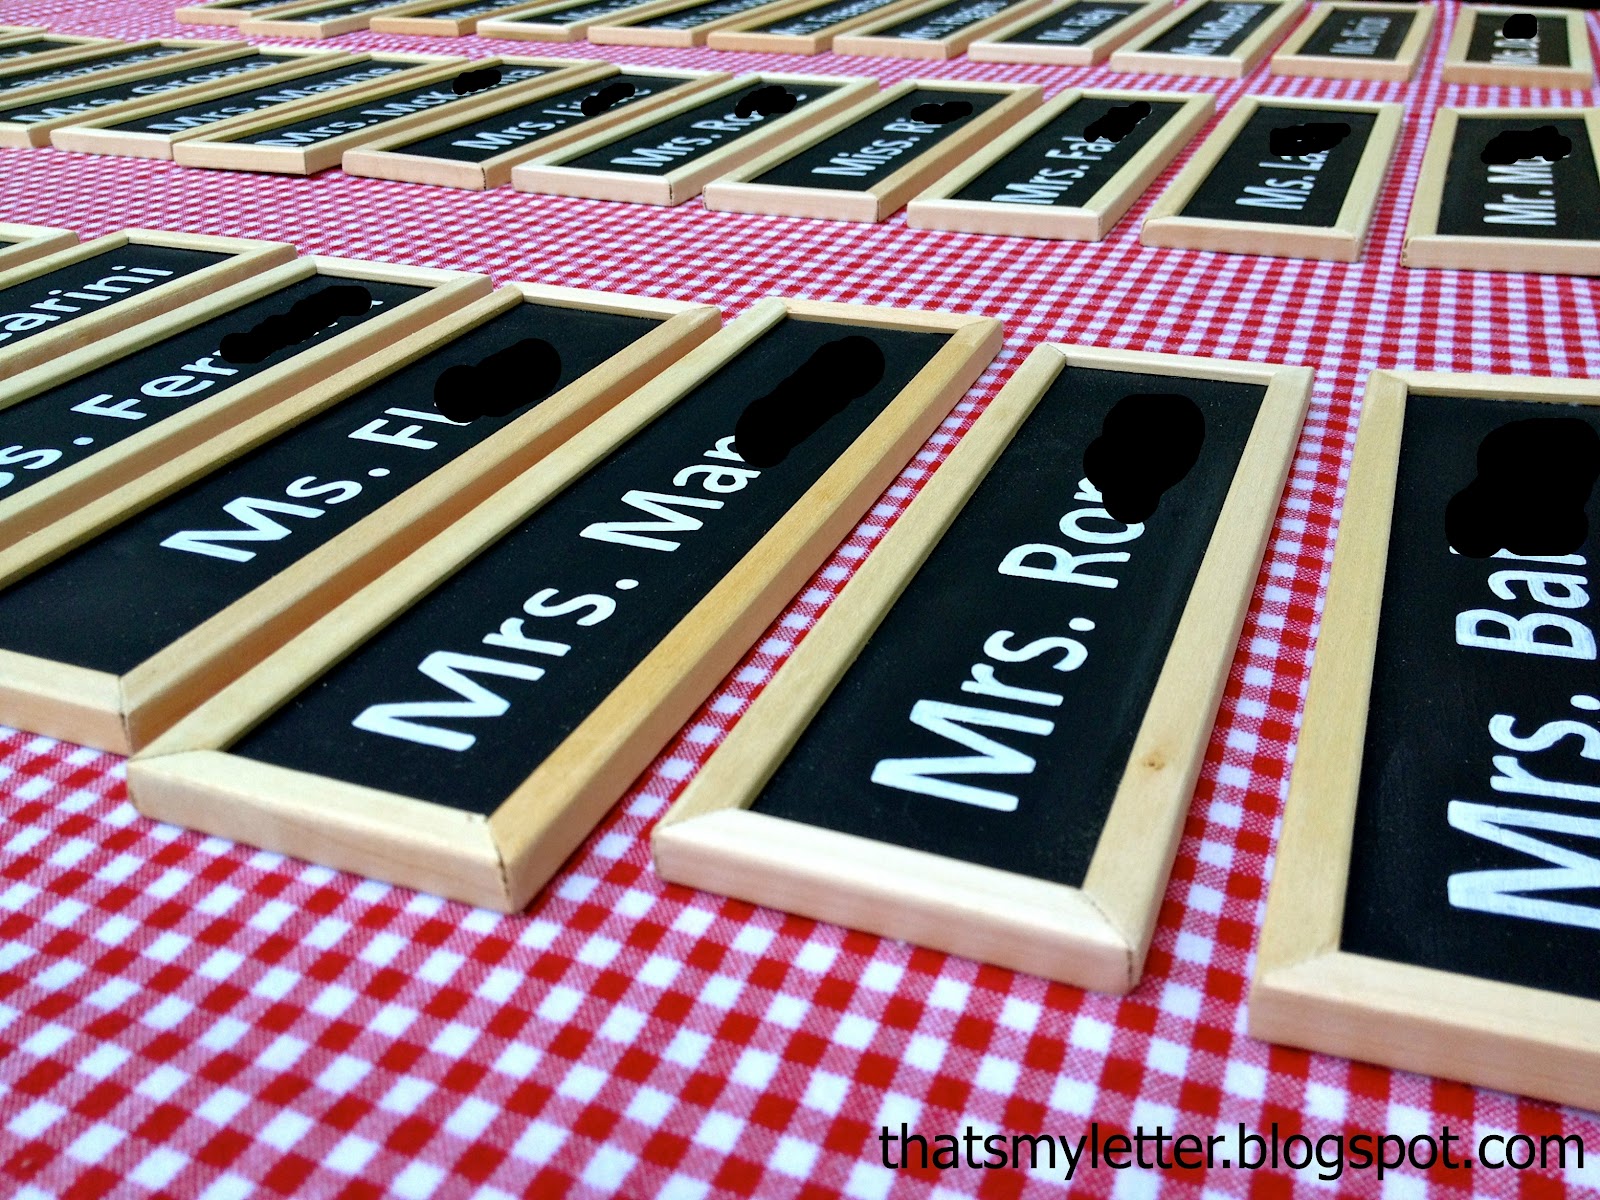
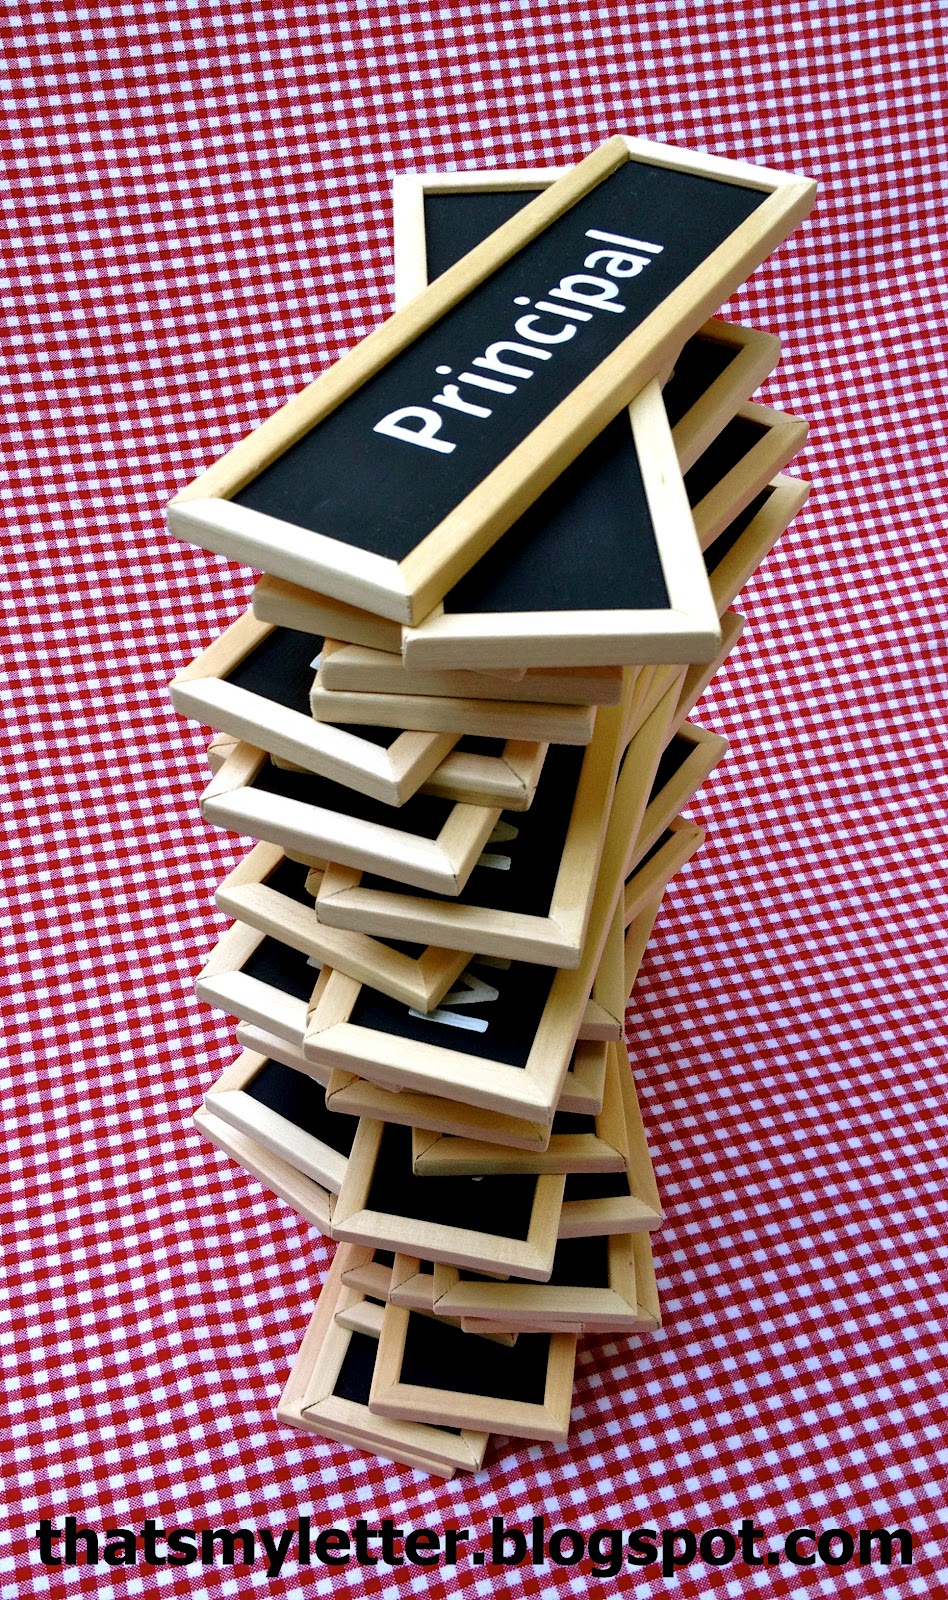
The names have been blacked out for privacy reasons but here they are all lined up like soldiers:
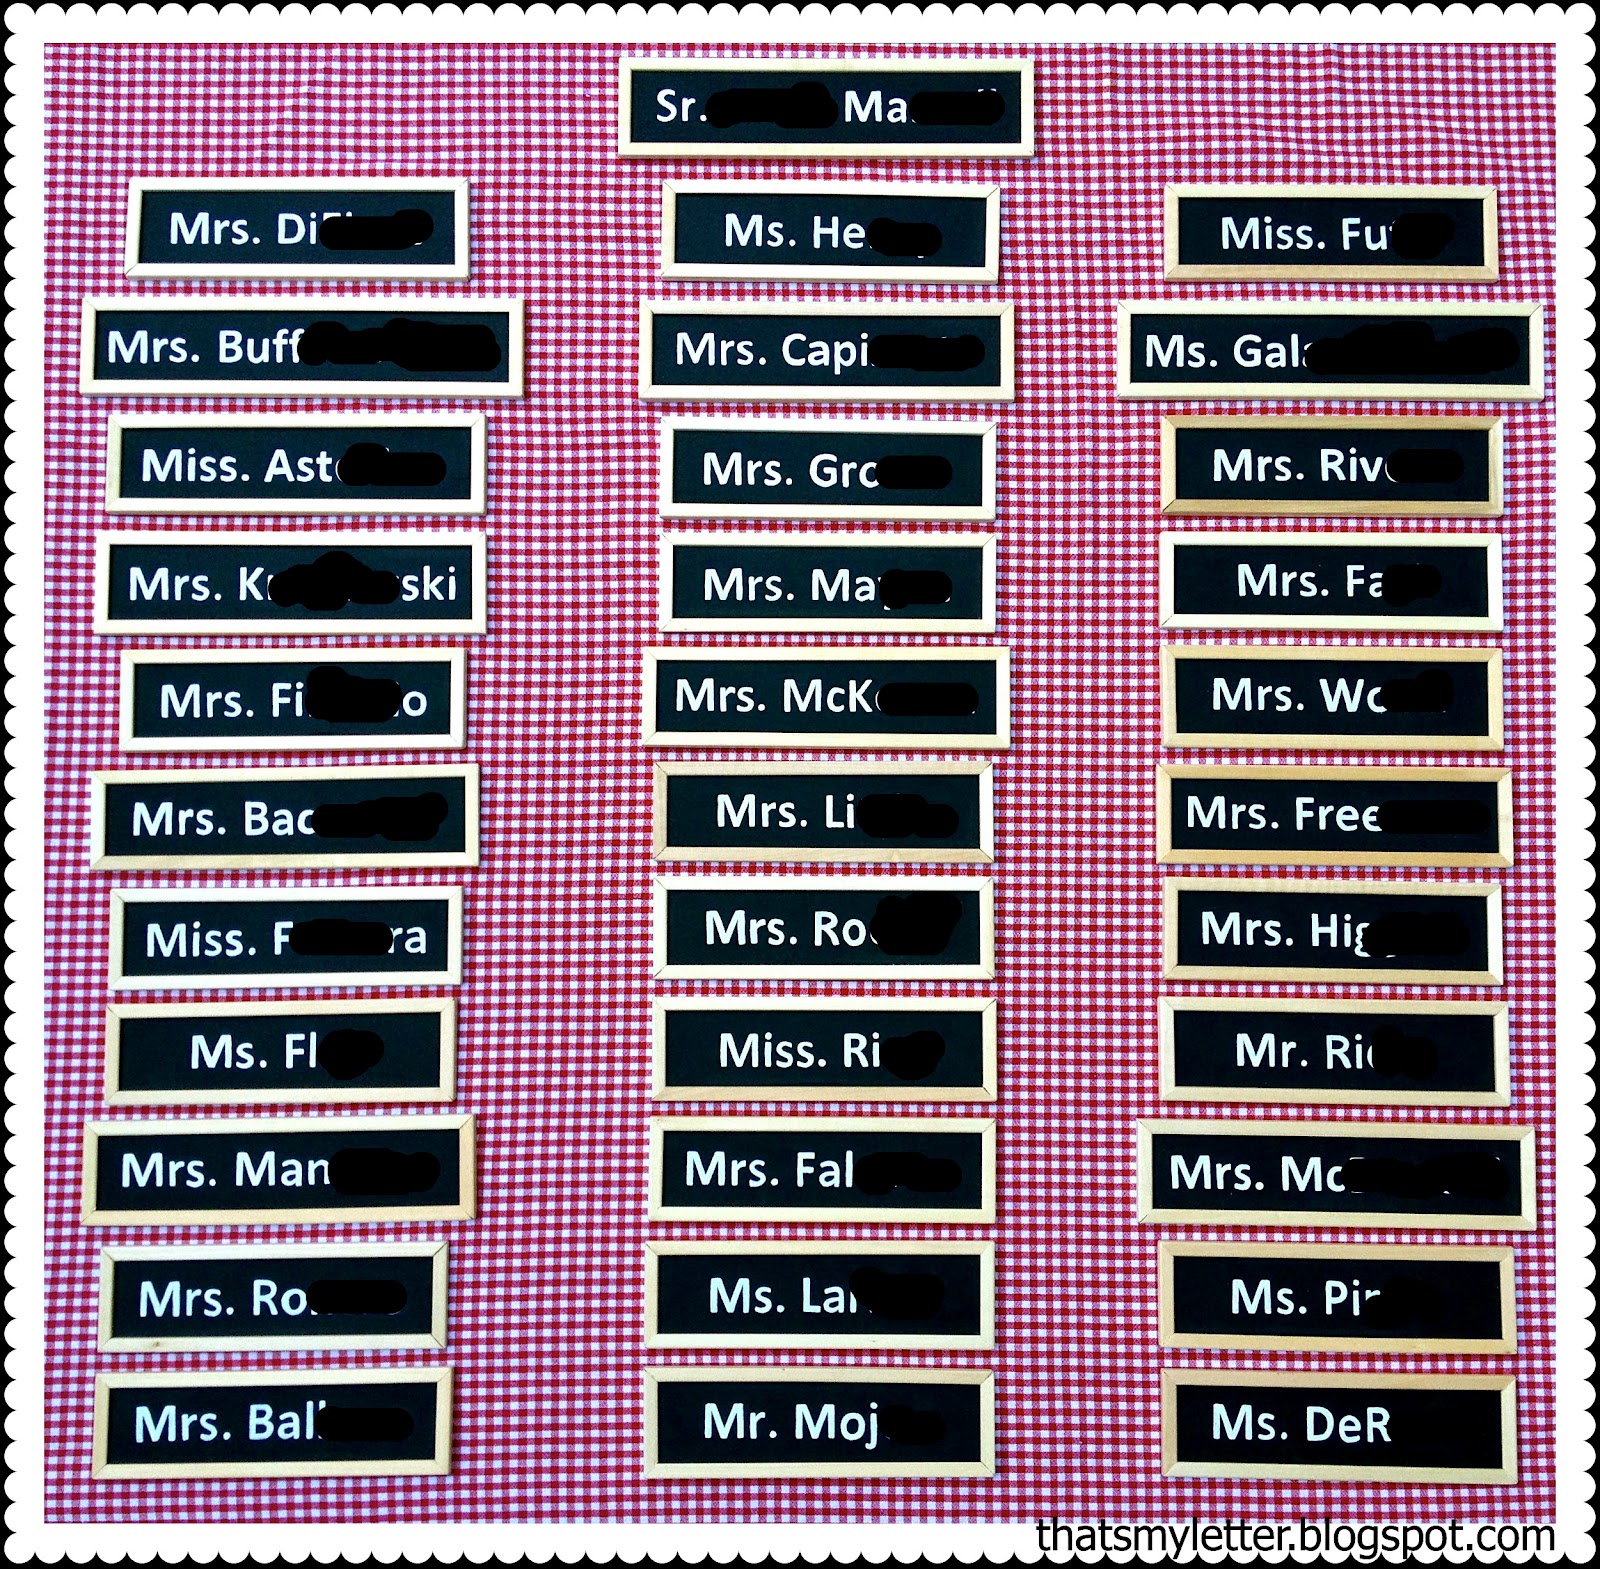
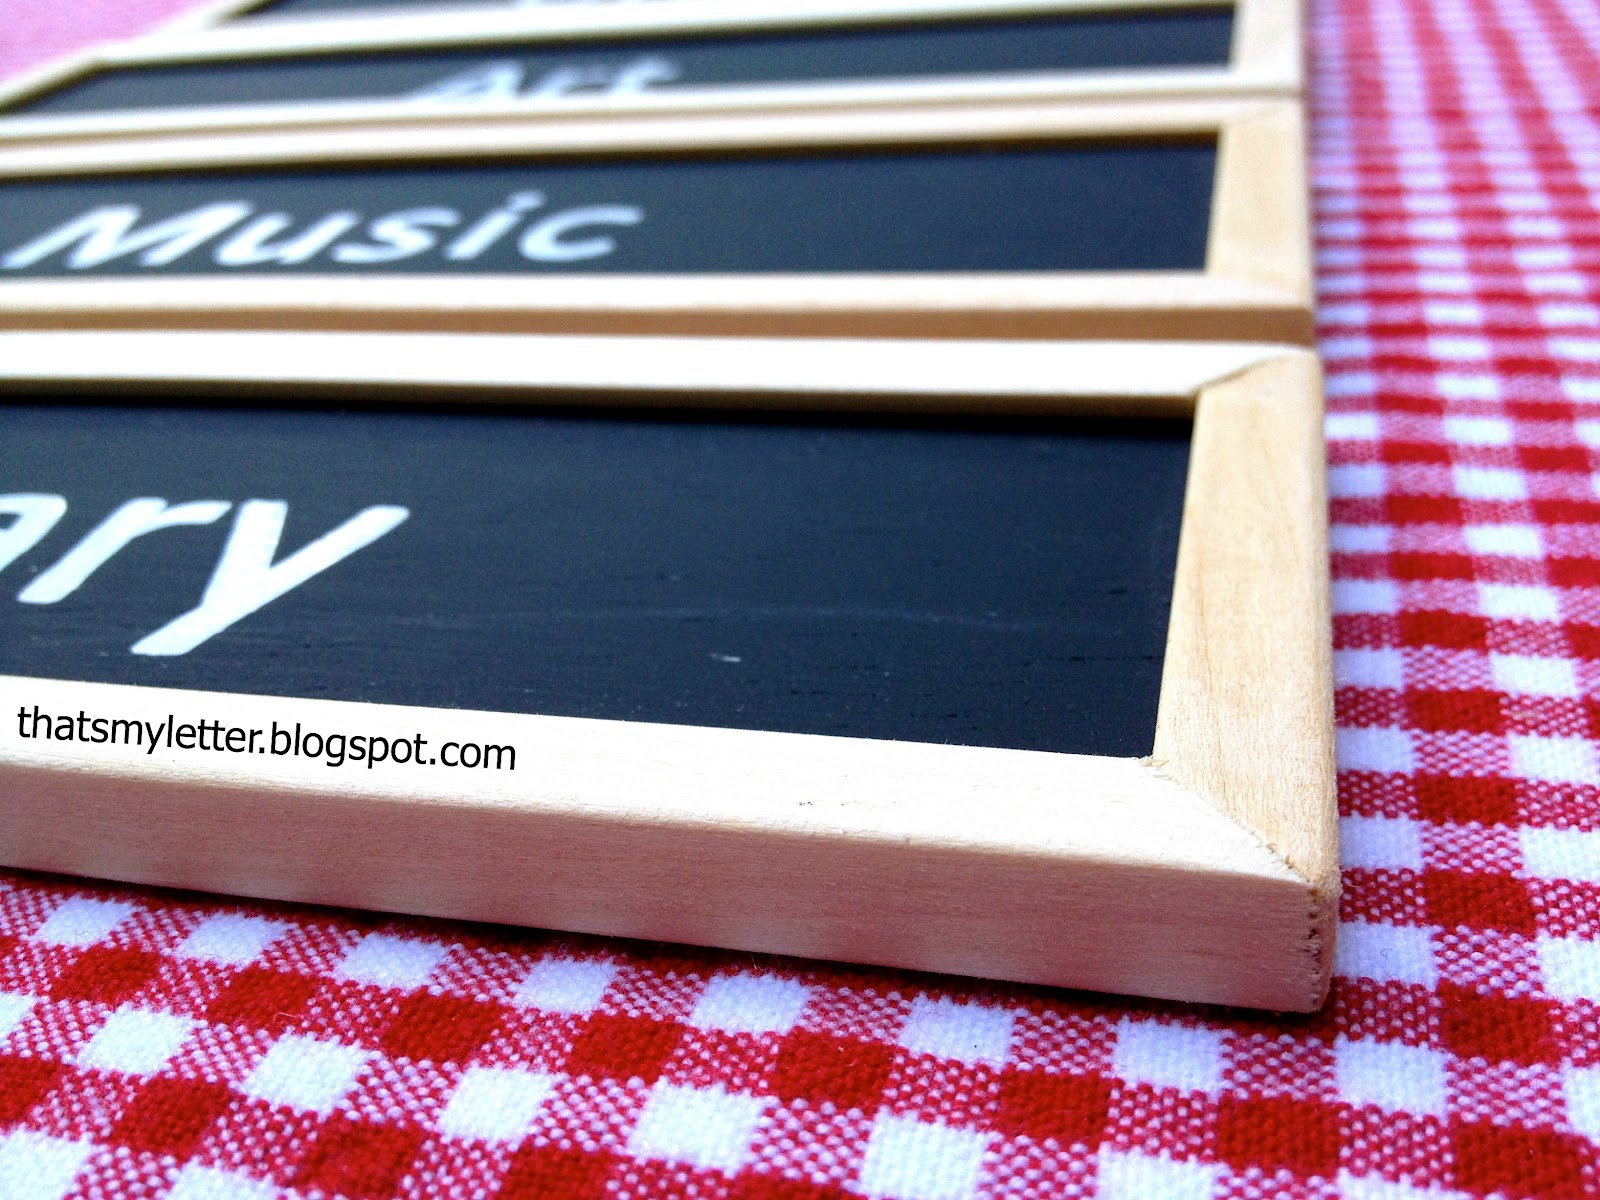
I used black chalkboard paint for the background and white high gloss enamel for the lettering then framed out each sign with 3/8″ outside L shape moulding:
Here’s how I made the classroom signs:
 
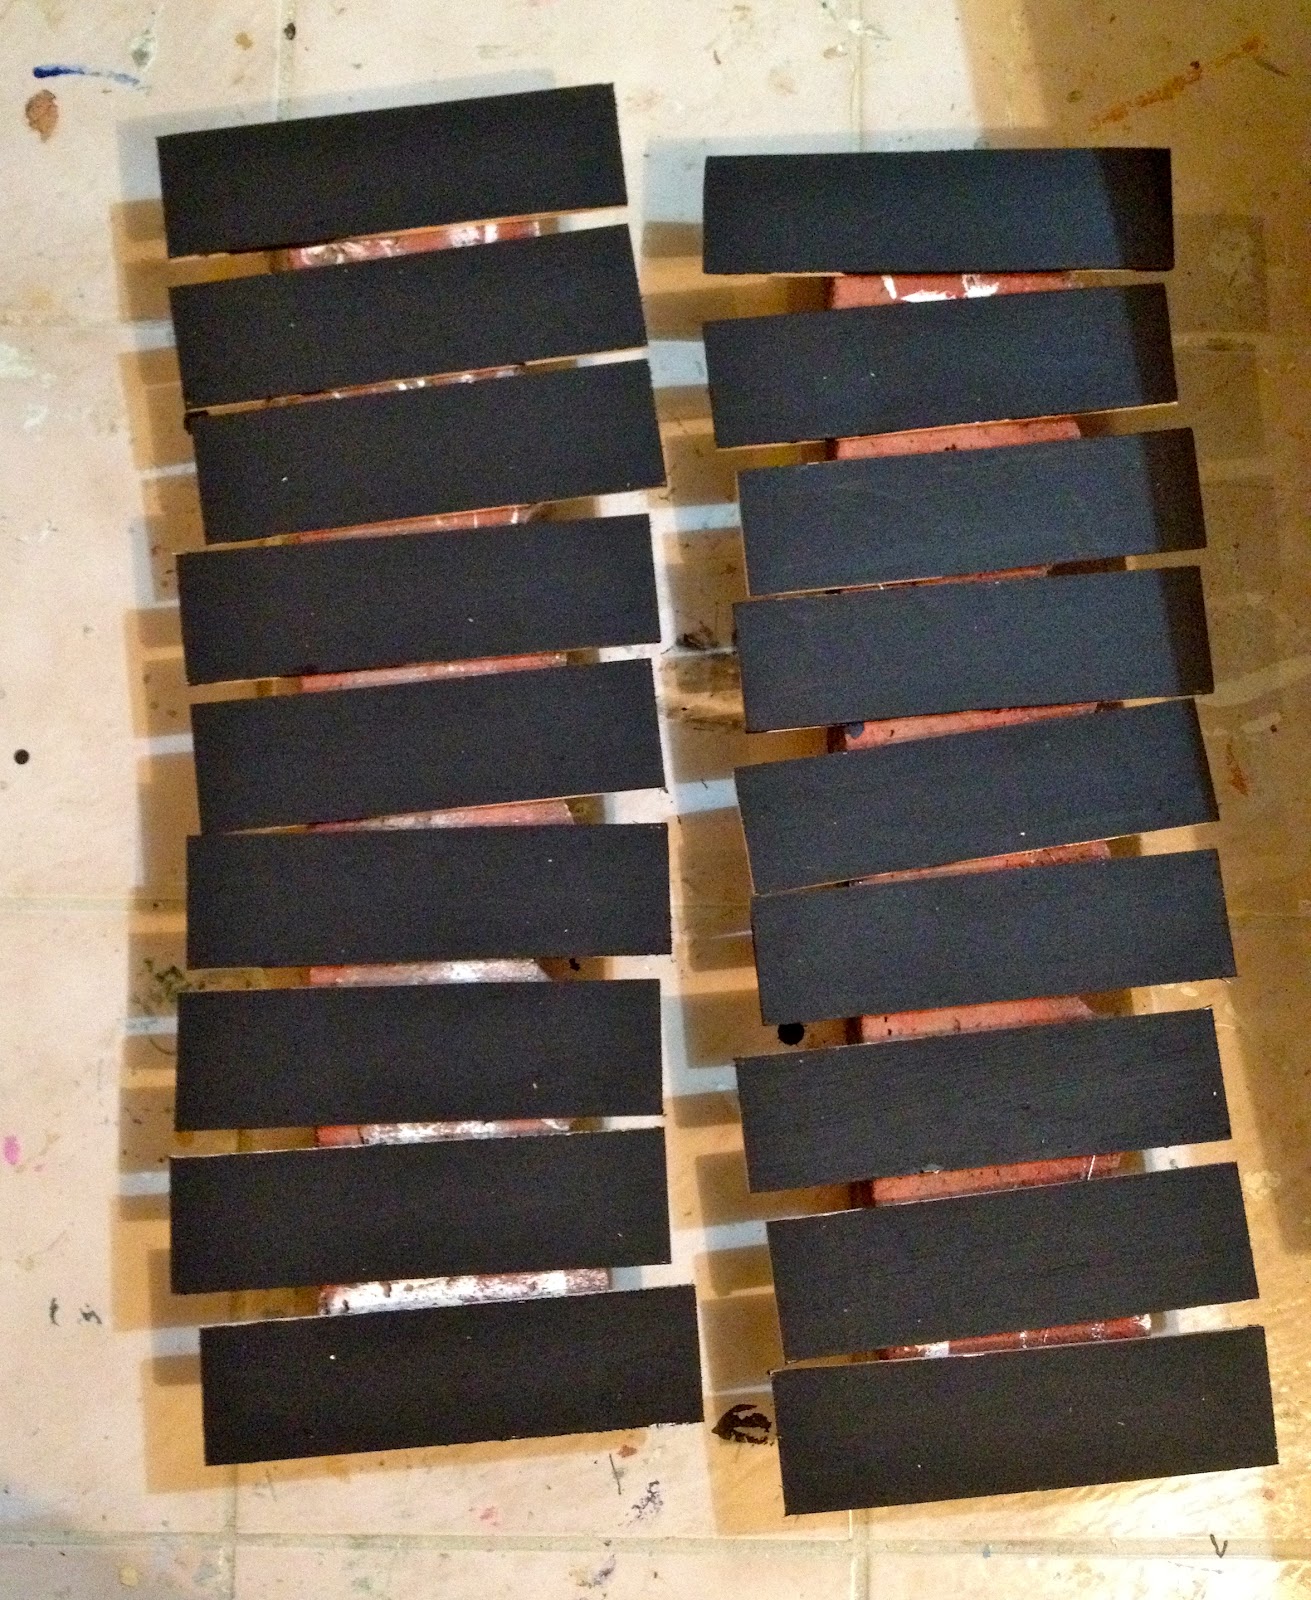
1. Cut 1/4″ plywood 9″ x 2.5″ (9″ is the base length, some names are longer):
2. Paint two coats Rustoleum black chalkboard, sand in between:


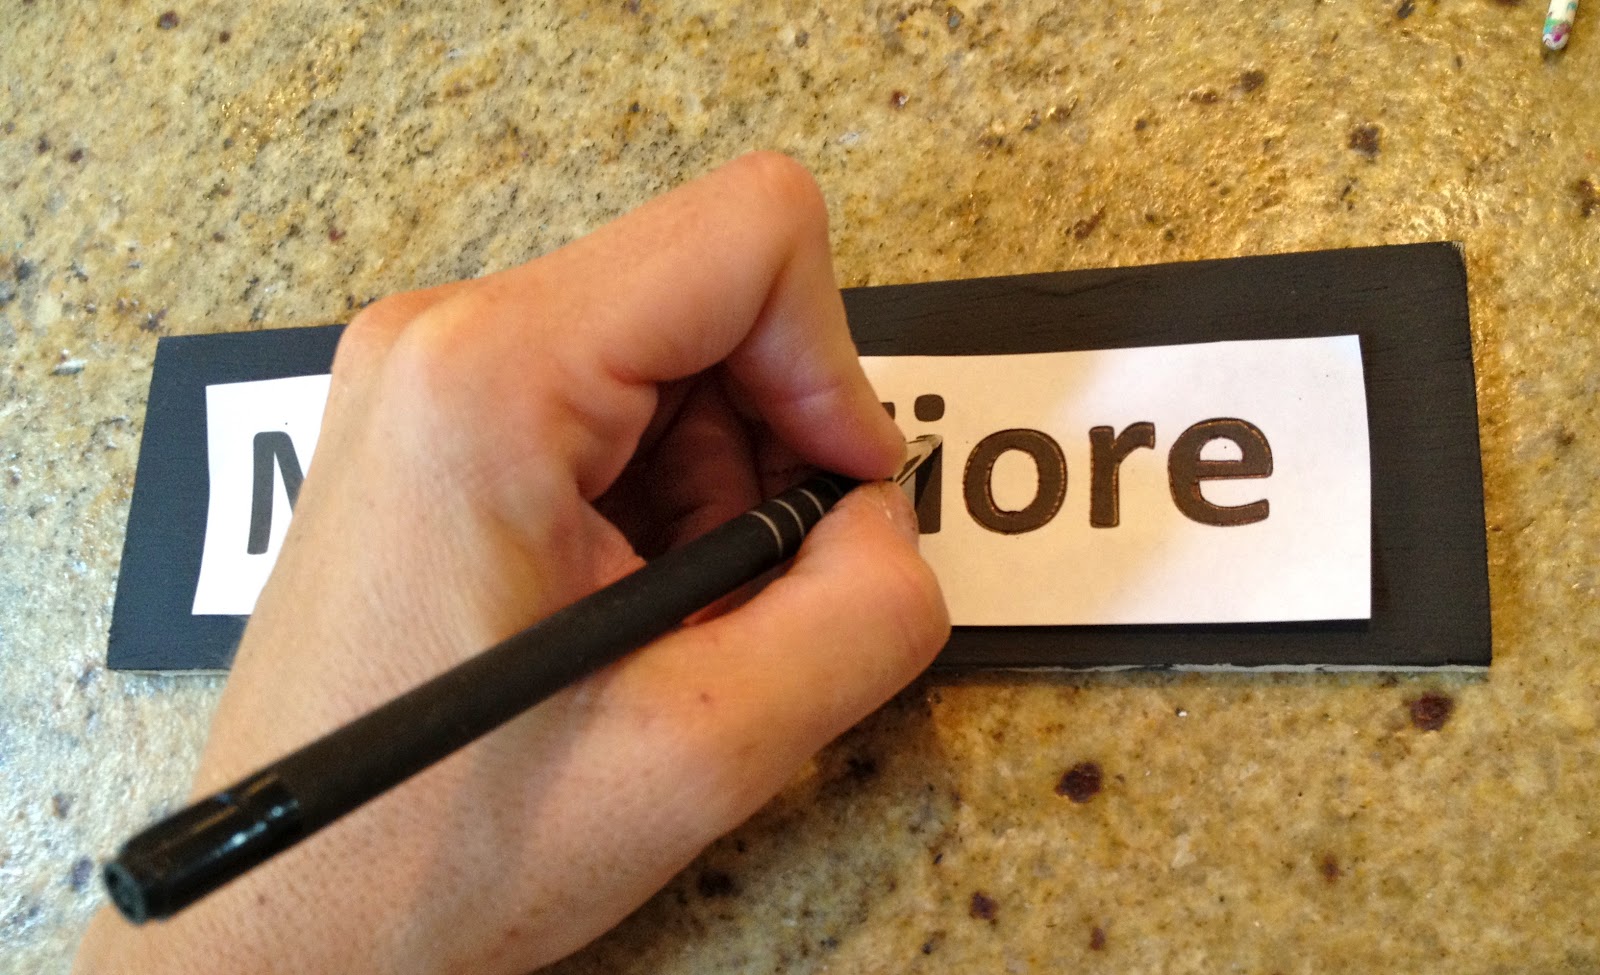
3. Print out teacher names, I used Calibri font at 100 point.
Center name on wood and using ballpoint pen trace outside of letters with heavy pressure:


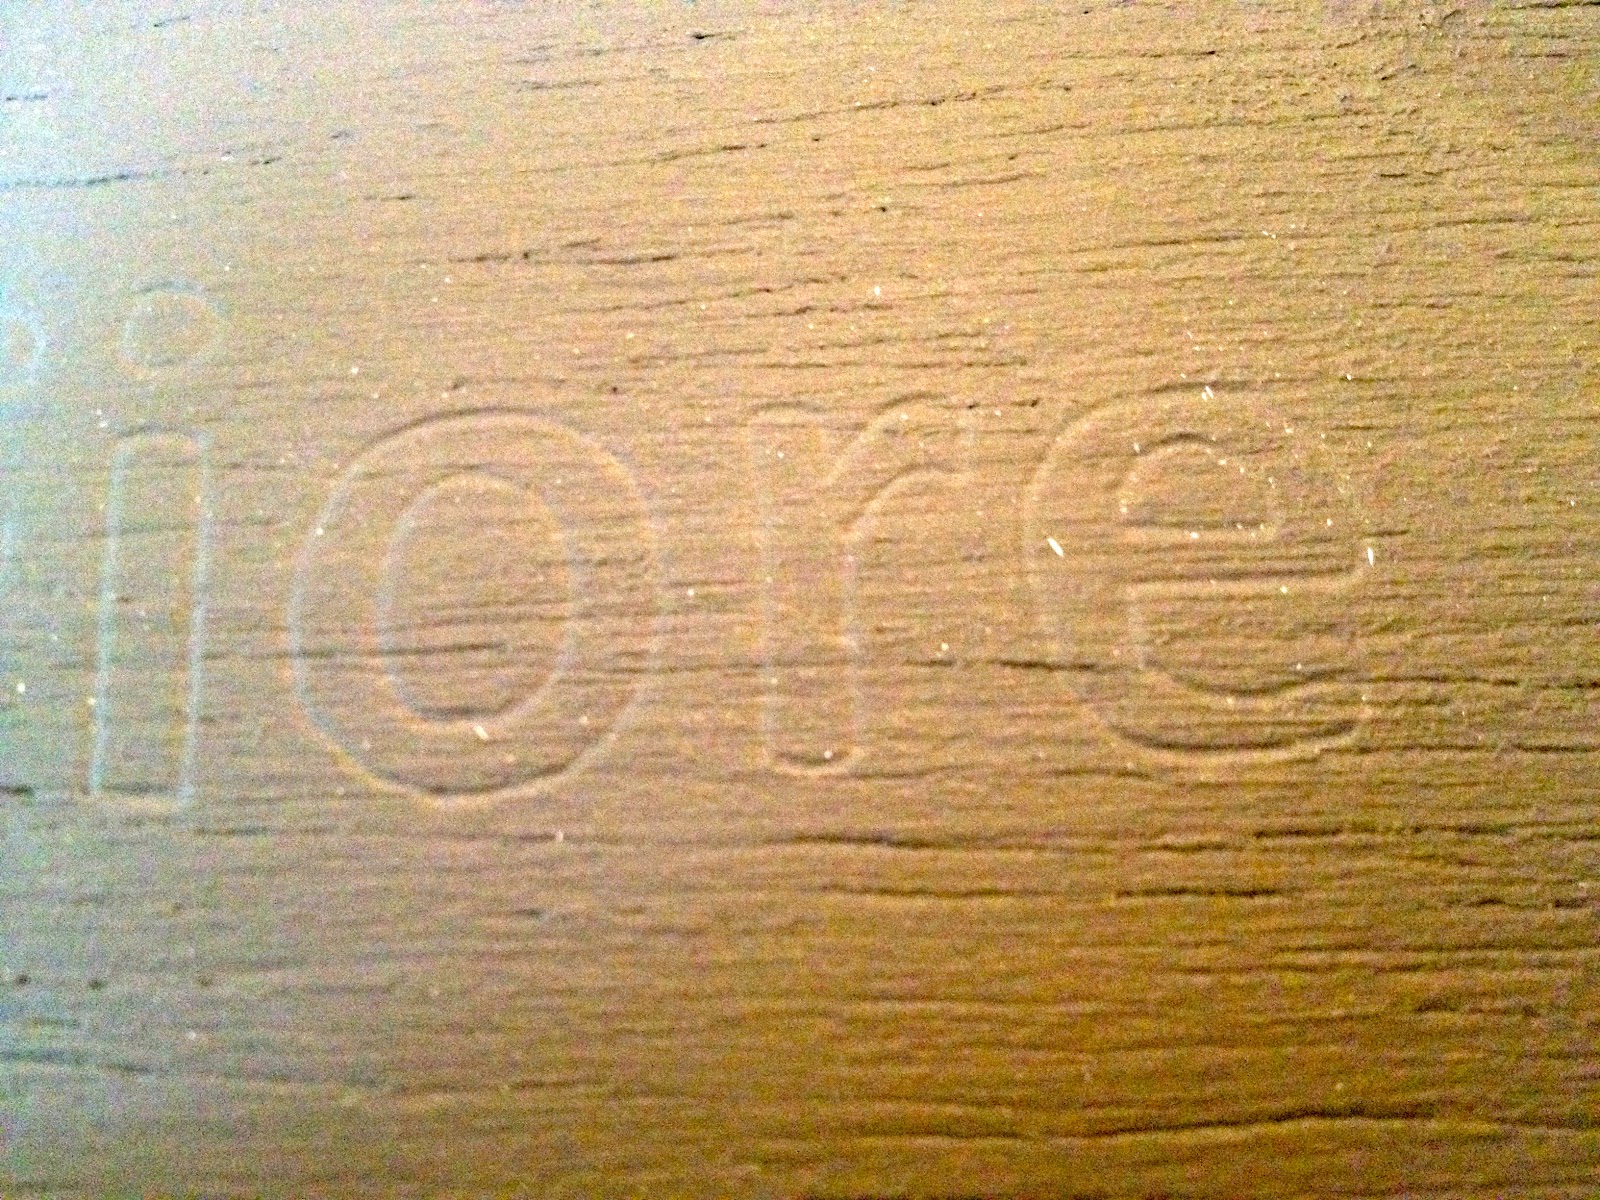
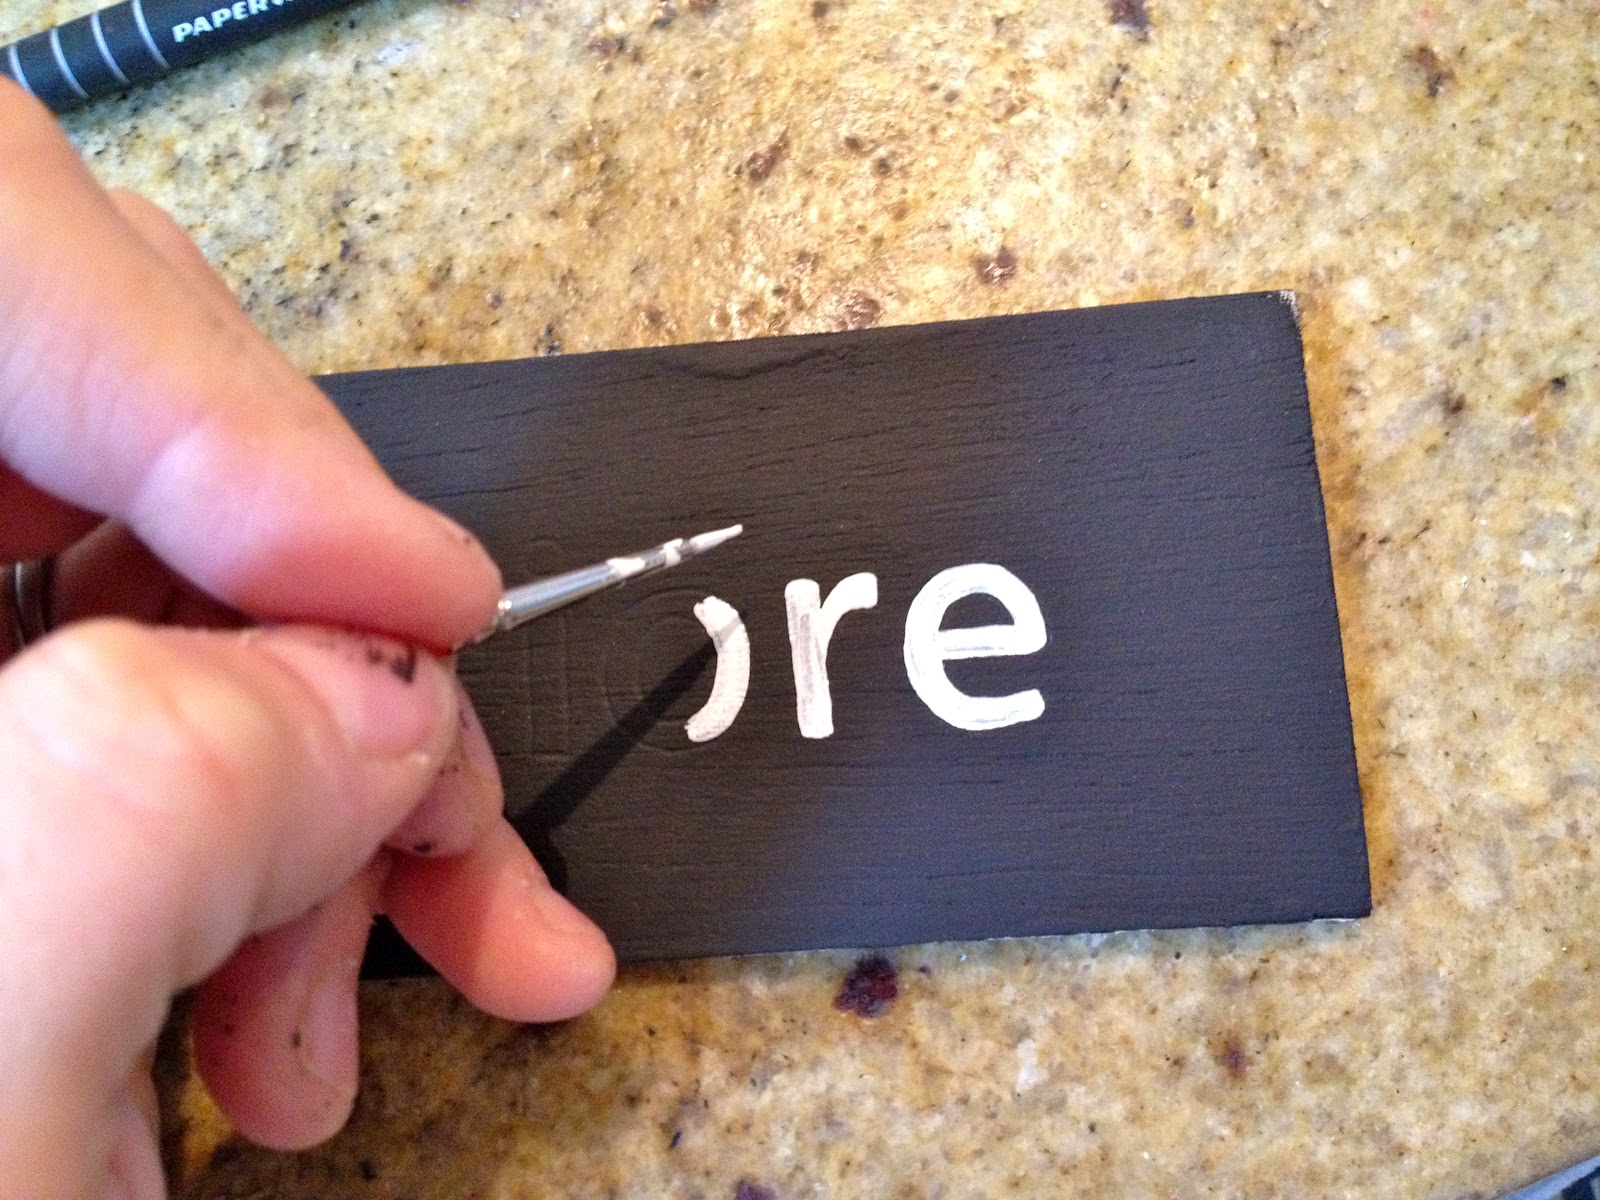
4. Paint on and inside the indent left behind by the pen:
I used Rustoleum high gloss white enamel.


5. Using 3/8″ L shaped outside moulding:
Miter cut pieces to fit all four sides.
Use wood glue in crevice and attach all four sides:

Use rubber bands as clamps to hold moulding in place while glue dries:

6. Once dry remove rubber bands and lightly sand corners:

You may also like...

  • “T” is for Teachers Lounge“T” is for Teachers Lounge
  • “T” is for Teacher Notes“T” is for Teacher Notes
  • “C” is for Chalkboard“C” is for Chalkboard
  • Self Standing Station SignsSelf Standing Station Signs
Share this post:

Filed Under: DIY, PAINT, SCRAP WOOD3 Comments

Reader Interactions

Comments

  1. [email protected] says

    September 19, 2012 at 10:29 PM

    Wow! What a very thoughtful gift(s). These look great!

    Reply
  2. daiseyjayne says

    September 20, 2012 at 9:41 AM

    really cute!

    Reply
  3. Miss F says

    September 27, 2012 at 10:01 PM

    I love those! So cute, I'd love to make some for some fellow teachers!

    -Liz @ srasaysso.blogspot.com

    Reply

Leave a Reply Cancel reply

Your email address will not be published. Required fields are marked *

Primary Sidebar

Hi! I’m Jaime

Jaime Costiglio

Hello!

Thank you for stopping by.
Join me for lots of DIY.

Read more

Get new posts via email

Handbuilt Holiday: Gift Project Plans

handbuilt holiday gift project plans

Collection of DIY gift project plans to build.

The Home Depot Tool Prospective

THD Prospective

Tools to consider for the DIYer.

Archives

The Home Depot Logo
Copyright © 2023 Jaime Costiglio · Custom site by Moonsteam Design

Privacy Policy