• Home
  • Blog
  • About
  • Contact
    • Disclosure
    • Privacy Policy
  • SHOP
  • Widget area for main menu

    • Email
    • Facebook
    • Instagram
    • Pinterest
    • Twitter
    • YouTube
  • Skip to primary navigation
  • Skip to main content
  • Skip to primary sidebar

Jaime Costiglio

build - paint - sew

  • BUILD
    • BEDS
    • BENCHES
    • DESKS
    • DRESSERS
    • GAMES & TOYS
    • SCRAP WOOD
    • SHELVES
    • STORAGE
    • TABLES
  • TOOLS
  • PAINT
    • CRAFTS
    • FURNITURE
    • HOME DECOR
  • SEW
    • GIFTS
    • HOME DECOR
    • POUCHES
  • HANDBUILT HOLIDAY
    • 2021
    • 2019
    • 2018
    • 2017
    • 2016
    • 2015
    • 2014
    • 2013
  • GIFTS
    • BABIES
    • KIDS
    • FOR HER
    • FOR HIM
    • TEACHERS
    • WEDDINGS
  • SEASONAL
    • 4TH OF JULY
    • FALL
    • HALLOWEEN
    • CHRISTMAS
    • SUMMER
    • SPRING
    • ST. PATRICK’S DAY
    • THANKSGIVING
    • VALENTINE’S DAY
    • WINTER
  • SALTBOX PROJECT
    • BATHROOMS
    • DINING ROOM
    • EXTERIOR
    • FAMILY ROOM
    • FOYER / MUDROOM
    • KIDS BEDROOMS
    • KITCHEN
    • LIVING ROOM
    • MASTER BEDROOM
    • PLAYROOM
  • SCROLL SAW

“S” is for Swingset Flags

June 20, 2012

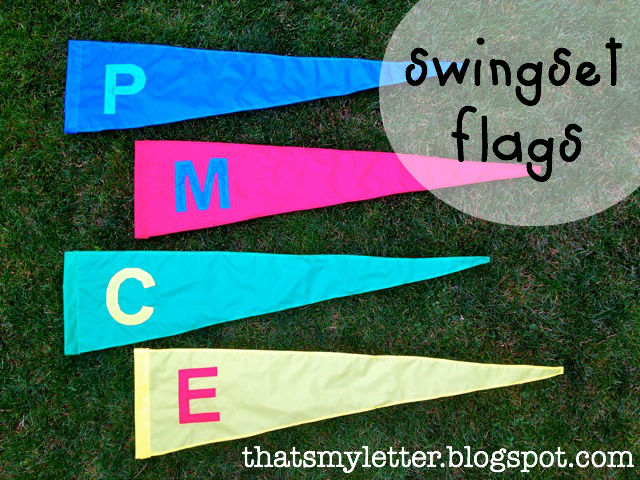
Sew: monogrammed swingset flags
Four nylon swingset flags, a special request from a friend to replace her old, worn flags.
** Please note in all the pictures below I attached the flags to our swingset, this is not their permanent home and I’m sure they have a much better position on my friend’s swingset.**

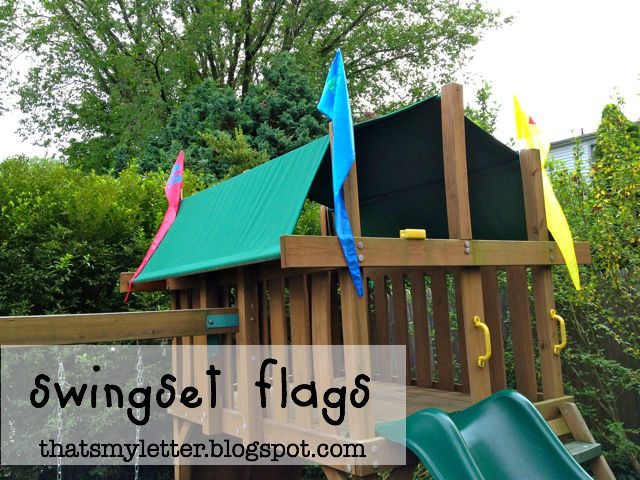
Made from rip stop nylon, these flags should be able to handle all sorts of weather.

The old flags were worn, tattered and faded:

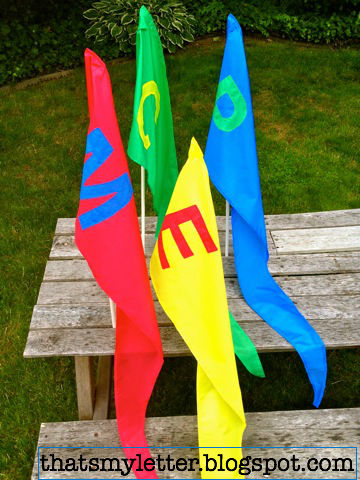
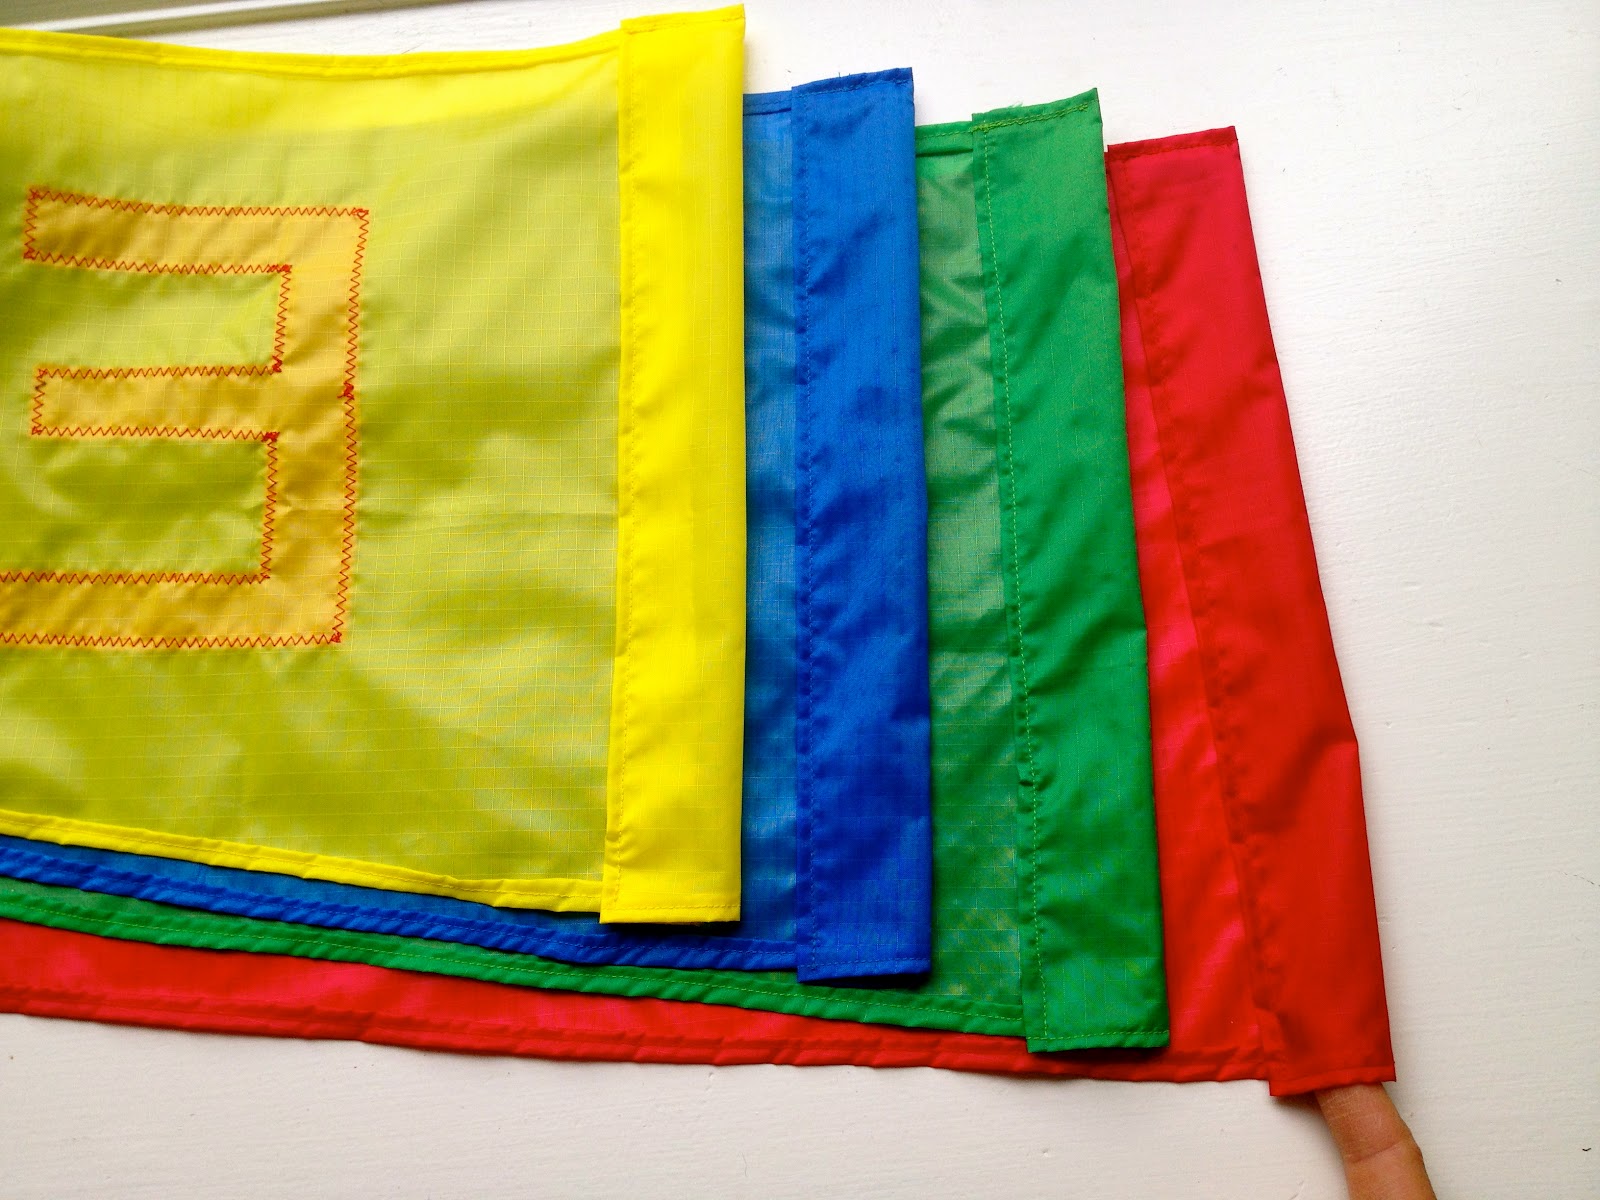
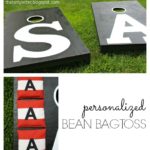
And the new flags now have the kids first initial too!

Here’s how I made the swingset flags:

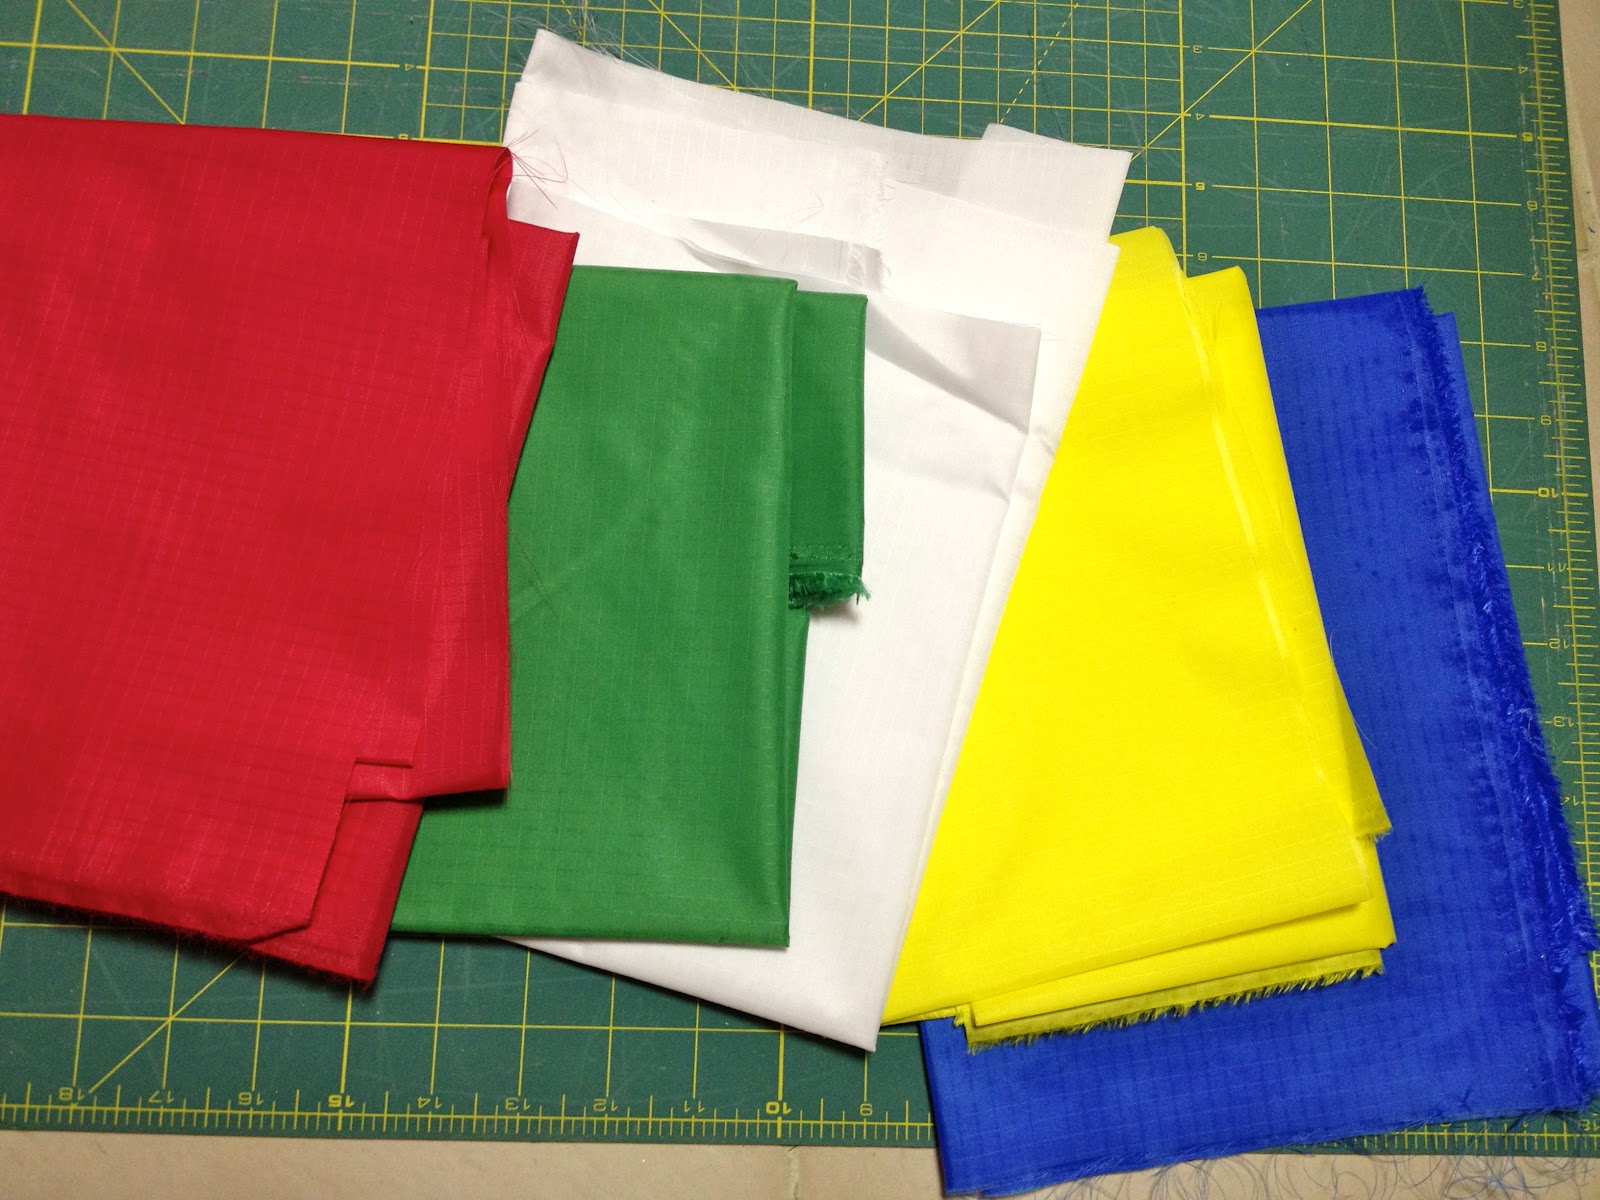
1. Purchase multiple colors of rip stop nylon:
2. Using the old flag as a pattern, layer up the nylon and pin the old flag on top:

3. Cut out around the old flag leaving a 3/8″ seam allowance:

4. Print out letters to size.
Pin letter onto nylon scrap:

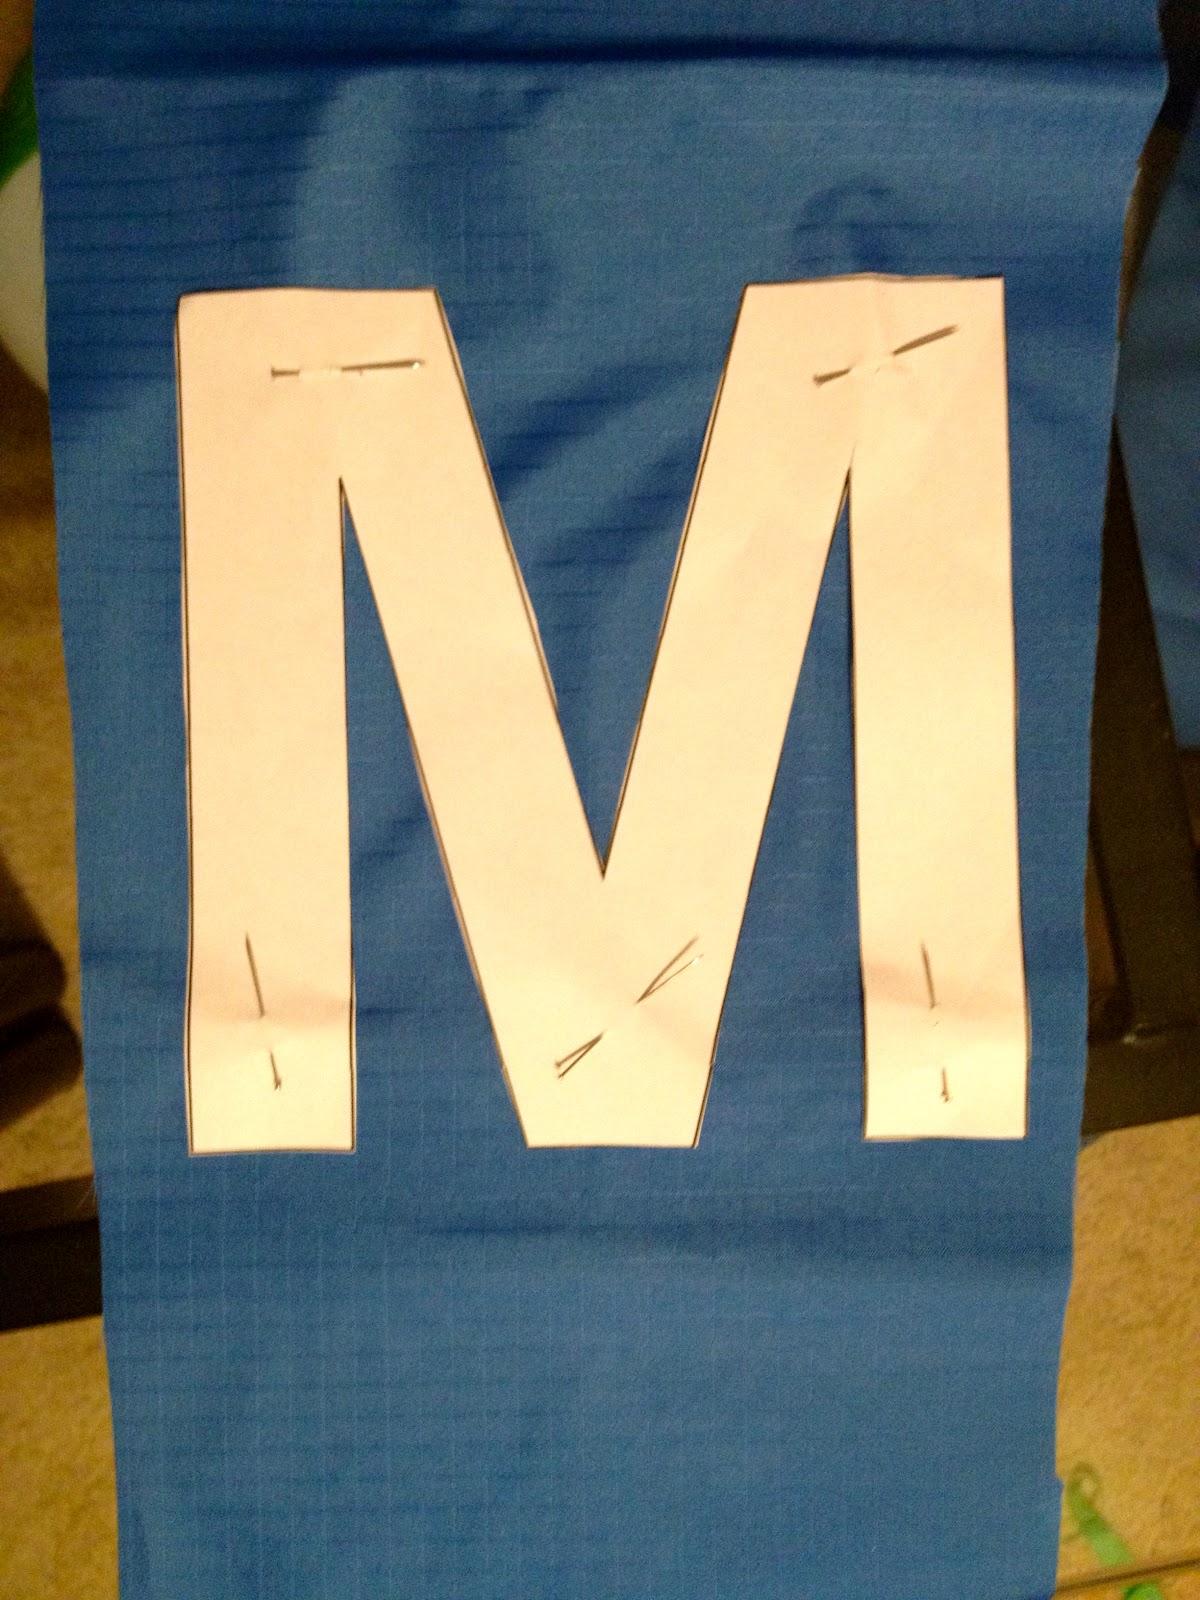
5. Cut around letter, leaving 1/4″ seam allowance:

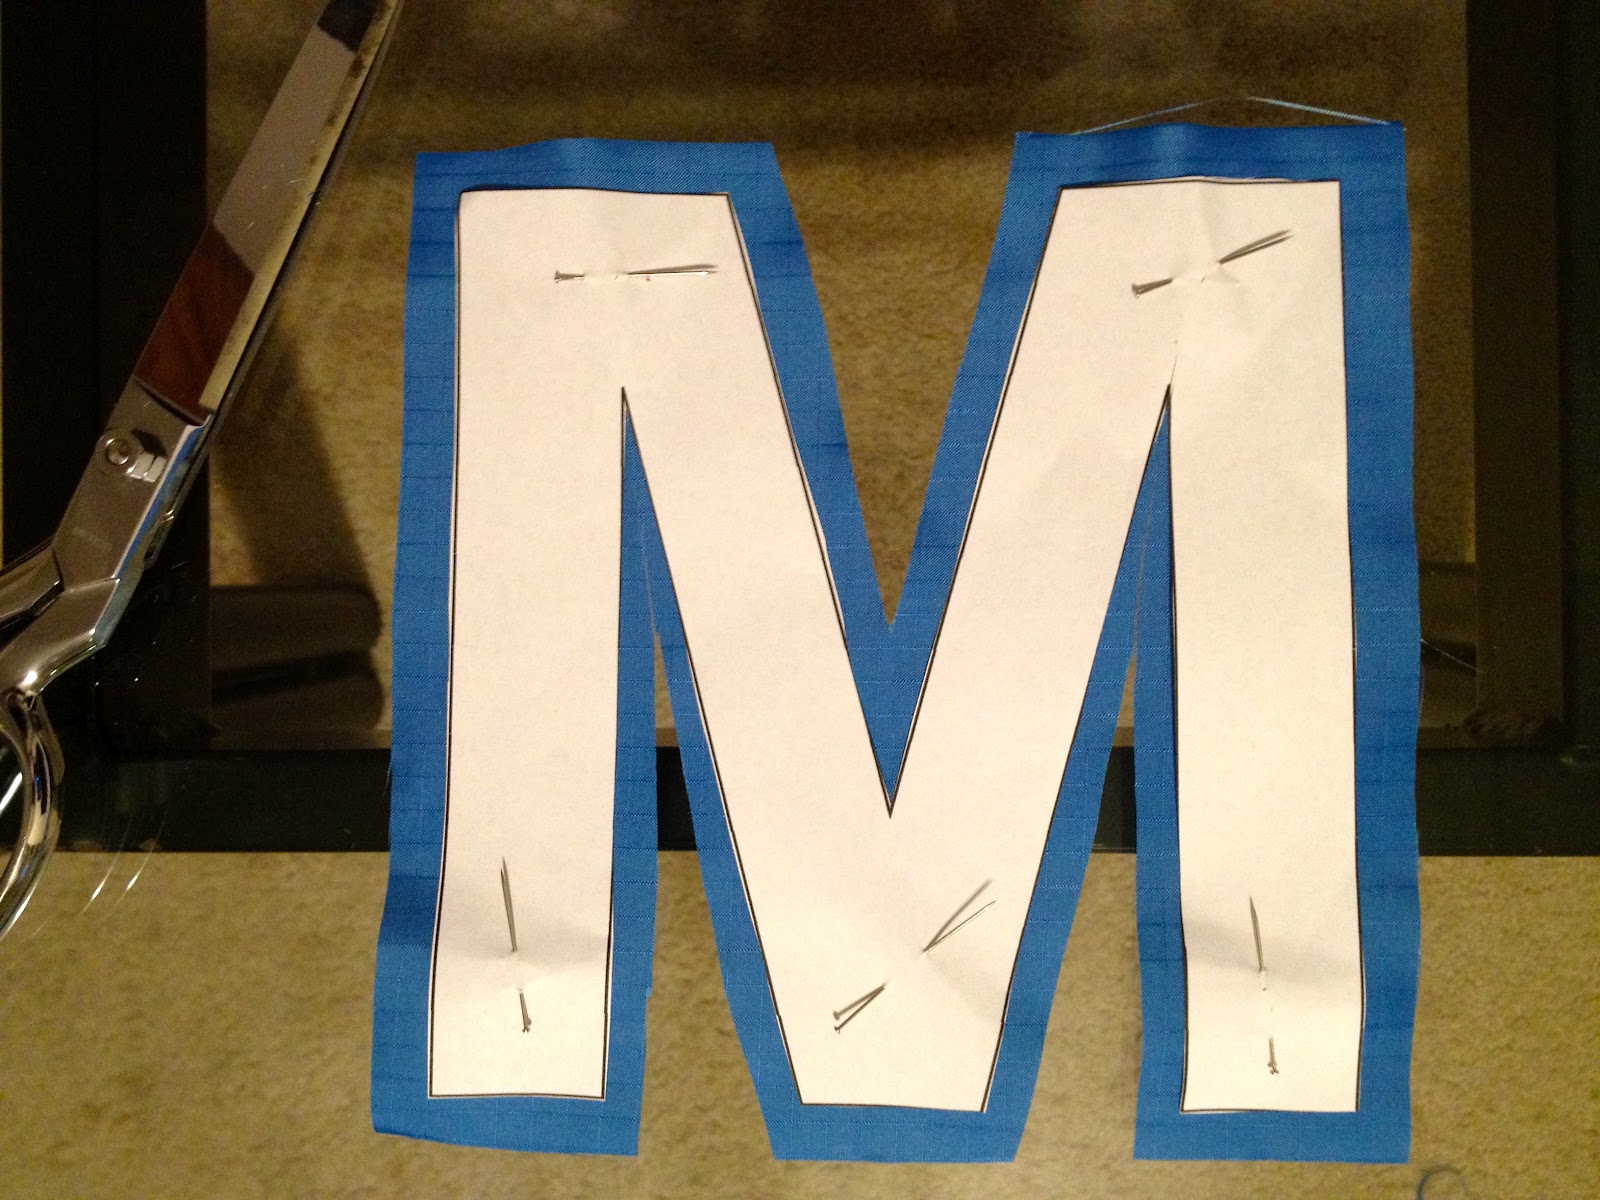
6. Pin nylon letter into place and turn under 1/4″ before zig zag stitching into place:

7. Turn under raw edge twice all around length of flag and straight stitch:

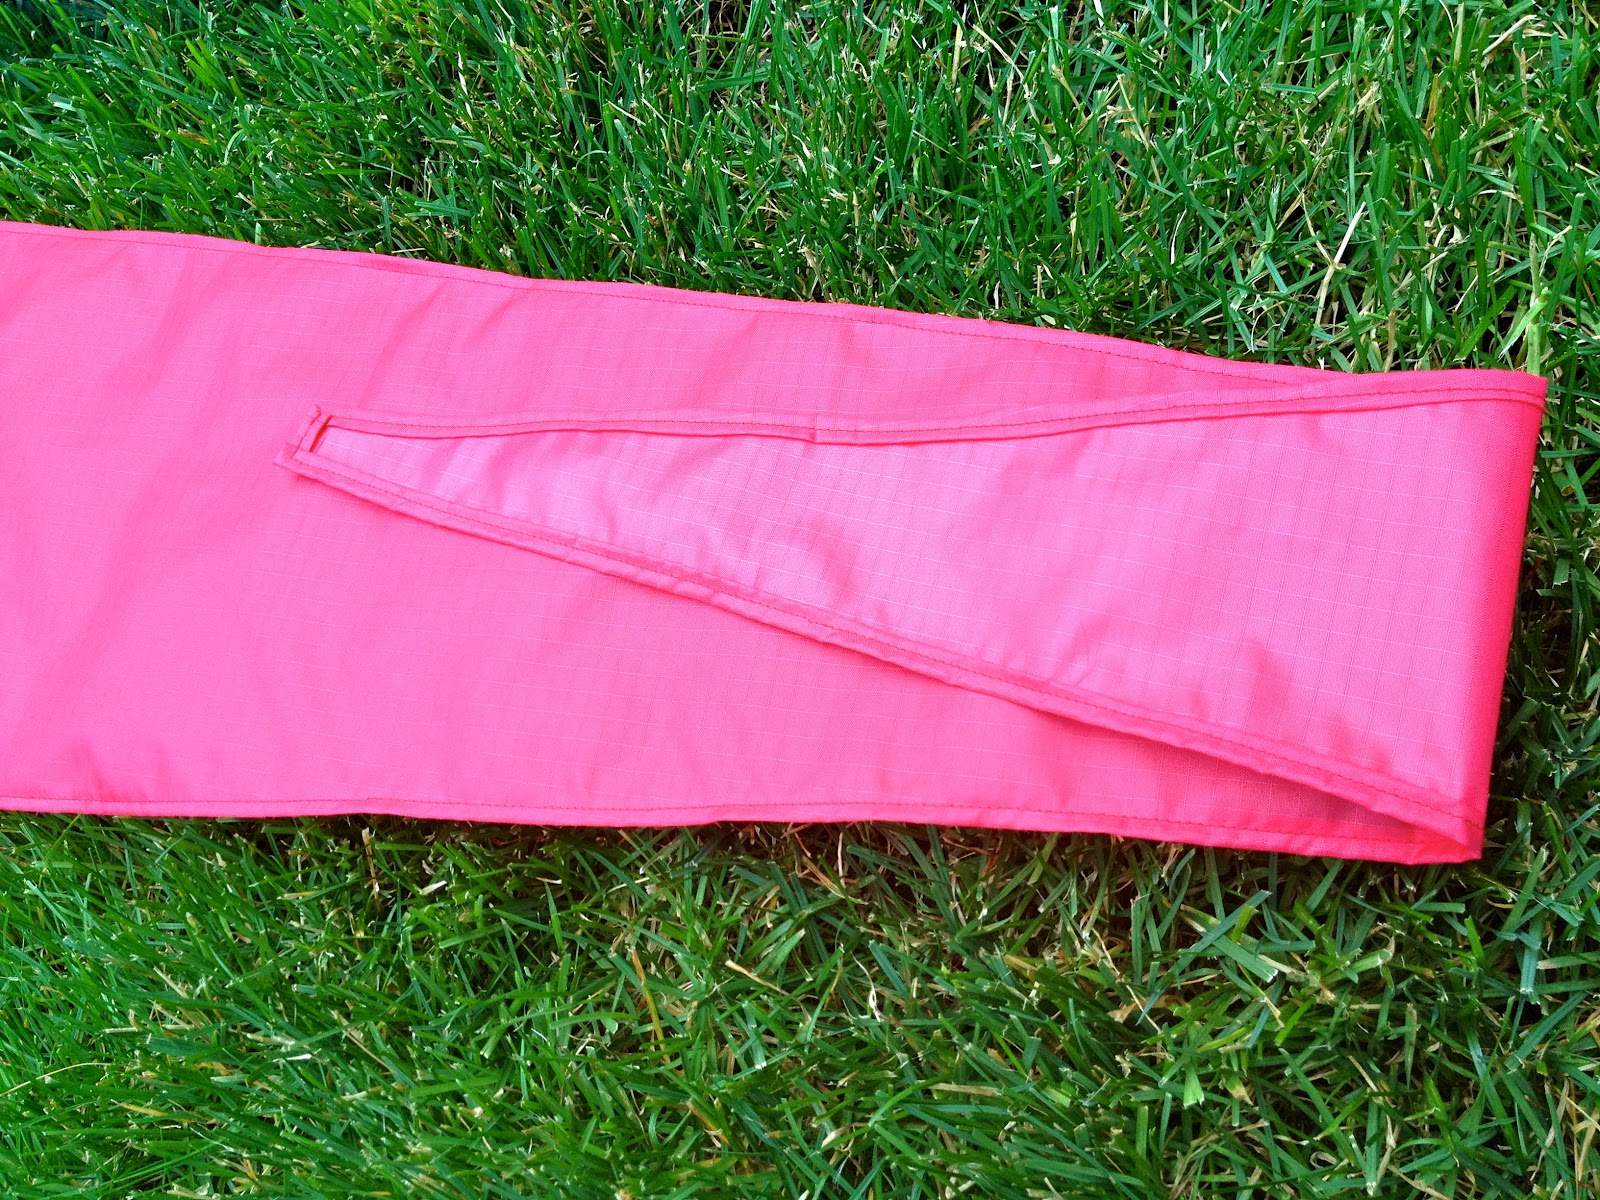
8. Make sleeve for post using old flag as a pattern, turn under raw edge then straight stitch.
Be sure to stitch top closed and leave bottom open:

Ready to decorate your swingset!


You may also like...

  • Cross Stitch Monogram Ornament PlacecardCross Stitch Monogram Ornament Placecard
  • DIY Personalized Beanbag TossDIY Personalized Beanbag Toss
  • DIY Boxy Pencil PouchesDIY Boxy Pencil Pouches
  • “D” is for Dress #6“D” is for Dress #6
Share this post:

Filed Under: CRAFTS, DIY, HOME DECOR, SEW, SEWING2 Comments

Reader Interactions

Comments

  1. Suzanne@Meridian Road says

    June 21, 2012 at 3:45 AM

    Cute! I'm sure they look much better than the old one's did on their swing set.

    Reply
  2. Regina F. Yossyna says

    March 14, 2013 at 9:08 AM

    I love ur blog sista… soooo… amazing… ^^,

    Reply

Leave a Reply Cancel reply

Your email address will not be published. Required fields are marked *

Primary Sidebar

Hi! I’m Jaime

Jaime Costiglio

Hello!

Thank you for stopping by.
Join me for lots of DIY.

Read more

Get new posts via email

Handbuilt Holiday: Gift Project Plans

handbuilt holiday gift project plans

Collection of DIY gift project plans to build.

The Home Depot Tool Prospective

THD Prospective

Tools to consider for the DIYer.

Archives

The Home Depot Logo
Copyright © 2026 Jaime Costiglio · Custom site by Moonsteam Design

Privacy Policy