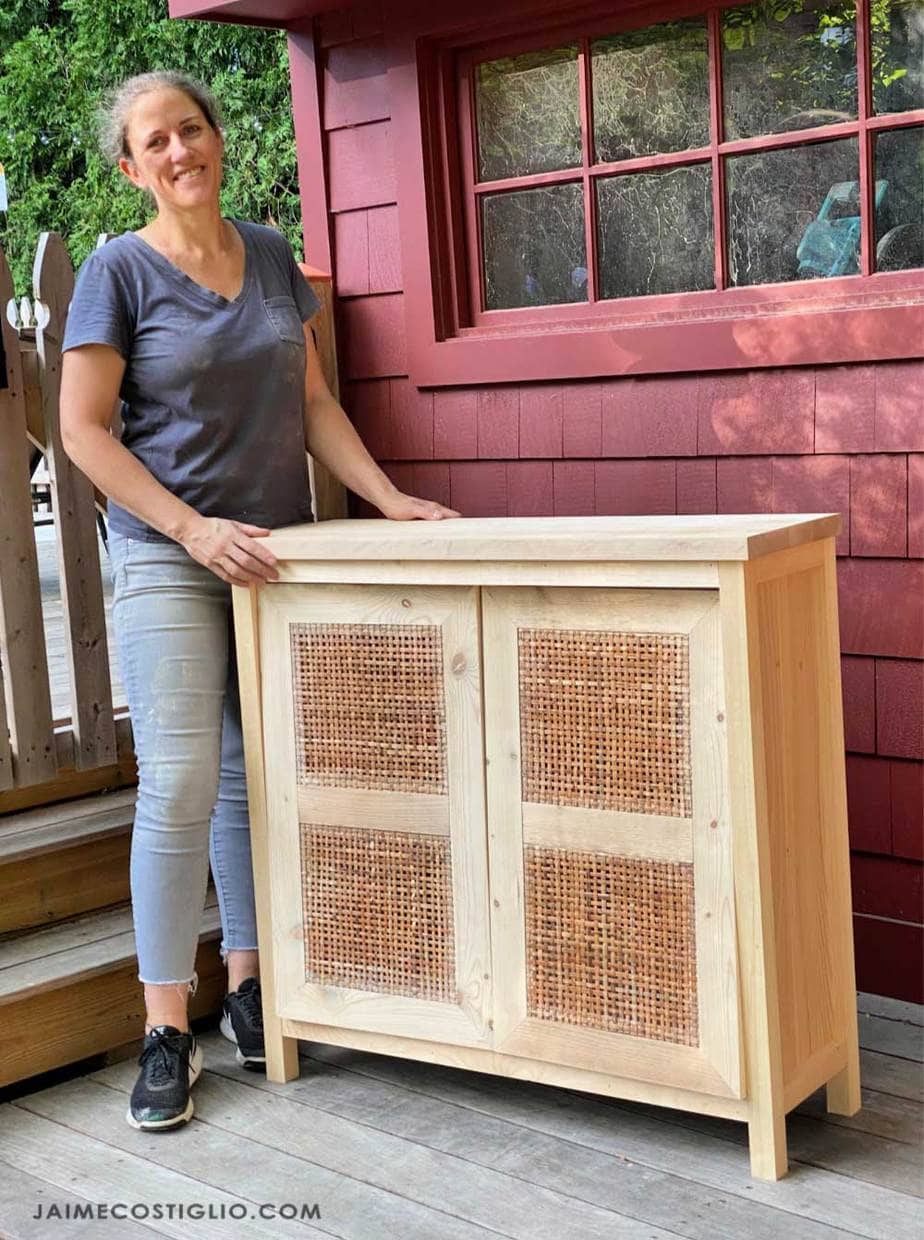
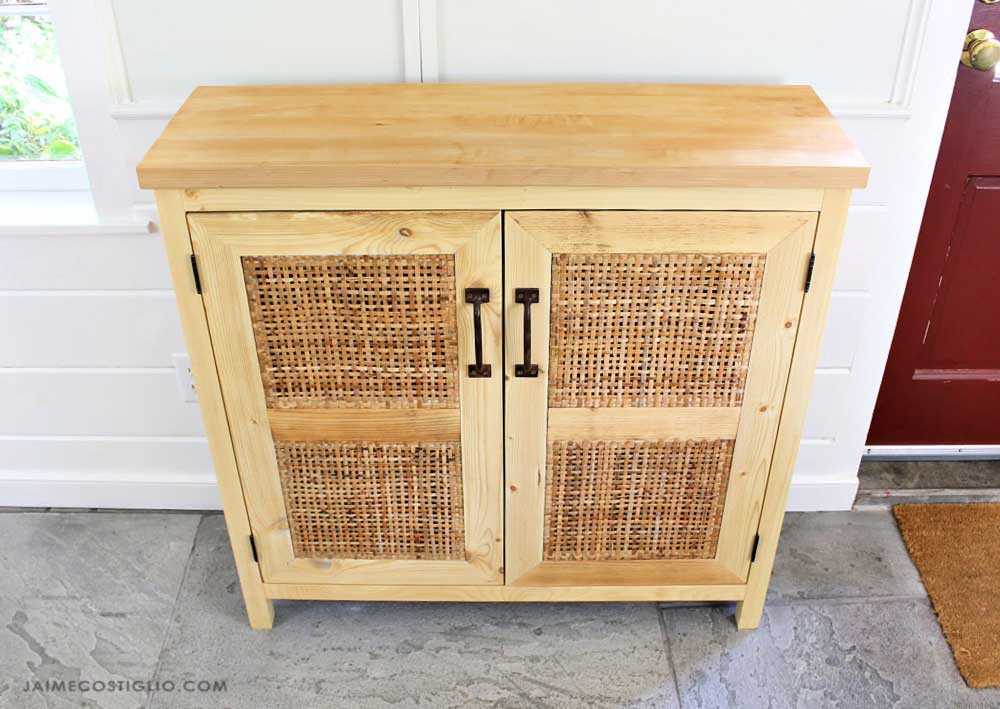
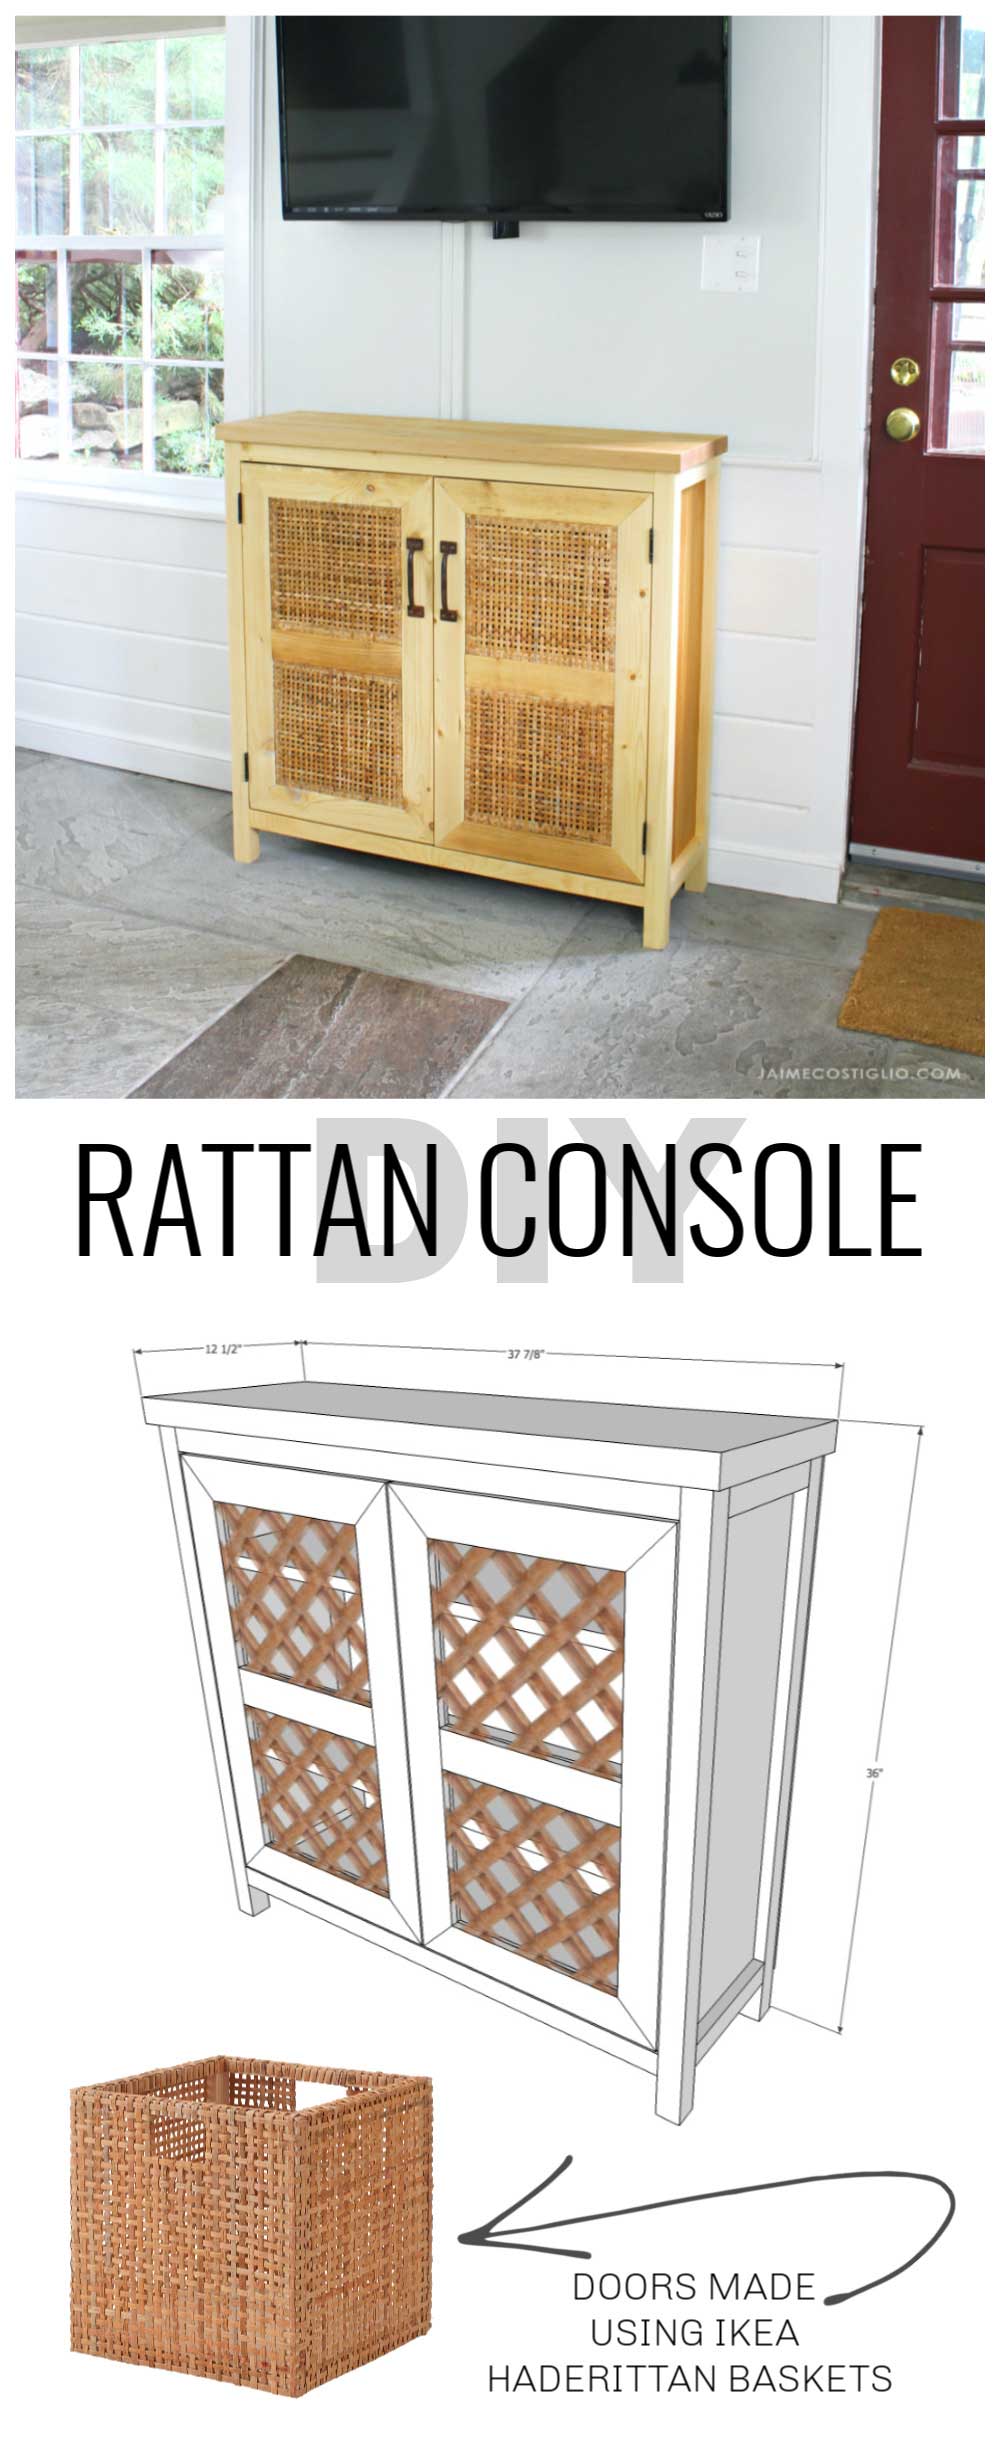
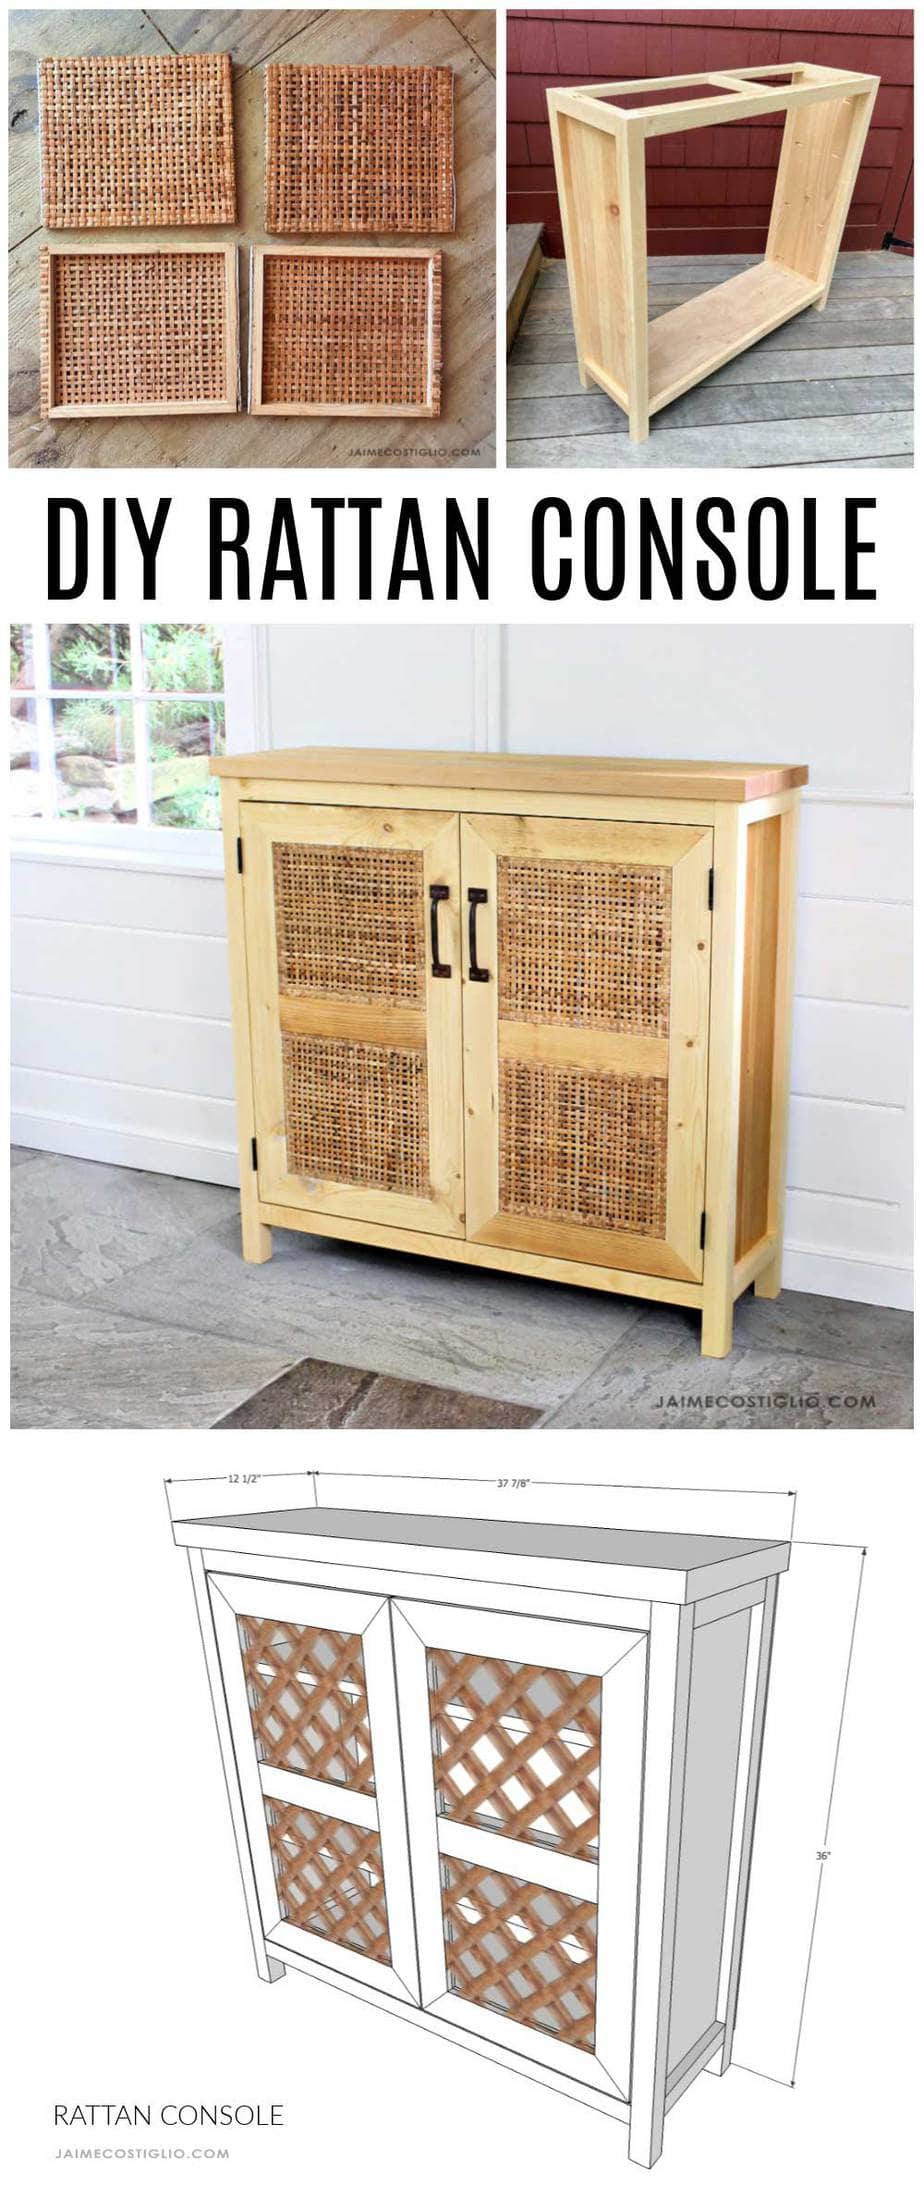
I’ve been seeing rattan and caning everywhere so when I ended up with some extra rattan baskets I just had to use them in another format. Behold the rattan console made from basket side panels! And I have the plans available so you can make it too!
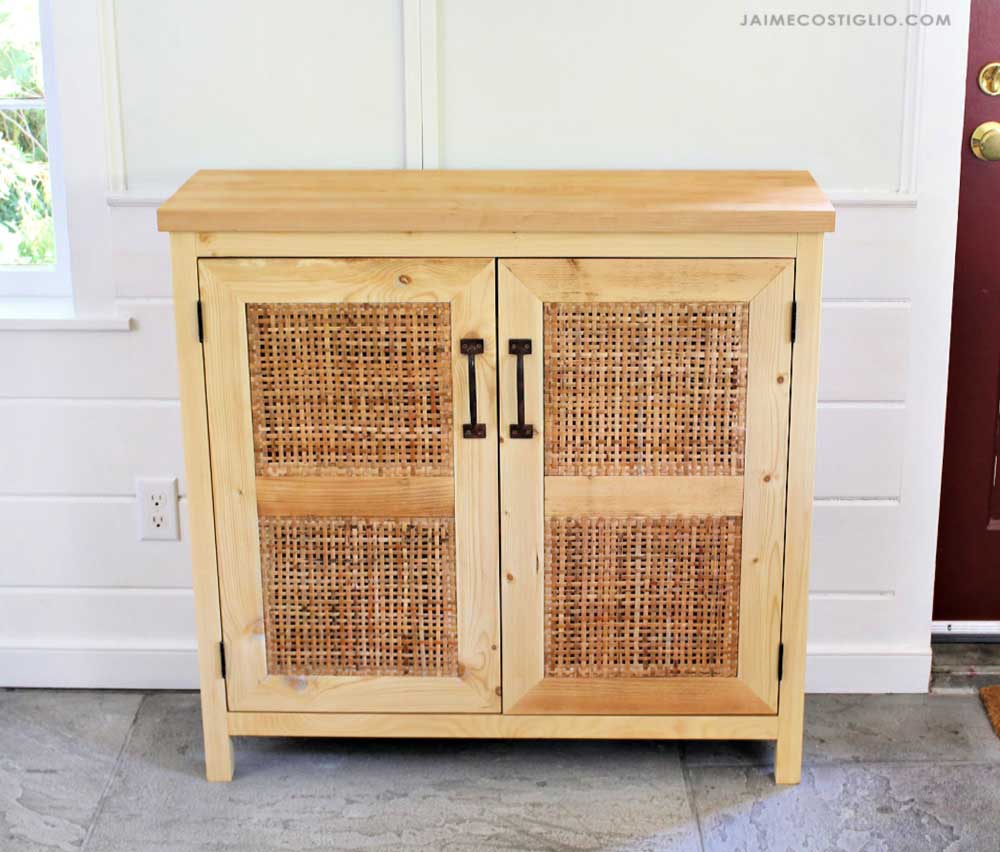
A DIY tutorial to build a console with rattan doors. Make this console perfect for TV components complete with rattan doors.
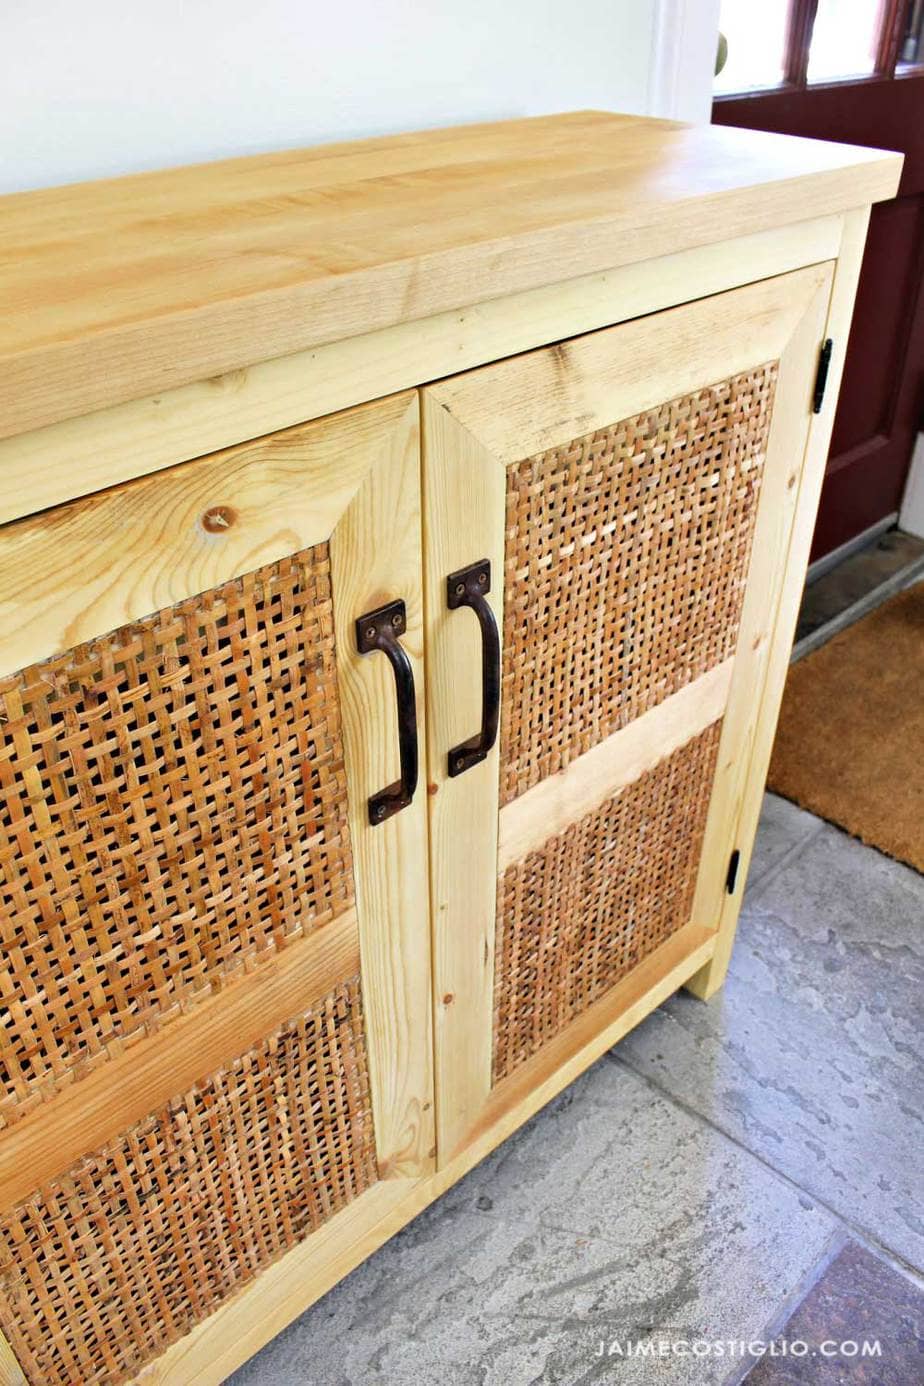
The combination of the wood, woven rattan and rustic metal just makes my heart melt. I built this console specifically to fit under the TV in the lower level family room but it would be great in an entry foyer or hallway space or even as a sideboard in a dining room.
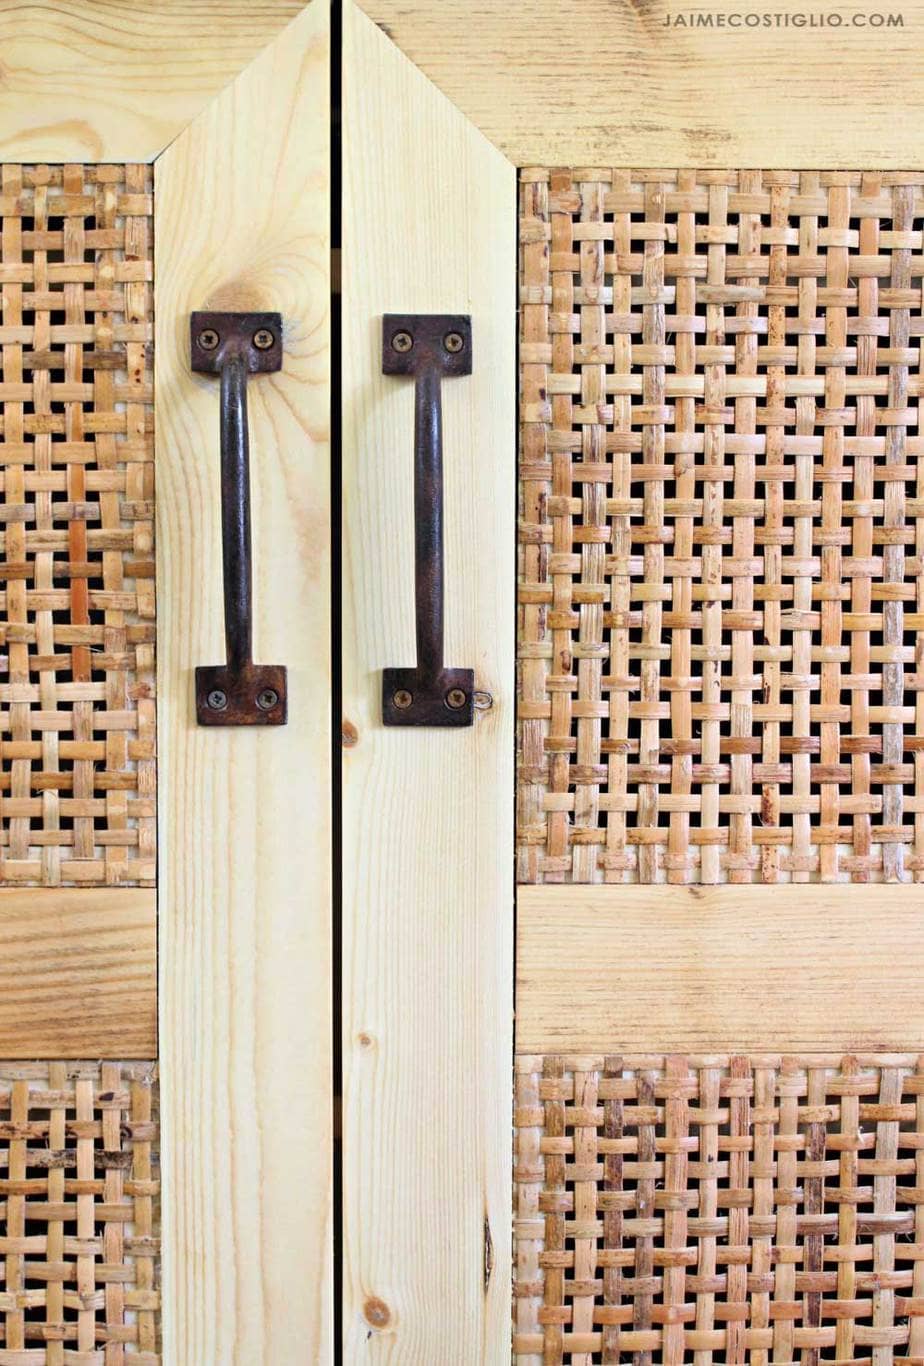
Woven Rattan
I absolutely love the inconsistencies in the woven rattan both in color and tone and in the width of the pieces. It gives a natural texture and an imperfectness that feels casual but still refined.
- range of wood tones
- varying widths of woven pieces
- natural imperfections
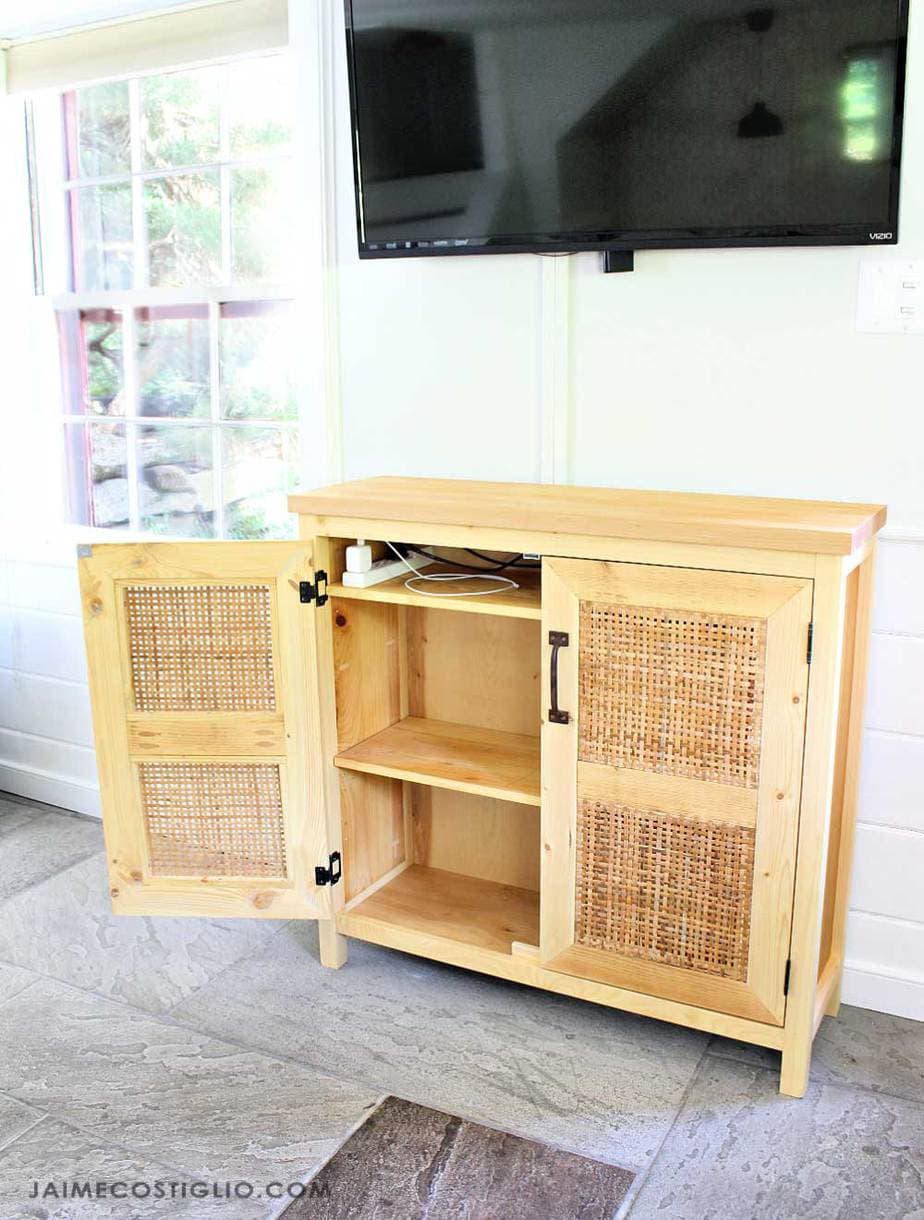
If you follow me on Instagram then you saw this piece was started at the beginning of the quarantine period so I was building completely with lumber I had on hand. I love how all the wood tones compliment each other and play nice. I definitely want to add another shelf in there at some point but it’s working great for now.
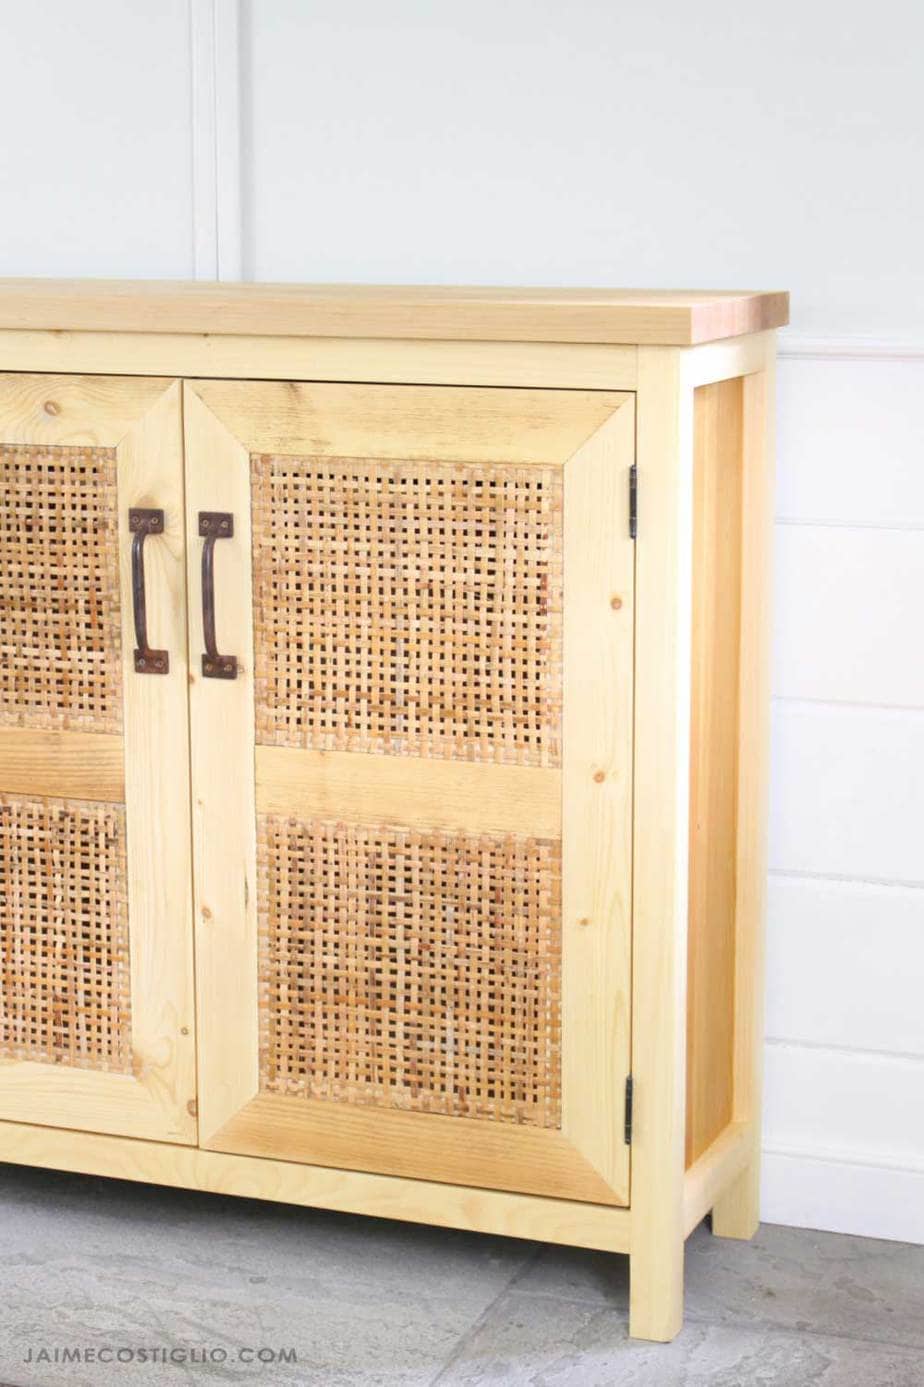
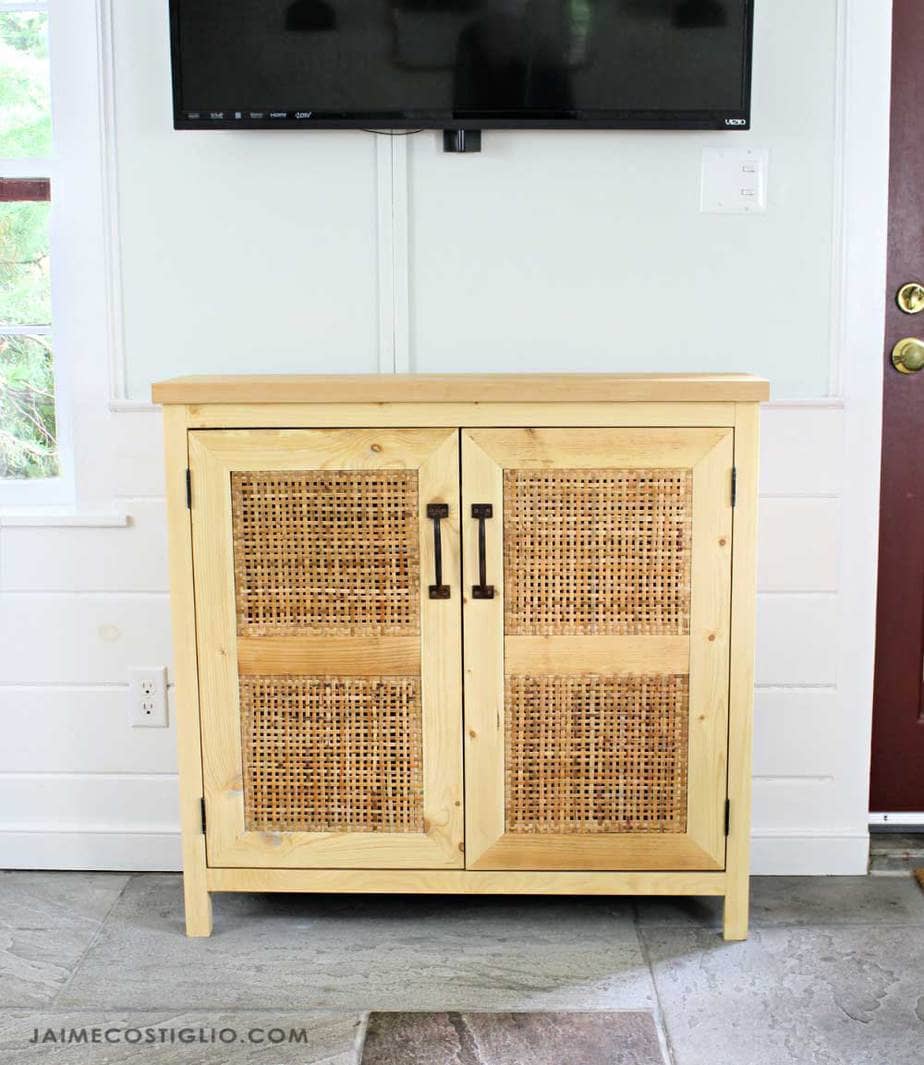
Using the premade rattan panels did limit the size a bit but I love that kind of challenge. And overall I think the proportions came out great. But then I got to thinking about alternative ways to use the rattan panels.
Console Options:
- turn the panels to make a taller door / console
- add a third panel to make it taller
- make a three doored console more like a buffet
Oh that would be so beautiful!!
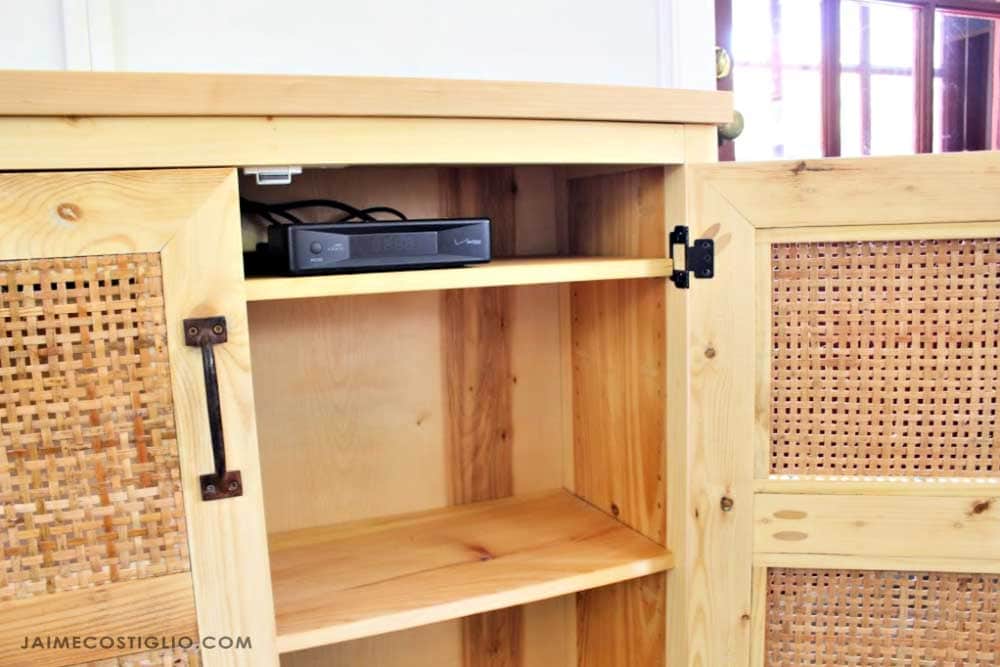
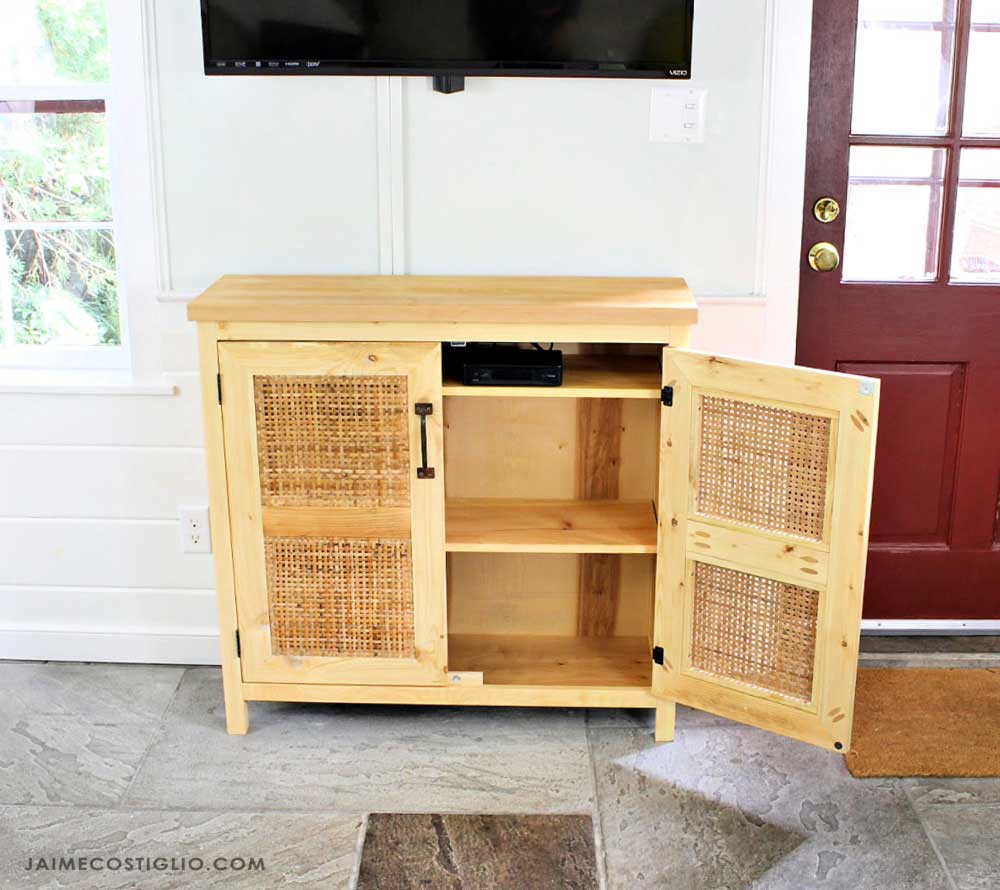
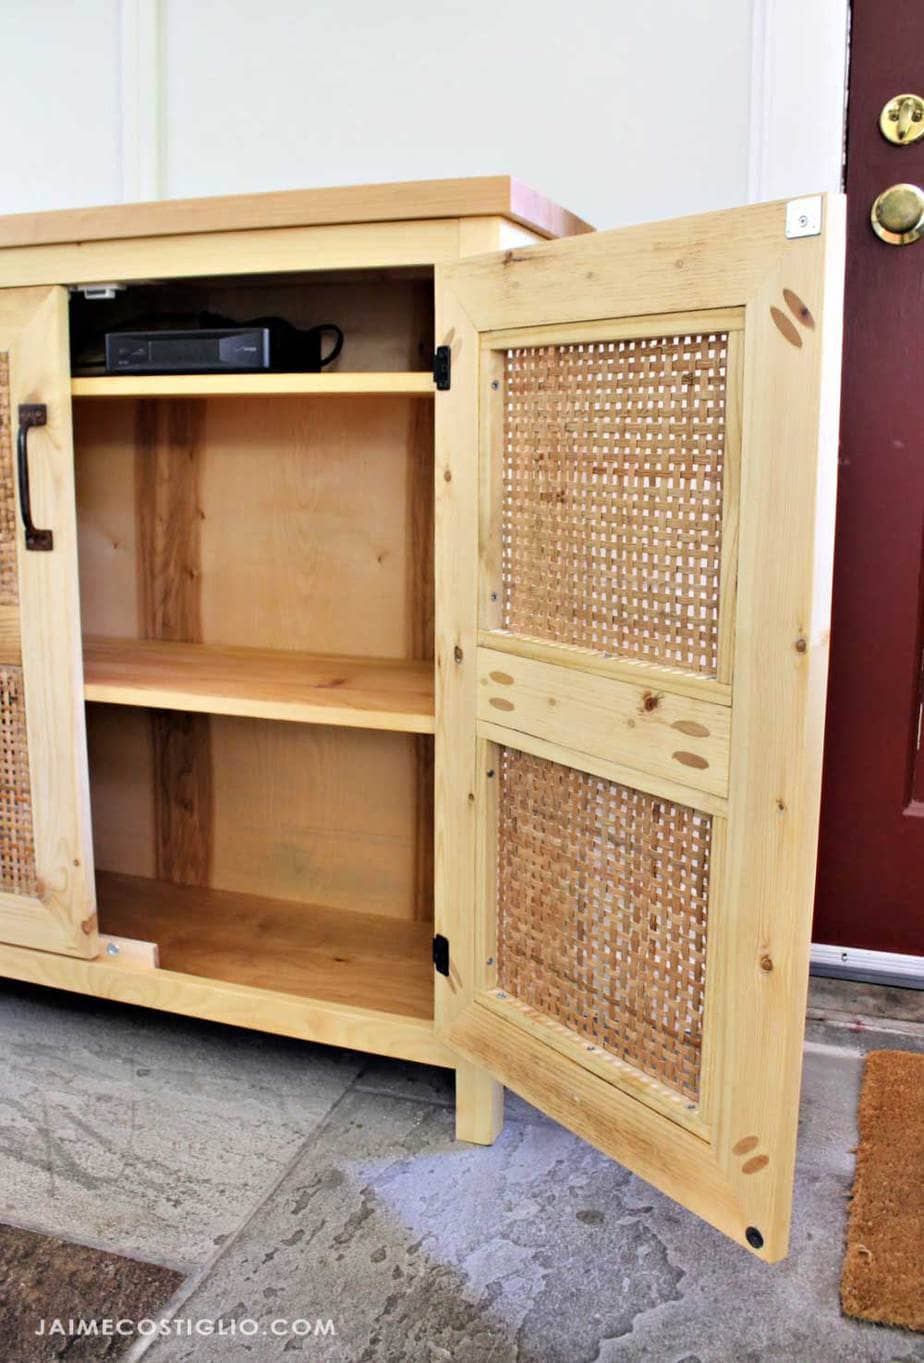
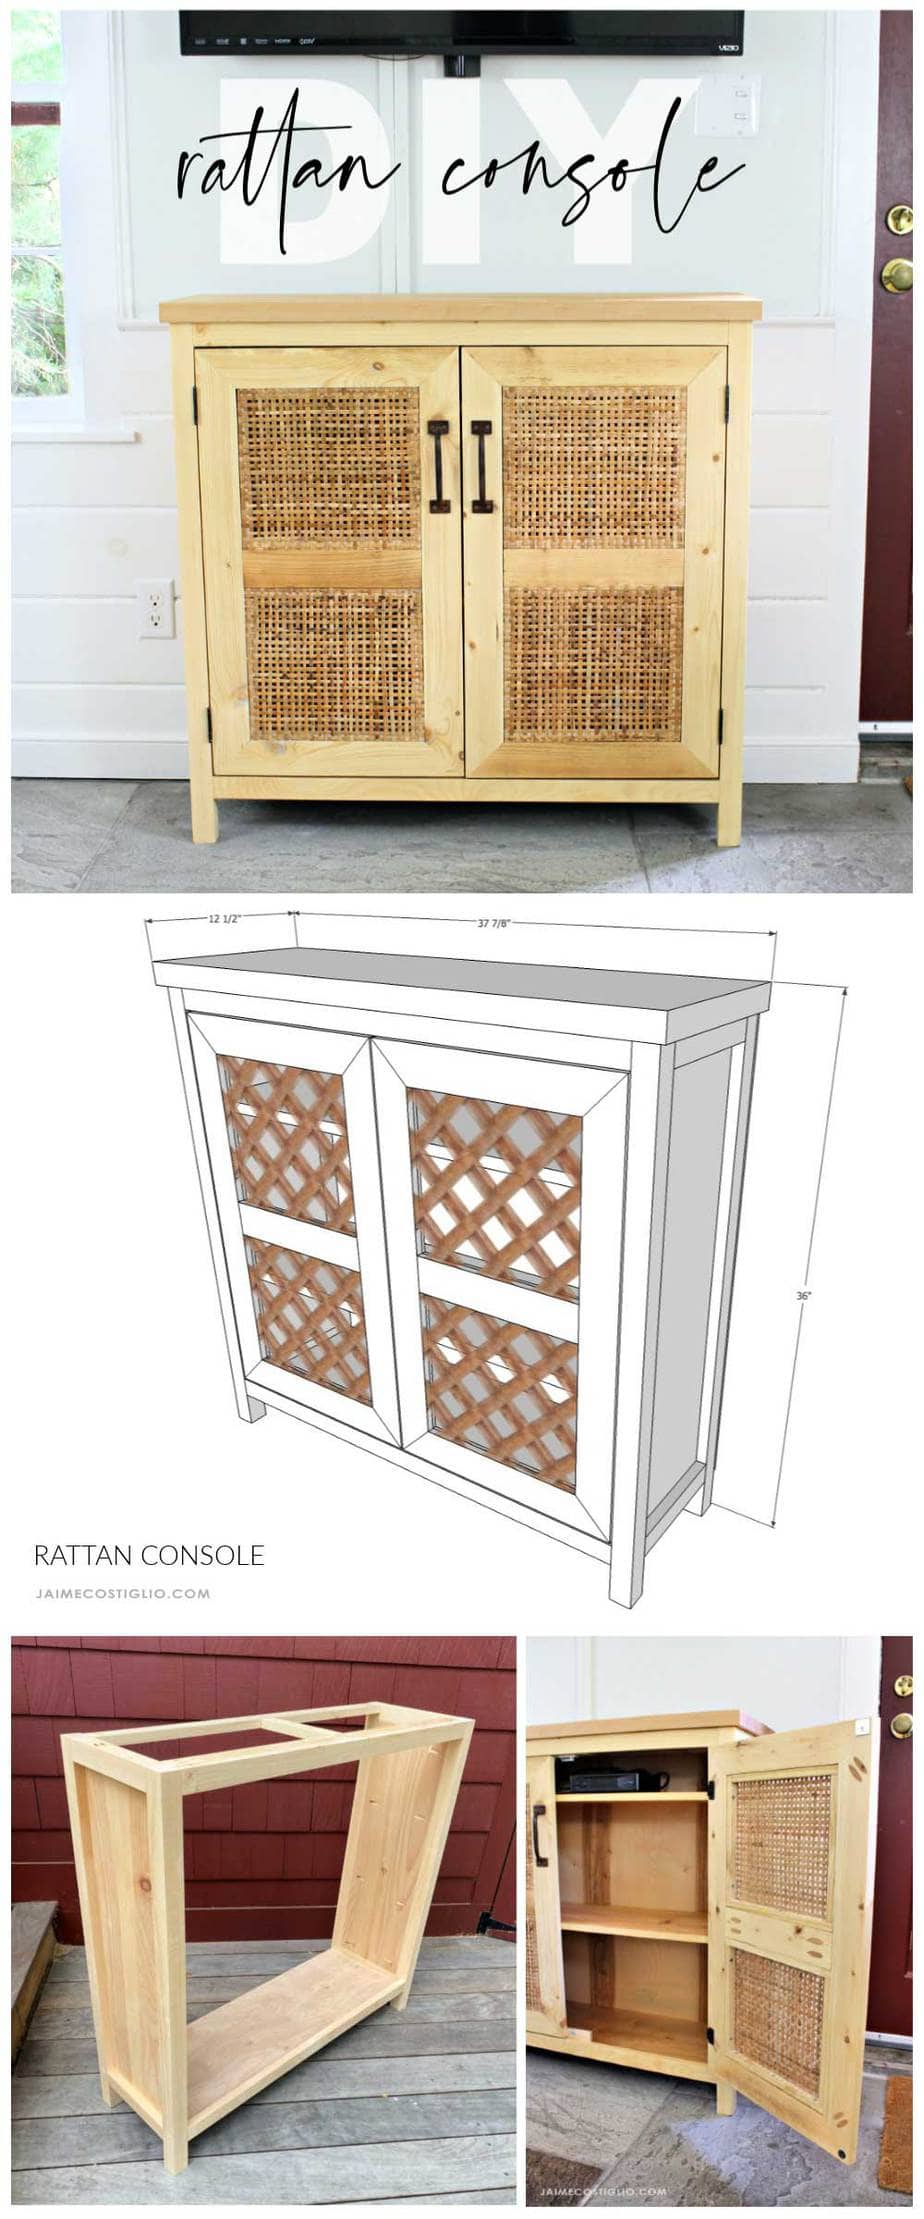
I made no intention of hiding the pocket hole joinery, you can clearly see the plugs on the door interior. More importantly I love the open weave of the rattan panels. And naturally that makes a good fit for TV components so you can have the door shut and the remote control will still work.
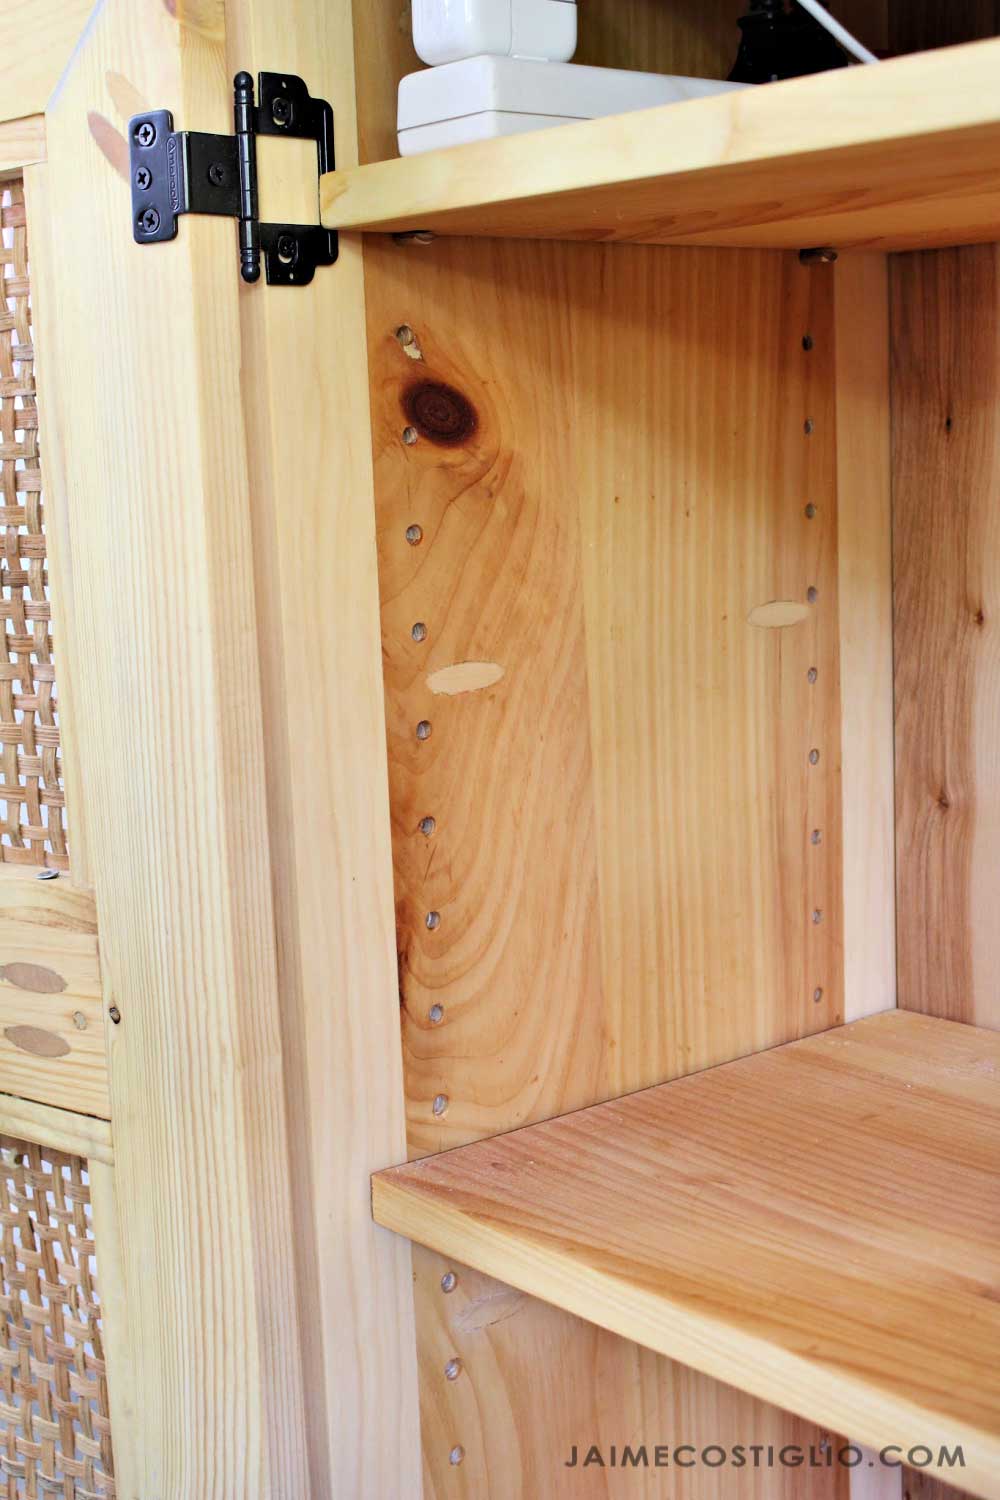
I drilled a few holes in the back for cords so everything can live hidden inside the console. And don’t forget to use the shelf pin jig to make those shelves adjustable!
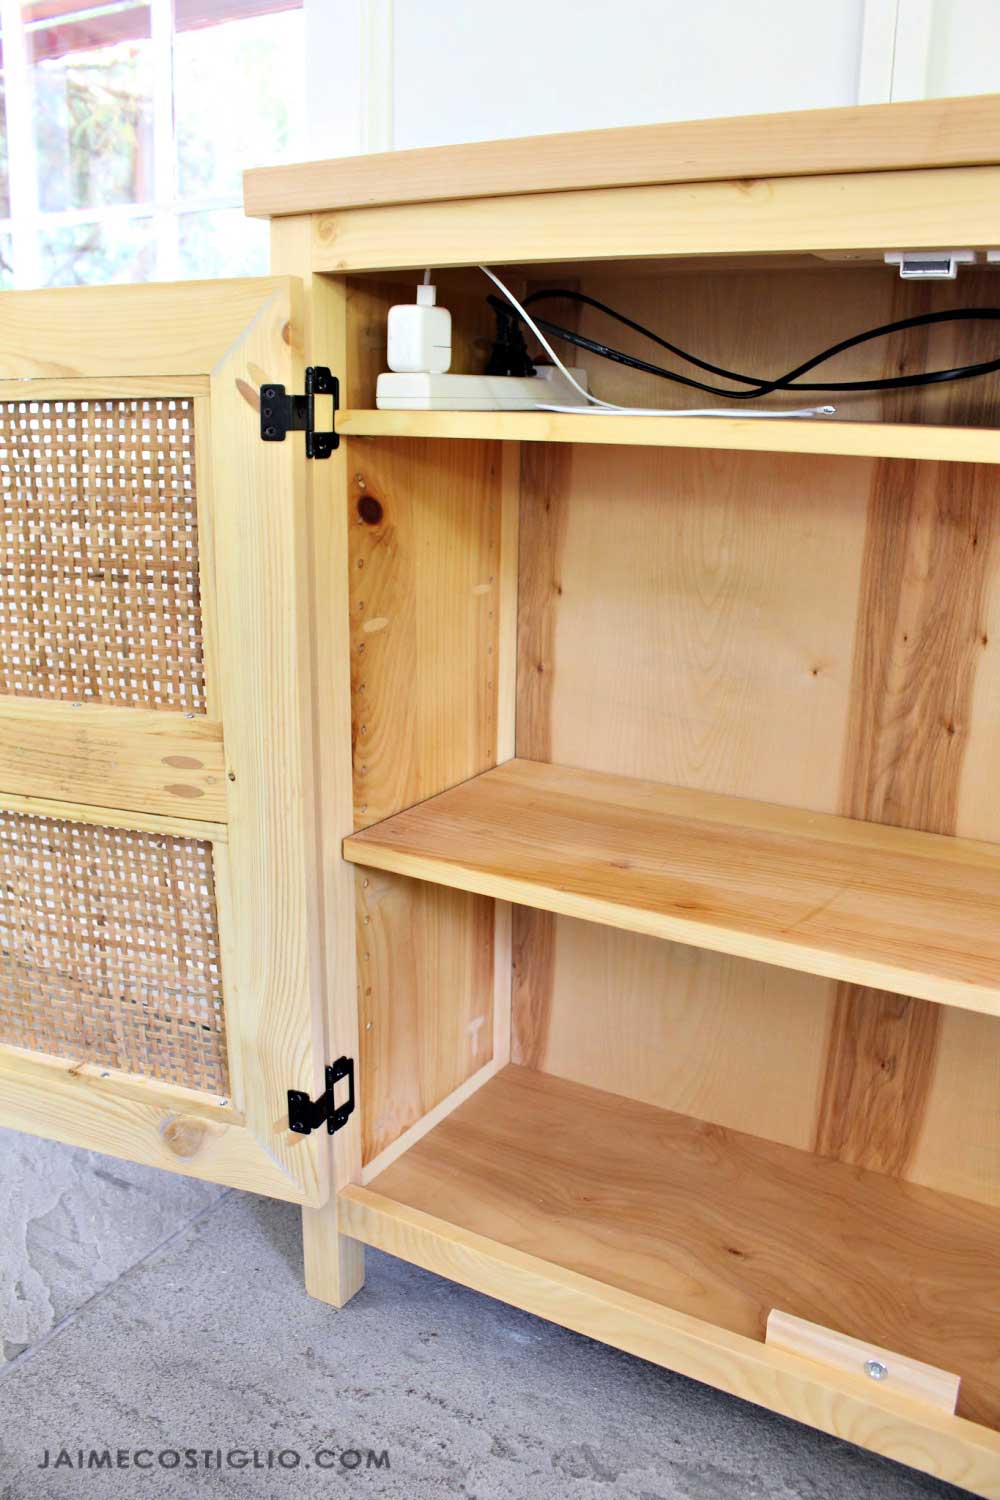
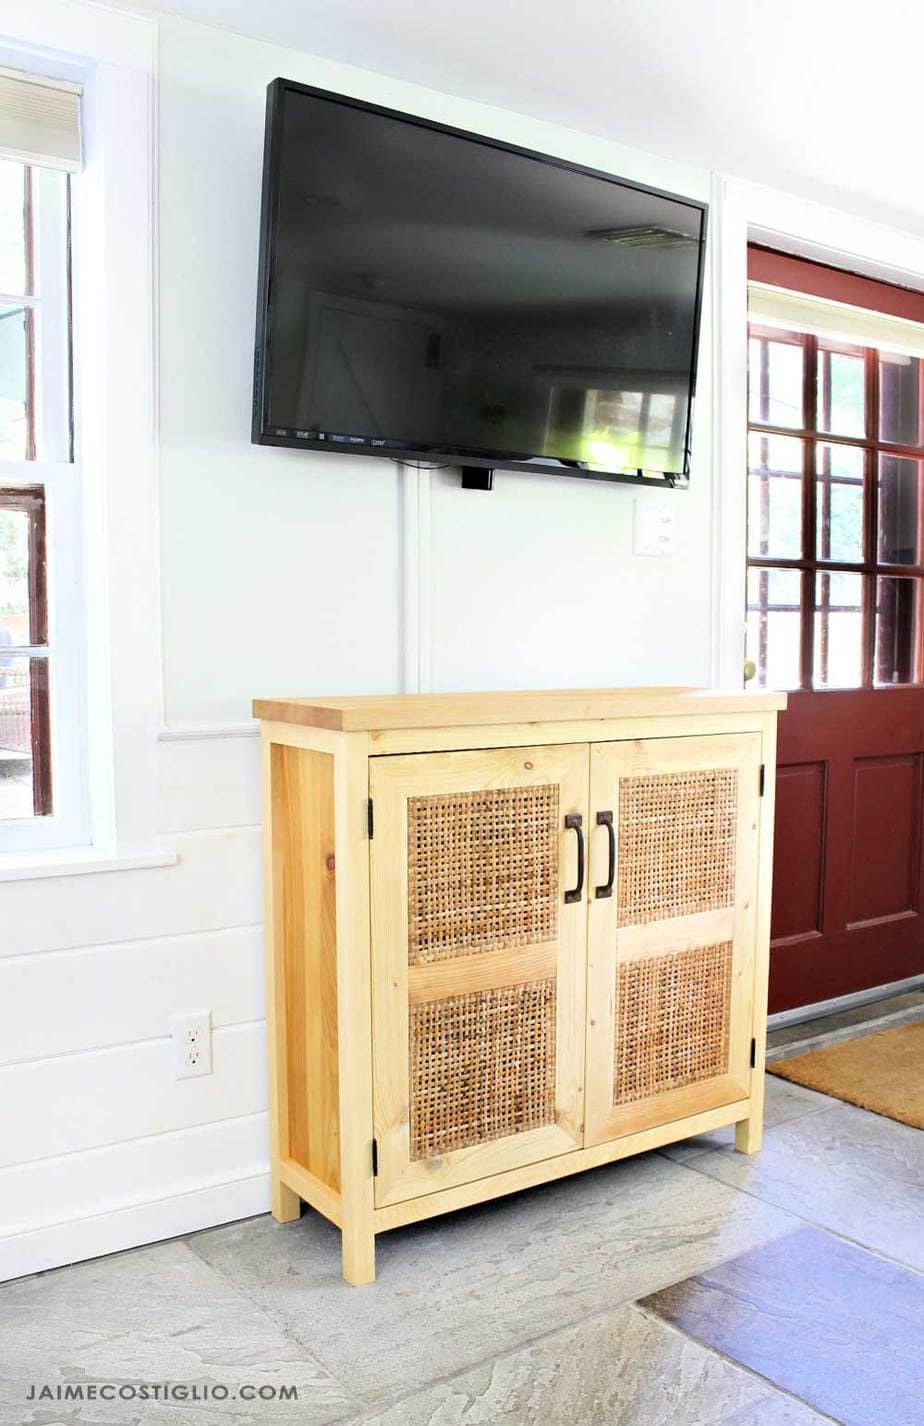
I put together plans for this rattan console linked here. Please be sure to read through my construction notes below before beginning.
Click here for PDF printable version of the rattan console plans.
Supplies:
- 2 IKEA Haderittan baskets
- 3 – 1x3x6 pine boards
- 2 – 2x2x8 boards
- ½ sheet – ¾” birch plywood
- 2 – 1x2x8 pine boards
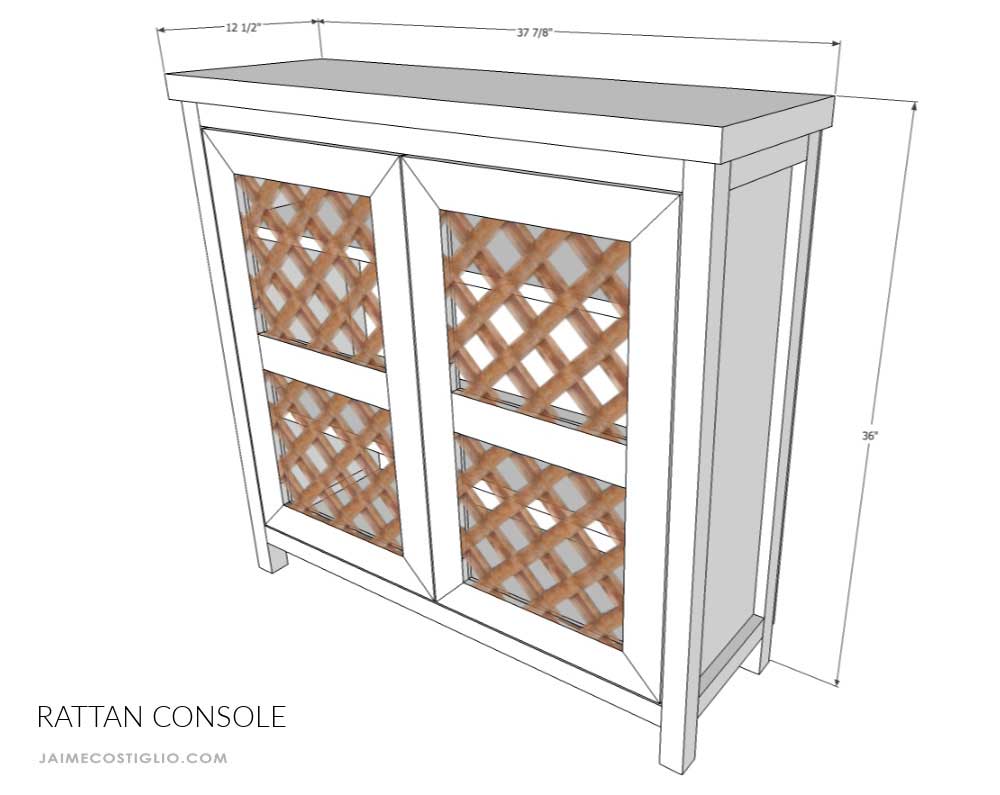
- 2 x 12 ½” x 37 7/8” (top)
- ½ sheet – ¼ birch plywood
- 1 ¼” wood screws
- 2” wood screws
- pocket hole jig
- 1 ¼ “pocket hole screws
- 2 ½” pocket hole screws
- wood glue
- drill
- table saw
- miter saw
- pocket hole plugs
- multi-tool with flush cut bit
- nail gun & 1 ¼” brad nails
- shelf pin jig
- shelf pins
- Rubio Monocoat pure
- 2 sets full inset partial wrap hinges
- 2 rustic hardware pulls
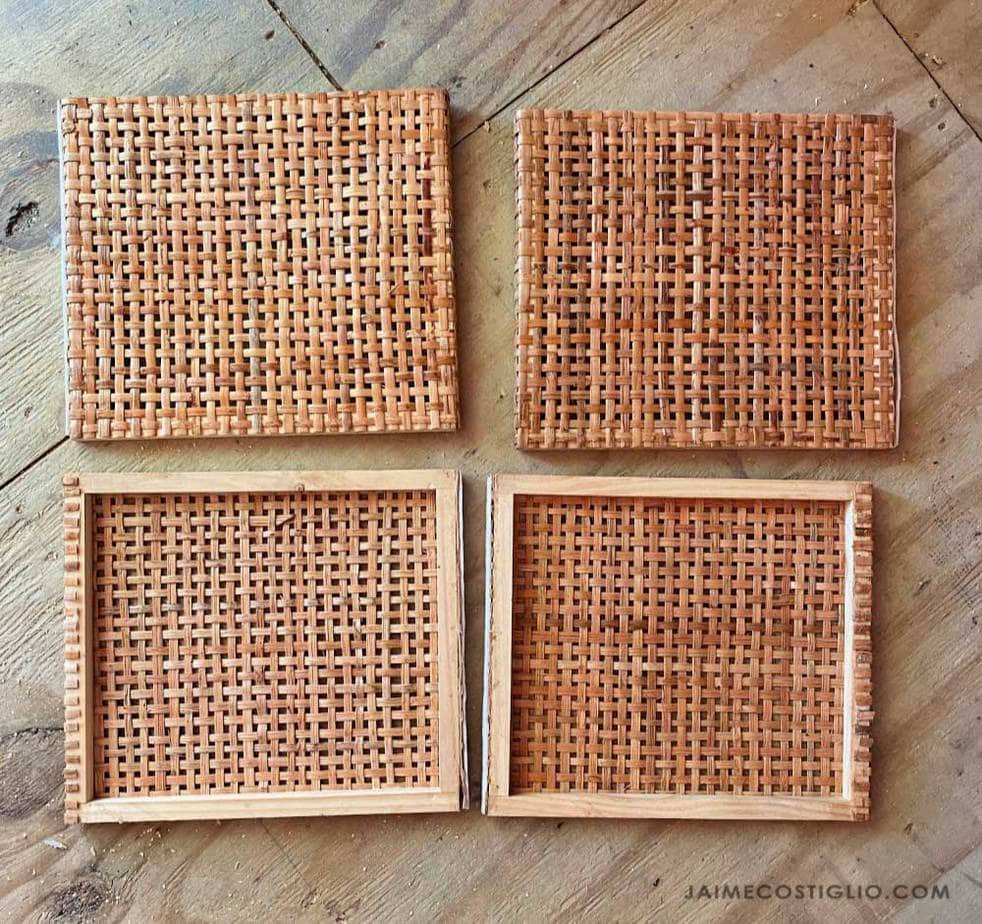
Step 1: Begin with 2 sets of basket side panels. Run the sides through the table saw to remove the rattan that wraps around the edge. You need a flat edge to make the door frame. More details on this step in my IGTV video here.
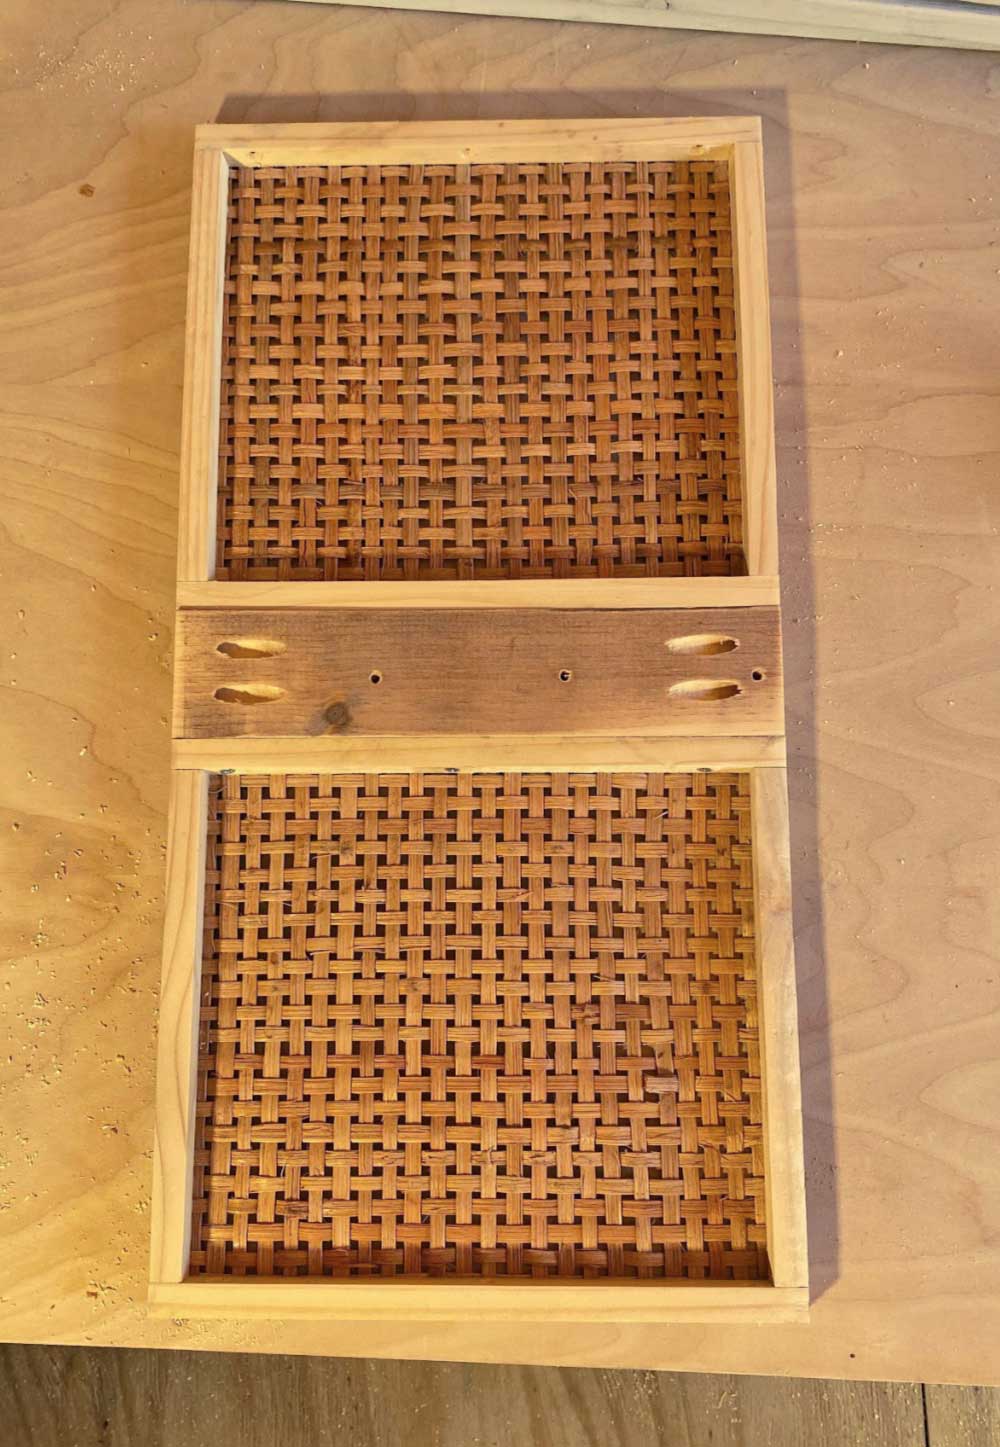
Step 2: Attach two rattan panels together using a 1×3 support in the center.
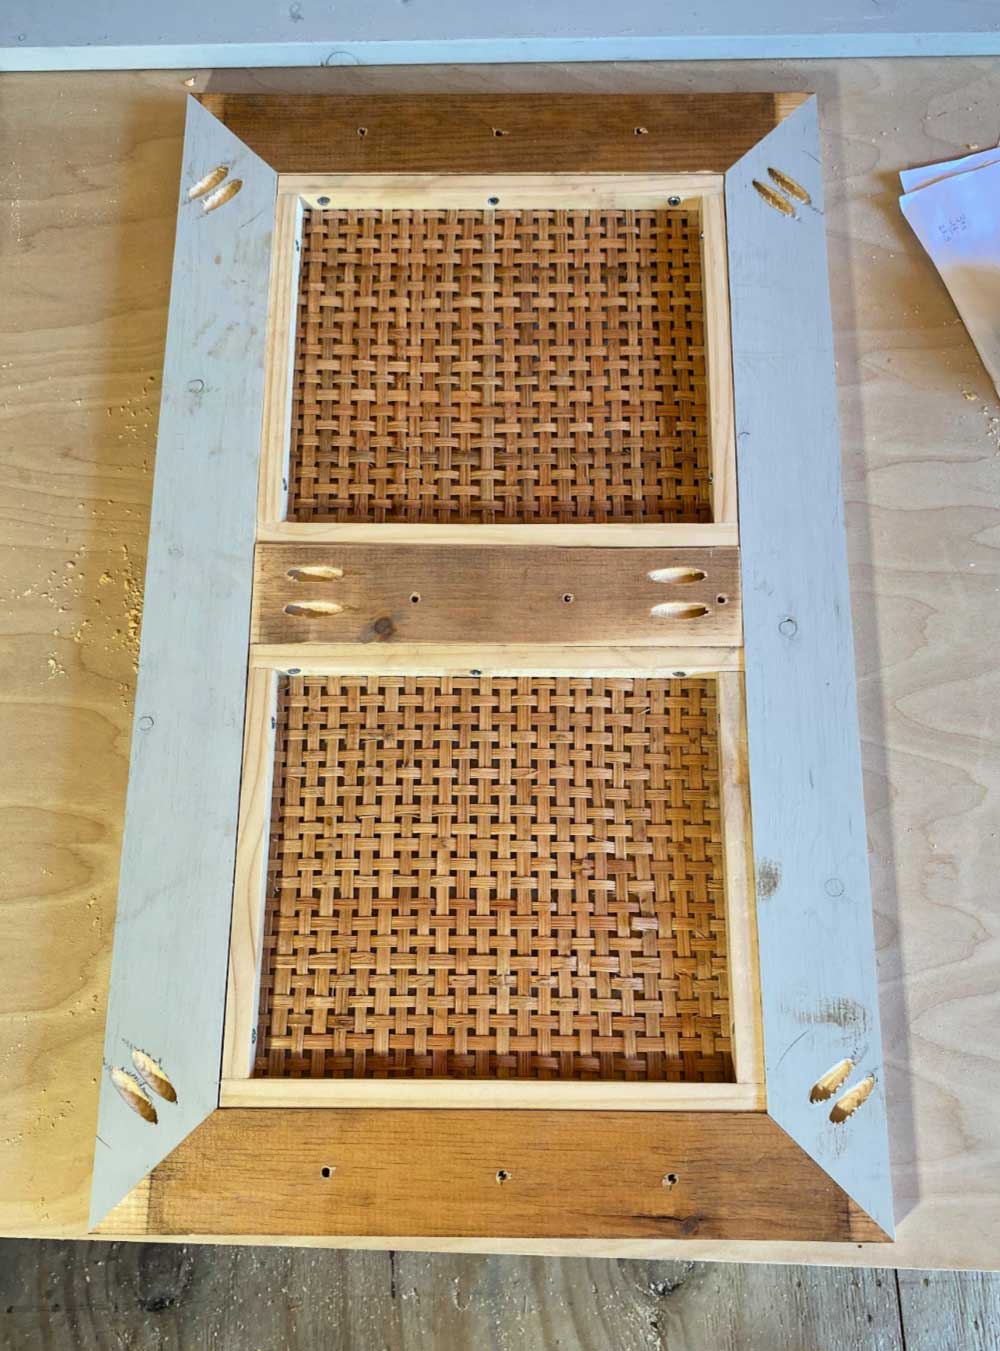
In Step 3: Now add the 1×3 frame with mitered corners to create the doors.
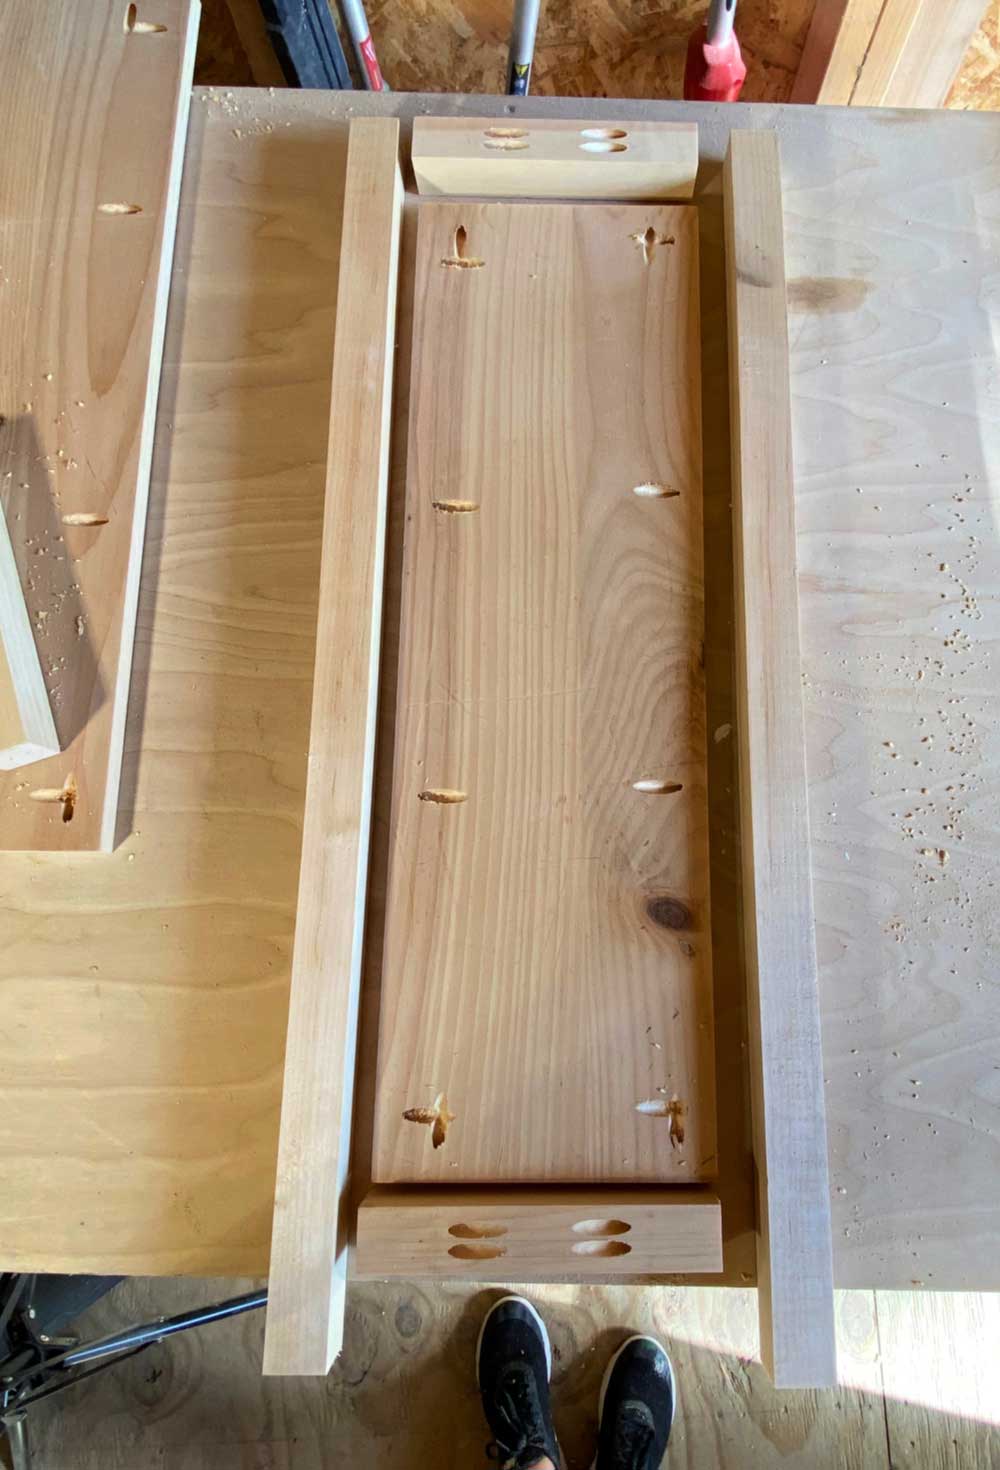
Step 4: To prepare the side panels make pocket holes on all four sides and also in the short top and bottom frame pieces. During assembly be sure to keep those pocket holes hidden by placing them up on the top and down on the bottom.
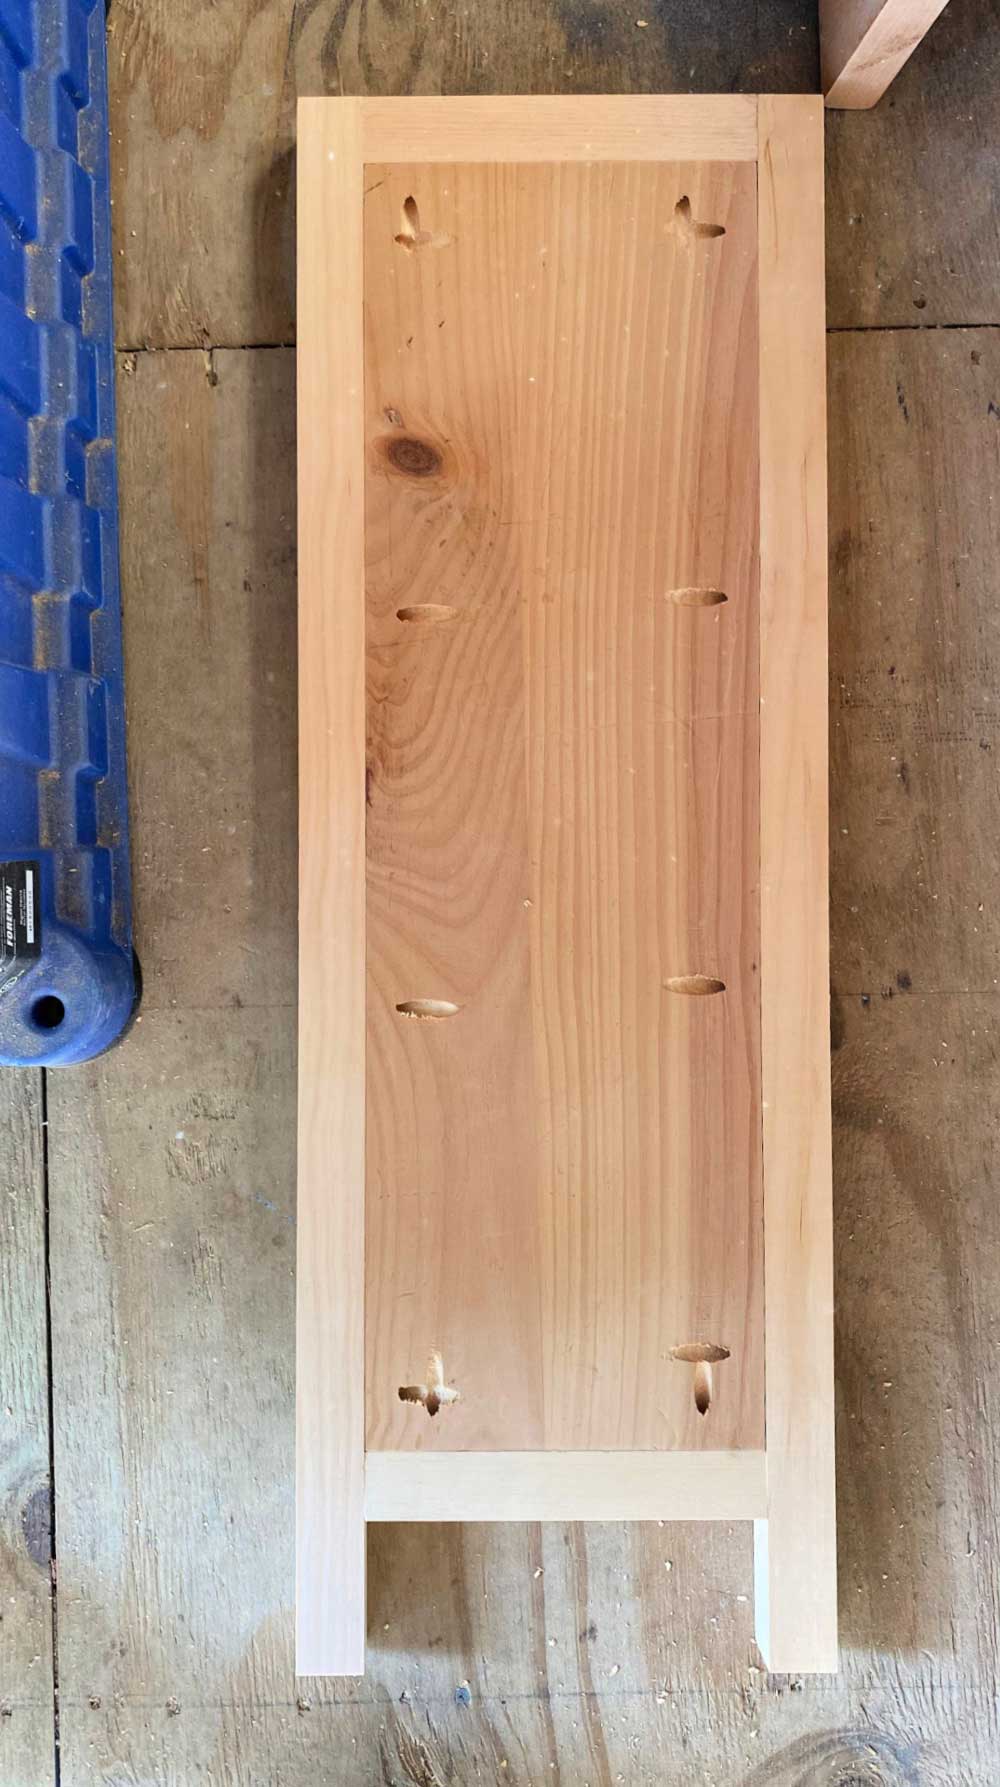
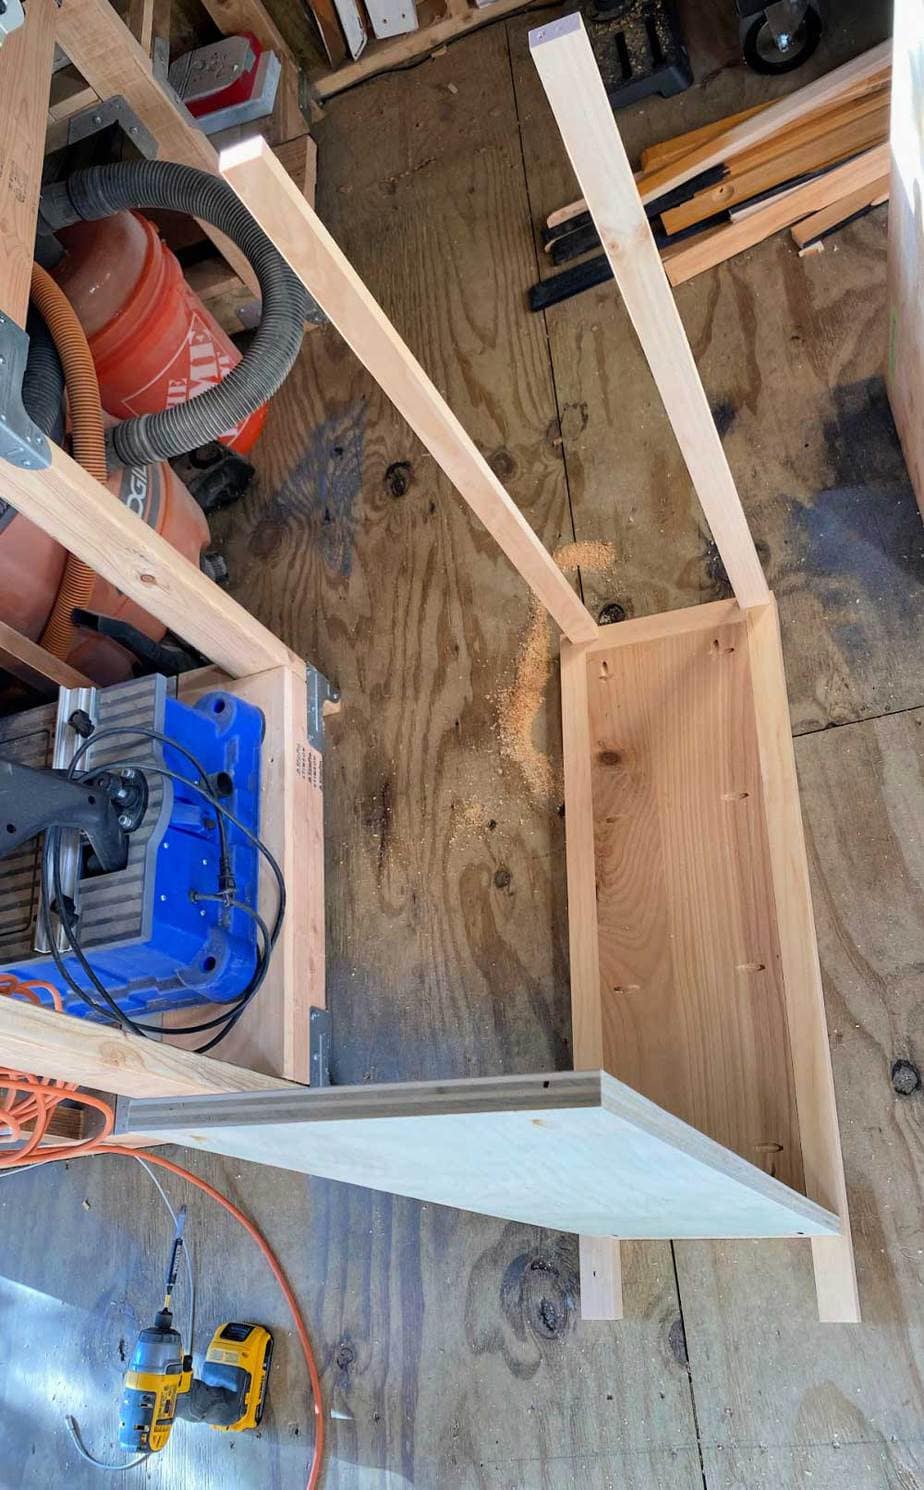
Step 5: Once the side panels are complete then begin assembly of the bottom and top cross supports. Be sure to keep these pieces inset by 3/4″ on the front edge.
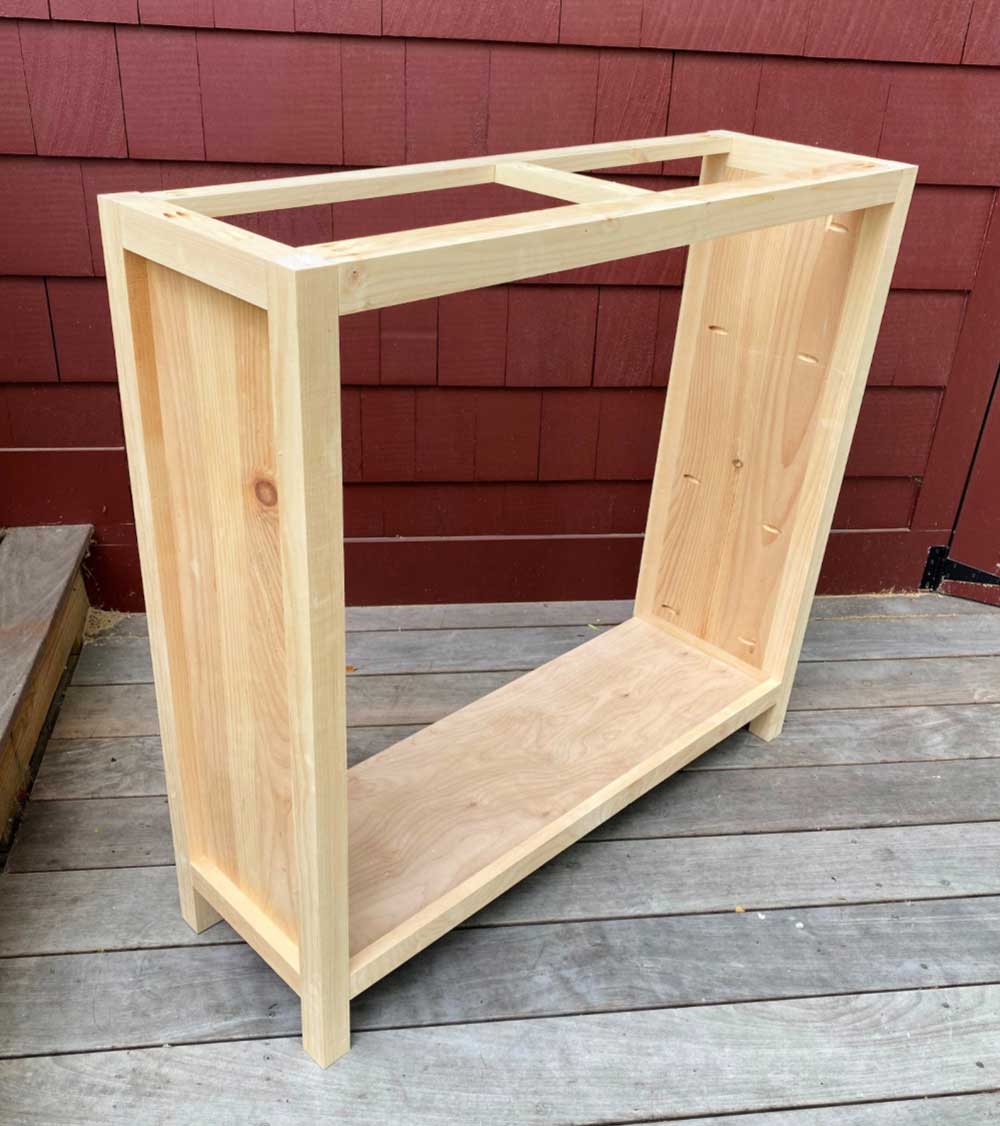
For Step 6: To complete the carcass add a short center support in the top and then attach the front trim pieces.
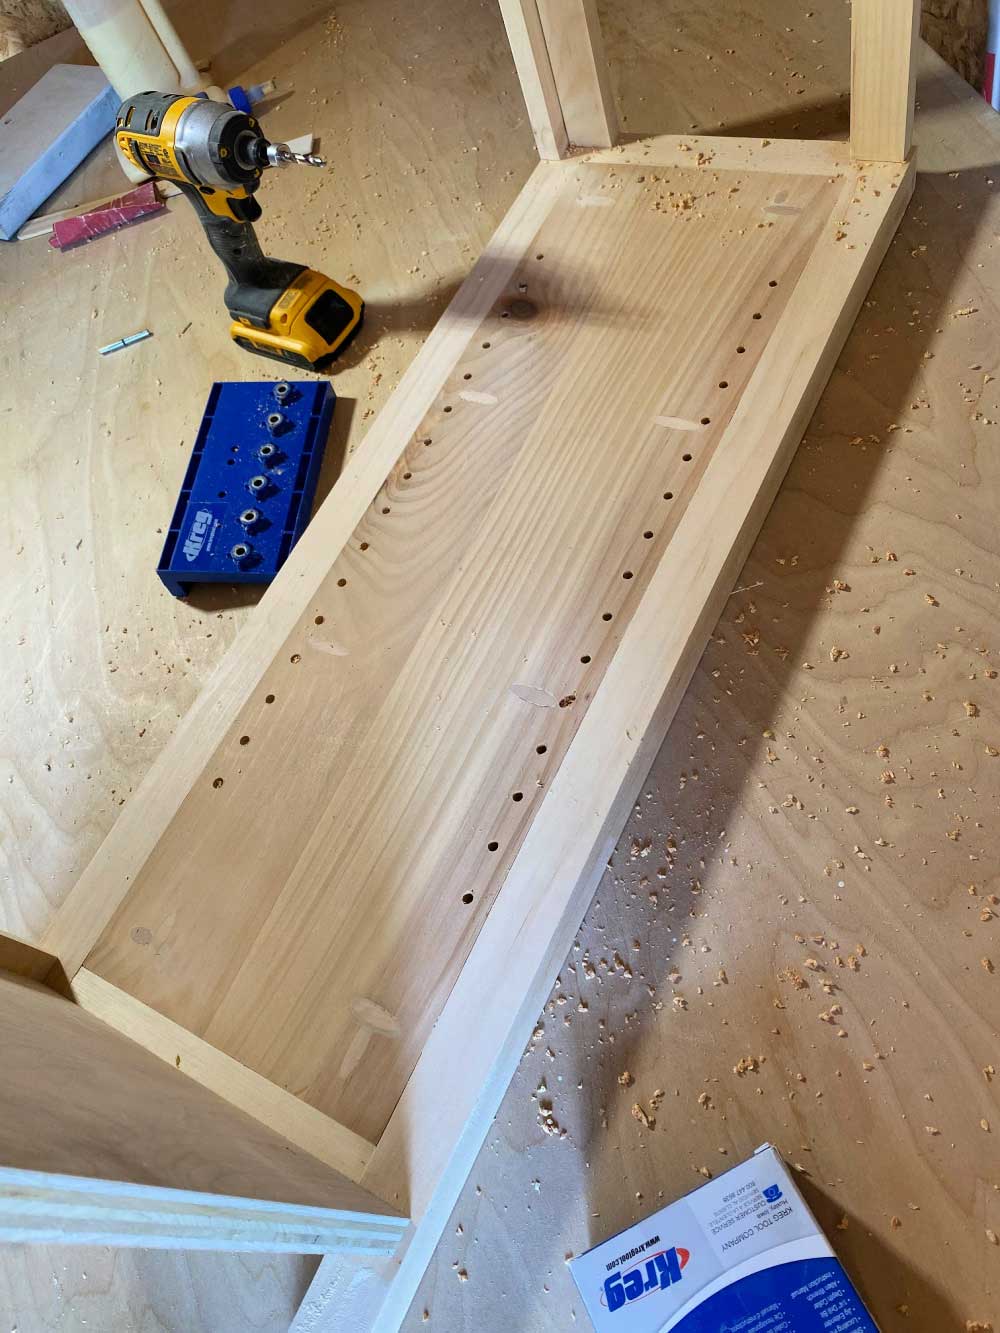
Step 7: After plugging the pocket holes I used the Kreg shelf pin jig to create evenly spaced holes for shelf pins.
Step 8: Before the final assembly I applied Rubio Monocoat pure oil finish to all the surfaces.
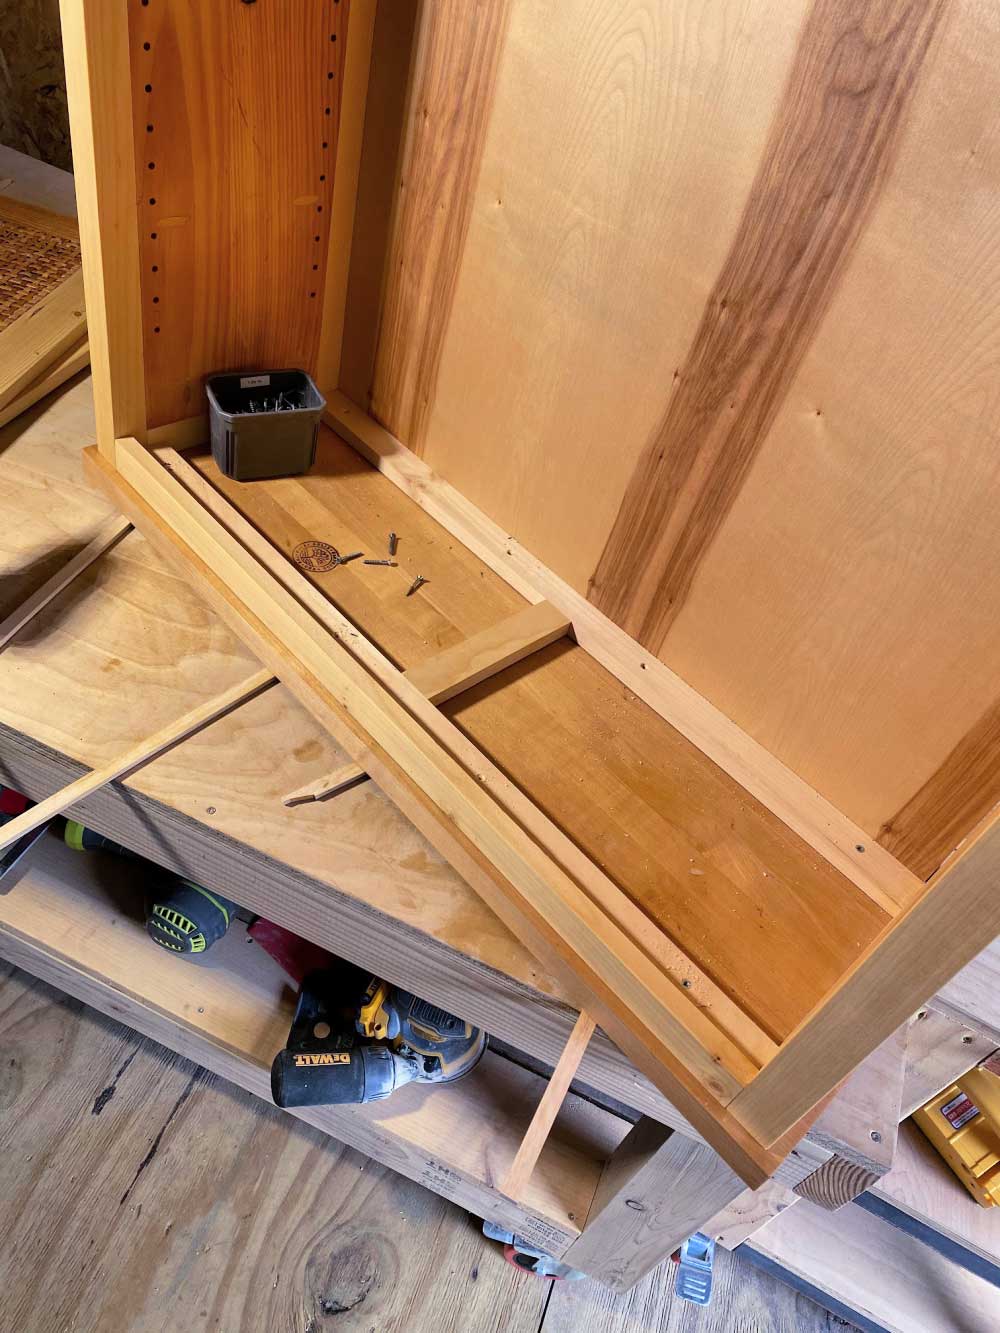
In Step 9: Lastly attach the top piece to the carcass using countersunk 2″ wood screws.
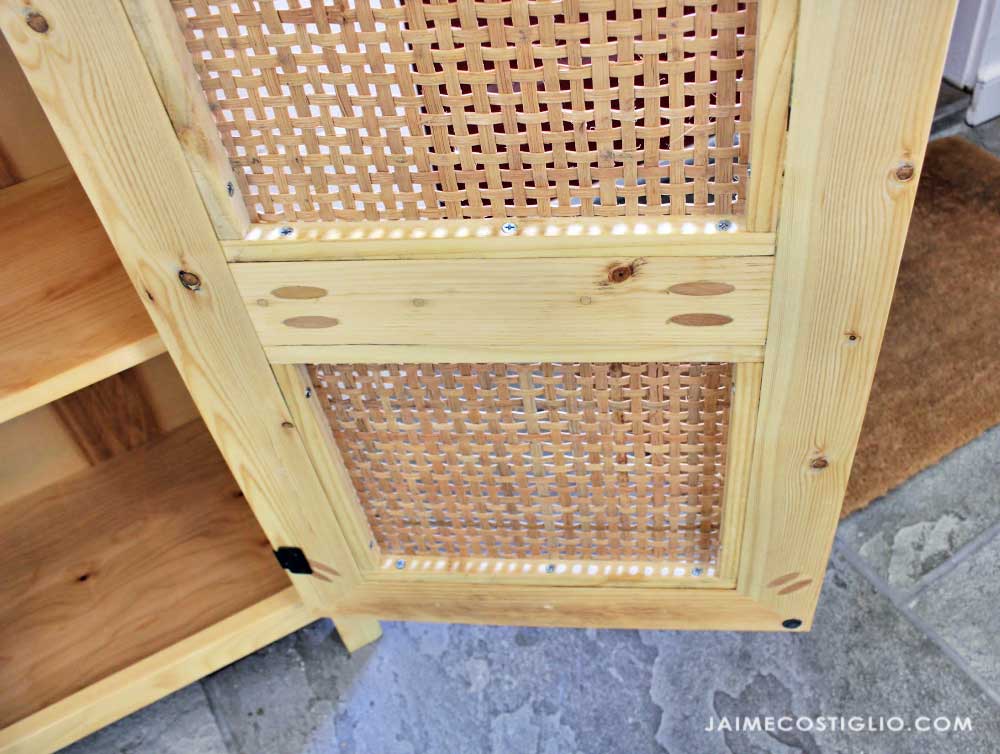
Below you can see how the rattan panels are secured to the door frame pieces using countersunk screws.
Thanks for joining me for this rattan console project. Please leave any questions in the comments below and be sure to follow me on social media for sneak peeks, tools and project inspiration:
Instagram / Pinterest / Facebook / Youtube / Twitter
SHOP THIS PROJECT:

Jaime, it’s beautiful.