• Home
  • Blog
  • About
  • Contact
    • Disclosure
    • Privacy Policy
  • SHOP
  • Widget area for main menu

    • Email
    • Facebook
    • Instagram
    • Pinterest
    • Twitter
    • YouTube
  • Skip to primary navigation
  • Skip to main content
  • Skip to primary sidebar

Jaime Costiglio

build - paint - sew

  • BUILD
    • BEDS
    • BENCHES
    • DESKS
    • DRESSERS
    • GAMES & TOYS
    • SCRAP WOOD
    • SHELVES
    • STORAGE
    • TABLES
  • TOOLS
  • PAINT
    • CRAFTS
    • FURNITURE
    • HOME DECOR
  • SEW
    • GIFTS
    • HOME DECOR
    • POUCHES
  • HANDBUILT HOLIDAY
    • 2021
    • 2019
    • 2018
    • 2017
    • 2016
    • 2015
    • 2014
    • 2013
  • GIFTS
    • BABIES
    • KIDS
    • FOR HER
    • FOR HIM
    • TEACHERS
    • WEDDINGS
  • SEASONAL
    • 4TH OF JULY
    • FALL
    • HALLOWEEN
    • CHRISTMAS
    • SUMMER
    • SPRING
    • ST. PATRICK’S DAY
    • THANKSGIVING
    • VALENTINE’S DAY
    • WINTER
  • SALTBOX PROJECT
    • BATHROOMS
    • DINING ROOM
    • EXTERIOR
    • FAMILY ROOM
    • FOYER / MUDROOM
    • KIDS BEDROOMS
    • KITCHEN
    • LIVING ROOM
    • MASTER BEDROOM
    • PLAYROOM
  • SCROLL SAW

Oval Shaped Wood Handpainted Ornaments

March 1, 2014

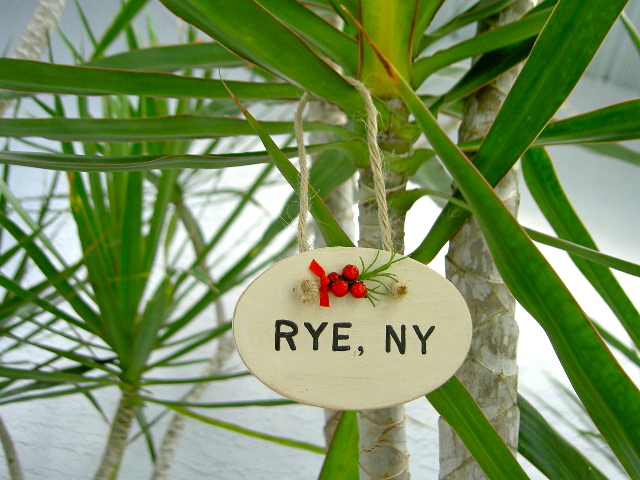
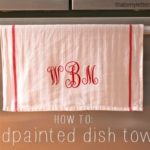
How to make handpainted ornaments with any word or lettering.
diy handpainted oval ornaments with town name
I made them two different ways:

diy handpainted oval ornaments with town name
Just in time for the Christmas Fair.
diy handpainted oval ornaments with town name
Below are the step by step instructions to make handpainted ornaments using any word you desire.

* This post contains affiliate links below.

Supplies:
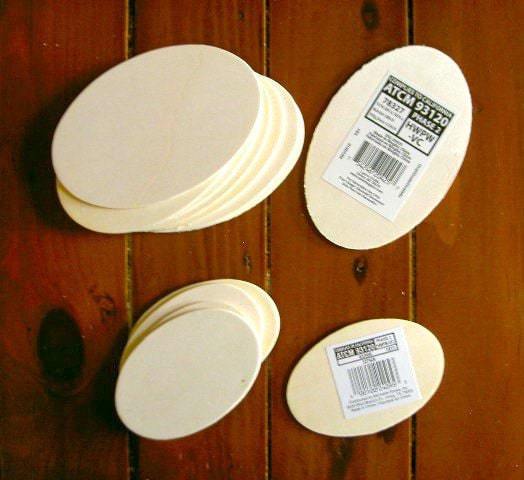
  • precut oval wood shapes
  • acrylic craft paints
  • paint brushes
  • ballpoint pen
  • dremel drill or drill & 7/16″ bit
  • Minwax proviencial stain & rag
  • clear acrylic spray
  • faux berries & greenery
  • thin red ribbon
  • jute twine
  • hot glue gun & glue sticks
Step 1: Paint the background color.  (I used an off white.)
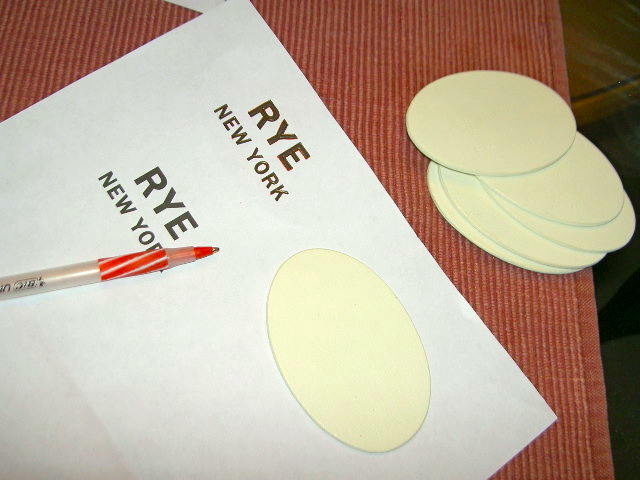
Step 2: Print out words / letters in desired font and size to fit oval wood shape.
Step 3: Center the printout over the wood shape and trace the letters with a ball point pen.  Use heavy pressure to create an indent in the wood.
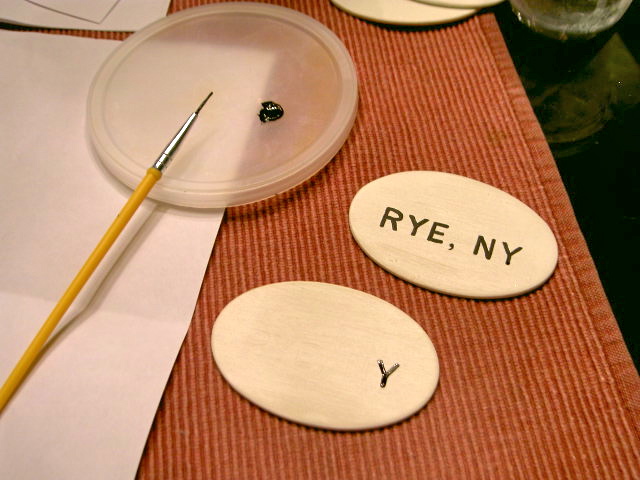
Step 4: Use a fine brush to paint on and inside the indent.
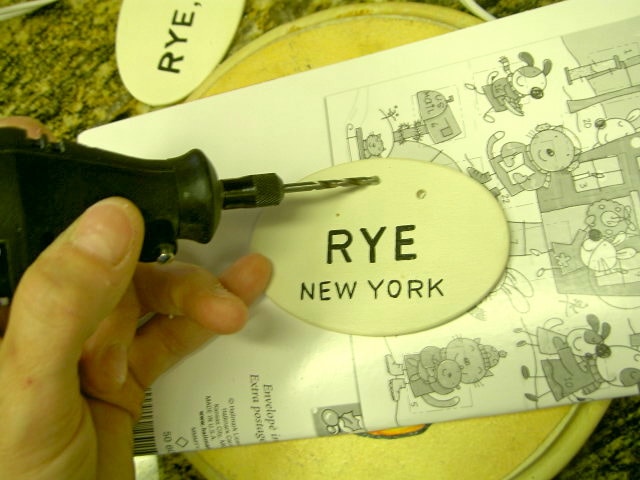
Step 5: Drill two holes for twine using 7/16″ bit in a dremel or regular drill.
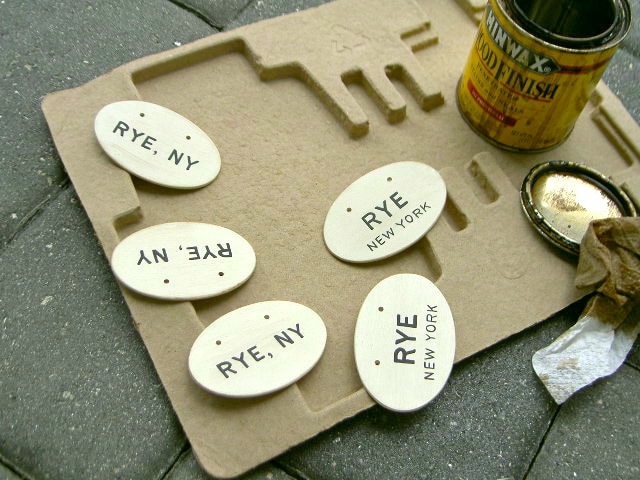
Step 6: Stain using Minwax provincial.
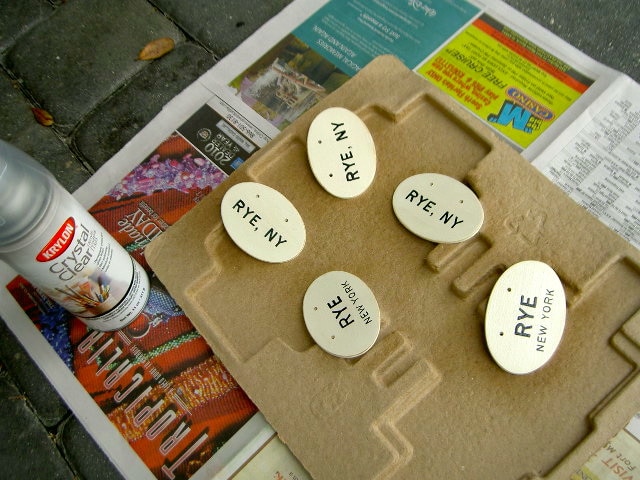
Step 7: Seal with clear acrylic spray.
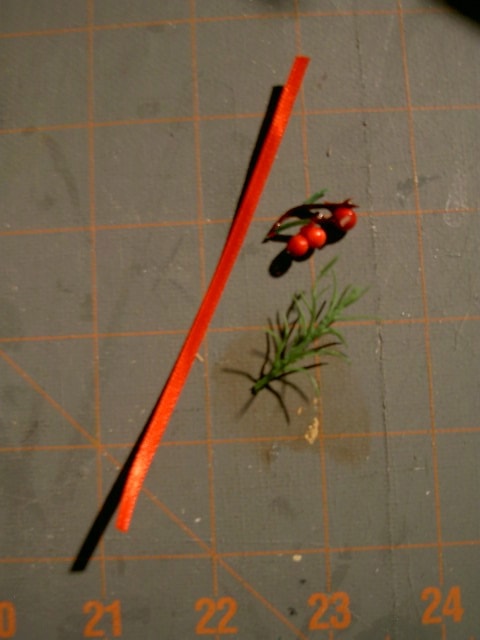
Step 8: Prepare the berry decoration by tying together some berries and greenery with red ribbon.
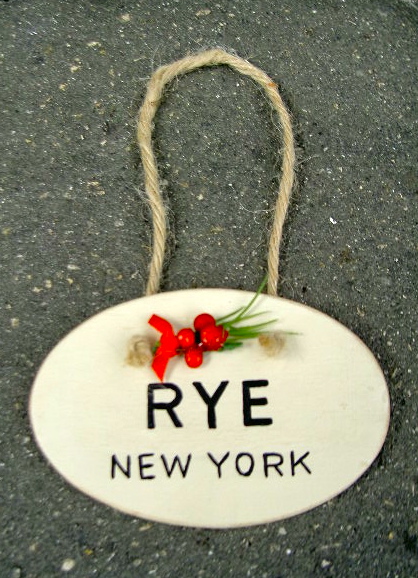
Step 9: Add the twine hanger by threading through the holes and tying a knot.  Then hote glue the berries in place in between and trim ribbon ends.
Your ornament is ready to be hung.

SHOP THIS POST:

You may also like...

  • Cross Stitch Monogram Ornament PlacecardCross Stitch Monogram Ornament Placecard
  • DIY Wedding Cake Ornament FavorsDIY Wedding Cake Ornament Favors
  • “H” is for Handpainted Dish Towels“H” is for Handpainted Dish Towels
  • DIY Mudroom Bins on WheelsDIY Mudroom Bins on Wheels
Share this post:

Filed Under: CHRISTMAS, CRAFTS, CRAFTS, DIY, GIFTS, PAINT, SEASONAL3 Comments

Reader Interactions

Comments

  1. melanzana says

    November 20, 2011 at 11:27 PM

    Super ideja draga, hvala na tutorialu..
    Pozdrav…

    Reply
  2. Lisa @ Over the Big Moon says

    November 25, 2011 at 11:55 PM

    These are super cute! I think it would be fun to do them for all of the places we have lived! I would love for you to share them with our readers at out 4th Friday Finale at Over the Big Moon!

    Thanks!
    Lisa

    http://overthebigmoon.blogspot.com/2011/11/4th-friday-finale-112511.html

    Reply
  3. Sara says

    November 29, 2011 at 4:12 PM

    So pretty! Would LOVE it if you would link this up at my turquoise lovin' party going on right now!! (and red during the holidays!) http://www.sweetlittlegals.com/2011/11/turquoise-lovin-15.html

    Reply

Leave a Reply Cancel reply

Your email address will not be published. Required fields are marked *

Primary Sidebar

Hi! I’m Jaime

Jaime Costiglio

Hello!

Thank you for stopping by.
Join me for lots of DIY.

Read more

Get new posts via email

Handbuilt Holiday: Gift Project Plans

handbuilt holiday gift project plans

Collection of DIY gift project plans to build.

The Home Depot Tool Prospective

THD Prospective

Tools to consider for the DIYer.

Archives

The Home Depot Logo
Copyright © 2026 Jaime Costiglio · Custom site by Moonsteam Design

Privacy Policy