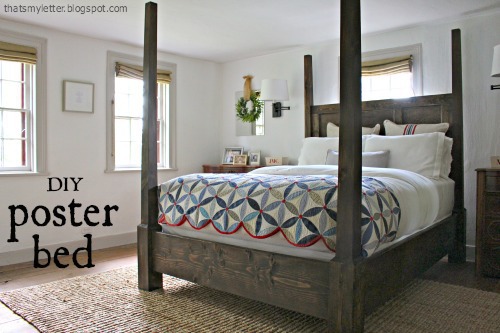
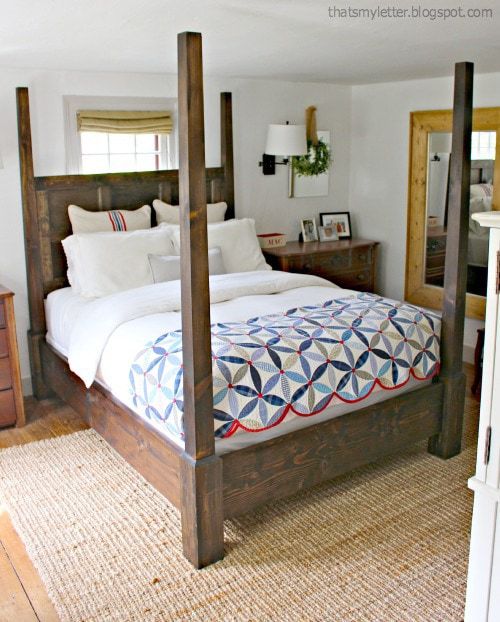
One year after moving in and we finally have a real bed in the master! Sharing how I built this posted bed along with free plans. I worked with the fabulous (and now on TV!) Ana White, she made the plans here and I did the build.
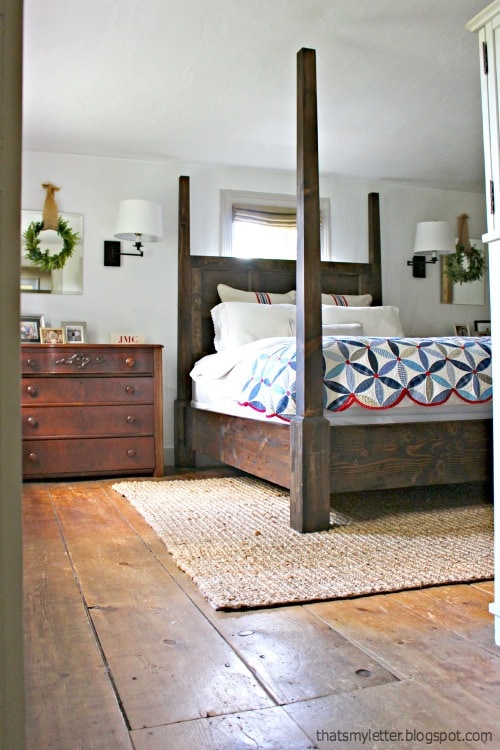
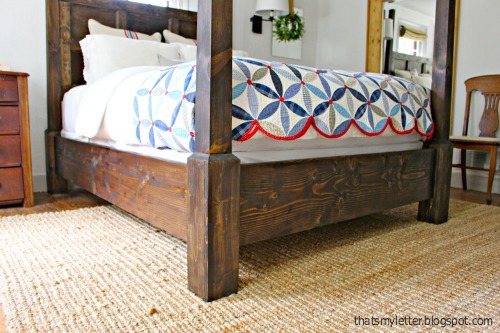
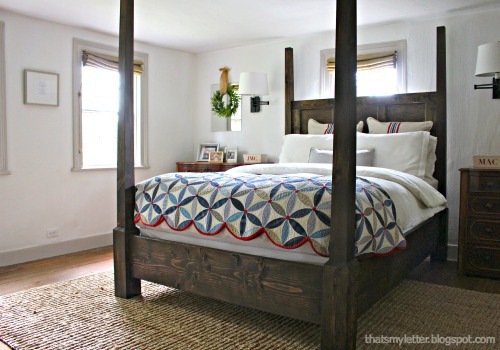
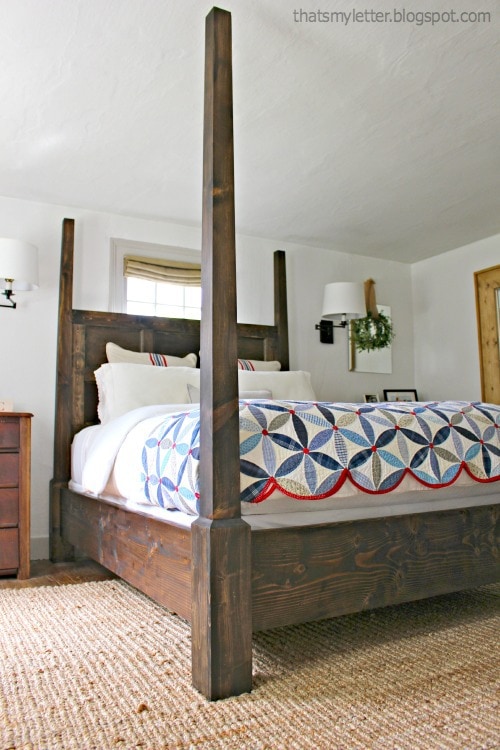
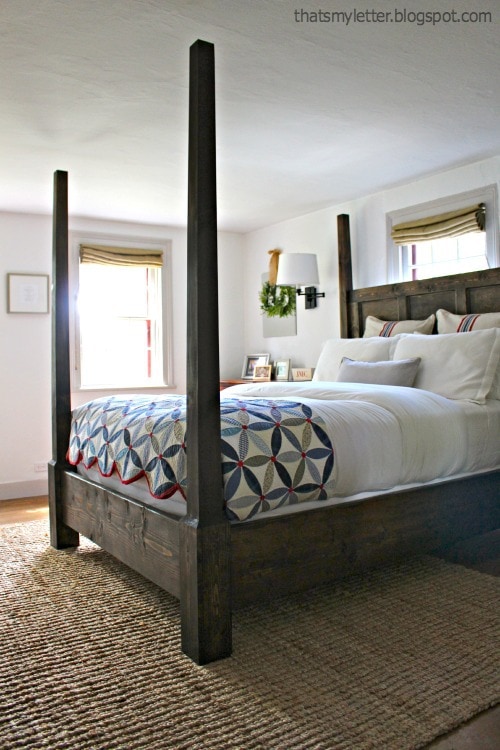
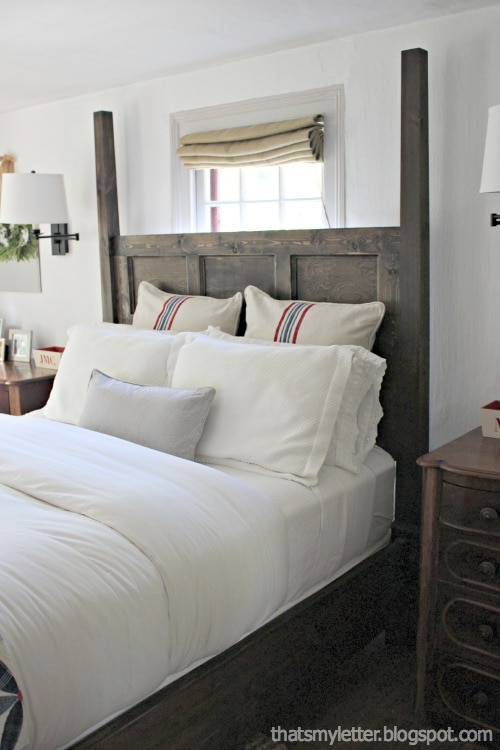
This poster bed is the real deal, strong and sturdy and clearly a statement piece.
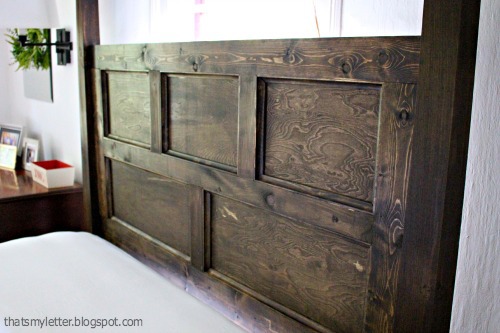
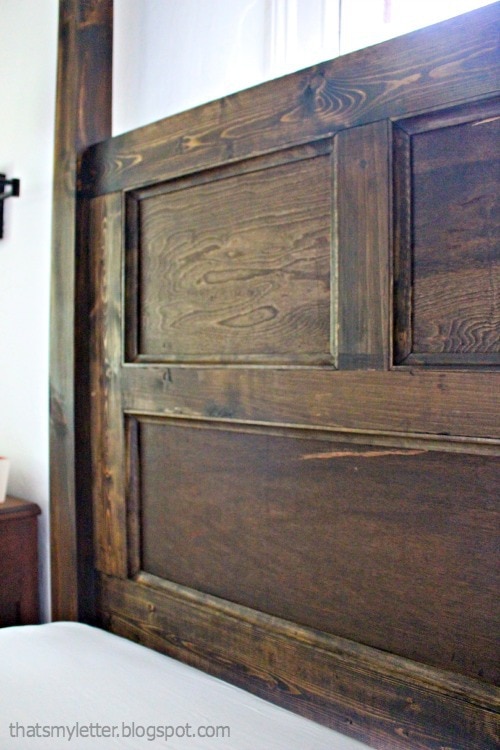
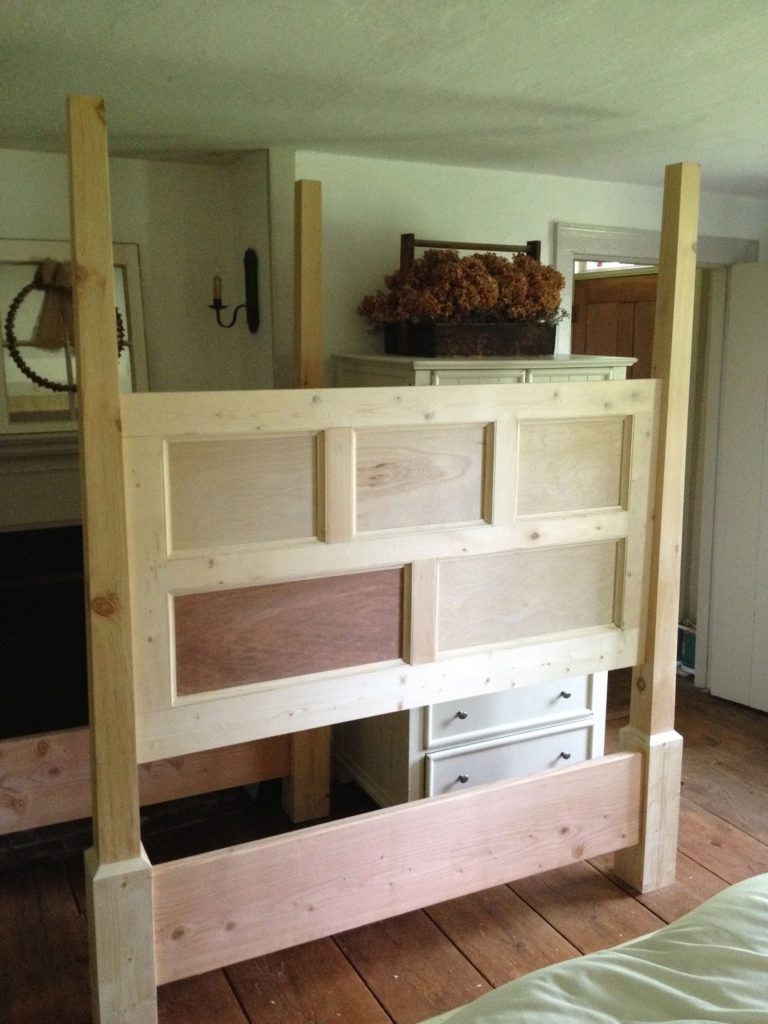
The paneled headboard adds so much character, warmth and dimension and also does double duty to cover the bottom portion of a window. (This is the only place in the room for the bed so we have no choice but to place it in front of the window.)
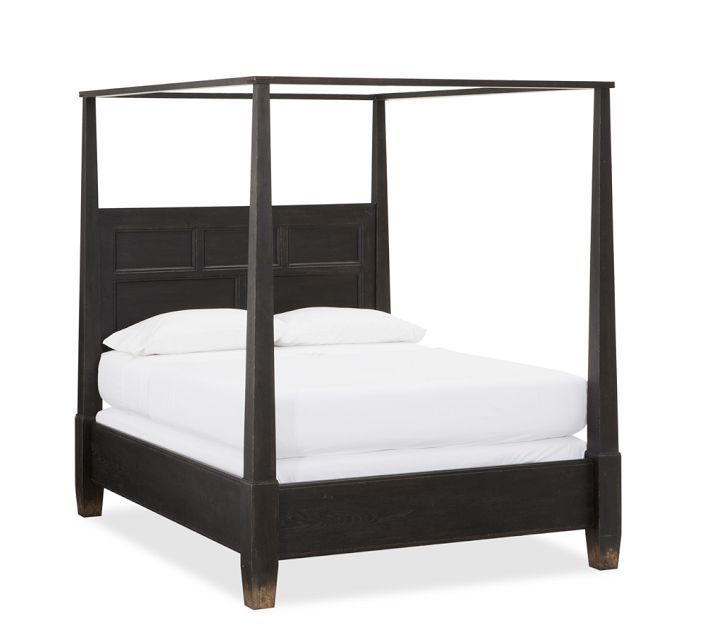
We modeled this build after the Pottery Barn Dawson Canopy Bed.
I choose to leave the canopy off but Ana’s plans do include the canopy.
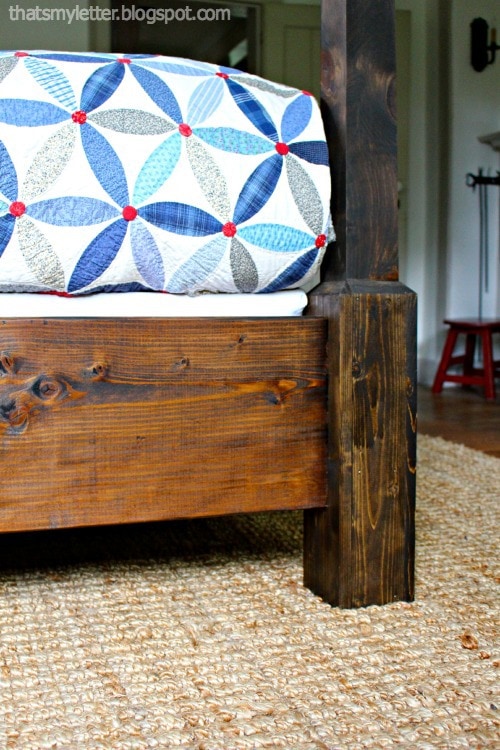
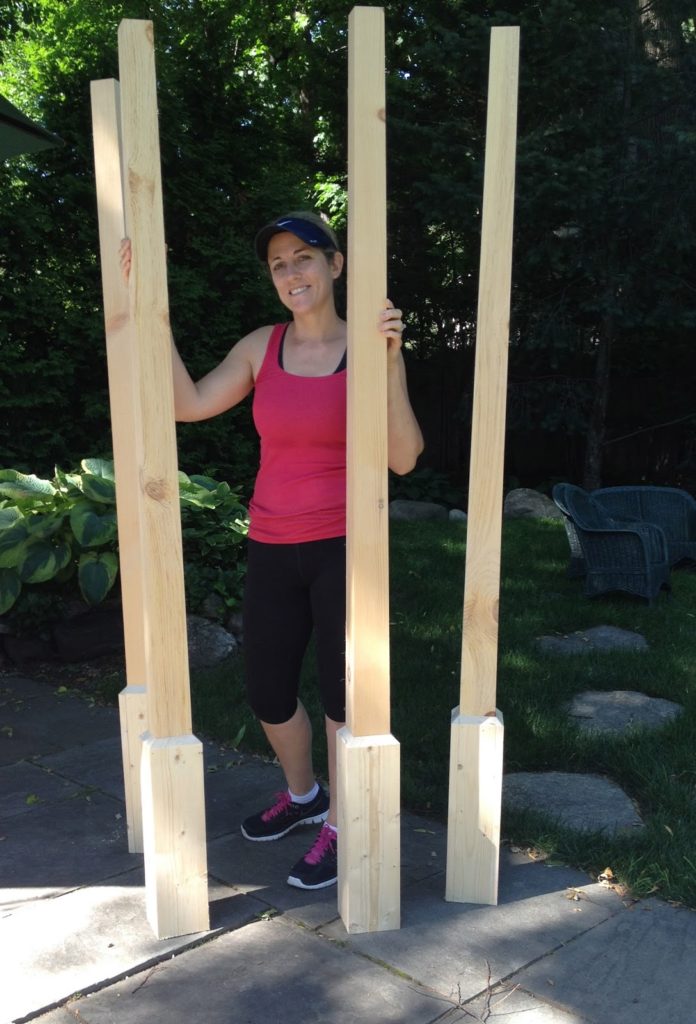
The chunky tapered posts are from the kind folks at Osborne Wood.
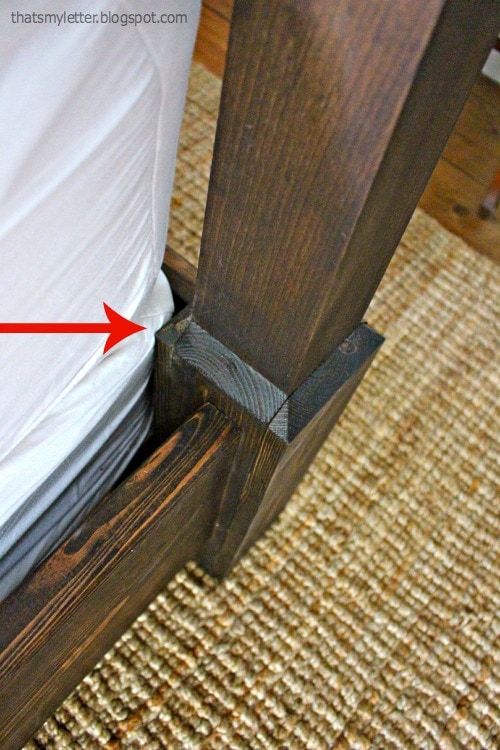
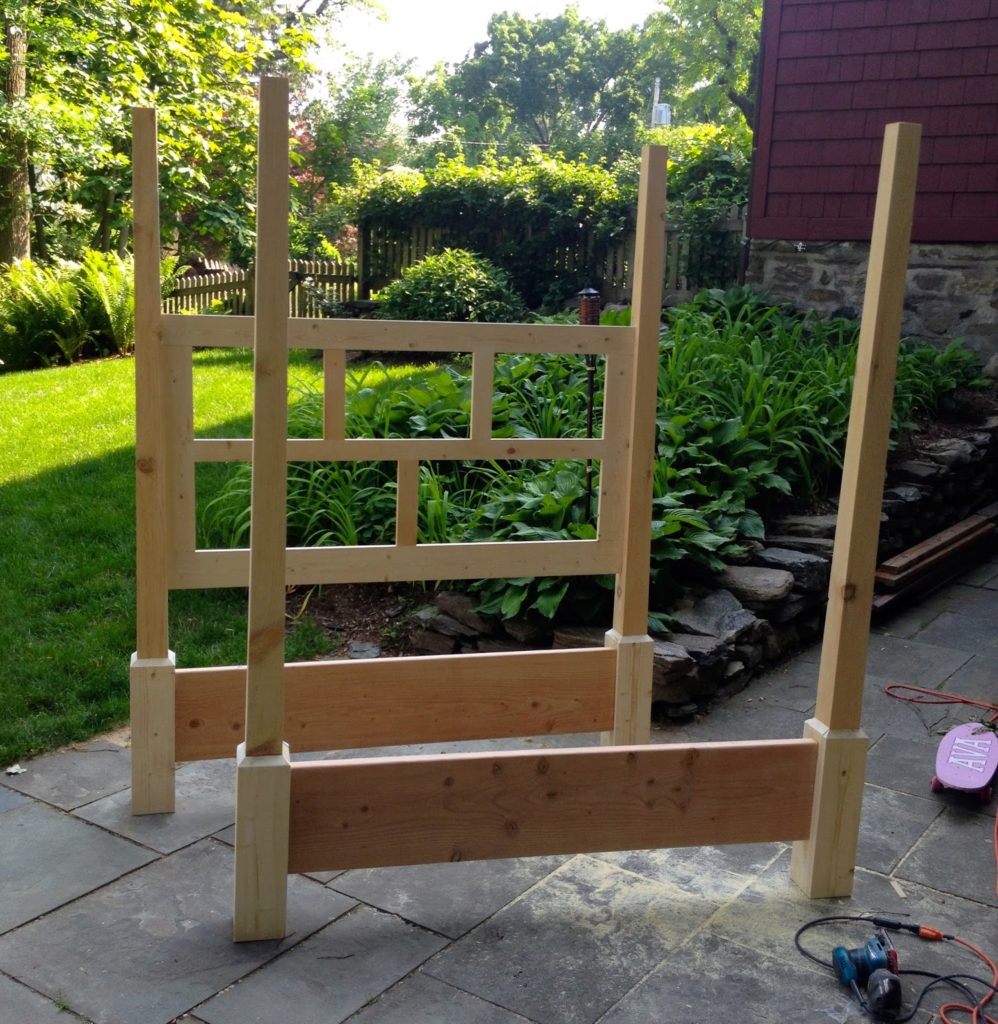
We added 1x wraps to the base of the posts.
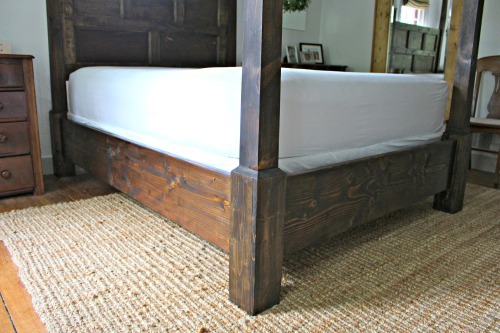
Ana’s plans will give you a 6″ clearance under the bed.
We have an 11″ mattress, it all sits perfectly high enough off the ground.
I added the cove moulding on the headboard panels for a finished look.
Here we go with lots of pictures.
I’m in love with how this build came together, it was fairly simple and affordable.
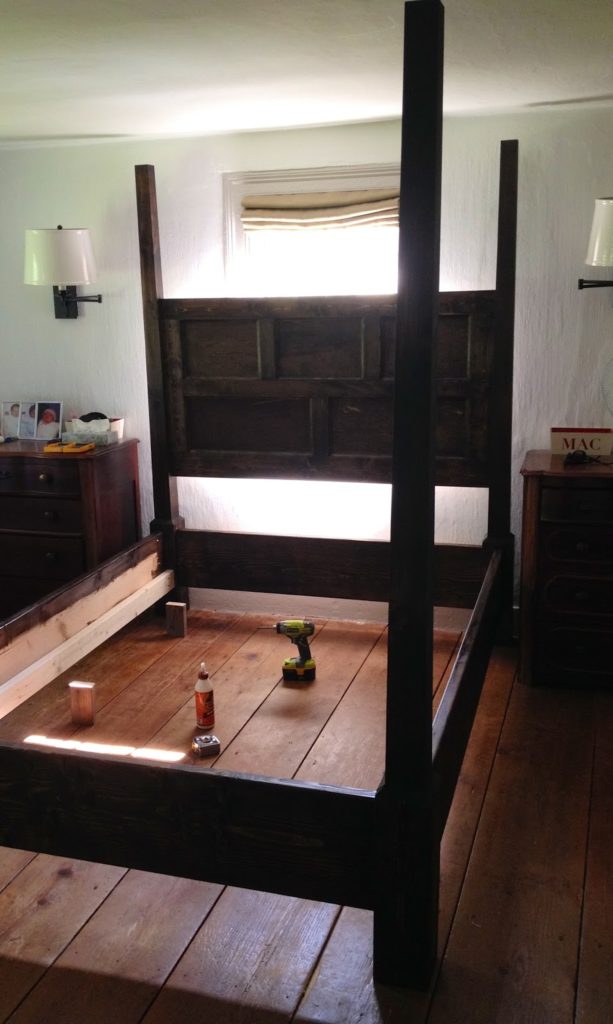
Before you begin be sure to measure your box spring, most importantly the width. The box spring will rest on 2×4 supports running lenghtwise. You can see above a small gap between the footboard and the mattress which is fine, you don’t want any gap between the sideboards and the mattress because that’s where the support is.
How to build a poster bed
Follow Ana’s plans for supplies and cut list.
** Be sure to measure your box spring before making any cuts to ensure proper fit.
Order the tapered posts from Osborne Wood.
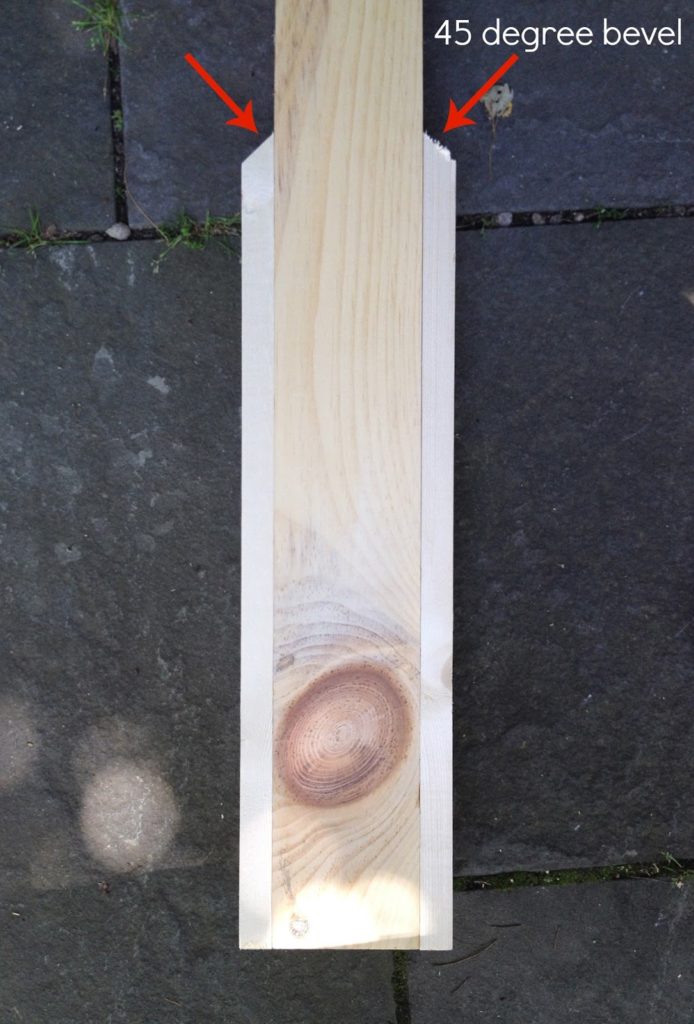
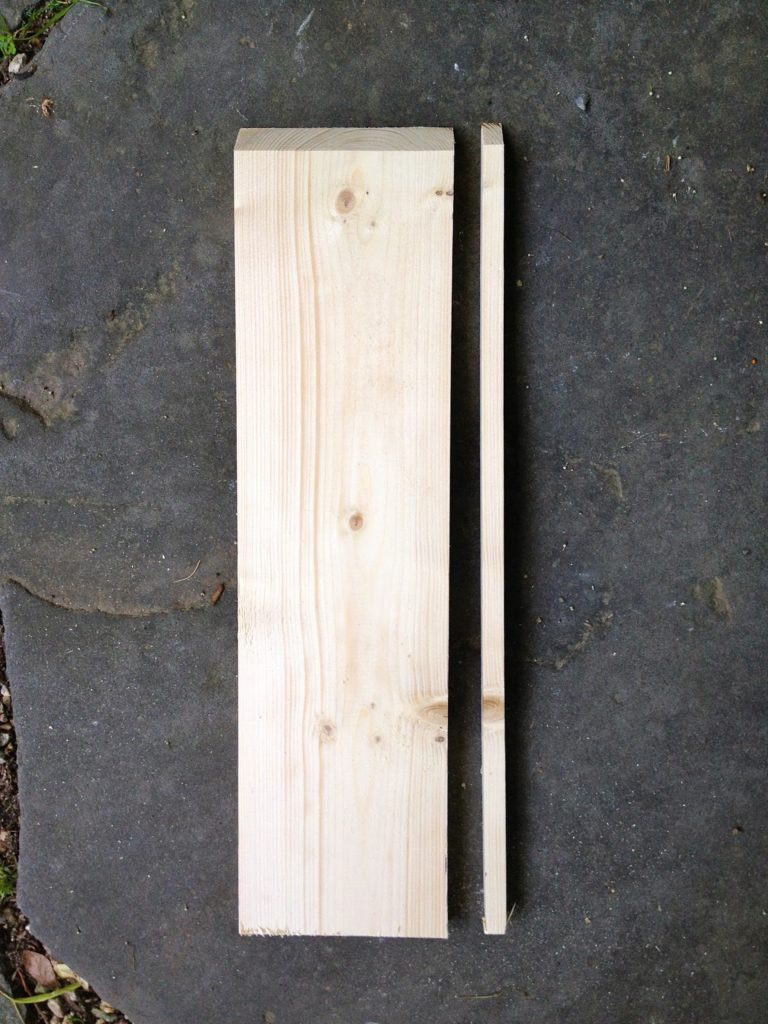
Step 1: Make the post wraps, cut the 1x4s with a 45 degree bevel at top.
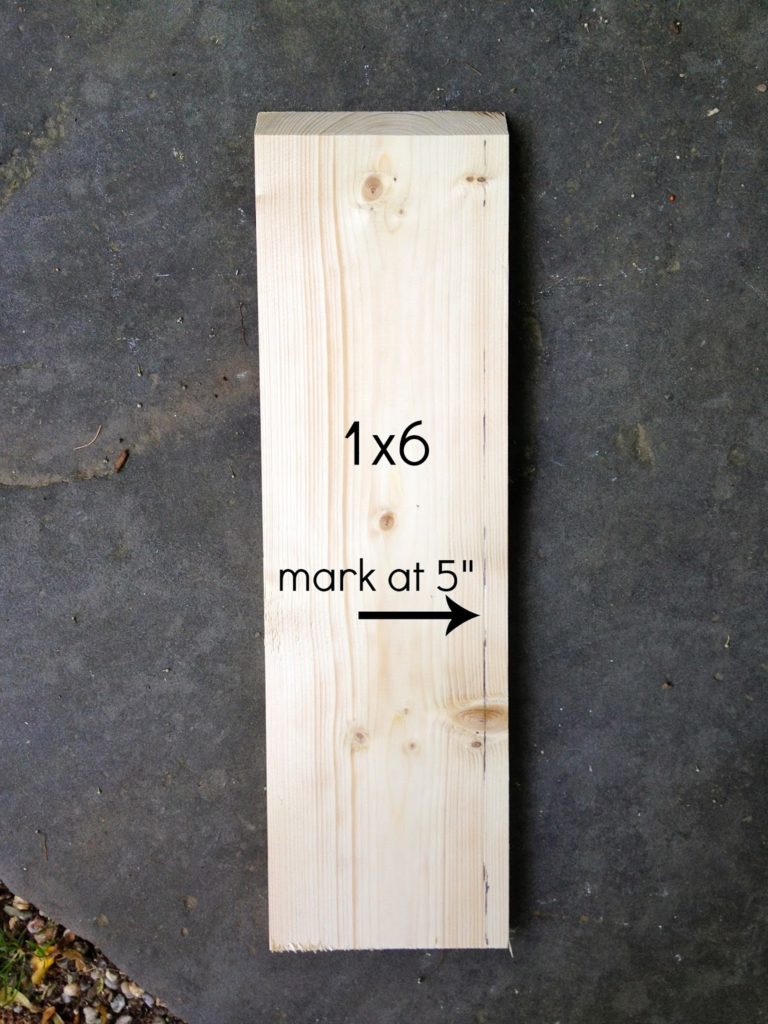
Step 2: Cut the 1x6s with the same 45 degree bevel at top then mark the width at 5″.
Step 3: Rip off the excess.
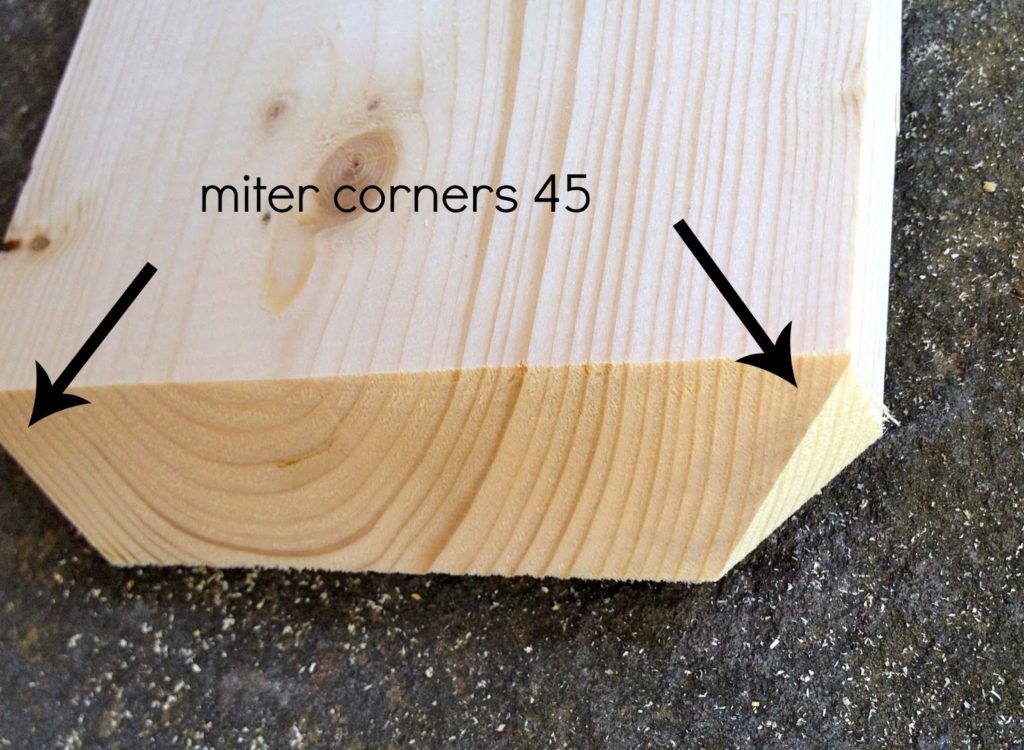
Step 4: Miter the corners at 45.
Step 5: Attach the 1×6 for a complete post wrap.
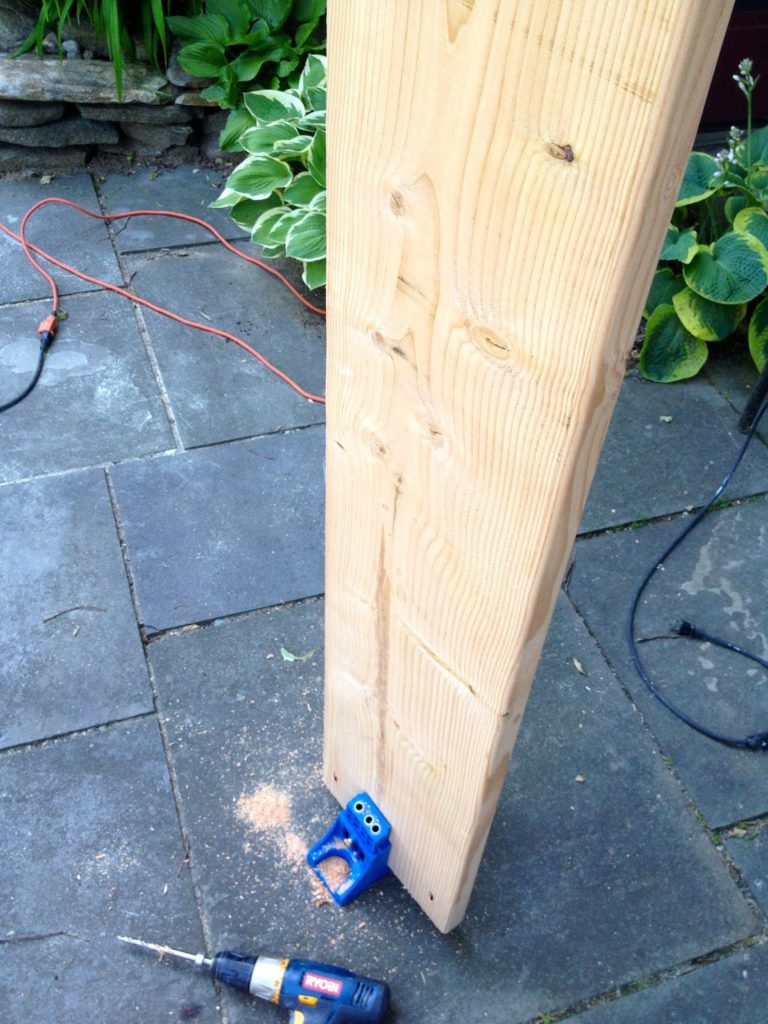
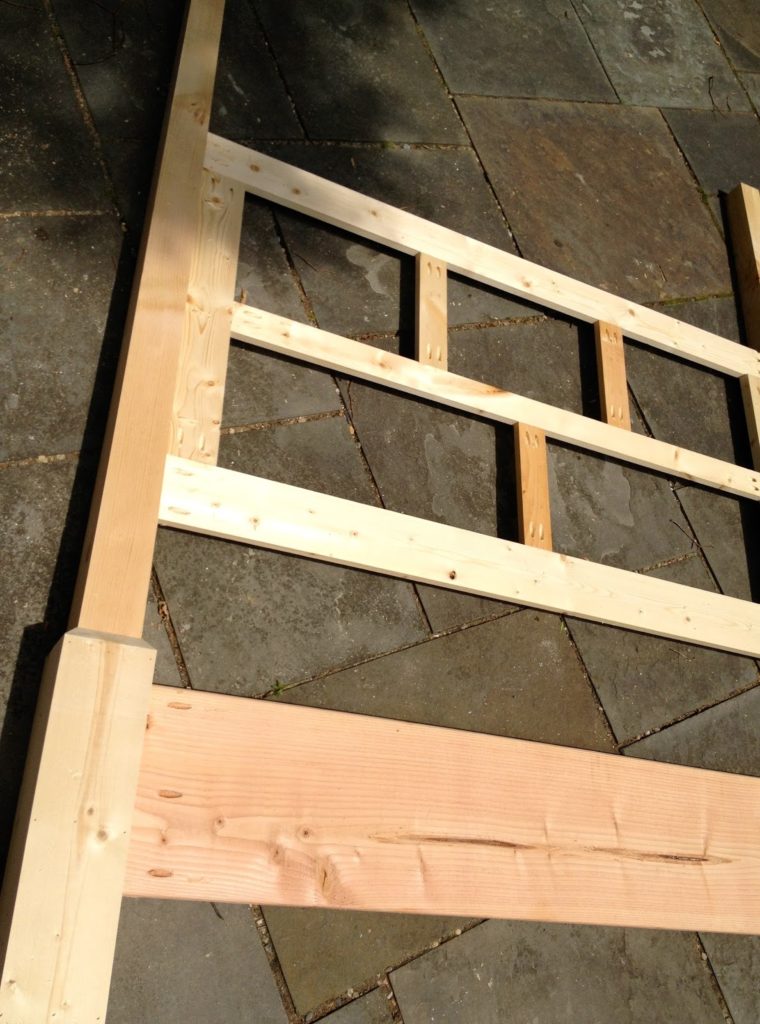
Step 6: Cut 2x12s to size and make pocket holes using your Kreg jig.
Step 7: Assemble headboard from back using pocket holes throughout.
Step 8: Attach plywood backing and cove moulding.
Step 9: Stain Minwax Jacobean and seal with clear satin wipe on polyurethane.
Then assemble pieces and add 2×4 frame supports.
It's amazing, Jaime! Such beautiful work.
WOW! that bed is a total stunner!
I love that bed. You did an awesome job. I see your Kreg. I have a Kreg Jr…I have had it for months. At first I was intimidated by it. But now…I am just amazed at how easy it is to use. Thanks for sharing your beautiful bed.
Holy moly! What a beautiful bed. So gorgeous. You did an amazing job.
What a great build, Jaime. 🙂
Hi Jaime! I LOVE this bed! You really did an amazing job. I've always wanted a poster bed but fear that it would be to big in my room cause we don't have vaulted ceilings.
How tall are your ceilings? They don't look vaulted either but without the canopy on top it doesn't look like its taking over the room. I may be rethinking the idea now :). Thanks so much for sharing!
You are a building machine. It turned out amazing!
Can you please share the link to the exact post you purchased from Osborne?
Seriously…your talent is out of this world, Jaime. You are super woman! This bed is gorgeous and looks fantastic in your home. Enjoy!
That's pretty darn amazing! I also love your quilt.
becky @ casacaudill
http://www.casacaudill.com
I have always wanted a canopy bed. Unfortunately I don't have the ceiling height to do it. Your bed is awesome. Are the posts tapered on all four sides or just two?
You are amazing my friend… Featuring YOU tomorrow!
What a beautiful bed Jaime! Great build.
Kristi
Wow, what an amazing DIY project and an amazing bed frame!! 🙂
I MUST know: where did you get the quilt from? It's GORGEOUS!!
Great project. The result looks awesome.
I'm in love with your bed/bedroom as it looks like a cozy nest. It must be a great feeling, knowing you built this..and that someday, your future grand/great- grandchildren could enjoy it with their families. I think that's pretty incredible. Really beautiful job on this! And ps I'm a new follower who discovered your blog via pinterest, with your Entry Console build-another beauty!
Beautiful bed! I love your quilt too!
Thinking ahead to disassembly; will the pocket hole screws hold up to this in case you need to move the bed out of the room at a later date? What kind of lumber is best for this? White pine?
The room looks great! I happen to be focused on floor stain and love the floors… May I ask what stain you used? Thanks! kathleen