• Home
  • Blog
  • About
  • Contact
    • Disclosure
    • Privacy Policy
  • SHOP
  • Widget area for main menu

    • Email
    • Facebook
    • Instagram
    • Pinterest
    • Twitter
    • YouTube
  • Skip to primary navigation
  • Skip to main content
  • Skip to primary sidebar

Jaime Costiglio

build - paint - sew

  • BUILD
    • BEDS
    • BENCHES
    • DESKS
    • DRESSERS
    • GAMES & TOYS
    • SCRAP WOOD
    • SHELVES
    • STORAGE
    • TABLES
  • TOOLS
  • PAINT
    • CRAFTS
    • FURNITURE
    • HOME DECOR
  • SEW
    • GIFTS
    • HOME DECOR
    • POUCHES
  • HANDBUILT HOLIDAY
    • 2021
    • 2019
    • 2018
    • 2017
    • 2016
    • 2015
    • 2014
    • 2013
  • GIFTS
    • BABIES
    • KIDS
    • FOR HER
    • FOR HIM
    • TEACHERS
    • WEDDINGS
  • SEASONAL
    • 4TH OF JULY
    • FALL
    • HALLOWEEN
    • CHRISTMAS
    • SUMMER
    • SPRING
    • ST. PATRICK’S DAY
    • THANKSGIVING
    • VALENTINE’S DAY
    • WINTER
  • SALTBOX PROJECT
    • BATHROOMS
    • DINING ROOM
    • EXTERIOR
    • FAMILY ROOM
    • FOYER / MUDROOM
    • KIDS BEDROOMS
    • KITCHEN
    • LIVING ROOM
    • MASTER BEDROOM
    • PLAYROOM
  • SCROLL SAW

“P” is for Plaid Stockings

December 22, 2012

Sew: personalized plaid stockings

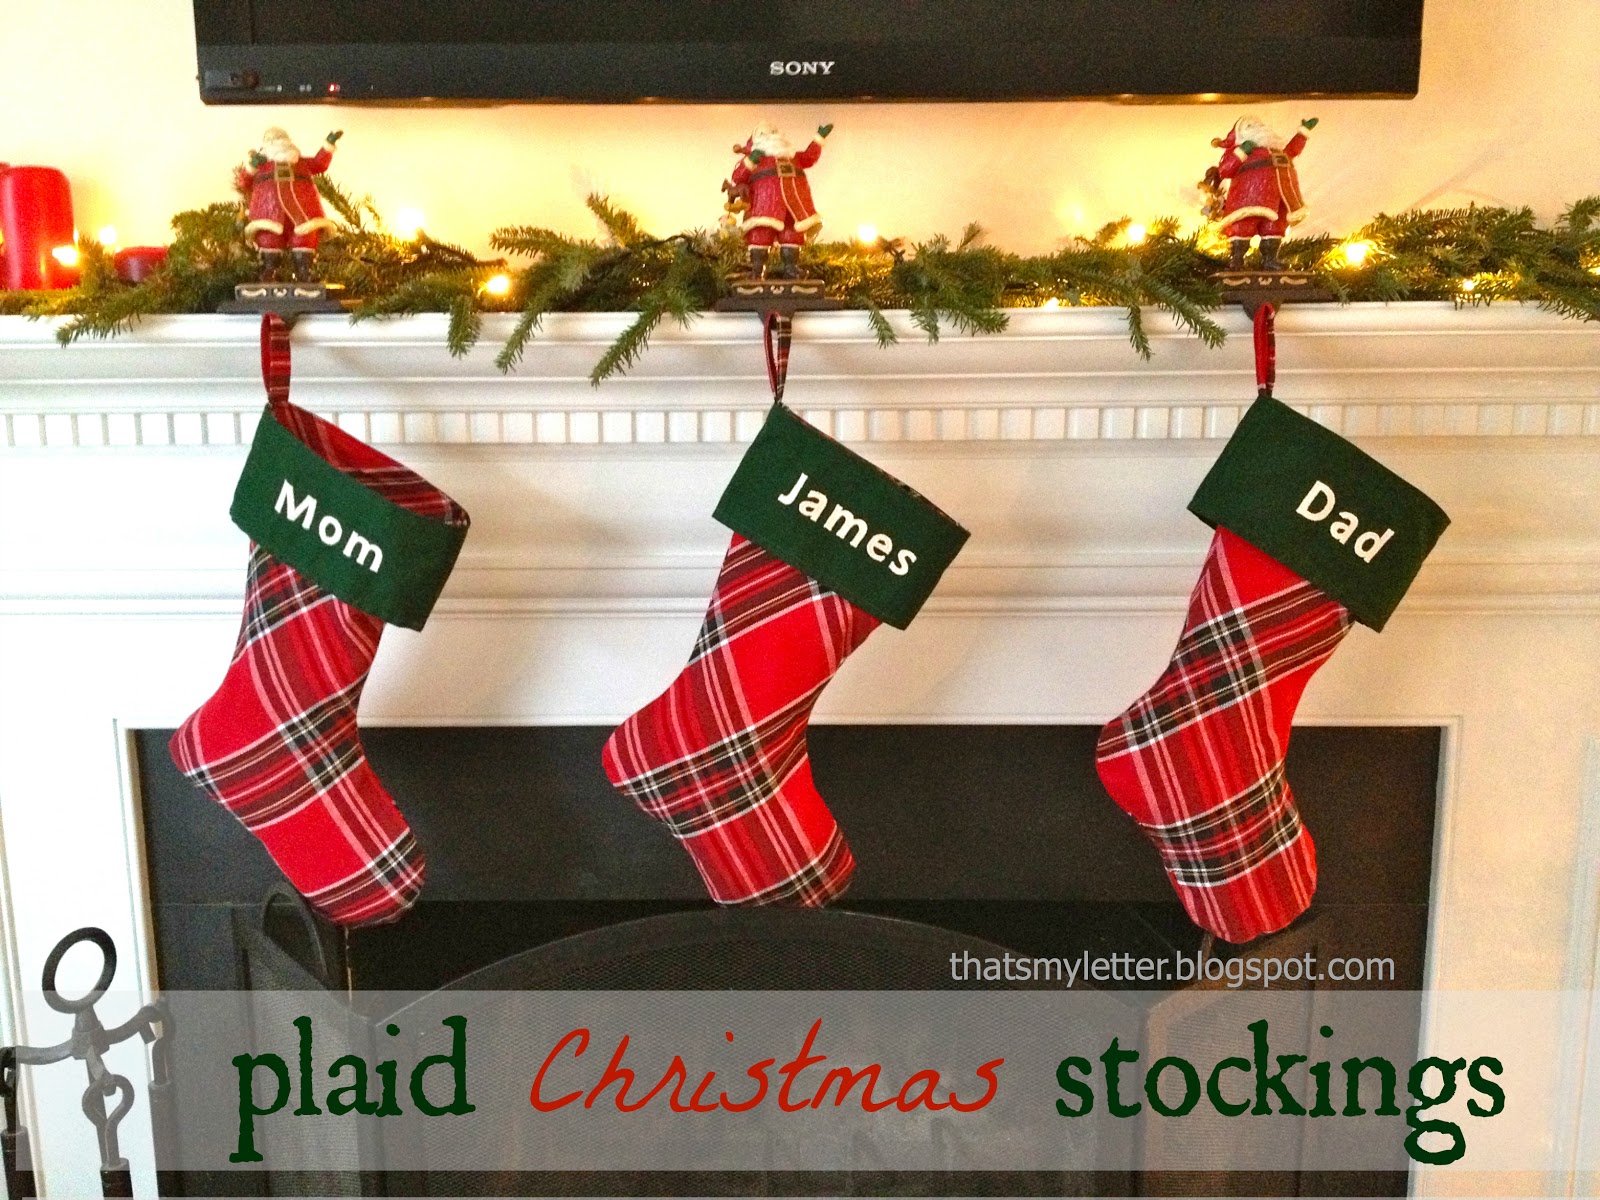
Just in time for Christmas!  
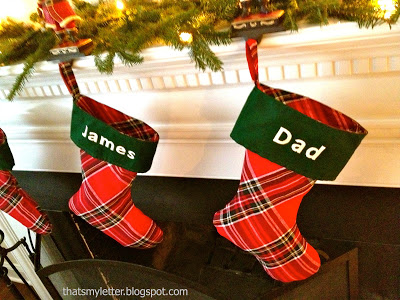
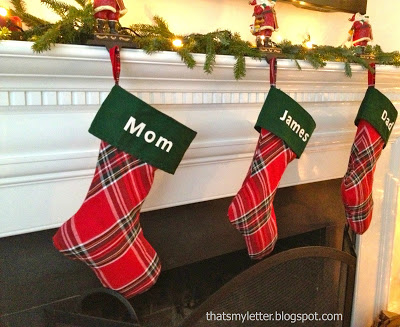
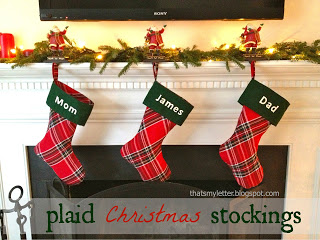
A friend asked for a set of Christmas stockings now that they have a new little guy James.

We modeled these stockings after this version no longer available from Williams Sonoma:
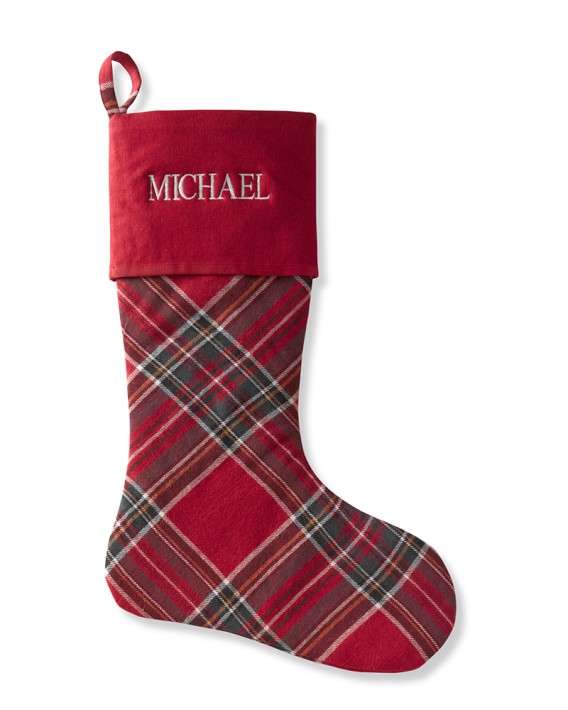
image from williams-sonoma.com

Here’s how to make the plaid stockings:

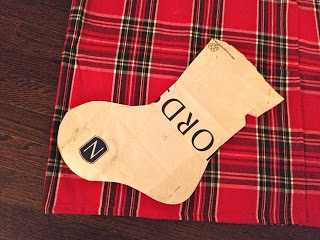
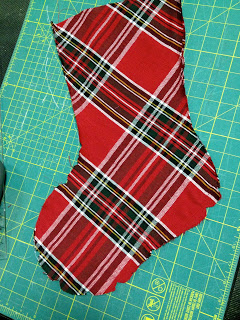
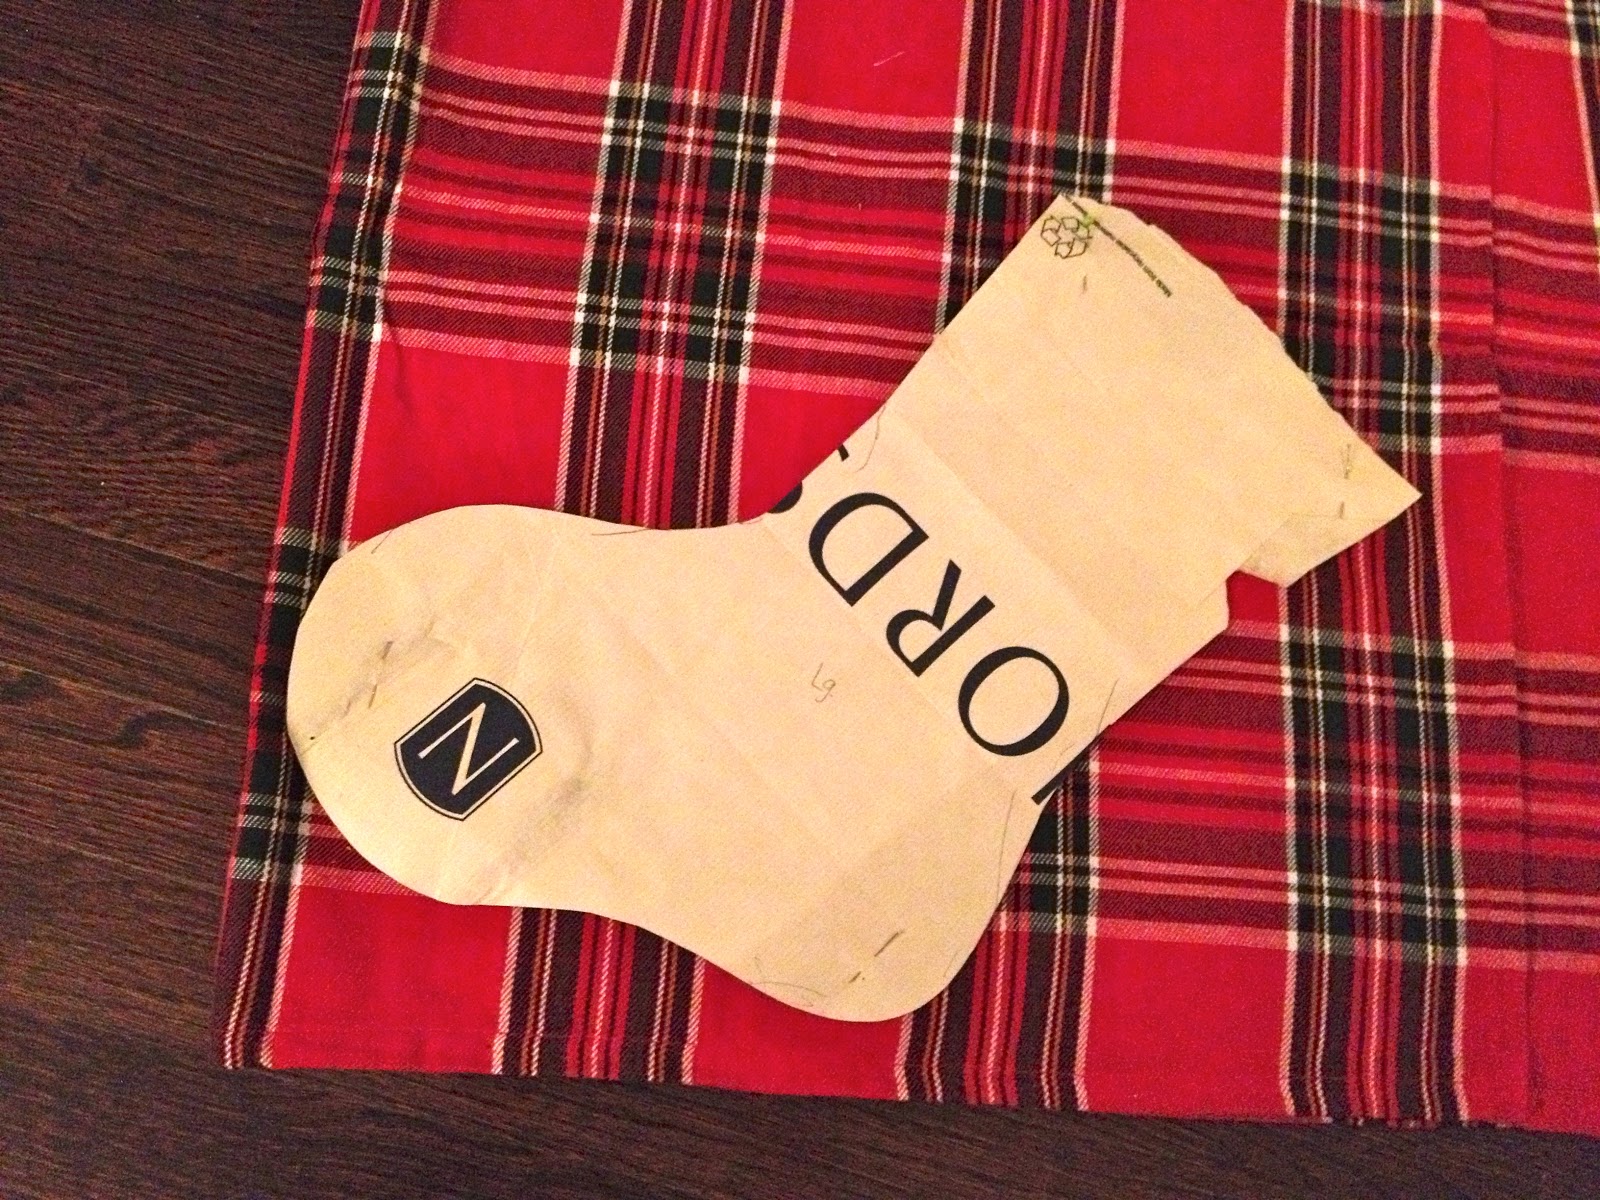
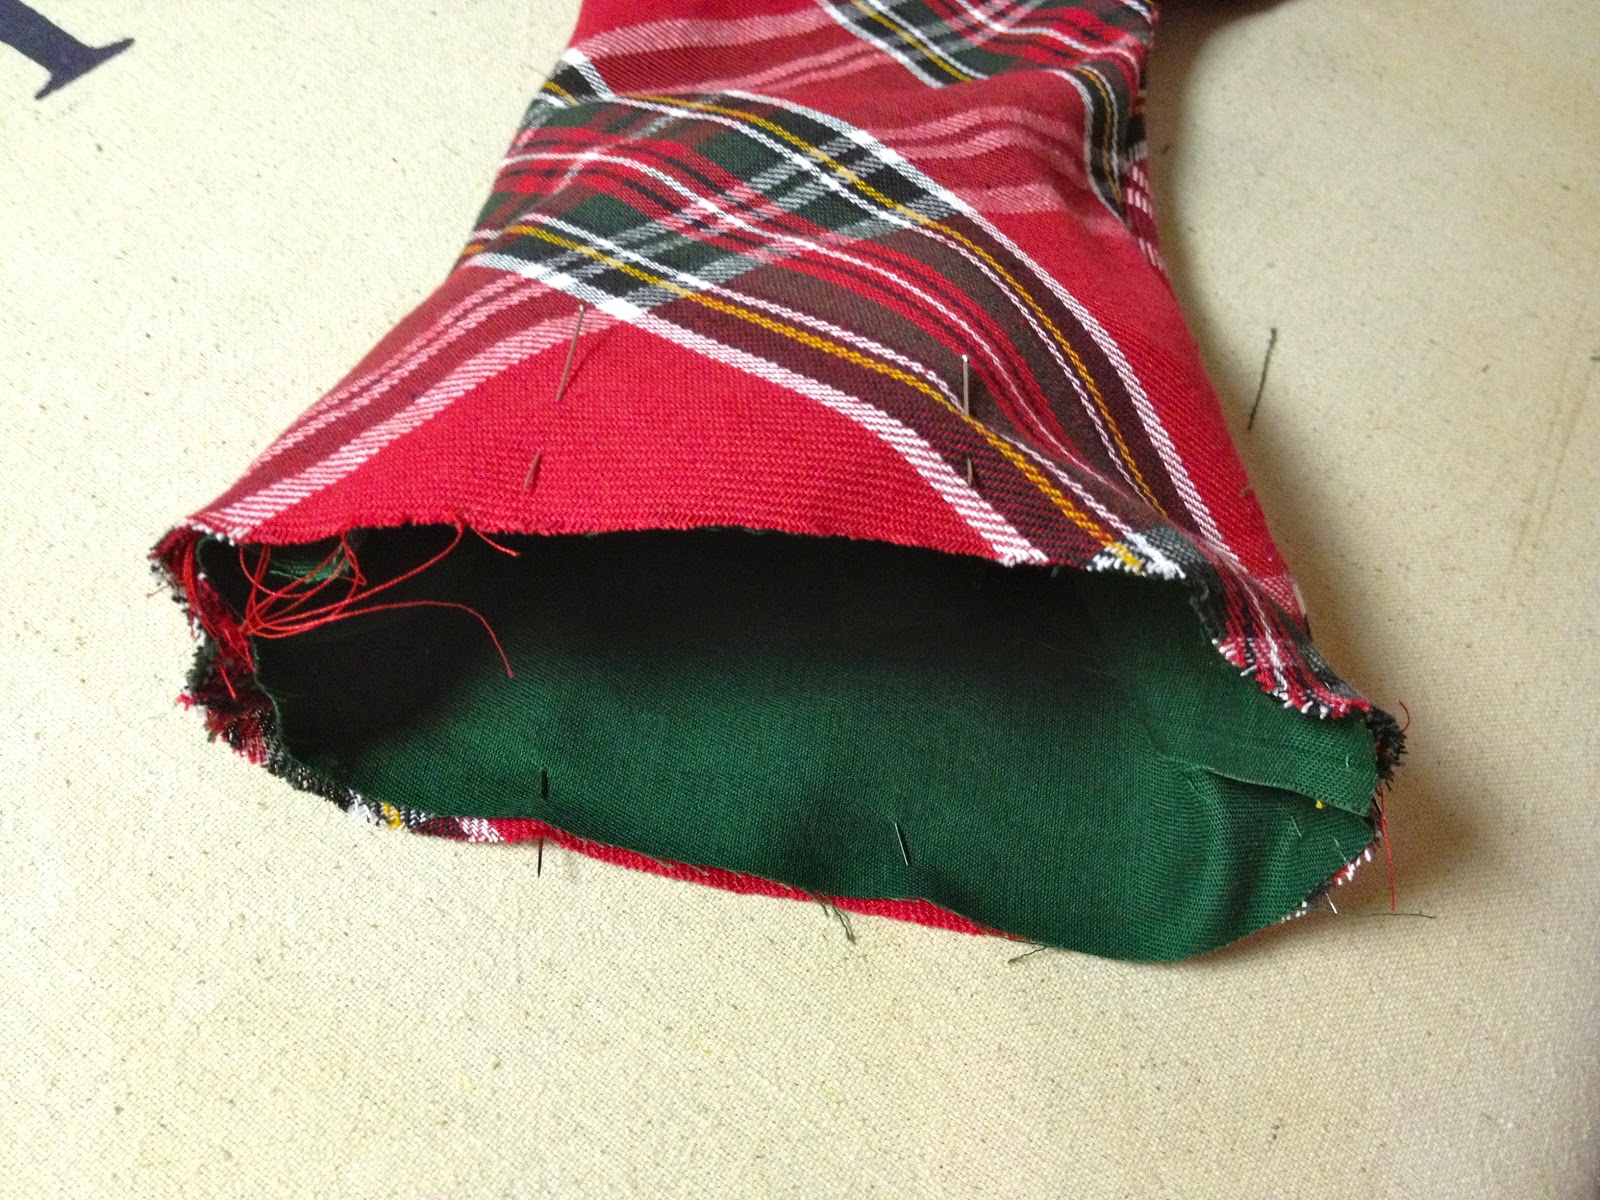
1. Cut stocking shape from plaid fabric, two pieces for each stocking:
2. Sew 1/2″ seam around edges except at top opening then clip curves:

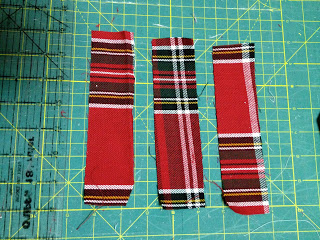
3. Prepare hook piece.  Cut 2″ x 7″ strip:
4. Fold in raw edges and top stitch down both long sides:

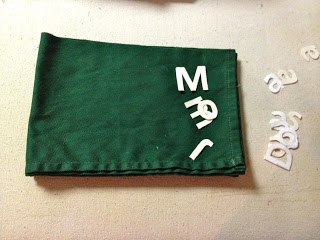
5. Cut cuff piece to match width of stocking opening.
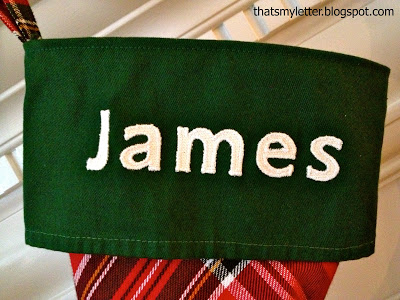
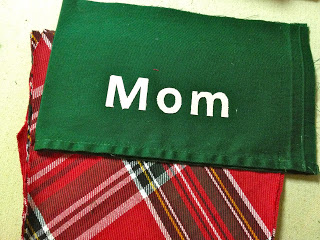
Cut letters from fabric backed with double sided fusible (heat-n-bond).
(For a full tutorial on fabric letters see my post here.)
6. Iron letters in place and zig zag stitch around edges:

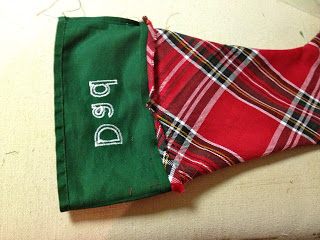
7.  Turn plaid stocking right side out and place cuff right side up against the wrong side of stocking, pin in place around top edge:
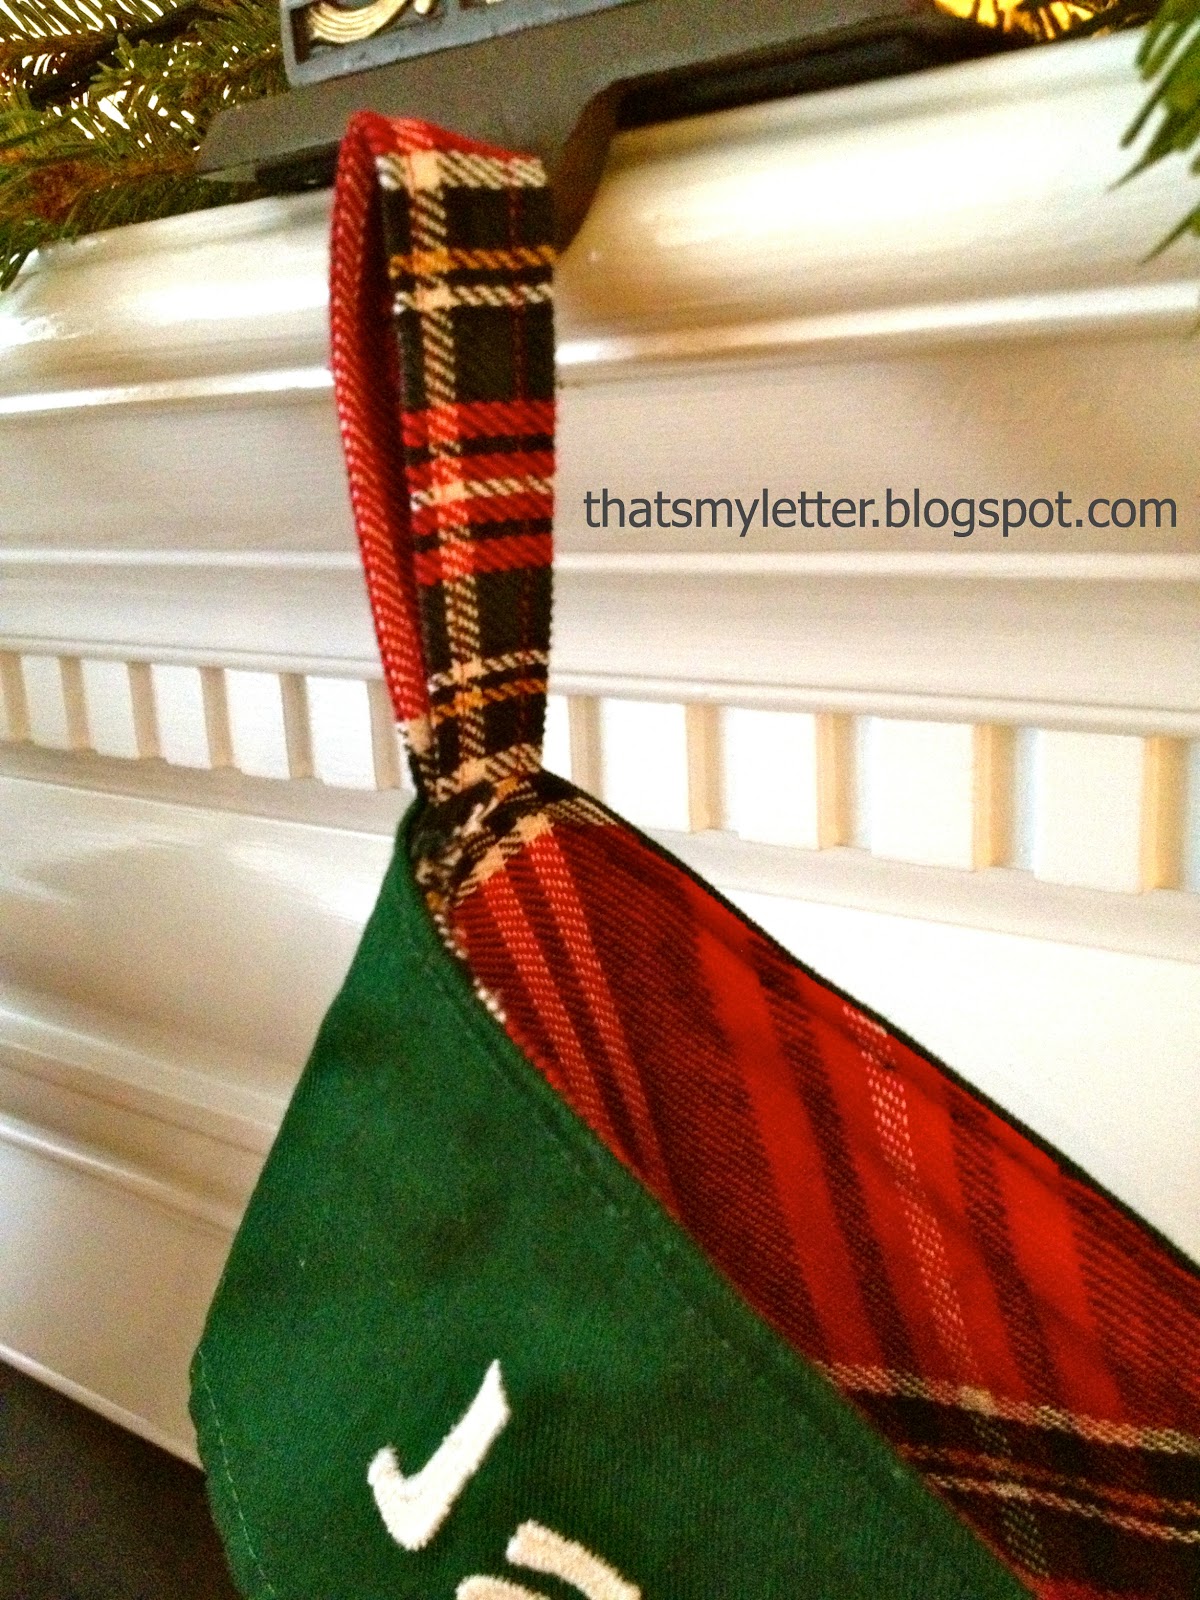
(**Don’t forget to add hanger in place before sewing.)
8. The top edge should look like this once sewn:

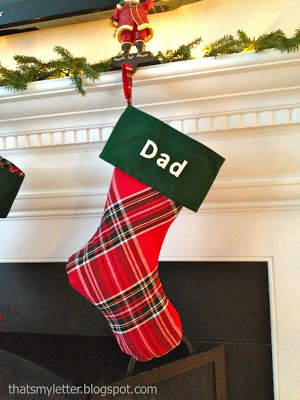
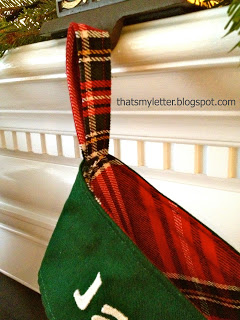
9. Fold cuff down and top stitch top edge:
I’m linking up to:
SAS @ Funky Junk
Nifty Thrifty Sunday @ Nifty Thrifty Things
DIY Project Parade @ The DIY Showoff
Tutorials & Tips Tuesday @ Home Stories A to Z
Strut Your Stuff @ Somewhat Simple
Share Awesomeness Thur @ The 36th Avenue
Pretty Things Thursday @ Scissors & Spatulas
Flaunt it Friday @ Chic on a Shoestring
Frugal Friday @ The Shabby Nest
SAS @ Just a Girl
Remodelaholics Anonymous @ Remodelaholic
inspiration board @ Carolyns Homework
Sunday Showcase Party @ Under the Table & Dreaming
Weekend Bloggy Reading @ Serenity Now

You may also like...

  • Cross Stitch Monogram Ornament PlacecardCross Stitch Monogram Ornament Placecard
  • DIY Simple Personalized PillowsDIY Simple Personalized Pillows
  • DIY Embellished Monogram PouchDIY Embellished Monogram Pouch
  • “P” is for Painted Zipper Pouch“P” is for Painted Zipper Pouch
Share this post:

Filed Under: CHRISTMAS, CRAFTS, DIY, HOME DECOR, HOME DECOR, SEASONAL, SEW, SEWINGLeave a Comment

Reader Interactions

Leave a Reply Cancel reply

Your email address will not be published. Required fields are marked *

Primary Sidebar

Hi! I’m Jaime

Jaime Costiglio

Hello!

Thank you for stopping by.
Join me for lots of DIY.

Read more

Get new posts via email

Handbuilt Holiday: Gift Project Plans

handbuilt holiday gift project plans

Collection of DIY gift project plans to build.

The Home Depot Tool Prospective

THD Prospective

Tools to consider for the DIYer.

Archives

The Home Depot Logo
Copyright © 2026 Jaime Costiglio · Custom site by Moonsteam Design

Privacy Policy