How to make an embellished monogram zipper pouch.
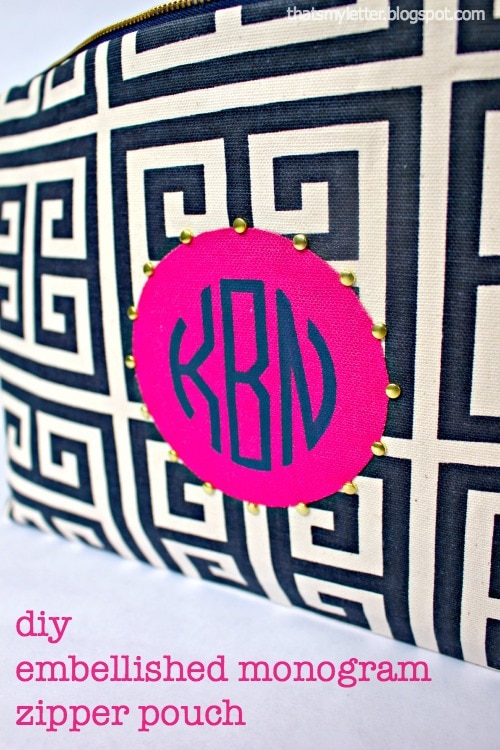
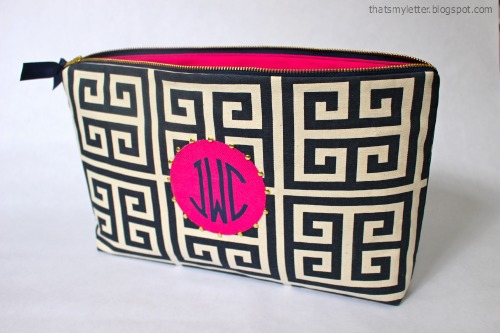
Today I’m sharing how I made this gold brad embellished monogrammed zipper pouch. It’s a simple zipper pouch with a painted monogram ironed onto the front embellished with gold brads.
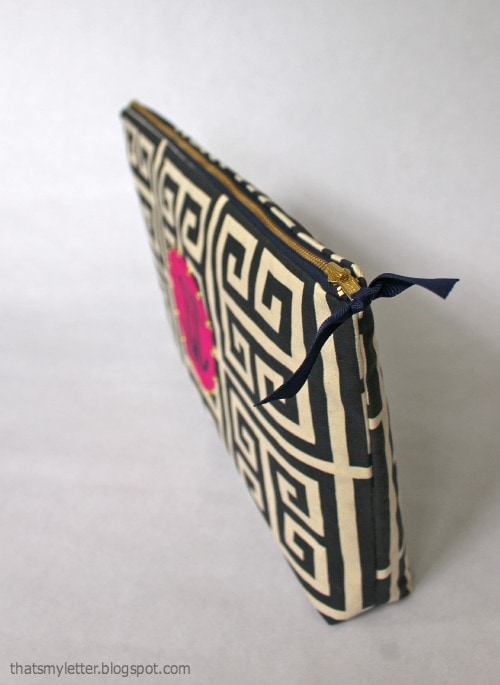
The metal zipper works great with the gold brads and the geometric print fabric.
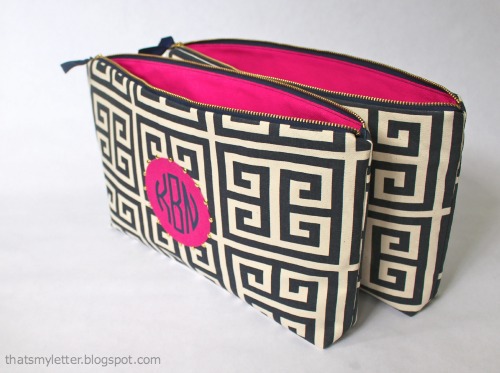
I made these two pouches for my blog friends Jen from The House of Wood and Kristle at Sparrow House Designs. We all were part of the Haven Conference last month and as part of our swag bags we received fabric from Online Fabric Store. I decided to use the fabric to make these gifts.
How to make an embellished monogrammed zipper pouch:
Supplies:
– lining fabric + scrap for monogram
– medium weight fusible interfacing
– 14″ zipper
– lightbox
– acrylic paint
– small paint brush
– heat ‘n’ bond double sided fusible
– sewing machine + supplies
– small gold brads
– hole puncher + hammer
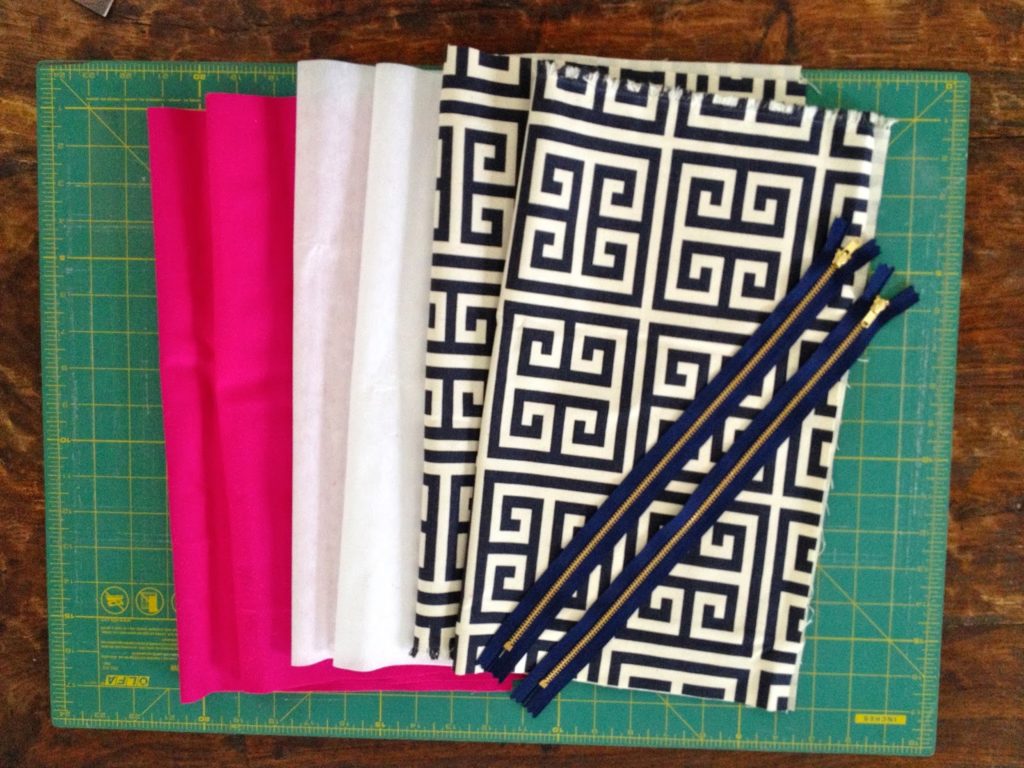
Step 1: Cut fabrics. For a 14″ zipper cut 2 each from exterior fabric, lining & med. fusible interfacing at 16″ x 20″. Iron interfacing onto wrong side of exterior fabric.
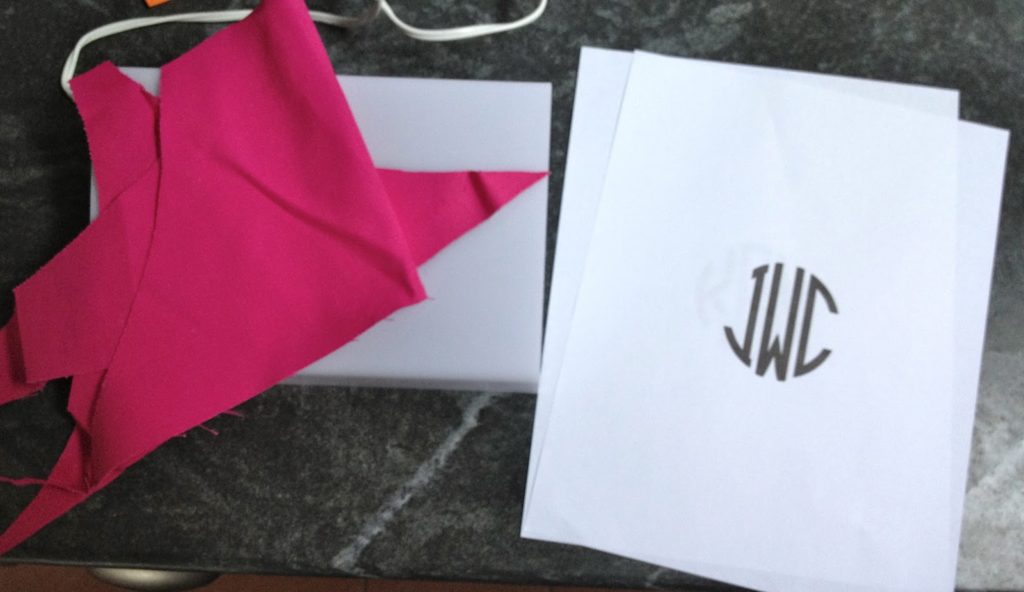
Step 2: Print out desired monogram.
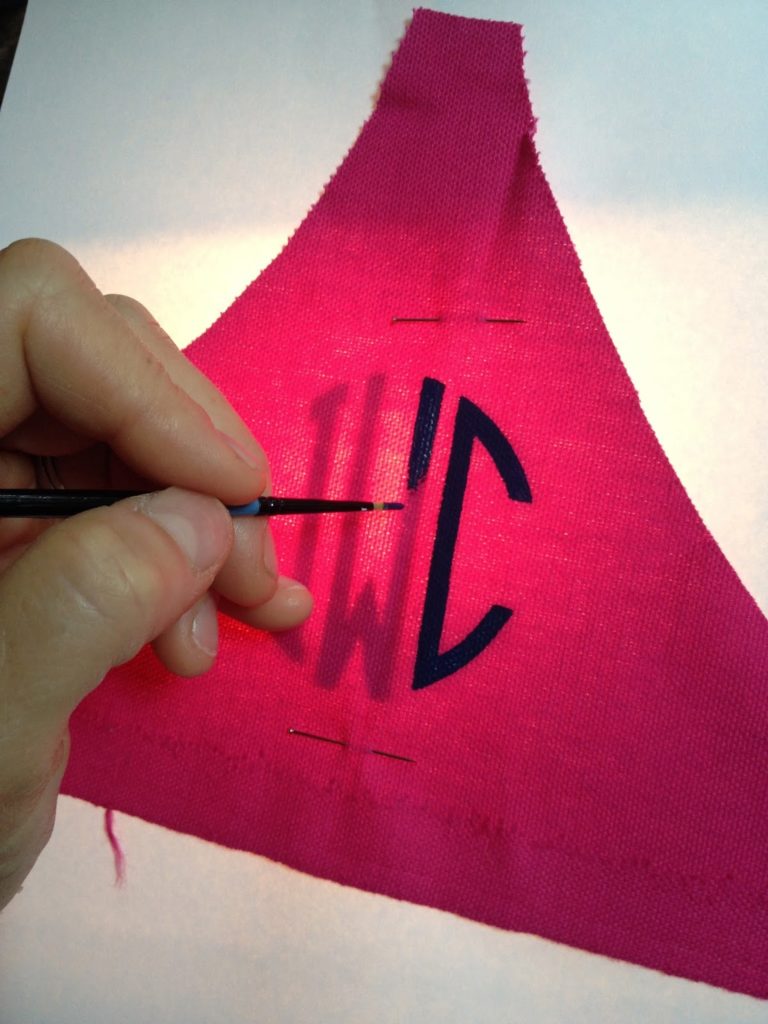
Step 3: Pin printout on wrong side of scrap fabric and place over lightbox.
Paint letters following outline of printout.
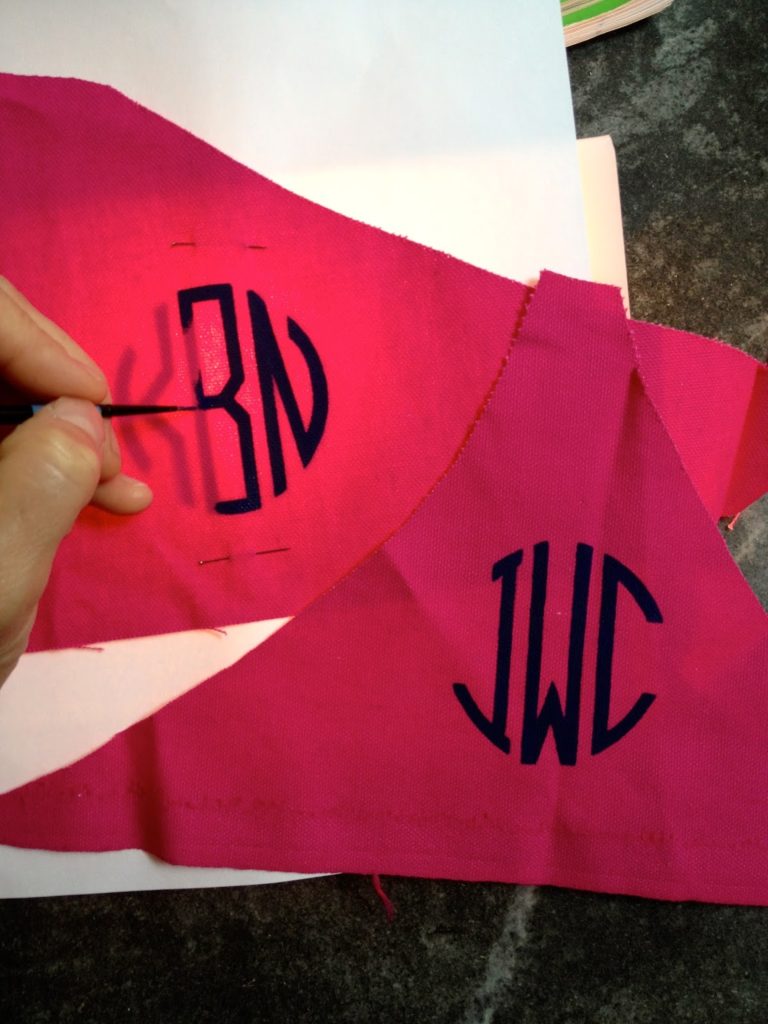
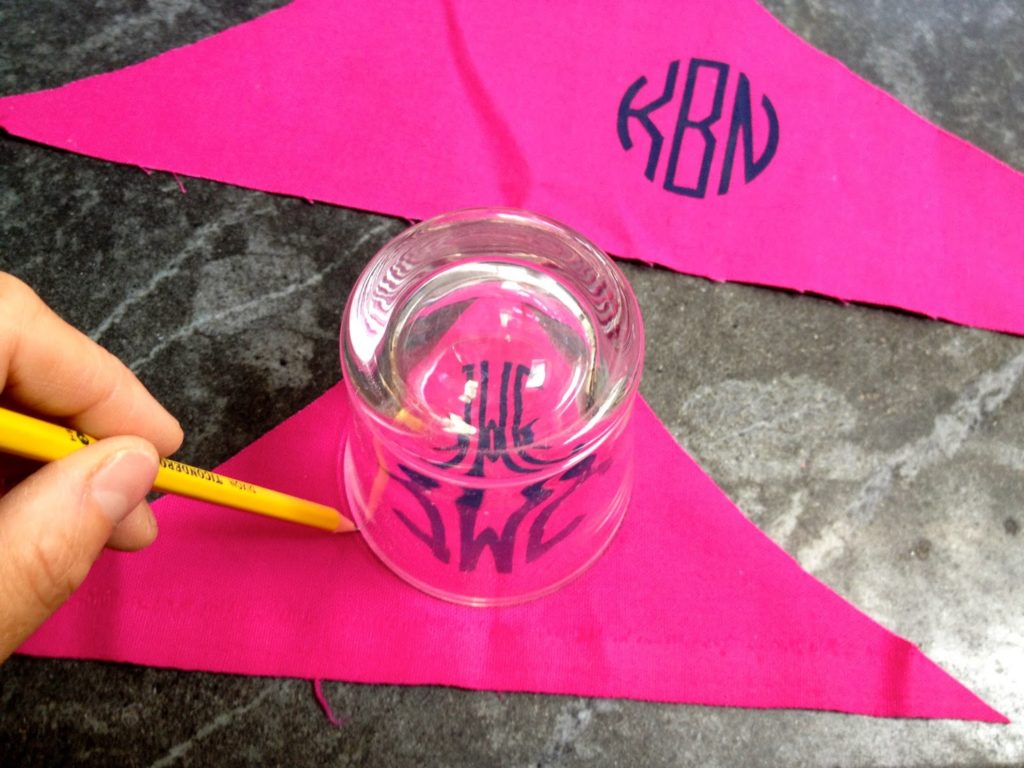
Step 4: Trace circular object around monogram.

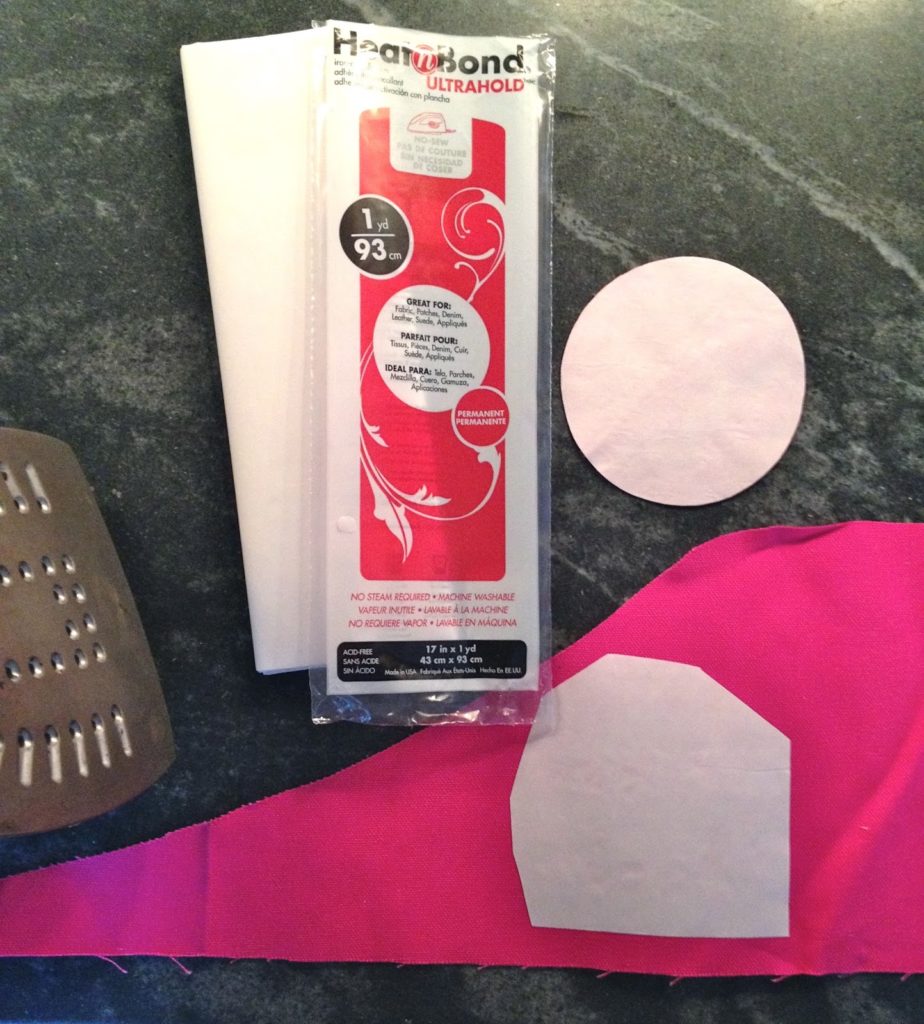
Step 5: Iron heat ‘n’ bond to back of monogram then cut out around traced pencil line.
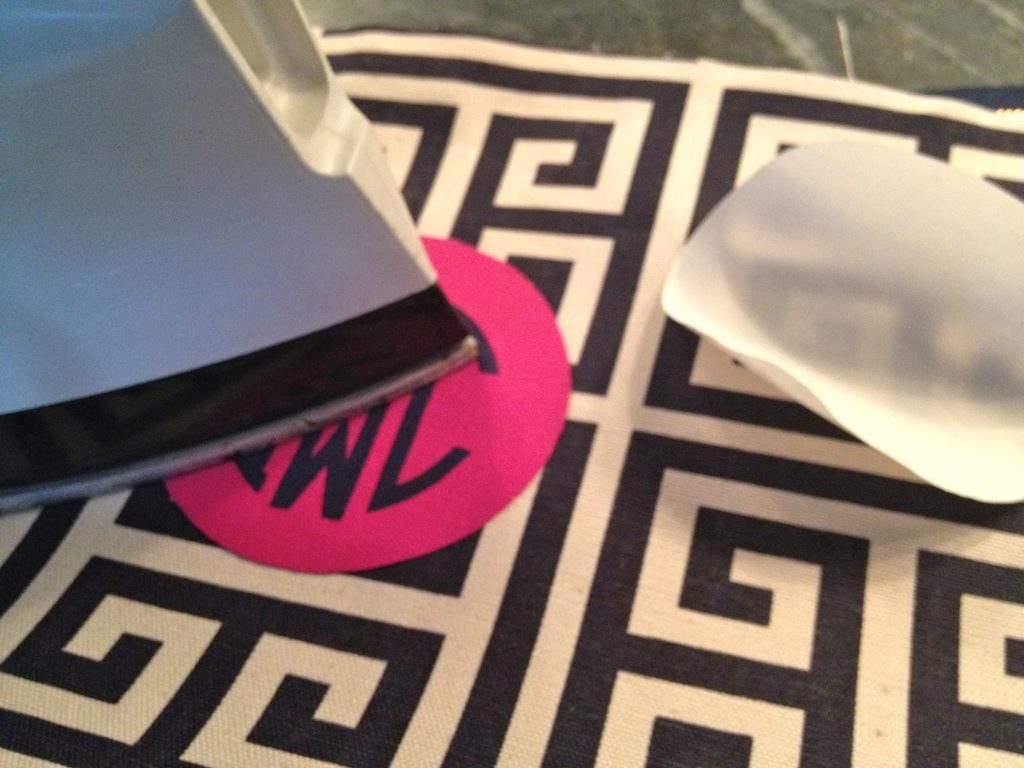
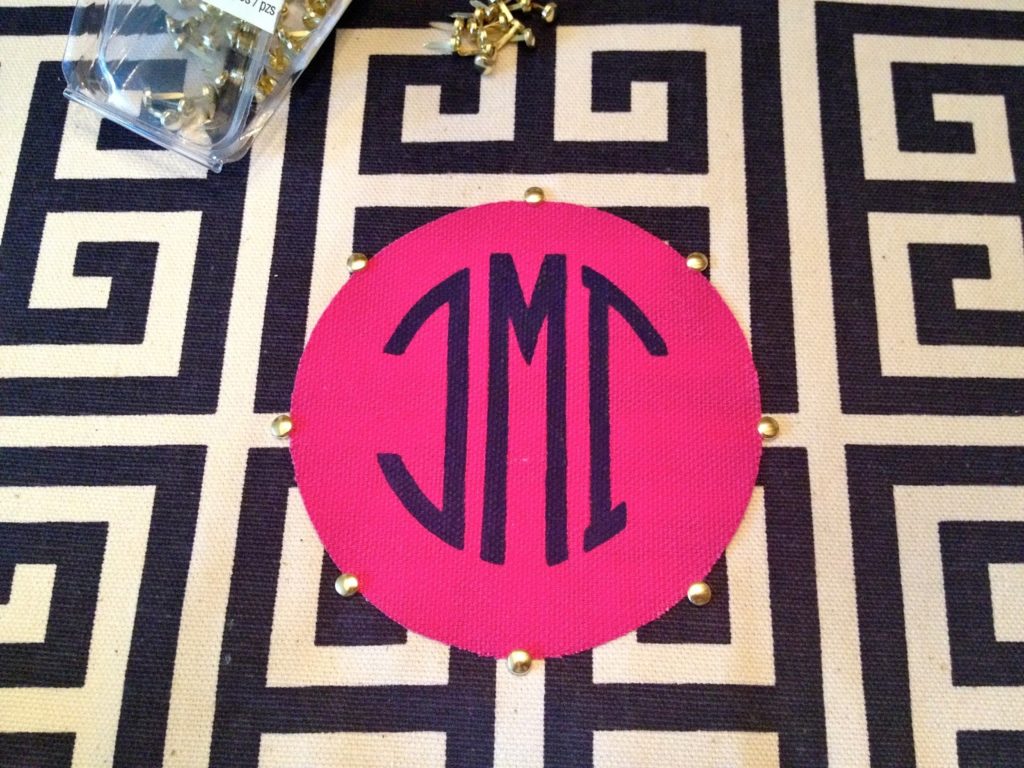
Step 6: Peel off paper backing and iron into place on front center of exterior fabric.

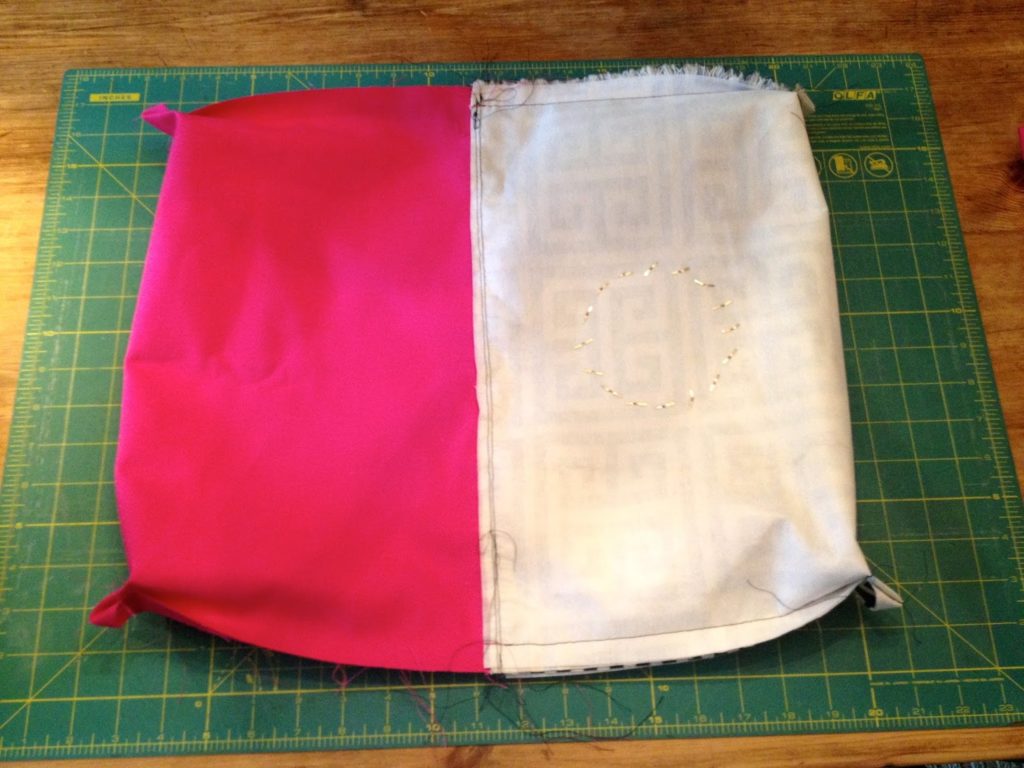
Step 7: Using puncher make small holes for brads. Start with 4.
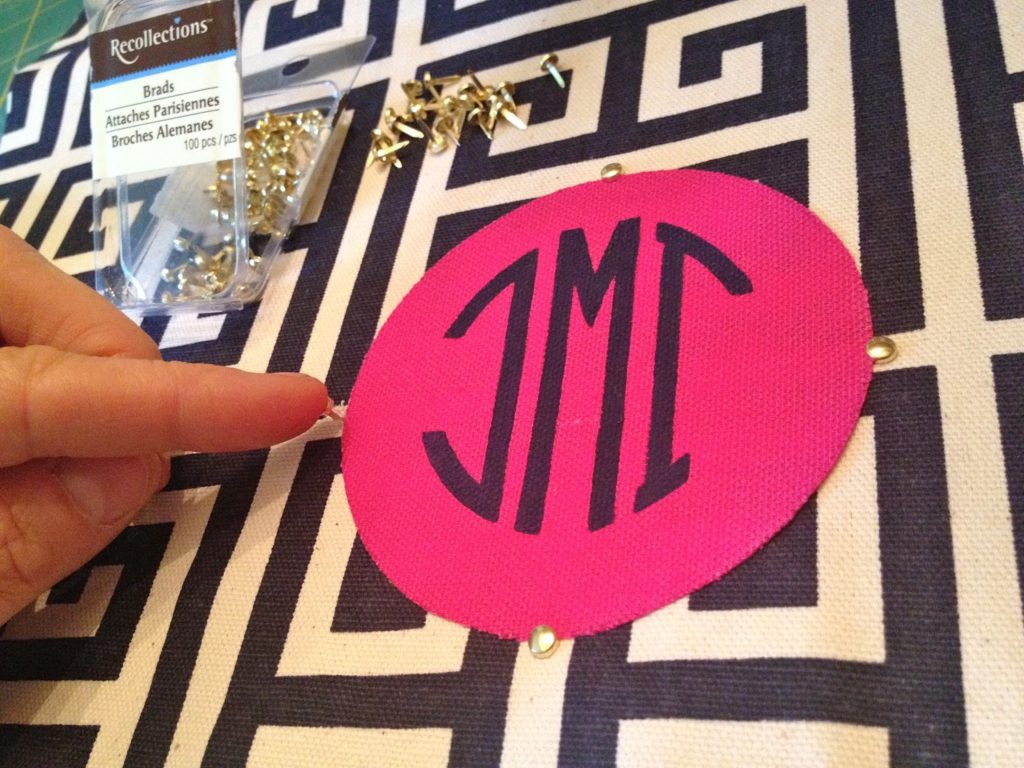
Step 8: Shove brad ends down through fabric from front.
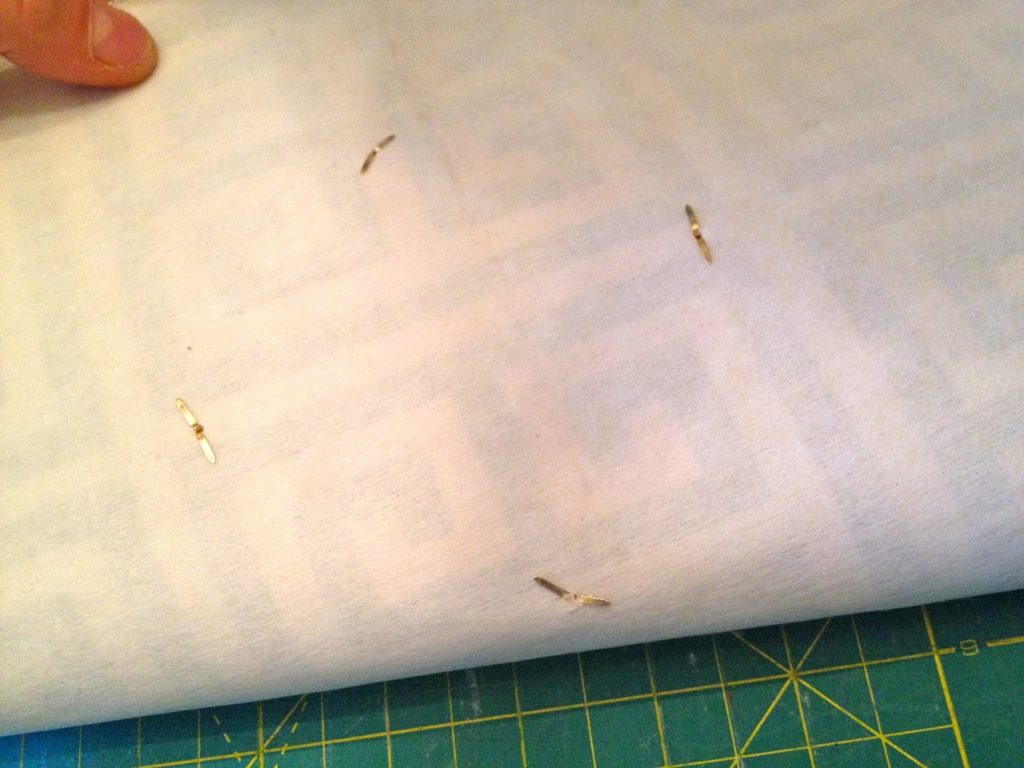
Step 9: Open brad ends flush to back.
Step 10: Continue making holes in between previous holes until you have desired amount of brads.
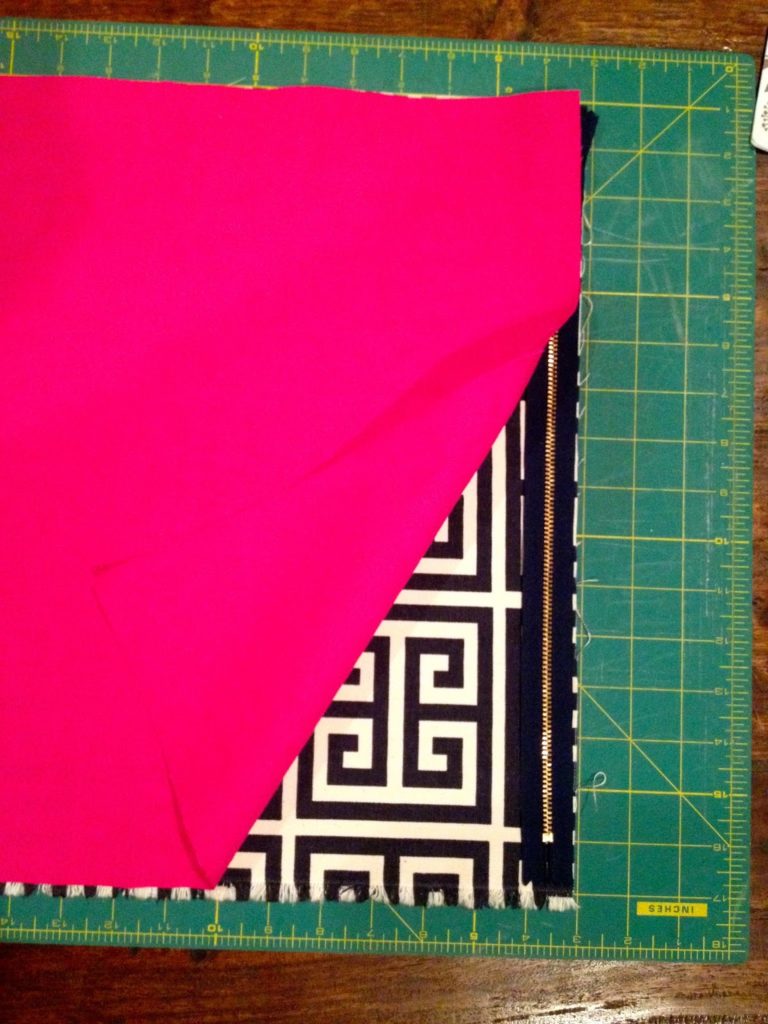
Step 11: Place zipper face down at one end of exterior fabric then lining on top and sew one side of zipper.
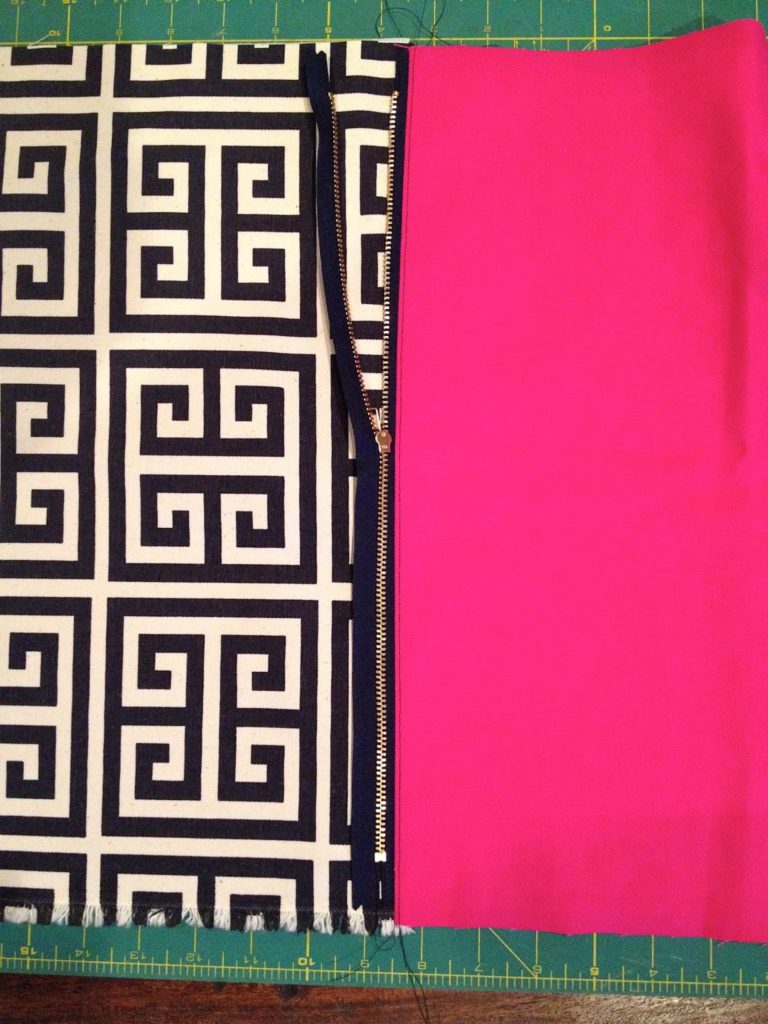
Step 12: Pull back lining fabric and top stitch in place.
Step 13: Repeat for other side of zipper.

Step 14: Line up exterior and lining fabrics with zipper in middle. Sew side seams leaving a 4″ opening in one side of lining.
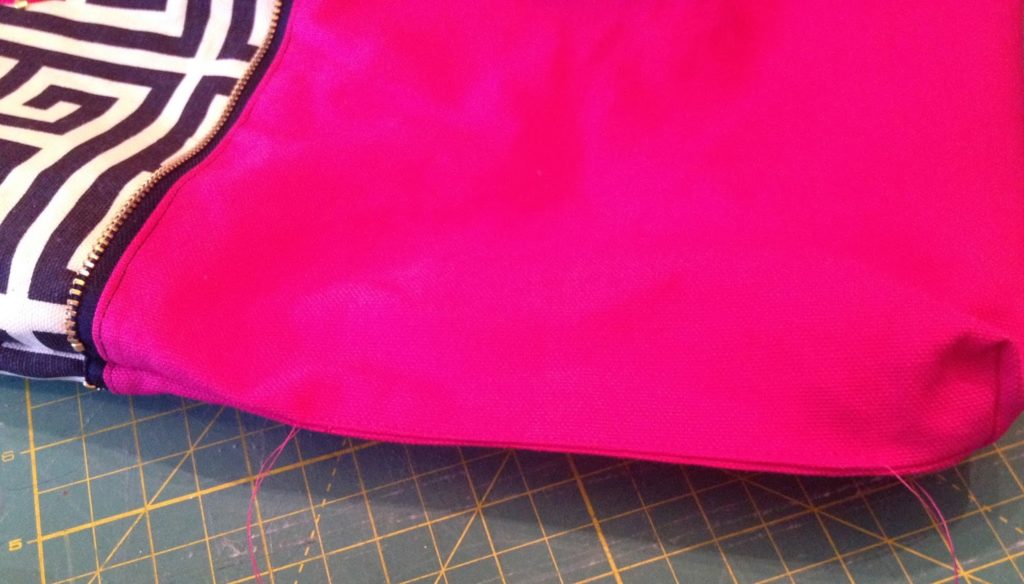
Step 15: Miter corners to create depth.

Step 16: Corner is mitered, be sure to snip off the excess triangular fabric piece.
Turn right side out through opening in lining.
Step 17: Top stitch lining opening shut.
Push lining down into pouch and press smooth.
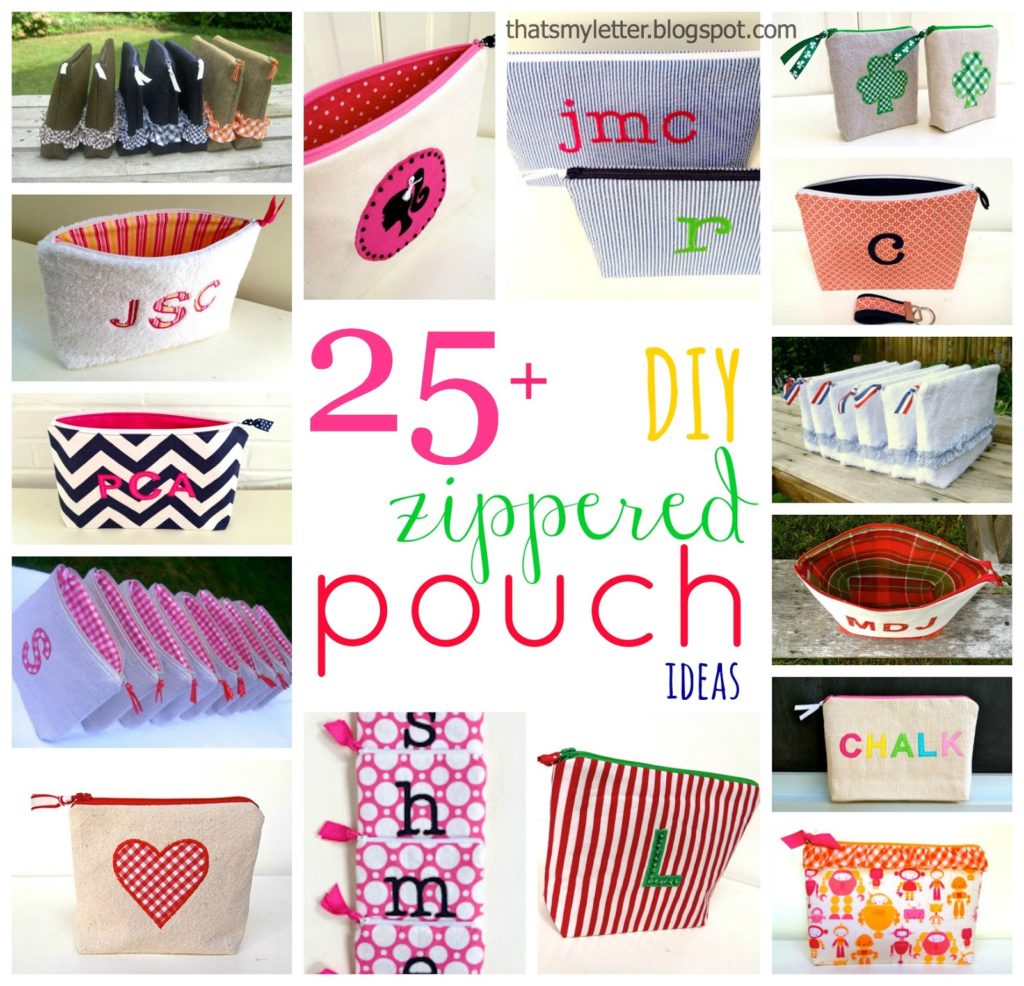
For more zipper pouch ideas, styles and sizes click here.


These are so cute. It is not fair you can sew and build. 😉