• Home
  • Blog
  • About
  • Contact
    • Disclosure
    • Privacy Policy
  • SHOP
  • Widget area for main menu

    • Email
    • Facebook
    • Instagram
    • Pinterest
    • Twitter
    • YouTube
  • Skip to primary navigation
  • Skip to main content
  • Skip to primary sidebar

Jaime Costiglio

build - paint - sew

  • BUILD
    • BEDS
    • BENCHES
    • DESKS
    • DRESSERS
    • GAMES & TOYS
    • SCRAP WOOD
    • SHELVES
    • STORAGE
    • TABLES
  • TOOLS
  • PAINT
    • CRAFTS
    • FURNITURE
    • HOME DECOR
  • SEW
    • GIFTS
    • HOME DECOR
    • POUCHES
  • HANDBUILT HOLIDAY
    • 2021
    • 2019
    • 2018
    • 2017
    • 2016
    • 2015
    • 2014
    • 2013
  • GIFTS
    • BABIES
    • KIDS
    • FOR HER
    • FOR HIM
    • TEACHERS
    • WEDDINGS
  • SEASONAL
    • 4TH OF JULY
    • FALL
    • HALLOWEEN
    • CHRISTMAS
    • SUMMER
    • SPRING
    • ST. PATRICK’S DAY
    • THANKSGIVING
    • VALENTINE’S DAY
    • WINTER
  • SALTBOX PROJECT
    • BATHROOMS
    • DINING ROOM
    • EXTERIOR
    • FAMILY ROOM
    • FOYER / MUDROOM
    • KIDS BEDROOMS
    • KITCHEN
    • LIVING ROOM
    • MASTER BEDROOM
    • PLAYROOM
  • SCROLL SAW

DIY Patchwork Lumbar Pillows

May 7, 2012

Basic envelope style lumbar pillows and outdoor seat cushions:

Made to fit a ‘top secret’ chair project that I can’t reveal quite yet but I can show you how I made the pillows and cushions.
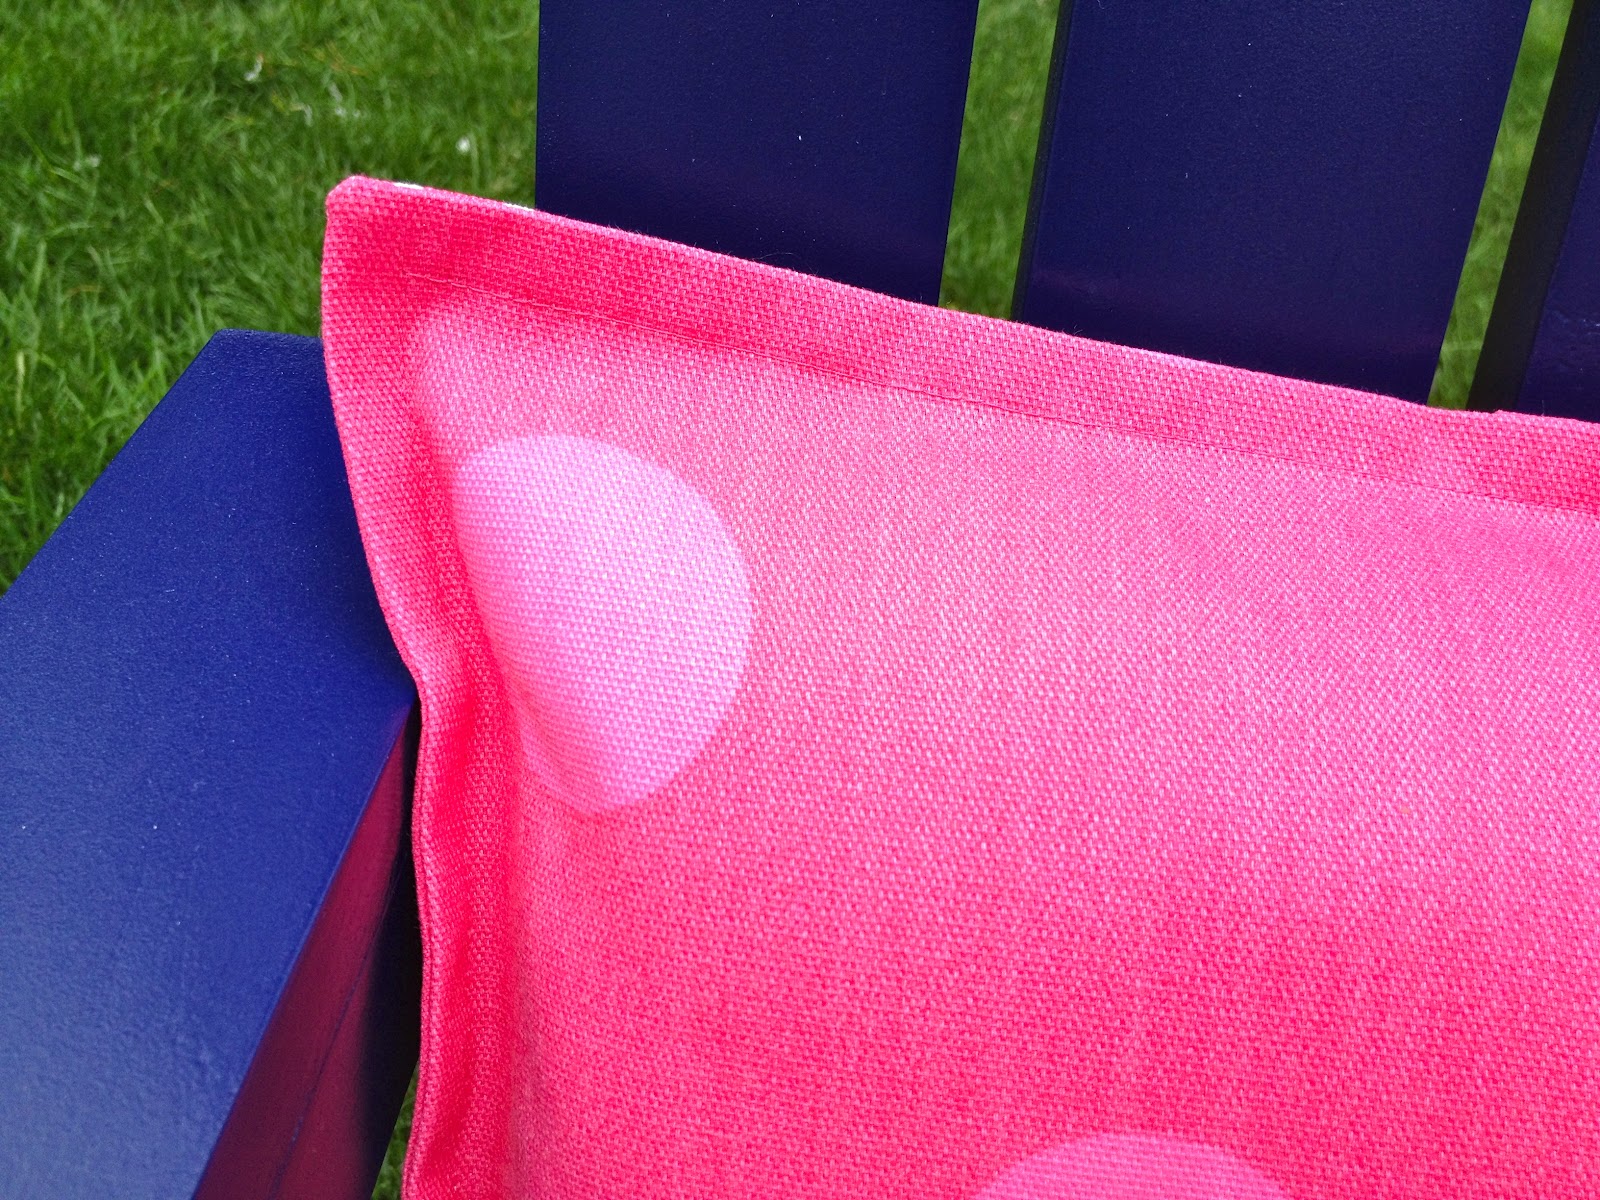
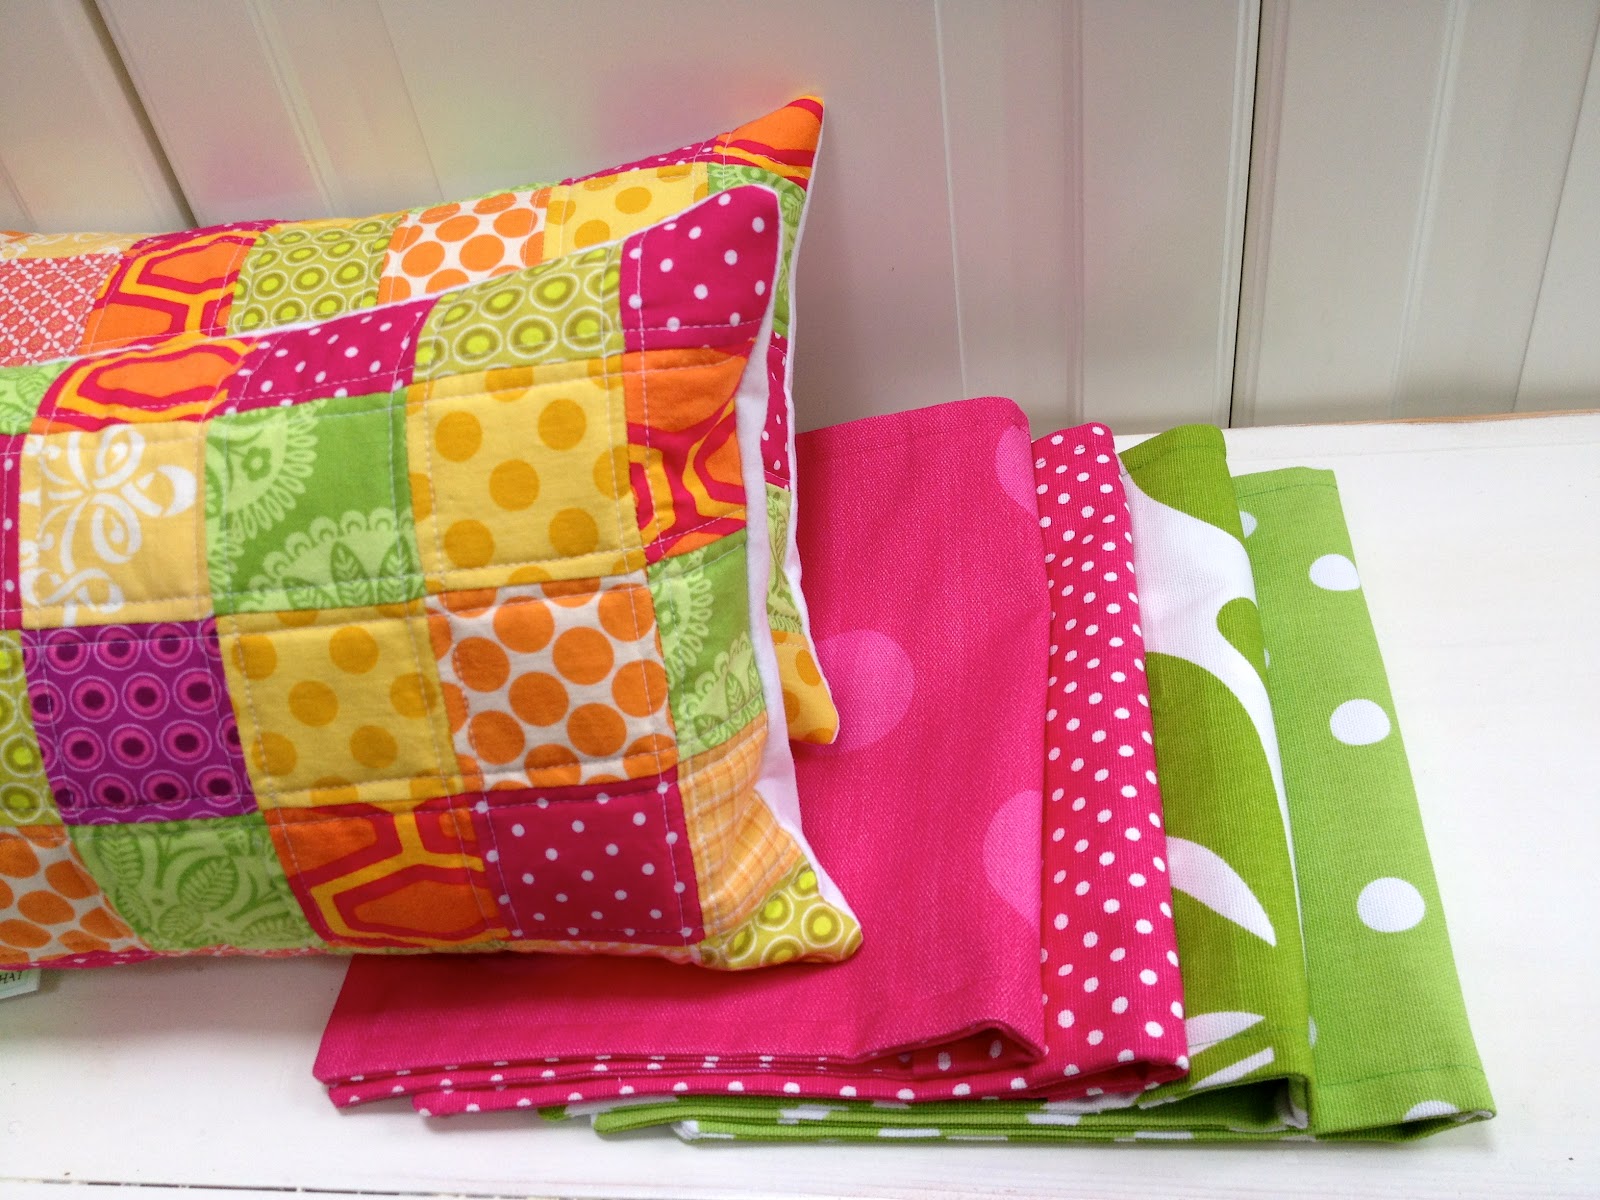
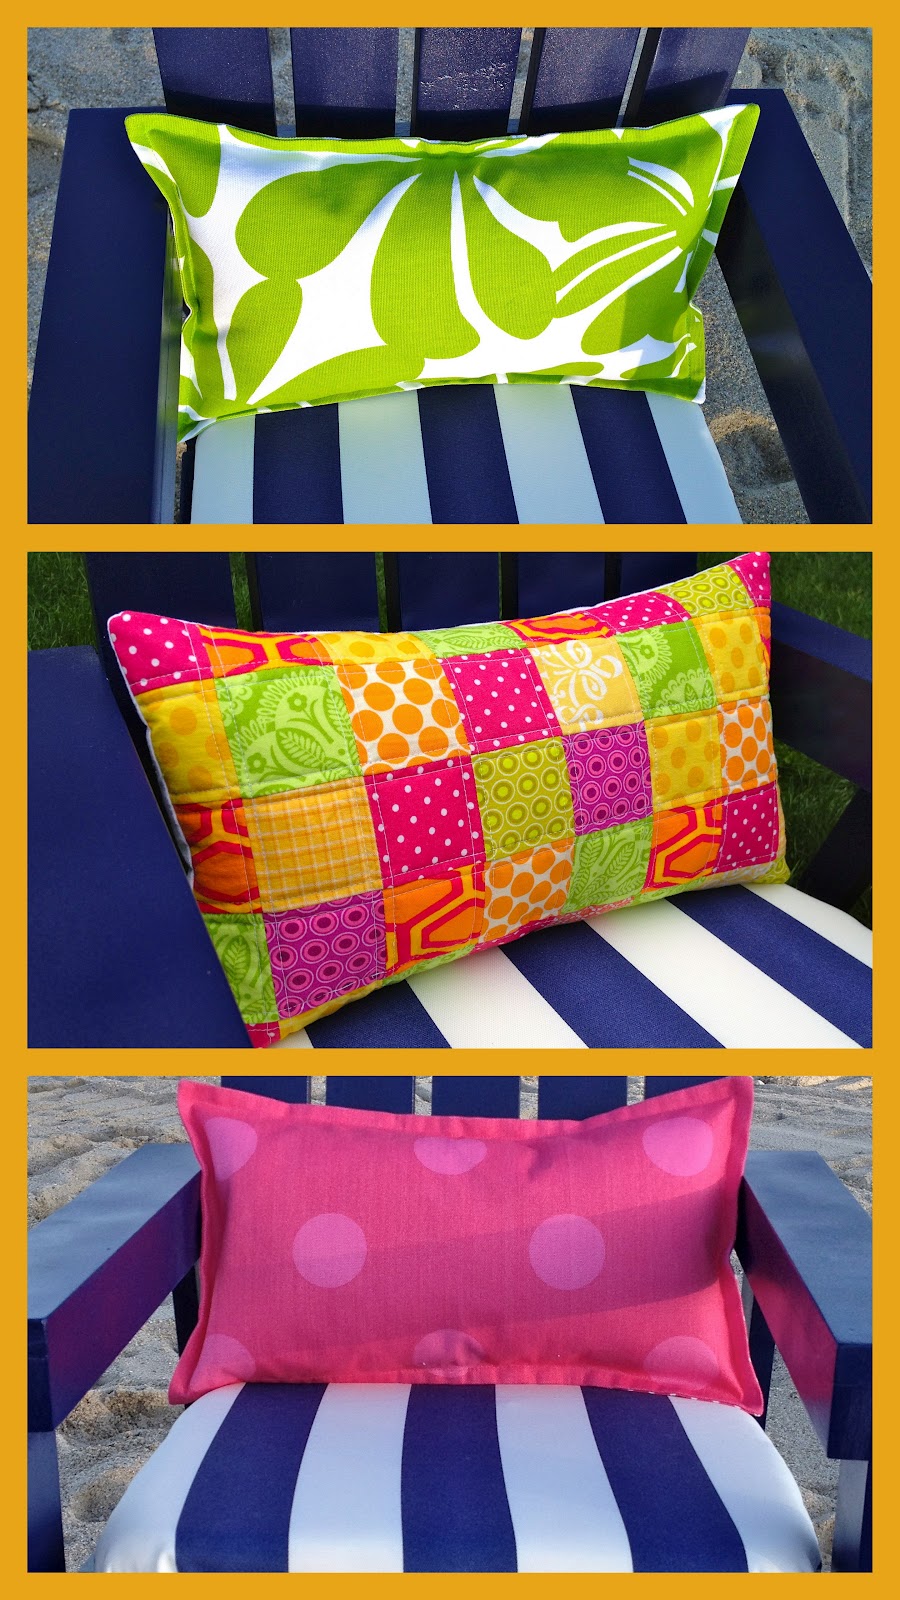
I made two envelope style pillow covers of each: patchwork, bright green floral with polka dots, and big pink dots with polka dots:

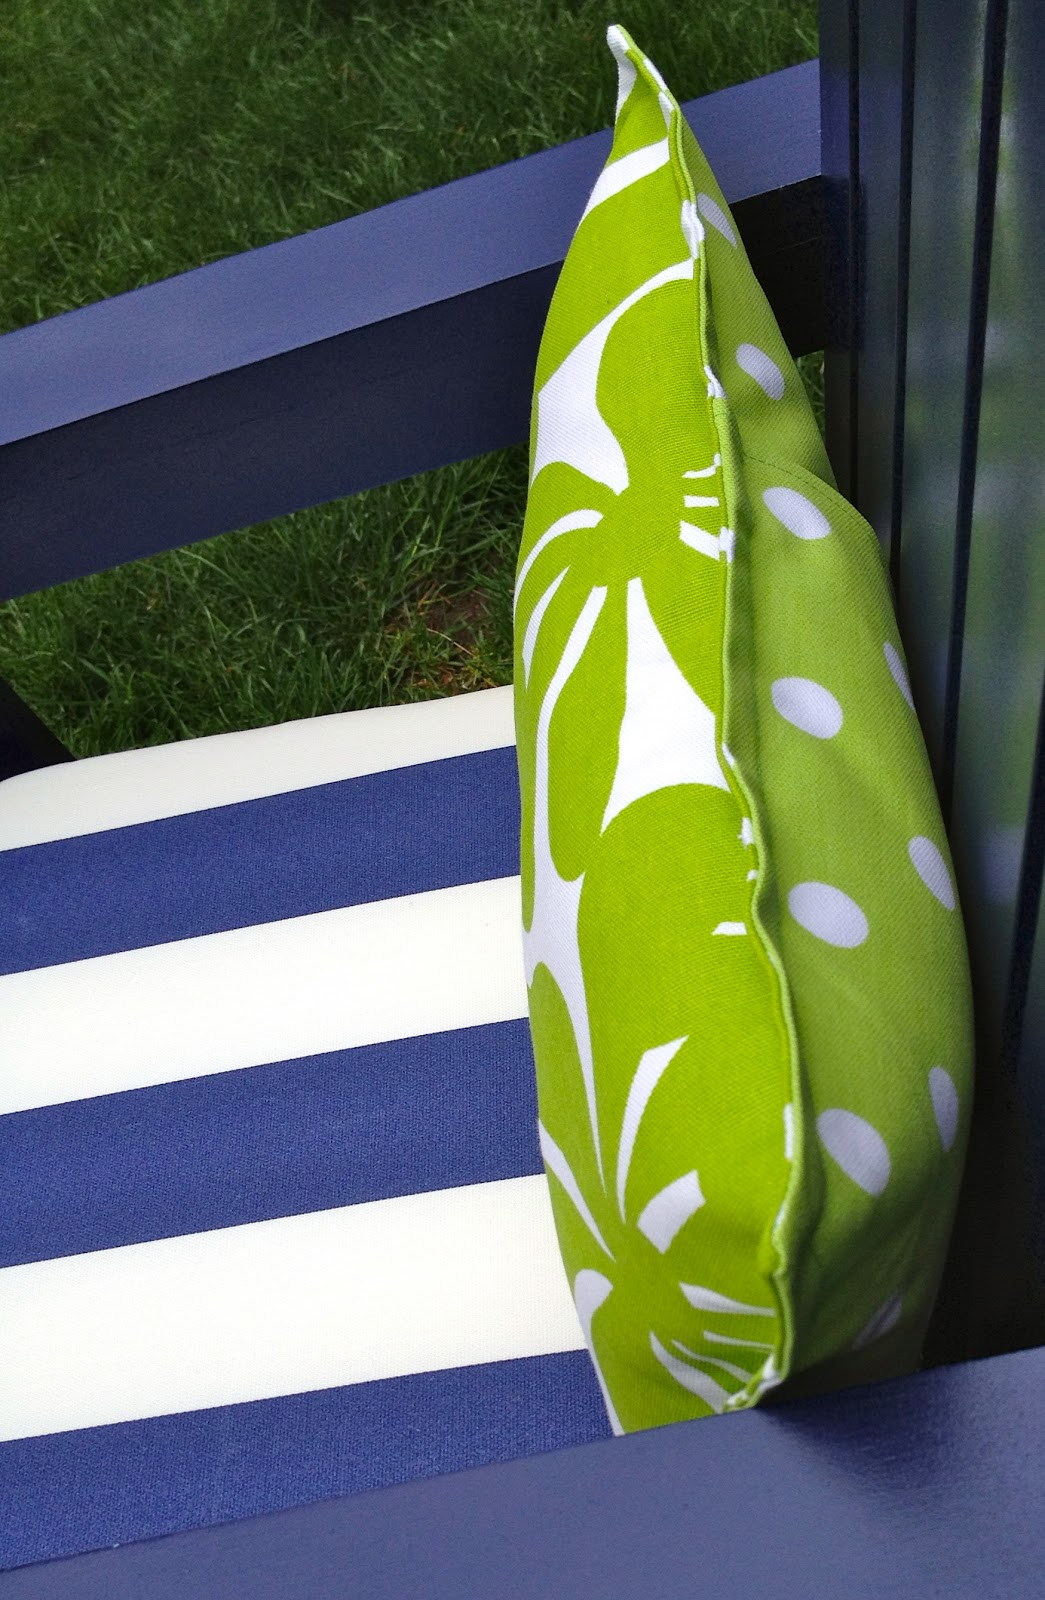
The green and pink pillow covers have a self flange to give a finished look without adding extra trim:

All 6 pillow covers are the same size and fit on two lumbar pillow inserts I made with simple lining fabric and poly filling.

Here’s how I made the pillows:

Patchwork:
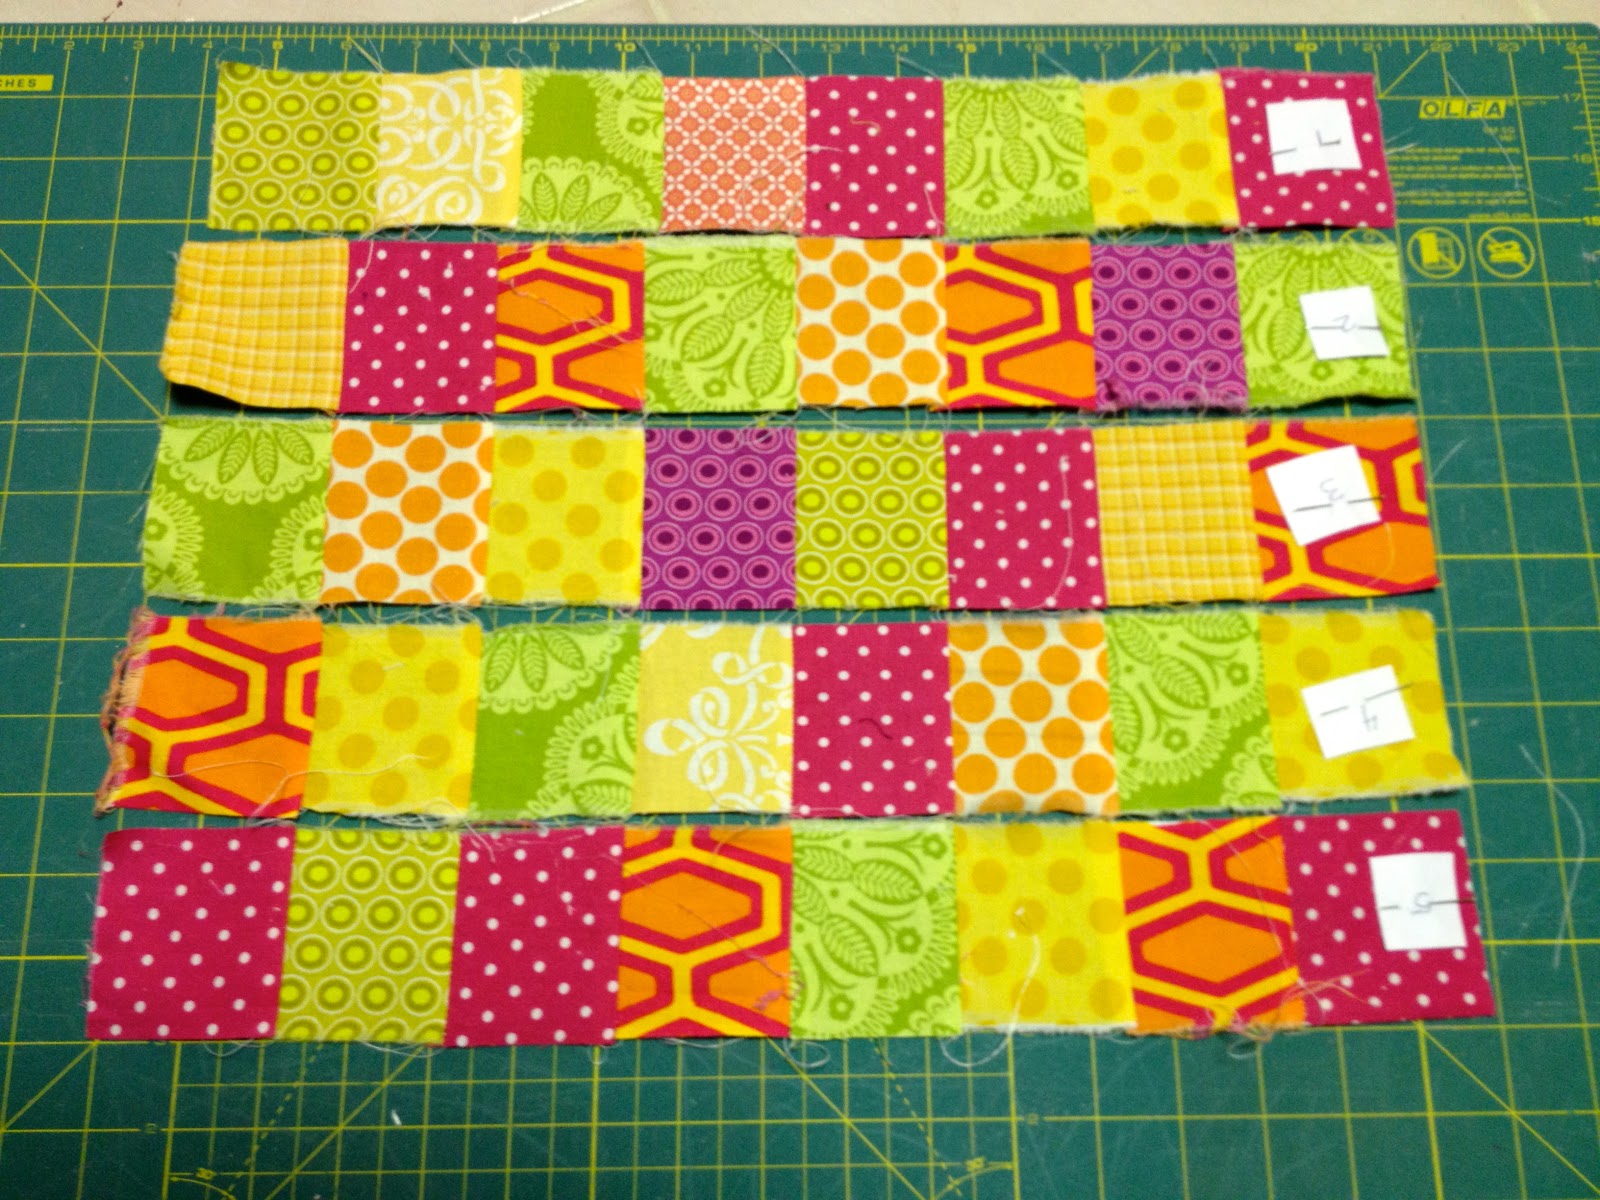
1. Cut 2.5″ squares and layout:
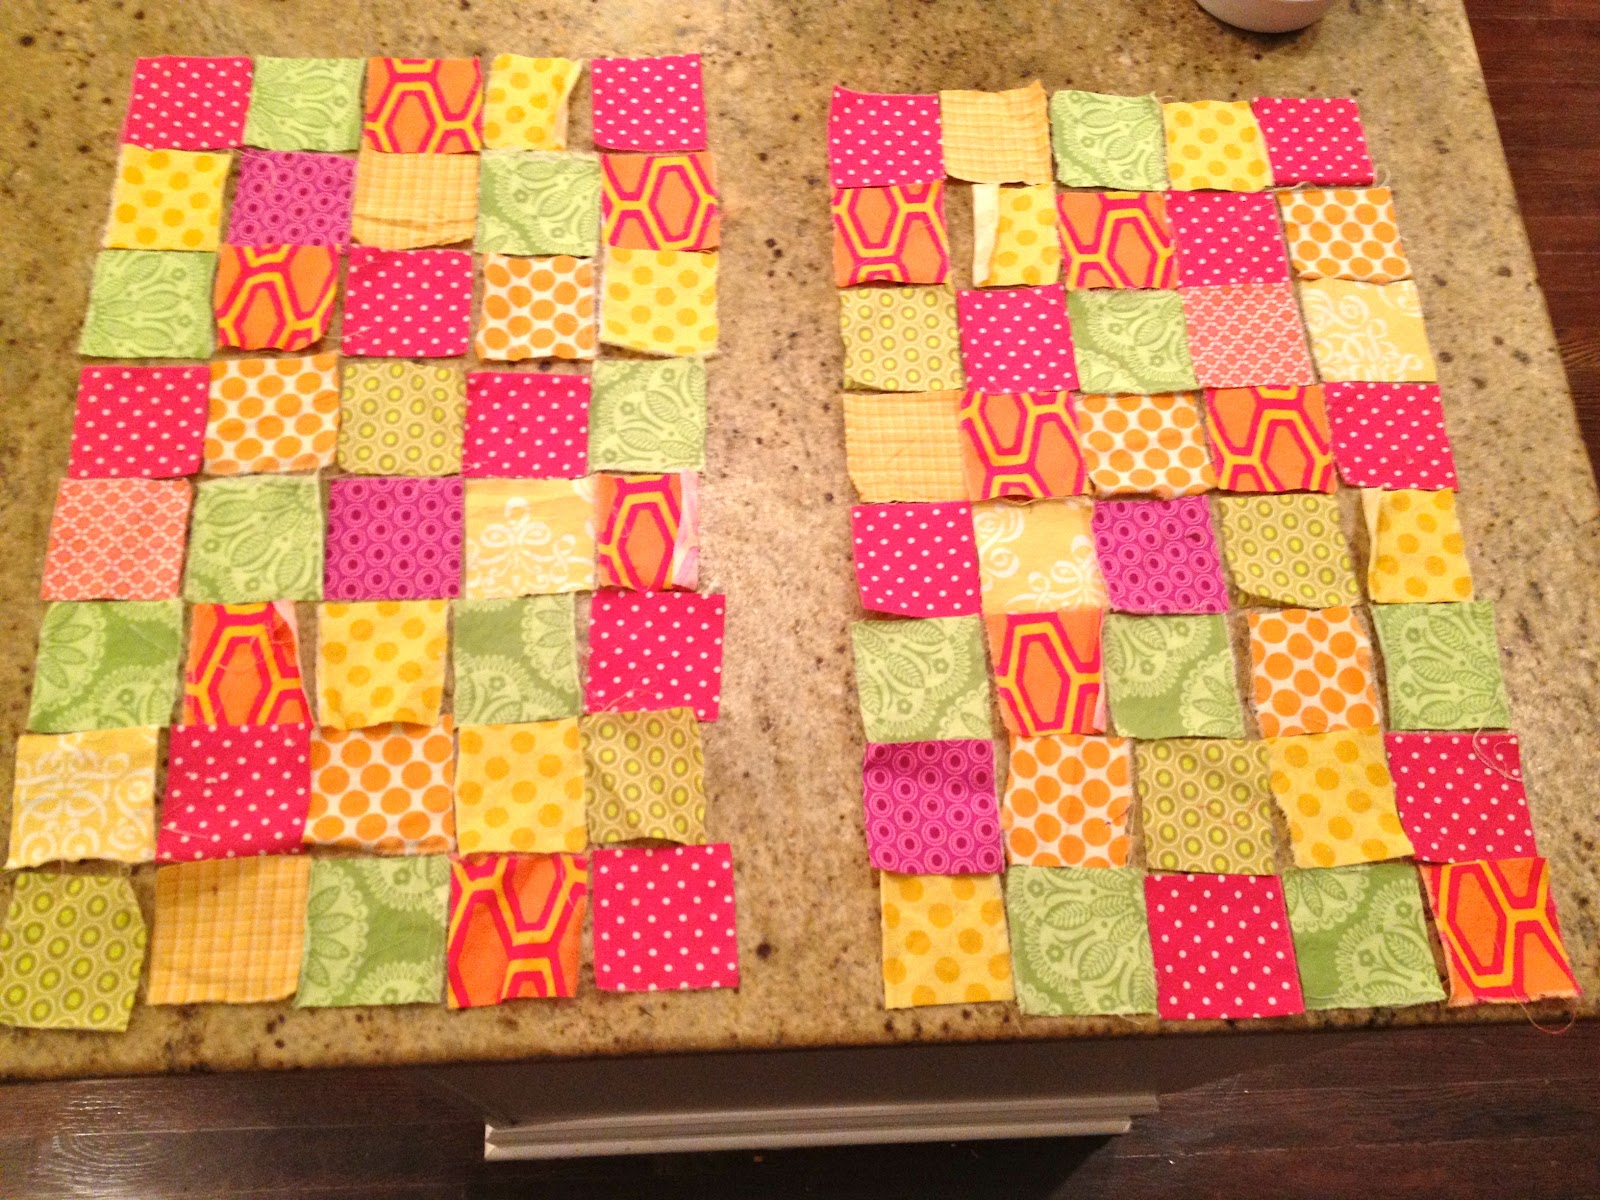
2. Sew squares into strips:

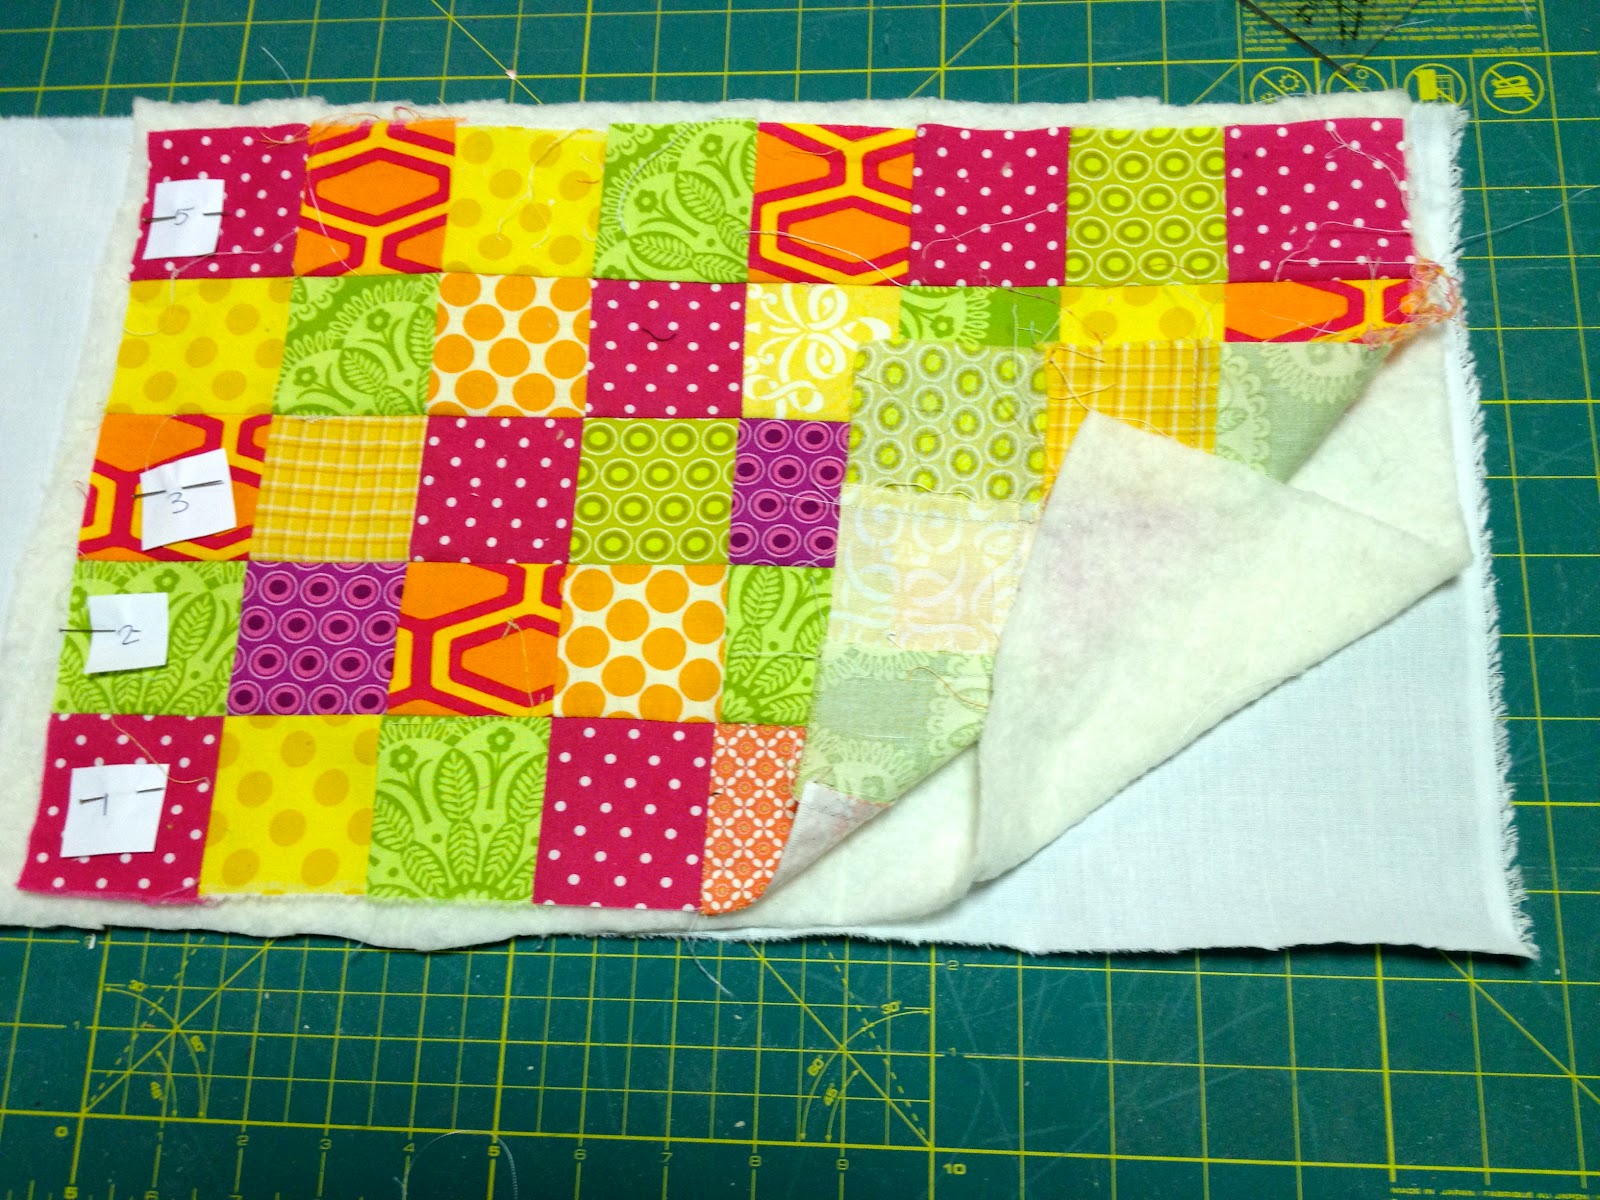
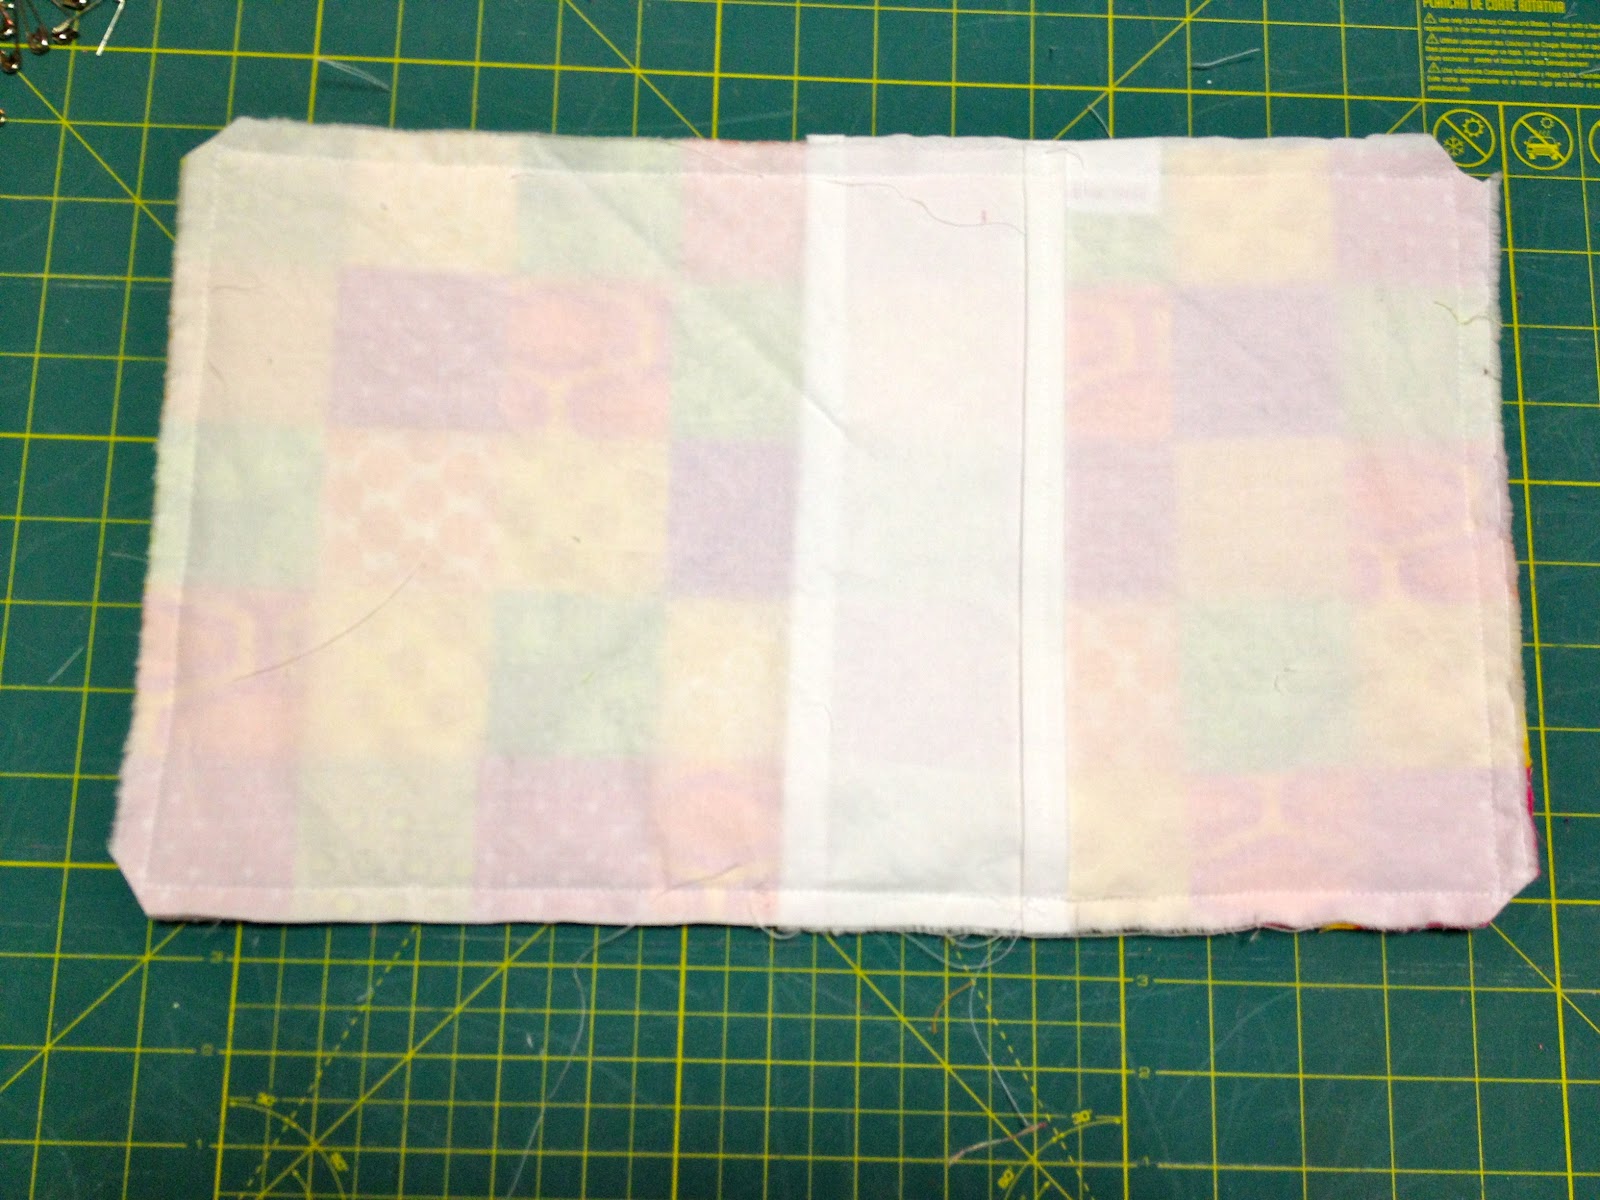
3. Sew strips together and make quilt sandwich: white backing, batting and patchwork top:

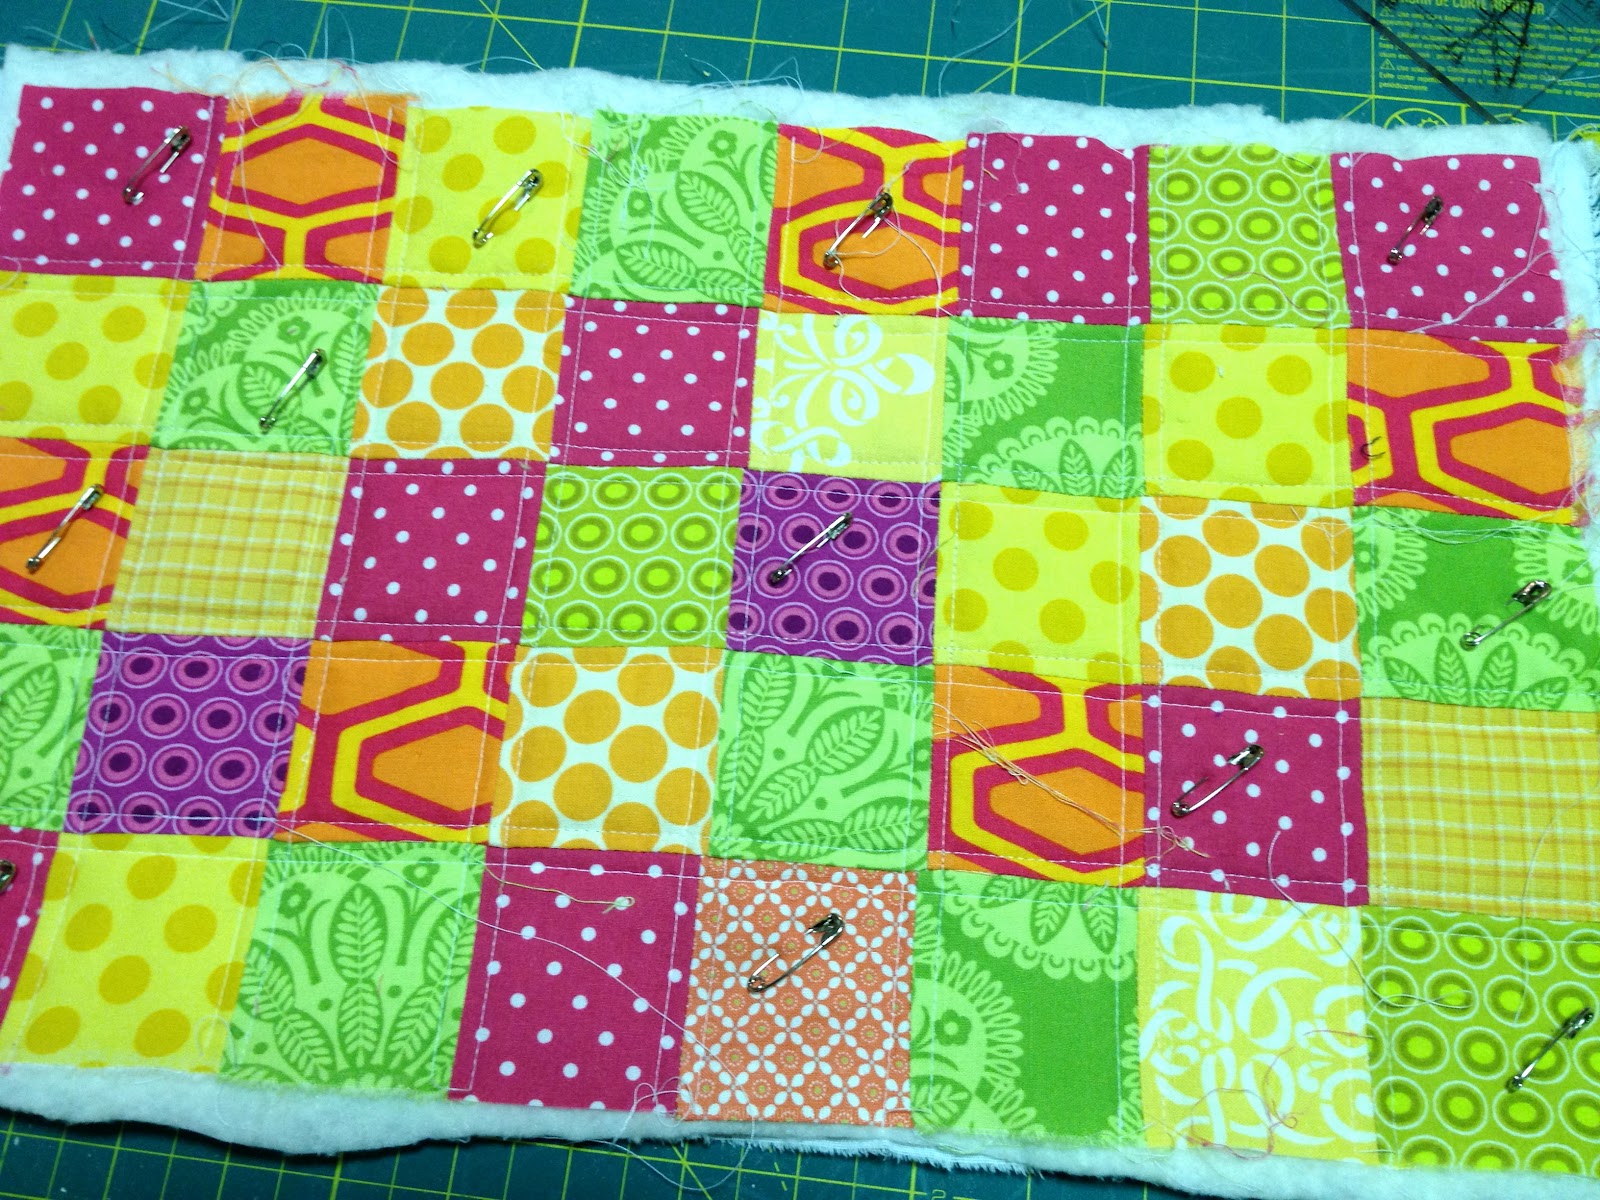
4. Pin sandwich then quilt 1/4″ off of seams in both directions:
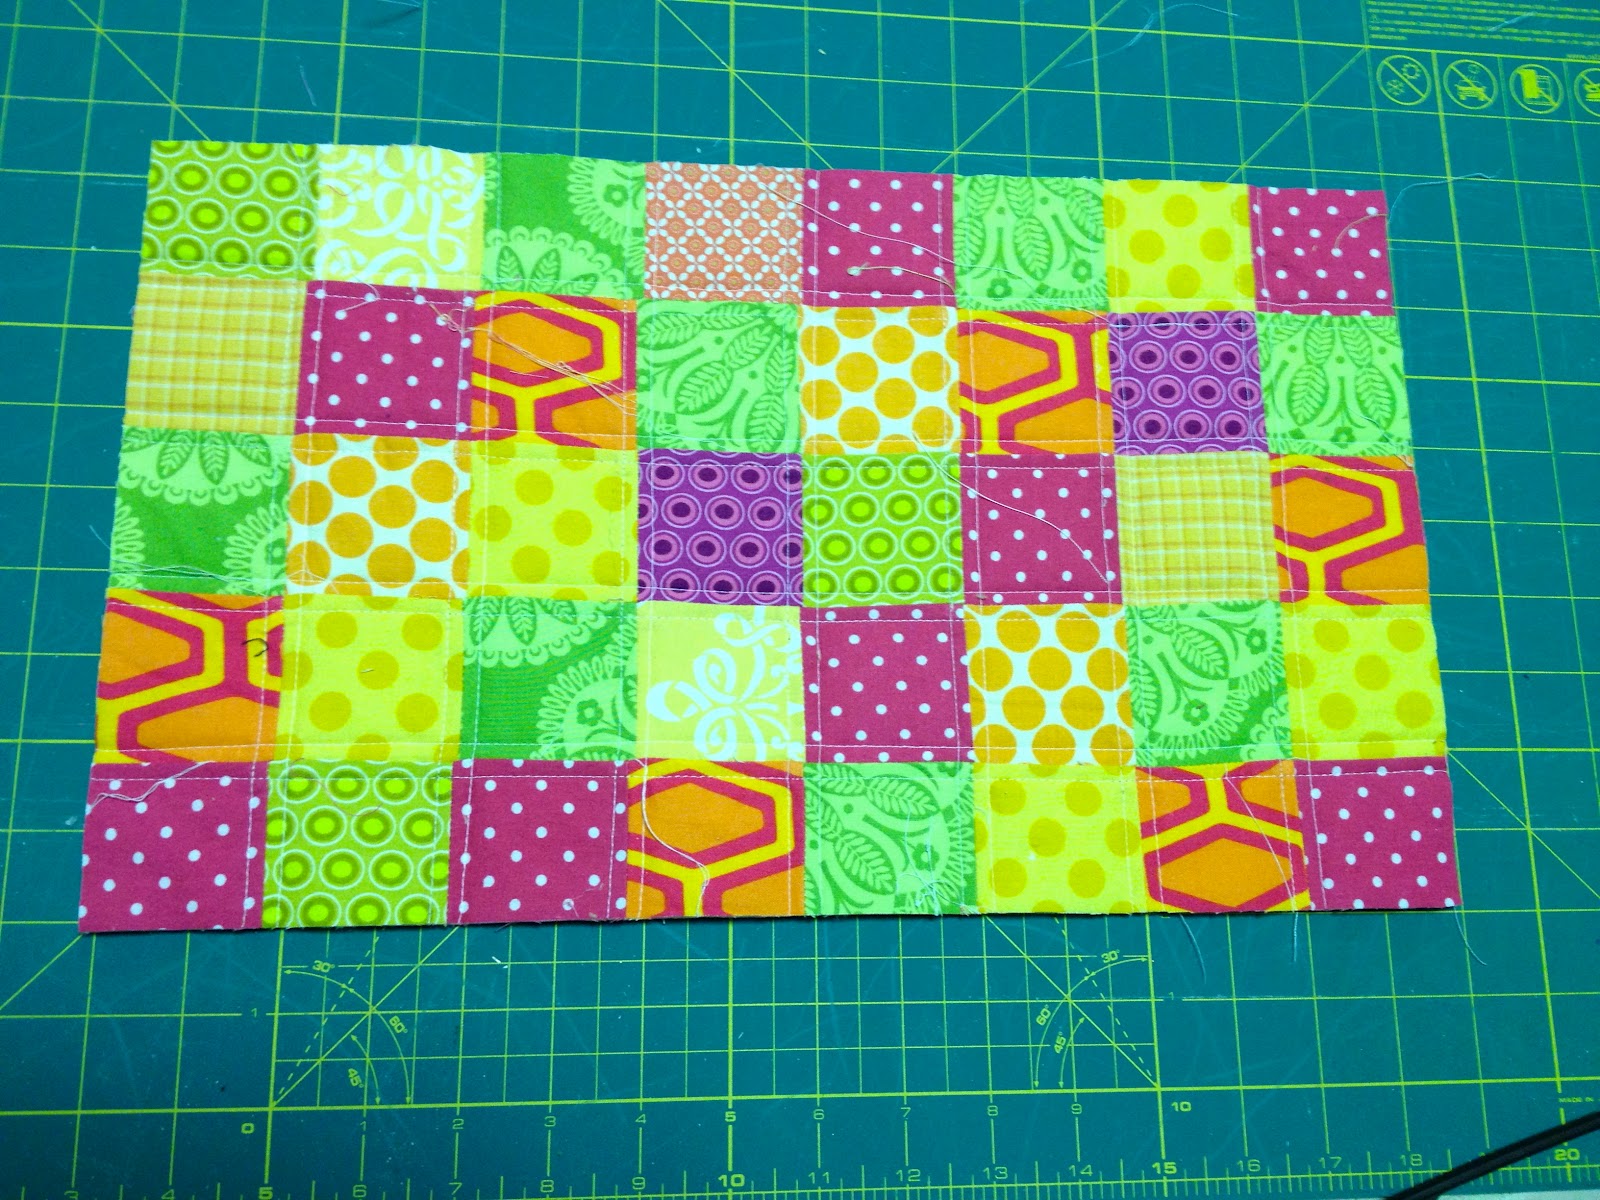
5. Trim edges:

6. To make envelop style cut 2 back pieces to overlap at least 5″:

7. Finish overlapping edges by folding under raw edge and again then straight stitch.
Place right sides together:

8. Sew all around edge and trim corners:

9. Turn right side out and insert pillow form:

Pink and green pillow covers:
1. Cut front piece then cut 2 back pieces to overlap.
Finish overlapping edges of back pieces then place right sides together:
2. Sew all around edge and trim corners:

3. Turn right side out and press seams flat:

4. Top stitch all around edge inset by 1/2″ to create flange:

5. Insert pillow form:

Outdoor striped cushion covers:

1. Cut 1.5″ foam cushion to fit seat area.
Cut outdoor fabric wide enough to fit foam piece, folding in half to fit depth of cushion:
** Be conscious of stripe, in my case I placed the blue stripe in the middle.
Wrap cushion with fabric wrong side out then pin snugly on both sides:
** Try not to pin the foam with the fabric.
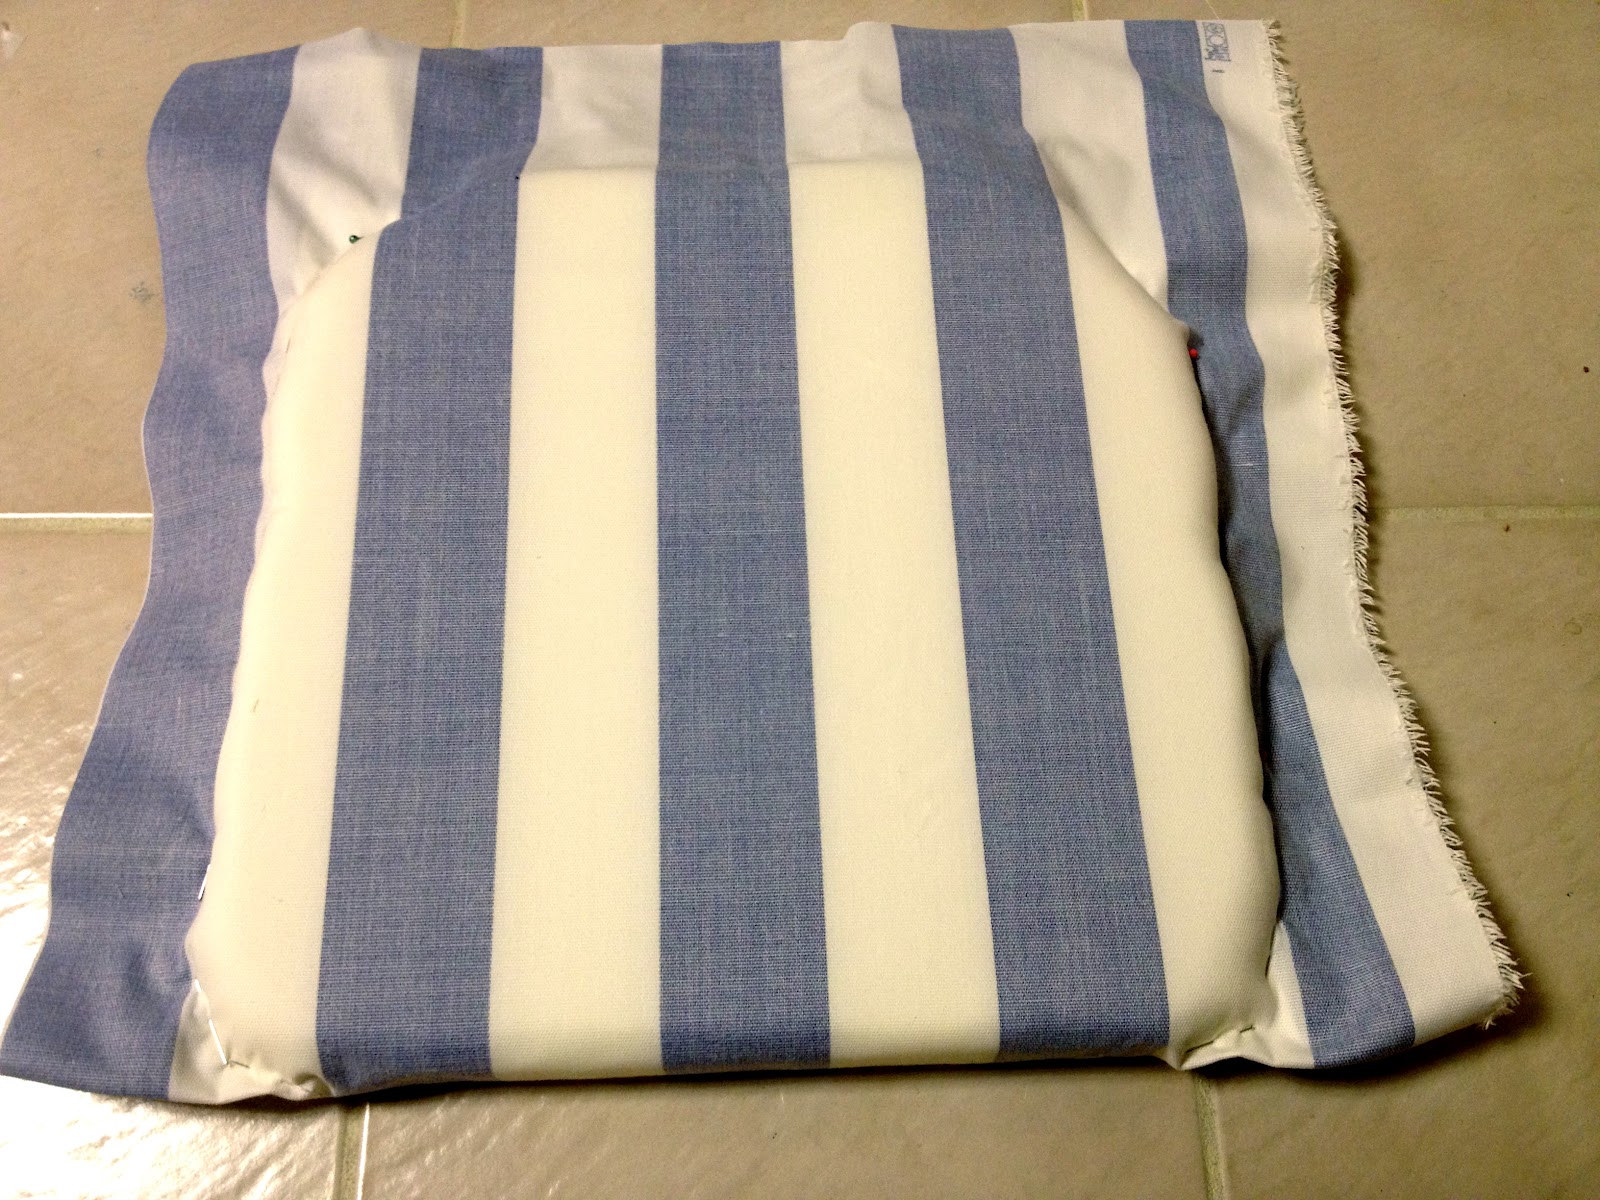
Begin pinning at the front curve all the way down the side leaving the back edge open:

2. Remove foam insert and sew on the line made by the pins, trim excess fabric:

3. Turn right side out and insert foam cushion:

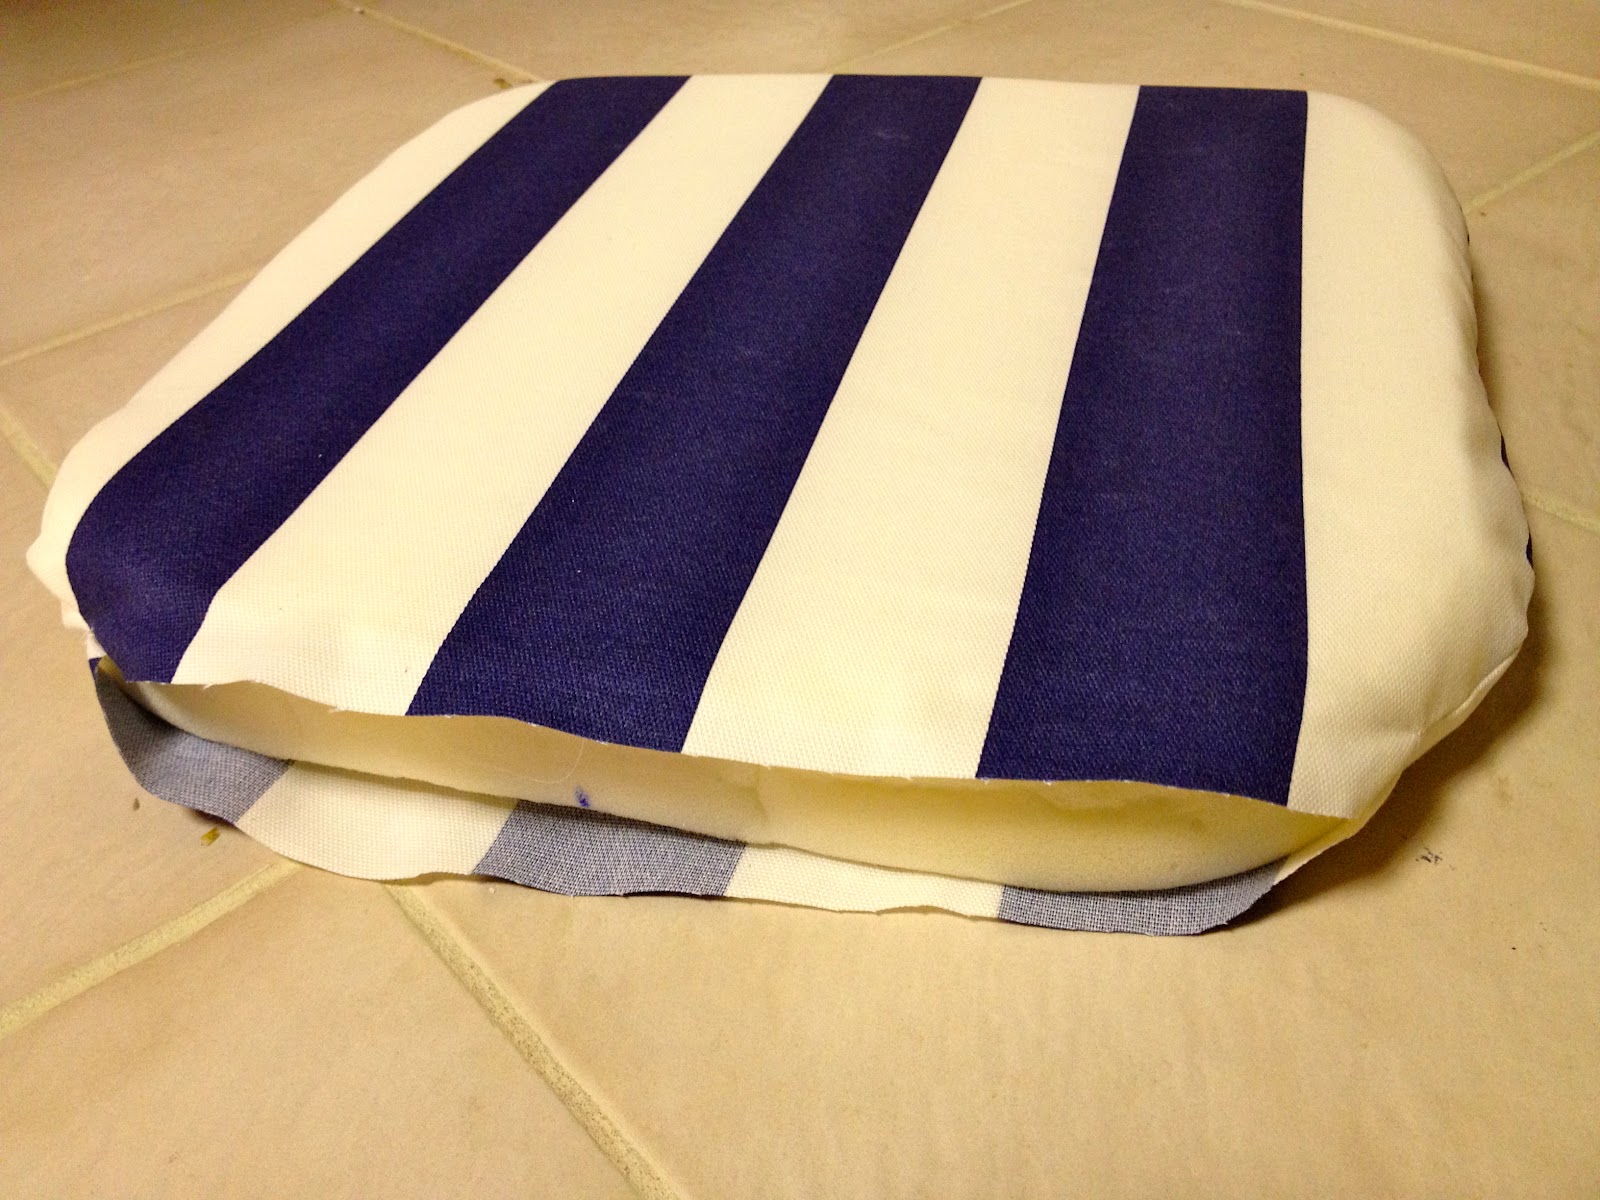
4. Fold in seam allowance at back edge and pin shut:

5. Whip stitch back seam closed with carpet or quilting thread:

Ready to use:

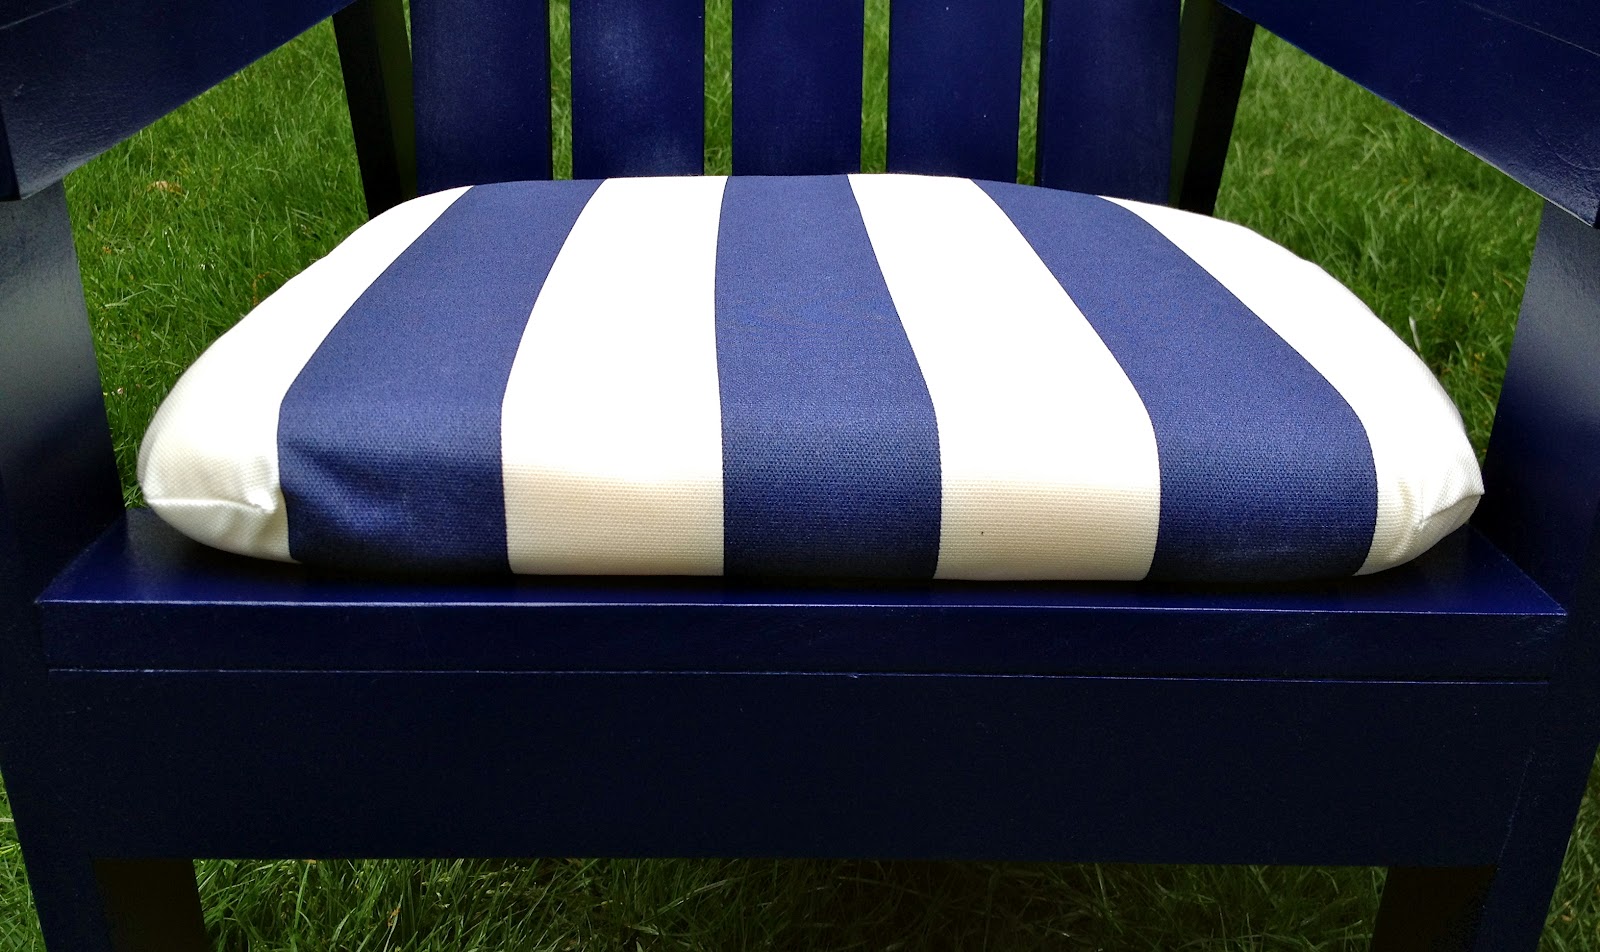
Then add the lumbar pillows and the chair is complete:

You may also like...

  • Cross Stitch Monogram Ornament PlacecardCross Stitch Monogram Ornament Placecard
  • Wood & Leather Bed Free PlansWood & Leather Bed Free Plans
  • DIY Bunny Place CardsDIY Bunny Place Cards
  • DIY USA Map Wall HangingDIY USA Map Wall Hanging
Share this post:

Filed Under: DIY, HOME DECOR, HOME DECOR, SEW, SEWING2 Comments

Reader Interactions

Comments

  1. Happy in red says

    May 8, 2012 at 11:14 AM

    I love these!! Well one!
    Esther.

    Reply
  2. Christina at I Gotta Create! says

    May 12, 2012 at 2:25 AM

    I love the color – so beautiful!
    <3 Christina

    Reply

Leave a Reply Cancel reply

Your email address will not be published. Required fields are marked *

Primary Sidebar

Hi! I’m Jaime

Jaime Costiglio

Hello!

Thank you for stopping by.
Join me for lots of DIY.

Read more

Get new posts via email

Handbuilt Holiday: Gift Project Plans

handbuilt holiday gift project plans

Collection of DIY gift project plans to build.

The Home Depot Tool Prospective

THD Prospective

Tools to consider for the DIYer.

Archives

The Home Depot Logo
Copyright © 2023 Jaime Costiglio · Custom site by Moonsteam Design

Privacy Policy