*This post is sponsored by Build Something / Kreg.
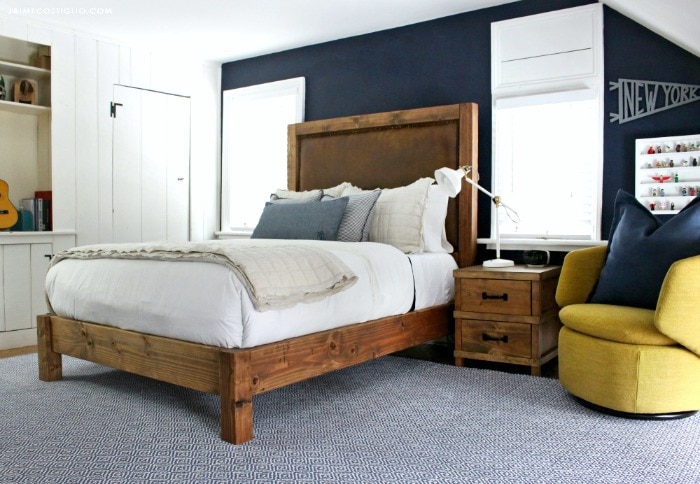
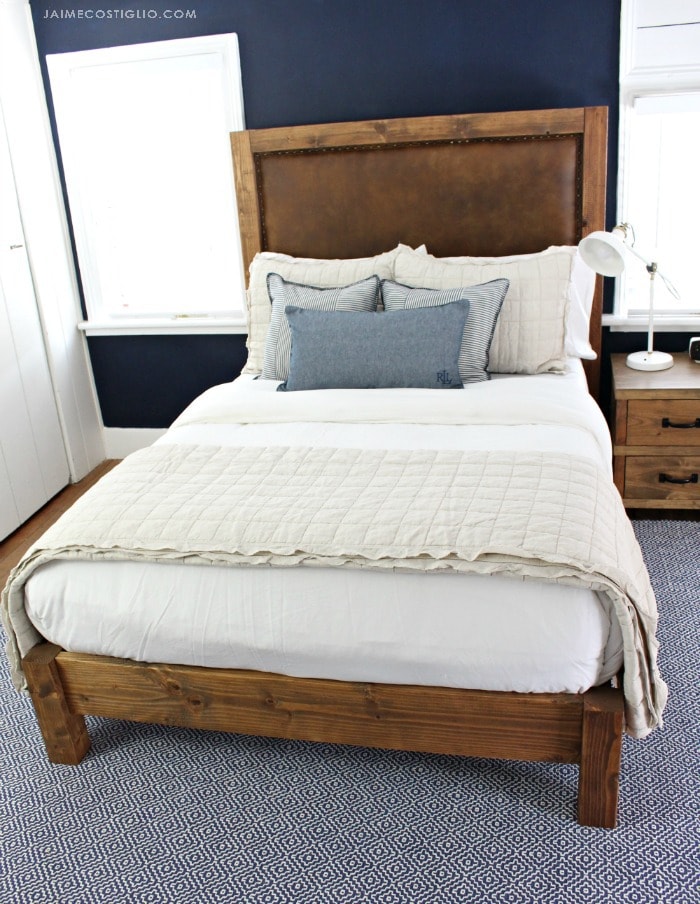
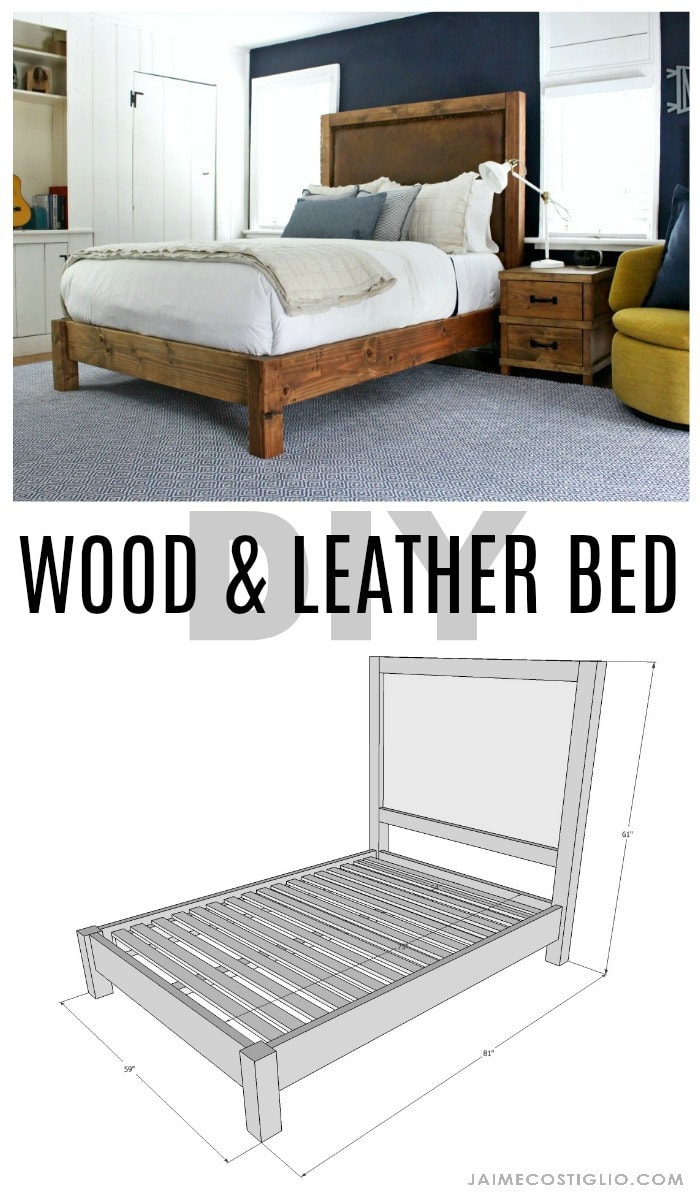
A few posts and boards from the lumber aisle plus a little leather to fancy things up and holy smokes you can make something beautiful. This wood and leather bed I built for my son is a great example of basic construction techniques used to create a functional and stunning piece of furniture. I teamed up with my friends at Build Something to provide the free plans so you can build this bed too!
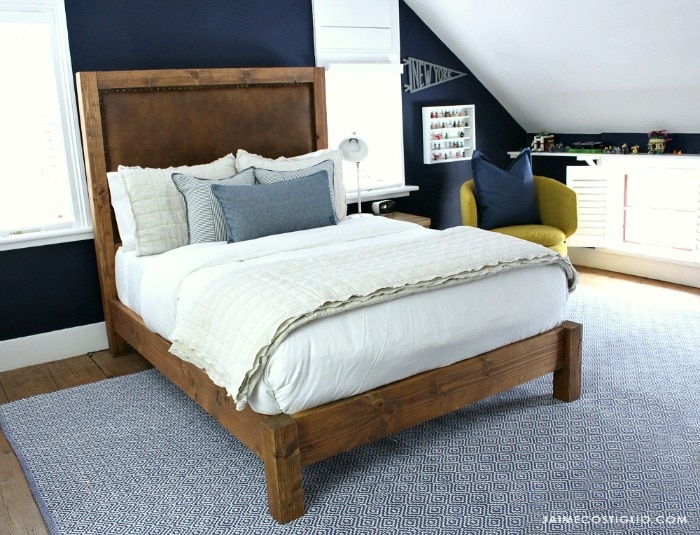
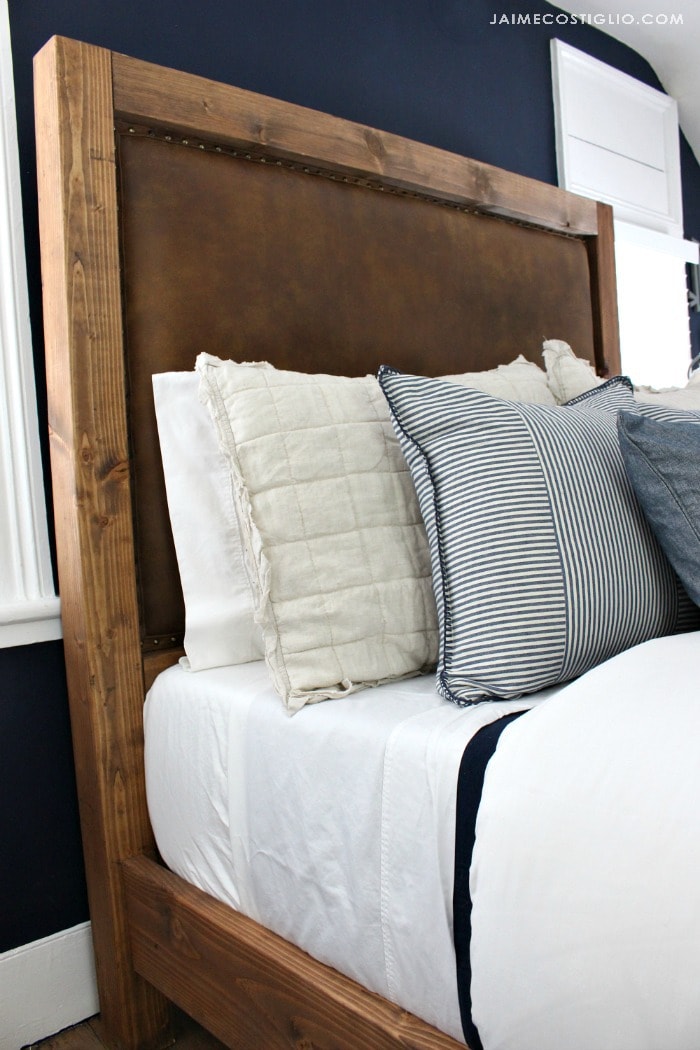
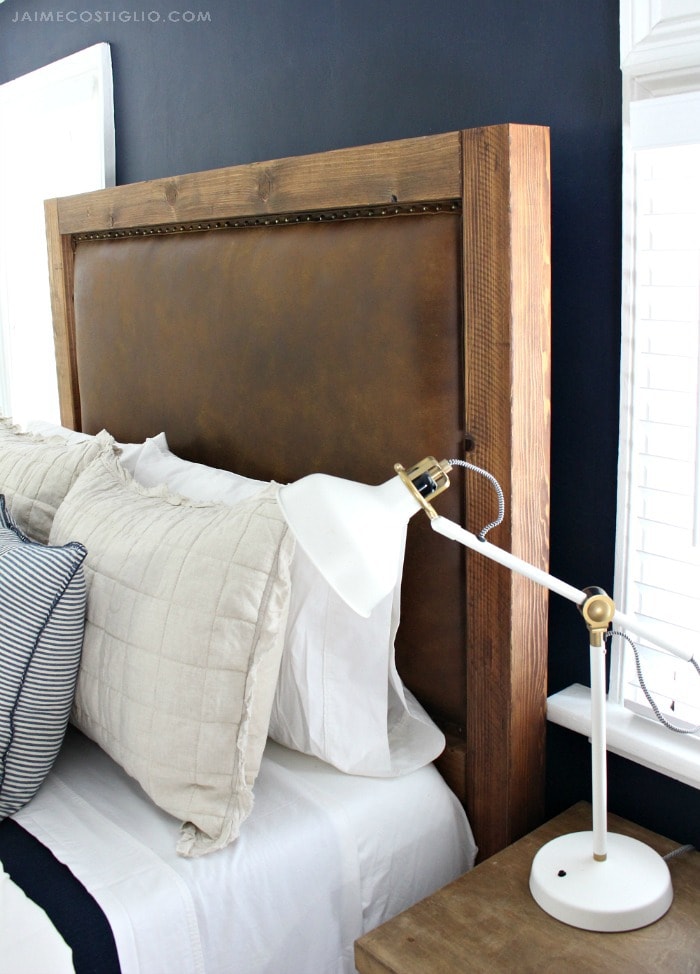
I finished off this bed for my son with an upholstered leather headboard but the plans are designed to accommodate a variety of headboard design choices. You could easily use fabric in place of the leather or alternatively attach 1x boards horizontally, vertically, diagonally or any pattern you choose.
This bed falls into the beginner with some experience category, it’s a very basic build and couples pocket hole joinery with classic bed rail hardware to create a fully functional piece of furniture that will last.
For the complete plans visit Build Something here but before you go be sure to read through my building tips and actual process photos down below.
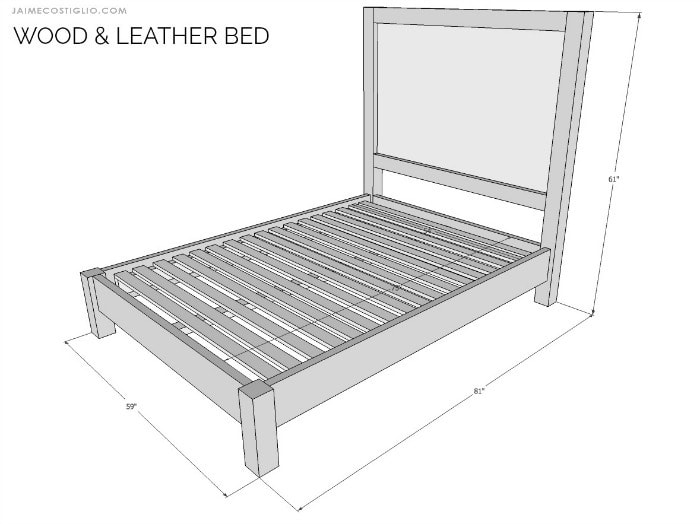
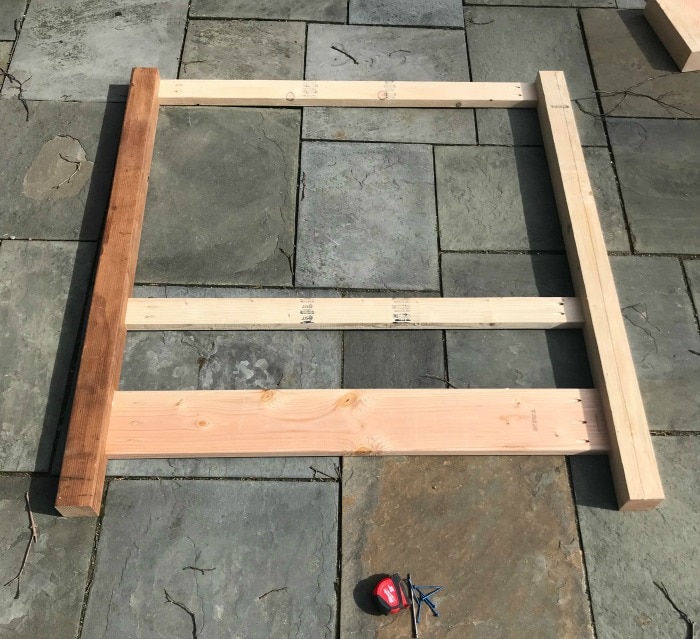
To begin make the headboard frame using pocket hole joinery.
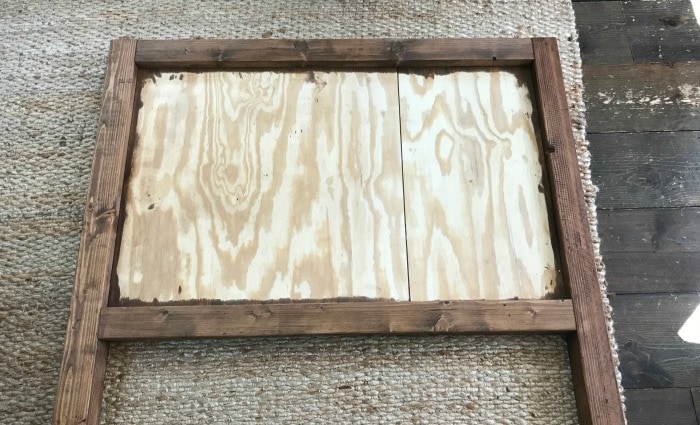
Add the plywood backing and finish as desired. I applied Minwax Early American stain to this bed.
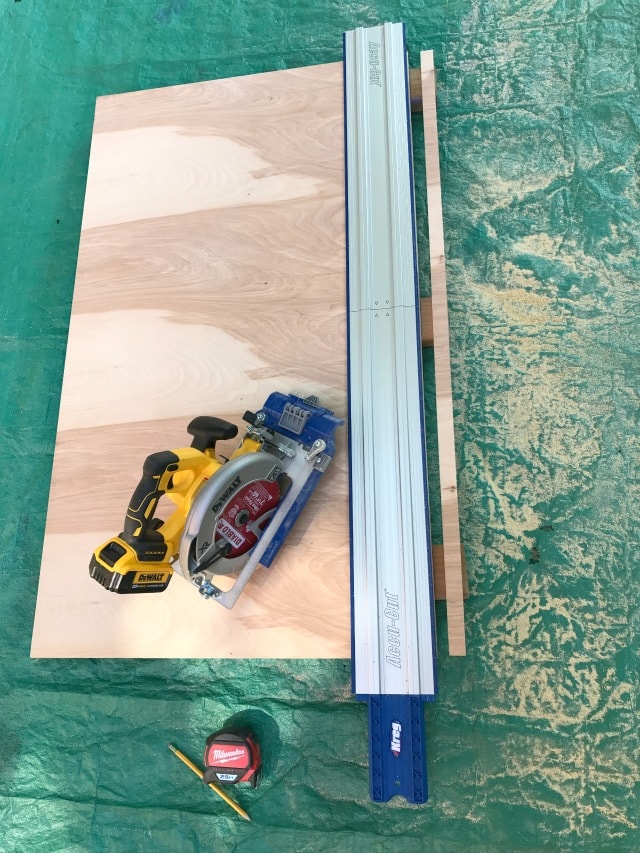
To cut the plywood I use the Kreg Accu-cut with a cordless circular saw. I work alone and outdoors so a table saw isn’t practical and this straight edge guide makes ripping and cutting sheets so easy:
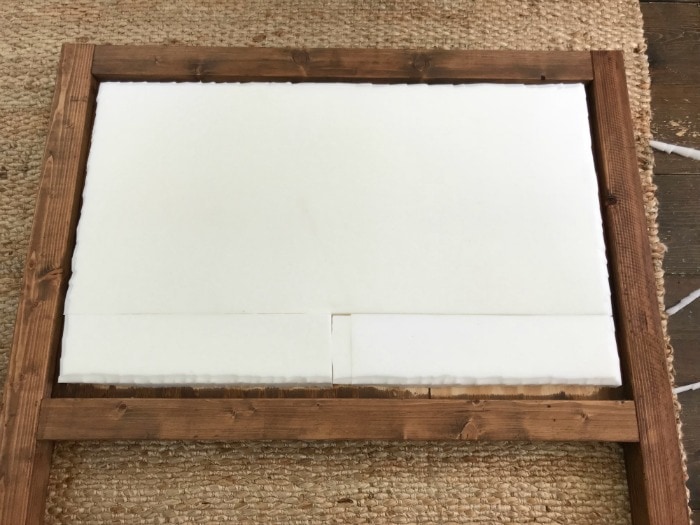
If you’re upholstering the headboard consider 2″ foam for nice thick and sturdy surface. Alternatively you could cut 1x boards to fit the headboard space and create an awesome design.
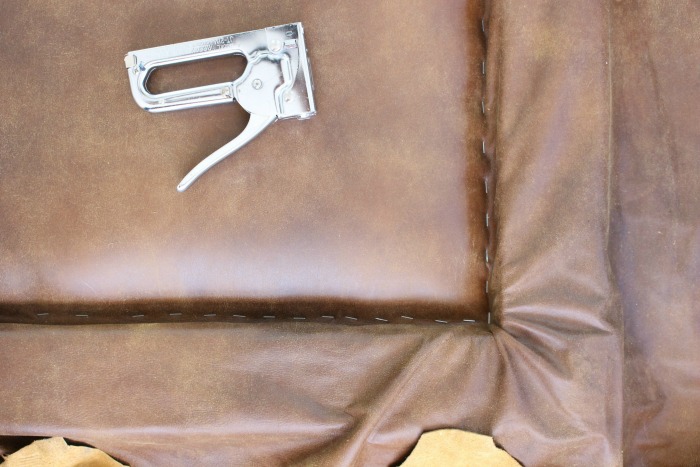
Over the foam apply a layer of batting and then staple the leather in place. Find the complete tutorial on the leather portion of this headboard here including how I made the trim and added the nailheads.
If leather is not your choice I sketched up a few options using 1×6 boards:
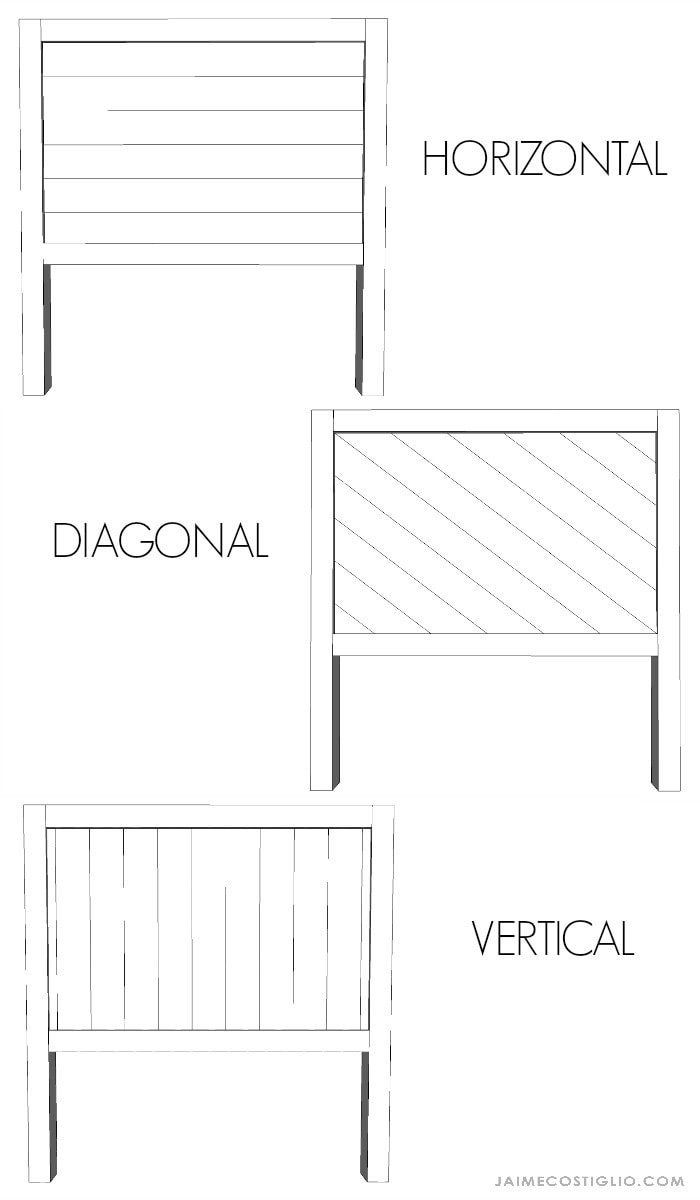
Simply cut the boards to fit and adhere using wood glue and 1″ finish nails.
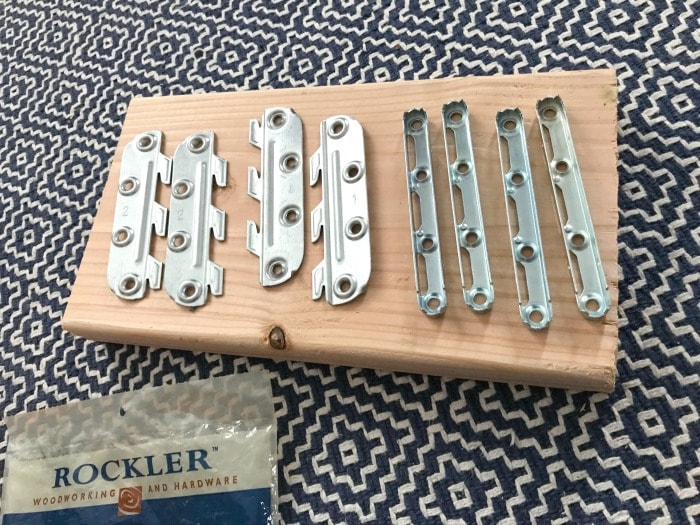
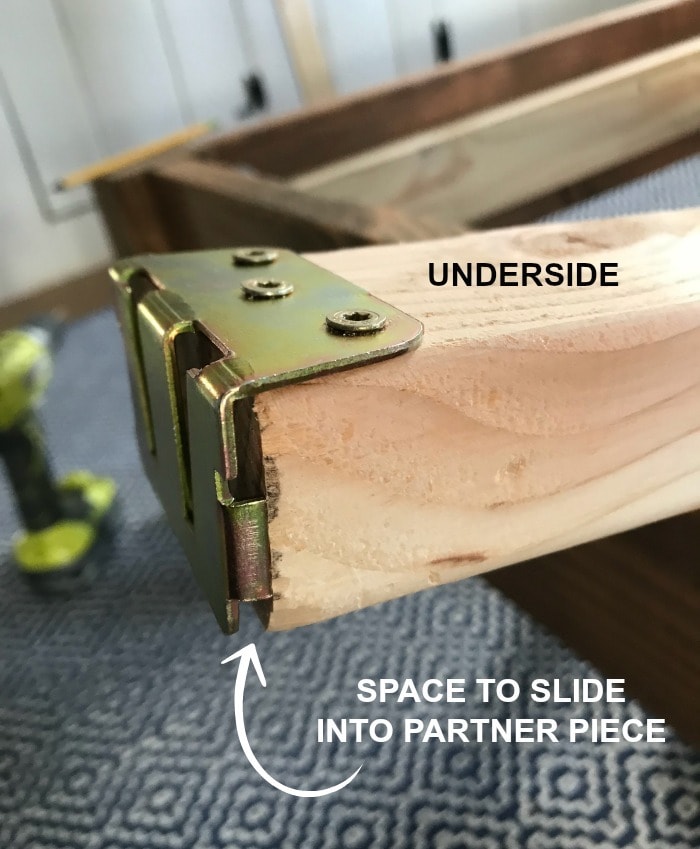
Moving onto the whole bed construction I used one pack of surface mounted bed rail brackets to attach the long side rails to the headboard and footboard.
Very simple to install, a snug fit and extremely secure.
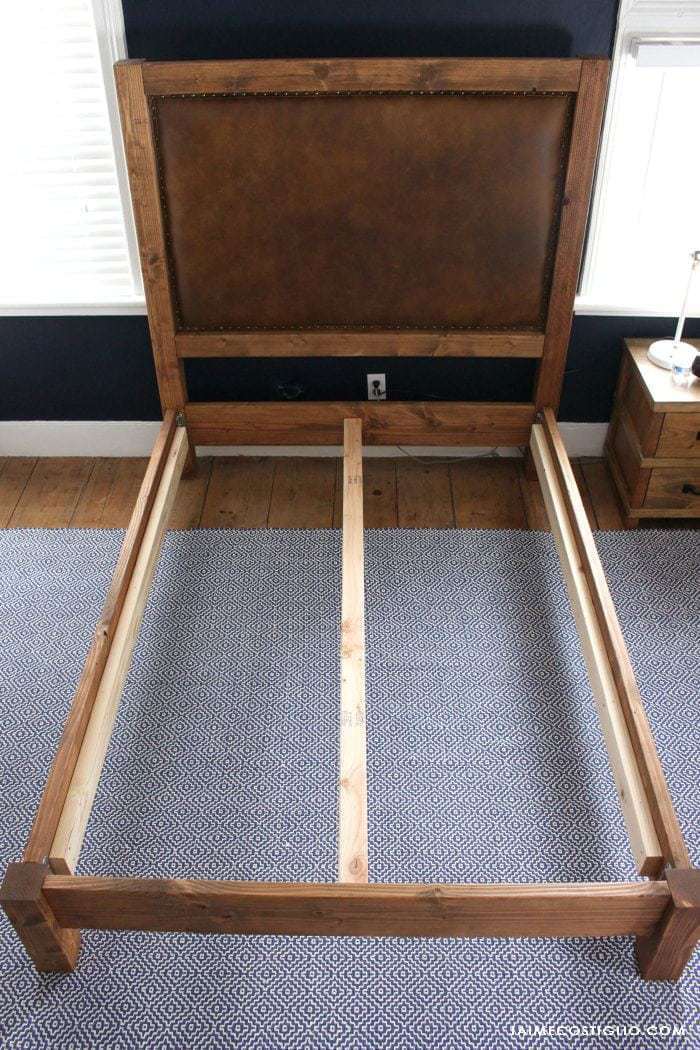
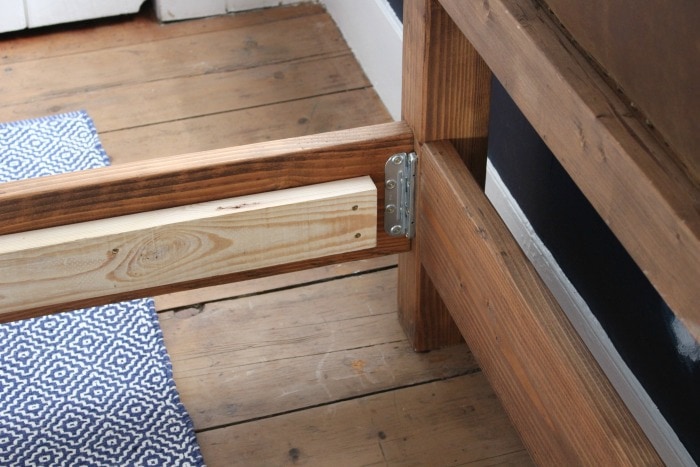
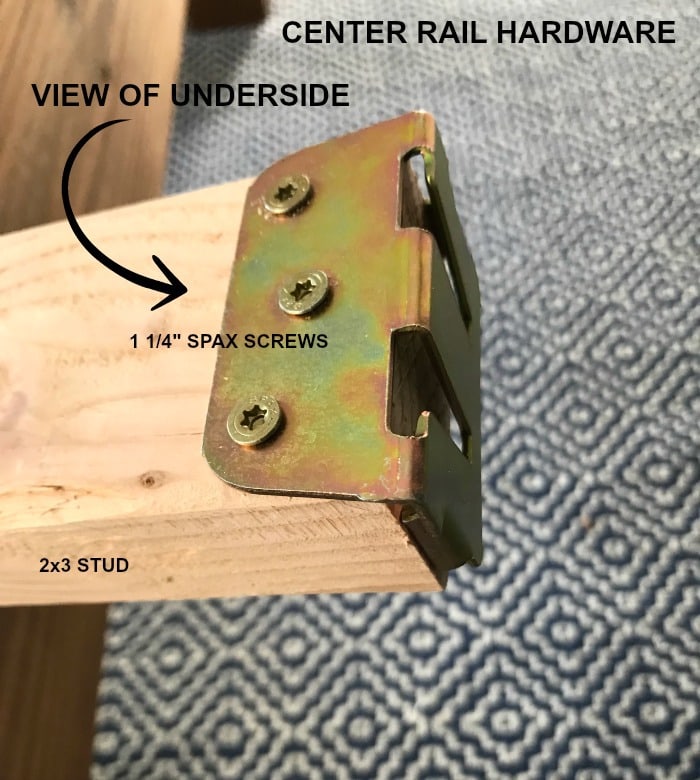
Because this is a full size bed I added a center support rail. I opted for a 2×3 stud and used one pack of center rail hardware.
I definitely recommend attaching the board side piece with 1 1/4″ screws (do not use the tiny screws in the packaging). Also the hardware is designed to slide into one another so you need to be conscious of that less than 1/4″ gap necessary for the partner piece which is attached to the bed frame.
Want to see it all in action as I built and assembled the bed?
For the step by step plans including cut list and printable plans click on over to Build Something here.
Thanks for joining me and my son’s new bed, he is loving his new set up and I feel so proud to be able to make him a great piece of furniture.
SHOP THIS PROJECT:
SHOP THIS ROOM:


Beautiful design, and thanks for the instructions. Blessings!!!
Thank you Barbara, my son is completely smitten too so that makes it all worthwhile.
I love this plan! I will need to modify it for a queen size bed, but this plan is exactly what I’ve been looking for and I love the idea of the leather! Awesome! I can’t wait to build it!
Thank you Bonny, leather is my new favorite material! Looking forward to seeing your queen version and hooray for more leather projects!
Beautiful bed Bonny! I have a question. If you build a platform bed like this do you still need a box spring for your mattress or does the platform act as the box spring? Thanks for your help and plans! Maggie
Hi Maggie, I haven’t seen Bonny’s bed but my version above does not use a boxspring. The wood platform serves as the boxspring. Of course if you wanted to add a box spring that would be fine, I would consider lowering the side cleats a few inches depending on the thickness of your mattress / box spring combination. Good luck!
Hello, I love your bed design to make one for each of my two boys. My husband is going to try to make them but I would like to know what color stain you used?
Hi Ana, Glad to hear you’re making the beds. The stain I used is Minwax Early American. Good luck!
I really love your build. Would you happen to have the cut list for a queen sized bed?