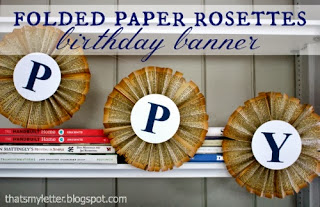
Craft: folded paper rosettes birthday banner
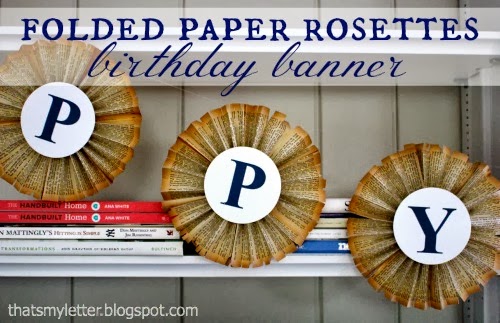
An easy birthday decoration using old paperback books:

We recently celebrated a book themed birthday for Grandpa Peter, you can read all the details here:
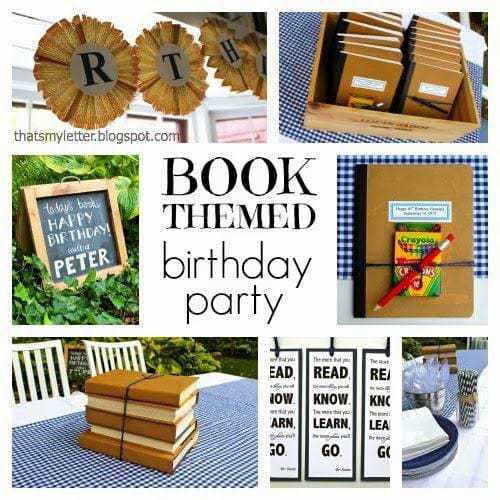
In keeping with the book theme I made a ‘Happy Birthday Peter’ banner using old paperback book pages:
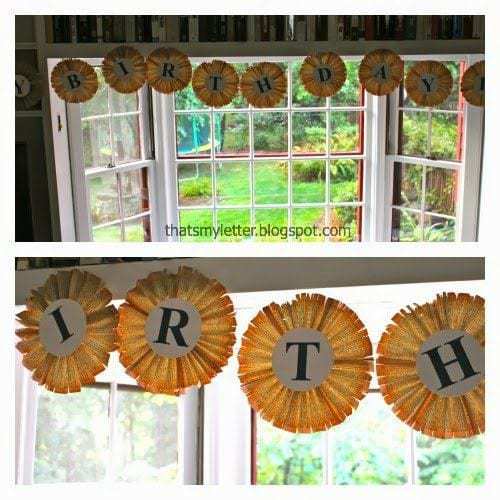
Slightly impossible to get a picture of the entire banner in one shot, you’ll have to use your imagination.
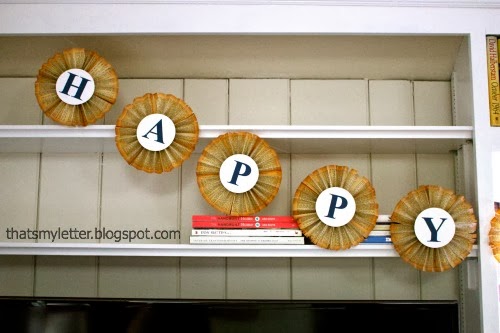
The old book pages have tons of character and warmth:

Here’s how to make a folded paper rosettes banner:
1. Start by using an old paperback, gently tear out 6 pages for one rosette.
The more pages you use the fuller your rosette will be.
Glue the pages end to end making a long and narrow piece:

2. Begin at one short end and fold the entire length like an accordion.
3. Once done folding stick a needle with thick thread through one end:
(I’m using red thread for demonstration purposes, use thread that matches your book pages.)
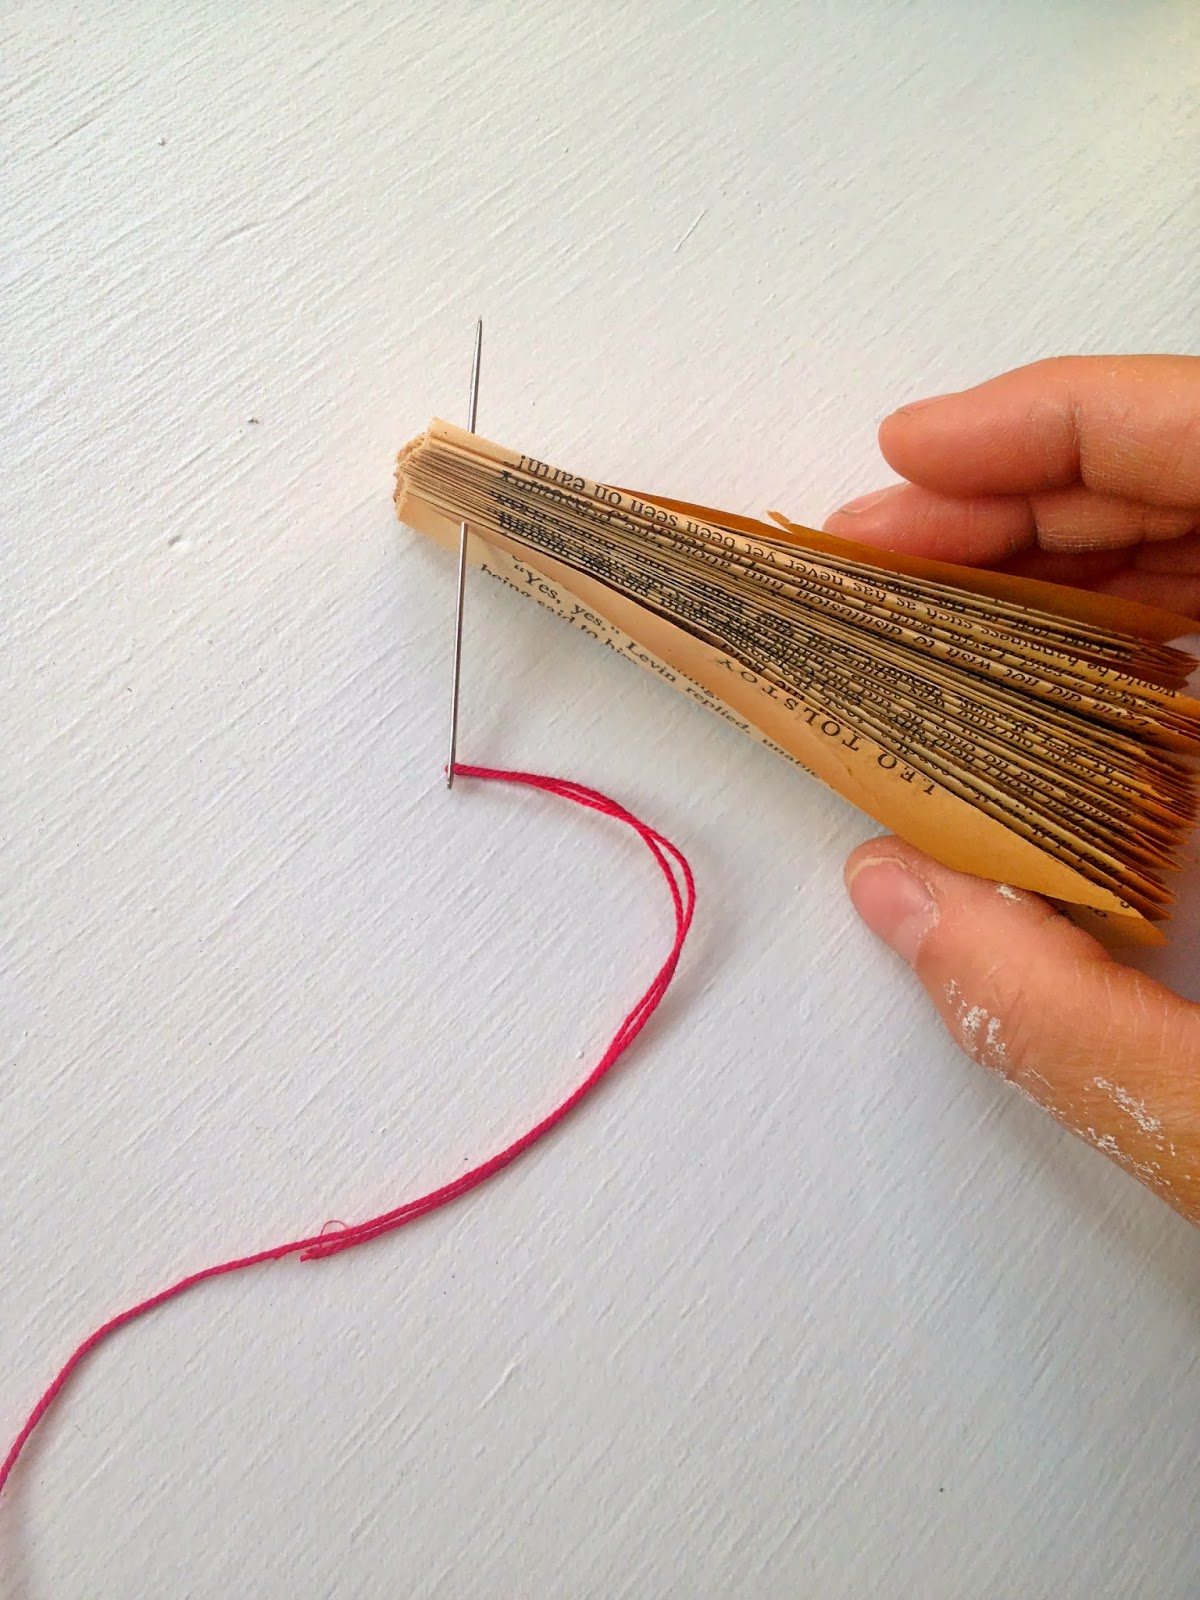
4. Tie the end of the thread together but keep some room for the pages to move:

5. Pull the pages around carefully until you have a full circle and hot glue to two open edges together:

6. To make the circular letters simply print out onto heavy cardstock.
I used Times New Roman font at 250 point and changed the color to dark blue:
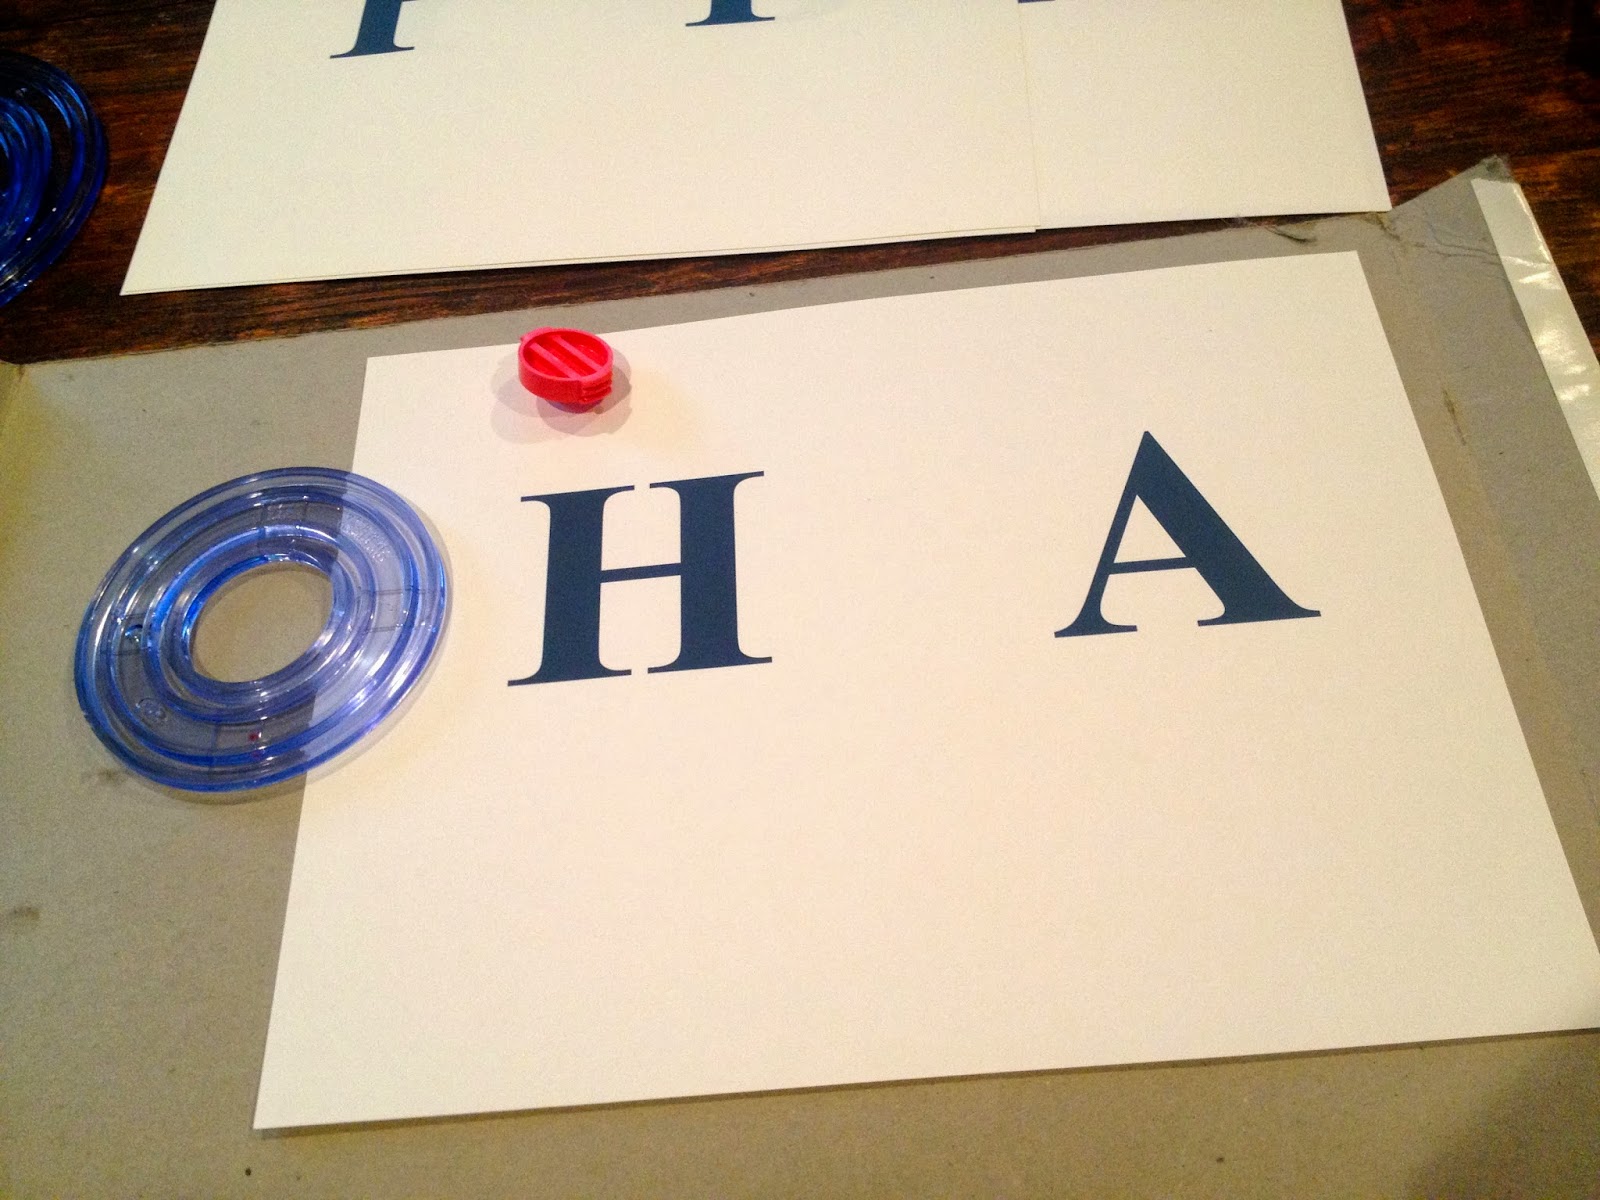
7. Using a circle cutter cut out all the letters:

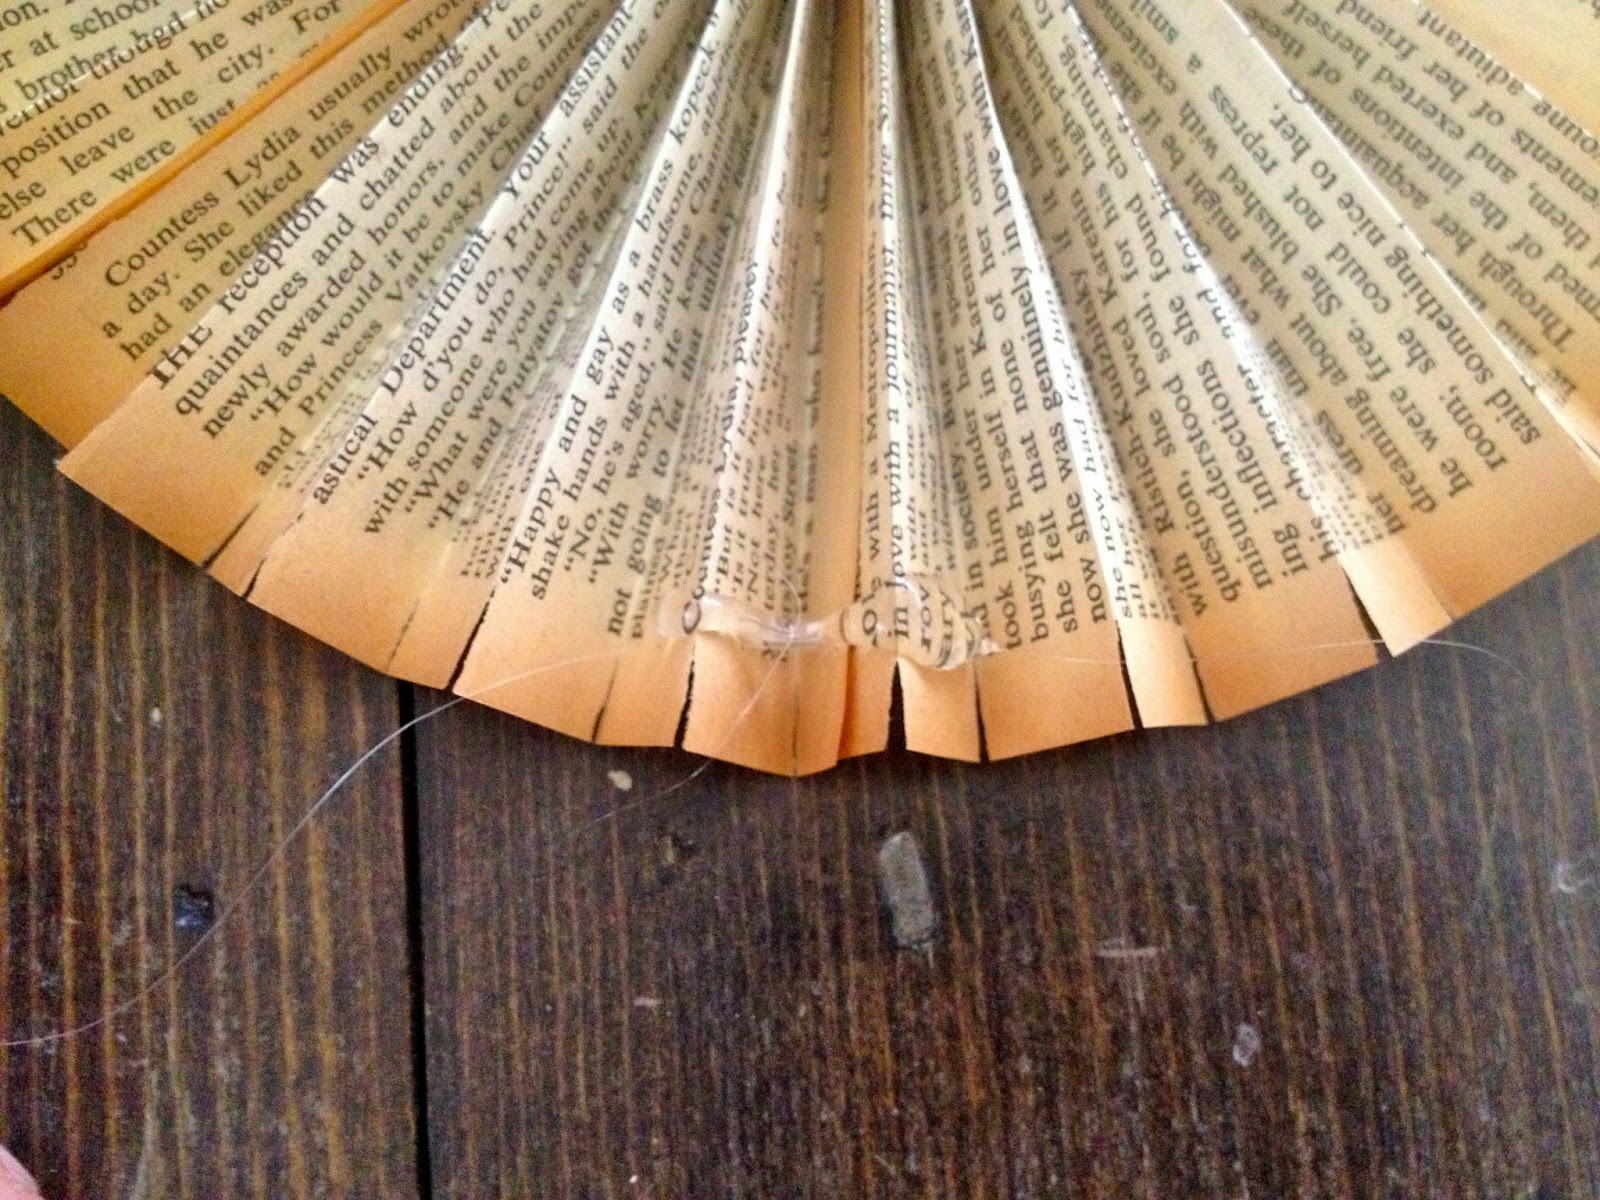
8. String all the paper rosettes using clear monofilament through the top edge.
You can barely see it in the picture below, I added hot glue on top of the clear string to keep it in place and give strength:
9. Once all the rosettes are strung together hot glue the letters in the center:

I hung the banner with command hooks.
I’m linking up to:
SAS @ Funky Junk
Nifty Thrifty Sunday @ Nifty Thrifty Things
That DIY Party @ The DIY Showoff
Tutorials & Tips Tuesday @ Home Stories A to Z
The Scoop @ Lolly Jane
Strut Your Stuff @ Somewhat Simple
Transformation Thursday @ The Shabby Creek Cottage
Share Awesomeness Thur @ The 36th Avenue
Pretty Things Thursday @ Scissors & Spatulas
Flaunt it Friday @ Chic on a Shoestring
Frugal Friday @ The Shabby Nest
Furniture Feature Friday @ Miss Mustard Seed
SAS @ Just a Girl
Remodelaholics Anonymous @ Remodelaholic
inspiration board @ Carolyns Homework
Sunday Showcase Party @ Under the Table & Dreaming


This is perfect for the book themed bridal shower I'm hosting!
Karee