Build: DIY outdoor trestle dining table
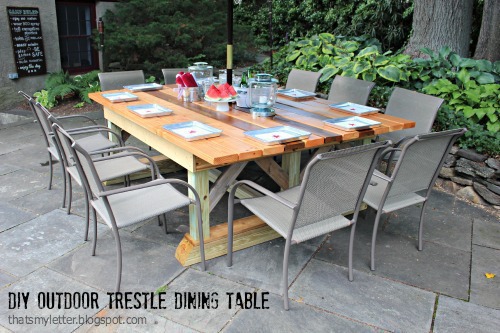
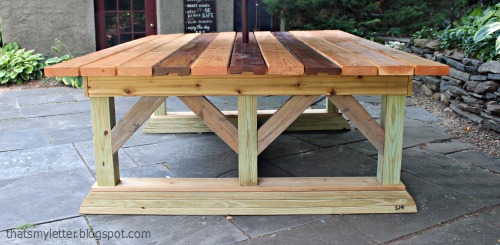
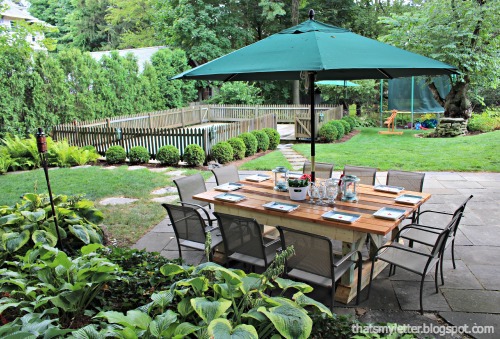
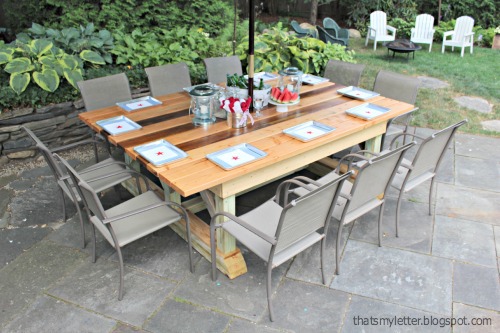
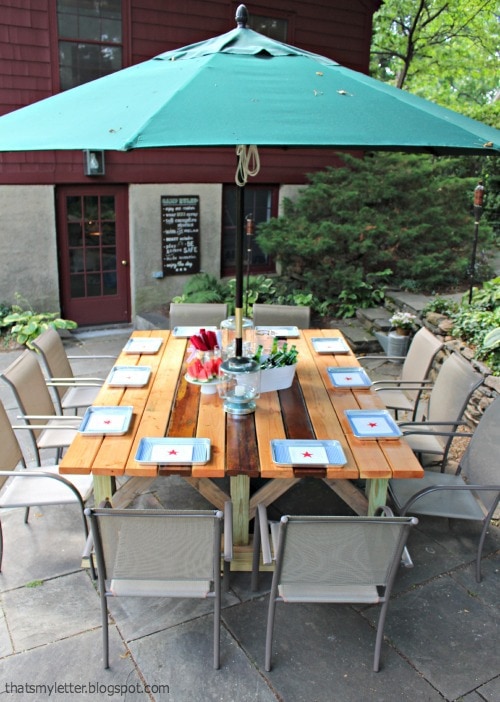
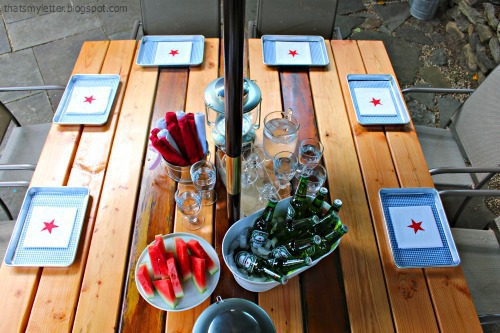
A diy outdoor table that seats 10 comfortably and we’ve got the plans for you! I desperately wanted to build an outdoor table that was double wide (meaning 2 people can fit on the short ends) so I asked my buildy gal pal Ana White to design some plans, she did and I built this beauty!
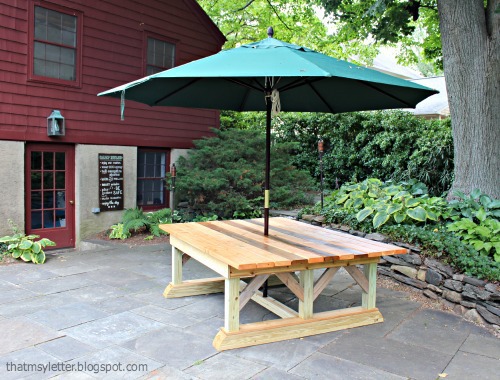
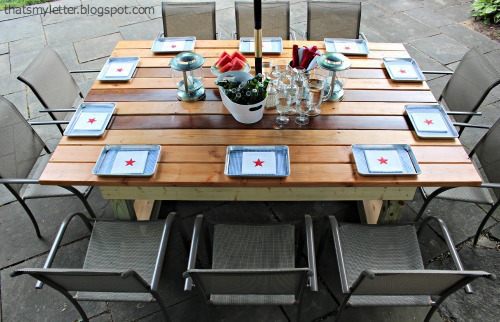
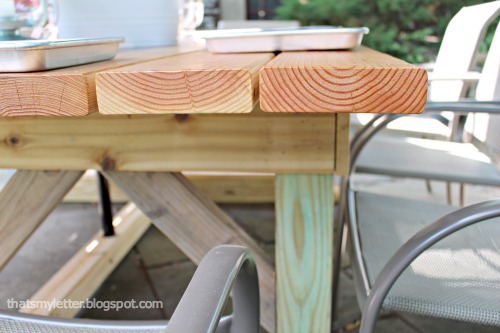
The top measures 90″l x 64″w and that’s a 12 foot umbrella stuck in the middle.
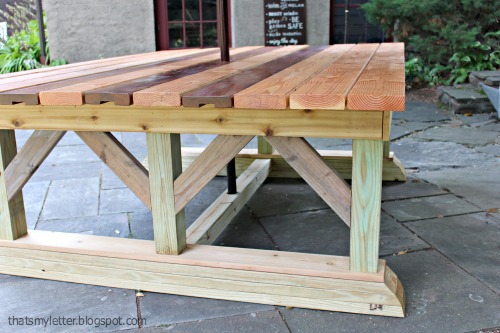
We modified the shape for a more squarish table and Ana, being the genius that she is, designed the base to have a double trestle.
Total cost for this DIY version: $200
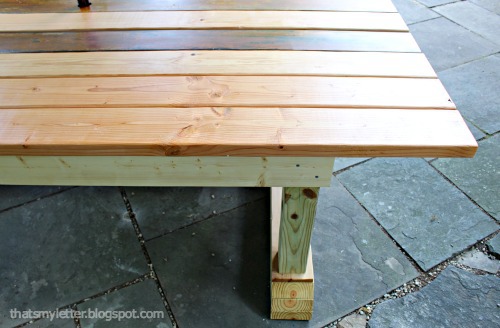
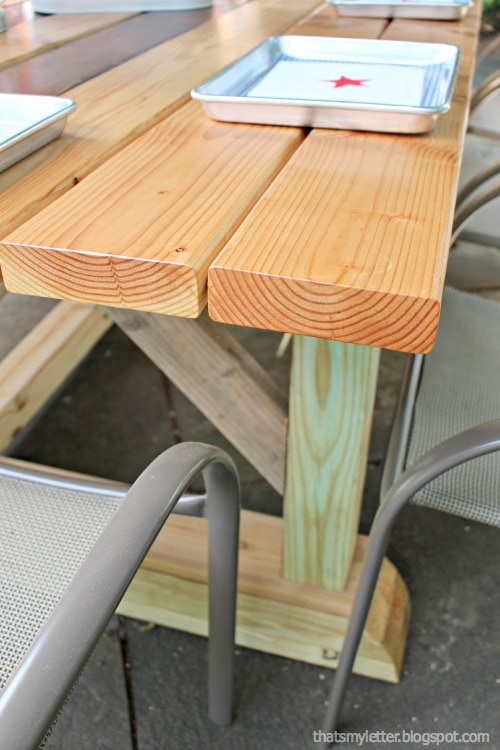
I actually spent less than that by using some 2×6 teak from an old fence. For this outdoor build I choose all pressure treated boards, teak and cedar for the base. The top surface is a combination of teak and 2×6 fir boards. Only the top surface, cut ends on the base and underside of the base is sealed with Helmsman clear satin poly, I’m letting the base weather naturally to grey and maybe after the winter I will seal it once the green tinge is gone.
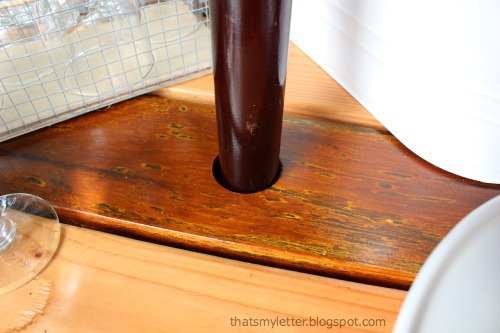
I drilled a 2″ hole smack in the middle of the table top for the monster 12′ umbrella.
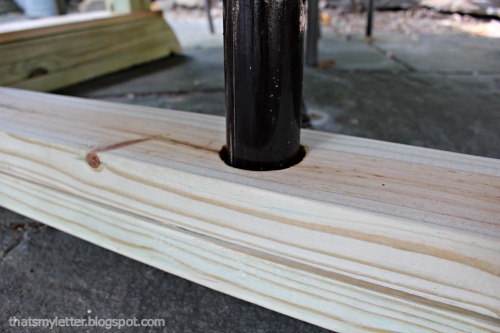
And down below I drilled the same 2″ hole through the first 2×4 and then only a 3/4″ hole through the second 2×4. This supports the umbrella but allows for water to drain. Both holes are sealed with poly to prevent rot.
The boards are spaced a generous 1/4″ apart (I used multiple yard sticks on edge in between each board to act as spacers while I secured them from below.). The spacing allows for water drainage because this table will be outside all year long.
How to build an outdoor trestle dining table:
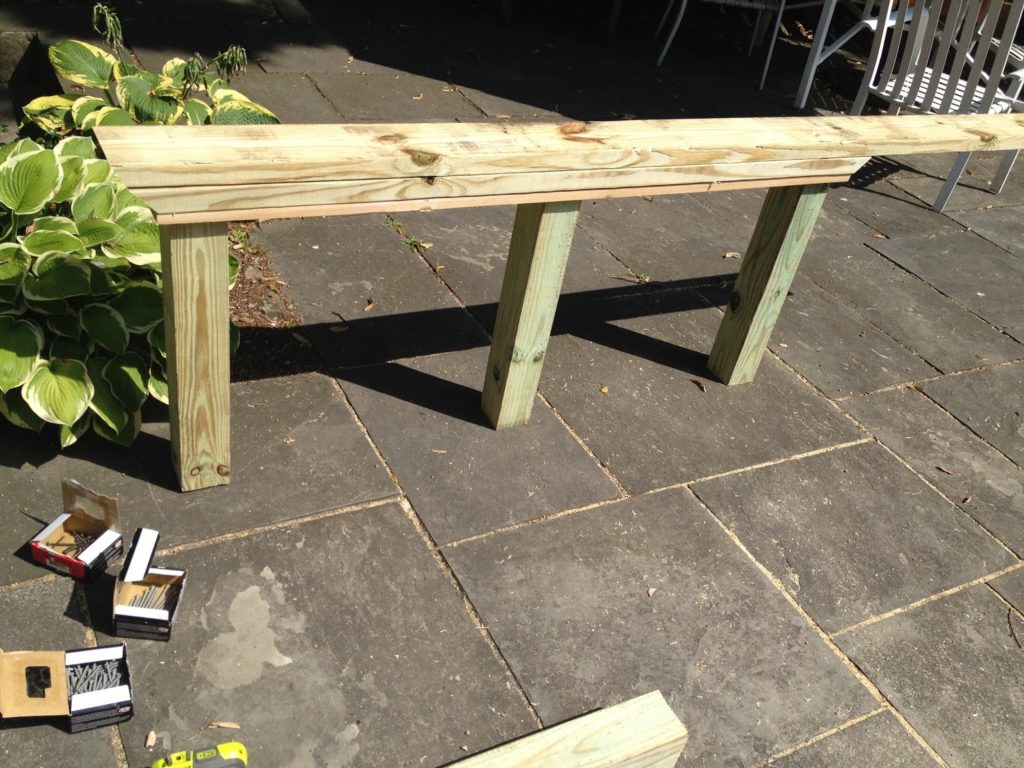
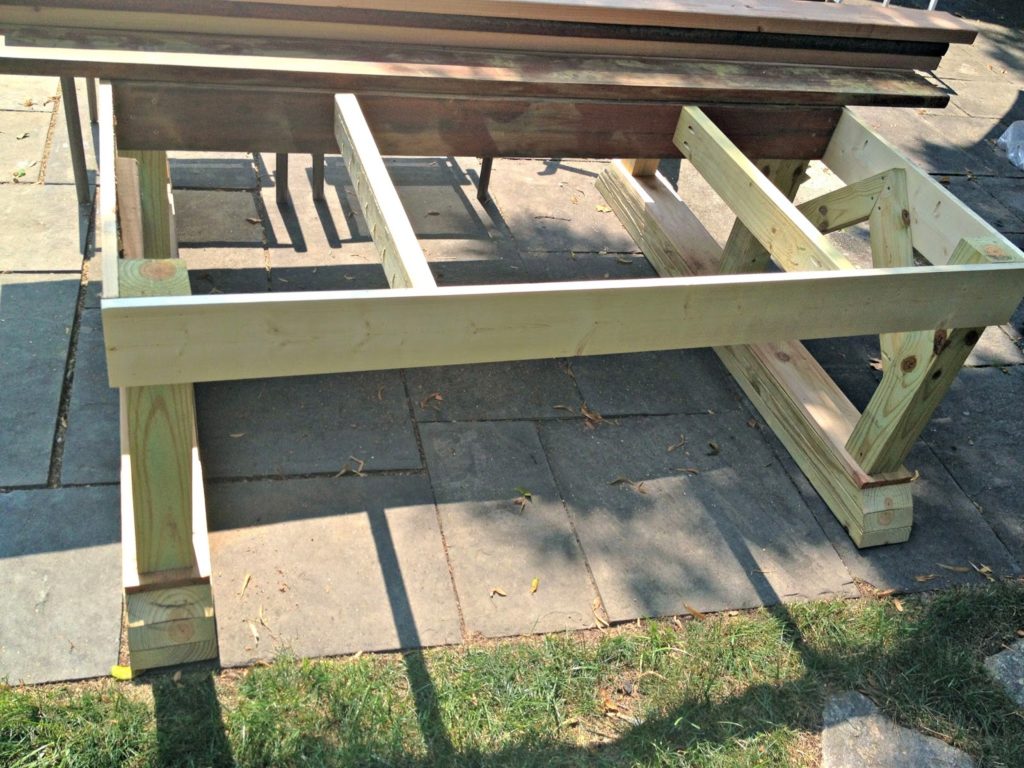
Build the base upsidedown, attach the 4×4 posts to the 1×6 cedar using 3″ exterior screws then add the 2×6 boards. Begin with the first 2×6 layer which has a 45 degree bevel on both ends, attach to the previous board with 2 1/2″ exterior screws.
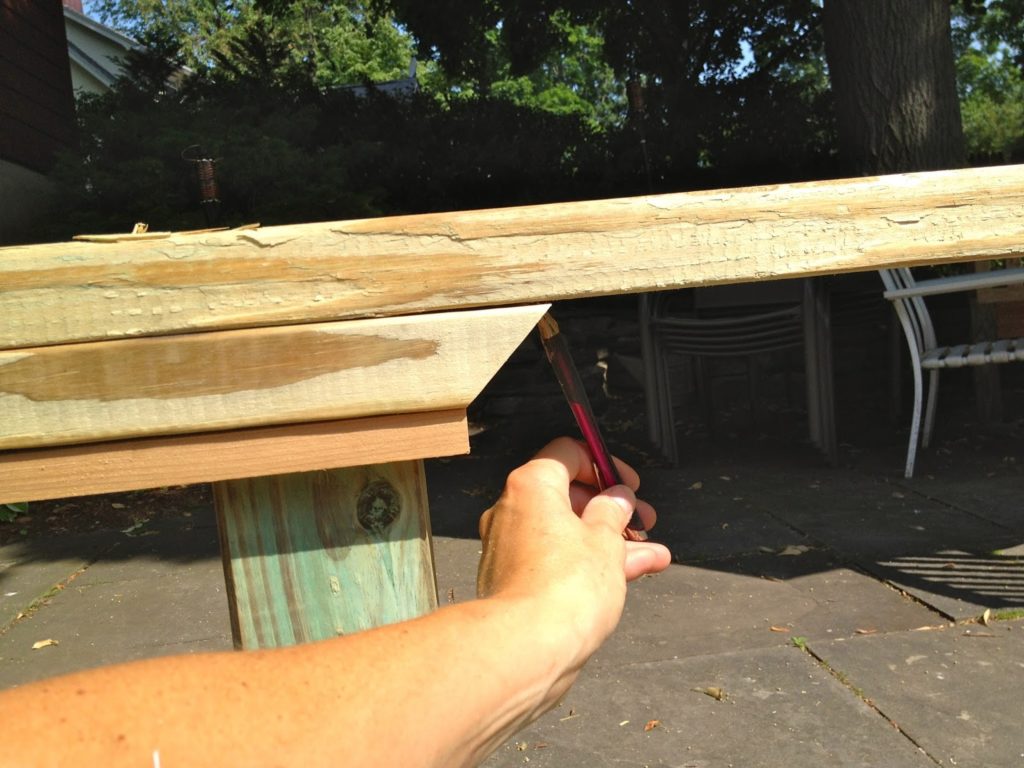
Now you don’t even need to measure the next 2×6. Simply make the 30 degree bevel cut at one end, lay the board in place lining up the cut ends (not in the photo above) then mark the board and this is where you’ll make the other 30 degree bevel.
Repeat this process for the last 2×6.
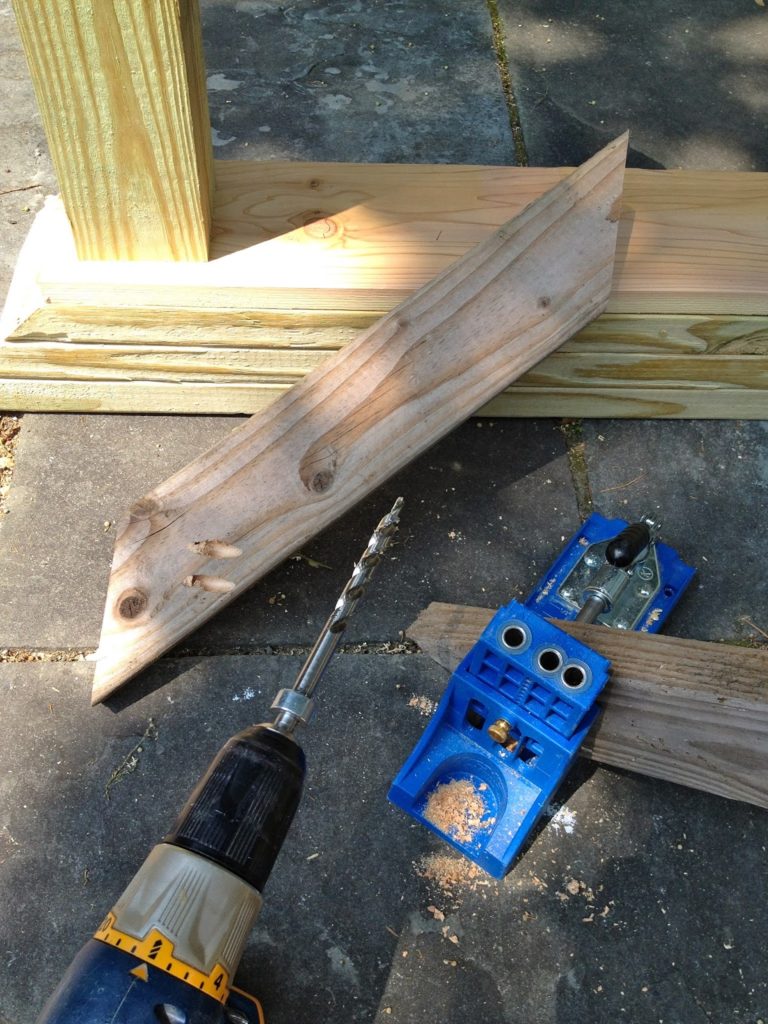
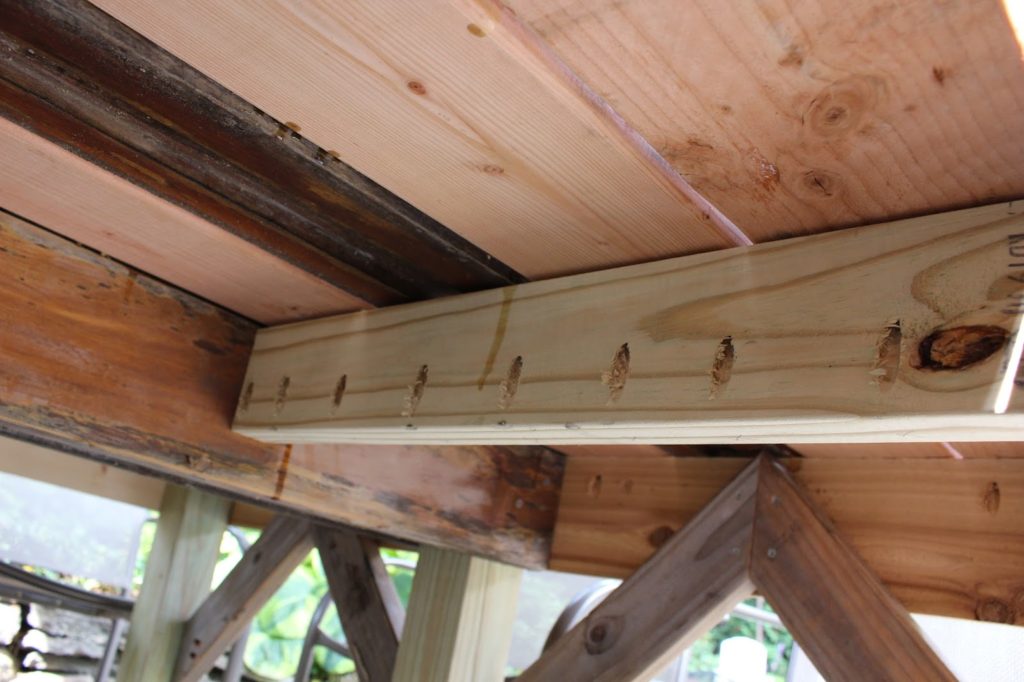
Use your Kreg jig to make pocket holes in the 2×4 trestle detail.
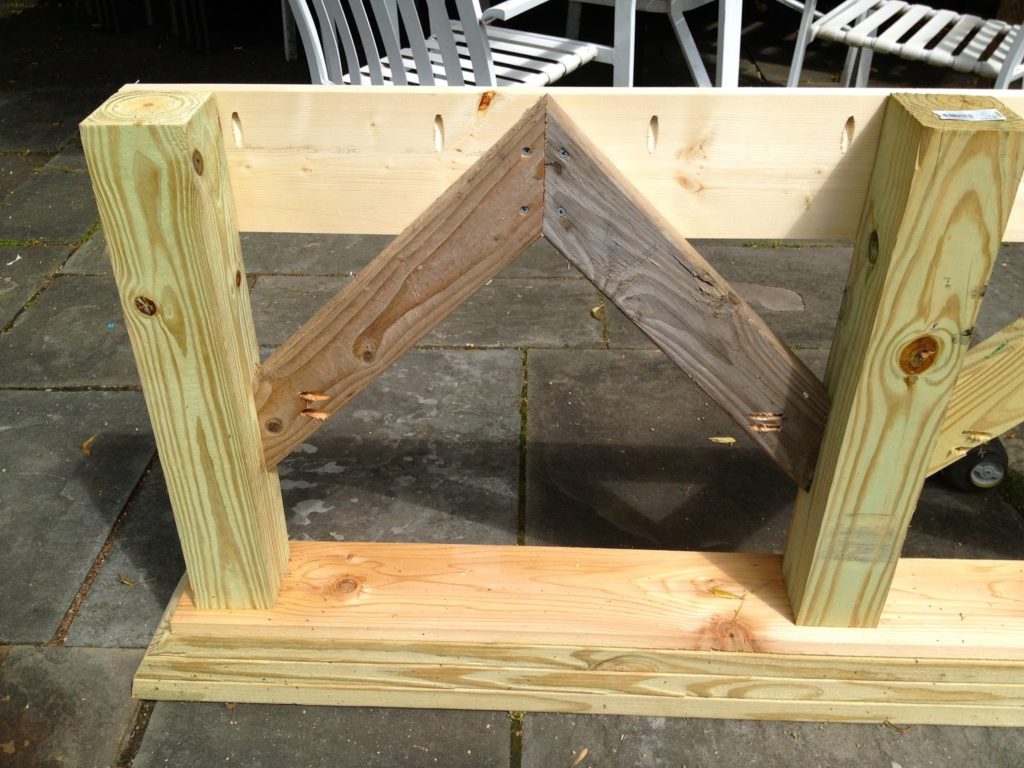
Then attach the 2×4 to the 4×4 posts using the pocket holes.
Notice the predrilled pocket holes in the 1×6 apron piece, you’ll want to make more holes than I did because the 2×6 top pieces need to be attached in 2 places if possible.
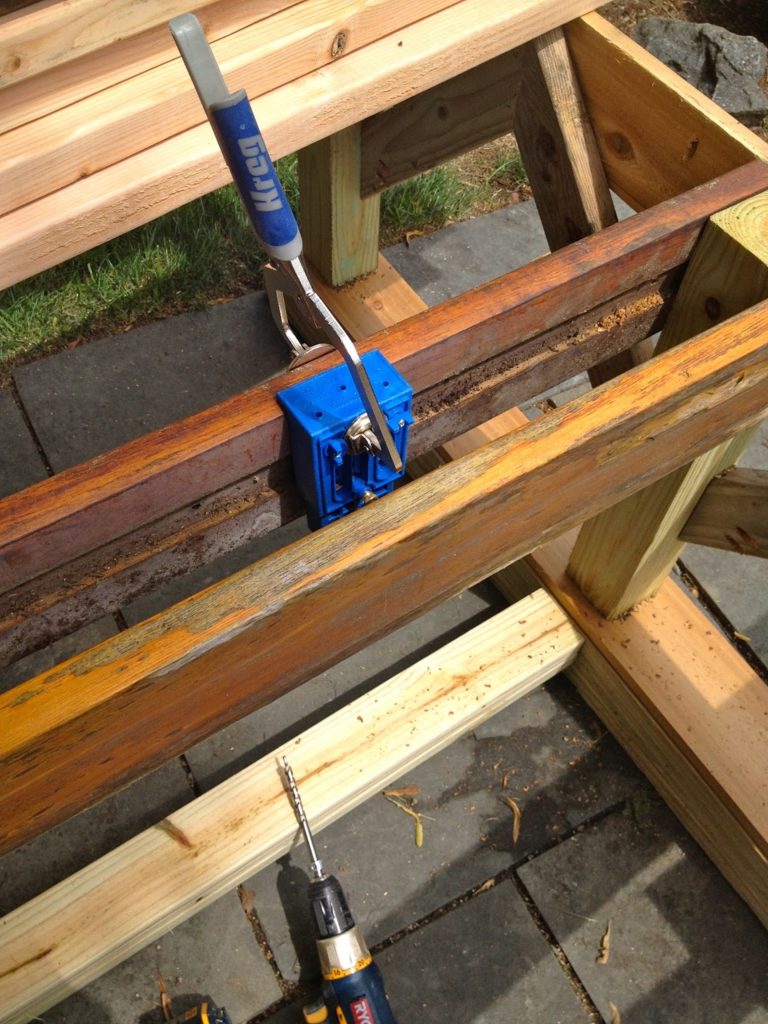
For the center support I used 2×6 teak, again these need pocket holes going upwards to attach the top pieces. Consider predrill the holes (it’s easier than going against gravity!) or this is a good time for the Kreg jig portable base and face clamp.
To attach the top 2×6 boards I added 2×4 cross supports.
With lots of pocket holes!
And just for security I added a 1×3 to the underside flush to the apron screwed up into the top 2×6 boards just to be sure all those boards line up flush as possible on top.
Thank you Ana as always.
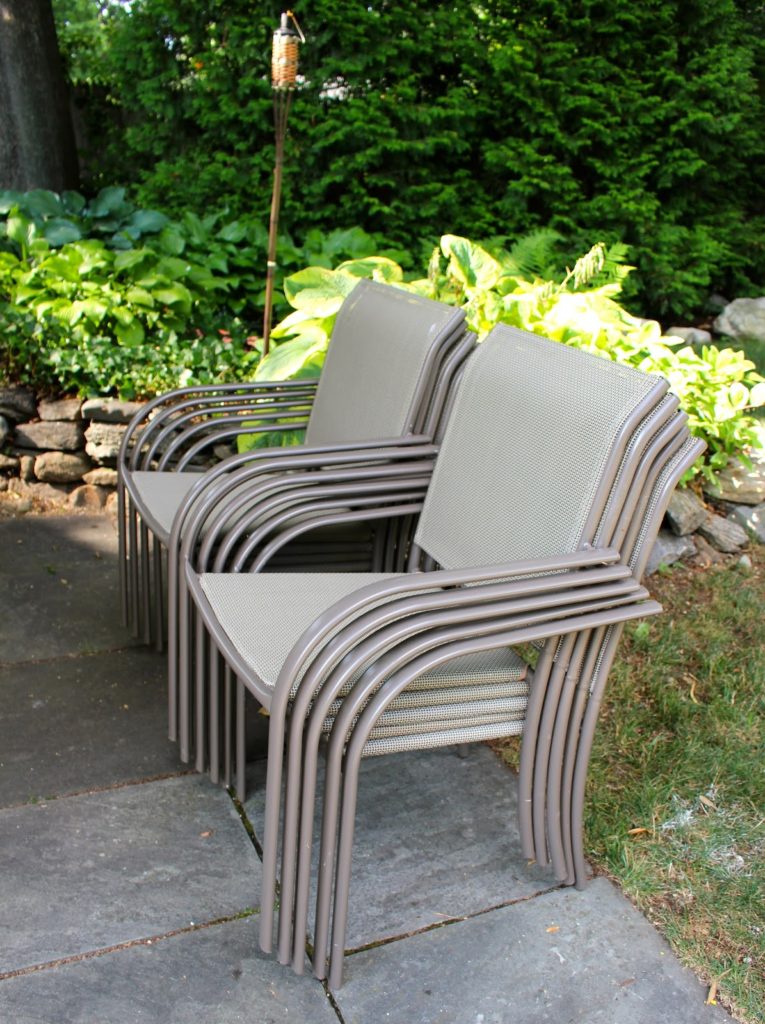
And if you’re wondering about the chairs:
They’re from Lowes, $20 each, stackable! washable! durable! no cushions! lightweight!
Need I say more?



amazing and impressive, like usual.
enjoy,
b
why did you add notches in the underside of the three darker boards?
Wow! Love it like I knew I would. You are a knock off expert!
Lovely!
I'm actually wondering about those plates/trays/whatever they are's. Too cute!
This is really stunning, I love it! The different colors of wood are perfect! And the trays caught my eye too!
My immediate response to this project is positive, because I love the concept. But after giving it my critical eye, I see one major problem, which is in direct conflict with two opposing needs.
The problem is that the base is just too large for the table top, making it impractical for a group of people to comfortably sit down and enjoy a supper. Just looking at the chair placement leaves no doubt that placing one's legs under the table, and leaning forward, will be a study in frustration. And that's where the two opposing needs come in.
One of these needs is to have more than enough leg room for all the guests. And the other is to have the base big enough to keep the table top flat, and not allow for warpage at the ends. And leaving a space between each board on the table top, persents a huge "opportunity" that would not be there were they all butted together.
But there is a cure for this. It is possible to purchase threaded rods from either Lowes, or Home Depot. By using a drill press, a true and straight set of holes can be drilled through the width of each 2×6, at the ends and along the length of the boards, allowing for the threaded rod to span all of the boards. And in order to maintain the spacing, a nut could be threaded for each spacing. This way all of the boards would be bolted together, and in line with each other, preventing the warpage you will almost surely have occur over time. If you have a drill press, or a friend with one, this is very doable. Don't try doing this free hand.
Also, I use a pocket hole jig, but not to the extent Ana White, or others do, because the pocket hole jig becomes a crutch for everything, when there are better solutions. And too, all those unsightly holes are a huge turn off to me. drilling up through the with of the boards and countersinking the end for the bolt head is far superior, has less holes, and allows for more joint strength. But you do need that drill press, which so many people fail to see as an important tool to own.
But anyway, by using the thread-all rods and bolts as spacers, this will allow you to make your base smaller, still maintain strength and flatness, and also accommodate those long legged guests.