• Home
  • Blog
  • About
  • Contact
    • Disclosure
    • Privacy Policy
  • SHOP
  • Widget area for main menu

    • Email
    • Facebook
    • Instagram
    • Pinterest
    • Twitter
    • YouTube
  • Skip to primary navigation
  • Skip to main content
  • Skip to primary sidebar

Jaime Costiglio

build - paint - sew

  • BUILD
    • BEDS
    • BENCHES
    • DESKS
    • DRESSERS
    • GAMES & TOYS
    • SCRAP WOOD
    • SHELVES
    • STORAGE
    • TABLES
  • TOOLS
  • PAINT
    • CRAFTS
    • FURNITURE
    • HOME DECOR
  • SEW
    • GIFTS
    • HOME DECOR
    • POUCHES
  • HANDBUILT HOLIDAY
    • 2021
    • 2019
    • 2018
    • 2017
    • 2016
    • 2015
    • 2014
    • 2013
  • GIFTS
    • BABIES
    • KIDS
    • FOR HER
    • FOR HIM
    • TEACHERS
    • WEDDINGS
  • SEASONAL
    • 4TH OF JULY
    • FALL
    • HALLOWEEN
    • CHRISTMAS
    • SUMMER
    • SPRING
    • ST. PATRICK’S DAY
    • THANKSGIVING
    • VALENTINE’S DAY
    • WINTER
  • SALTBOX PROJECT
    • BATHROOMS
    • DINING ROOM
    • EXTERIOR
    • FAMILY ROOM
    • FOYER / MUDROOM
    • KIDS BEDROOMS
    • KITCHEN
    • LIVING ROOM
    • MASTER BEDROOM
    • PLAYROOM
  • SCROLL SAW

“O” is for Optimistic

January 6, 2013

Paint: Be Optimistic sign

I painted this little gem inspired by the graphic below that came to me in a weekly update email from Best Made Co.:
 You can also find the graphic on Pinterest.
I must admit I was always taken by this little badge from Best Made Co.:
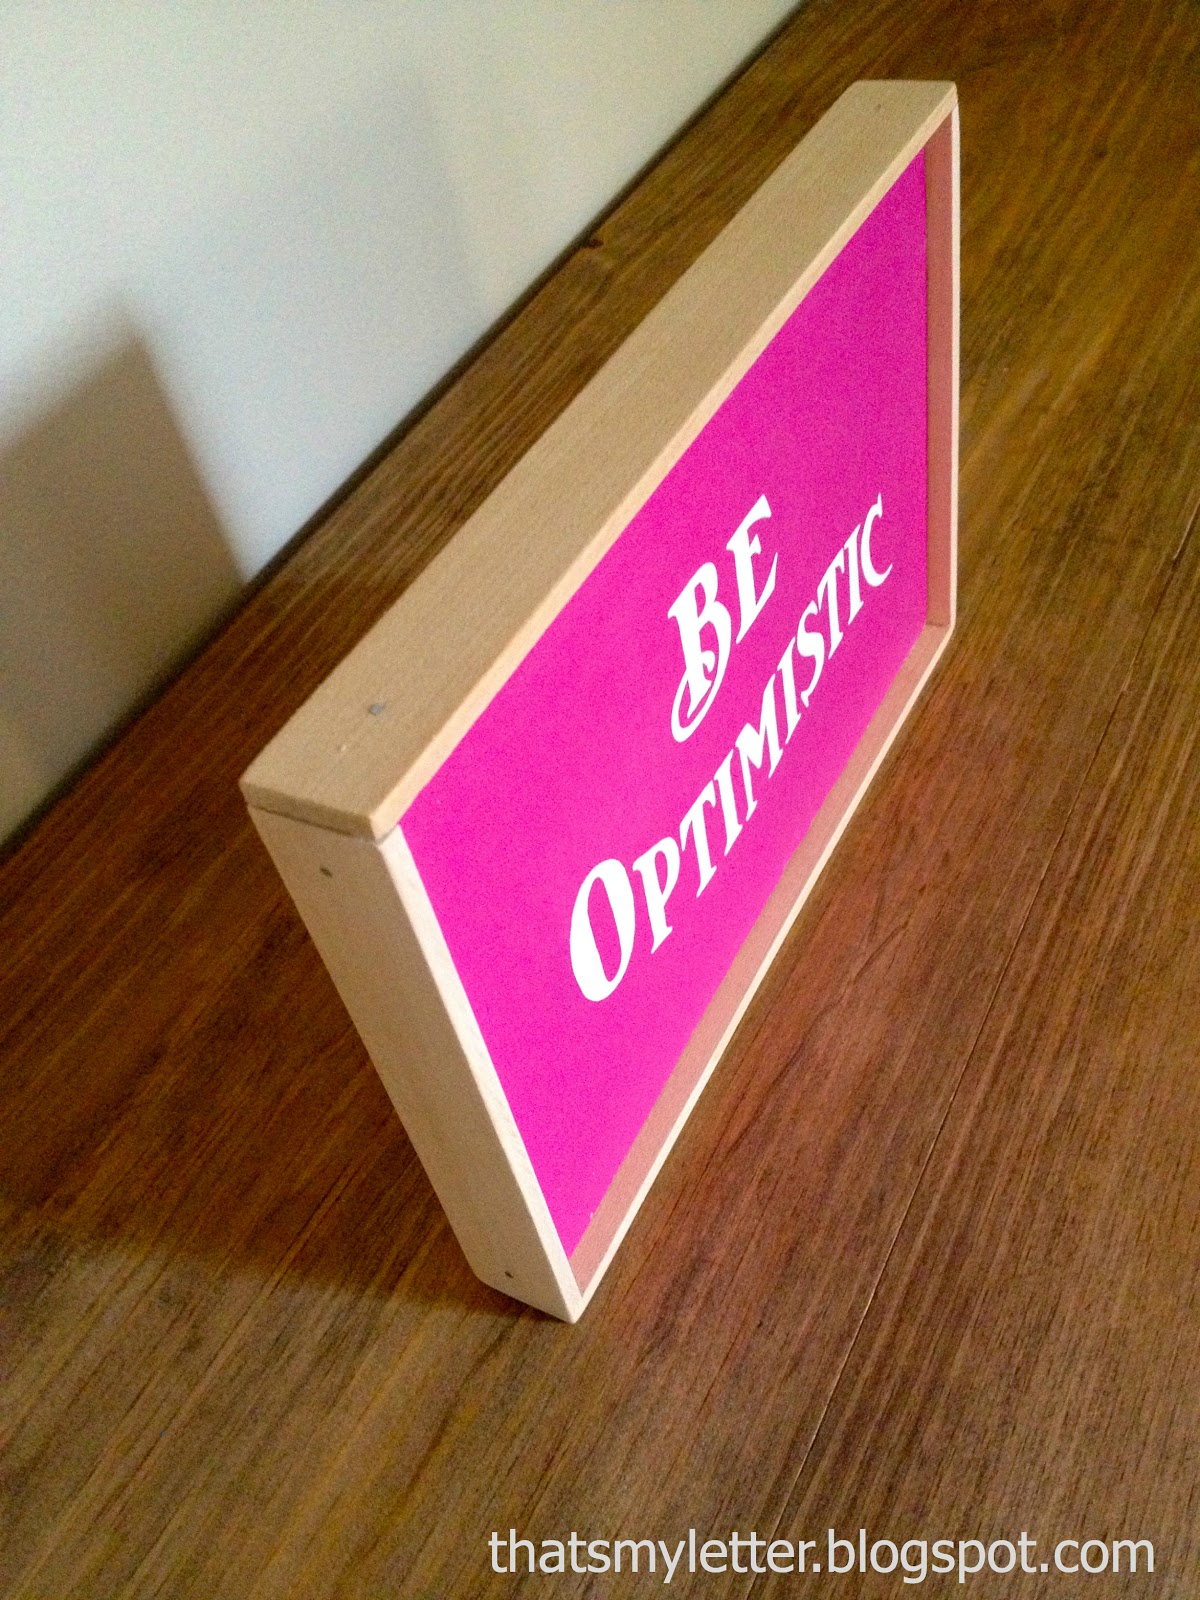
So I change the background color for fun and added a frame:

The 1″ thick frame makes a great border:
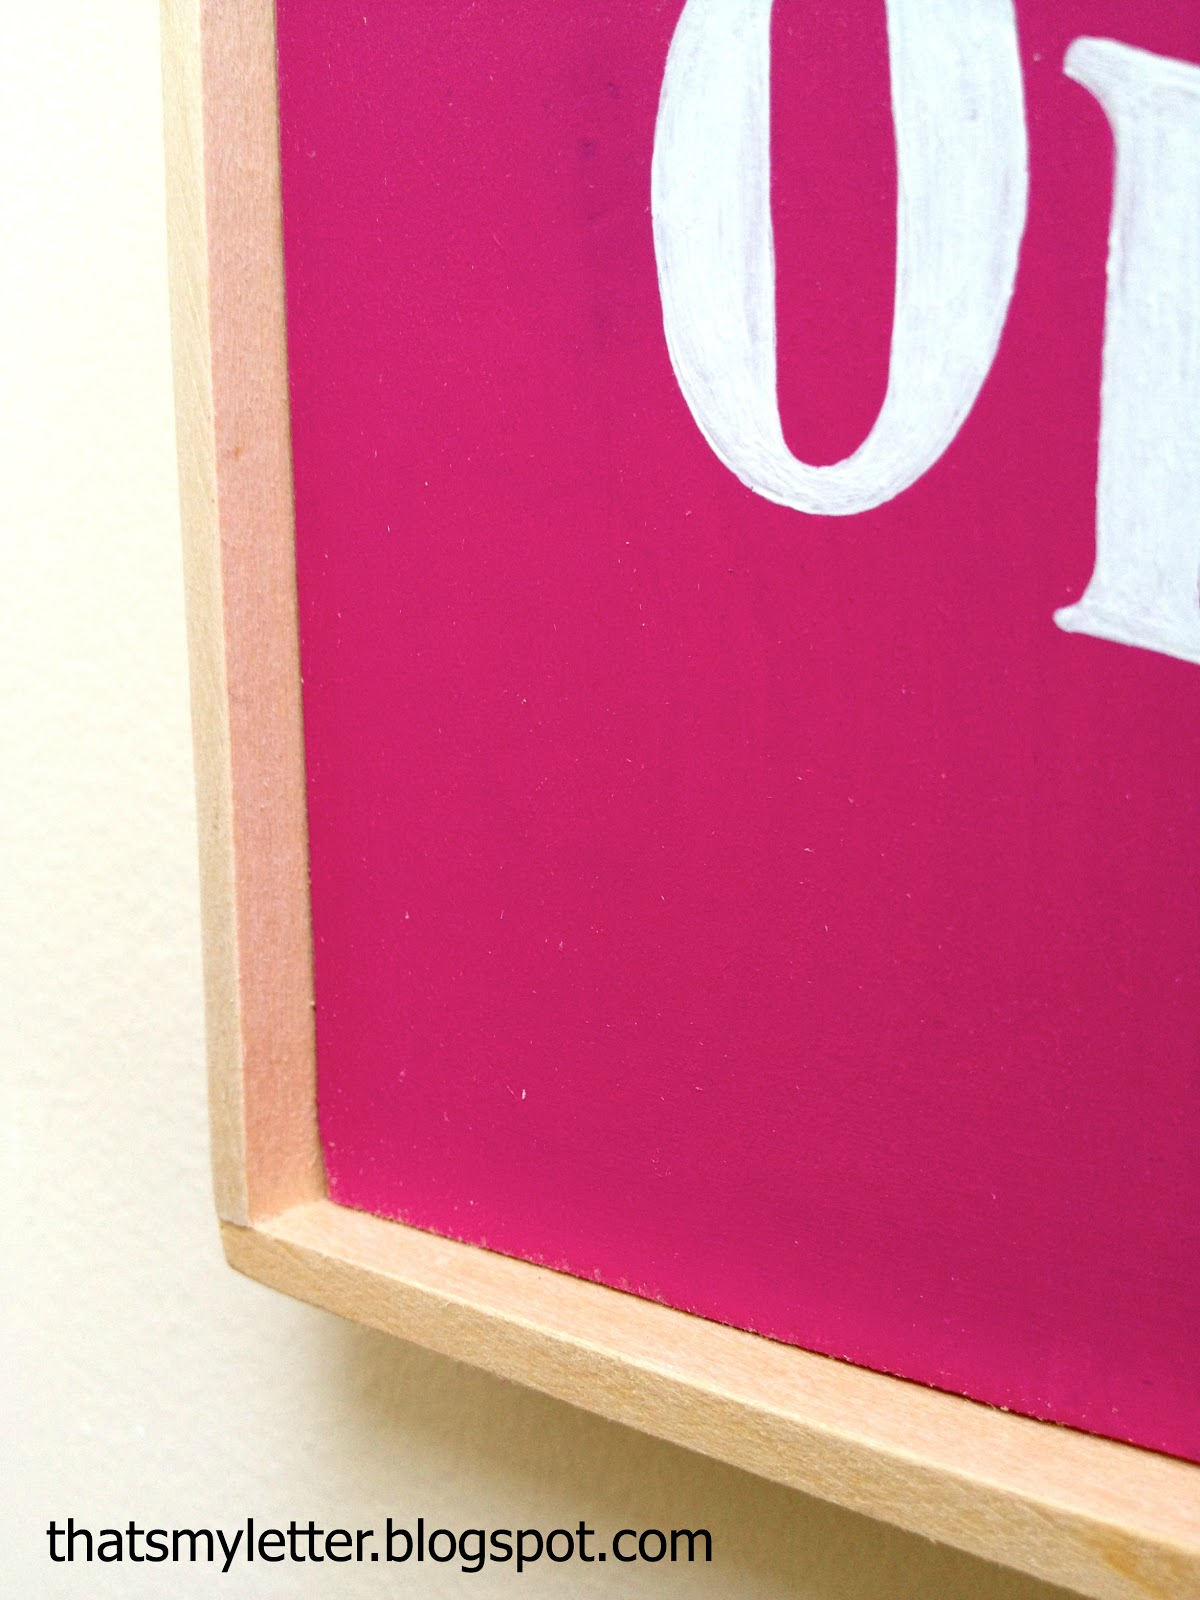
And lets the sign stand on its own, no need to hang:
Here’s how to paint the Be Optimistic sign:

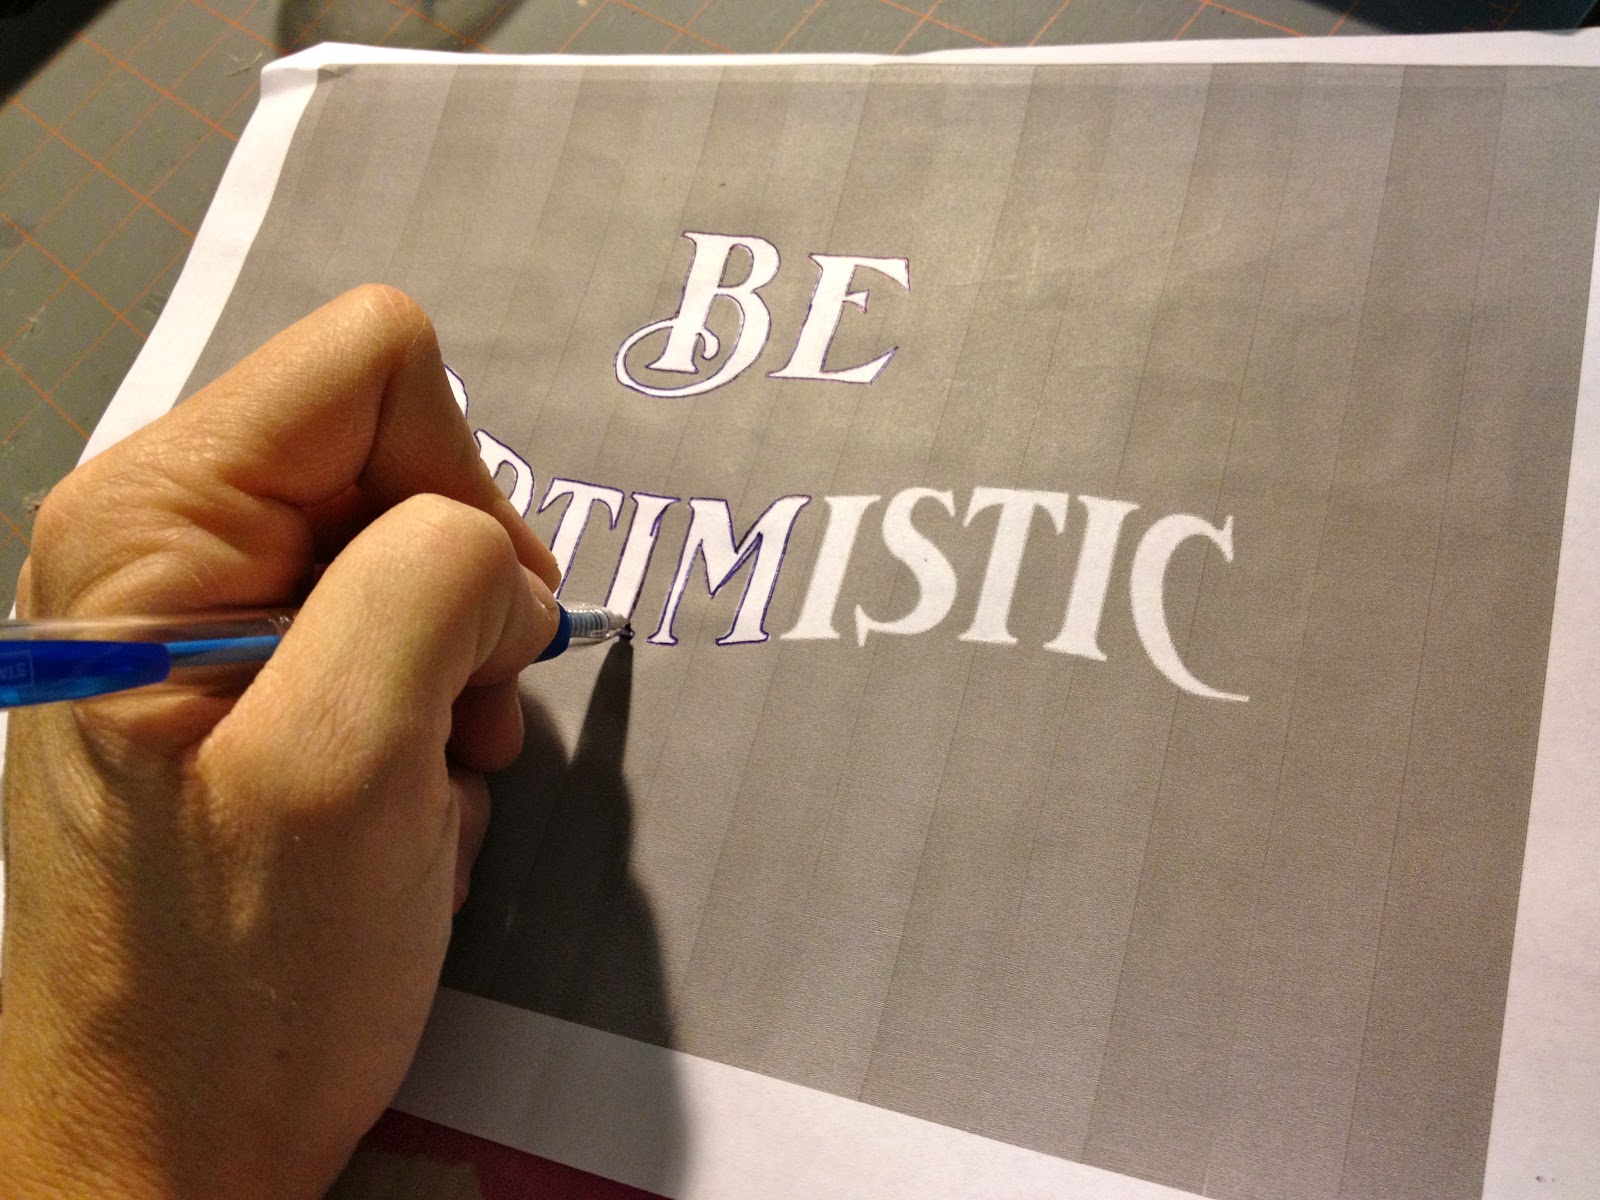
1. Print out graphic. *see notes above about sources*
Paint 3/4″ plywood piece (9″ x 6″) pink, line up print out on top of wood board and trace letters with ballpoint pen:
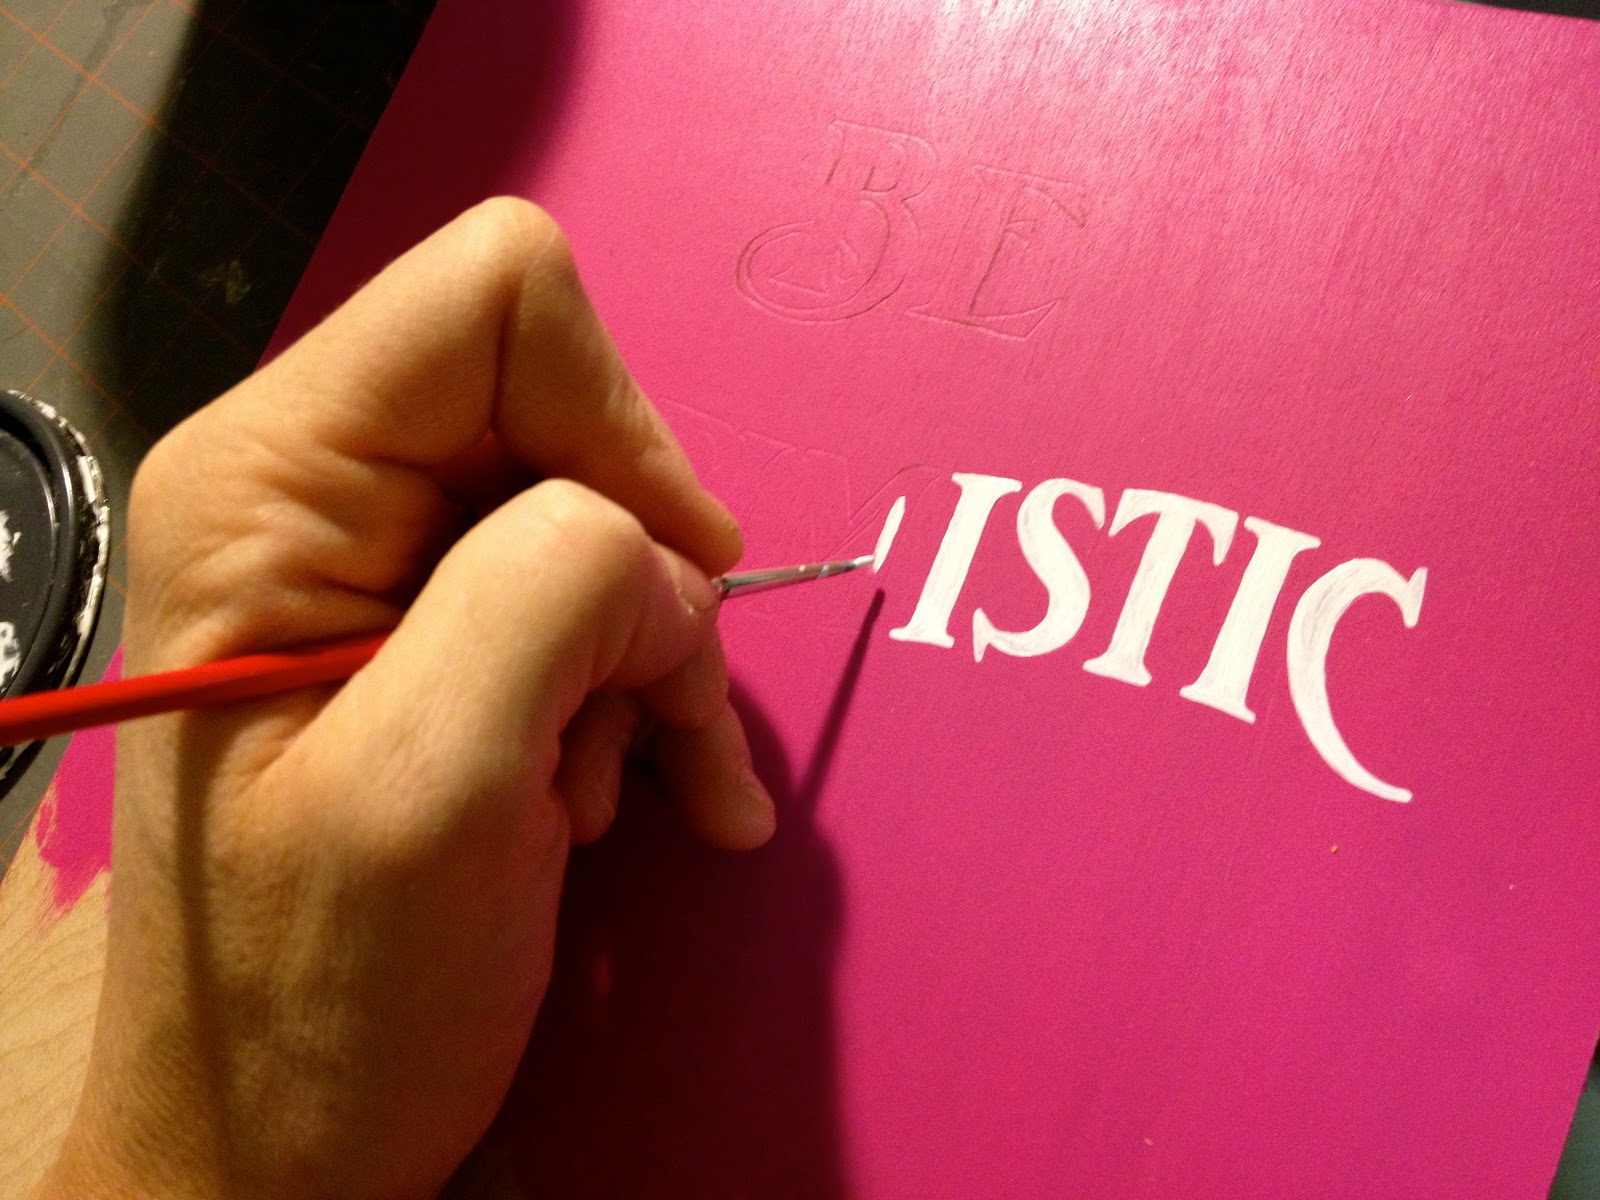
2. Paint on and inside the indent left behind by the pen:

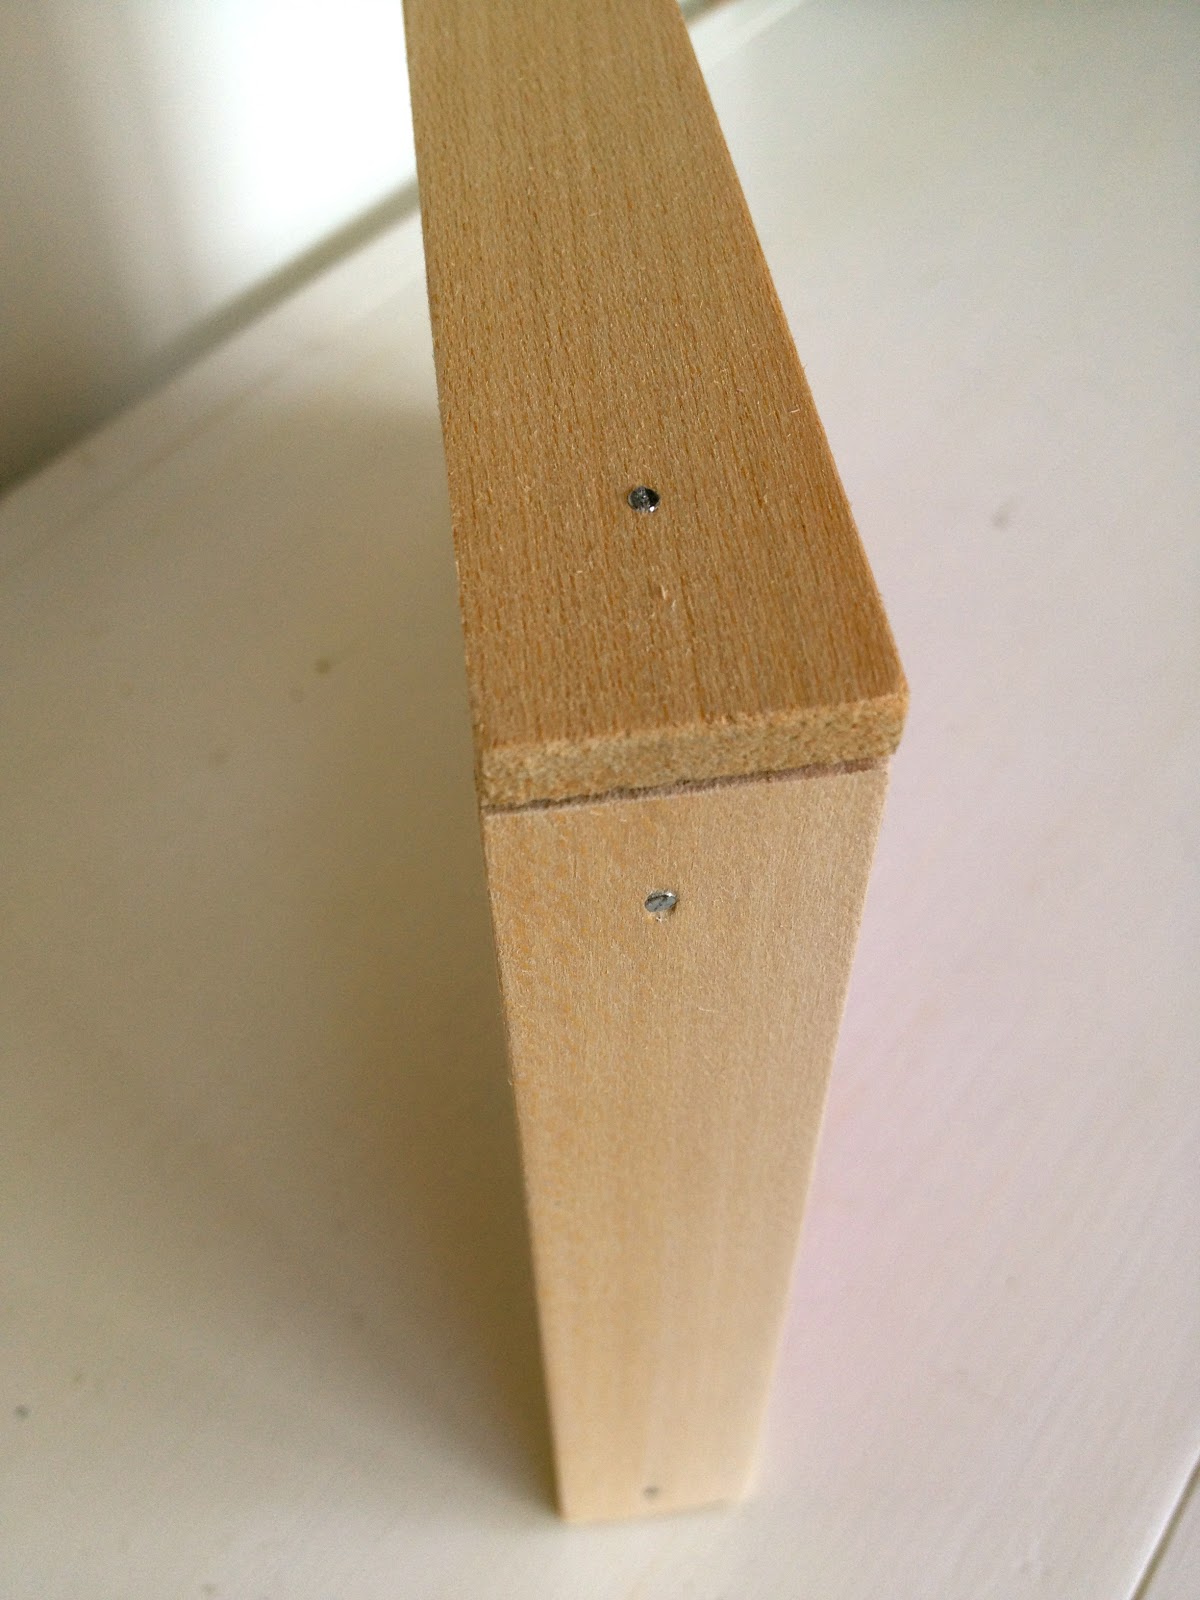
3. Add 1″ wood trim as frame with 5/8″ wire brads or finish nails and glue:
I’m linking up to:
SAS @ Funky Junk
Nifty Thrifty Sunday @ Nifty Thrifty Things
DIY Project Parade @ The DIY Showoff
Tutorials & Tips Tuesday @ Home Stories A to Z
Strut Your Stuff @ Somewhat Simple
Share Awesomeness Thur @ The 36th Avenue
Pretty Things Thursday @ Scissors & Spatulas
Flaunt it Friday @ Chic on a Shoestring
Frugal Friday @ The Shabby Nest
SAS @ Just a Girl
Remodelaholics Anonymous @ Remodelaholic
inspiration board @ Carolyns Homework
Sunday Showcase Party @ Under the Table & Dreaming
Weekend Bloggy Reading @ Serenity Now

You may also like...

  • “C” is for Chore Chart“C” is for Chore Chart
  • “H” is for Historical Plaque“H” is for Historical Plaque
  • “S” is for Silent Night“S” is for Silent Night
  • “L” is for Lyrics #2“L” is for Lyrics #2
Share this post:

Filed Under: CRAFTS, DIY, GIFTS, HOME DECOR, HOME DECOR, KIDS, PAINT4 Comments

Reader Interactions

Comments

  1. Maureen says

    January 6, 2013 at 5:47 PM

    You can't go wrong with that sign to remind you of what may be waiting around the next corner. Well done!

    Reply
  2. Debbie - Painted Therapy says

    January 7, 2013 at 2:34 AM

    Perfect, as always. 🙂

    Reply
  3. daiseyjayne.com says

    January 7, 2013 at 2:30 PM

    Great sign, just love that color!

    Reply
  4. Jacqueline H. says

    January 8, 2013 at 3:01 AM

    I love that font-thanks for the great tutorial!

    Reply

Leave a Reply Cancel reply

Your email address will not be published. Required fields are marked *

Primary Sidebar

Hi! I’m Jaime

Jaime Costiglio

Hello!

Thank you for stopping by.
Join me for lots of DIY.

Read more

Get new posts via email

Handbuilt Holiday: Gift Project Plans

handbuilt holiday gift project plans

Collection of DIY gift project plans to build.

The Home Depot Tool Prospective

THD Prospective

Tools to consider for the DIYer.

Archives

The Home Depot Logo
Copyright © 2023 Jaime Costiglio · Custom site by Moonsteam Design

Privacy Policy