Built: nailhead stool with leather cushion

Using plans from Ana White here.

The inspiration piece: Pottery Barn’s Caden nailhead stool:
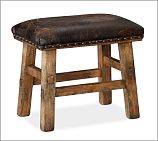
image from Pottery Barn
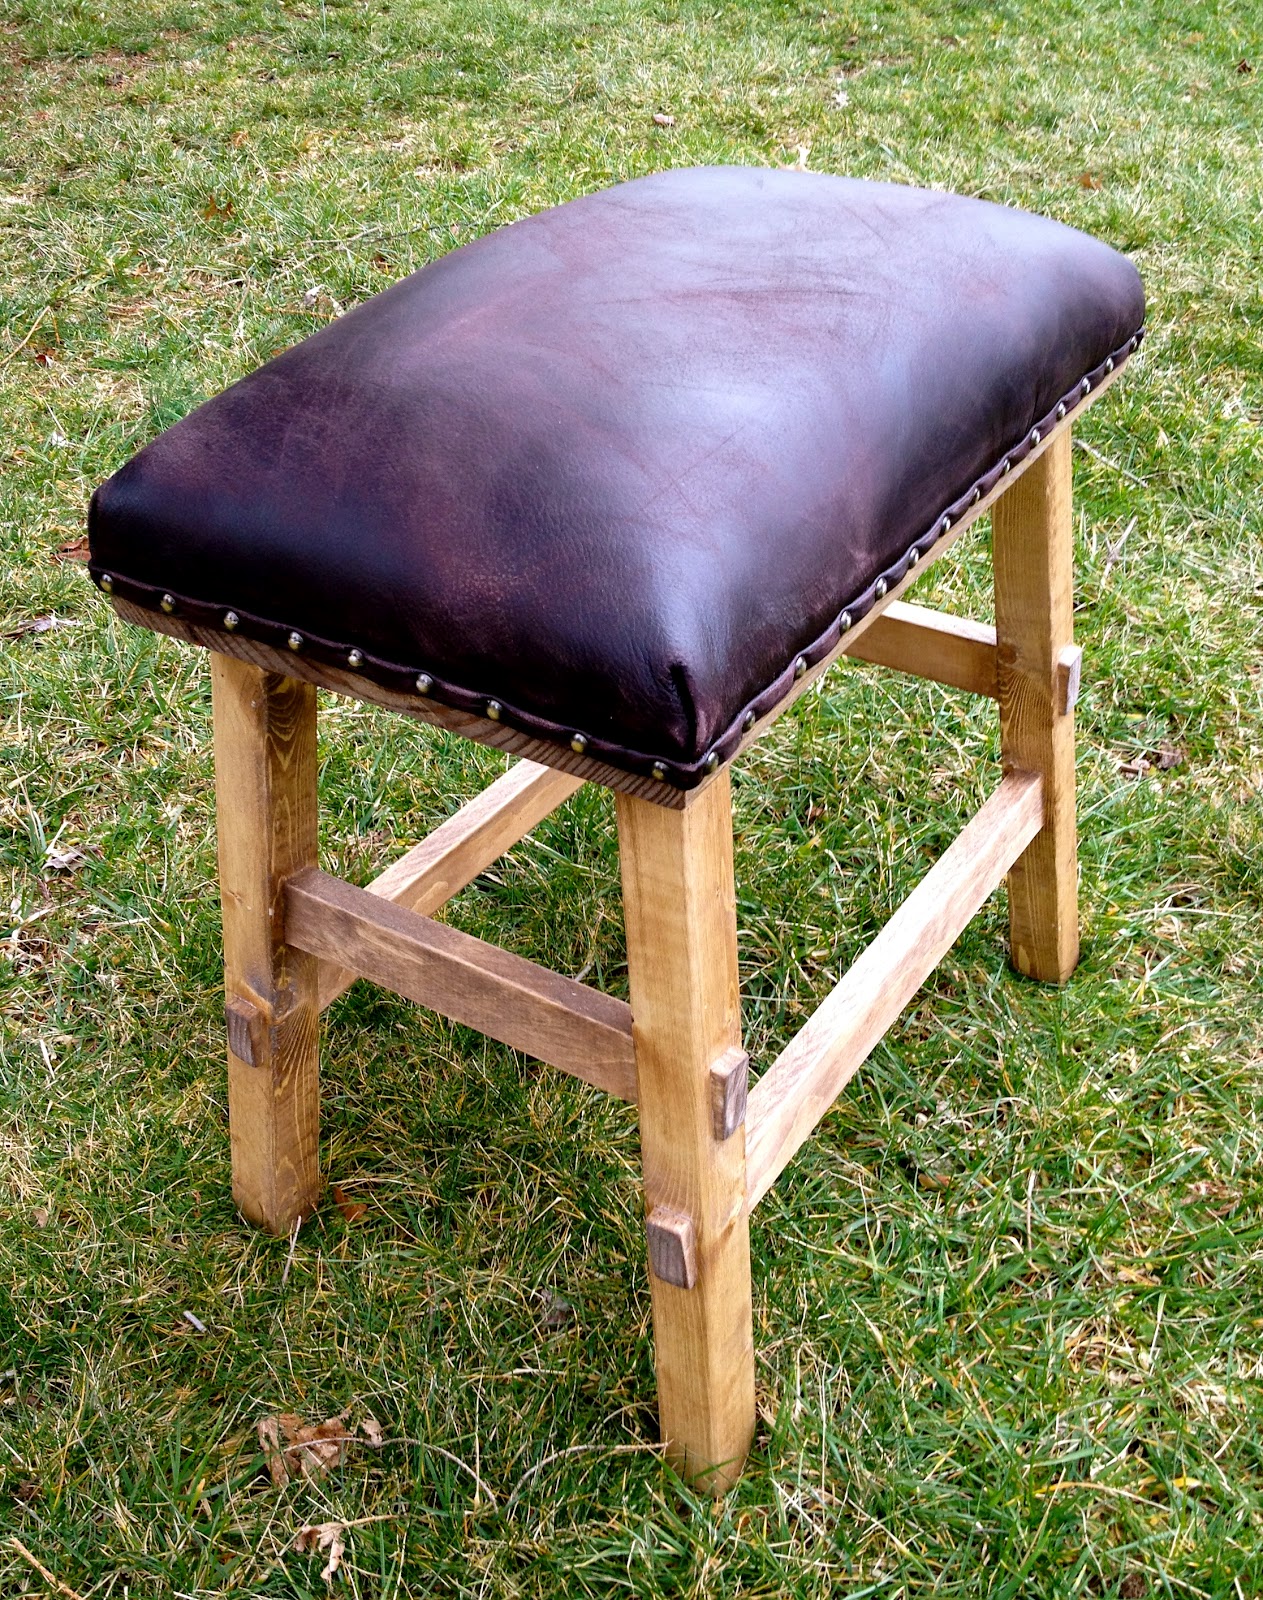
Yes you can make this stool yourself and save a bundle:
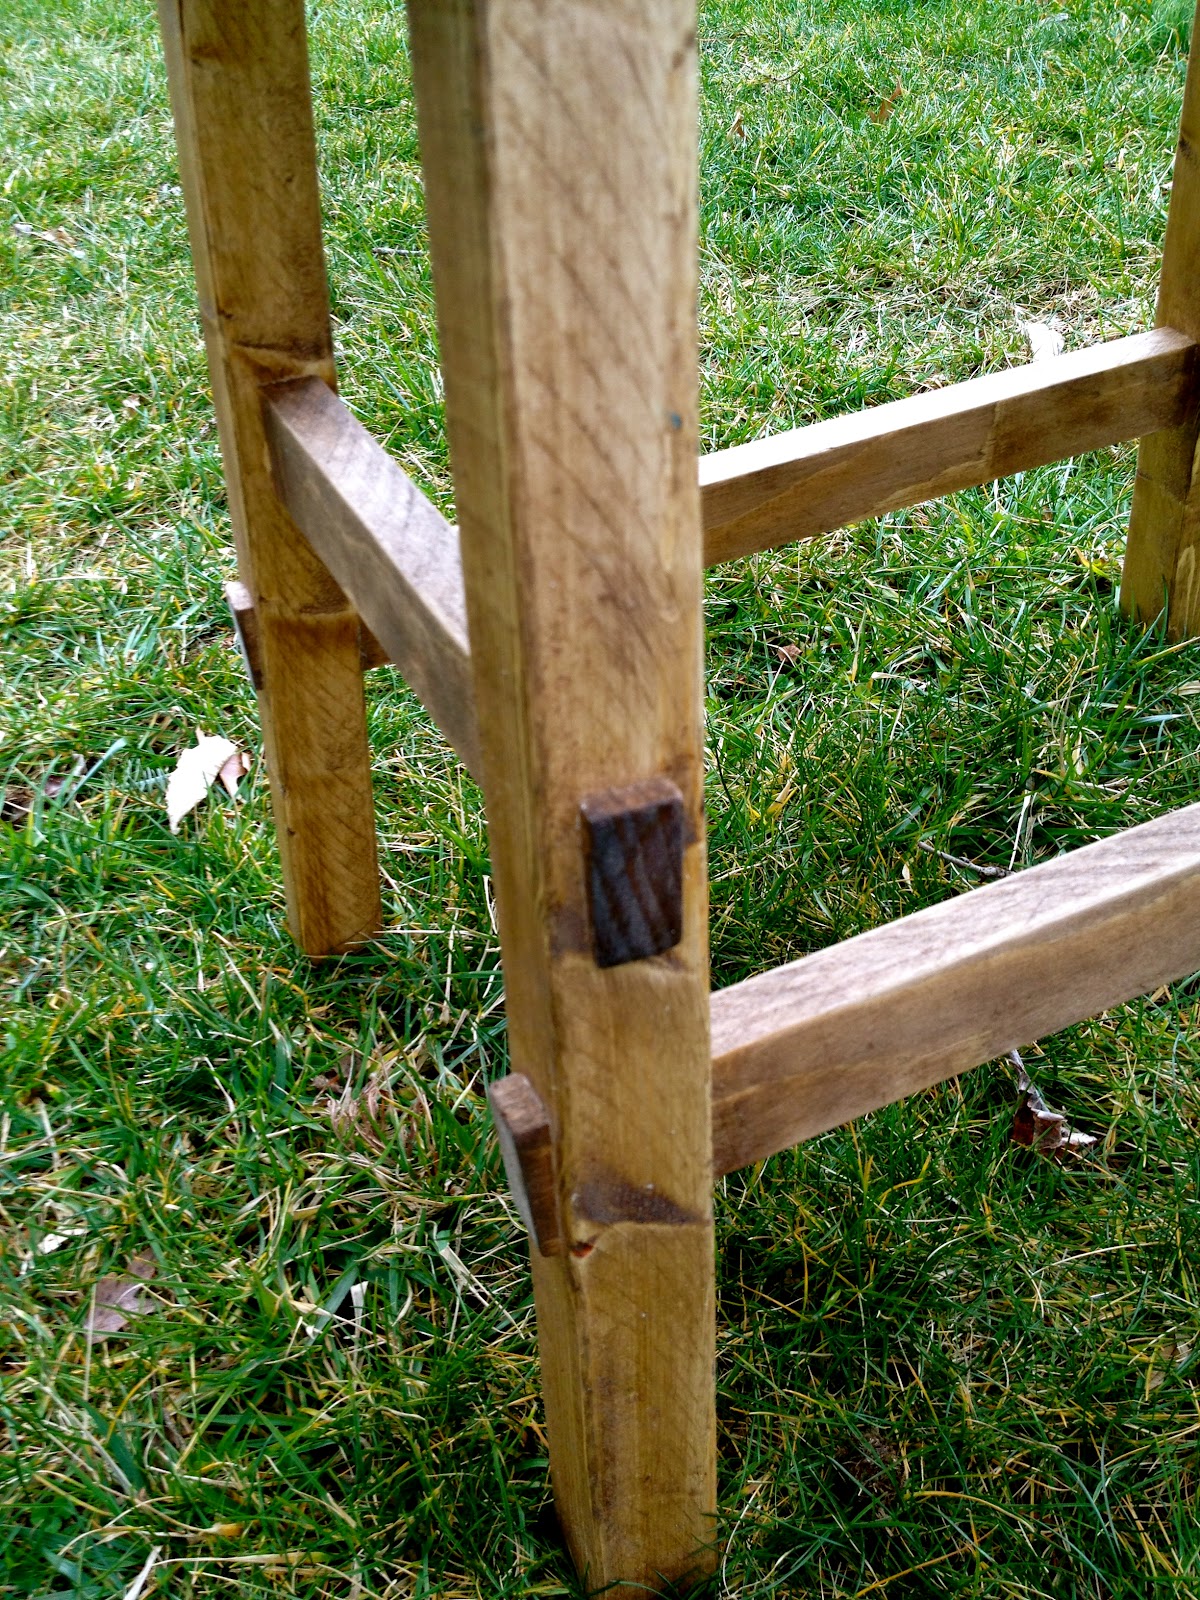
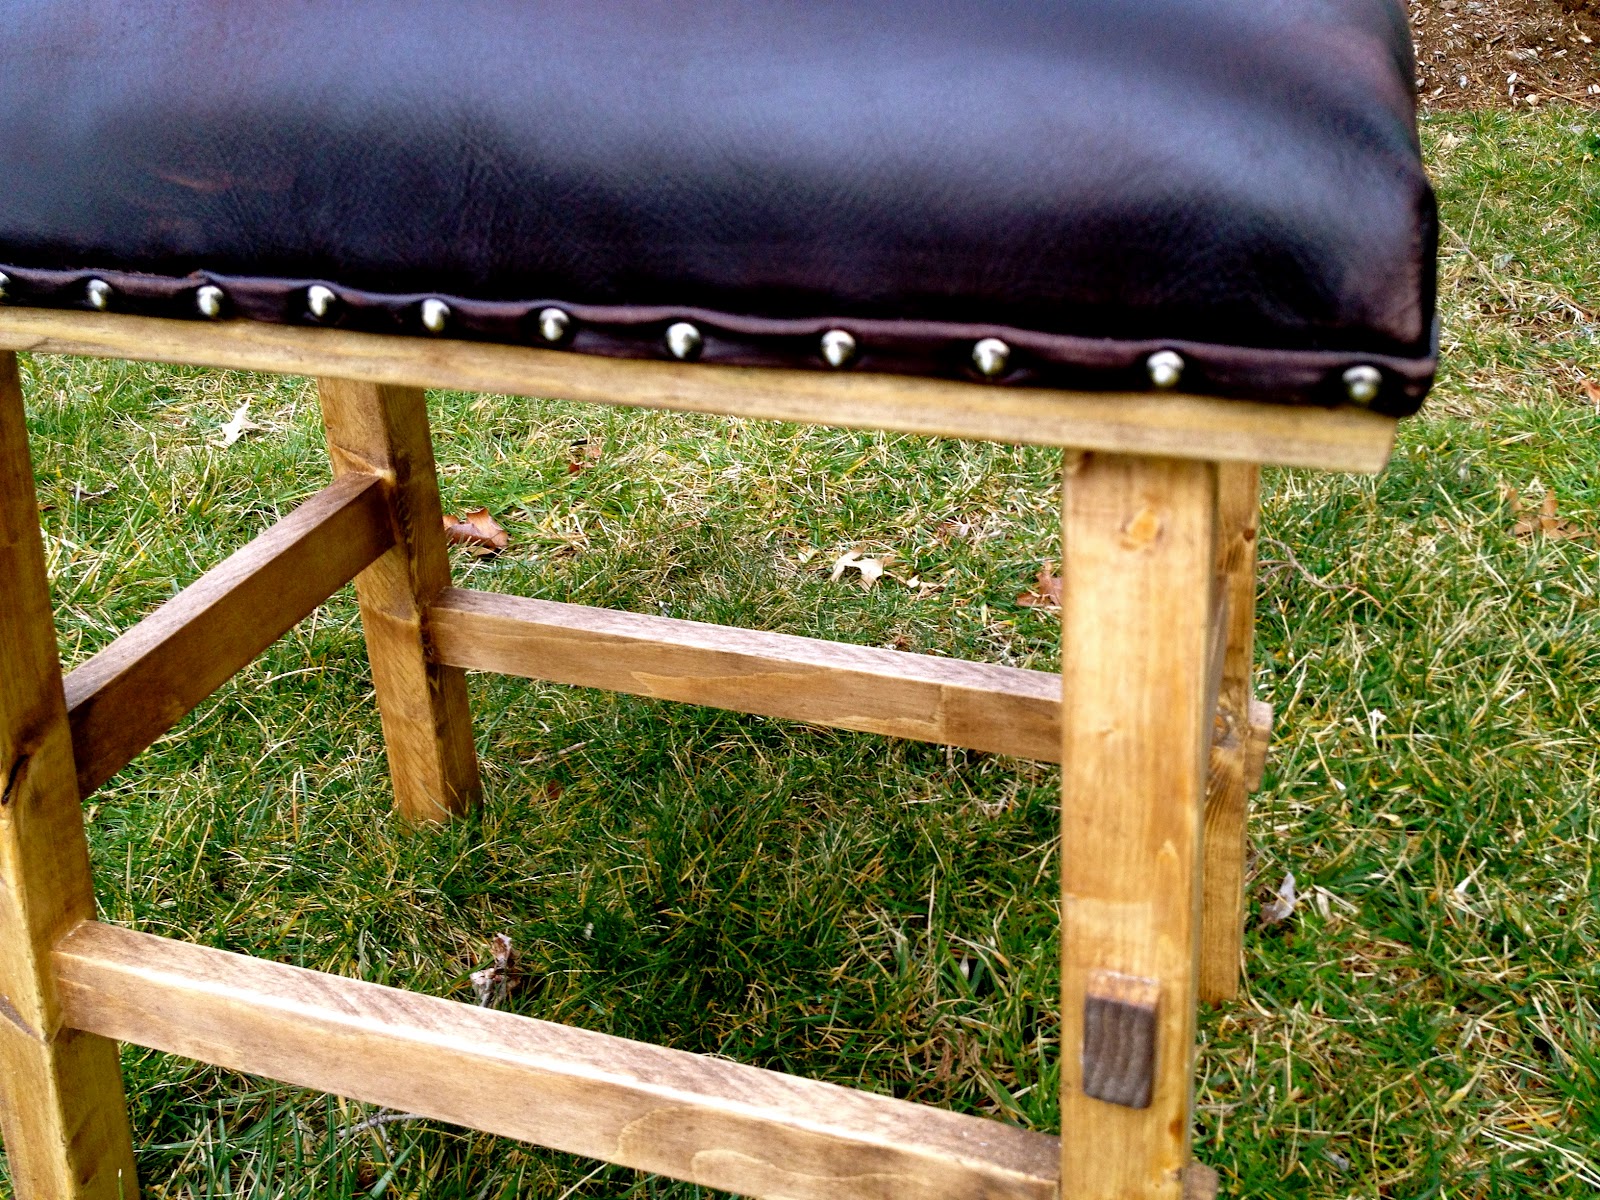
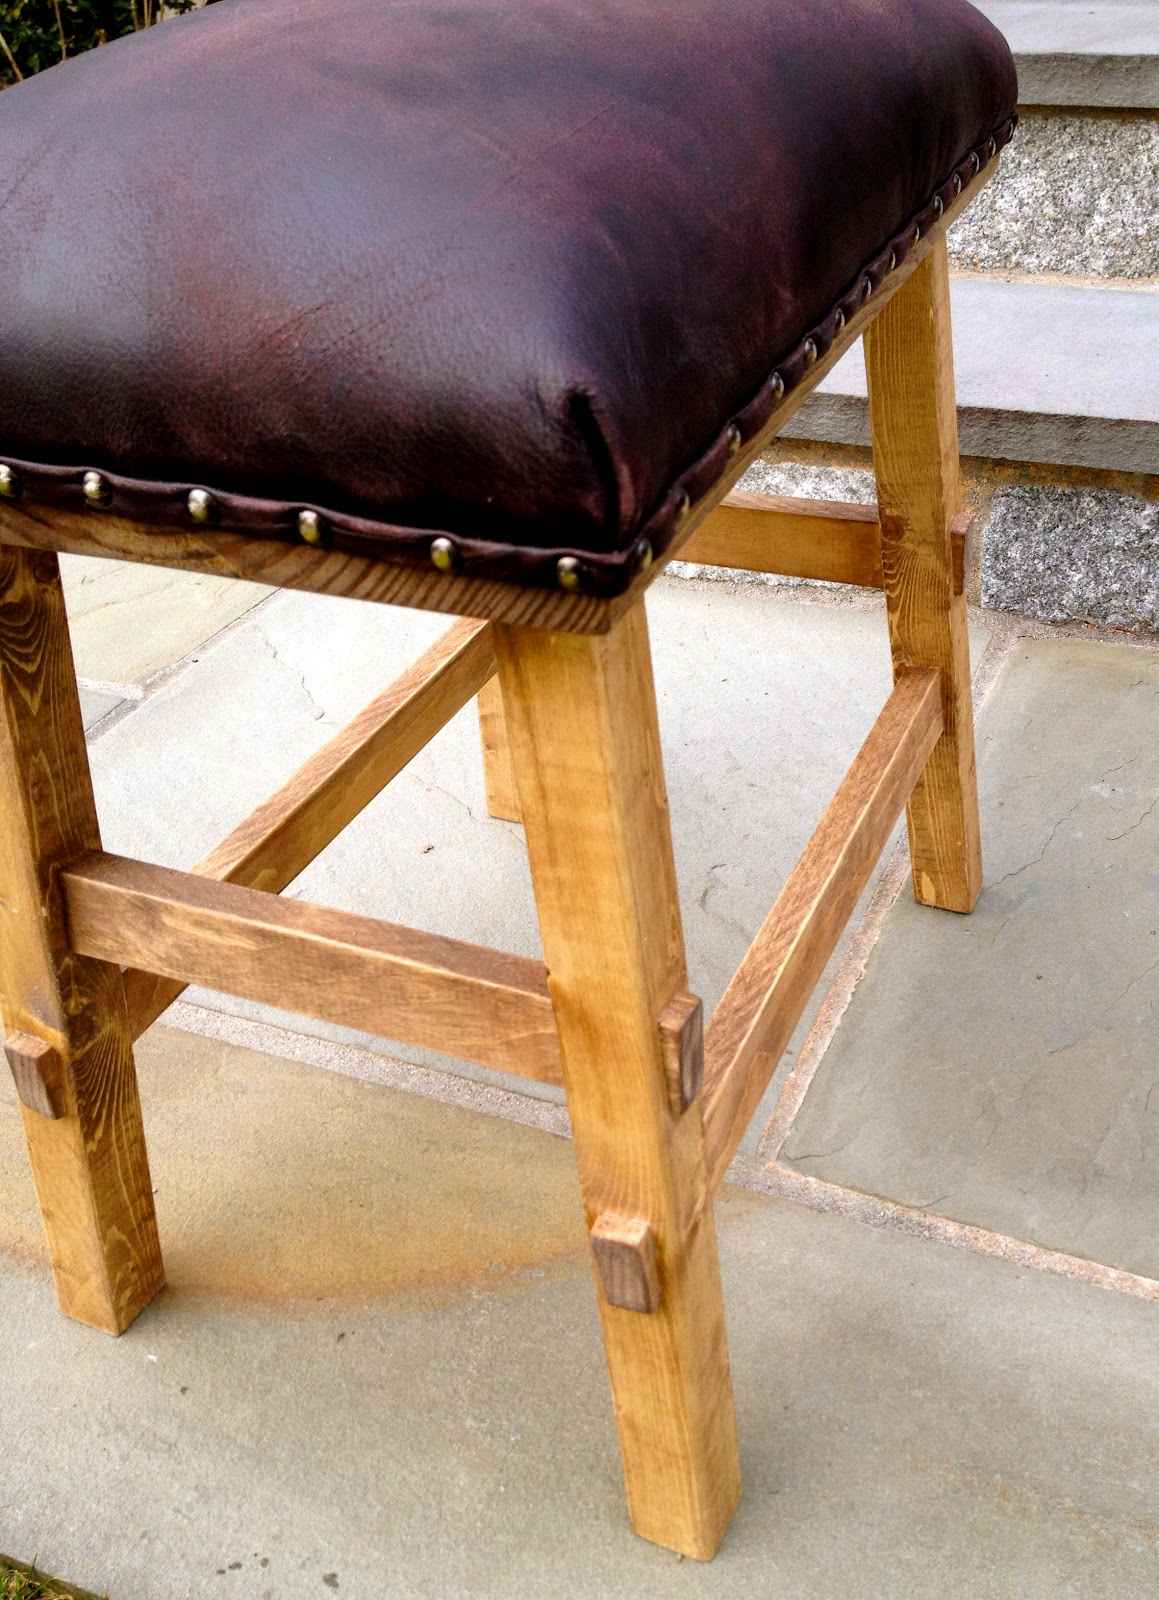
Complete with false ends to mimic the mortise and tenon joinery:
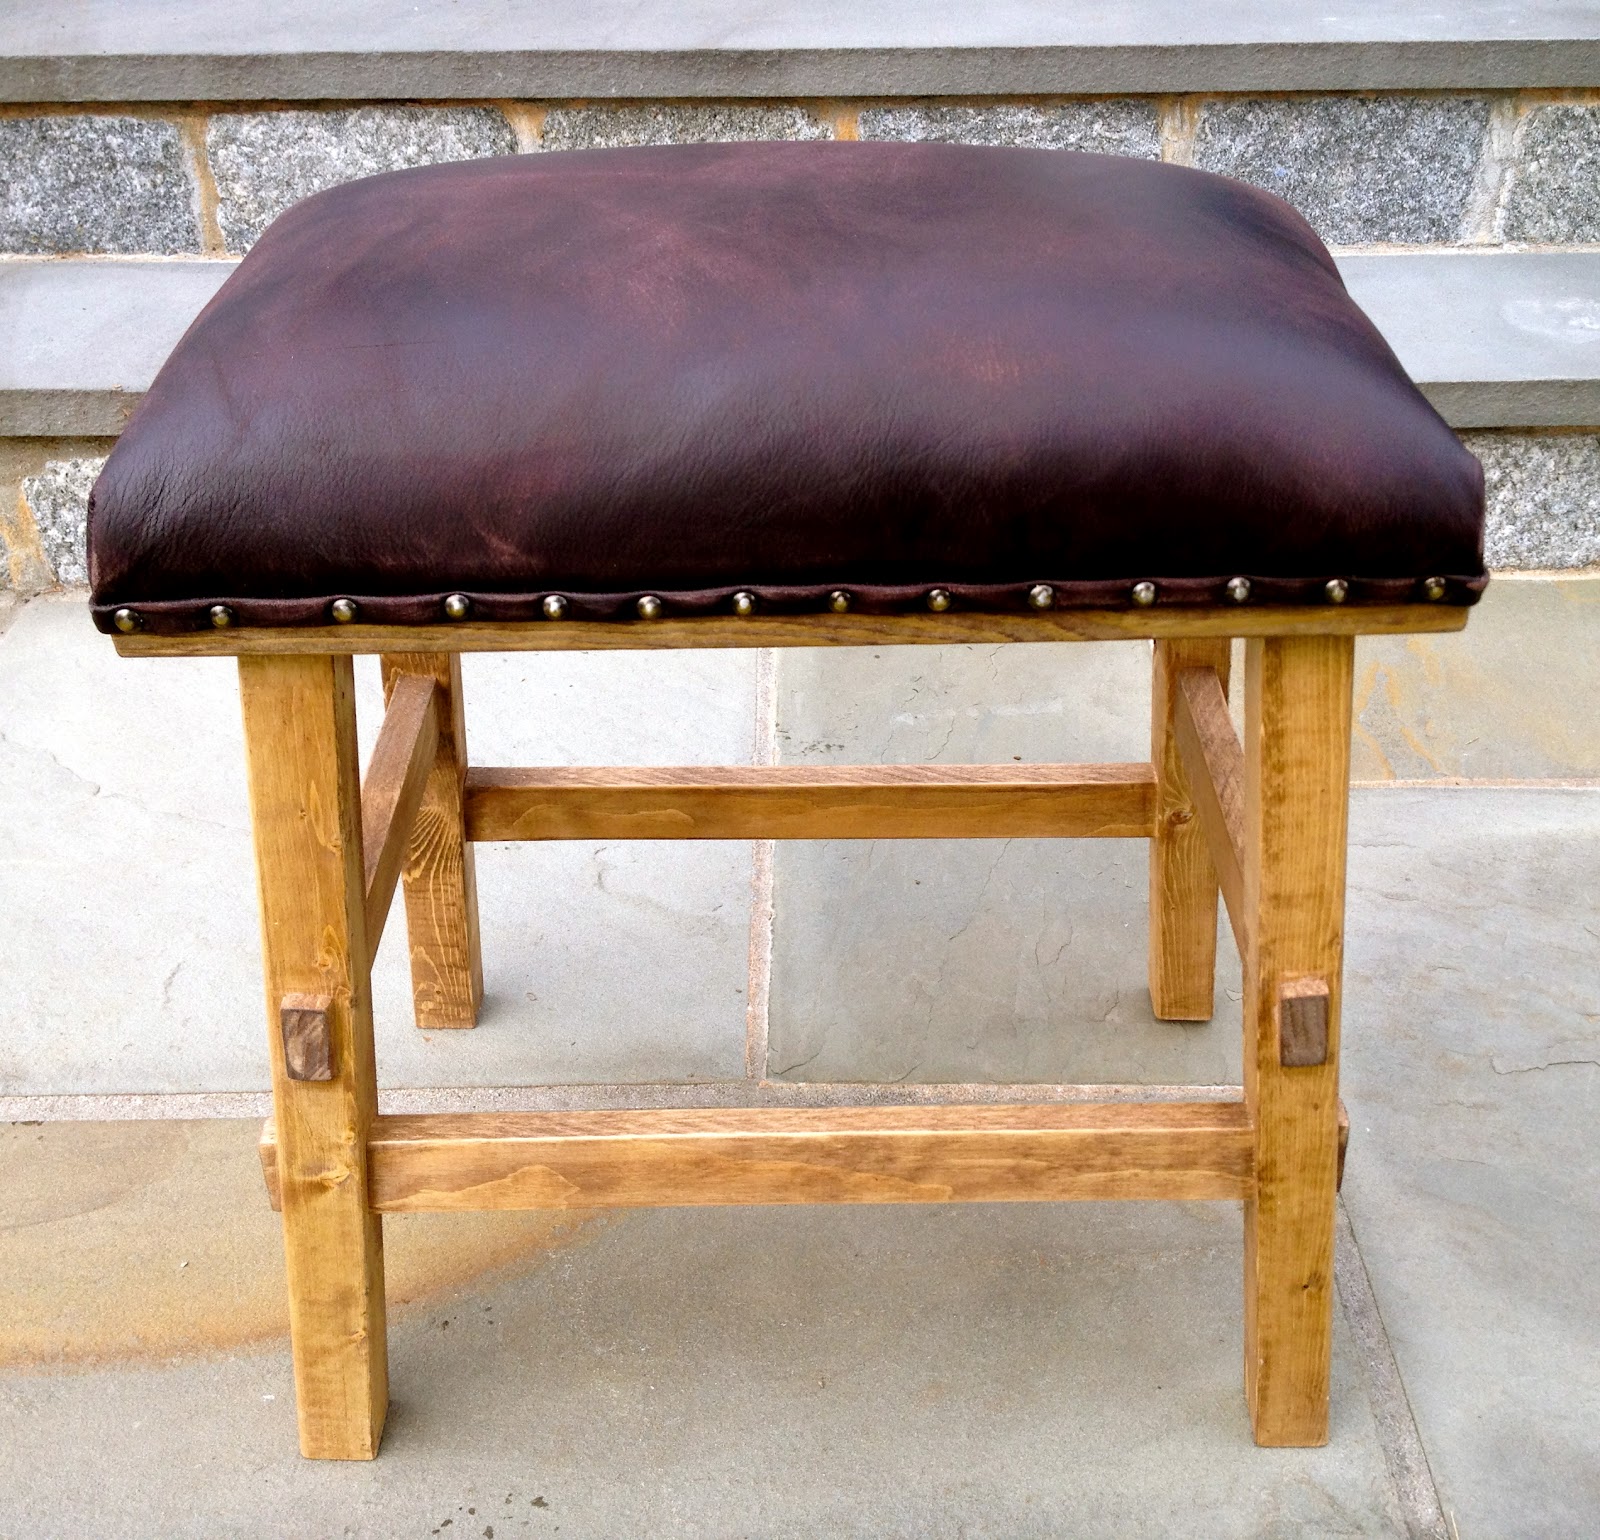
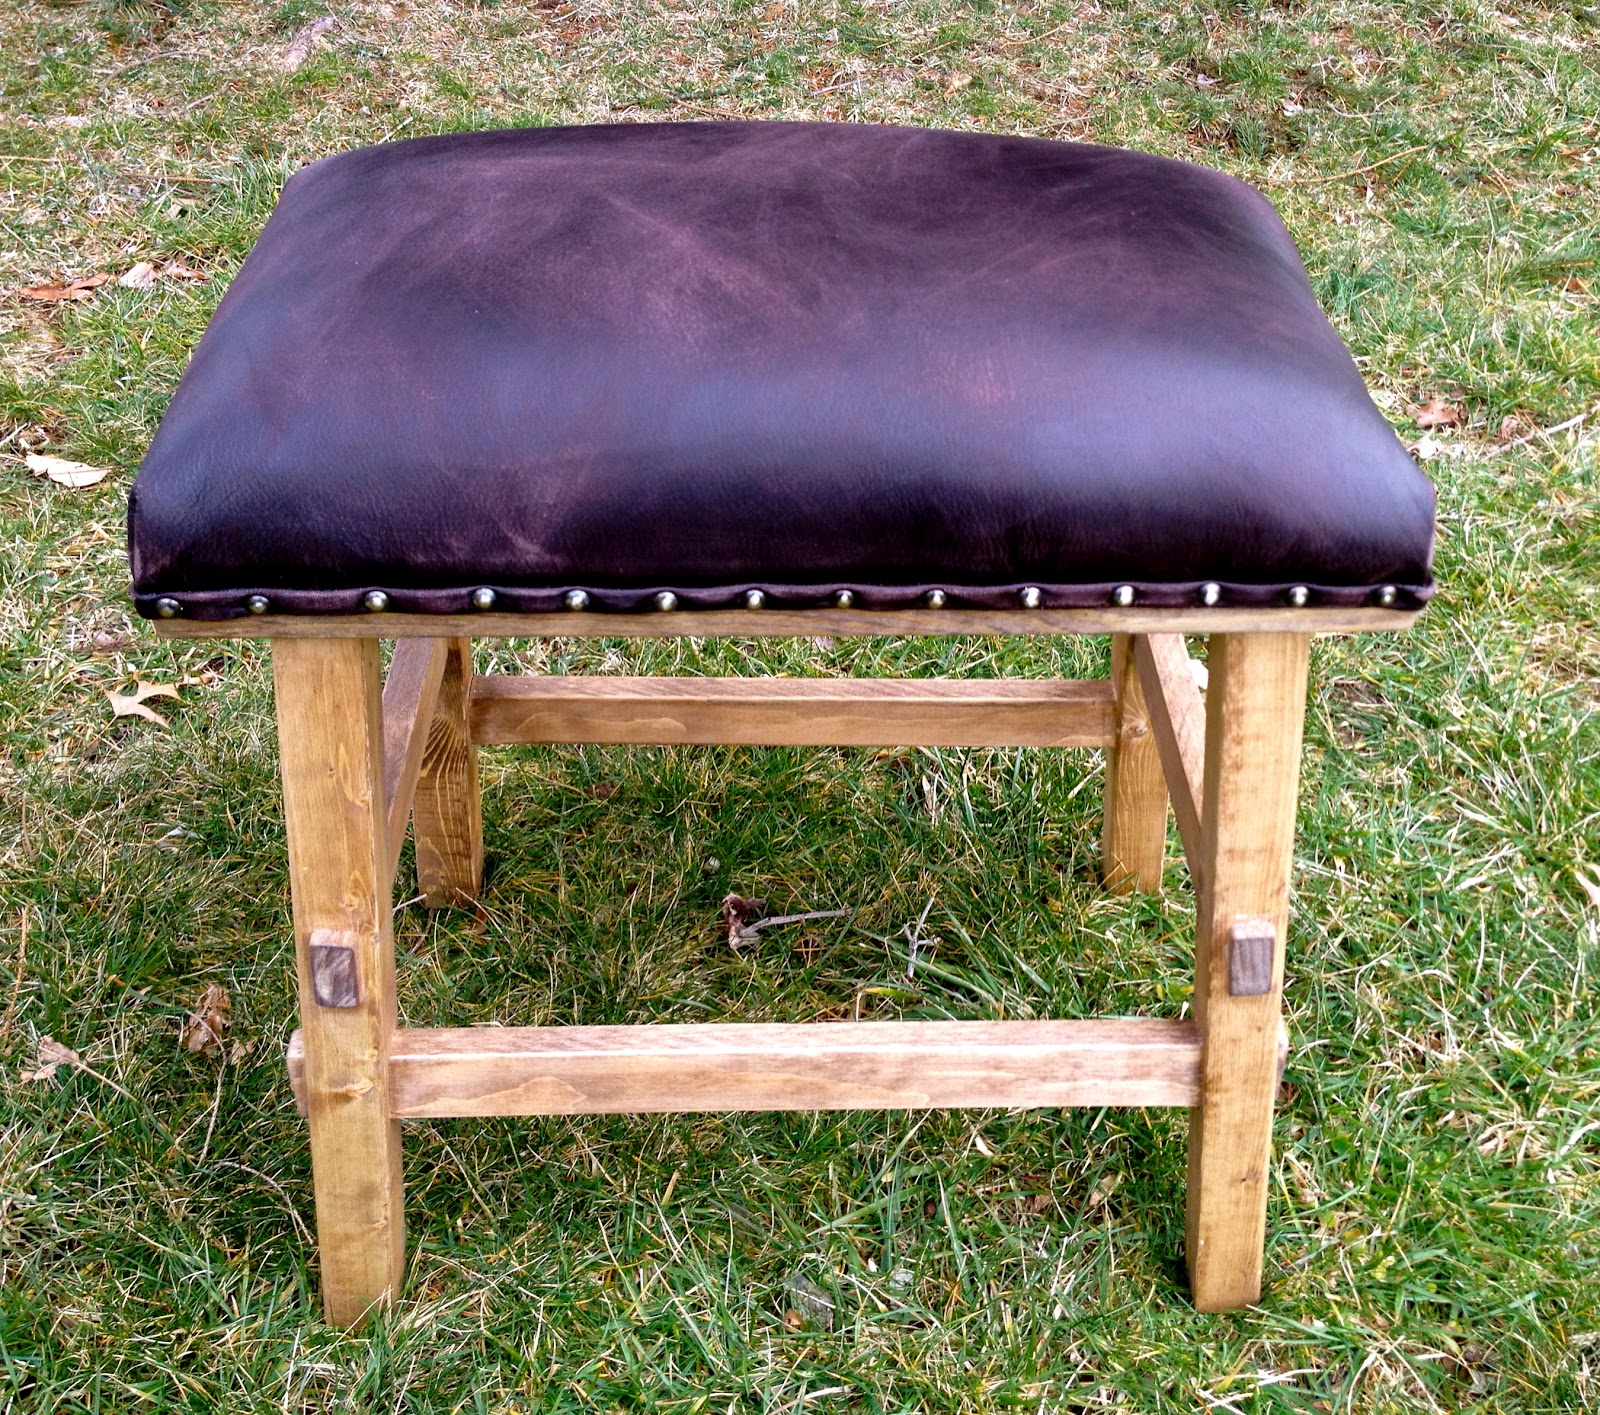
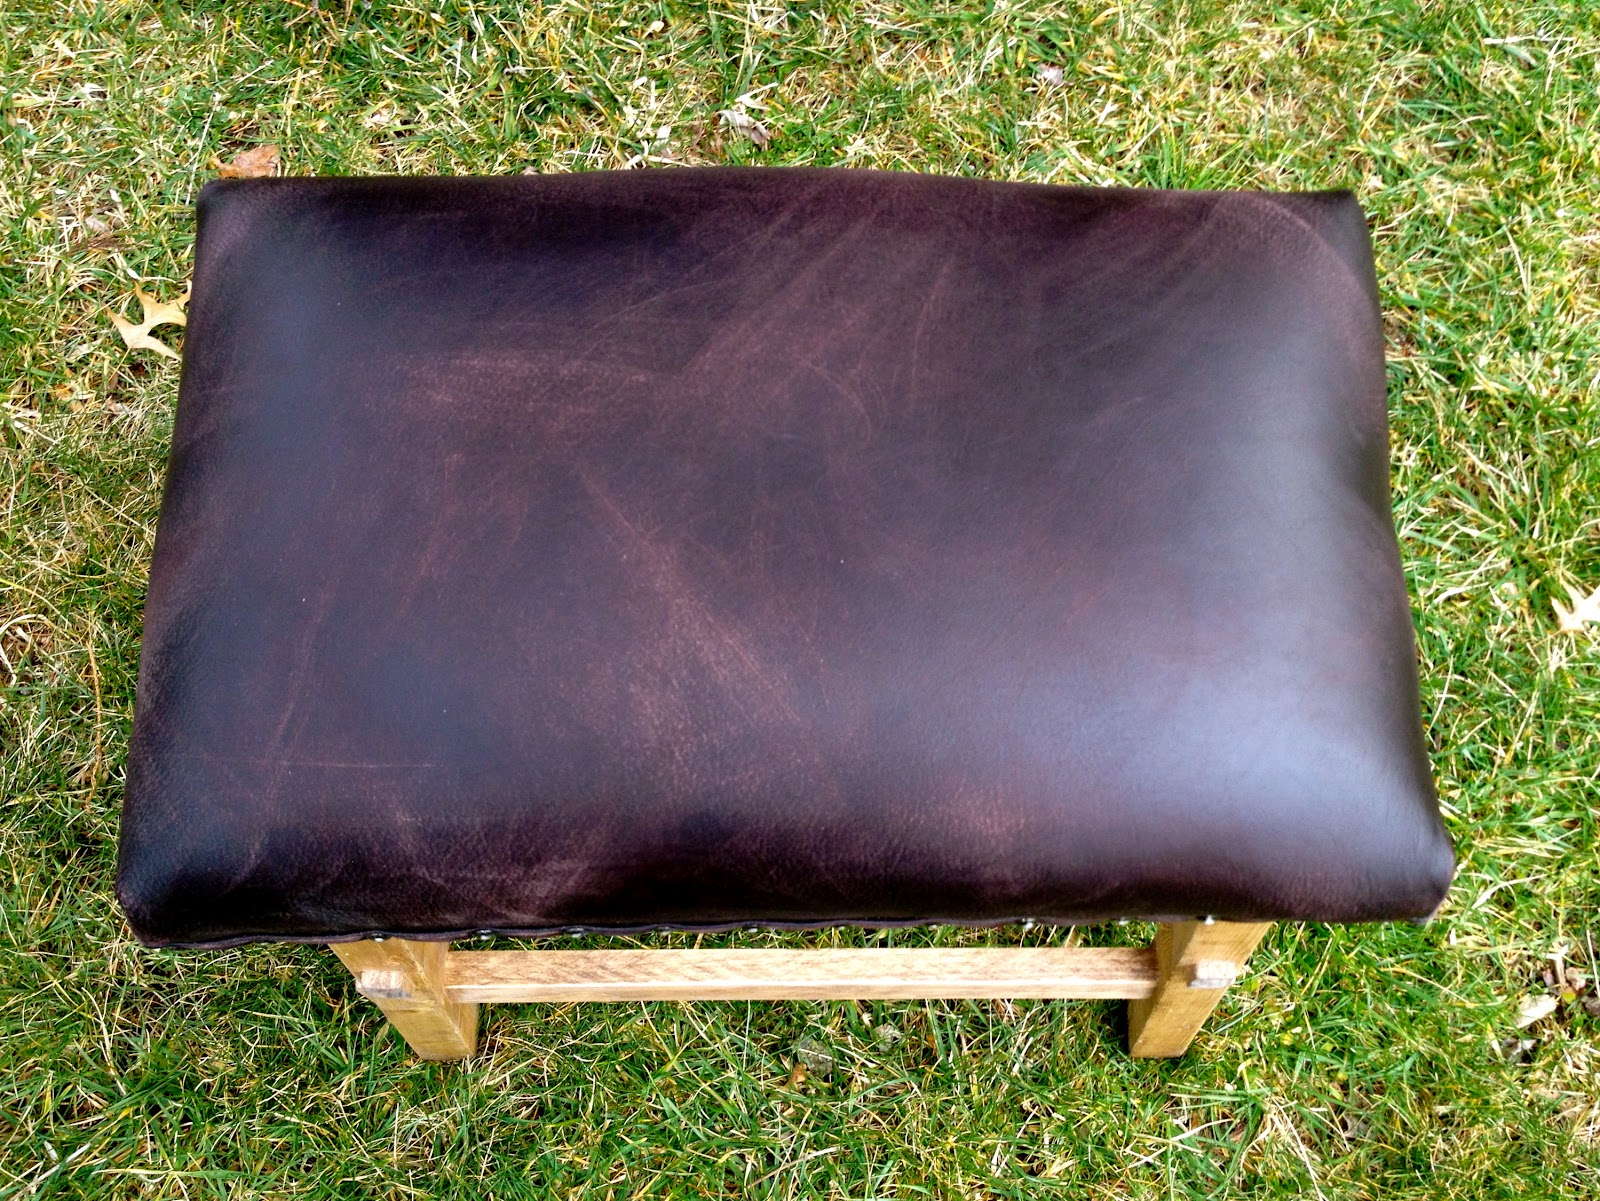
Upholstered in leather with nailhead trim:
Here’s how I made the stool:
1. Cut pieces using Ana’s plans here.

2. Assemble using #10 – 2 1/2″wood screws and glue, predrill always:

3. Attach false ends with liquid nails and use painters tape to hold in place while drying:

4. Sand smooth, stain with Minwax Special Walnut.
Seal with wipe on clear stain poly.

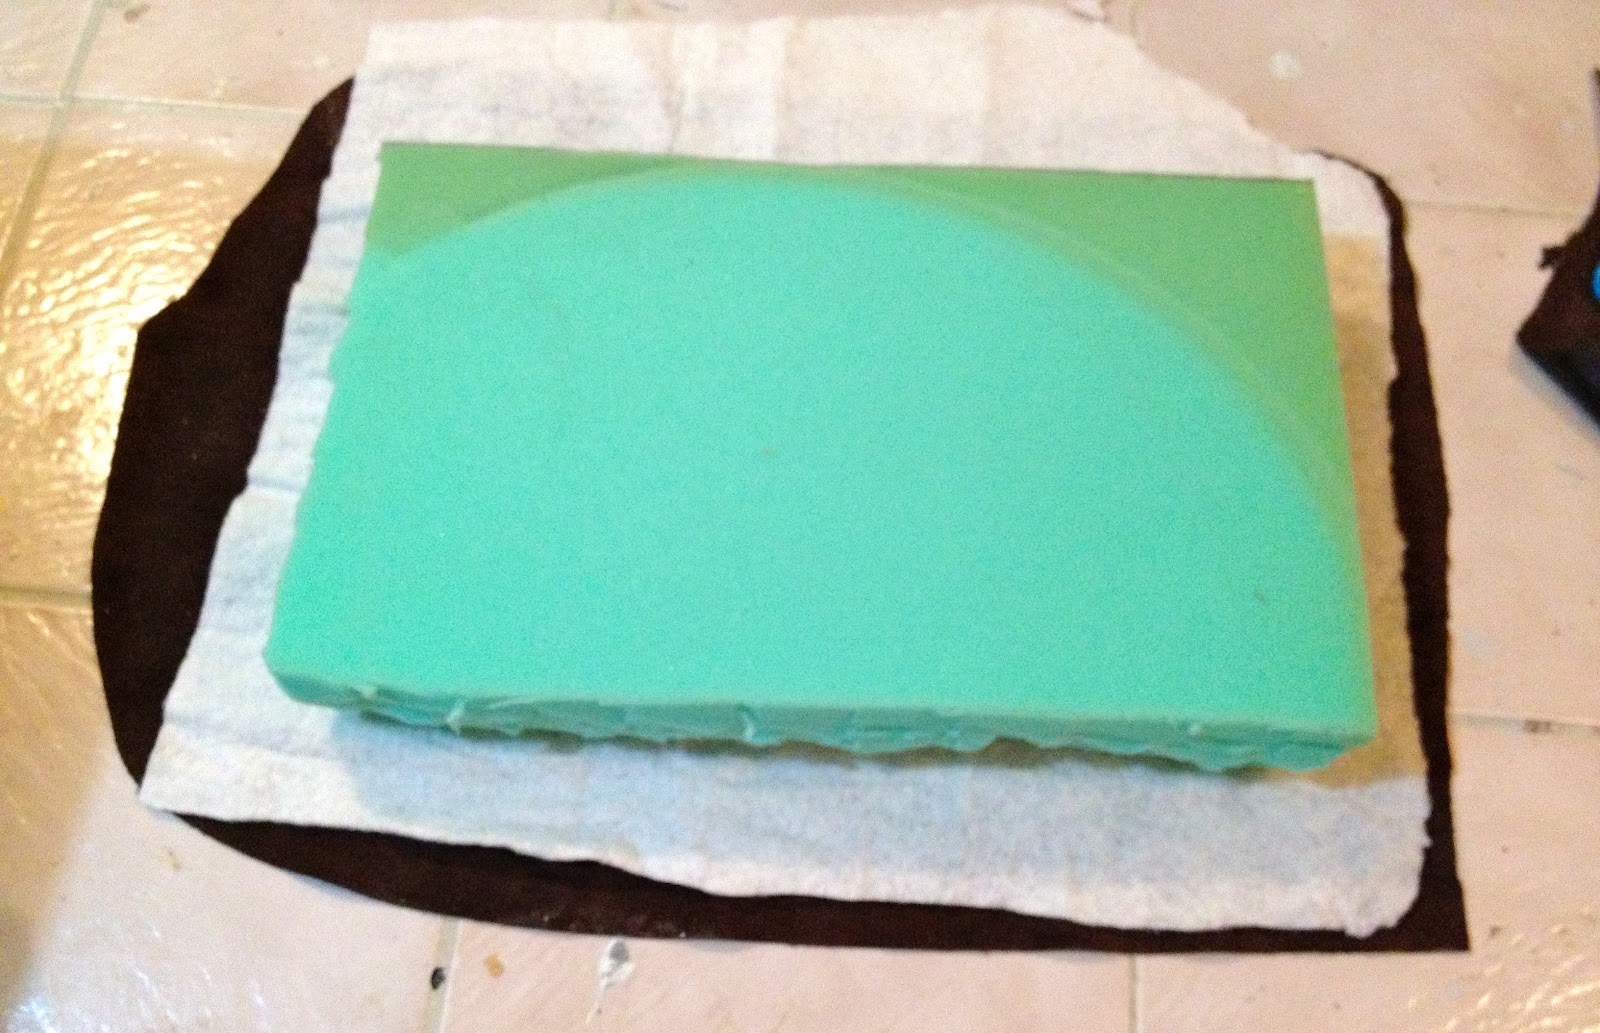
5. Cut 2″ foam piece to fit, rounding off the edges:

6. Layout leather to determine best part to use.
(I purchased this leather here on ebay.)

7. Cut leather to size – about 24″l x 18″w.
Also cut a piece of quilt batting same size.

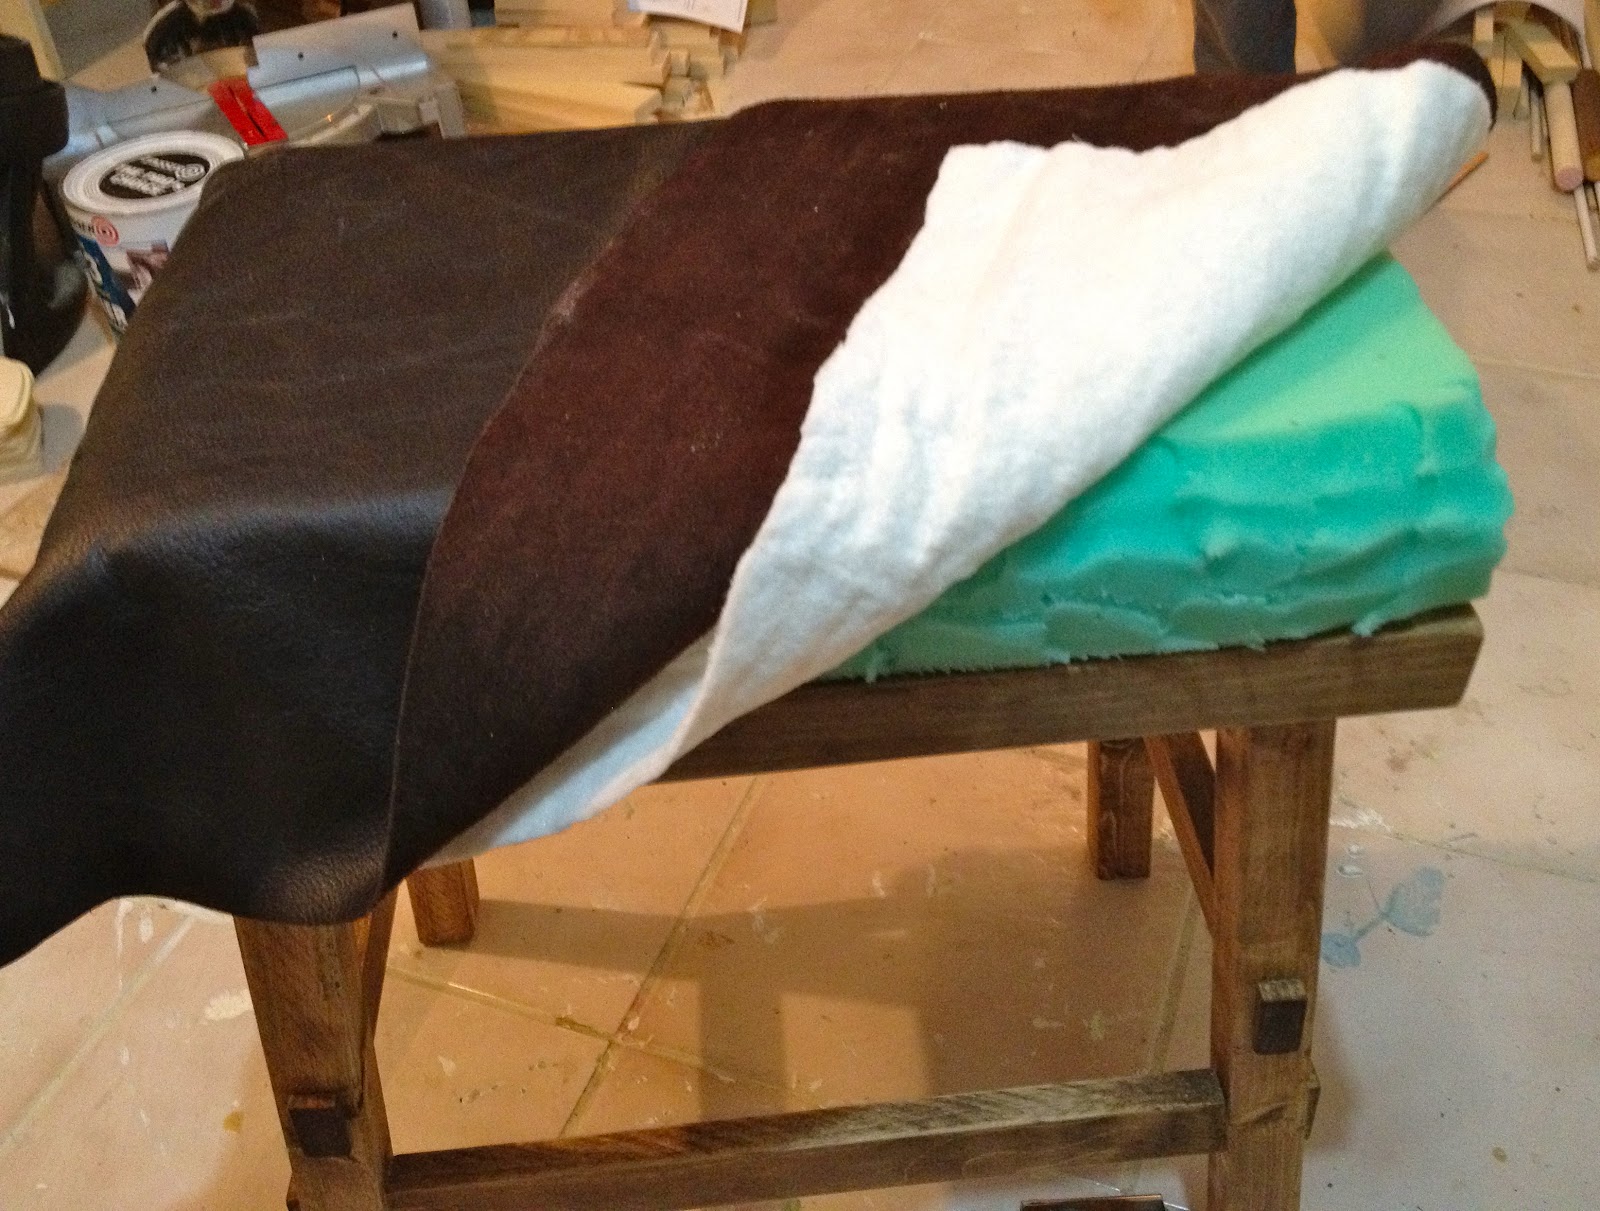
8. Check for fit with foam piece:
9. Place foam on seat first, then batting, then leather.
The batting will soften the edges of the foam.
10. Using a staple gun start in the middle on a long side and go back and forth from side to side, pulling taught as you go (I recommend sitting on it while doing this but don’t get it too tight.)

11. Do the corners hospital sheet style, folding in and then over:

12. For the trim cut one long piece 1 1/4″ x 70″ and purchase decorative nails.
(I used Dritz 3/8″ in antique bronze, available at Joanns.)

13. Folding raw edges in on each other, overlapping slightly:

14. Then place the raw edge down over the staples and hammer the nail into place.
Begin in the middle of one side and cut the leather to end up overlapping directly under the last nail:

15. See below how the seam is directly under the nail, hiding it.

16. To achieve the distressed look, rough up the leather with sandpaper, wire brush, etc.
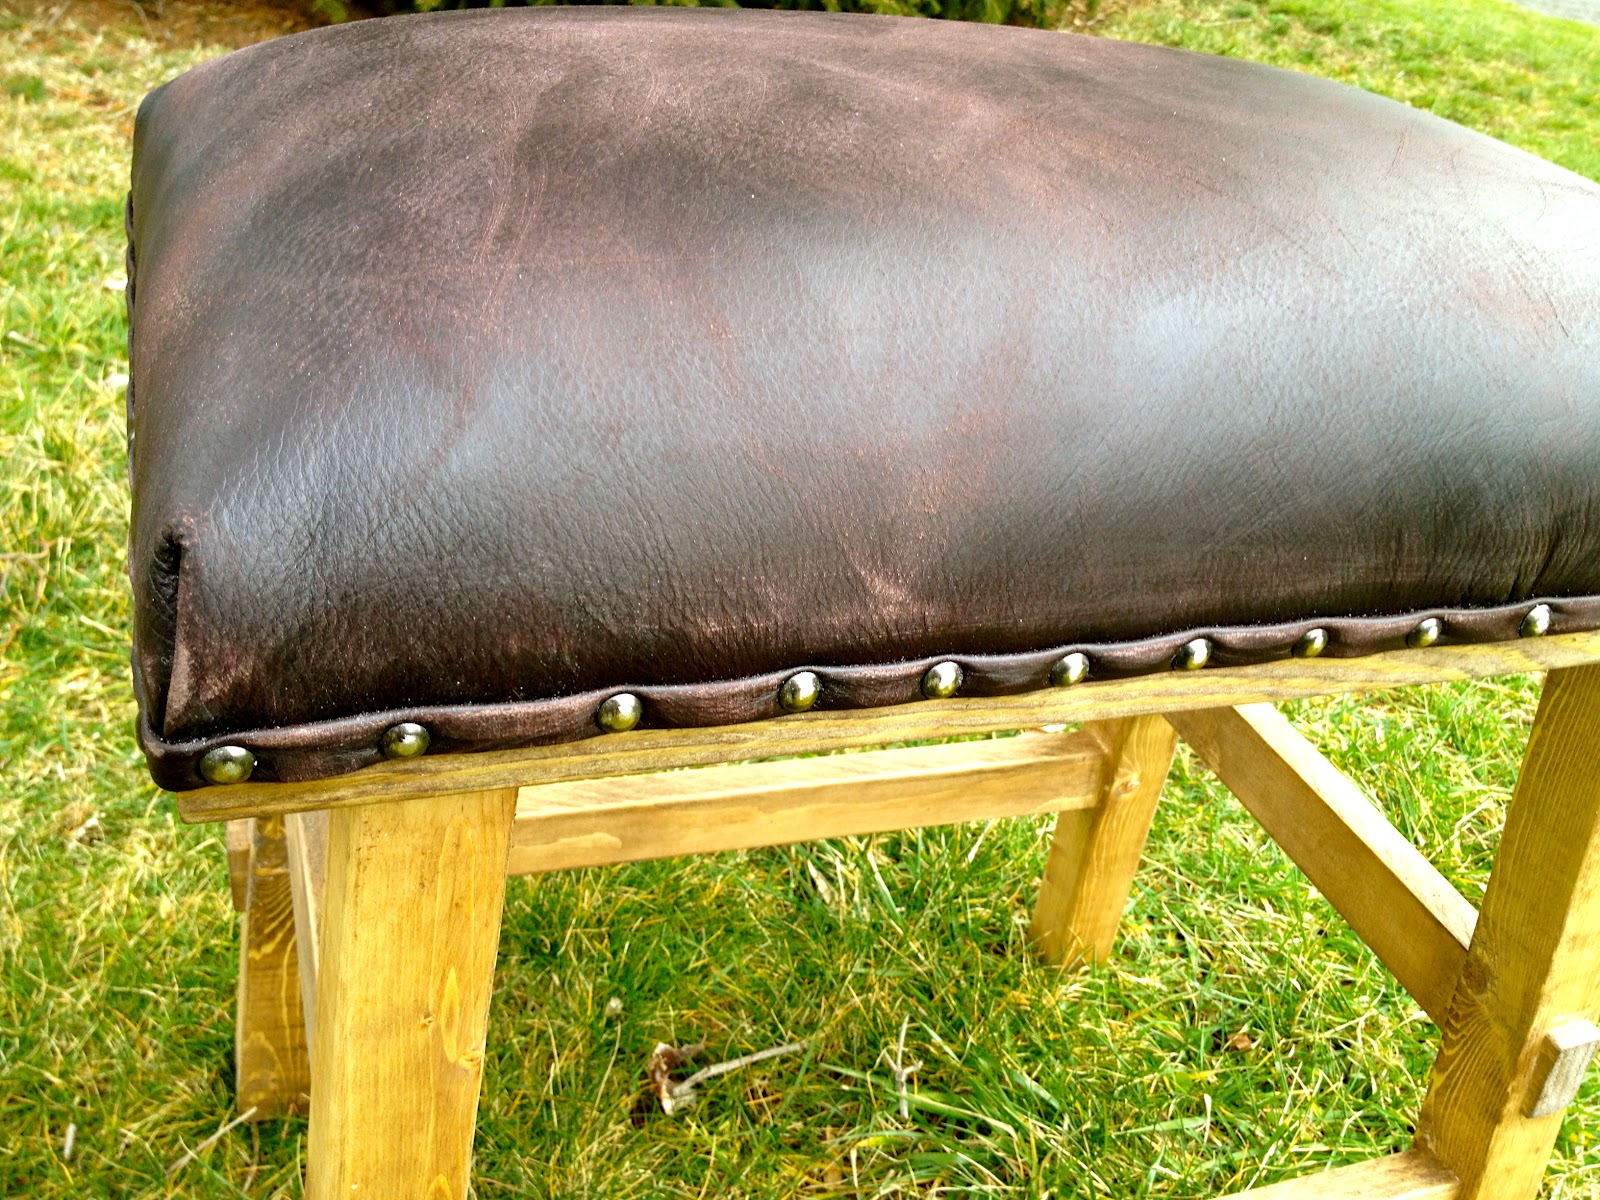
With use the leather will get even more aged and distressed:


now that is a nice manly stool! rustic and leather! perfect!
Excellent. Thanks for the tutorial.
Jaime that's fantastic! You're a clever kid. This has given me a great idea for a chair that's been sitting in the spare room. 🙂
That is just the coolest!
Thanks for the tutorial! Looks great!
This is a great little stool. Thank you for sharing how you made it. I want to try one as soon as it is warm enough in my workshop to get out there and work on it!
Well what a surprise!! I was admiring this stool on Ana's site but hadn't clicked on the project to see who made it, and then I come over here to see what you are up to and lo' and behold! Looks great, but I wouldn't expect any less from you 🙂
Looks great!! I am about to tackle nail heads for the first time so now I'm inspired! Thanks ; )
What a super job! Turned out beautifully!
That is a GREAT knock-off! Lovely attention to detail. Good job!
This looks great! How much did you end up spending per stool including leather? Also, I like the leather you chose..which one was it from the website? thanks
I think there is a mistake in your instructions. In step 5, you say to use a 2"-thick piece of foam, but upon measuring the photographs, the foam you used is clearly 5" thick.