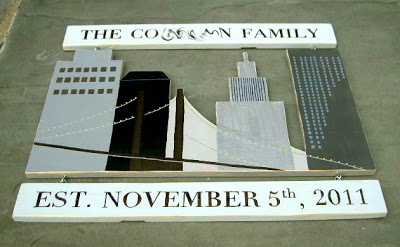
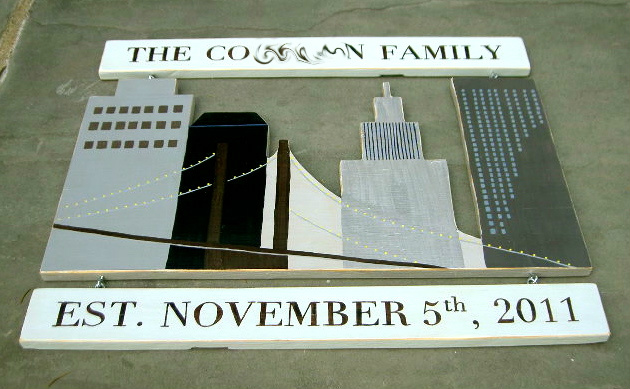
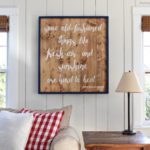
A marriage plaque to mark the beginning of a new life together.


This was a special request from a beach friend for her nephew’s wedding.

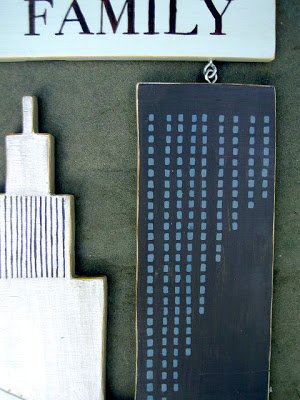
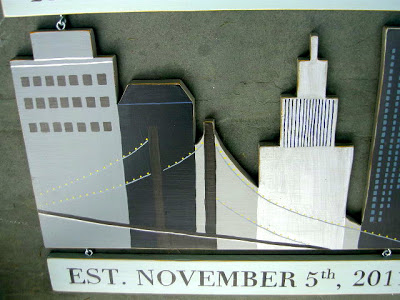
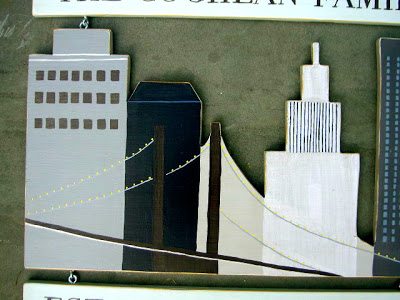
A city skyline, buildings (with lots of windows Emily!) and the Brooklyn Bridge.

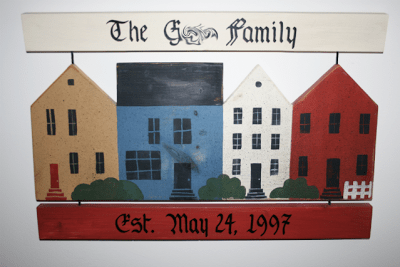
My beach friend was given a similar plaque for her wedding:

She wanted a ‘city’ version for her nephew and couldn’t find one anywhere.
So I made one.
I used a few google pictures for inspiration:


Simplified the buildings and bridge to resemble the original plaque.
Here’s how I made the plaque:
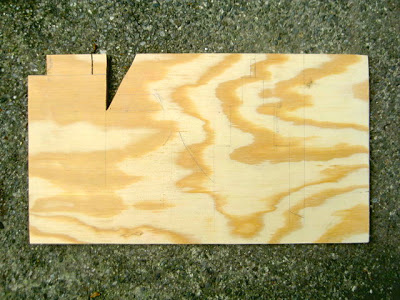
1. Using 1/2″ plywood cut rectangle shape (18″w x 12″h) and draw basic building outline:
(Also cut 2 @ 18″w x 2″h)

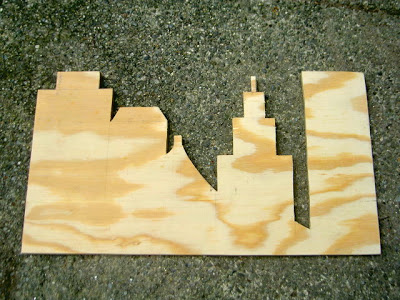
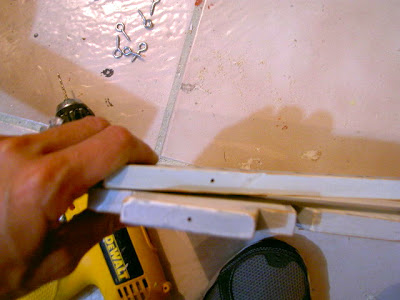
2. Cut out building outline using jigsaw:

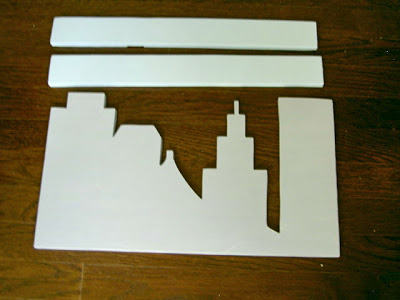
3. Sand, prime and paint base coat:

4. For buildings paint each one with background color:
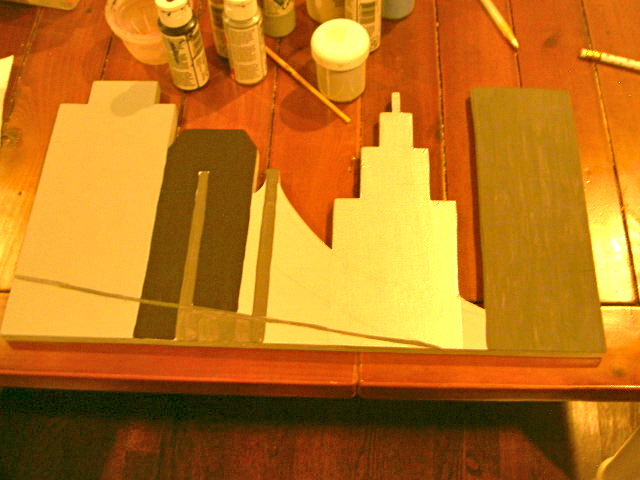
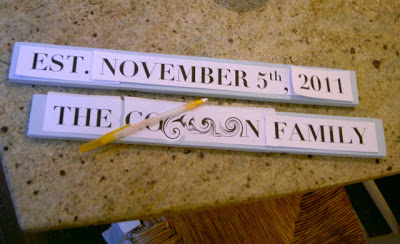
5. For lettering print out words (I used Didot font) to fit space,
center on wood and trace outline using ballpoint pen:

6. Paint over indent left behind by pen:

7. Sand to distress edges, stain with Minwax Ipswich Pine, seal with satin poly.
8. To attach lettering pieces to buildings use screw eye hooks.
Pre drill holes, matching up pieces (I centered the holes in the top of the 2 end buildings.)
** Hammer sawtooth hooks on back top piece before assembling pieces.

9. Twist one screw eye into place.
For the the other bend open using pliers to create space for other eye to slide in.
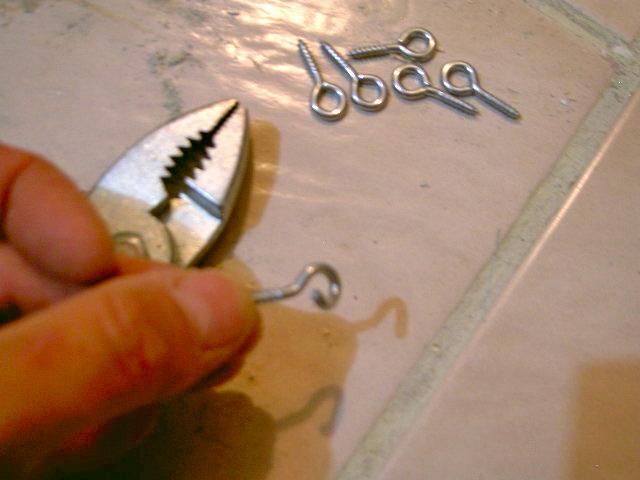
10. Once second screw eye is in place, hook into other eye and squeeze eye shut using pliers.
Although the original plaque had thick wire holding the pieces together I wasn’t sure how to go about making that work so I opted for the screw eyes.
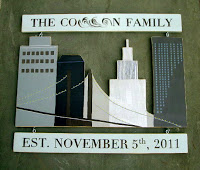
Plaque complete.
A modern, sophisticated version of the original.

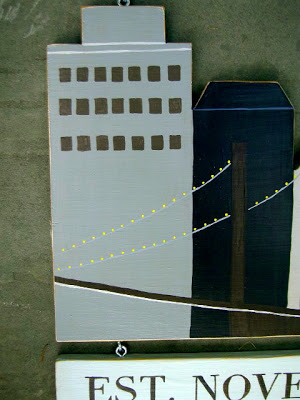
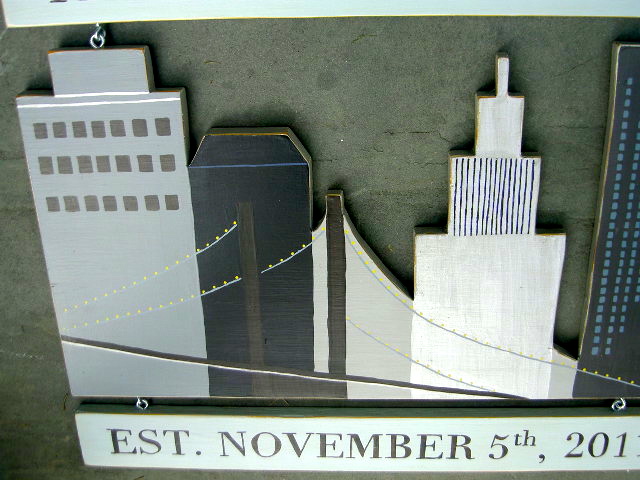
Detail of lights on the bridge.

Side by side for comparison:
Thanks beach friend for a great project.
Hope the lucky couple enjoy it in their home with many great years ahead.
I’m linking up to:
Whatcha Got Weekend @ Lolly Jane
SAS @ Funky Junk
Weekend Wrap Up @ Tatertots & Jello
Sundae Scoop @ I Heart Naptime
Sister Sunday @ Sisters of the Wild West
Sunday Showcase Party @ Under the Table & Dreaming
Just Something I Whipped Up @ The Girl Creative
DIY Fall Festival @ The DIY Showoff
Made by You Mondays @ Skip to My Lou
Making the World Cuter @ Making the World Cuter
Nifty Thrifty @ Coastal Charm
Tuesday Treasures @ My Uncommon Slice of Suburbia
Tutorials & Tips Tuesday @ Home Stories A to Z
Good Life @ A Beach Cottage
Delightfully Inspiring @ Delightful Order
Transformation Thursday @ The Shabby Creek Cottage
Strut Your Stuff @ Somewhat Simple
Share Awesomeness Thur @ The 36th Avenue
Flaunt it Friday @ Chic on a Shoestring
Tickled Pink @ 504 Main
Frugal Friday @ The Shabby Nest
SAS @ Just a Girl
Feathered Nest @ French Country Cottage
Remodelaholics Anonymous @ Remodelaholic
inspiration board @ Carolyns Homework

Jaime, I can't believe you made that by hand! I like the modern interpretation of your friend's sign – the lettering and the color scheme. What a great gift!
WOW THIS IS GORGEOUS!!!!!!! Absolutely beautiful, LOVE it!! Do you have an etsy shop?
This looks fantastic — I love it!
Jenny
http://www.simcoestreet.blogspot.com
Che lavoro fantastico!!
Brava!!
Baci
Sabrina!!
Love the city look!
Very cute wedding plaque! outstanding eye for detail- lovin' it!
Thanks for sharing! 🙂
Visiting from Funky Junk Interiors Linky Party tonight,
~Suzanne in NW Illinois
Very clever–love how your sign turned out! What a meaningful gift for the couple on their big day.
Nice Job 🙂
and do not miss…
S
A
T
U
R
D
A
Y
S
H
O
W
O
F
F
WELCOME 🙂
Håkan ( The Roseman)
This looks amazing!
Too cool Jaime!!! As always, your projects are fabulous and you do a top-notch job as well!
Absolutely spectacular! Your creativity never ceases to amaze me!