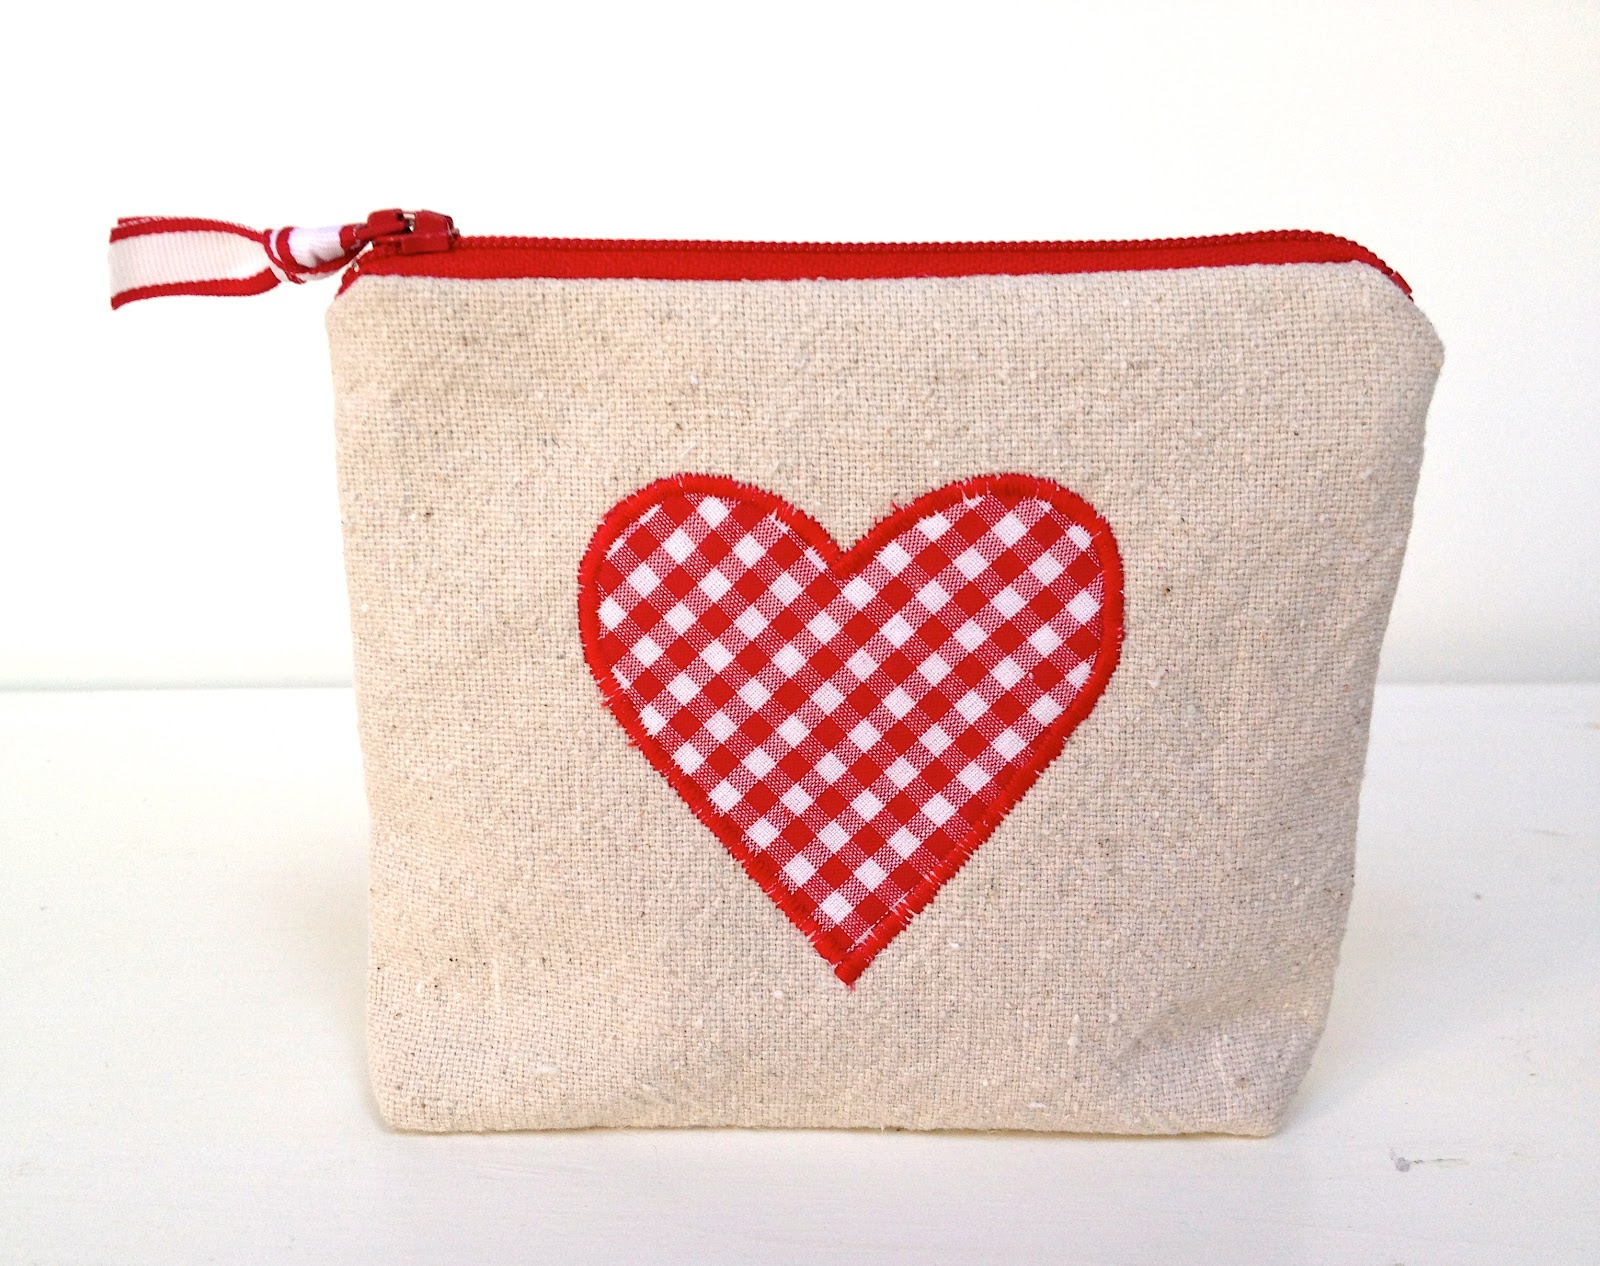
• Home
  • Blog
  • About
  • Contact
    • Disclosure
    • Privacy Policy
  • SHOP
  • Widget area for main menu

    • Email
    • Facebook
    • Instagram
    • Pinterest
    • Twitter
    • YouTube
  • Skip to primary navigation
  • Skip to main content
  • Skip to primary sidebar

Jaime Costiglio

build - paint - sew

  • BUILD
    • BEDS
    • BENCHES
    • DESKS
    • DRESSERS
    • GAMES & TOYS
    • SCRAP WOOD
    • SHELVES
    • STORAGE
    • TABLES
  • TOOLS
  • PAINT
    • CRAFTS
    • FURNITURE
    • HOME DECOR
  • SEW
    • GIFTS
    • HOME DECOR
    • POUCHES
  • HANDBUILT HOLIDAY
    • 2021
    • 2019
    • 2018
    • 2017
    • 2016
    • 2015
    • 2014
    • 2013
  • GIFTS
    • BABIES
    • KIDS
    • FOR HER
    • FOR HIM
    • TEACHERS
    • WEDDINGS
  • SEASONAL
    • 4TH OF JULY
    • FALL
    • HALLOWEEN
    • CHRISTMAS
    • SUMMER
    • SPRING
    • ST. PATRICK’S DAY
    • THANKSGIVING
    • VALENTINE’S DAY
    • WINTER
  • SALTBOX PROJECT
    • BATHROOMS
    • DINING ROOM
    • EXTERIOR
    • FAMILY ROOM
    • FOYER / MUDROOM
    • KIDS BEDROOMS
    • KITCHEN
    • LIVING ROOM
    • MASTER BEDROOM
    • PLAYROOM
  • SCROLL SAW

“L” is for Letters

May 30, 2012

Sew: fabric letters
The complete how to make fabric letters for personalizing.

monogrammed seersucker zipper pouch
I often get asked how I make the fabric letters I use to personalize items, it’s fairly simple and you can use any font that has some ‘bulk’ to it.
I tend to stick with American Typewriter:
 and Ariel Bold:
Steer clear of skinny fonts with thin lines, they don’t work so well when trying to cut from the fabric.
Once you find a font you like adjust the size to fit your piece, I typically start with 150-200 point size.
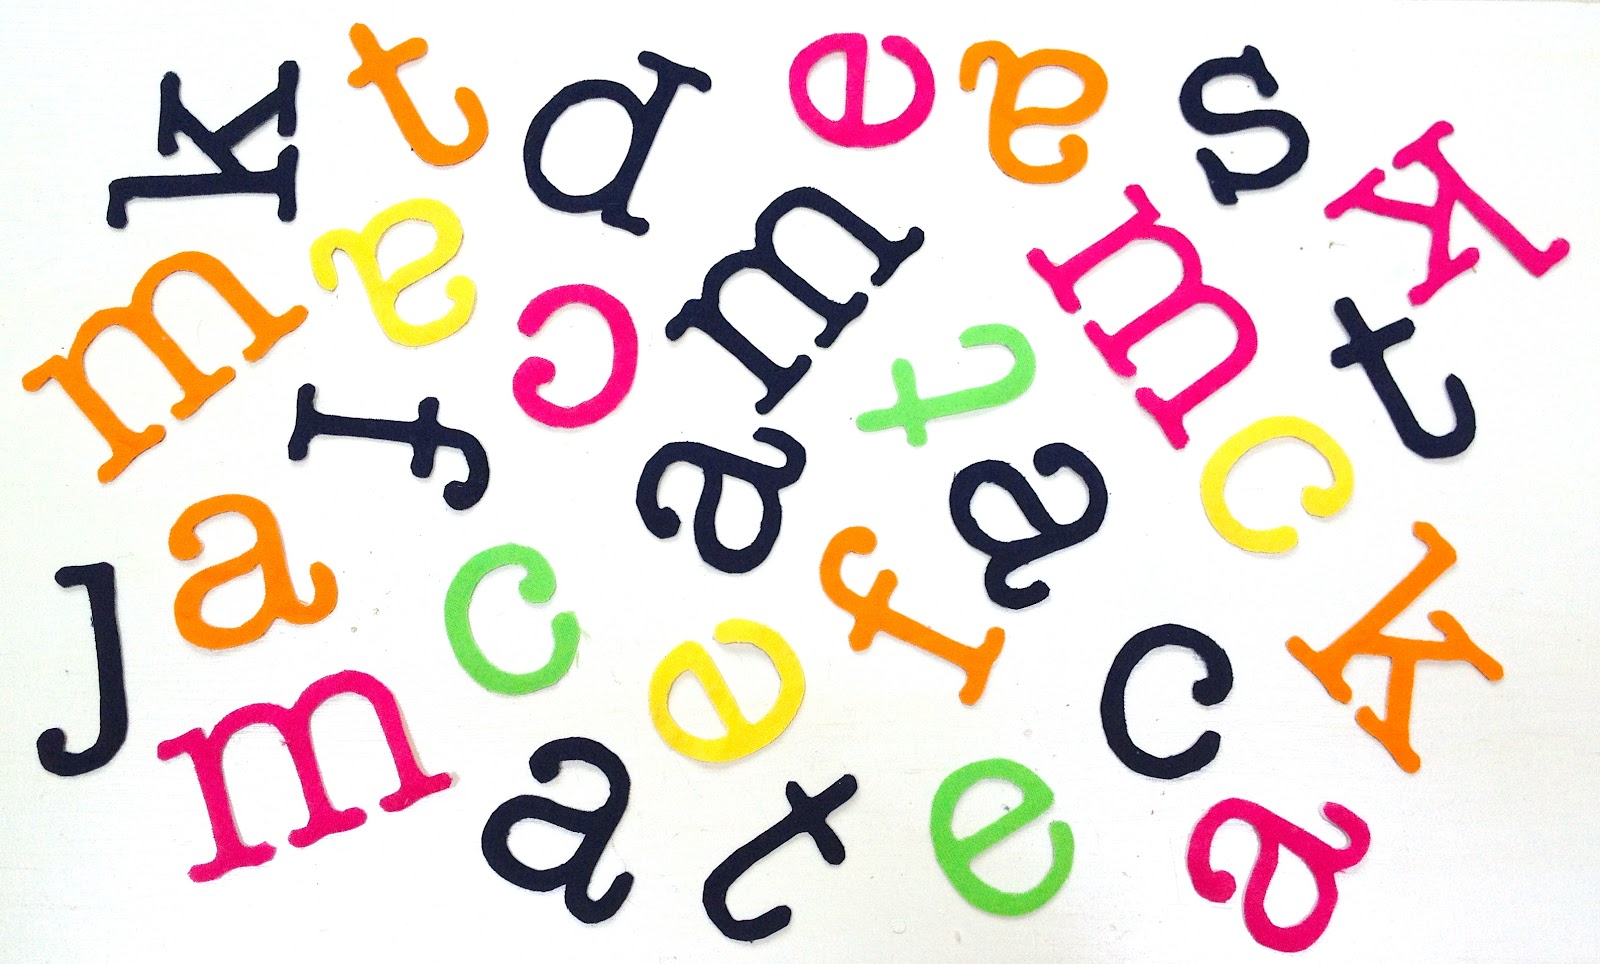
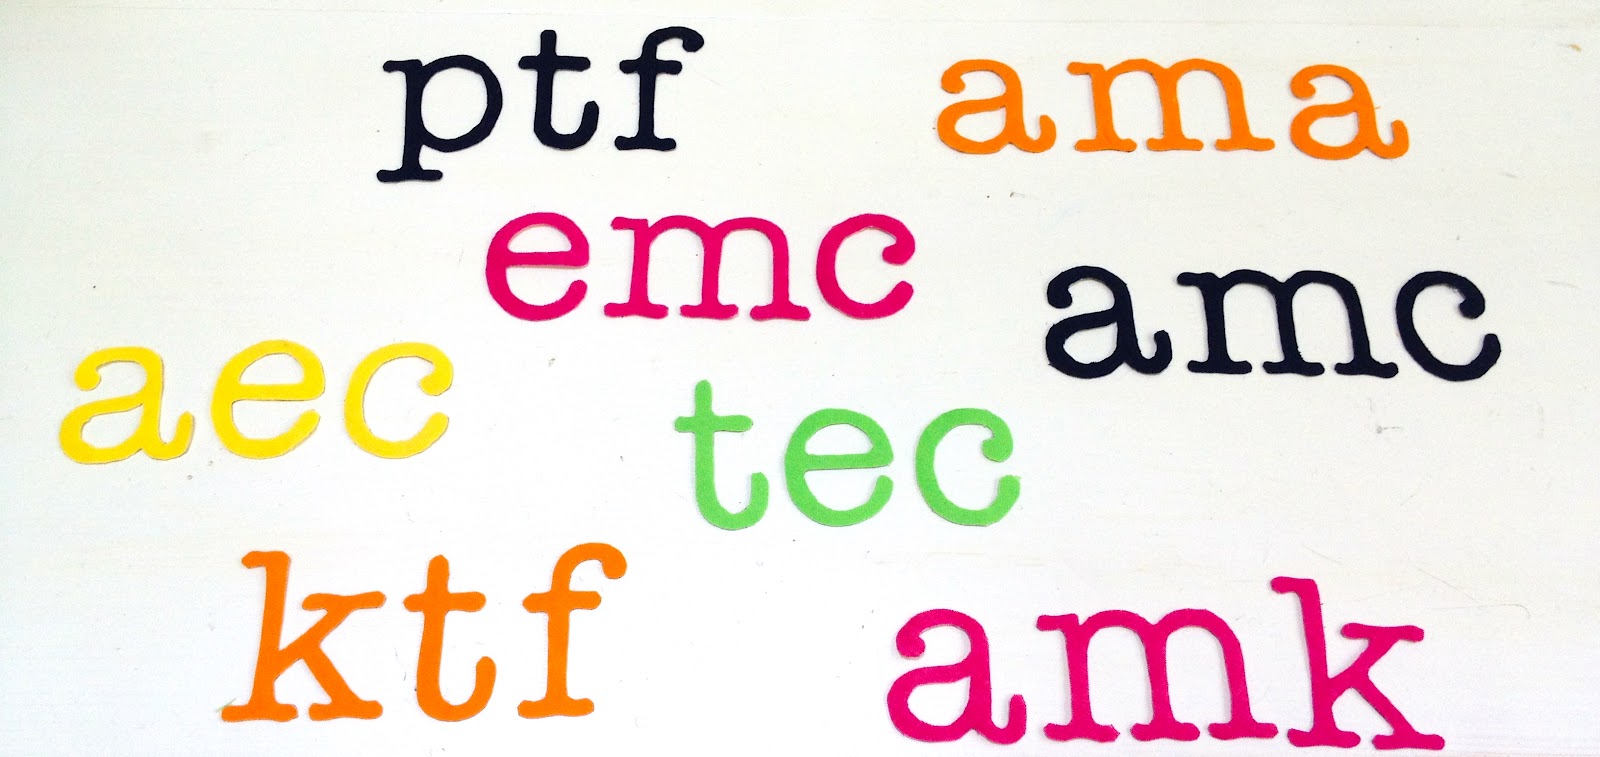
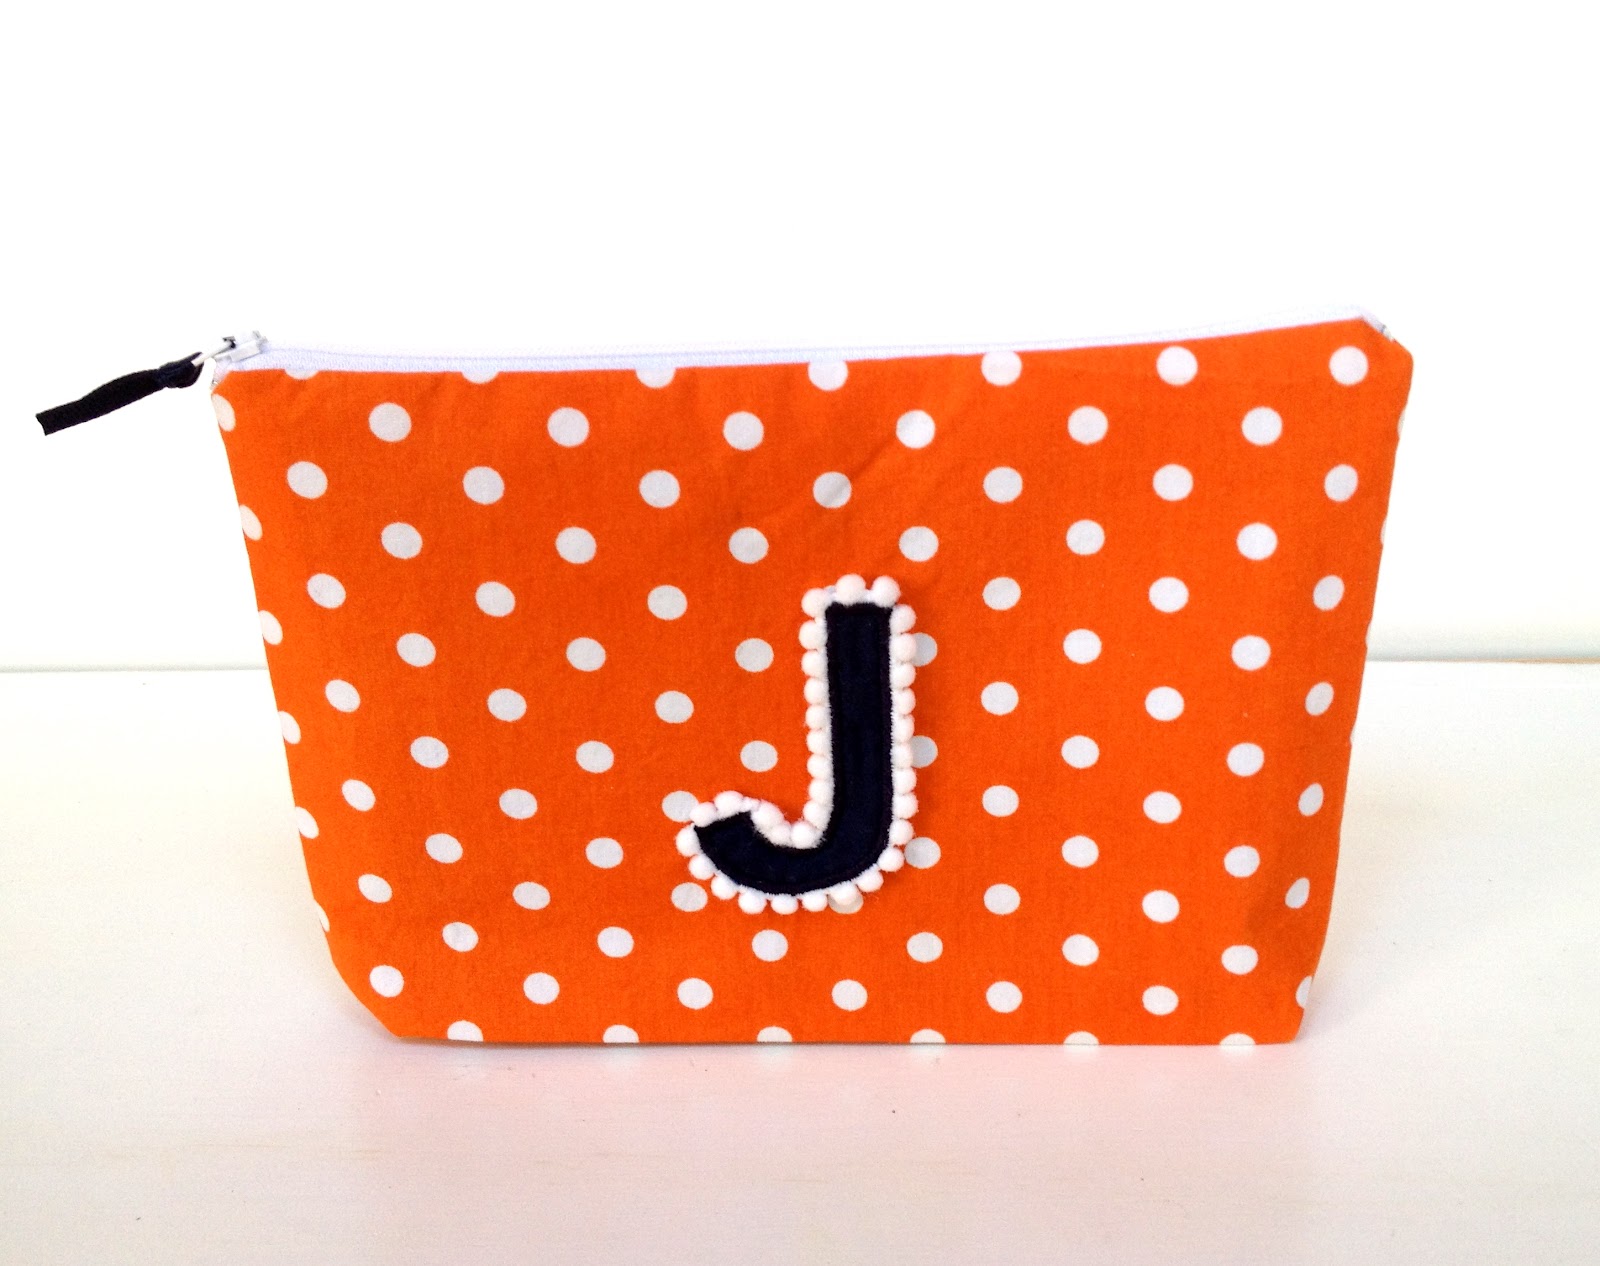
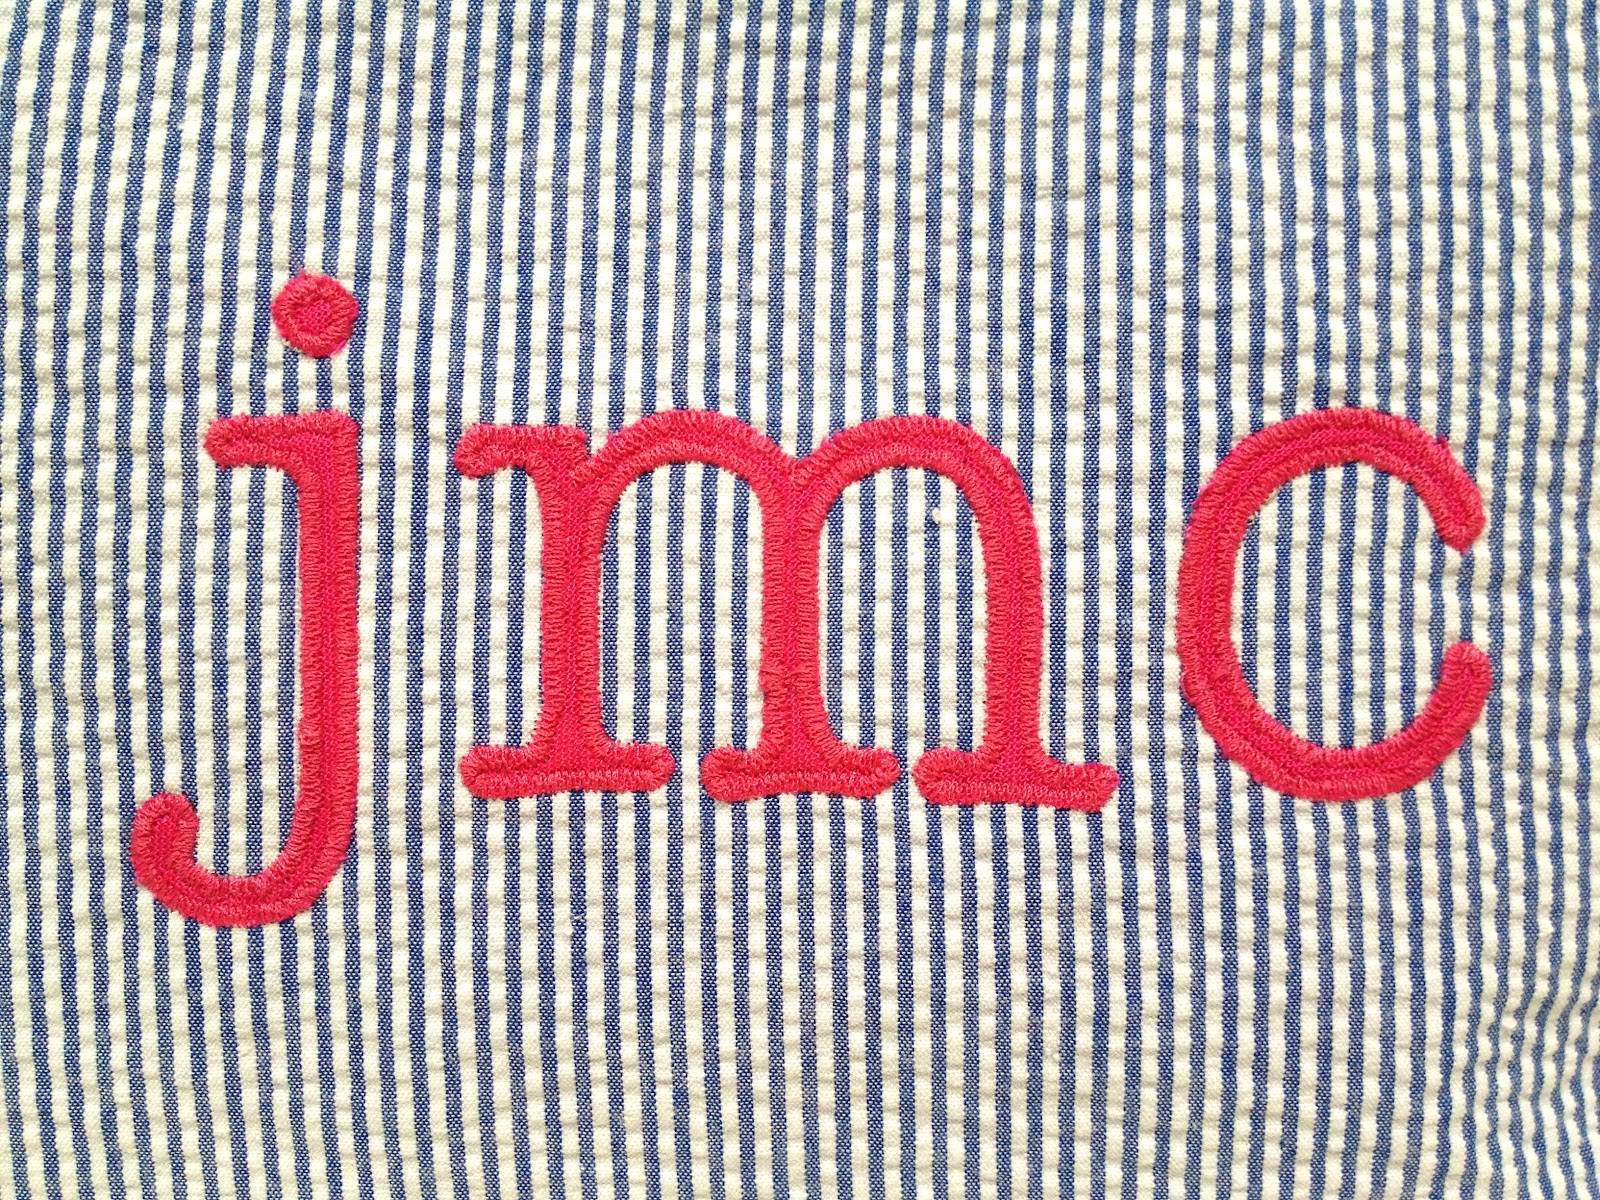
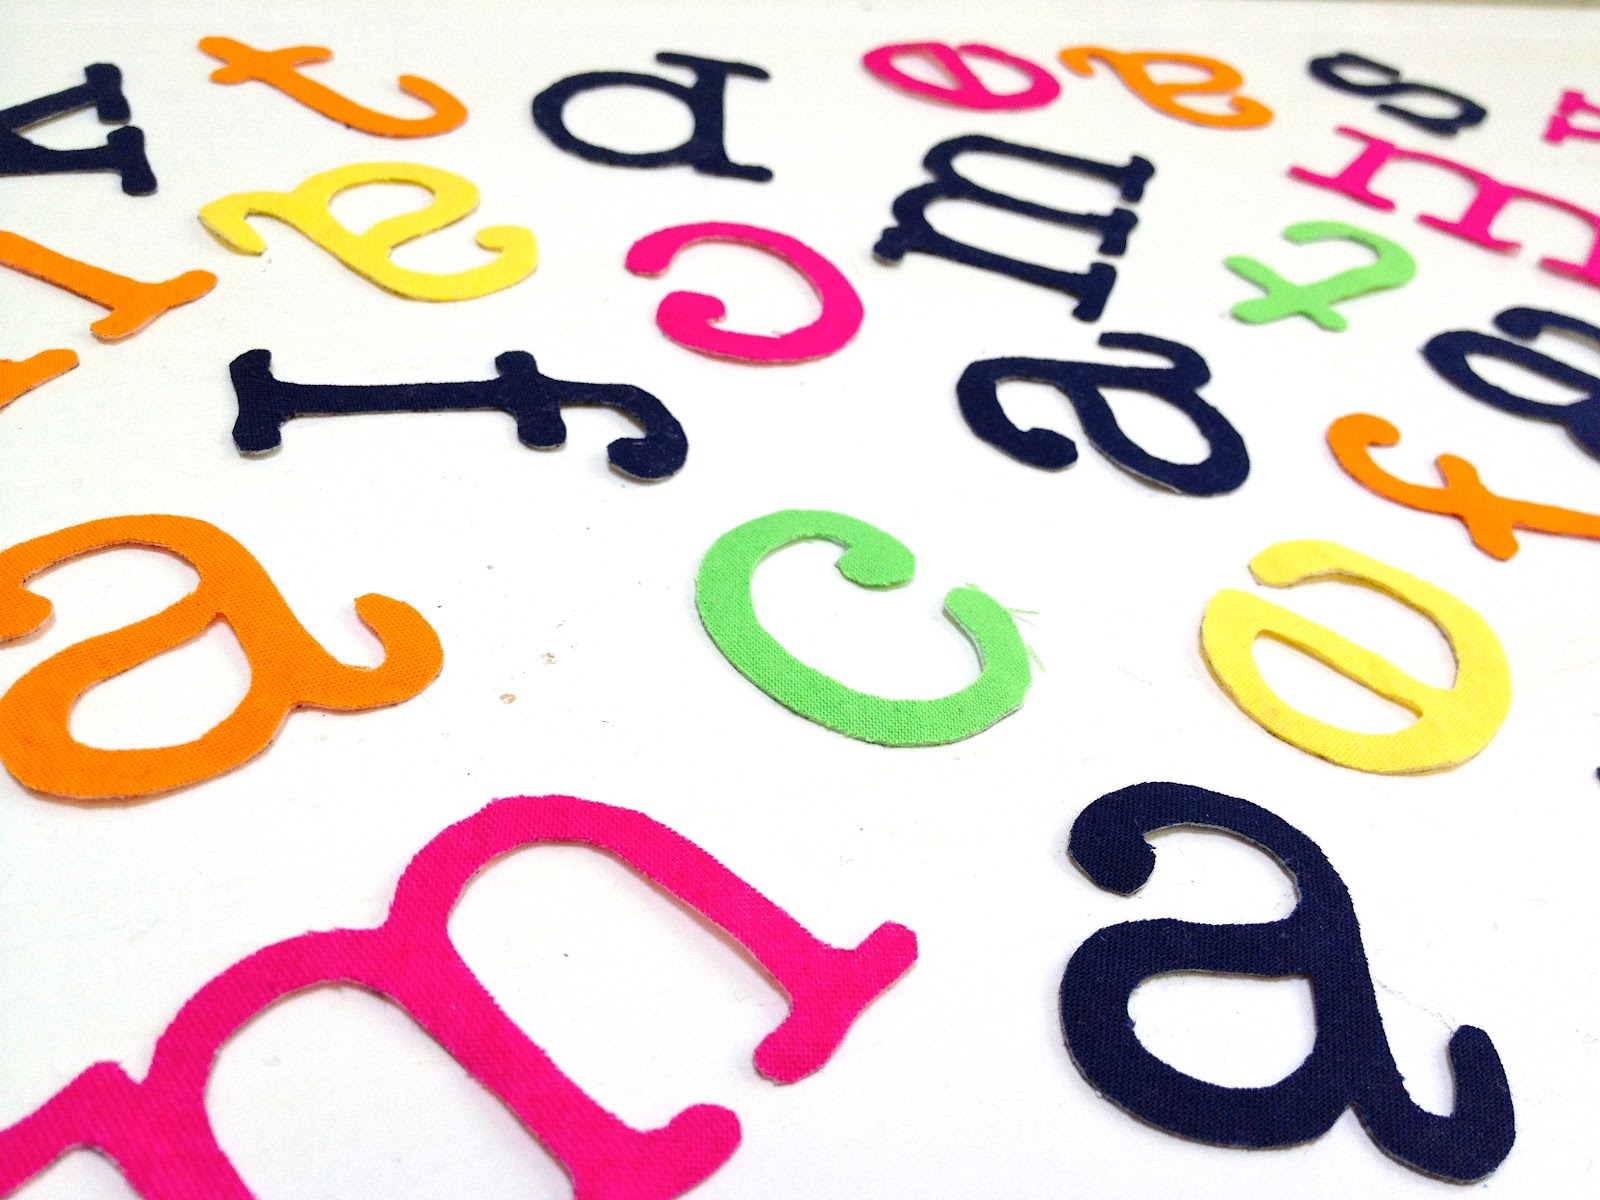
Here’s a few examples using Ariel Bold:
classic monogram on terrycloth pouch

classic monogram with ruffle on terrycloth pouch
full name on bathrobe

single letter outlined with mini pompom trim on polka dot pouches
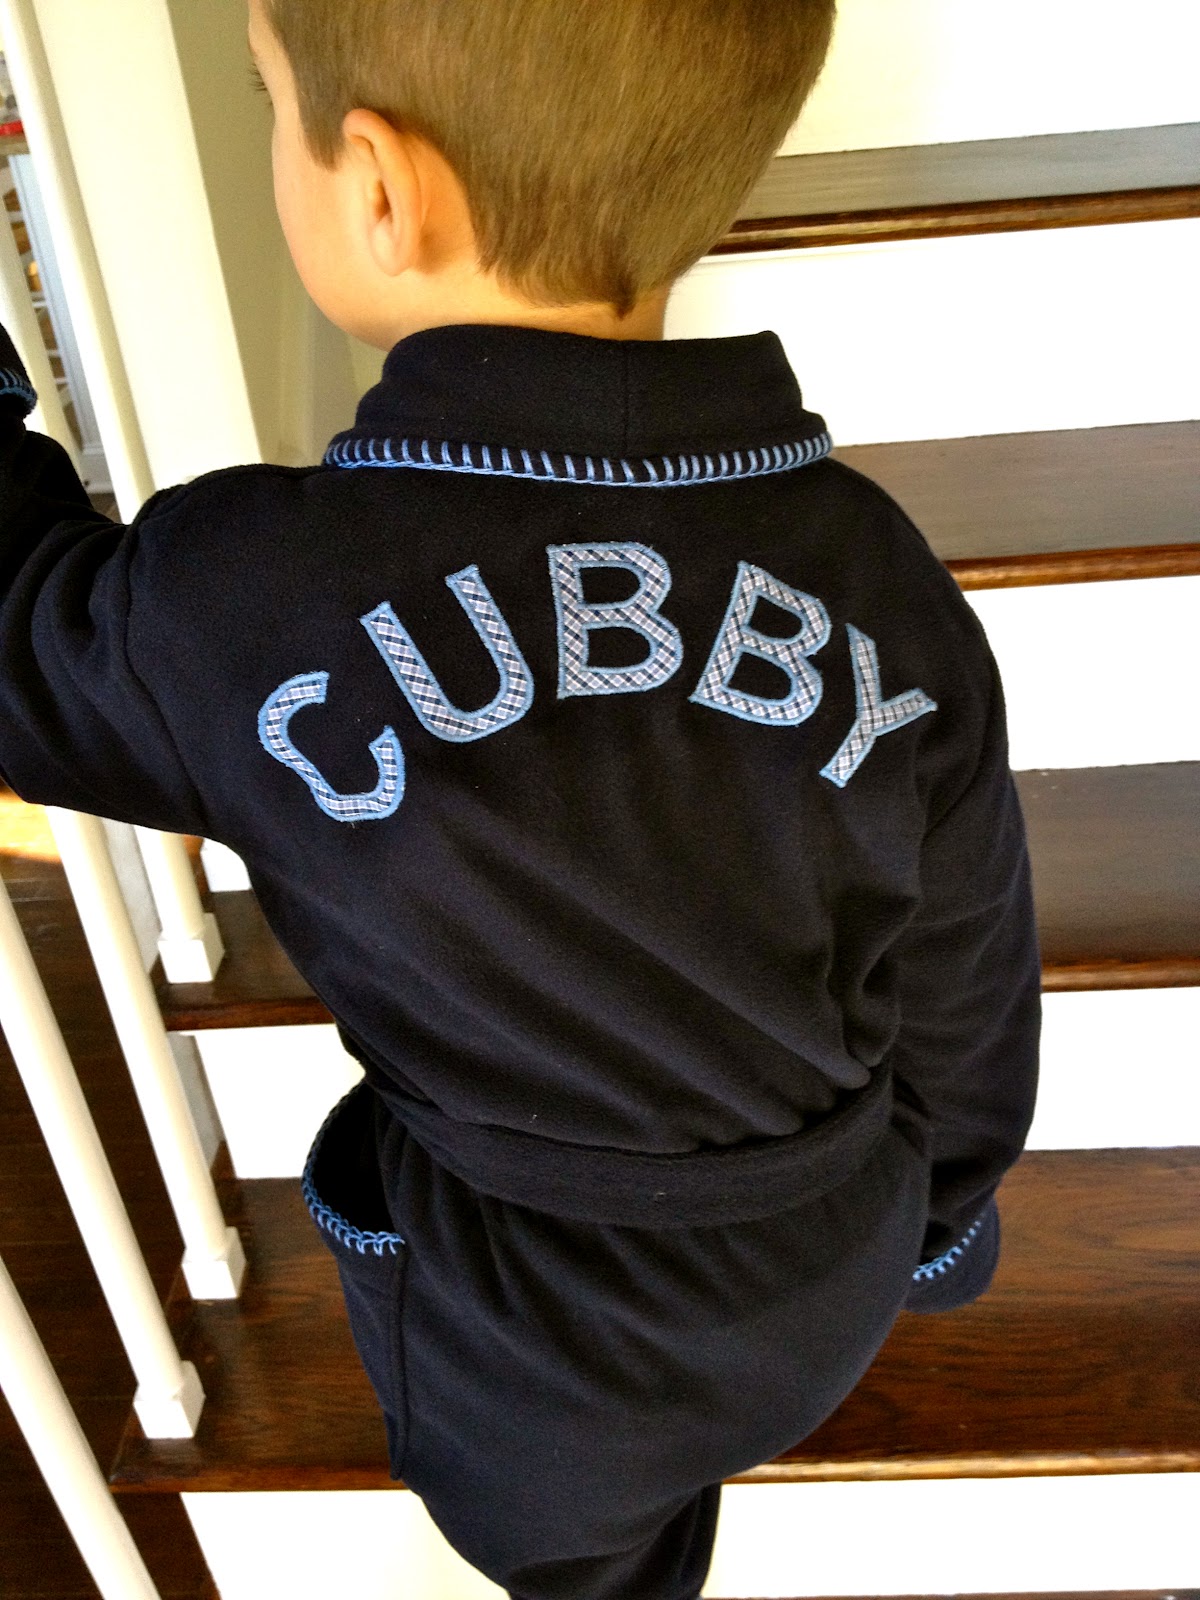
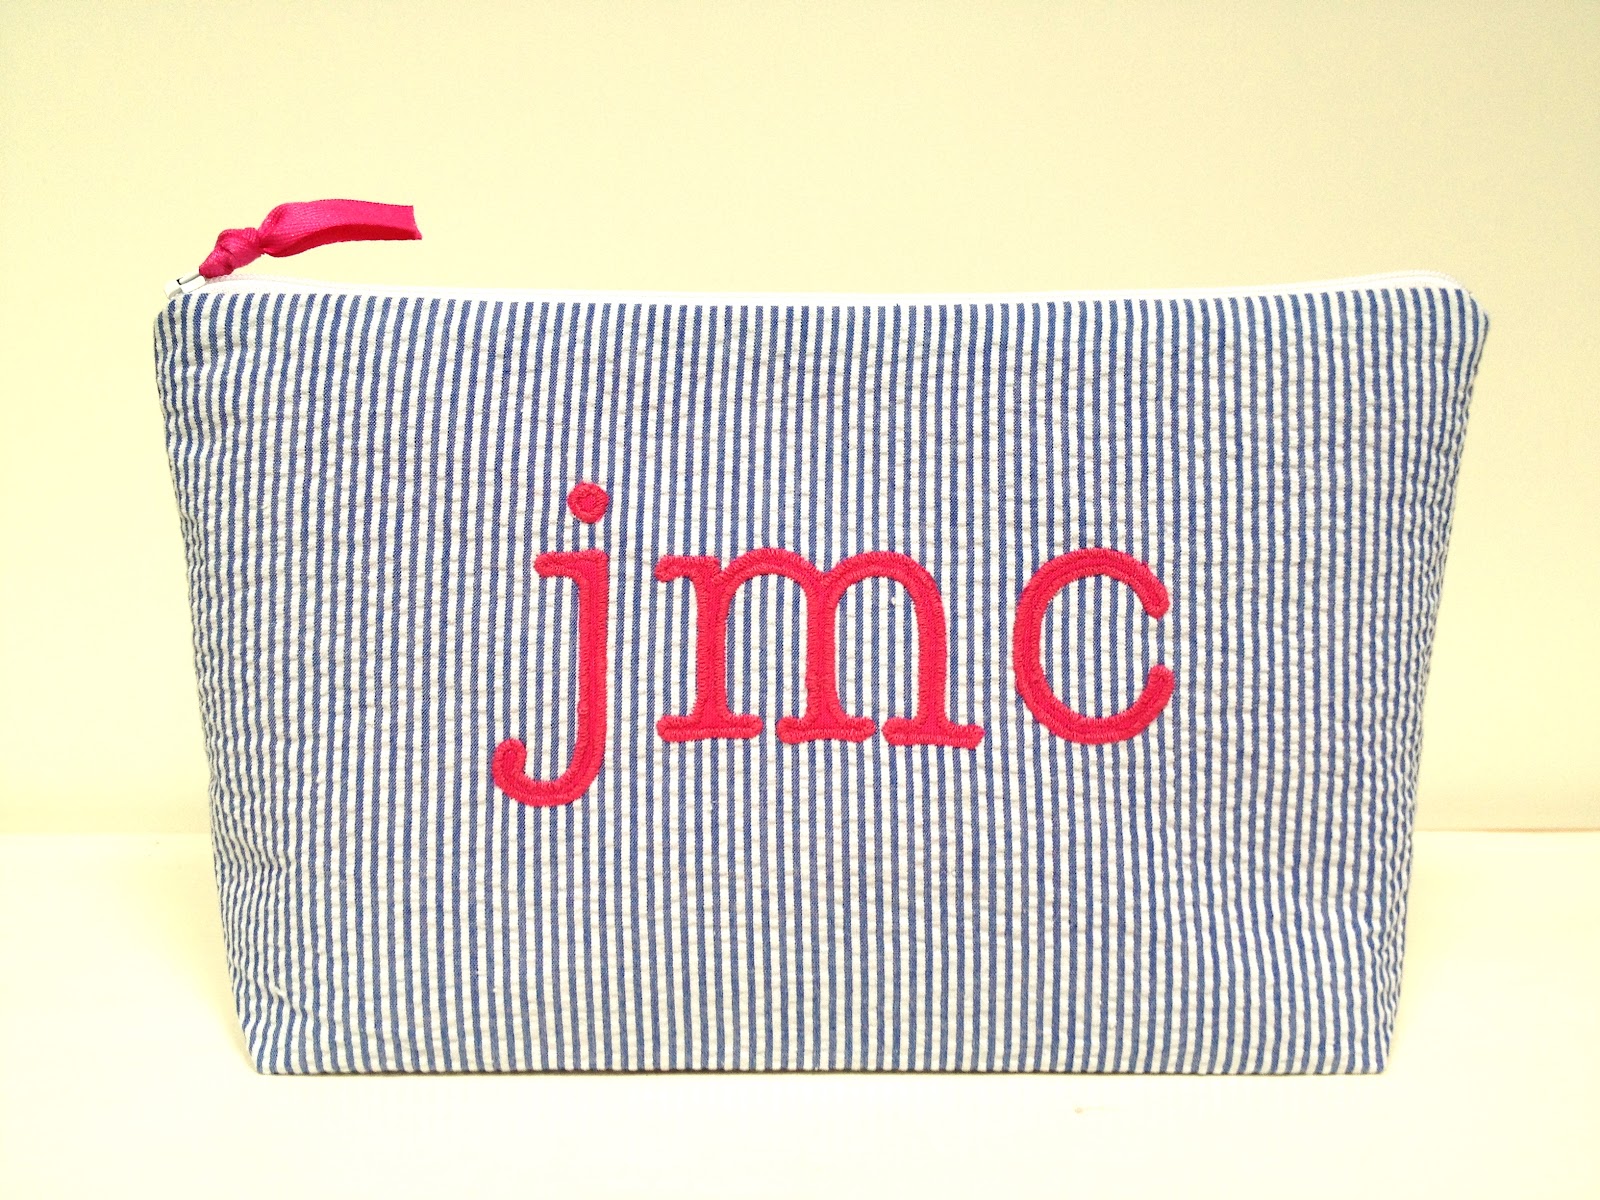
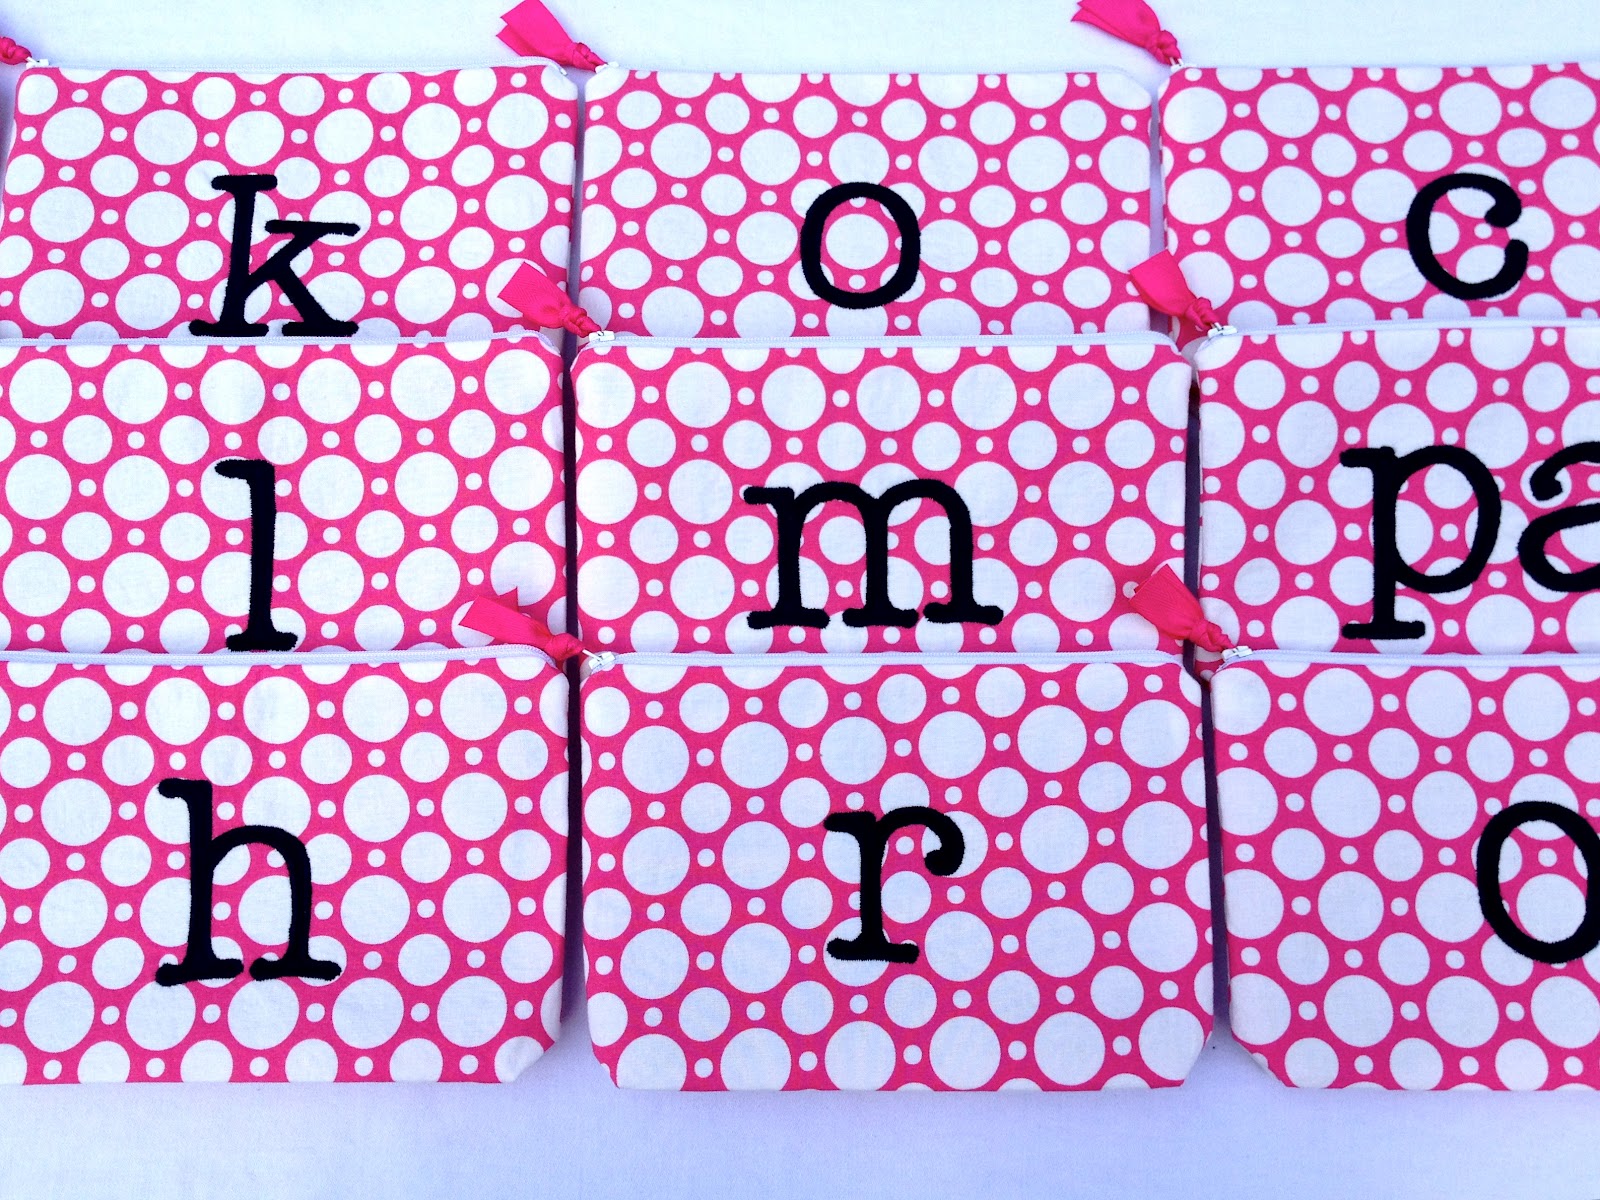
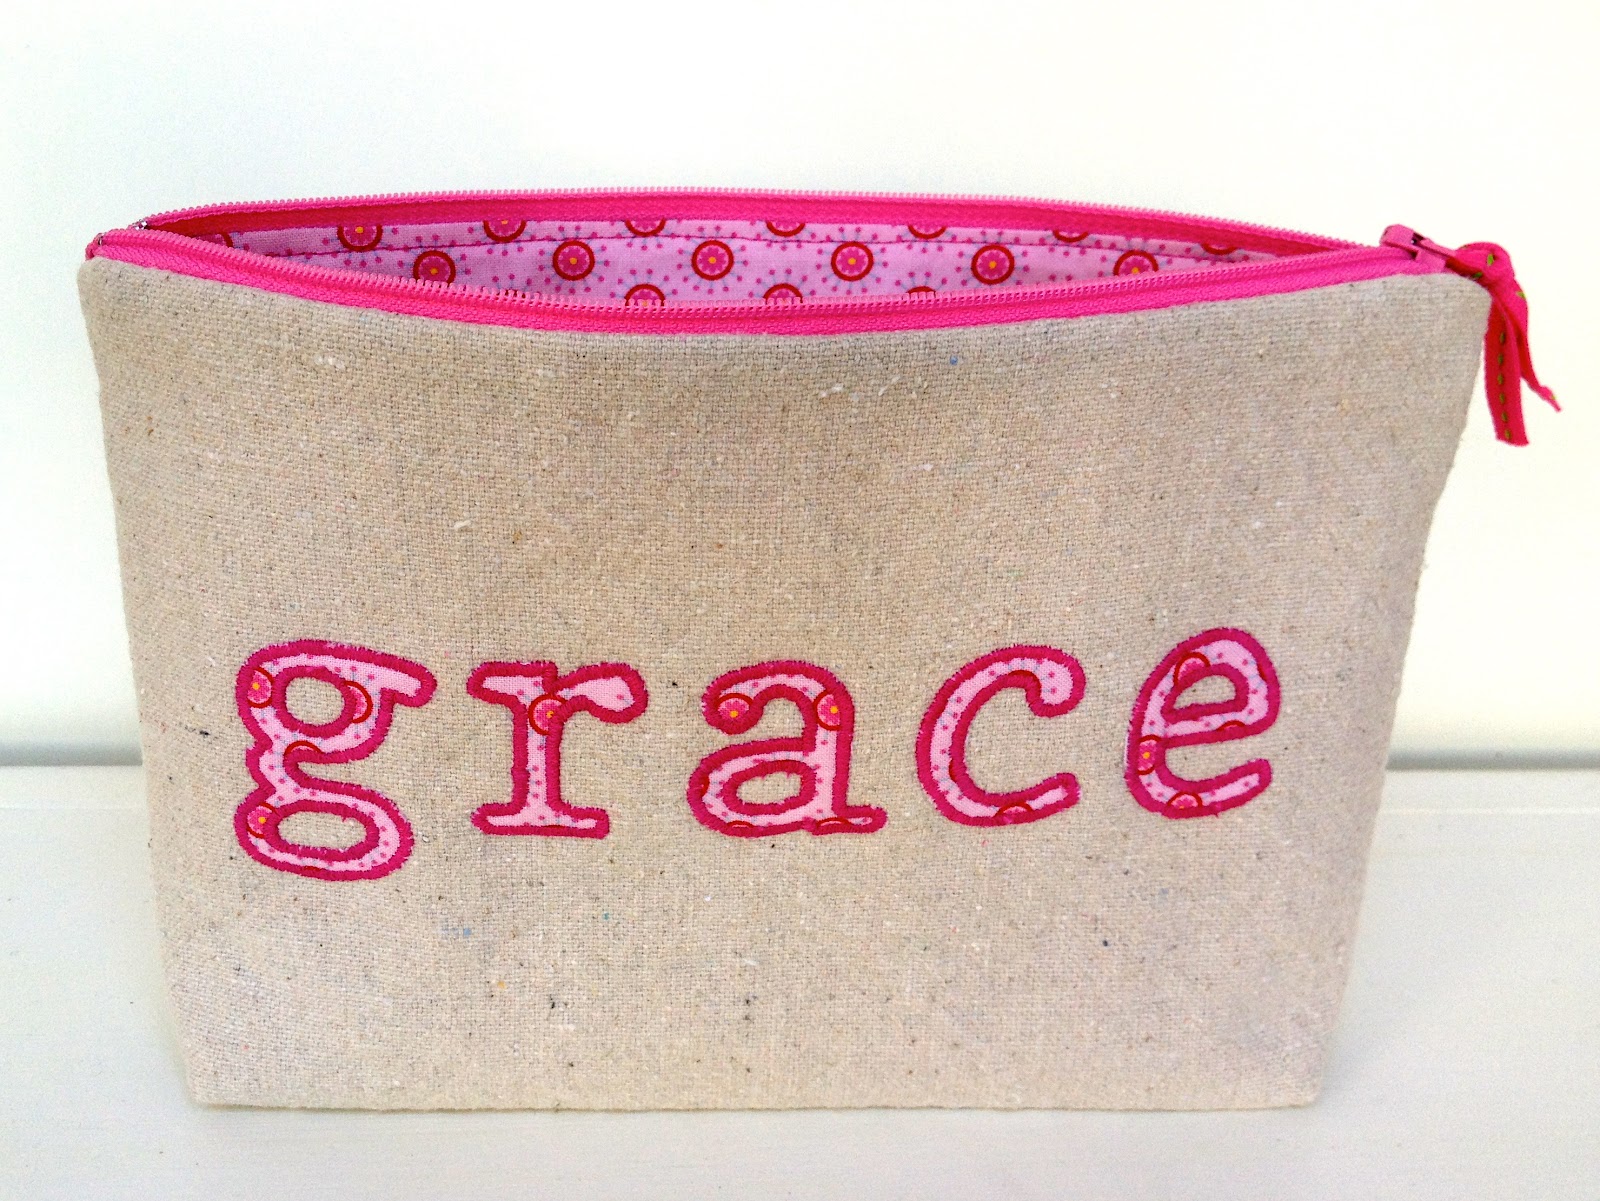
And now some examples in American Typewriter font:
single monogram on polka dot pouches

full name on pouches
And of course you can do shapes as well:
gingham heart on canvas pouch
Here’s how to make fabric letters (and shapes):

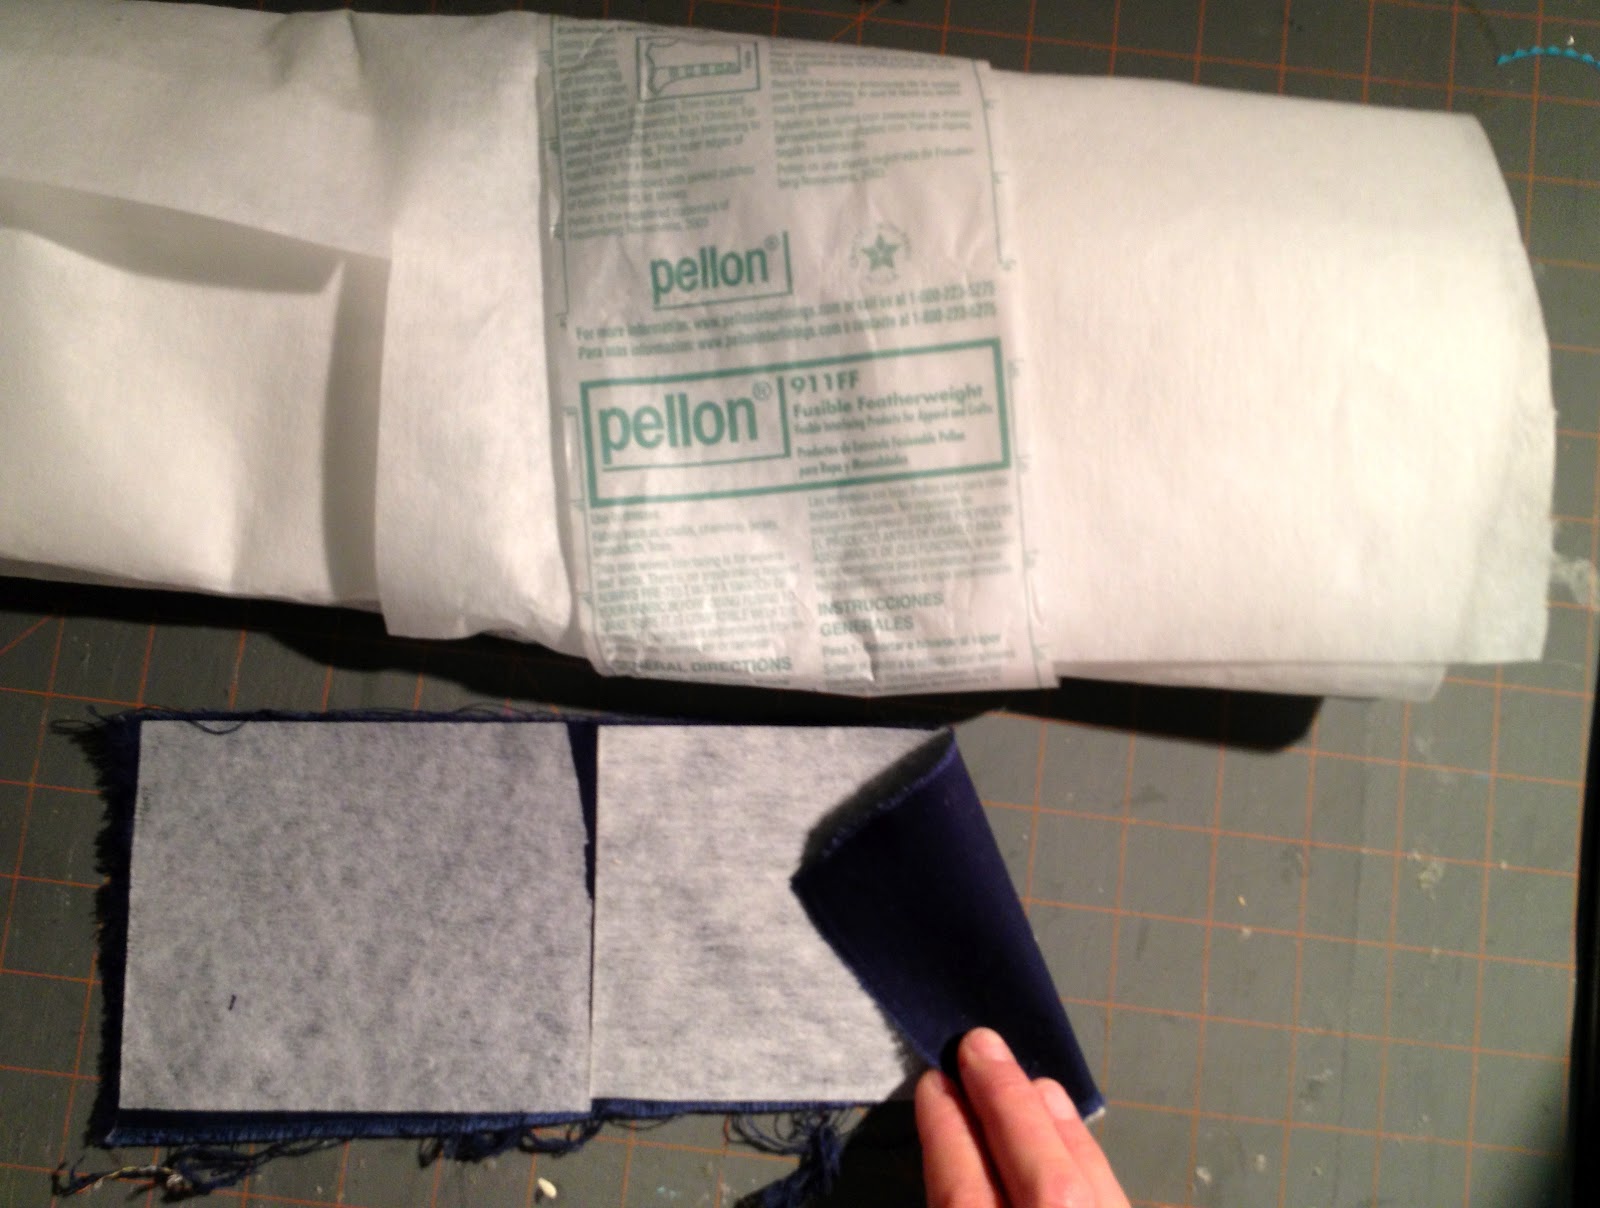
1. Iron lightweight fusible interfacing onto the wrong side of fabric:
(You can also use double sided fusible (Heat-n-Bond) to iron the letter in place but your sewing machine needle does get gunked up with the adhesive while sewing the zigzag stitch.)
2. Print out your letters and have lightbox ready:

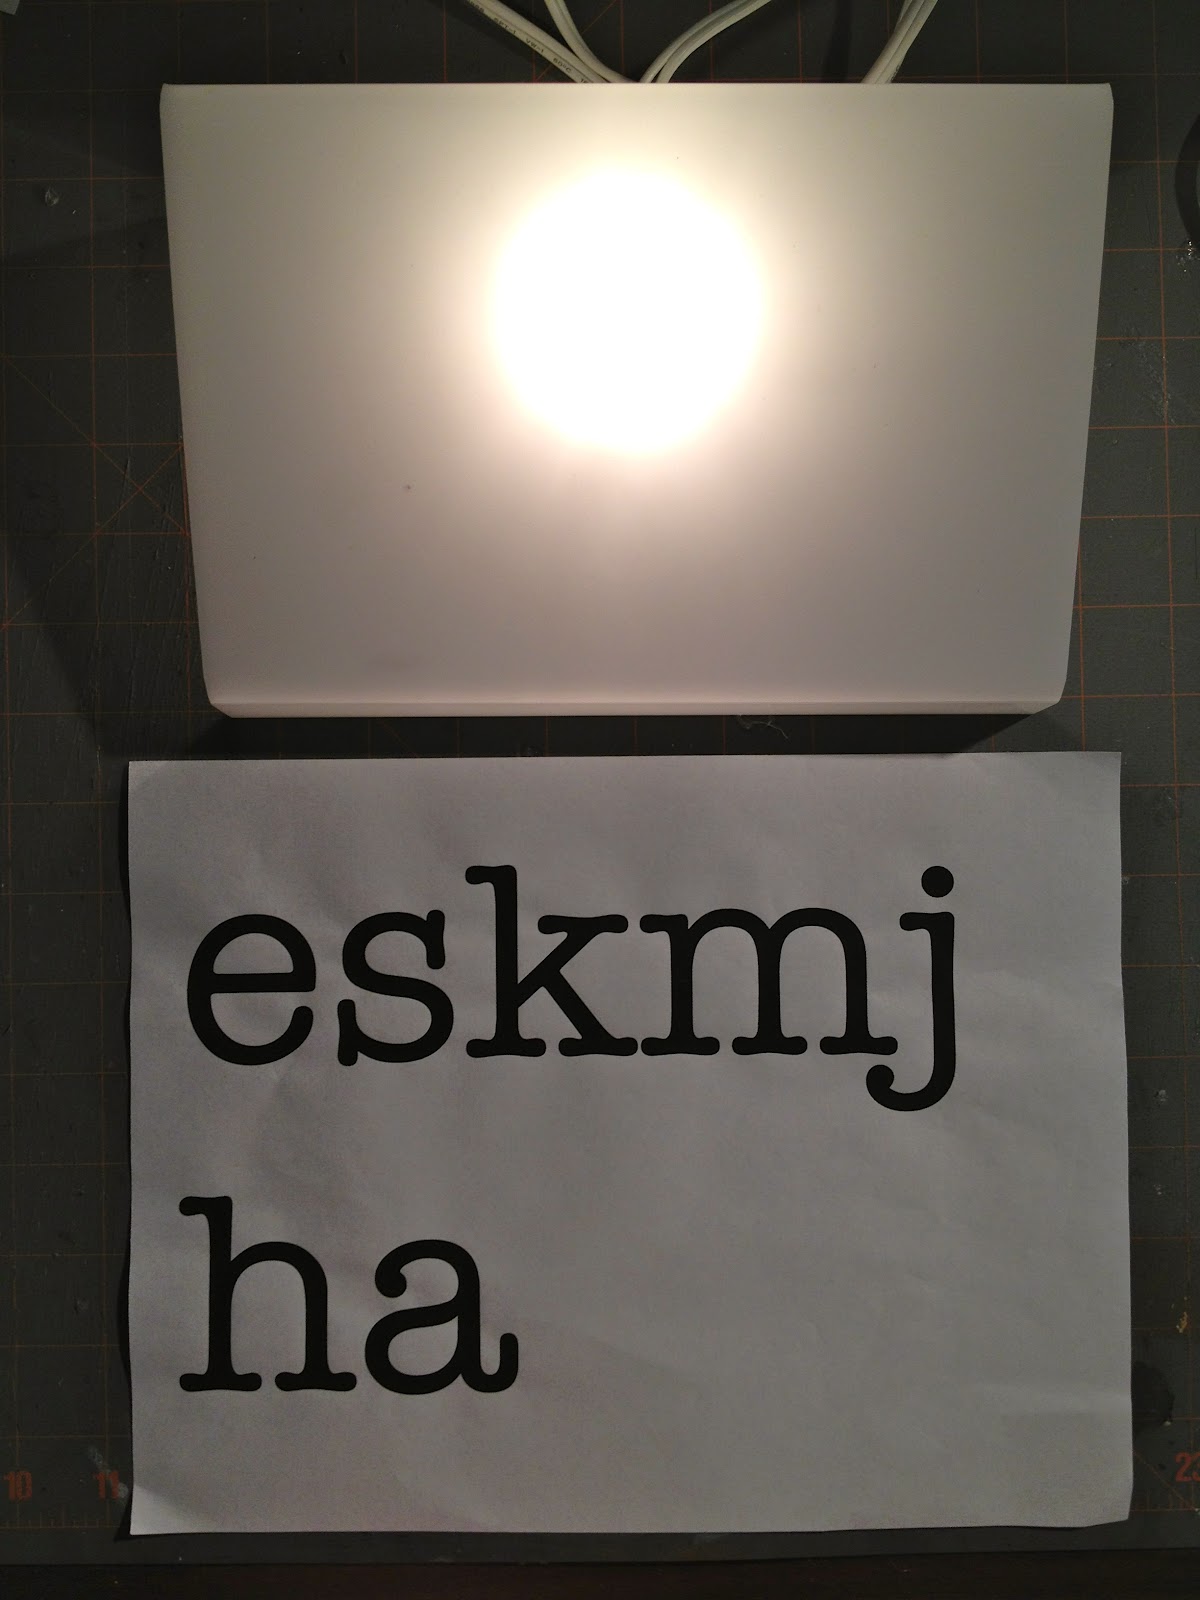
3. Place print out right side down on the lightbox:

4. Place fabric, right side down, on top of print out:

5. Trace just outside letter directly onto interfacing:
(Shut off other light sources to see the print out better, especially when working with dark fabrics.)

6. Carefully cut out the letter, cutting away the traced lines:

7. Line up letter onto item:
I use a clear quilting ruler to see that the letter is centered.

8. Pin letter into place:

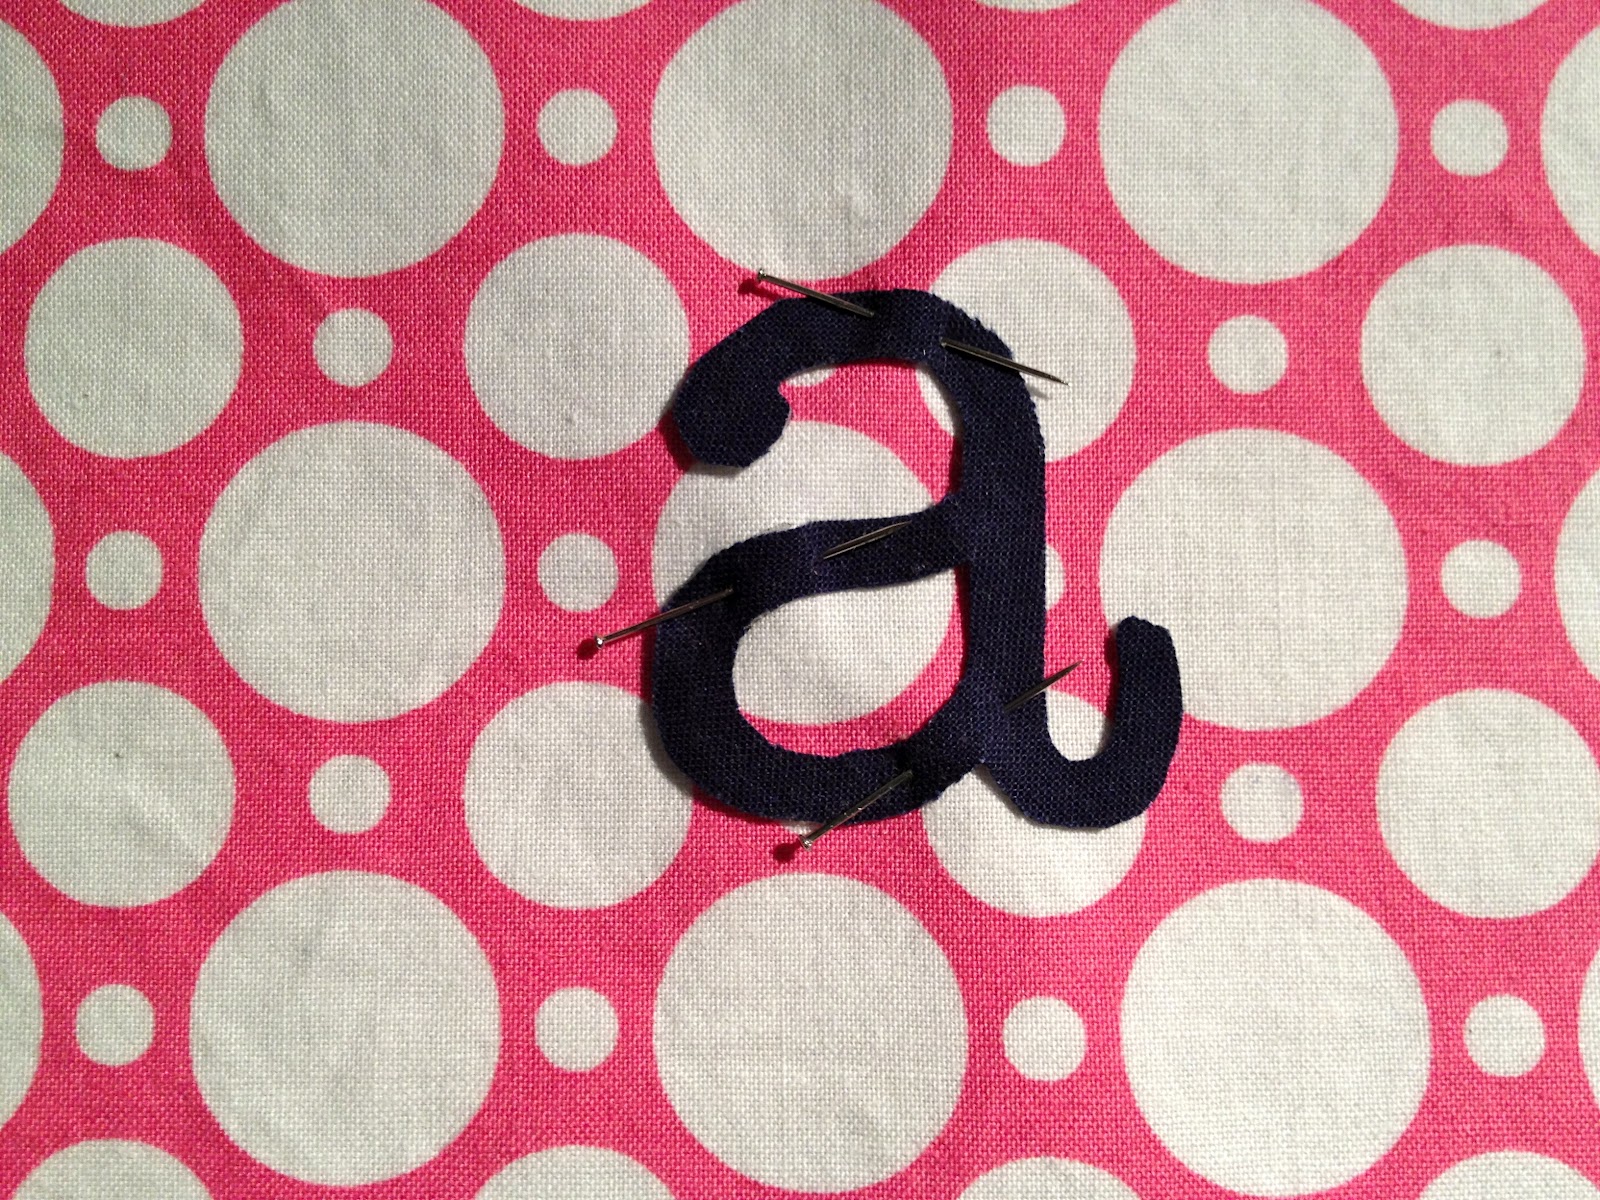
9. Zig zag stitch around edge:
Set your stitch length short and medium to narrow for the width to get a snug zigzag:
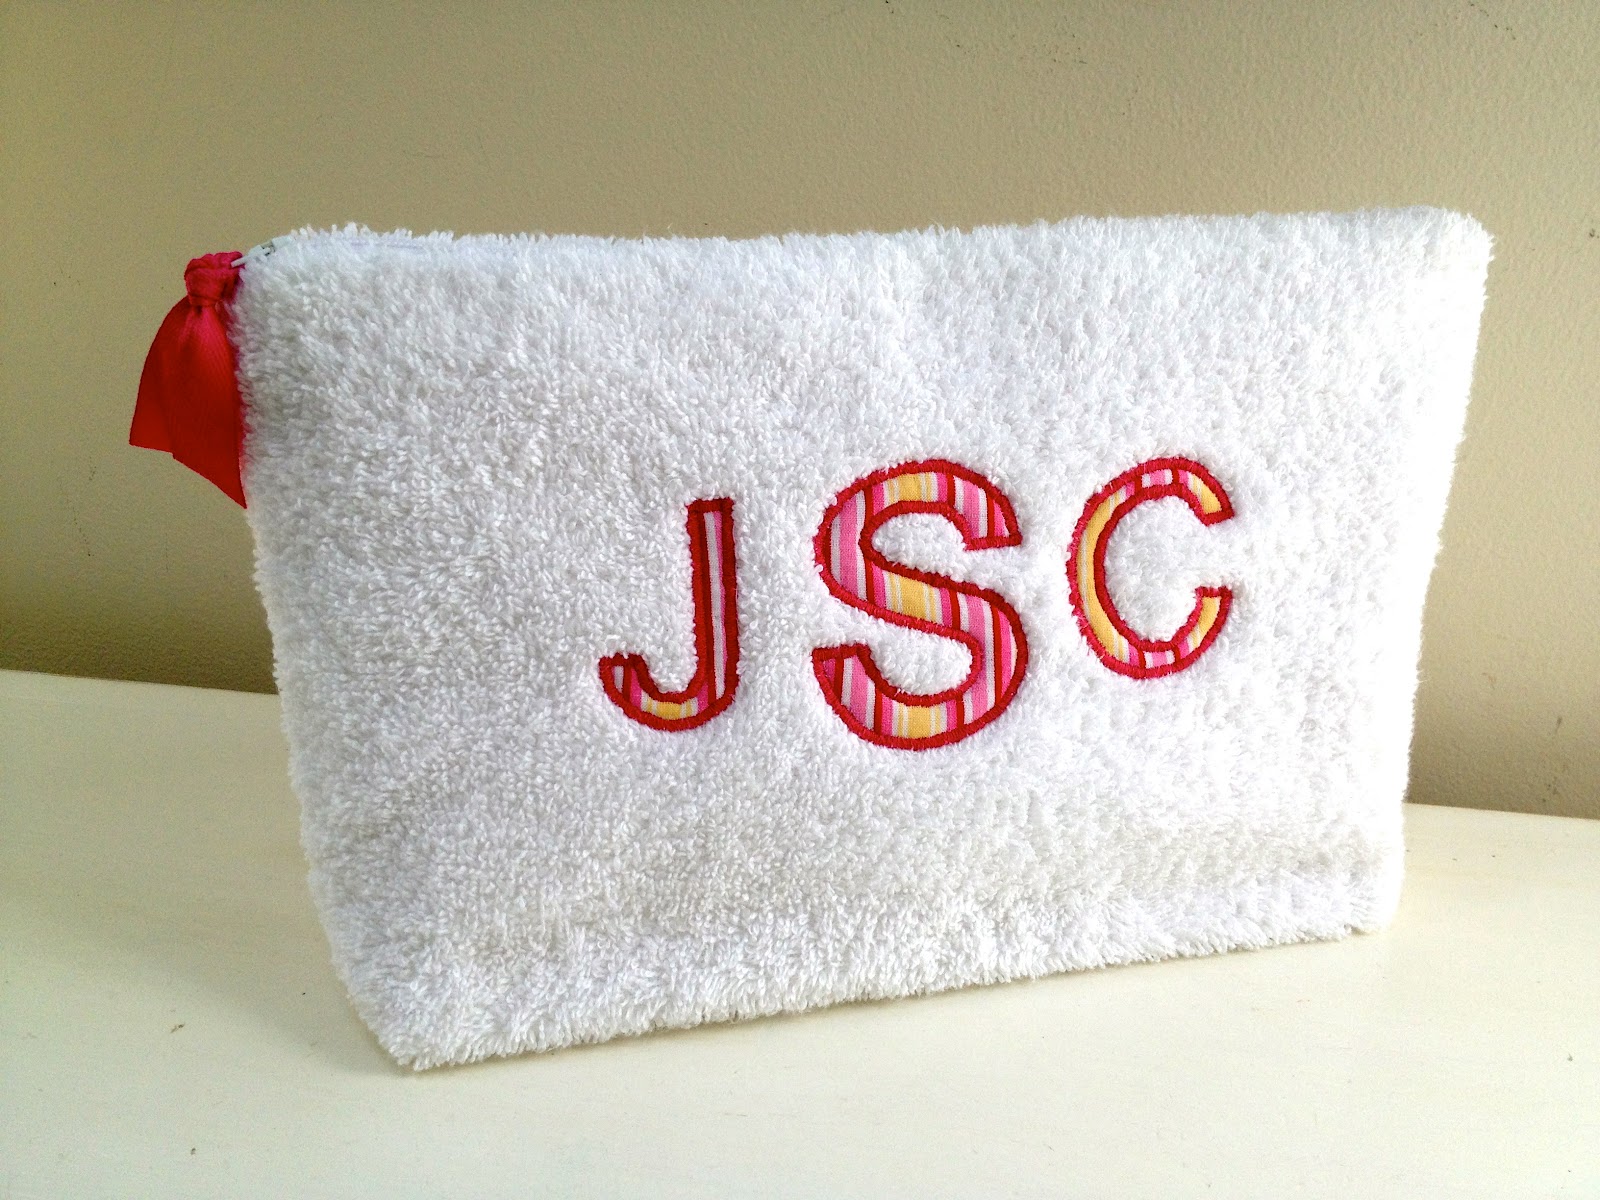
The possibilities are truly endless!

You may also like...

  • Cross Stitch Monogram Ornament PlacecardCross Stitch Monogram Ornament Placecard
  • DIY Simple Personalized PillowsDIY Simple Personalized Pillows
  • DIY Embellished Monogram PouchDIY Embellished Monogram Pouch
  • “P” is for Painted Zipper Pouch“P” is for Painted Zipper Pouch
Share this post:

Filed Under: CRAFTS, DIY, SEW, SEWING6 Comments

Reader Interactions

Comments

  1. Katy says

    May 31, 2012 at 2:42 AM

    wow that is some patience!! they look wonderful, my zig zag stitches are always pretty wild. lol How do you stay so close to the edge!

    Reply
  2. ~Christy says

    June 3, 2012 at 1:45 AM

    I just found your post through pinterest and am so excited! 😀 You have taken the mystery out of things that I can totally do but never had the time to sit down and figure them out. Thanks so much! I might go crazy and pin a bunch of your posts… 🙂

    Reply
  3. senovia says

    June 4, 2012 at 1:37 PM

    You make that look so easy! I thought you were buying fabric letters! My sewing machine is messed up right now, but I can't wait to try this on my own! THANK YOU!

    Reply
  4. Cheryl says

    December 9, 2020 at 1:40 PM

    I love your post. I’m attempting a flag with letters and am having trouble following the letters cleanly. I’m wondering if I’m using the wrong presser football. I realize your post is older but thought I’d try. Any suggestions would be helpful.

    Reply
    • Jaime says

      December 10, 2020 at 7:46 AM

      Hi Cheryl, to keep the stitching clean and neat try decreasing the stitch width and length. It makes for a tighter zig zag.

      Reply

Leave a Reply Cancel reply

Your email address will not be published. Required fields are marked *

Primary Sidebar

Hi! I’m Jaime

Jaime Costiglio

Hello!

Thank you for stopping by.
Join me for lots of DIY.

Read more

Get new posts via email

Handbuilt Holiday: Gift Project Plans

handbuilt holiday gift project plans

Collection of DIY gift project plans to build.

The Home Depot Tool Prospective

THD Prospective

Tools to consider for the DIYer.

Archives

The Home Depot Logo
Copyright © 2023 Jaime Costiglio · Custom site by Moonsteam Design

Privacy Policy