• Home
  • Blog
  • About
  • Contact
    • Disclosure
    • Privacy Policy
  • SHOP
  • Widget area for main menu

    • Email
    • Facebook
    • Instagram
    • Pinterest
    • Twitter
    • YouTube
  • Skip to primary navigation
  • Skip to main content
  • Skip to primary sidebar

Jaime Costiglio

build - paint - sew

  • BUILD
    • BEDS
    • BENCHES
    • DESKS
    • DRESSERS
    • GAMES & TOYS
    • SCRAP WOOD
    • SHELVES
    • STORAGE
    • TABLES
  • TOOLS
  • PAINT
    • CRAFTS
    • FURNITURE
    • HOME DECOR
  • SEW
    • GIFTS
    • HOME DECOR
    • POUCHES
  • HANDBUILT HOLIDAY
    • 2021
    • 2019
    • 2018
    • 2017
    • 2016
    • 2015
    • 2014
    • 2013
  • GIFTS
    • BABIES
    • KIDS
    • FOR HER
    • FOR HIM
    • TEACHERS
    • WEDDINGS
  • SEASONAL
    • 4TH OF JULY
    • FALL
    • HALLOWEEN
    • CHRISTMAS
    • SUMMER
    • SPRING
    • ST. PATRICK’S DAY
    • THANKSGIVING
    • VALENTINE’S DAY
    • WINTER
  • SALTBOX PROJECT
    • BATHROOMS
    • DINING ROOM
    • EXTERIOR
    • FAMILY ROOM
    • FOYER / MUDROOM
    • KIDS BEDROOMS
    • KITCHEN
    • LIVING ROOM
    • MASTER BEDROOM
    • PLAYROOM
  • SCROLL SAW

“L” is for Ledges #2

February 6, 2012

Built: artwork ledges restyled.

Part of a larger project which I can’t reveal quite yet, I built these ledges a year ago, which my kids usually use for all their schoolwork and have now been styled more appropriately for a family room setting.

Pictures and pieces that I enjoy, some I made myself.
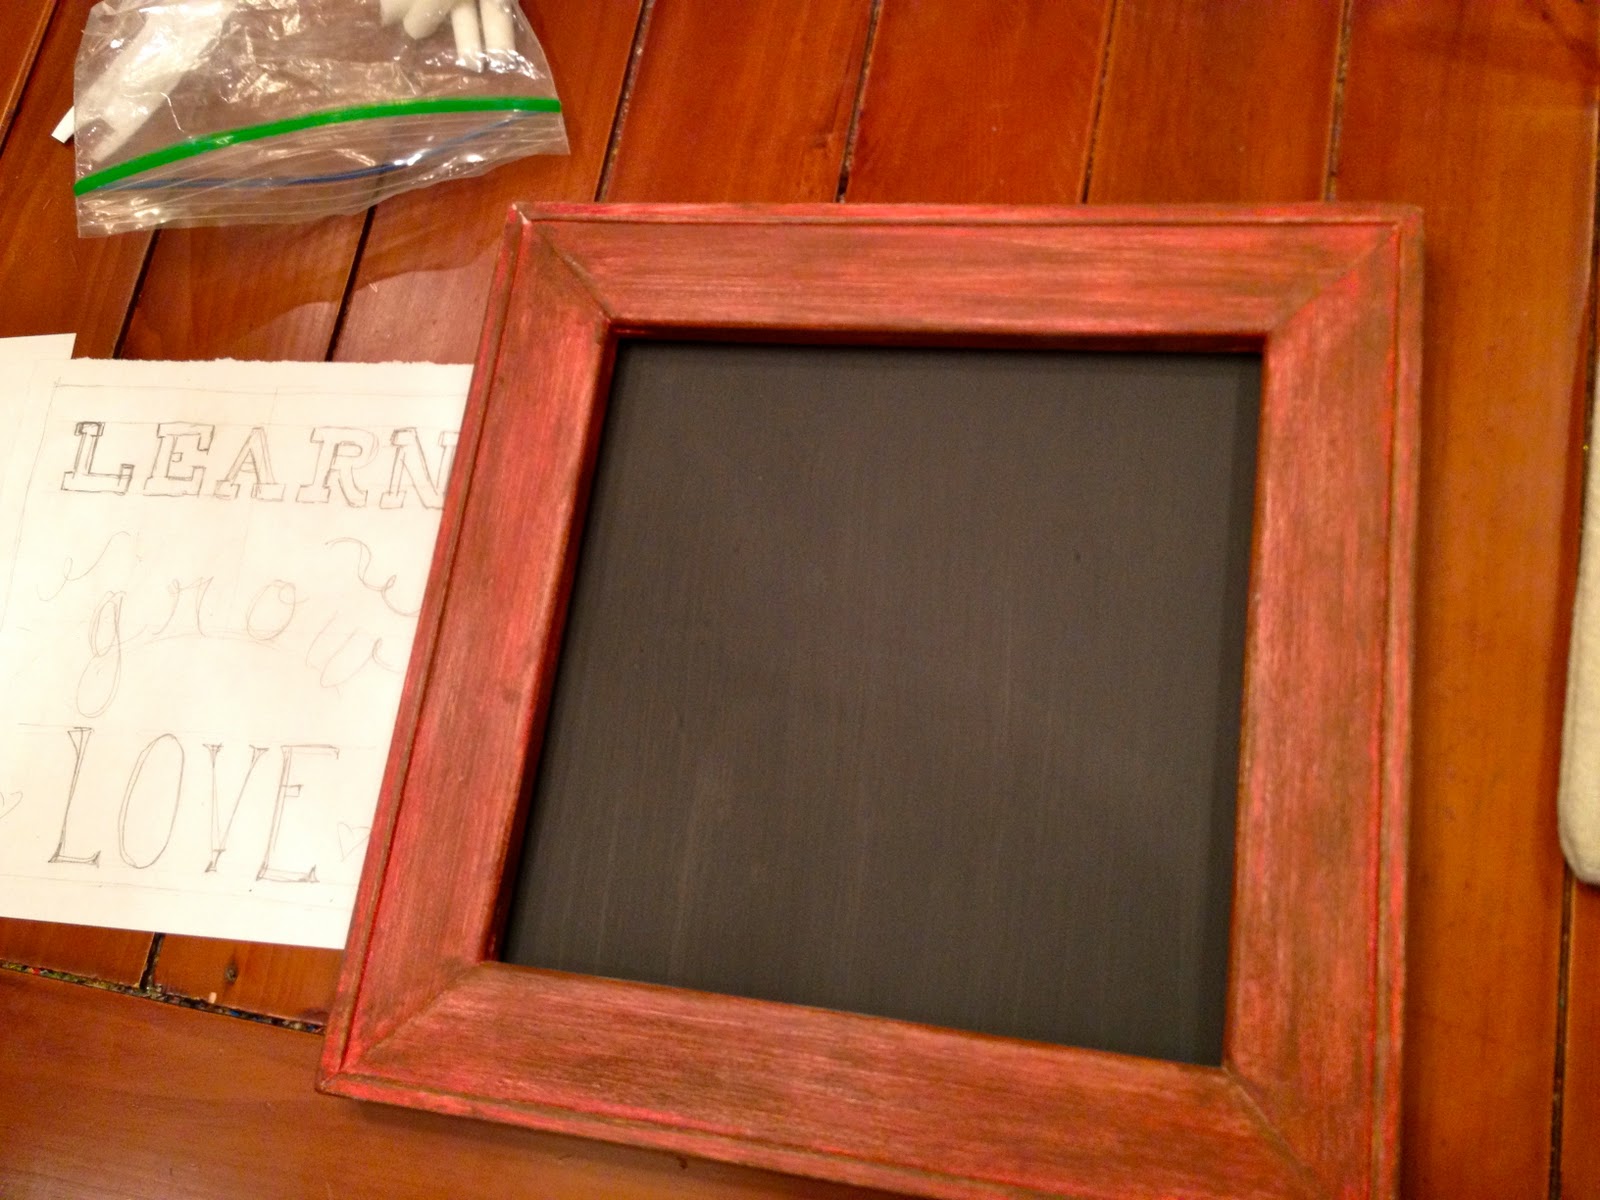
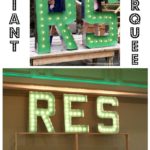
The framed chalk drawing:

I used ideas from chalk artist Dana Tanamachi, she did the West Elm Holiday 2011 catalog and now is on the cover of Oprah’s O magazine Feb 2012 issue, amazing.

Get the paper mache mushrooms full how-to in my post here.

For the chalk drawing I started with a painted red frame and 1/4″ plywood painted with black chalkboard paint, sketched out my words on paper first for spacing, then drew with chalk:

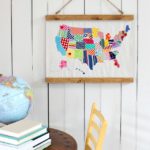
The appliqued letter C:

Print out your letter, trace onto back of fusible interfaced fabric with lightbox, cut out, pin into place and sew with buttonhole stitch into place:
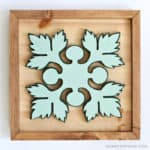
The wooden stars:

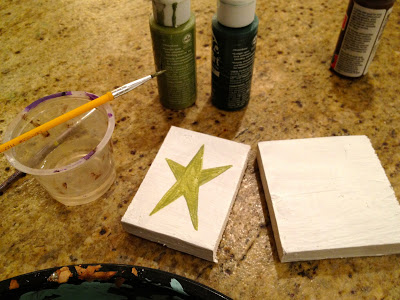
Paint stars onto wooden blocks:
Drill holes to match size of dowel into bottom edge of star block and bottom center of stand, then glue and hammer dowel into holes.

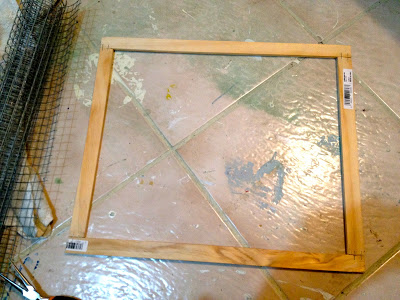
The hardware cloth memo board:
Here’s how I made the memo board:

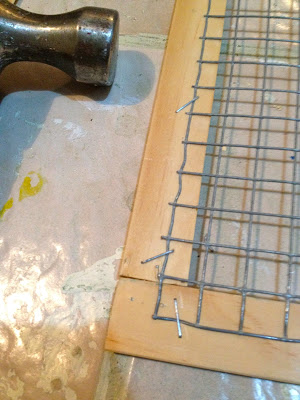
1. Make a basic frame from flat molding:
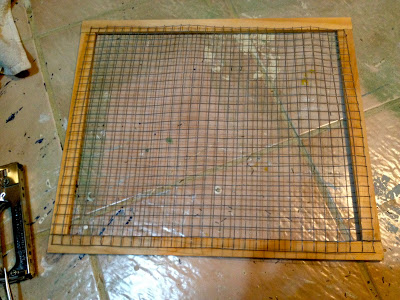
2. Cut hardware cloth to fit:

3. Staple gun cloth into place:

4. Then hammer flat, pressing into molding a bit:

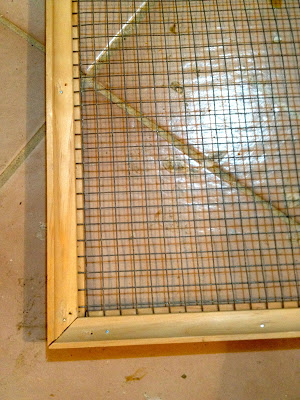
5. Add cove molding over hardware cloth to create frame:
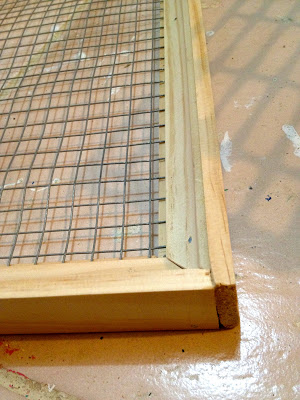
6. Then finish edges with thicker flat molding on edge:

7. Stain with Minwax Special Walnut:

This styling project was a bit of a challenge for me because most of my projects are utilitarian and this was simply decorative.
On a normal day the ledges look like this, full of my kids artwork:

But today they were restyled for another project and I promise to share a complete picture and all the details in due time.

You may also like...

  • Scroll Saw Wood ArtScroll Saw Wood Art
  • DIY Giant Marquee LettersDIY Giant Marquee Letters
  • DIY USA Map Wall HangingDIY USA Map Wall Hanging
  • DIY Giant Wood BuntingDIY Giant Wood Bunting
Share this post:

Filed Under: BUILD, DIY, HOME DECOR, HOME DECOR, PAINT, SHELVES3 Comments

Reader Interactions

Comments

  1. Angeline says

    February 6, 2012 at 10:07 PM

    Really, how do you do it all? Are you crafting for hours, super organized – what's your secret?

    Reply
  2. Cassie @ Primitive & Proper says

    February 7, 2012 at 1:06 AM

    i showed these to my husband and i am going to make them! probably not til march or april, but i am going to make some for emmy's room and am really excited- thank you! you are the best!

    Reply
  3. Mitra Pratt says

    February 7, 2012 at 9:58 PM

    Hey Jamie, love this project! Any way you can send me the link to your fab mushrooms! They have stolen my heart!

    Reply

Leave a Reply Cancel reply

Your email address will not be published. Required fields are marked *

Primary Sidebar

Hi! I’m Jaime

Jaime Costiglio

Hello!

Thank you for stopping by.
Join me for lots of DIY.

Read more

Get new posts via email

Handbuilt Holiday: Gift Project Plans

handbuilt holiday gift project plans

Collection of DIY gift project plans to build.

The Home Depot Tool Prospective

THD Prospective

Tools to consider for the DIYer.

Archives

The Home Depot Logo
Copyright © 2026 Jaime Costiglio · Custom site by Moonsteam Design

Privacy Policy