Almost 17 years ago we went to Hawaii for our honeymoon, it was your classic, typical newlywed vacation and I’d go back in a heartbeat. Alas life happens – kids, house, and all the things – so traveling 4,900 miles for an adult only vacation probably won’t be happening for a few more years. But back when we were in Maui and young and had all the time to ourselves I had purchased a quilting pattern with the hopes of making a pillow or quilt someday to remember that time in our lives.

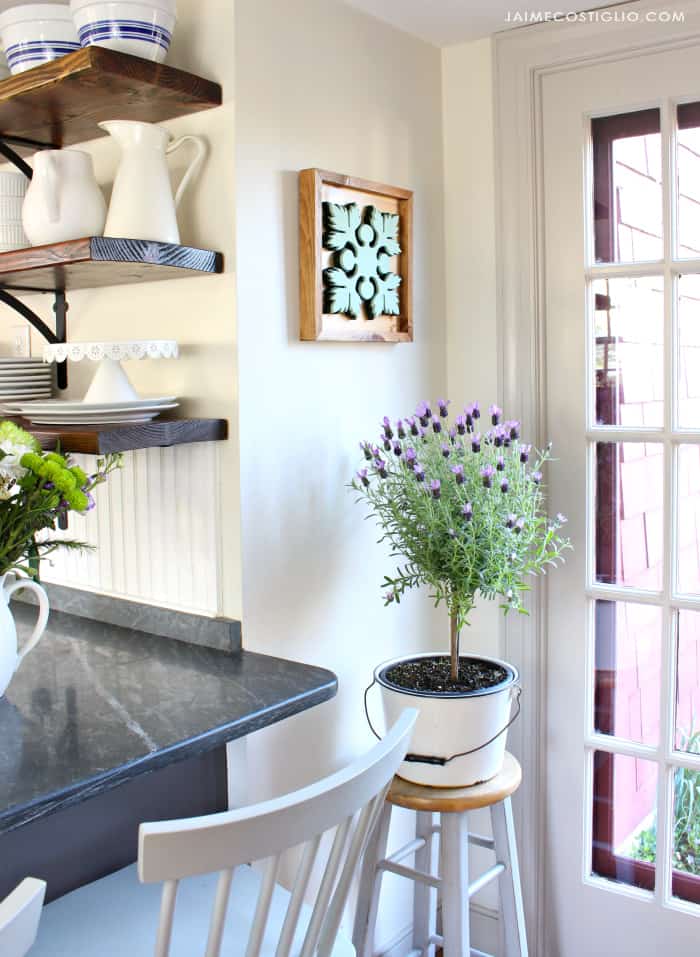
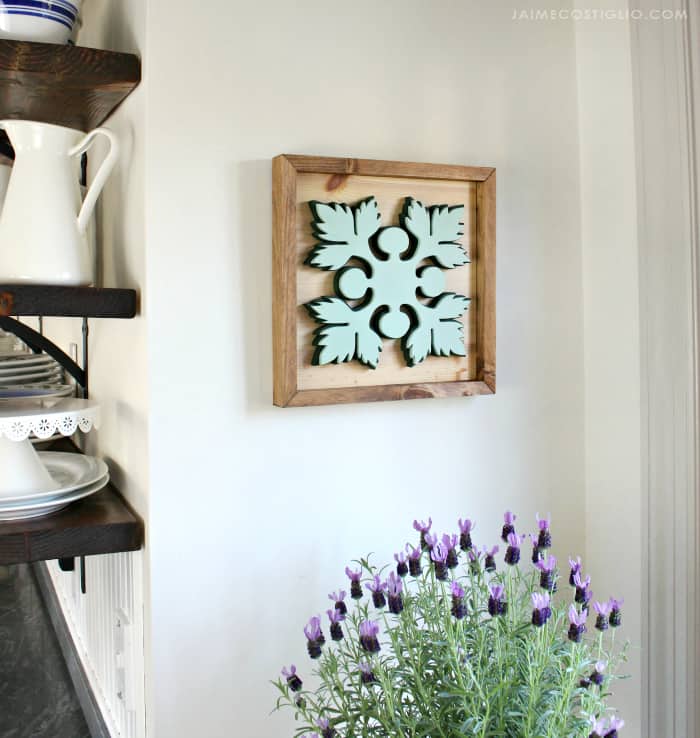
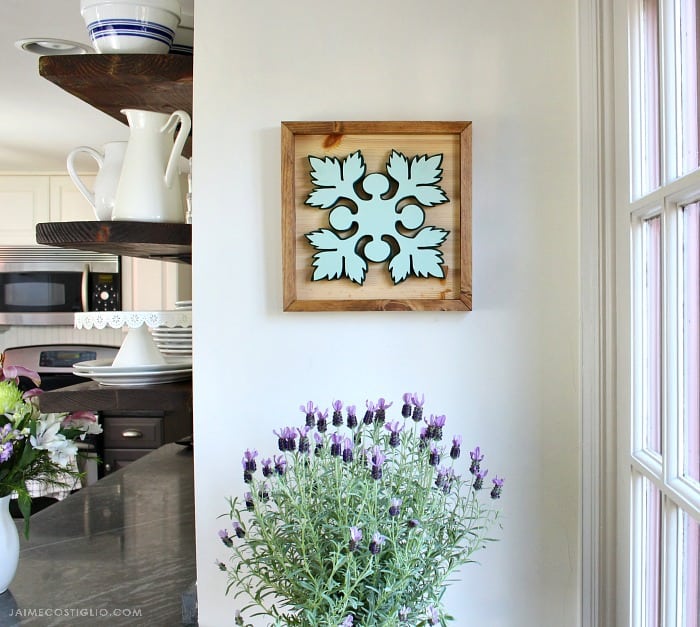
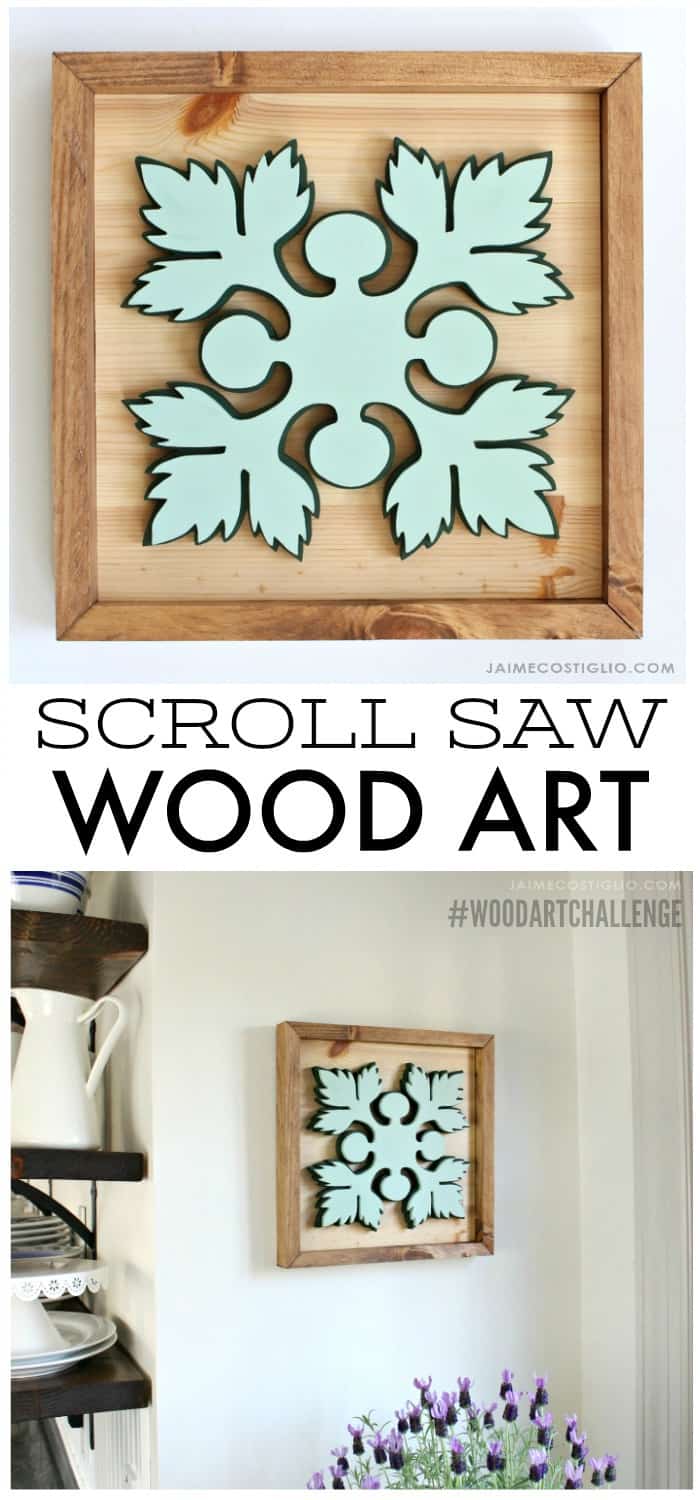
Here we are today 17 years later and I finally took that Hawaiian breadfruit pattern I had saved in my stash and made it into wood wall art. I’m actually very happy I waited all these years to make something of my honeymoon souvenir because it seems to mean more with the passing of time. This project is part of the Wood Art Challenge organized by my friend Bethany at Reality Daydream.

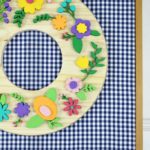
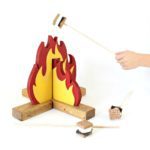
I’ve joined forces with a group of wood loving friends for the Wood Art Challenge whereby we each create a square format piece of wood art. Look at all the amazing projects!
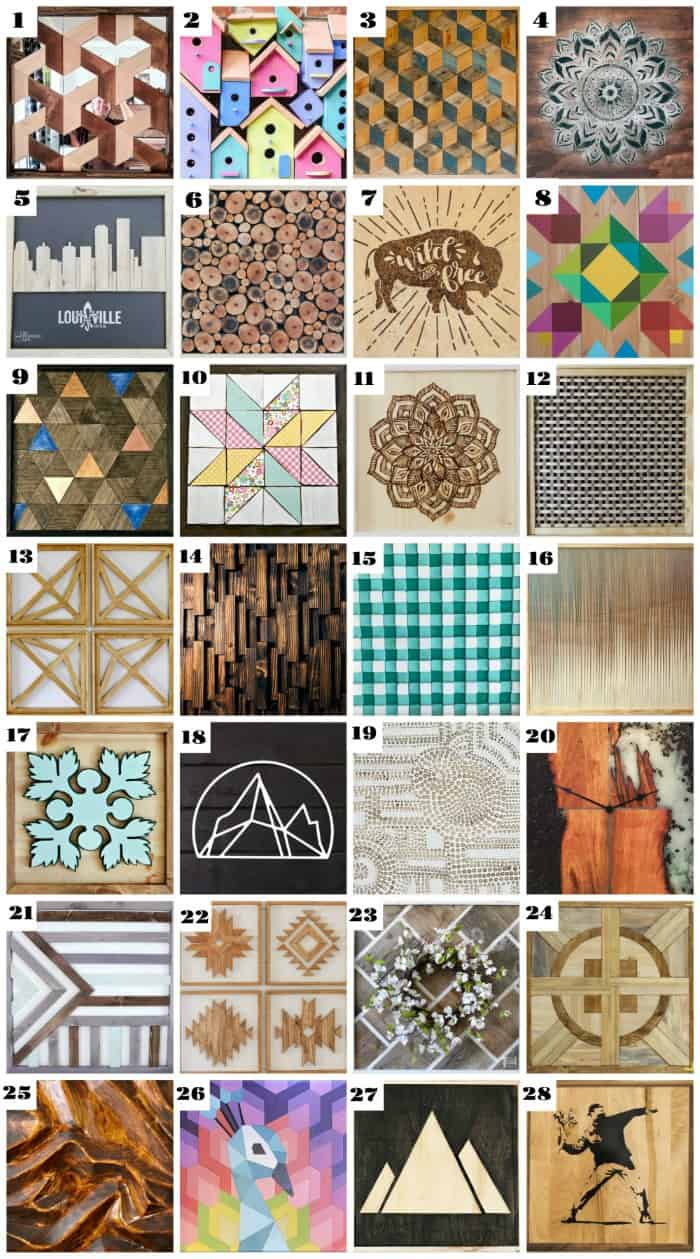
6) 3×3 Custom
8) Merrypad
10) Create & Babble
11) Hazel & Gold
12) Jen Woodhouse
14) Wood Work Life
15) Remodelaholic
16) Evan & Katelyn
17) Jaime Costigio
18) Pneumatic Addict
19) Bower Power
20) Lazy Guy DIY
21) My Love 2 Create
22) Addicted 2 DIY
23) Her Tool Belt
24) Shades of Blue
26) The DIY Village
27) DIY Huntress
28) Mr Fix It DIY
I opted for the scroll saw since it happens to be one of my favorite tools at the moment.
To see this project come together I prepared a quick video here:
This type of scroll saw project is perfect for nearly any design. Pick something that’s meaningful to you or make as a gift for a special friend.
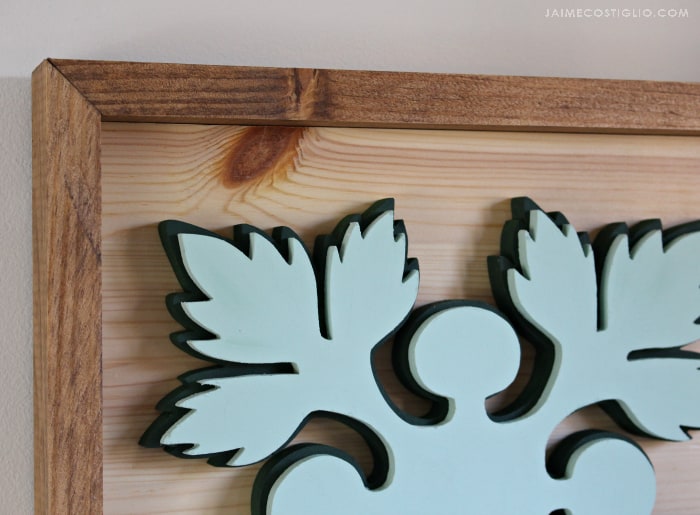
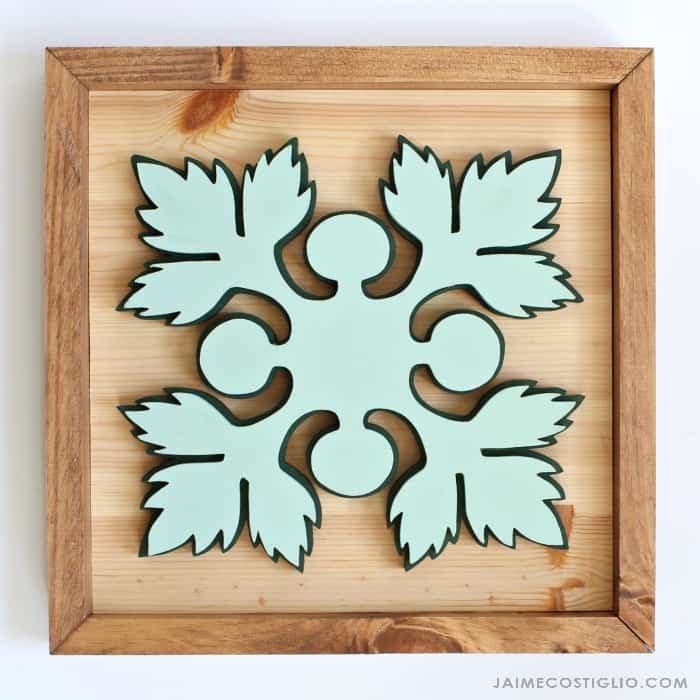
A quilting or applique pattern is perfect for this layering technique because both sets of lines are typically already on the pattern for you. I used 1/2″ MDF for the bottom layer and 1/4″ MDF for the top layer. Also I suggest MDF for most intricate designs only because it is more forgiving than plywood with all the small bits.
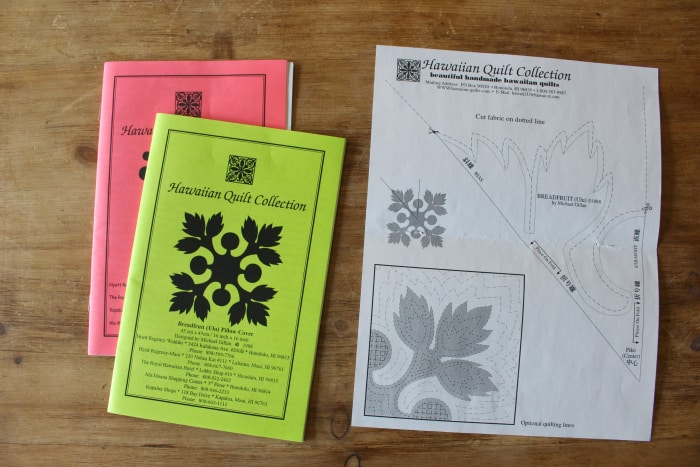
To make the scroll saw wood art start with your pattern. I used this breadfruit quilting patttern, scanned in the pattern and used photoshop to flip and rotate the image multiple times to make one large piece.
TIP: Use Excel to print your pattern to size. Import your pattern as a photo file and then scale to size as desired. It may print out on multiple sheets of paper which you can then trim and tape together.
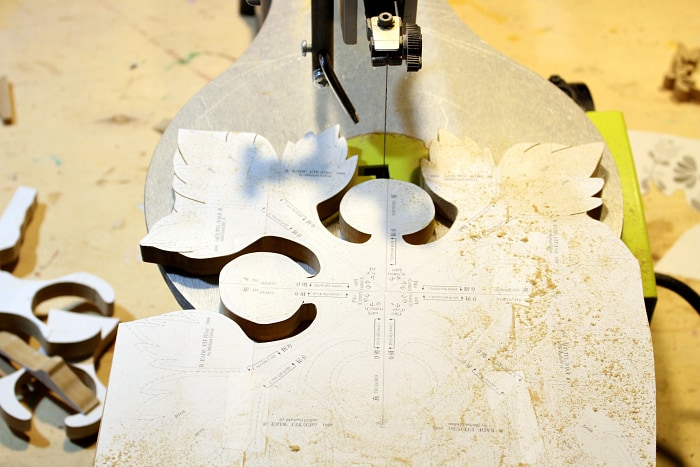
Adhere the paper pattern to the MDF using spray adhesive. Then cut out the design using a scroll saw.
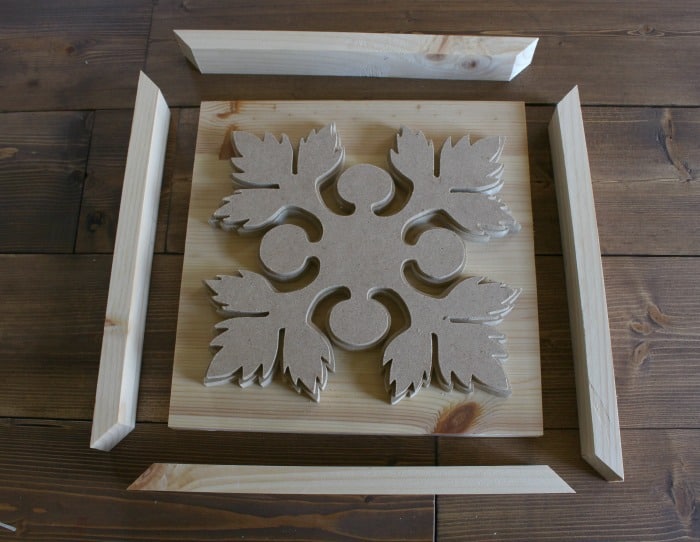
Cut a backing board, I used 3/4″ pine at 11″ x 11″ and 1×2 boards for the frame.
Paint the cut out pieces your desired color and then adhere to the backing using super glue gel. Be sure to check out the entire process on my video here.


You KNOW I love a good scroll saw project. This is so pretty! <3
Scroll sisters forever! Thanks for organizing and putting up the challenge, I’m so glad to have participated.
Jaime this is so pretty! I love the colors and your scrolling is pure perfection.
Not only is the execution flawless, but I love the significance and meaning this has to your family Jaime!
Oh Rachel your comment made my day! Thank you for those kind words.
You never cease to amaze me, my friend! When I grow up, I want to be able to use a scroll saw as well as you do. It’s beautiful!
You’re too nice! You definitely can scroll just as well (if not better with that little fancy machine you have). It’s so fun, honestly I could do it all day long.
Jaime,
This project is so cool. You are the queen of scroll saws. Watching you work that wood was amazing.
I love that you layered the two pieces.
pinned!
gail
Thank you Gail, I’ll be the queen if you say so – someone has to do it! Thanks for pinning. Such a fun group challenge, I love seeing all the variations.
You have mad scroll saw skills… but then you have amazingly crazy creativity too! Plus it being so meaningful makes it even more awesome!
Your fingers came awfully close to that scroll saw blade! Yikes!
Beautiful project!
Thanks Shelly and yes I do need all those fingers! I think it’s the camera angle that makes it look closer than they really are, still pretty close though 😉
Beautiful work, as always!
Thank you Angela, could not have done it without my favorite acrylic paints! 😉
I love that you chose to make something that has a special meaning. It’s beautiful. Job well done as usual!
Thanks Jeanie, such a fun group challenge. Love seeing everyone’s creativity all pop up on one day.
I had a friend recently hand-me-down their old scroll saw to me. I was thrilled and so excited to experiment and crank out a whole new area of creativity. Well, let me tell you, it was hard! Mine doesn’t seem to allow the free movement of the wood like you display in the video. Is it 100% operator training error on my part, or are scroll saws different in how free you are to maneuver the workpiece? You’ve done an amazing job!