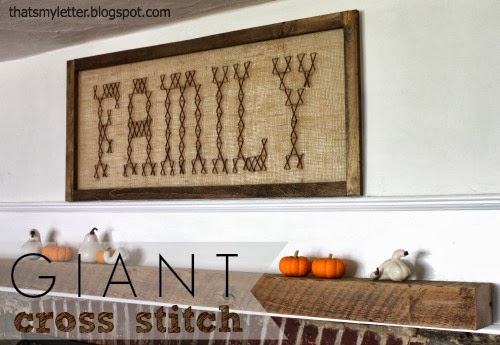
Sew: giant cross stitch wall art
Inspired by the supersized ‘Home Sweet Home’ sampler in the March 2013 Country Living magazine done by Dutch artist Reed van Brunschot:

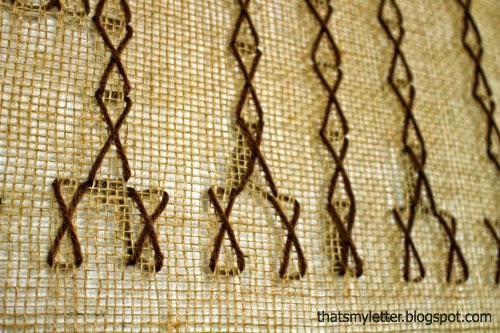
I made a wood frame, stapled burlap to the back and sewed the giant cross stitch using brown yarn:

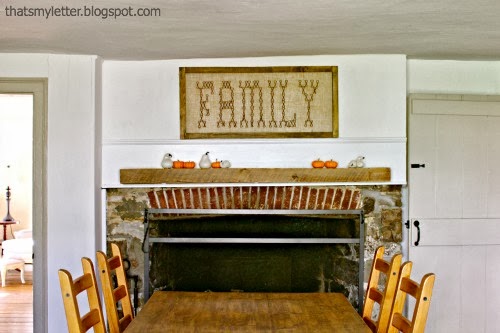
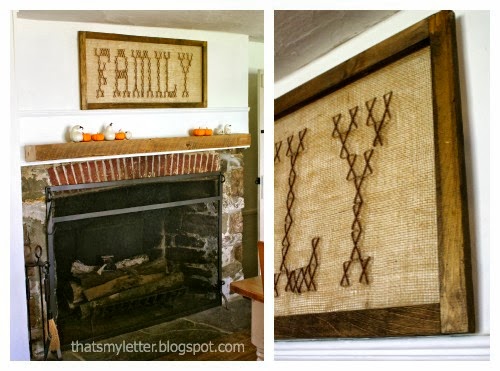
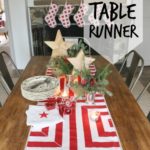
It’s a good fit for our dining room mantel in our 1740 saltbox farmhouse:
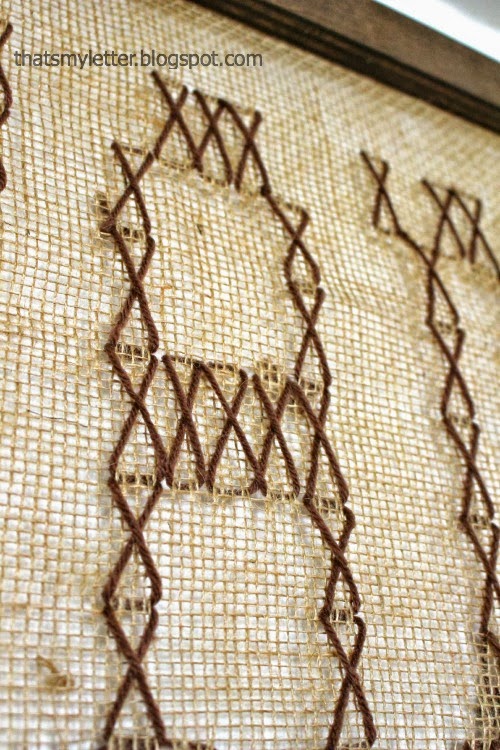
The burlap naturally has a graph pattern on a much larger scale than traditional cross stitch fabric:
How to make giant cross stitch wall art:
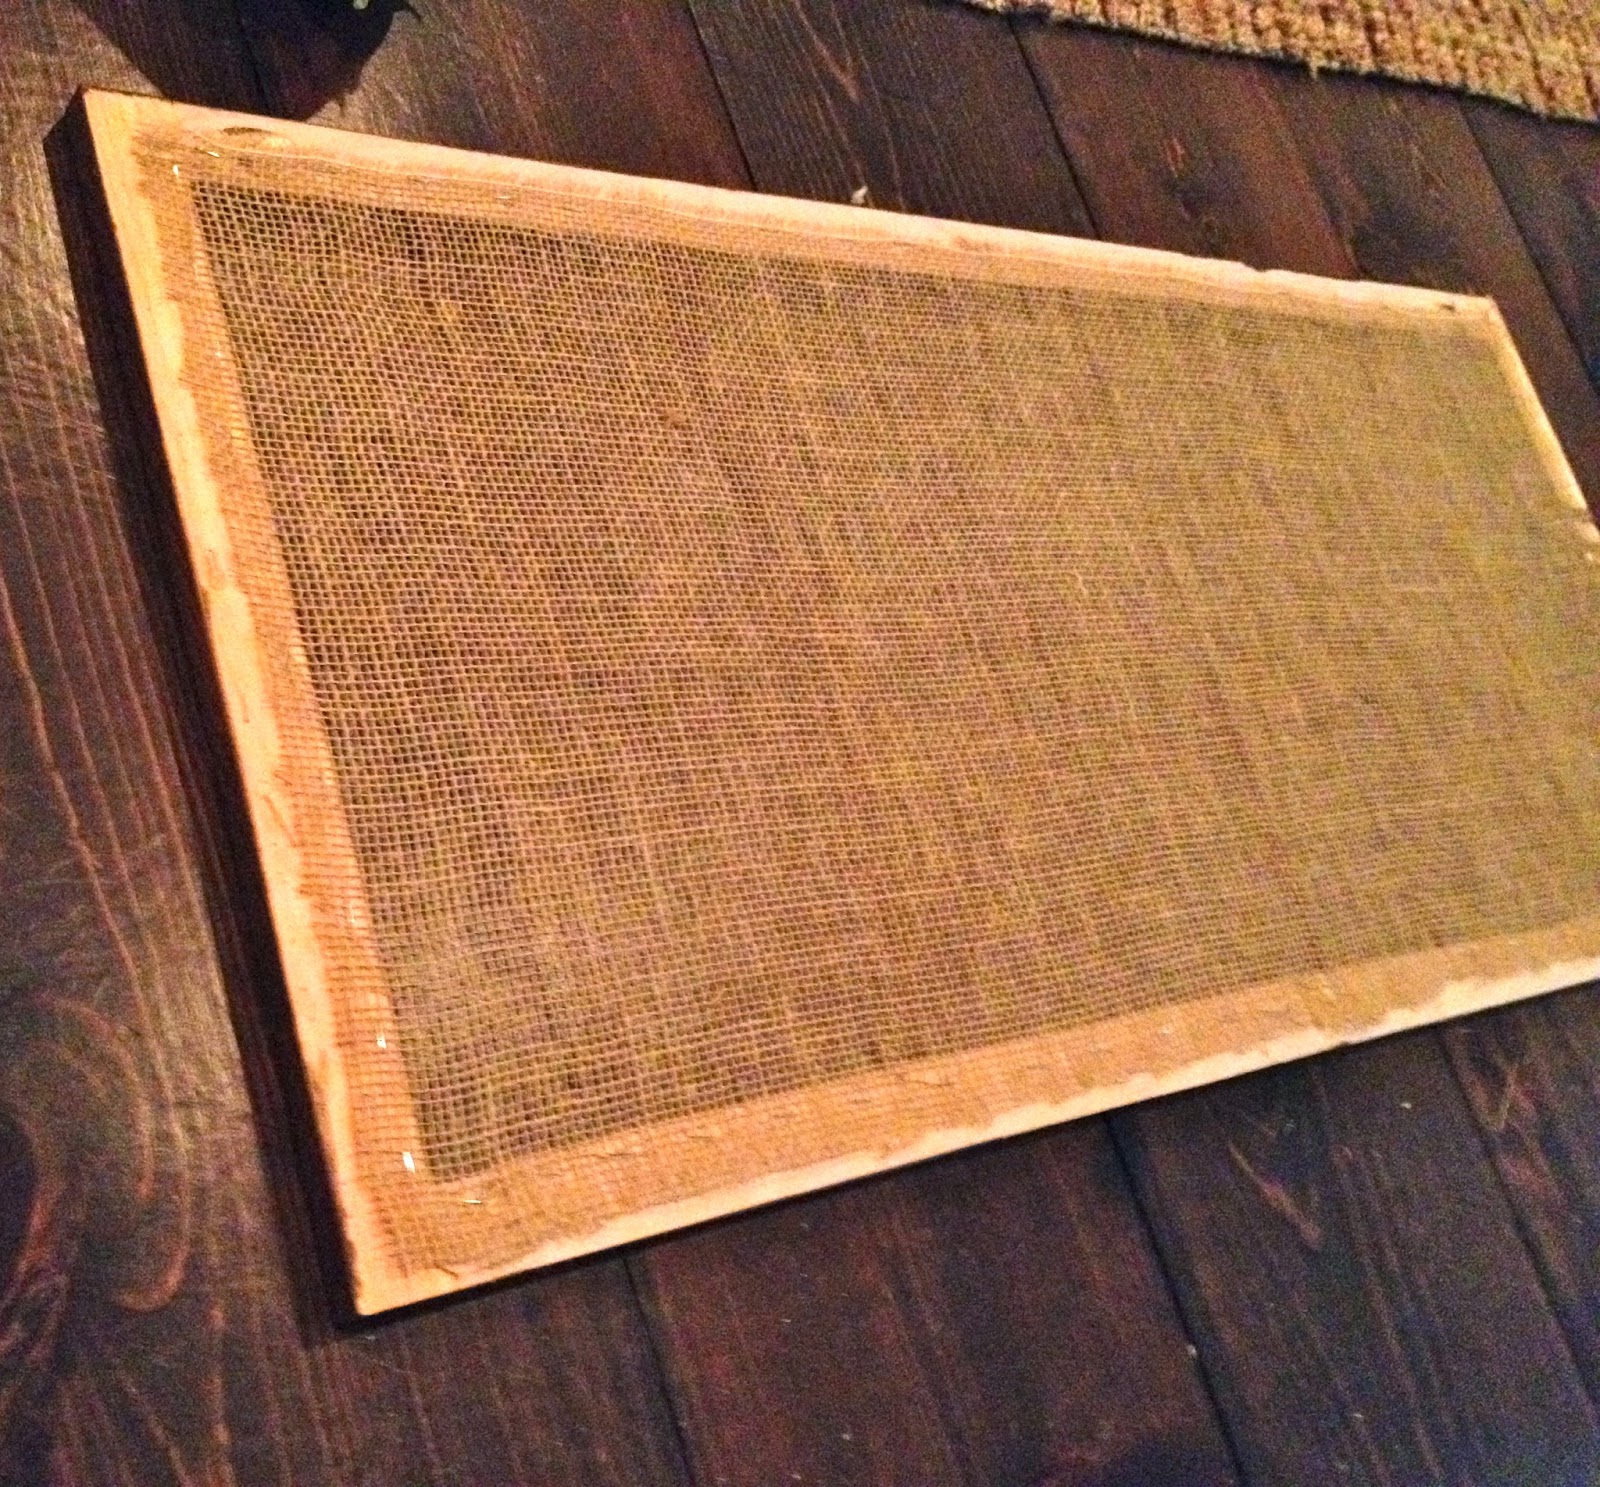
1. Build a simple frame from 1x2s to the size you desire and stain.
Staple burlap to the back of the frame:
2. Print your word using Home Sweet Home font, determine the total number of columns, including spaces and find the middle.
Using a piece of kraft paper (white would work better) cut to the size of your burlap, find the middle and determine the size of each cross by dividing the number of columns (on that side) by the measurement of that side.
For example: one side of my burlap is 21″ divided by 25 columns makes each cross .75″ wide:
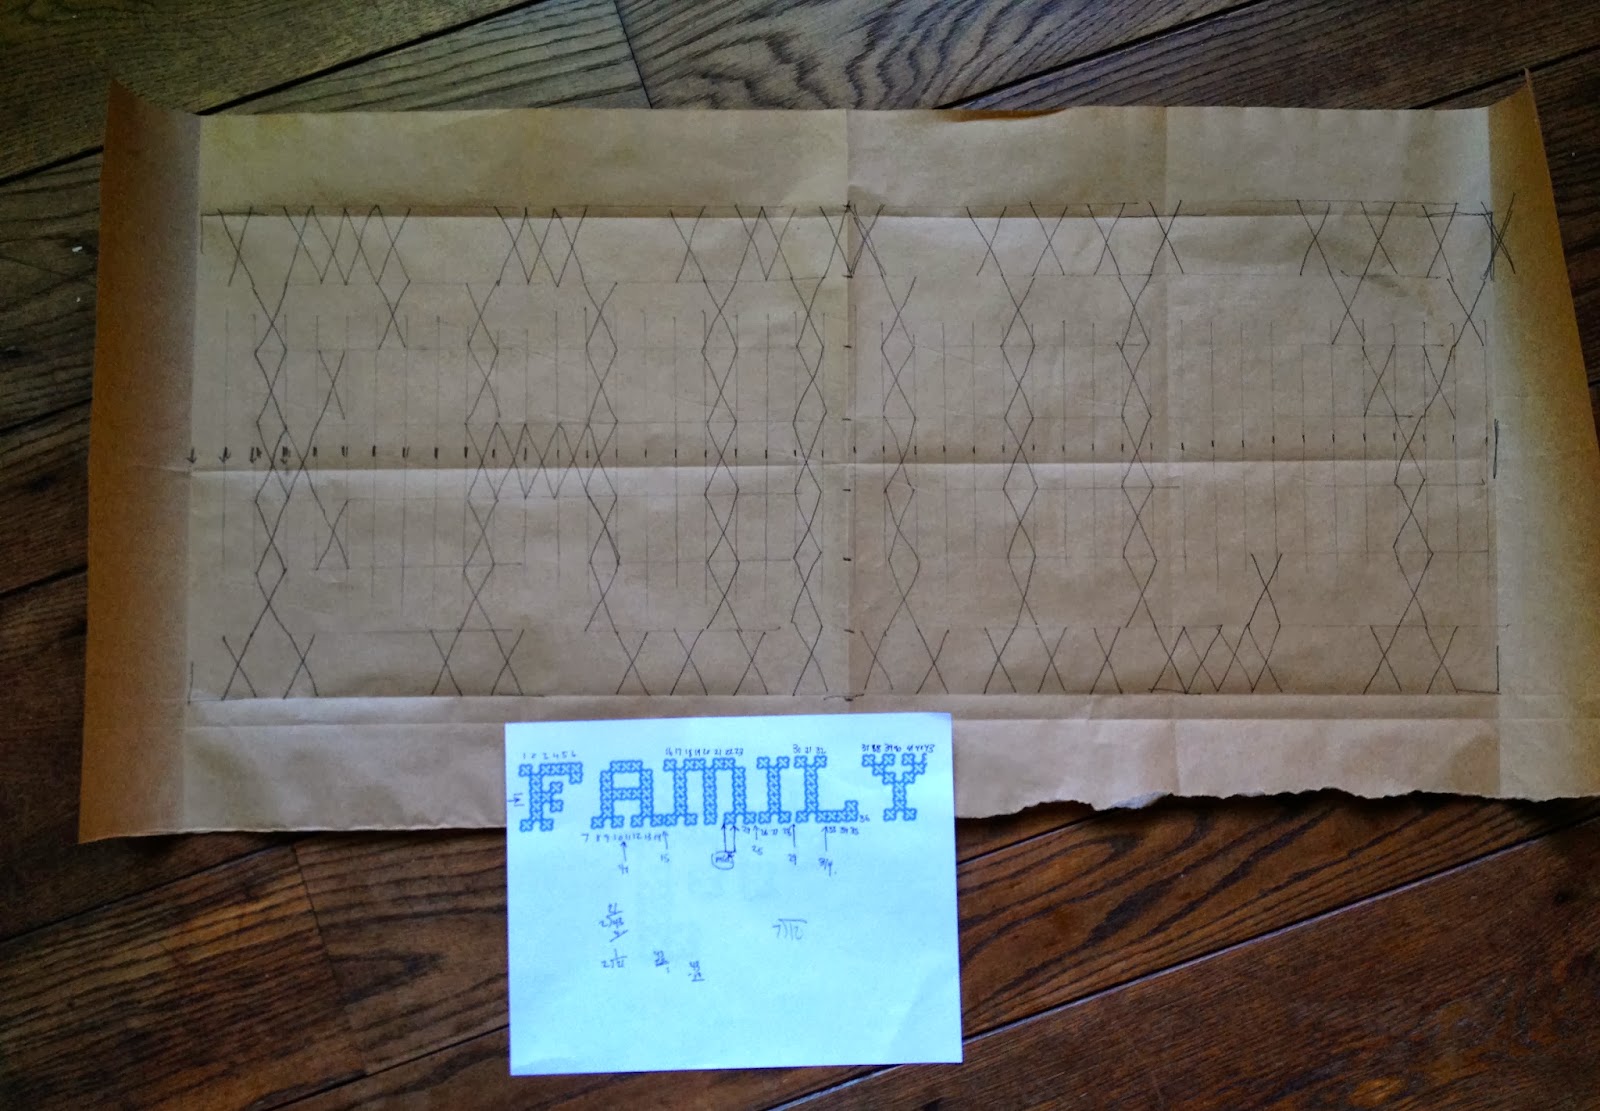
And because my frame is more rectangular than square the crosses get stretched vertically:
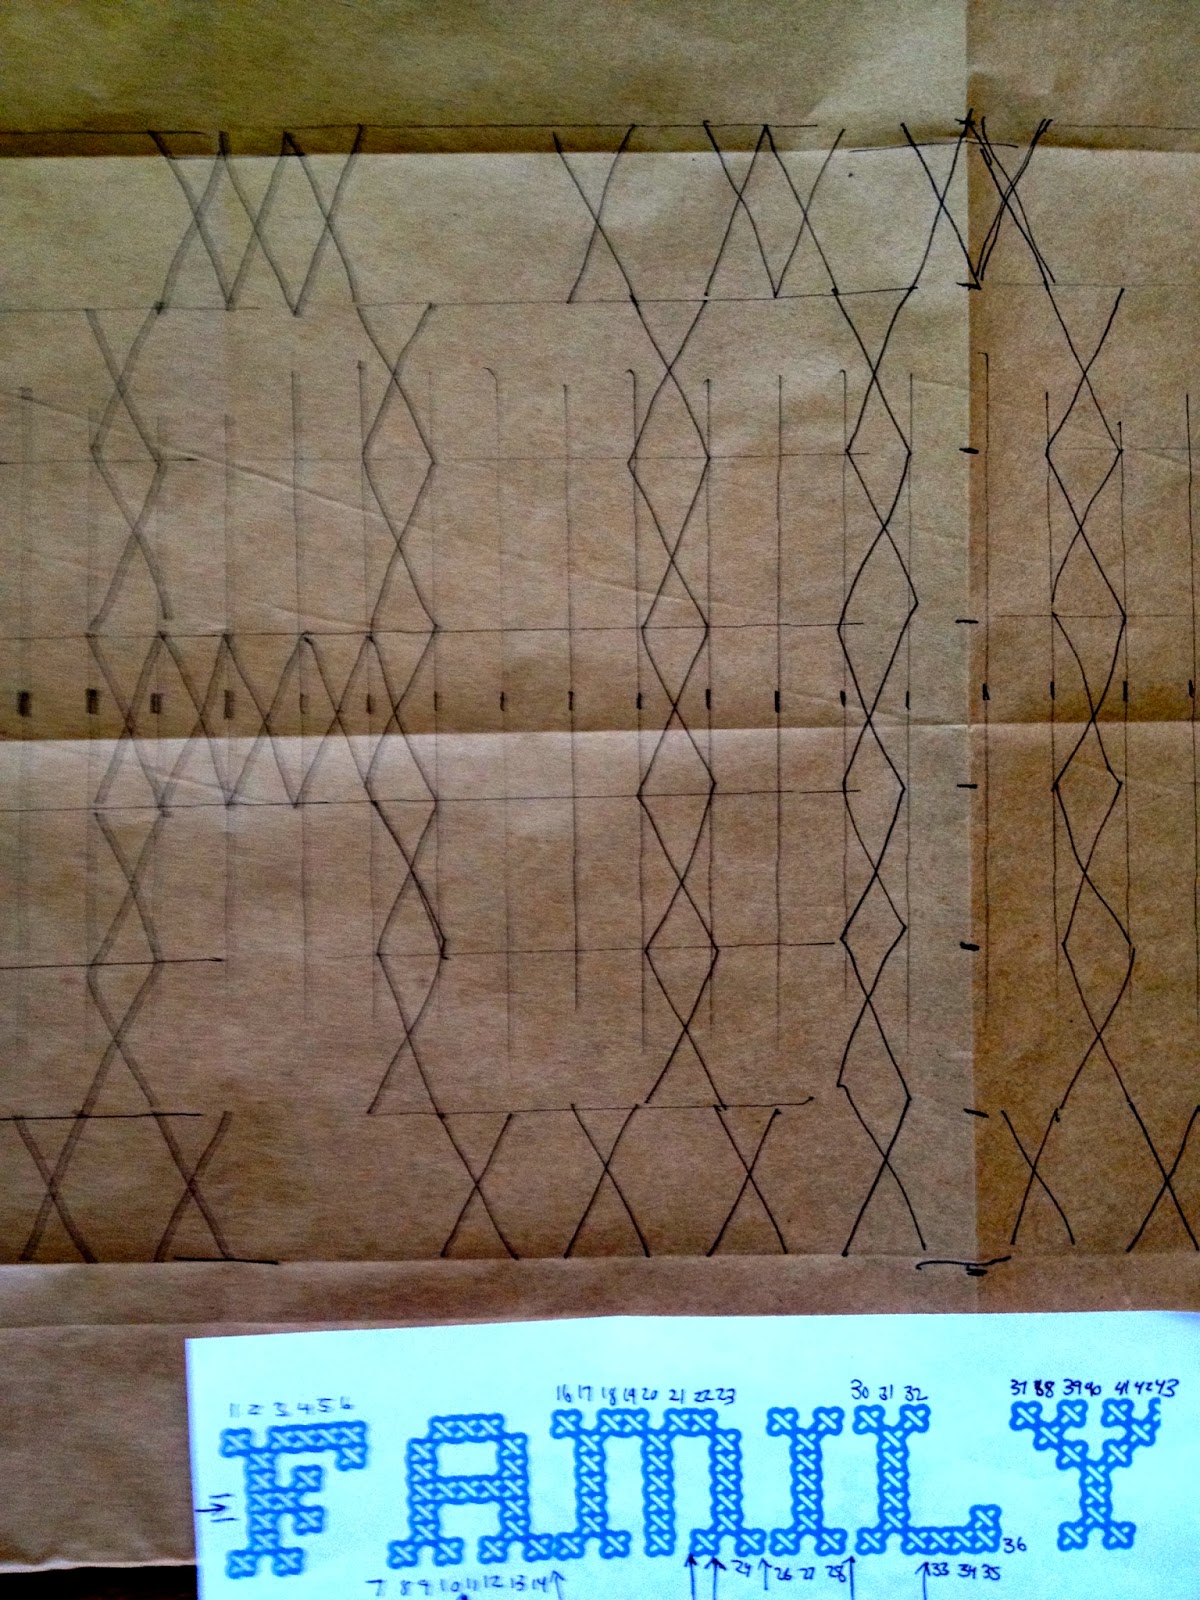
3. Place your pattern under the burlap (I promise you it’s there you just can’t see it).
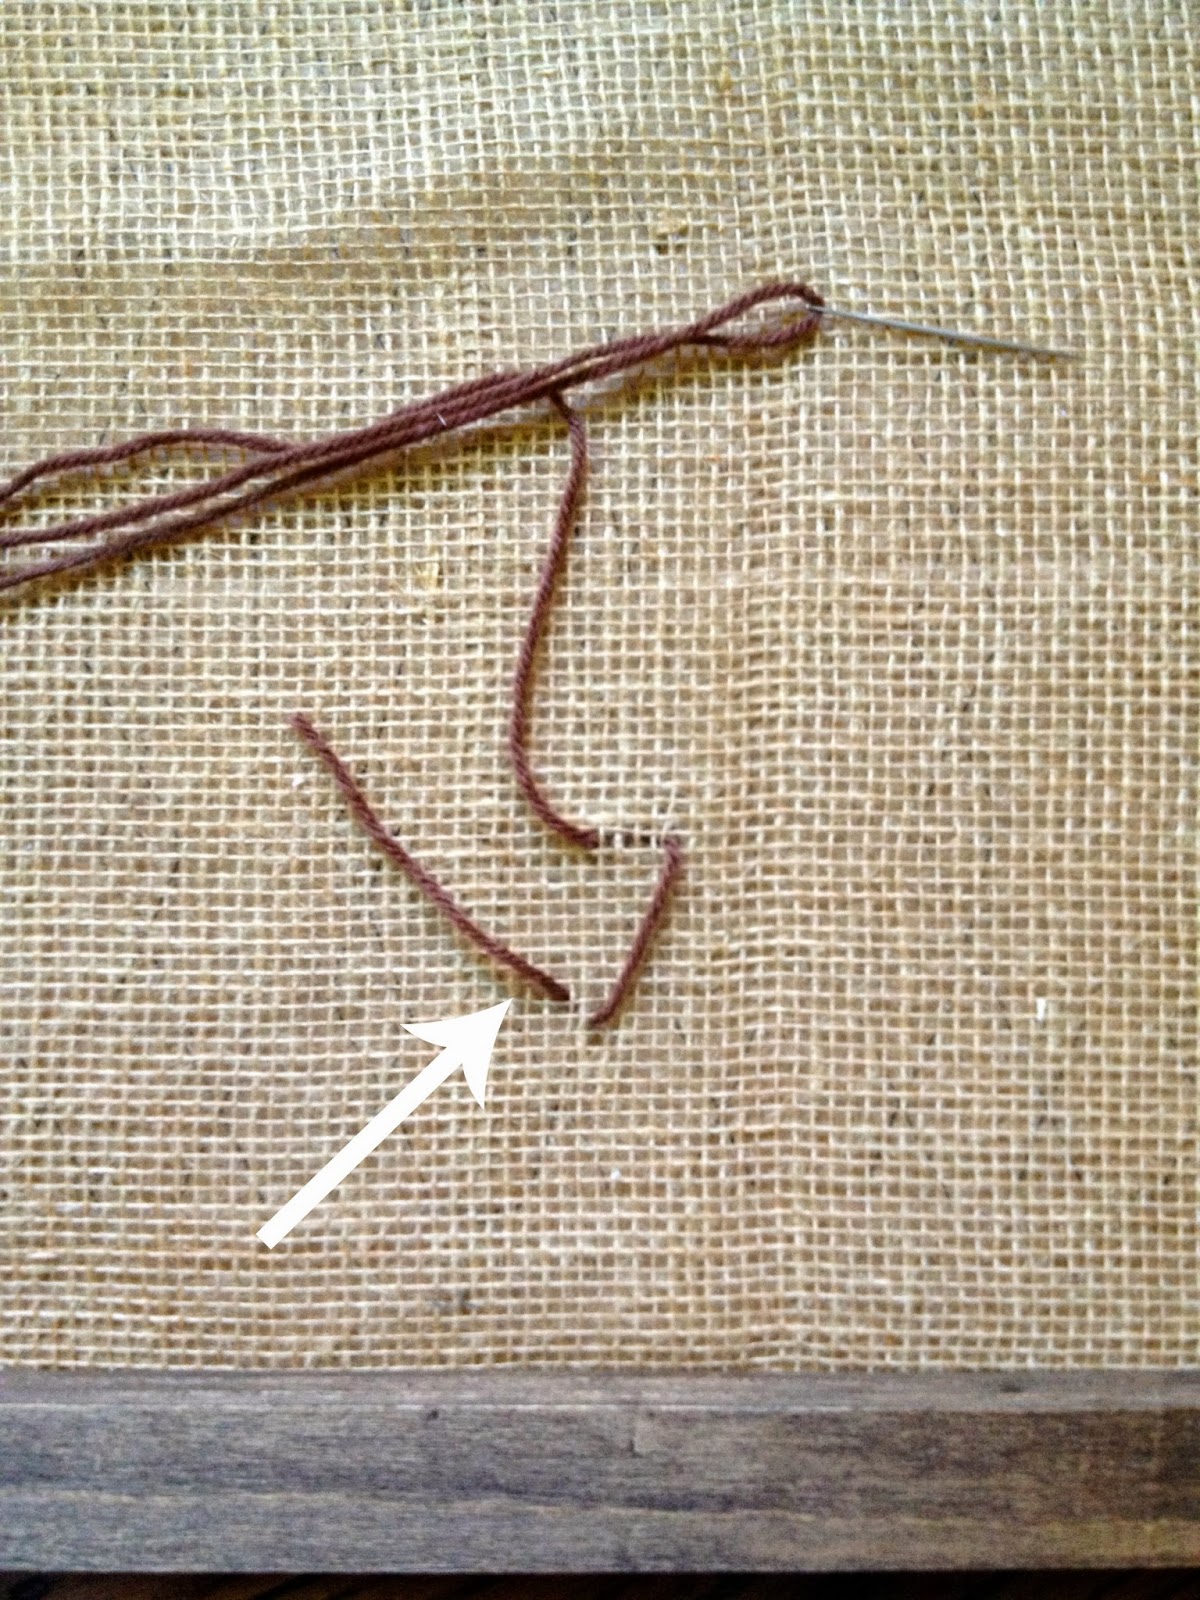
Use a yarn needle and brown yarn, begin at the base of one letter and leave a thread tail:
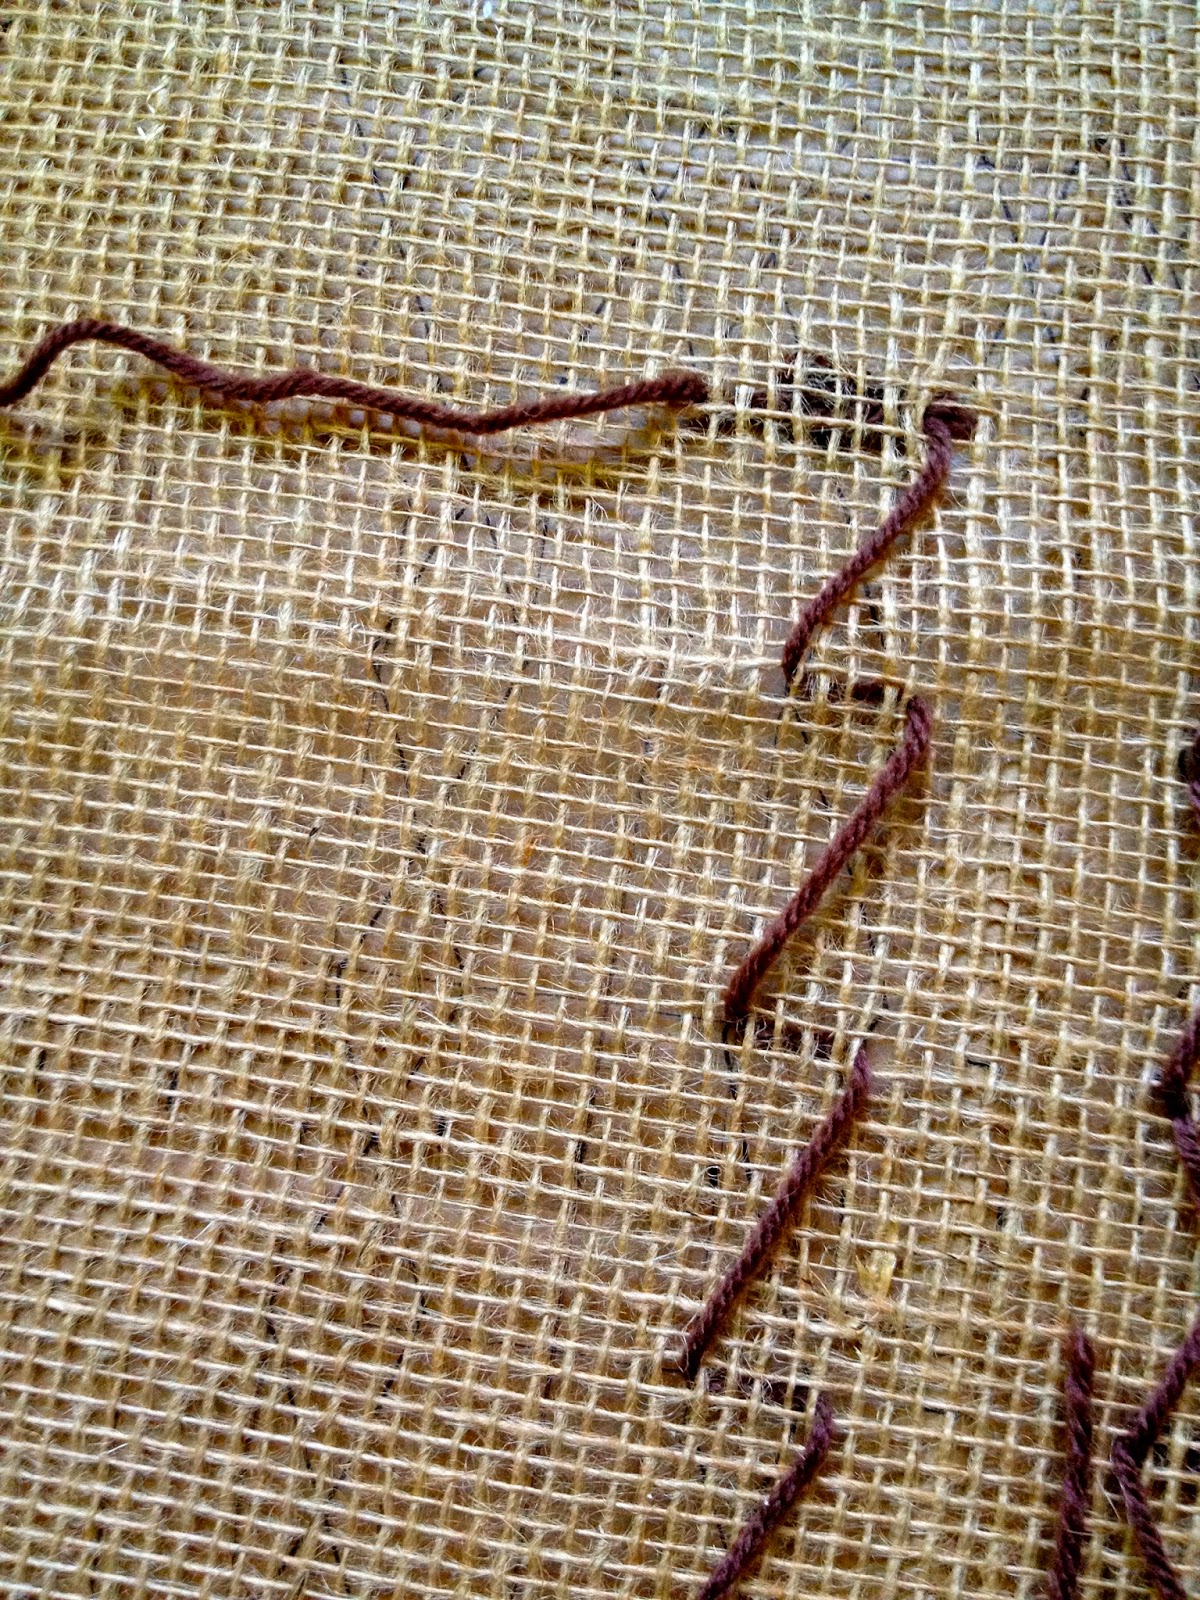
4. Continue up the letter keeping the crosses all in the same direction. Once you’ve finished that section or need to stop (don’t keep threads going from one letter to the next) make two thread tails meet and tie a knot:

5. If you need to add more yarn, knot the two pieces together in a place that will be on the back side:

6. Then continue on and be sure the knot stays on the back side:
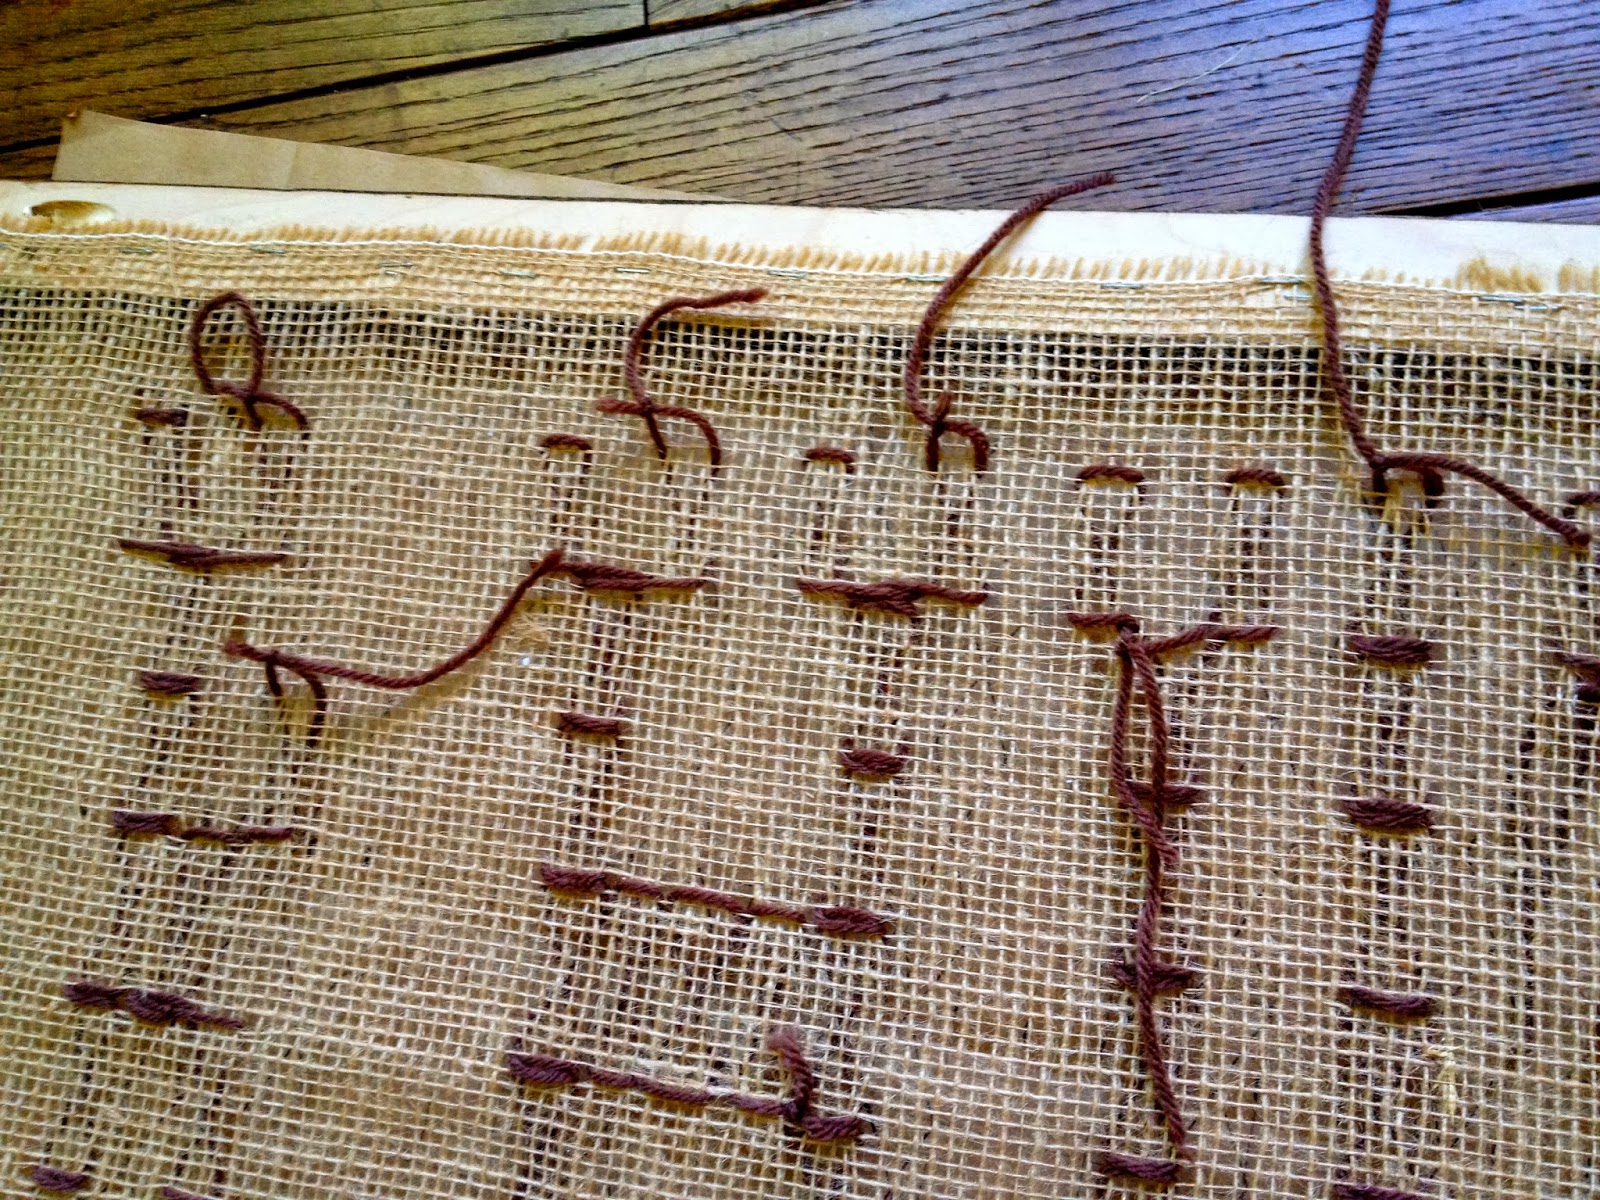
7. Once finished, flip over to back and be sure all knots are secure at the back and trimmed:
Once you’ve figured out the pattern the sewing part is fast and easy.
I’m linking up to:
SAS @ Funky Junk

Nifty Thrifty Sunday @ Nifty Thrifty Things
That DIY Party @ The DIY Showoff
Tutorials & Tips Tuesday @ Home Stories A to Z
The Scoop @ Lolly Jane
Strut Your Stuff @ Somewhat Simple
Share Awesomeness Thur @ The 36th Avenue
Pretty Things Thursday @ Scissors & Spatulas
Flaunt it Friday @ Chic on a Shoestring
Frugal Friday @ The Shabby Nest
Furniture Feature Friday @ Miss Mustard Seed
SAS @ Just a Girl
Remodelaholics Anonymous @ Remodelaholic
inspiration board @ Carolyns Homework
Sunday Showcase Party @ Under the Table & Dreaming


I love your extra large cross stitch sampler! I've been planning to make pillows with a large monogram, but I think I'll have to use a running stitch so the threads don't pull out from use. Your house is looking lovely, by the way. You've been a busy girl!
I LOVE this!!!! I am definitely going to try to make it.
Very cute, Jaime! It's a great fit for your home.
Wonderful idea and I love the finished sampler!
Love this, I've always liked cross stitch, I really like Extreme Cross stitch!
Lovely project! Great looking blog!