Craft: Cinco de Mayo flower garland
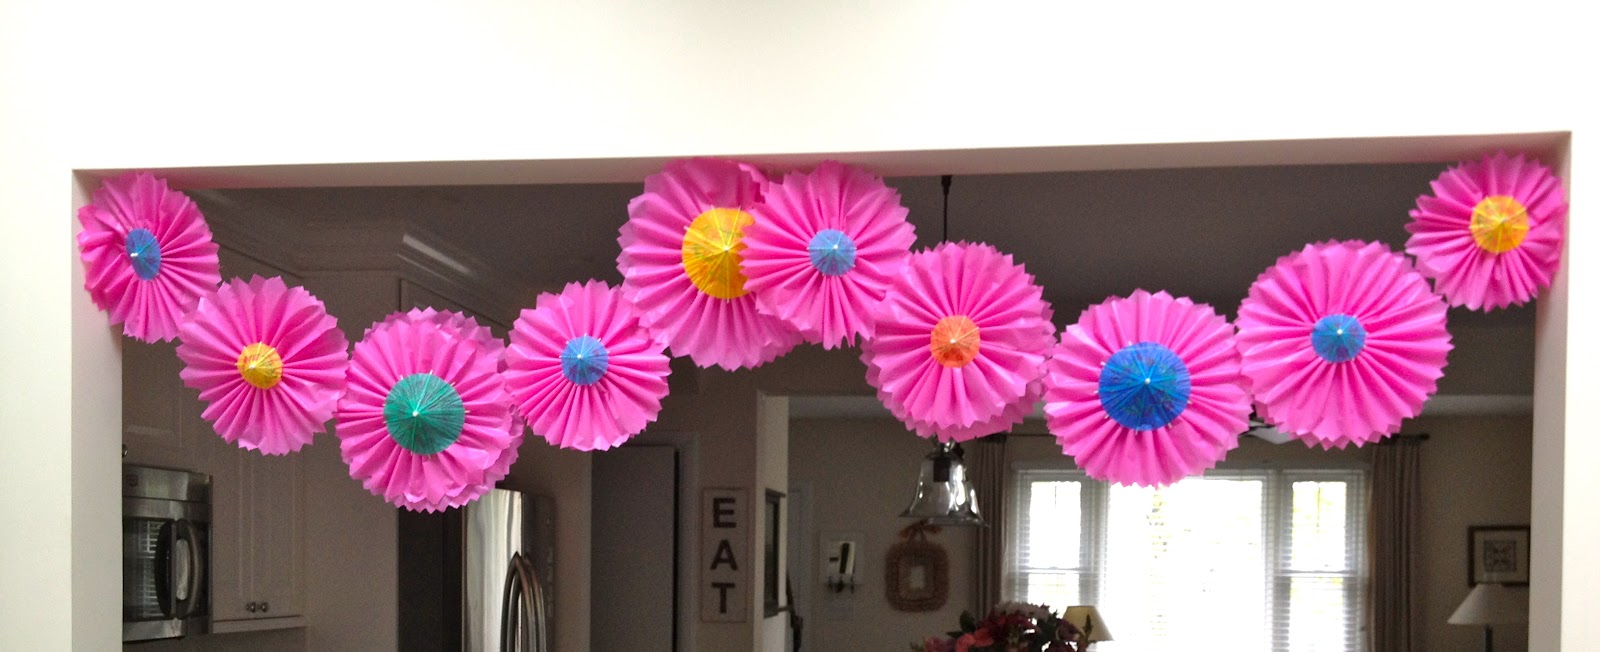
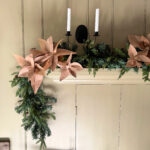
Pink plastic tablecloth covering made into pleated flowers with paper umbrellas for the centers:

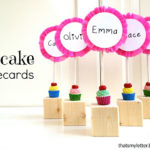
Girl #1 will be making her First Holy Communion this Spring and it happens to fall on May 5th – Cinco de Mayo – so her party will be a Cinco de Mayo fiesta!

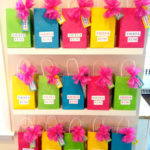
And we made favor bags to match:

Here’s how to make the garland:
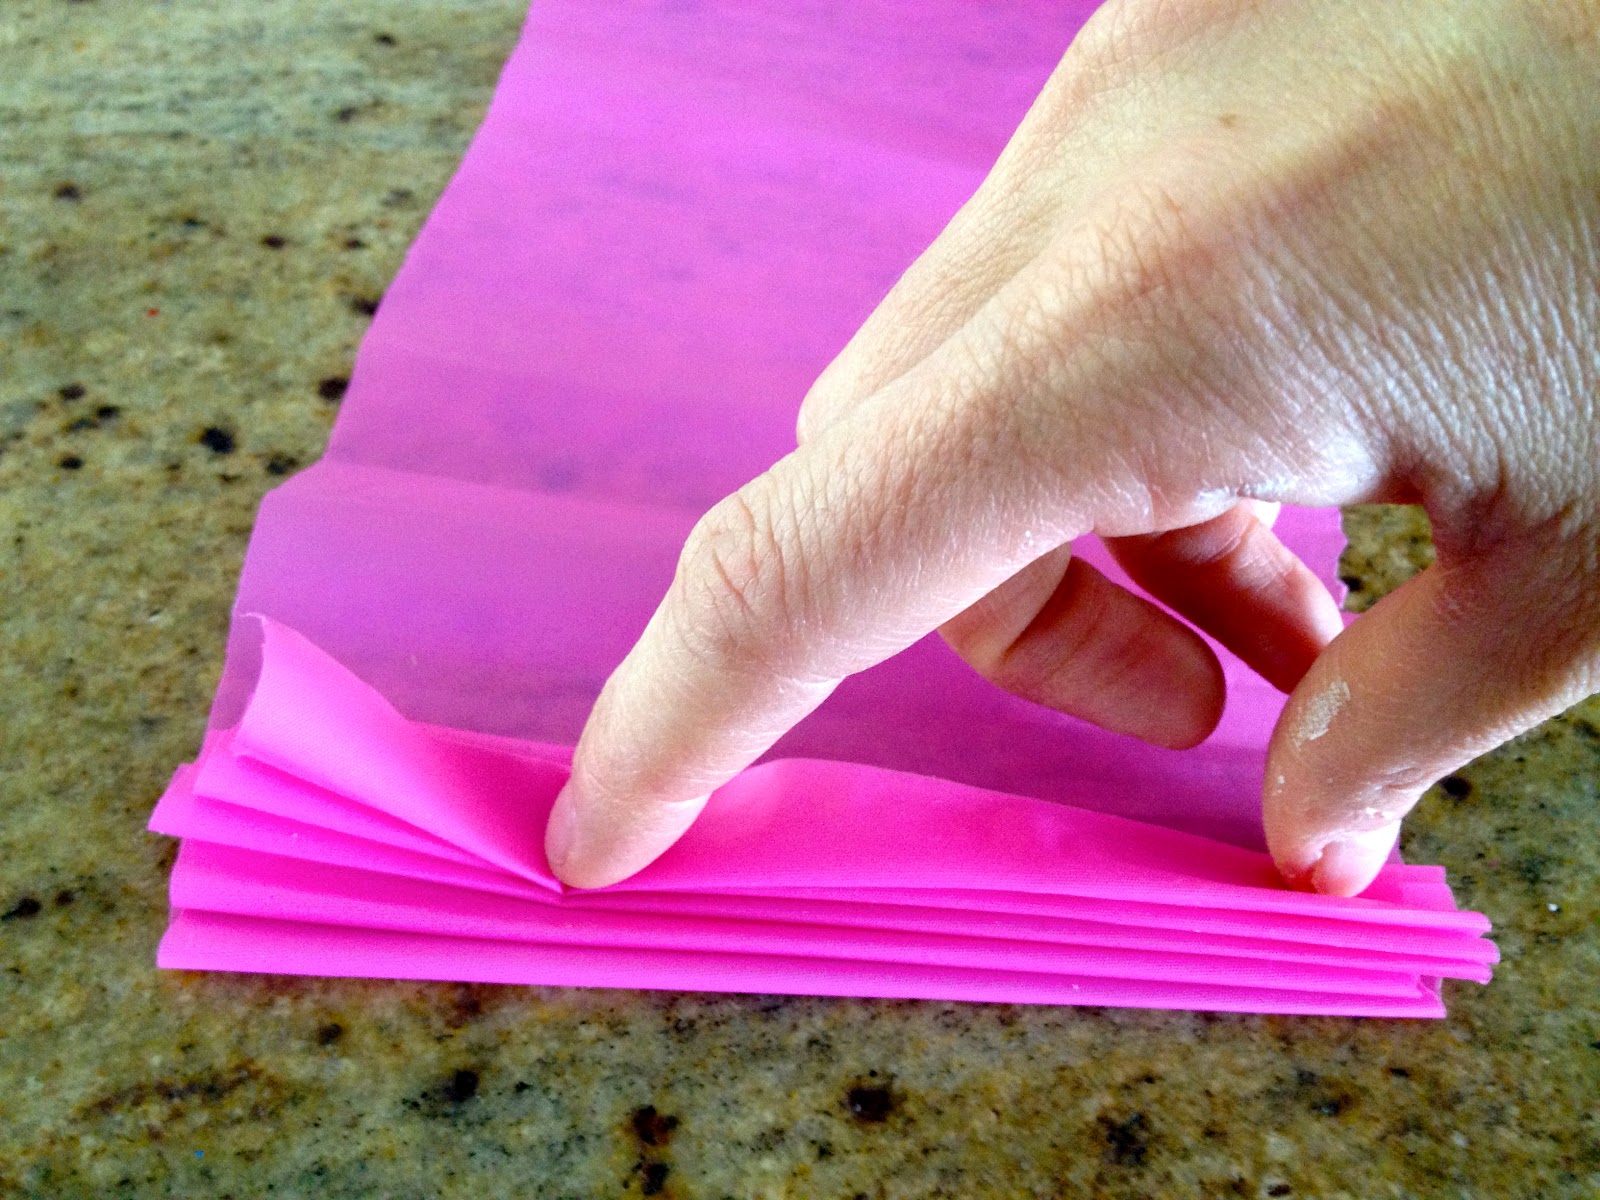
1. Use plastic tablecloth cover (I had leftover from a previous party).

Cut 6″ wide strips:

2. Fold the strip fan style – back and forth:
3. Secure one end with a binder clip and trim the other end to a point:

4. Remove the binder clip and using a needle with carpet thread go through all the folds:

5. Tie a secure knot in the thread:

6. Repeat the process and make a lot of flowers:

7. Use double stick tape and secure the two open ends.
Cut a 2″ cardboard circle and punch a hole in the center:
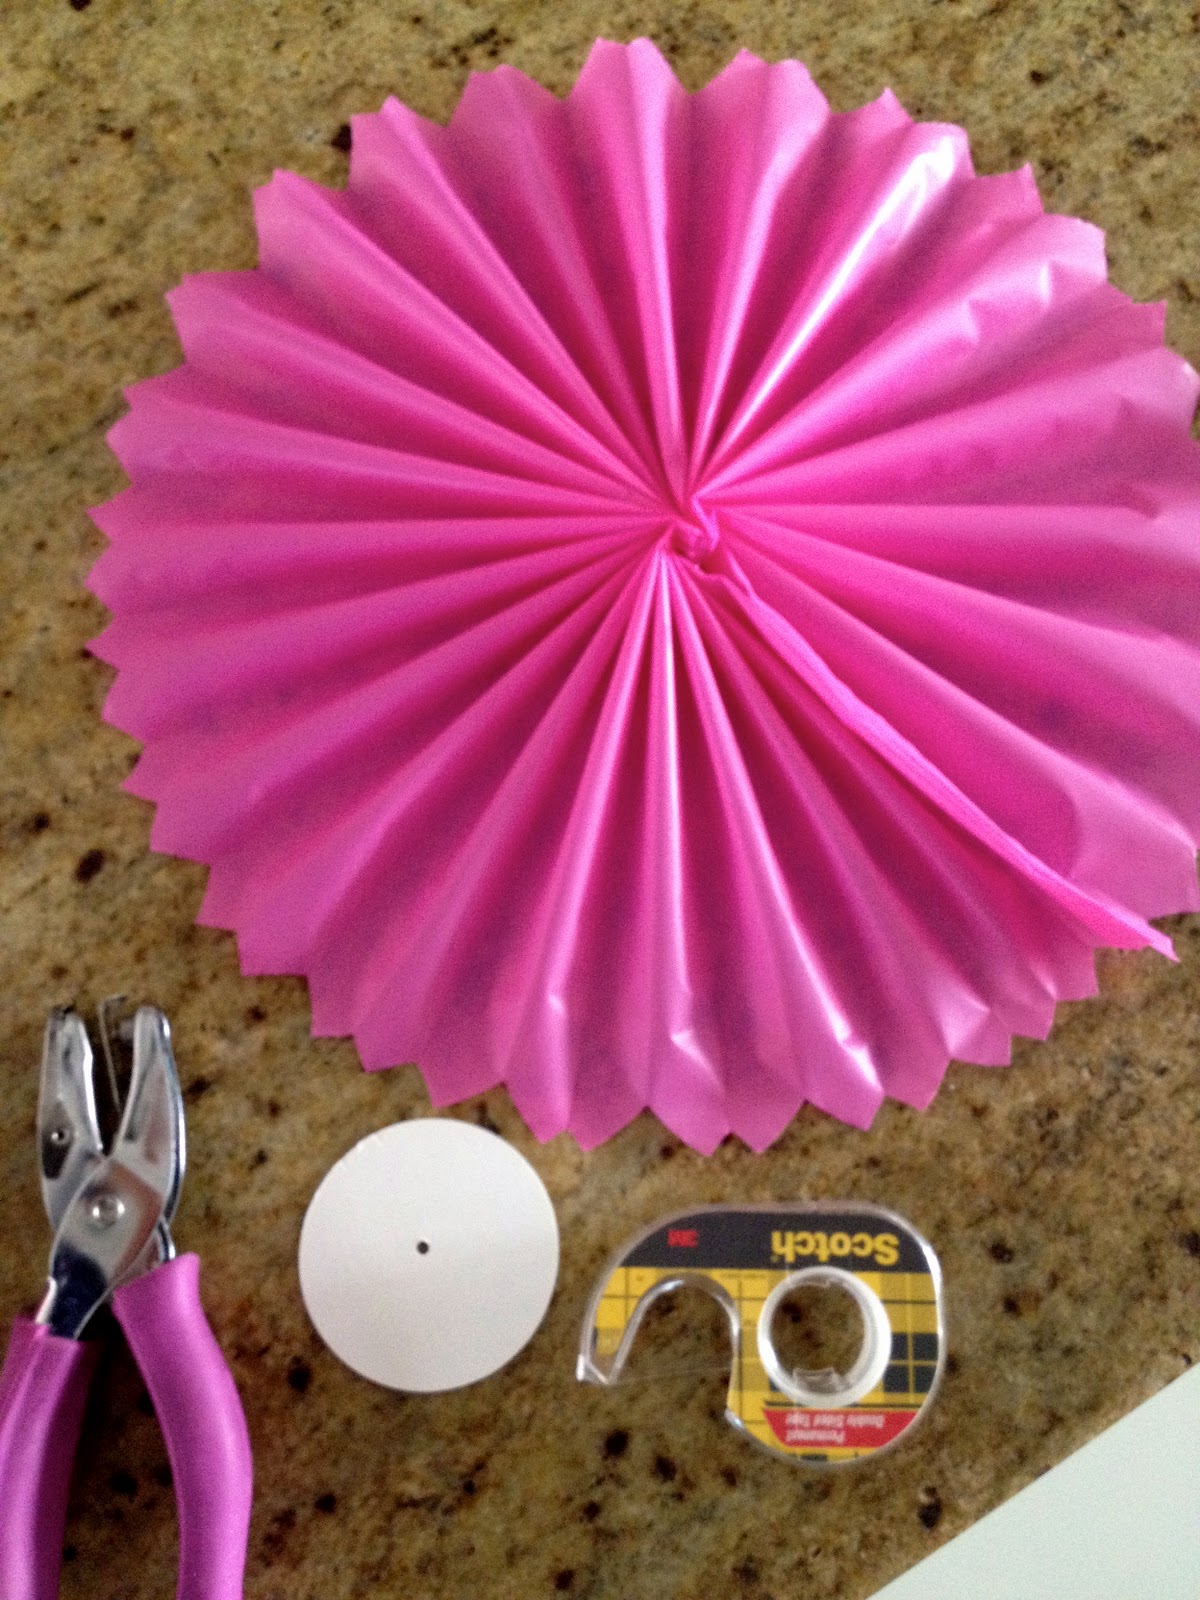
8. Hot glue cardboard circle to the back:

9. Open the paper umbrella:

10. Stick the umbrella through front of flower and down through hole in cardboard circle:

11. Use a dab of hot glue on the umbrella stick, once dry break off the excess stick:

12. Using clear monofilament line make a sandwich with two flowers and hot glue the line in between the cardboard circle, keep the line in the upper third of the circles in order for the flowers to hang down with gravity:

13. Apply small command hooks in the corner:

Knot the line and hang your garland:
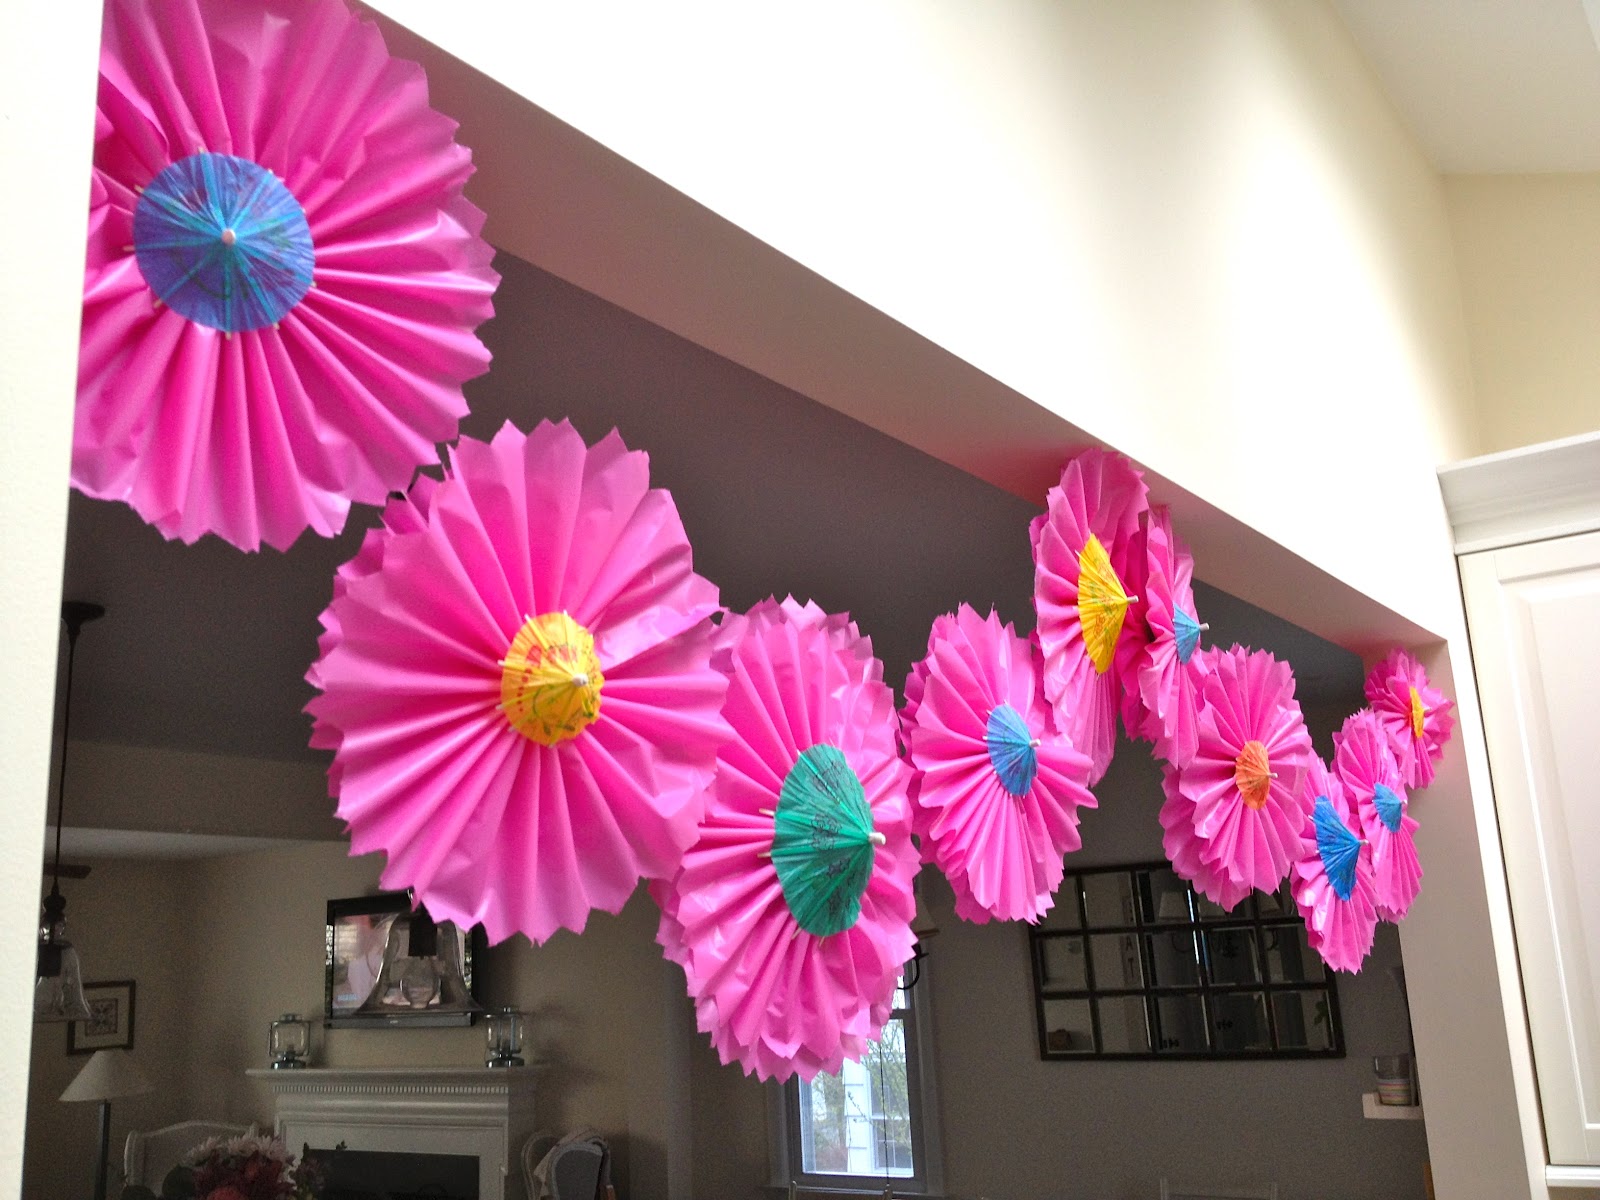
The view from the back is completely different because of the light:


Let the fiesta begin!

I’m linking up to:
Whatcha Got Weekend @ Lolly Jane
SAS @ Funky Junk
Weekend Wrap Up @ Tatertots & Jello
Sundae Scoop @ I Heart Naptime
Sister Sunday @ Sisters of the Wild West
Sunday Showcase Party @ Under the Table & Dreaming
Just Something I Whipped Up @ The Girl Creative
DIY Project Parade @ The DIY Showoff
Made by You Mondays @ Skip to My Lou
Making the World Cuter @ Making the World Cuter
Nifty Thrifty @ Coastal Charm
Tuesday Treasures @ My Uncommon Slice of Suburbia
Tutorials & Tips Tuesday @ Home Stories A to Z
Good Life @ A Beach Cottage
Delightfully Inspiring @ Delightful Order
Transformation Thursday @ The Shabby Creek Cottage
Strut Your Stuff @ Somewhat Simple
Share Awesomeness Thur @ The 36th Avenue
Flaunt it Friday @ Chic on a Shoestring
Tickled Pink @ 504 Main
Frugal Friday @ The Shabby Nest
SAS @ Just a Girl
Feathered Nest @ French Country Cottage
Remodelaholics Anonymous @ Remodelaholic
inspiration board @ Carolyns Homework

Wow, this looks so fantastic! Brilliant colours 🙂
Oh my goodness, so creative! I must have been looking the other way during art class when making these. So simple but can I come up with something like this?? Please, please come share these at my Fiesta-Cinco de Mayo linky party. Here's the link: http://isavortheweekend.blogspot.com/2012/04/fiesta-cinco-de-mayo-linky-party.html Sure hope you can make it out!! -Bev
So pretty! I am visiting you via the party at Somewhat Simple. I look forward to seeing you at My Dream Canvas.
I love this! All the color is great. So fun! I'd love it if you would share it on my Fun Stuff Fridays link up party. I think my readers would love this. It just opened up!!
-ashley
http://pencilleddaydream.wordpress.com/2012/05/04/fun-stuff-fridays-link-up-2/
Jaime, Happy Seis de Mayo! Shoot, I missed it by a day. I love your garland and never would have guessed it was from plastic table covers!
Thanks for joining the DIY Talent Parade!