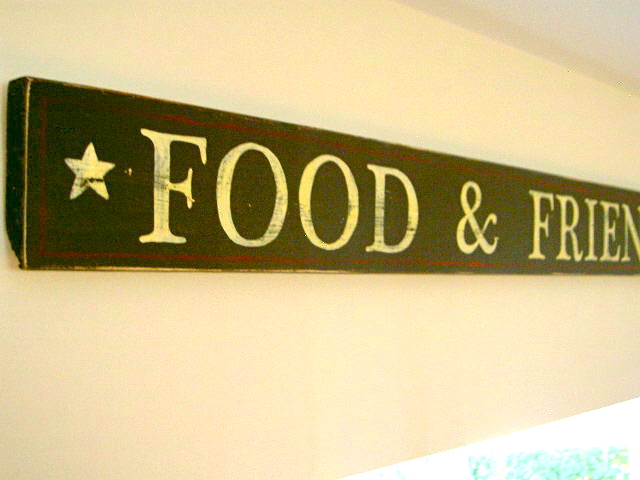
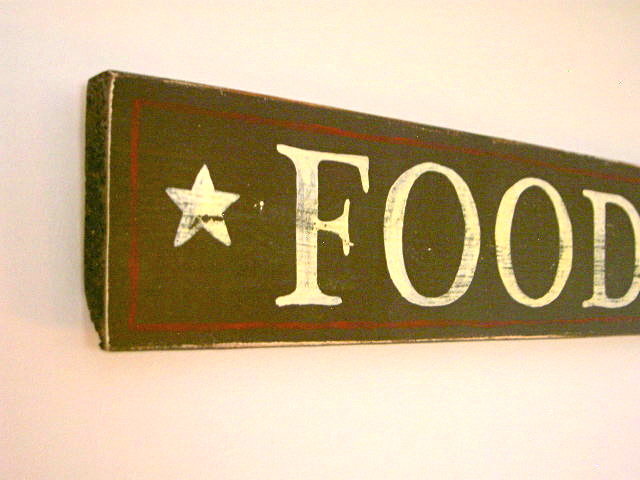
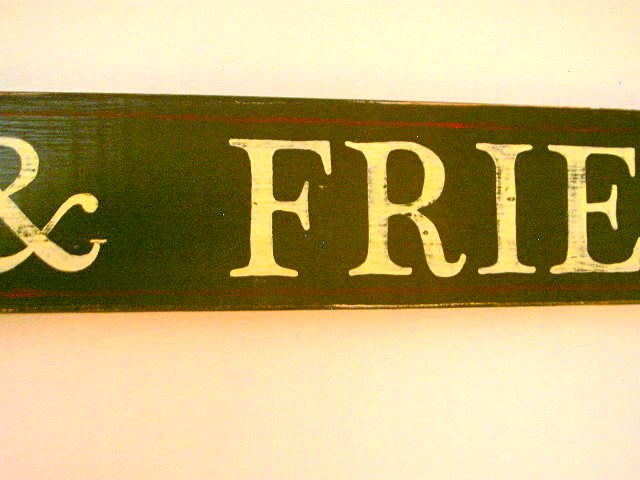
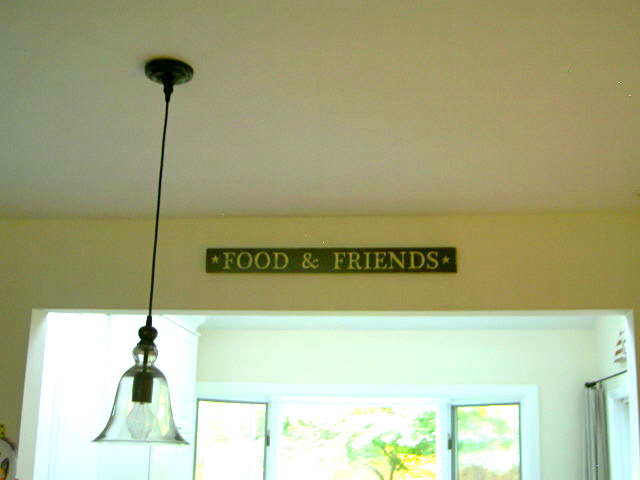
Food & Friends knock off painted sign.

Thanks again to Pottery Barn for the inspiration:

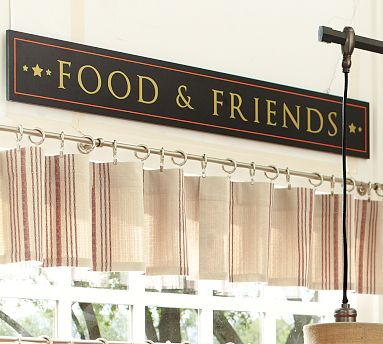
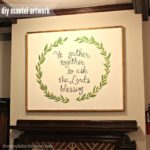
image from Pottery Barn
You can buy this sign, online only, for $89 plus $14 shipping for a total of $103 buckaroos.
Or find a piece of wood in your garage and paint it for $0.
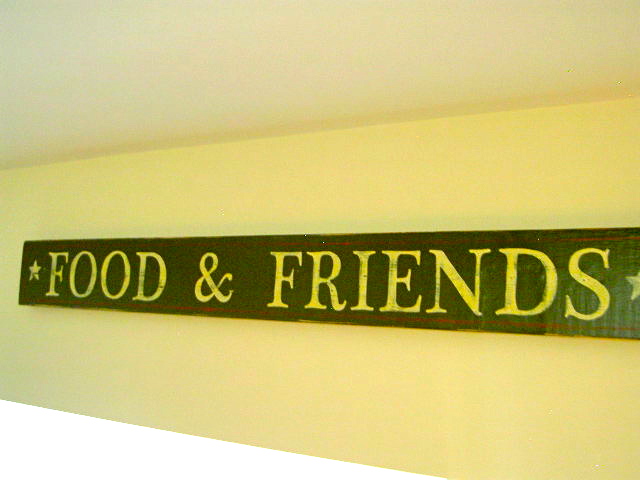
Yes my sign is slightly smaller at 37″w x 4″h x 3/4″d.
(The Pottery Barn version measures 60″w x 8″h x 1″d.)
But it was just too tempting not to copy.
Here’s how I made the sign:
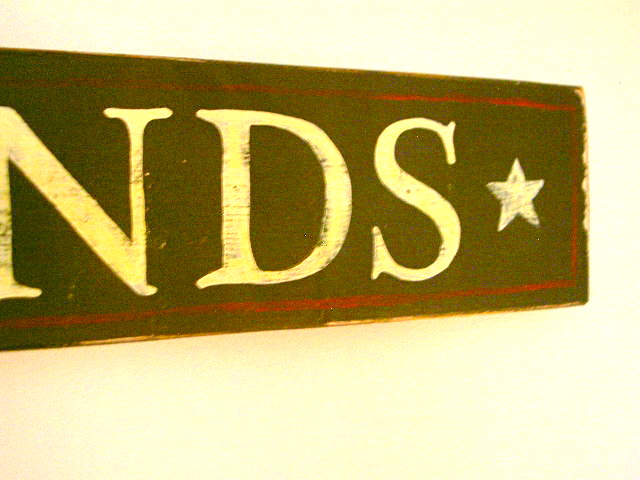
1. Find a piece of wood, fill holes, sand, paint two coats Behr French Roast.

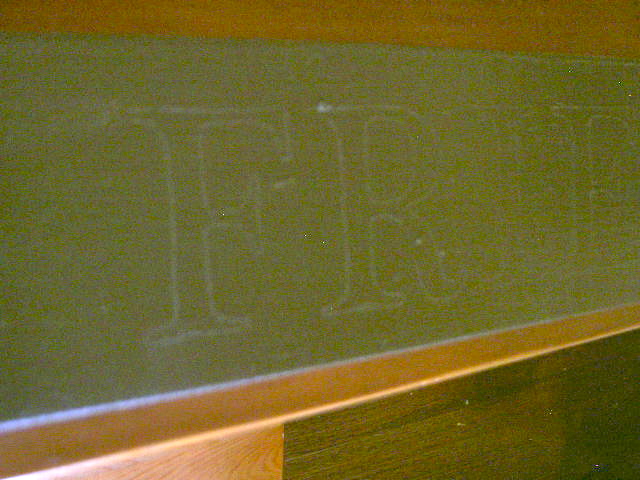
2. Print out letters (I used Plantagenet Cherokee font). Layout on wood and trace around letters using ballpoint pen.
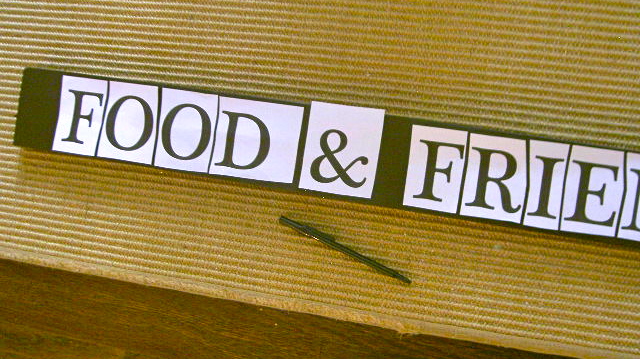
3. The ballpoint of the pen should leave a slight indent in the wood.
4. Paint in the traced letter.
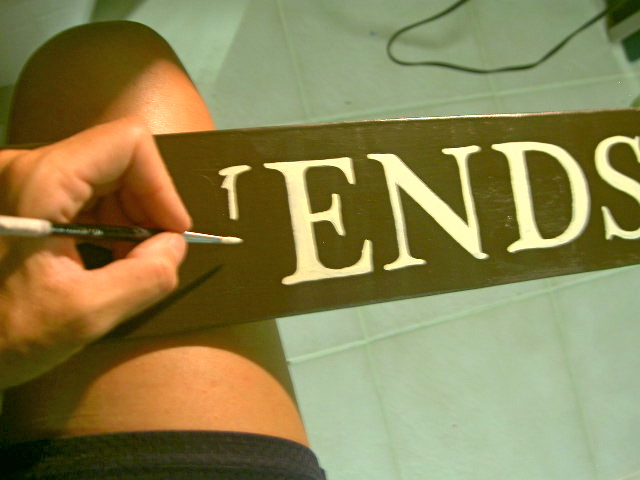
5. Add the stars and border. Sand to distress. Seal with satin poly.

I’ll save the $100 thank you! But I do love plowing through the catalog for ideas, inspiration is falling off the pages!
I’m linking up to:
http://delightfulorder.blogspot.com/, http://www.theshabbychiccottage.net/, The 36th Avenue.
http://www.somewhatsimple.com/
http://www.504main.com/
http://shabbynest.blogspot.com/
http://chiconashoestringdecorating.blogspot.com/
http://chiconashoestringdecorating.blogspot.com/
http://www.remodelaholic.com/
http://frenchcountrycottage.blogspot.com/, http://lollyjaneboutique.blogspot.com/, http://funkyjunkinteriors.blogspot.com/
http://www.lovelycraftyhome.com/
http://www.iheartnaptime.net/
http://sistersofthewildwest.blogspot.com/
http://sistersofthewildwest.blogspot.com/
http://www.sawdustandpaperscraps.com/
http://www.bystephanielynn.com/
http://www.thegirlcreative.com/
http://thediyshowoff.blogspot.com/
http://www.skiptomylou.org/
http://makingtheworldcuter.blogspot.com/
http://linda-coastalcharm.blogspot.com/
http://theletteredcottage.net/
http://www.myuncommonsliceofsuburbia.com/
Weekly Challenge @ The CSI Project

That sign turned out great!!
That's a fantastic knockoff! And for $0, too!
beautiful job!
I love it!
Thanks for the great tracing tip! The project turned out super great!
Love your sign! I like your method of tracing the letters with a ballpoint pen. I have rubbed chalk on the back of the paper and then traced the letters so there is a chalk outline, but this would be much easier – so smart!
PS I am always looking for mags for ideas too.
Food & Friends, what a great combination!
Great tip on tracing the letters.
I am a new follower
Looks great! I will have to try this some time if I can get my hands to be still! 🙂
Oh I like $0 so much better than $100+ and you get to use up a scrap from the garage too! Awesome!
I like YOURS better than the Pottery Barn's!! FABULOUS, and thanks for showing us how you did that perfect lettering!
I love this! I am saving this in my memory to make soon! 🙂 I have the perfect spot for it too!
I have been searching high and low for 6" letter stencils–now I know I can just trace them!! Thank you so much for the tip!!
As soon as I saw that sign in their catalog I thought, "DIY it baby!", and you did it perfectly!
What a great sign. I’m also having a link party today and every Monday. I would love for you to stop by and link up your sign and any other projects you would like to share. http://diyhshp.blogspot.com/
Great project! I love the way your did the letters, I totally want to try this now! Thanks for sharing!
Super cute! I have that on my list of goodies I wanted to copy from their catalog too!
I love it! Thanks for the tip about tracing letters with a ball point pen. I'm going to have to try this!
You did a fabulous job on this sign. I just love it! I featured it on my Friday Favorites this week. Come over and take a peek. Happy Friday to you 🙂
I am soooo doing this! I have an old sign that is the same size – your little tricks will work perfectly to transform mine too!
xo Kristle
http://www.willblogforbeauty.com