How to build a folding stool with monogrammed canvas seat:


Inspired by this camping stool from REI.

Perfectly fine but boring.
Using Ana White’s plans for her folding beach chair as my starting point I was able to roughly draw up some plans to make the folding stool based on the camping stool specs.
Ana took my layout, cut list and building pictures and did her magic with Google Sketch Up to produce these plans.
I’m so happy to have contributed to her site and at the same time build a fun piece that will get lots of use.

The lumber for this project costs about $5, plus some hardware, paint and canvas and you’ll have a stool you can make yourself, your colors and fabric choices.
The hardest part was choosing which canvas color combination to use:

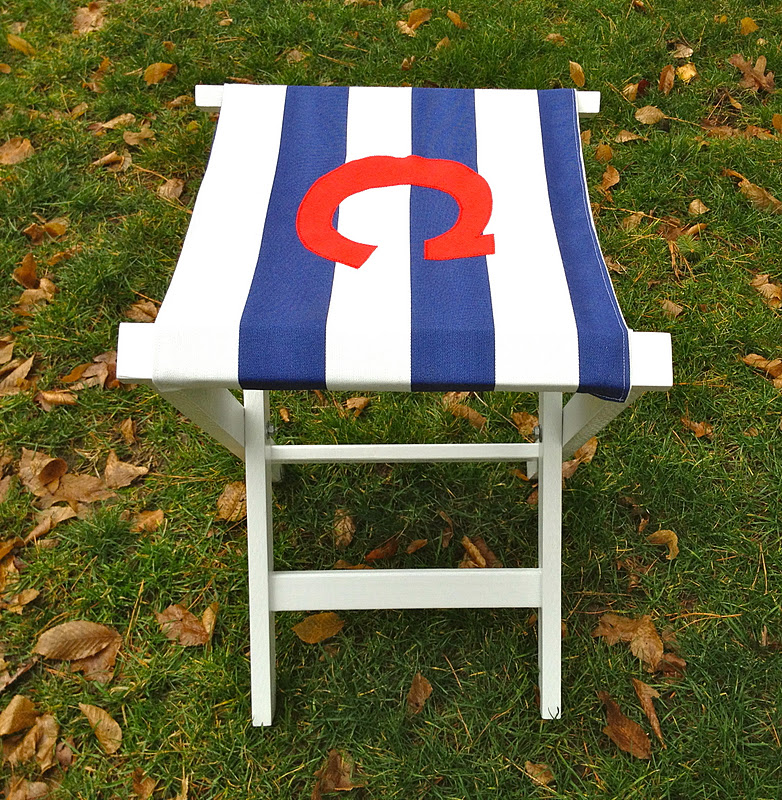
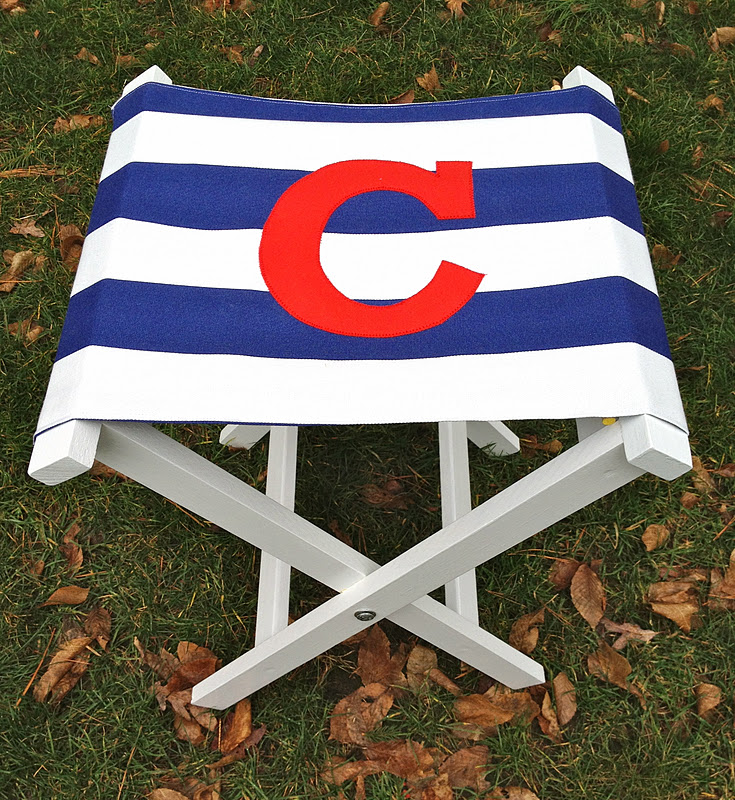
I stuck with the ‘All American’ for our stool:

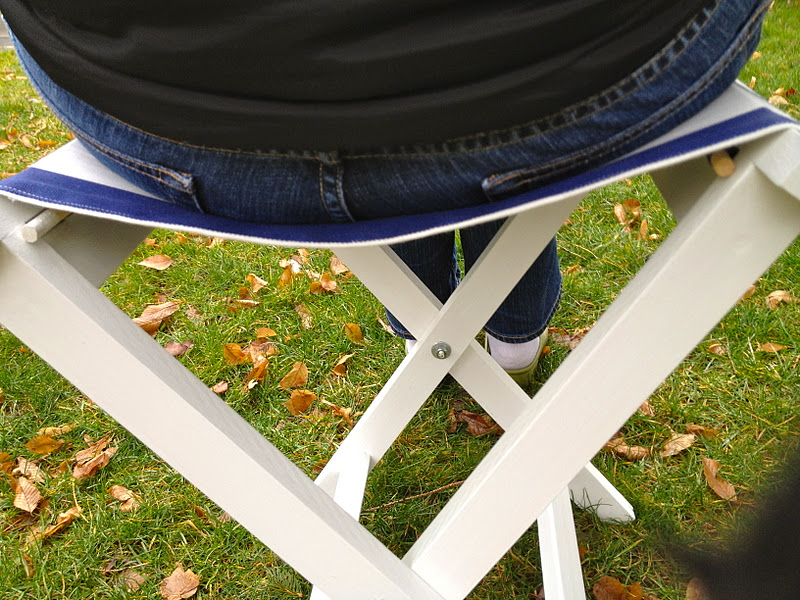
And the folding convenience is an added bonus feature:
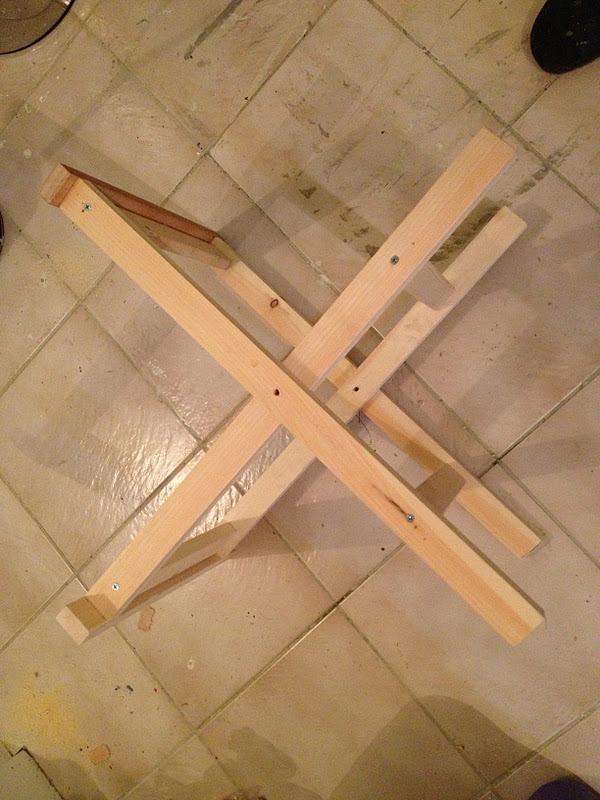
Here’s how I built the stool:
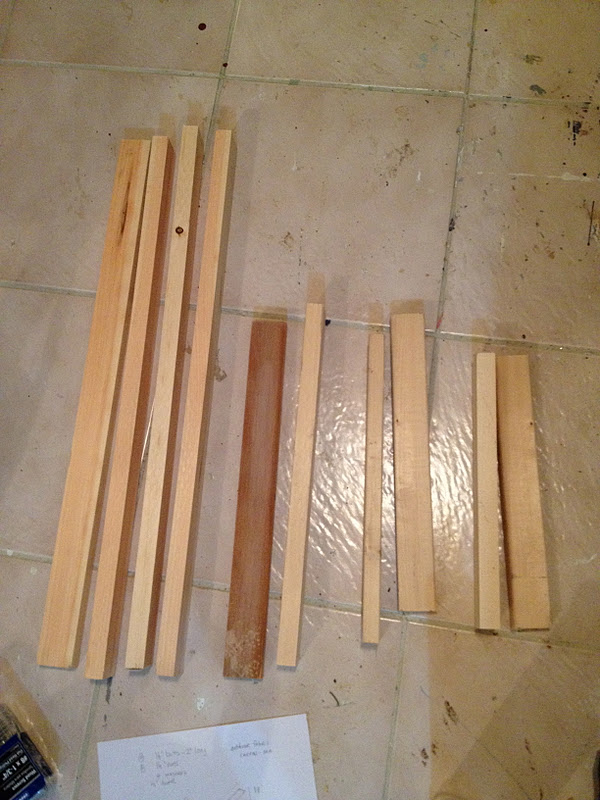
1. Cut pieces to size:
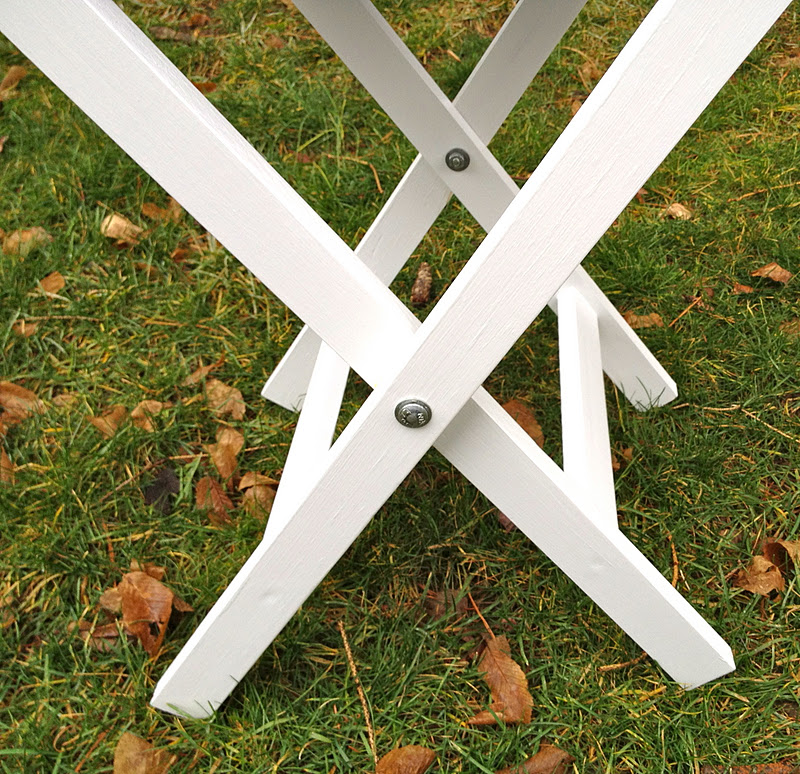
2. Drill 1/4″ hole in 4 legs at 12″ for bolt:

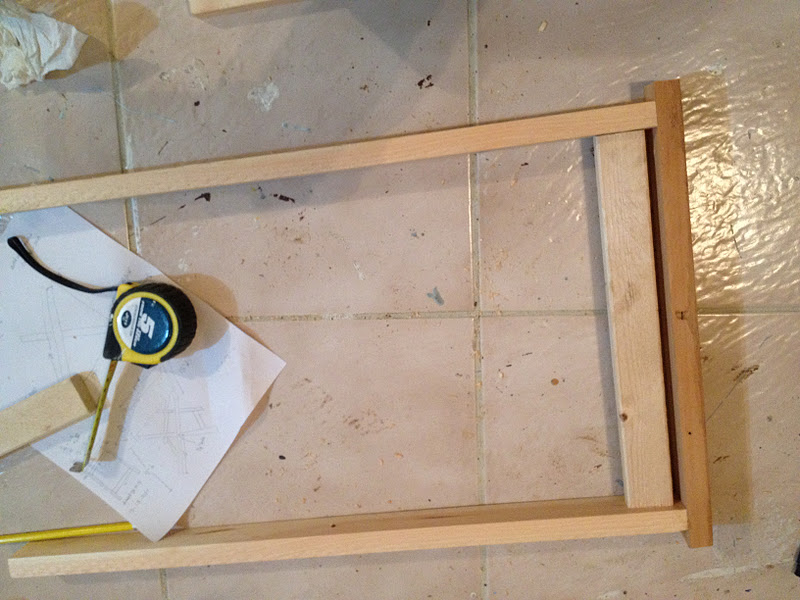
3. Outer stretcher: attach legs to top piece inset at 1/2″:

4. Attach side support piece with 3/8″ gap:
5. Attach bottom support to stretcher 4 1/2″ from leg bottom:
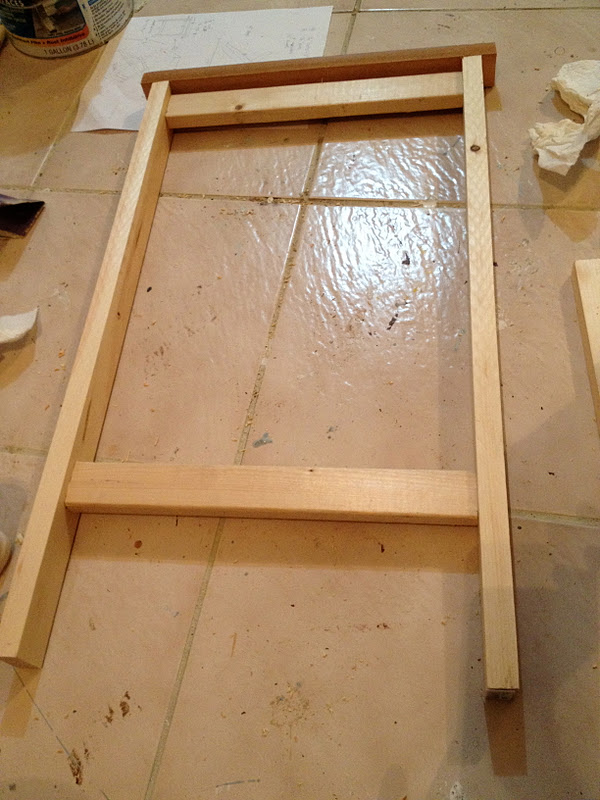
6. Repeat process for inner stretcher, only change inset the legs at 1 3/8″:
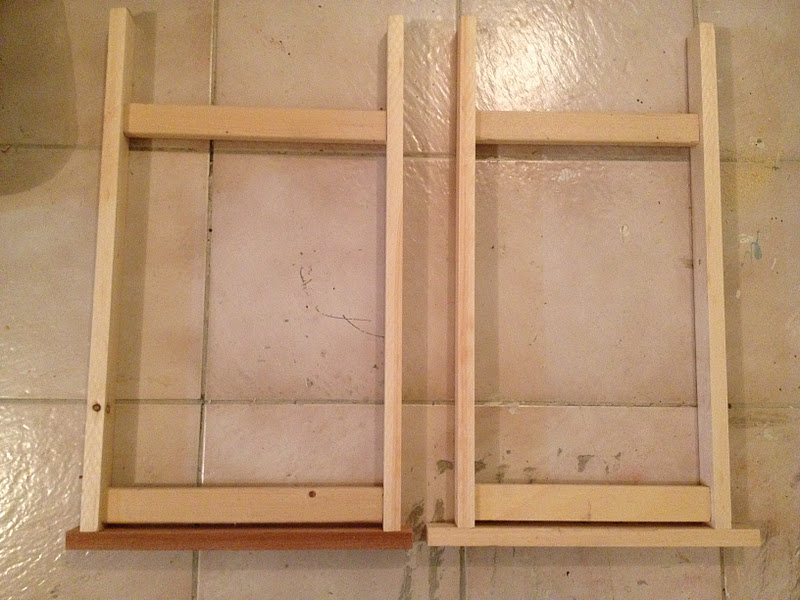
7. Check for fit:
Prime one coat, paint two coats hi gloss white enamel.
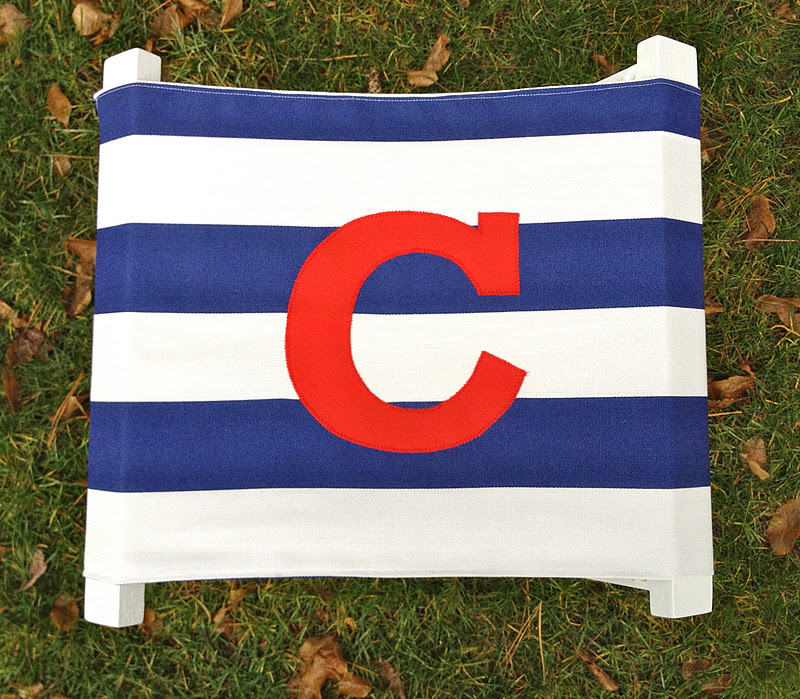
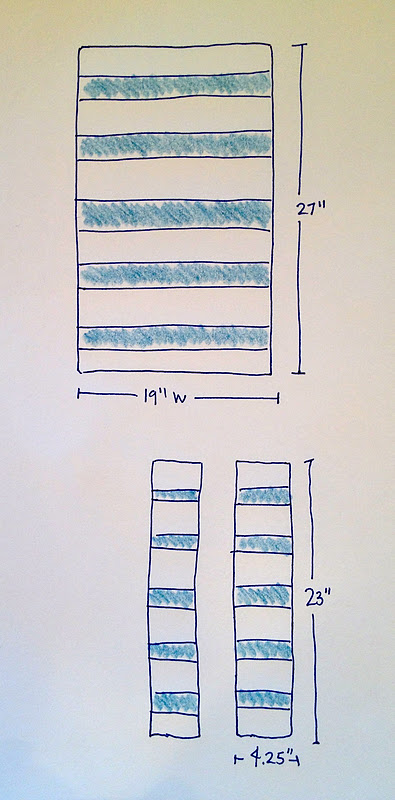
Canvas seat
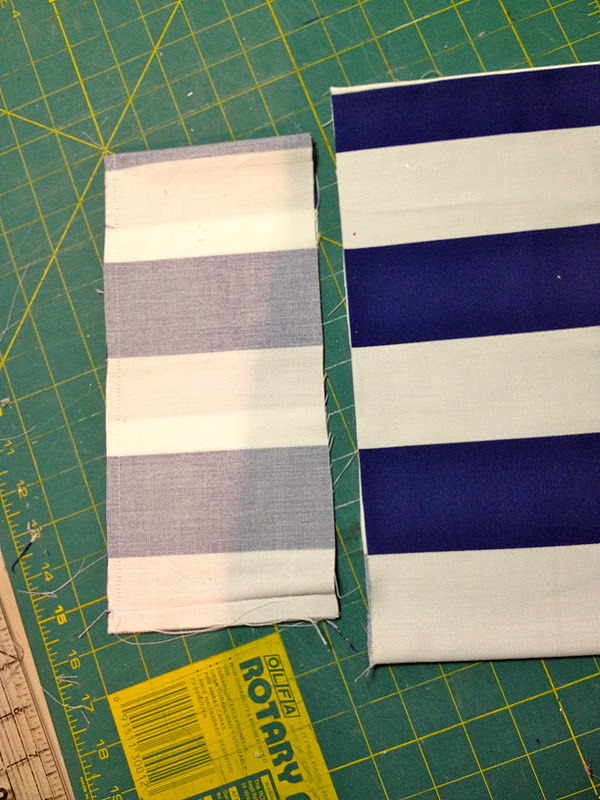
1. Cut canvas:
1 @ 27″ x 19″
2 @ 23″ x 4 1/4″
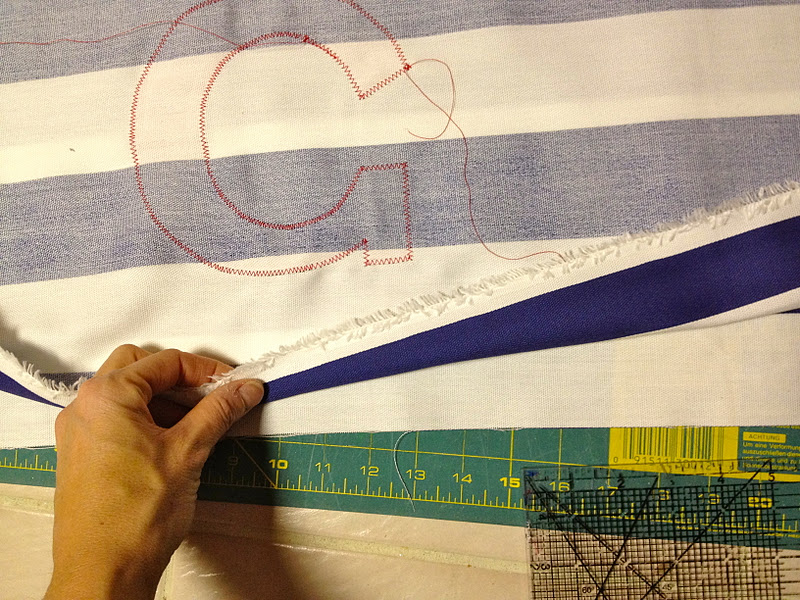
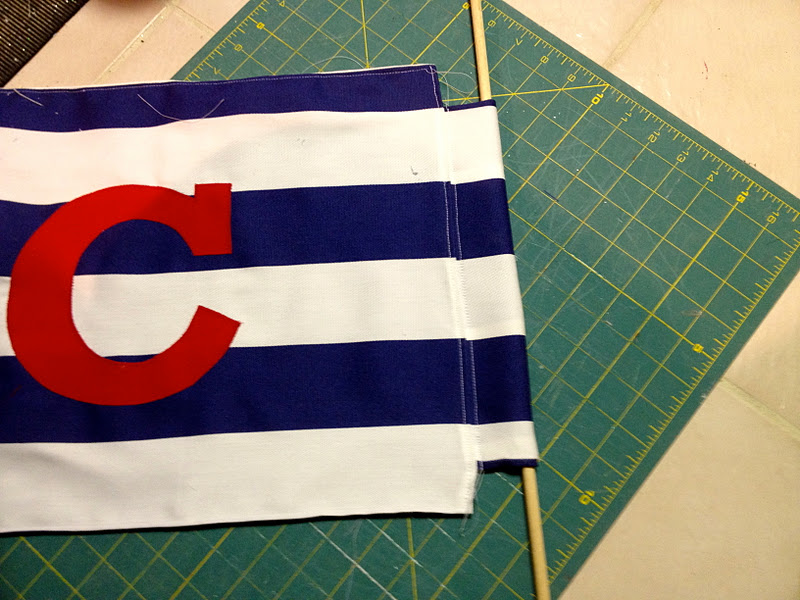
2. Print out monogram (Rockwell font at 650 point) and pin to canvas:

3. Using a light box place letter face down on box with fabric on top:
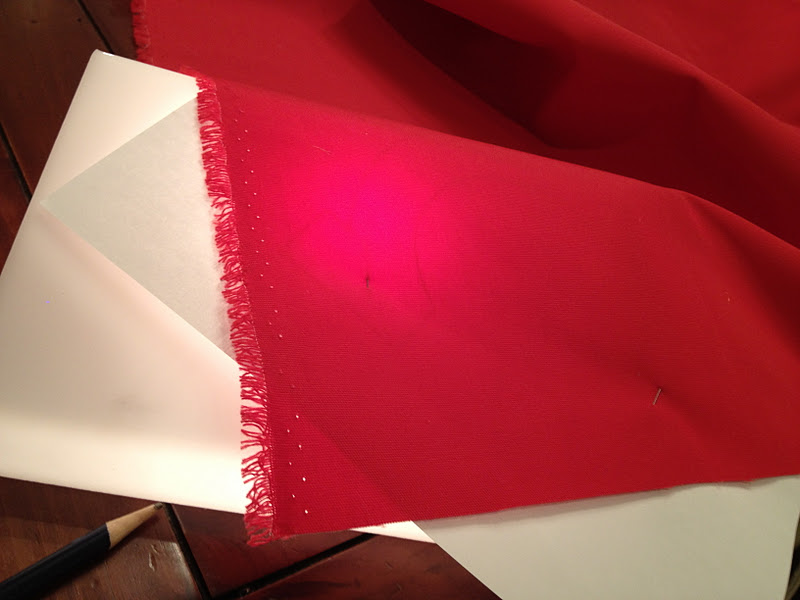
4. Trace outline of letter then cut out.
Fold canvas in half lengthwise then pin letter in center:

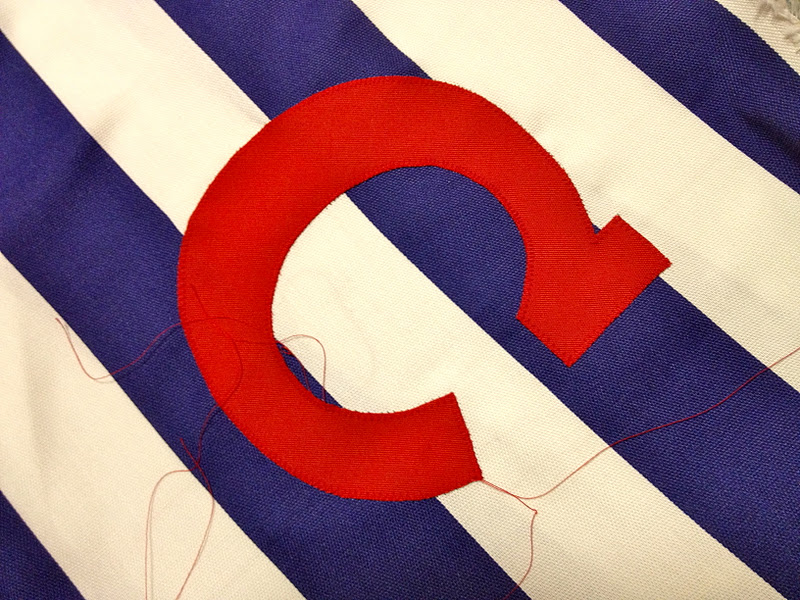
5. Zig zag stitch letter in place only sewing through one layer of canvas:
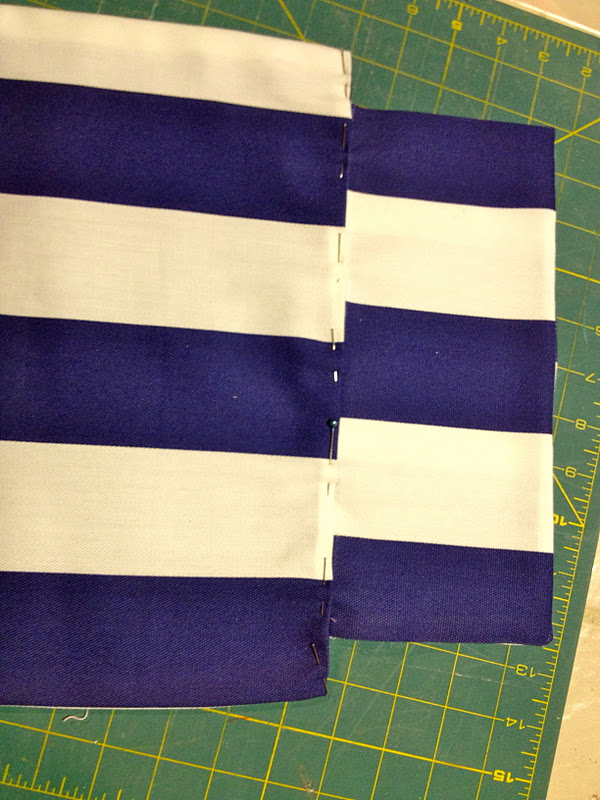
6. Refold canvas lengthwise, right sides together and stitch top seam closed (1/2″SA):
7. Turn seat piece right side out (should resemble a tube).
Repeat seam process for small side flap pieces:
8. Sew shut one long side (3/8″SA) and short end (1/2″SA).
Turn right side out and press:

9. Attach side panel to front piece only of canvas seat, centering on seat piece:
Sew seam at 3/8″.

10. Flip over to back and press raw edge and corners in, pin and topstitch closed:
11. Side panel attached:

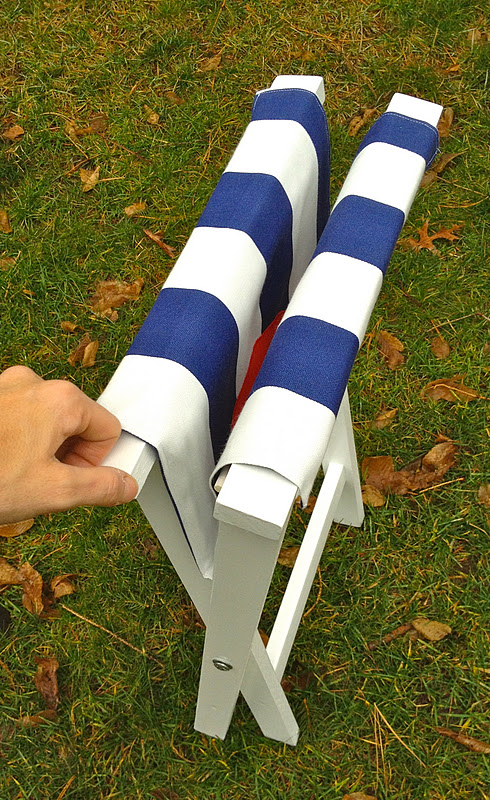
12. Now fold side flap in half to back, see how dowel needs to go here:

13. Straight stitch side flap in place from top:
14. Shove side flap in between gap:
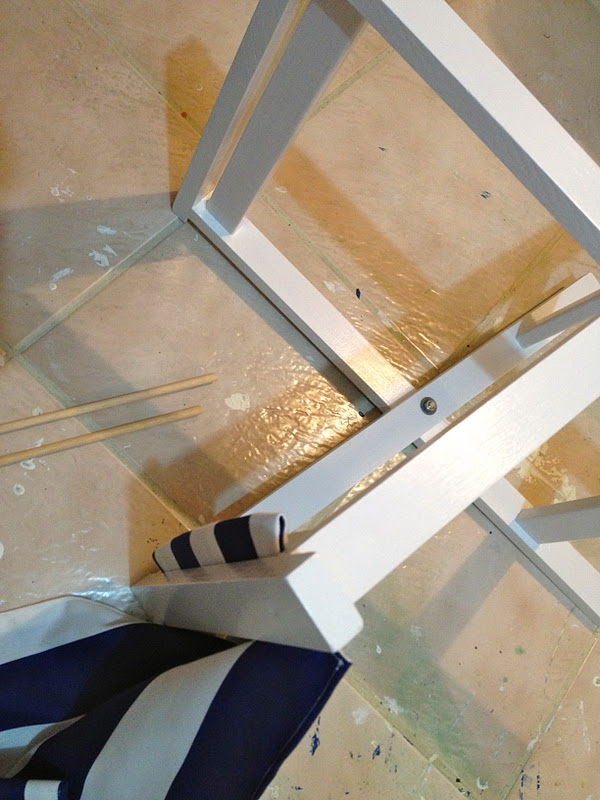
15. Insert dowel down into pocket made:
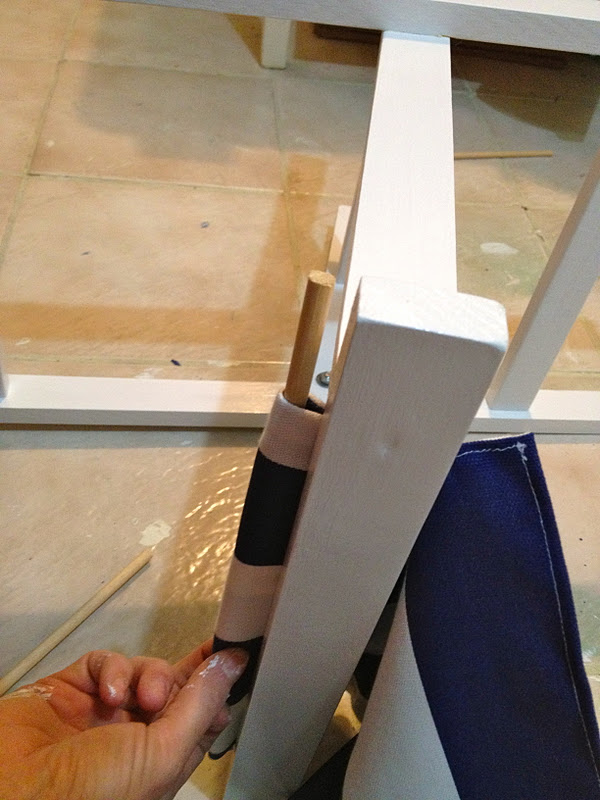
16. Repeat for other side.
All set:
Good to go:
Thanks to Ana for her help in making this project official with plans for everyone to use.


Yay! I've been wanting a luggage stand forever! I think this would work. Cool little seat!
LOVE LOVE LOVE!!!!!
But "C" is for Cricket!!!!
and for Courage
and for me not to Cry!
I just absolutely adore this!
Thank you!!!
Smiles~
Gypsea nurse
This is a fabulous DIY chair, just in time for spring!
I would love it if you linked this up to my party!!
http://ablondesdiylife.blogspot.com/2012/01/another-link-party-and-some-fabulous.html
this is so cute and i think the style of this piece would complement the blue dresser perfectly- we could make a room around them! 🙂
This is great! What are the dimensions for the wooden parts?
@Nicole Holland the dimensions for the wood pieces are in the plans. Check the link above to Ana White for detailed cut lists and plans.
thanks so much!! @Jaime Costiglio