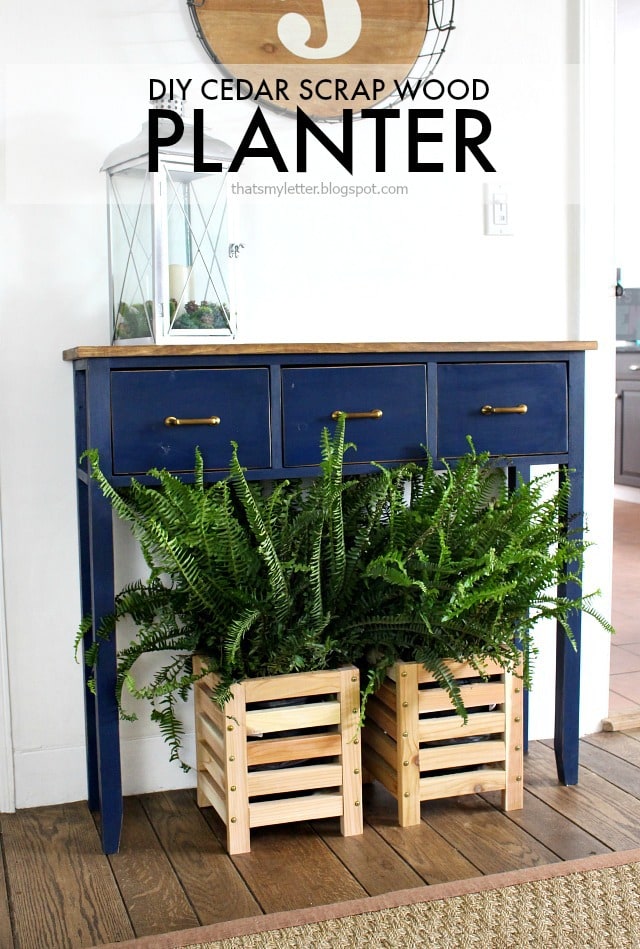
What to do with all those short wood off cuts cluttering up your scrap bin? Make a beautiful DIY cedar scrap wood planter of course! If you’re like me then you can never let off cuts go to waste.
A DIY tutorial to build a cedar scrap wood planter. Save those cedar scraps and make a planter with slats for indoors or outdoors.
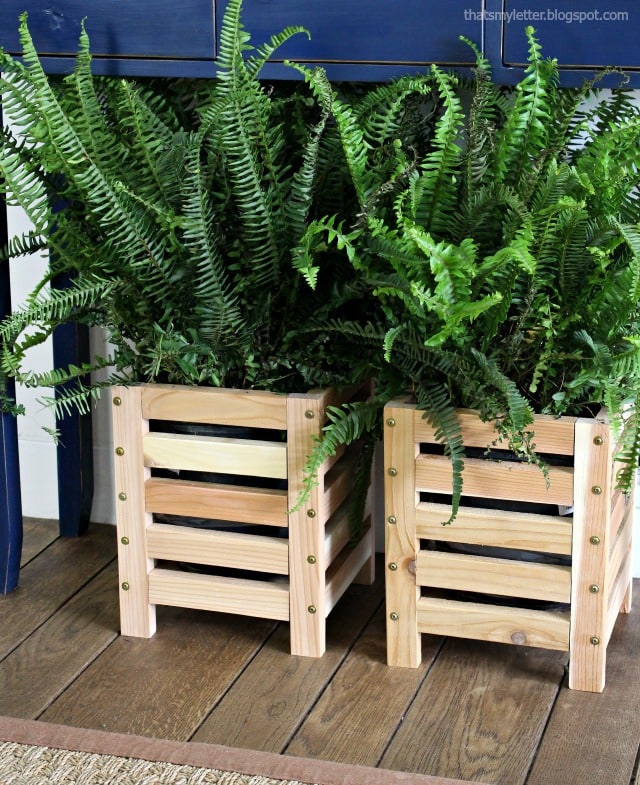
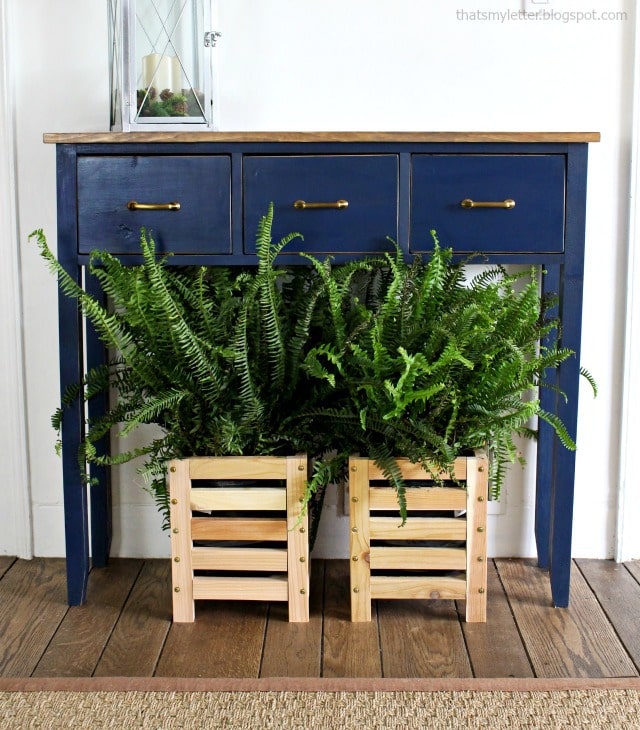
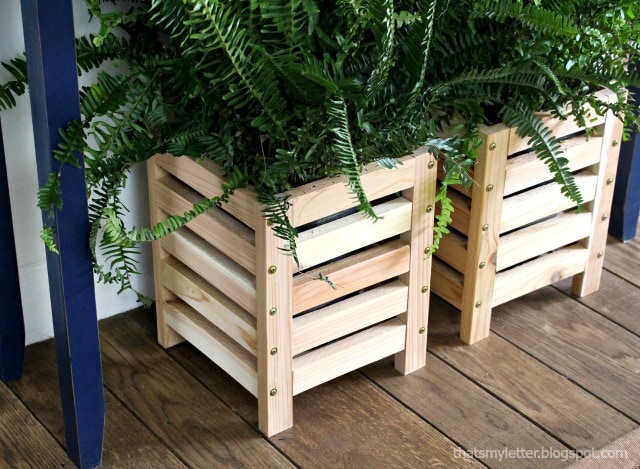
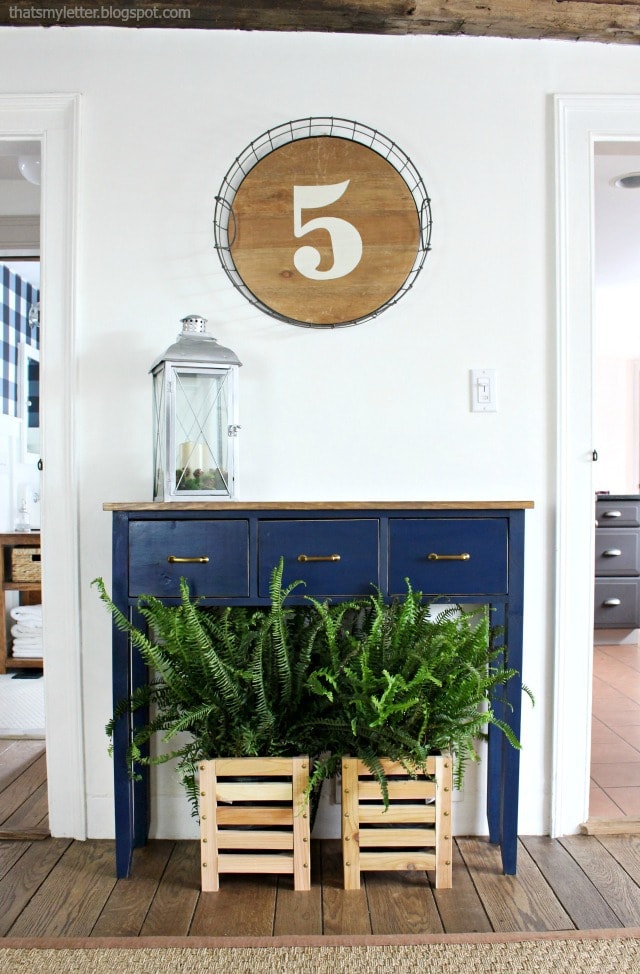
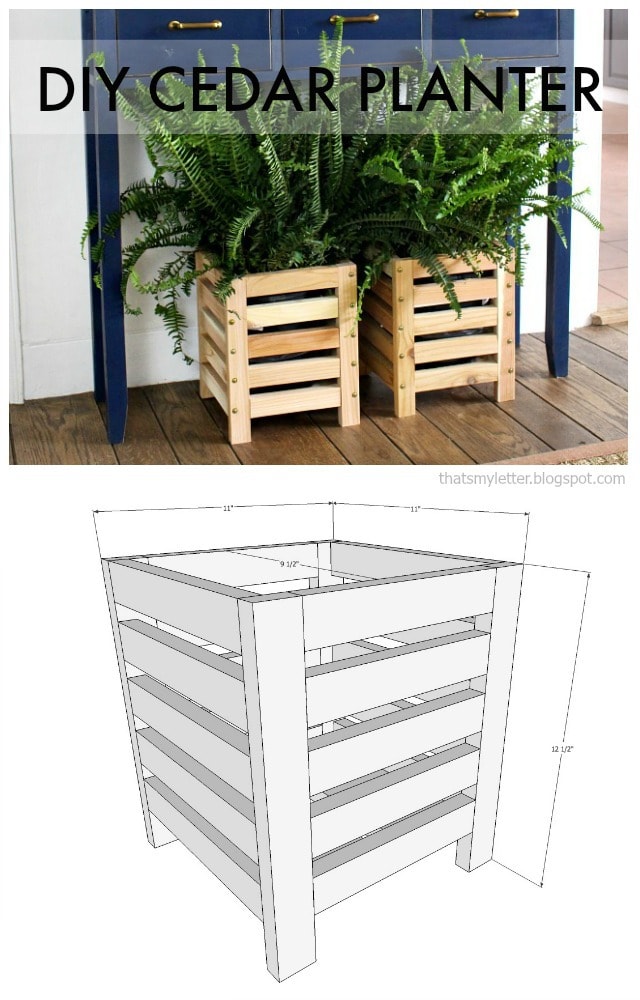
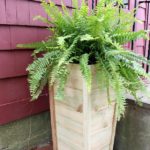
I had a huge pile of short cedar wood scraps and two potted ferns in ugly plastic pots. So I whipped up these slatted cedar planters and plopped my ferns in place. I think they like their new home!
* This post contains affiliate links below. I make a small commission off of each purchase which helps keep this blog full of free information.
Planter Details:
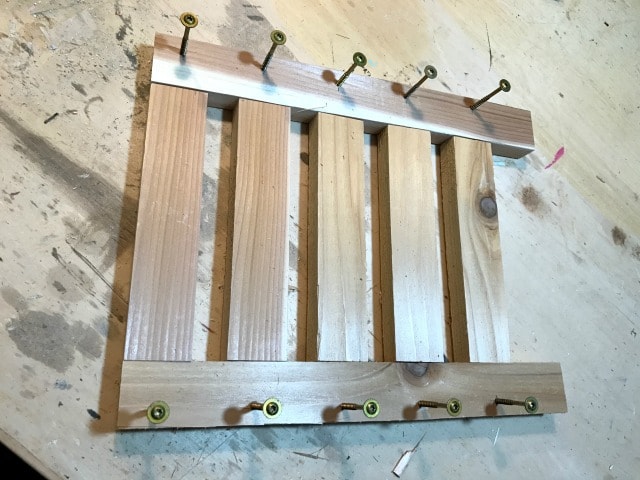
I choose to use cabinet screws in a decorative manner but they also serve a purpose holding the long sides to the short sides. You could opt for finish nails which would be less obvious but they don’t have the holding power of screws.
And bonus because this is cedar wood I can move these planters outdoors when the weather is warmer! (Link to plans for the blue sideboard here.) Scroll down for free plans to make your own scrap wood planter.
Planter Plans:
I drew up plans for these cedar scrap wood planters down below with step by step instructions. Always follow all safety precautions when using power tools and read through the entire plan first.
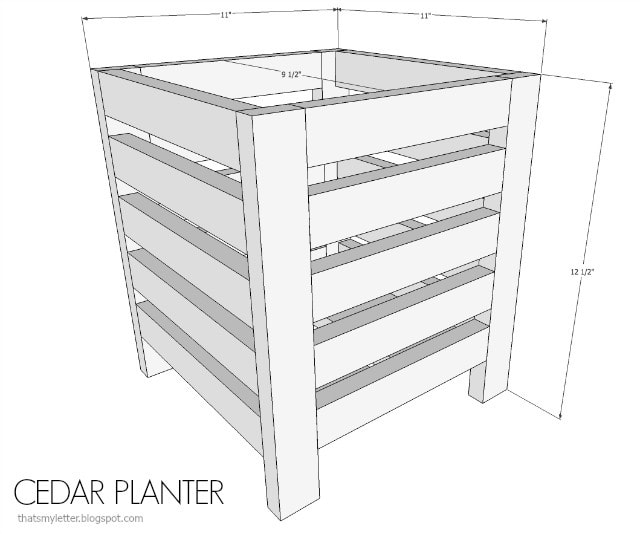
The plans below are made to fit a 9″ diameter pot. Measure your plastic pot at the widest point before beginning and adjust the plans accordingly.
Materials (for one planter):
- 1 – 1x4x8 cedar board
- 3 – 1x2x8 cedar boards
- 1 ¼” pockethole screws
- 2” wood screws
- wood glue
Cut List:
- 4 – 1×2 @ 12 ½” (legs)
- 10 – 1×2 @ 8” (short sides)
- 10 – 1×2 @ 9 ½” (long sides)
- 2 – 1×4 @ 9 ½” (base)
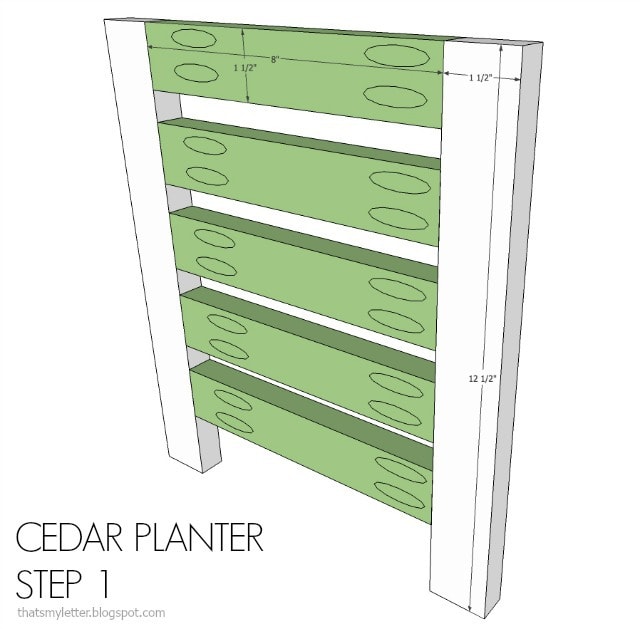
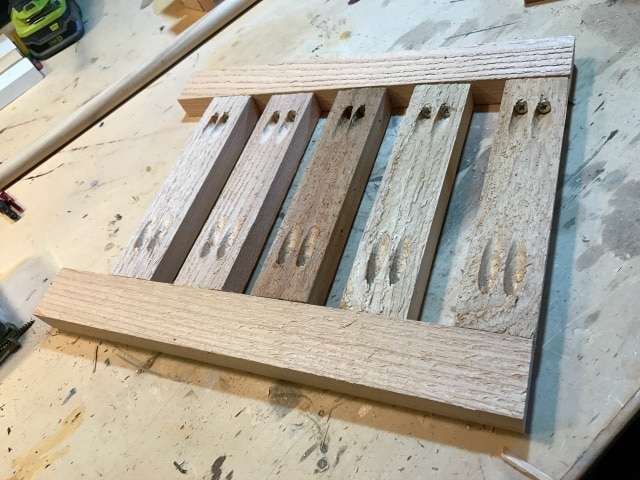
Step 1: Attach short sides to legs using wood glue and 1 ¼”pocket hole screws. Keep ¾” spacing between slats (use scrap piece of 1×2 for equal spacing). Make 2.
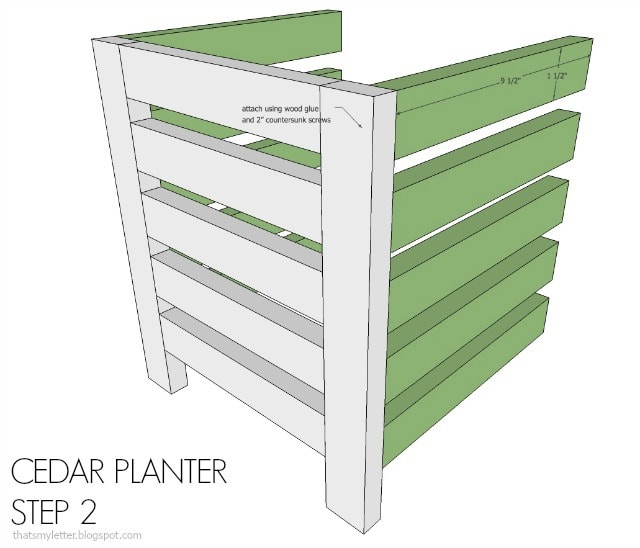
Step 2: Attach long sides to legs on short side. Use wood glue and 2” countersunk screws.
I prefer to preset my screws to ensure equal placement.
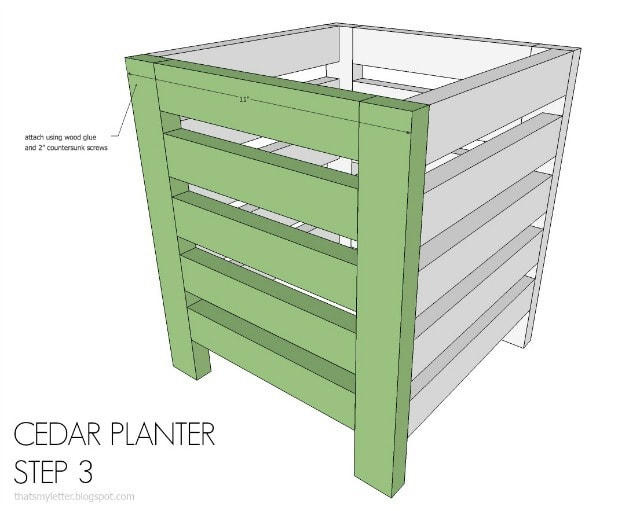
Step 3: Repeat Step 2 to attach legs of other short side piece to long sides.
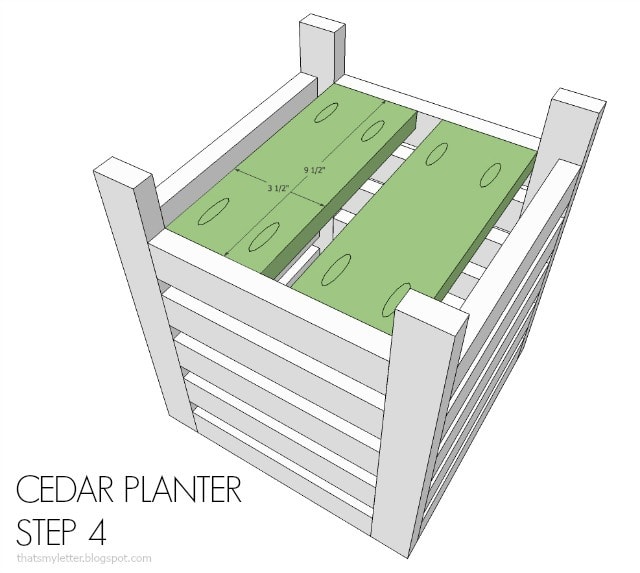
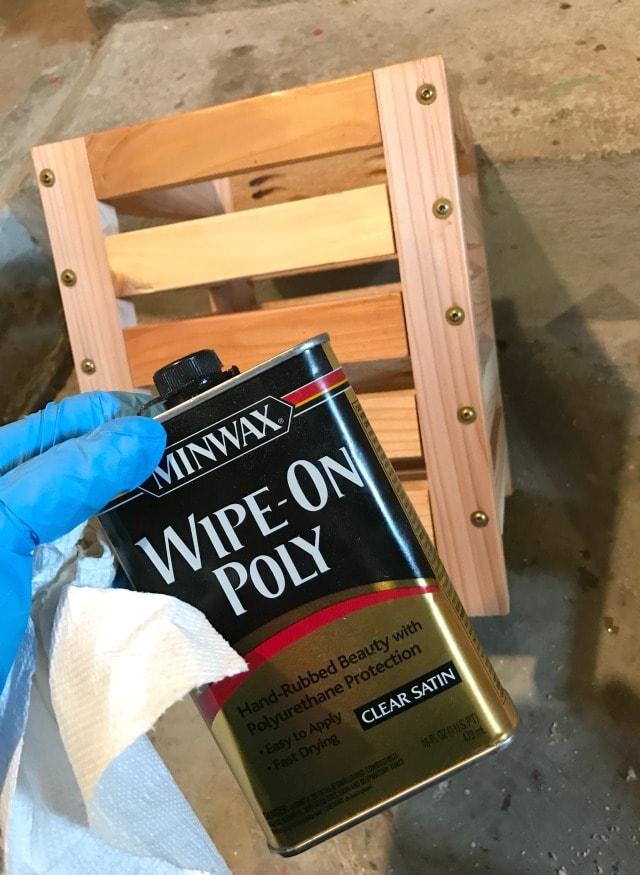
Step 4: Attach base pieces to bottom short side pieces using wood glue and 1 ¼” pocket hole screws. Then sand well and finish as desired. I used clear Minwax wipe on polyurethane.
Thanks for joining me for this scrap wood planter project. Please leave any questions in the comments below and be sure to follow me on social media for sneak peeks, tools and project inspiration:
Instagram / Pinterest / Facebook / Youtube / Twitter
SHOP THIS PROJECT:
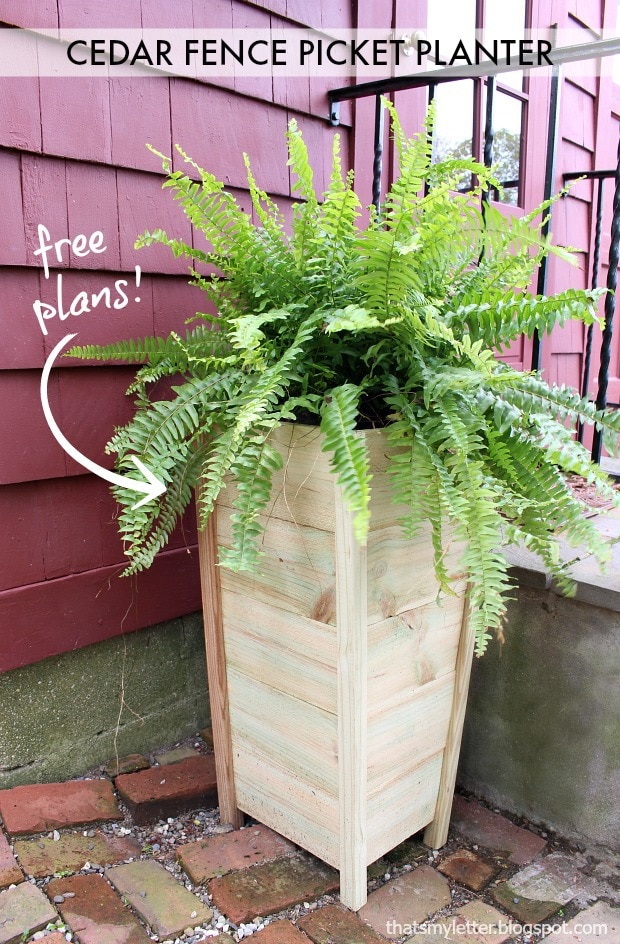
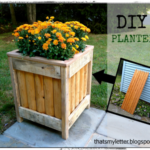
Need a bigger planter? How about this tall cedar fence picket planter?
Another project using cedar is this very popular hose hiding outdoor planter:
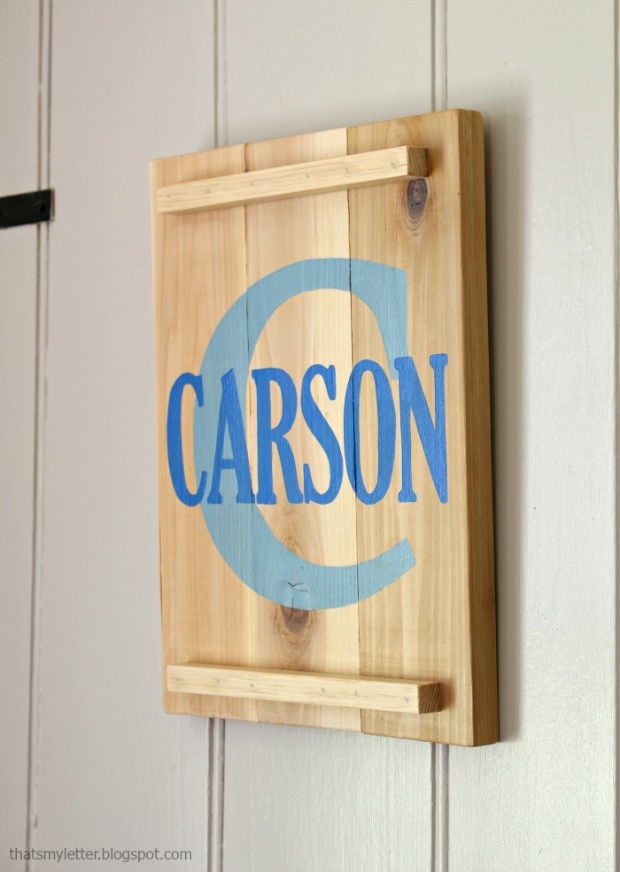
Or a super quick cedar scrap wood name plaque:




That looks good and easy to make, thanks for sharing it with us, need to get few wood sticks and made it at home