• Home
  • Blog
  • About
  • Contact
    • Disclosure
    • Privacy Policy
  • SHOP
  • Widget area for main menu

    • Email
    • Facebook
    • Instagram
    • Pinterest
    • Twitter
    • YouTube
  • Skip to primary navigation
  • Skip to main content
  • Skip to primary sidebar

Jaime Costiglio

build - paint - sew

  • BUILD
    • BEDS
    • BENCHES
    • DESKS
    • DRESSERS
    • GAMES & TOYS
    • SCRAP WOOD
    • SHELVES
    • STORAGE
    • TABLES
  • TOOLS
  • PAINT
    • CRAFTS
    • FURNITURE
    • HOME DECOR
  • SEW
    • GIFTS
    • HOME DECOR
    • POUCHES
  • HANDBUILT HOLIDAY
    • 2021
    • 2019
    • 2018
    • 2017
    • 2016
    • 2015
    • 2014
    • 2013
  • GIFTS
    • BABIES
    • KIDS
    • FOR HER
    • FOR HIM
    • TEACHERS
    • WEDDINGS
  • SEASONAL
    • 4TH OF JULY
    • FALL
    • HALLOWEEN
    • CHRISTMAS
    • SUMMER
    • SPRING
    • ST. PATRICK’S DAY
    • THANKSGIVING
    • VALENTINE’S DAY
    • WINTER
  • SALTBOX PROJECT
    • BATHROOMS
    • DINING ROOM
    • EXTERIOR
    • FAMILY ROOM
    • FOYER / MUDROOM
    • KIDS BEDROOMS
    • KITCHEN
    • LIVING ROOM
    • MASTER BEDROOM
    • PLAYROOM
  • SCROLL SAW

“F” is for Floor Lamp

January 27, 2011

A floor lamp makeover.

As usual I got this floor lamp from Freecycler Doug.

(Yes I do buy things sometimes but when I know it’s worthwhile I’m all for Freecycle.)

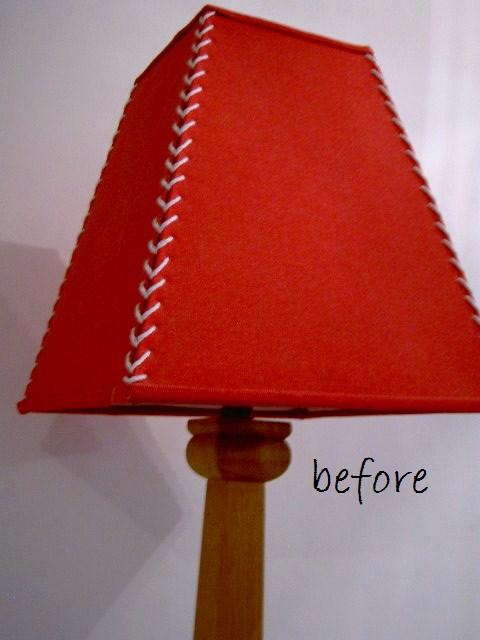
Not bad for a boy’s room baseball theme.
But I needed a ‘gender neutral’ theme for my kid’s bedroom.

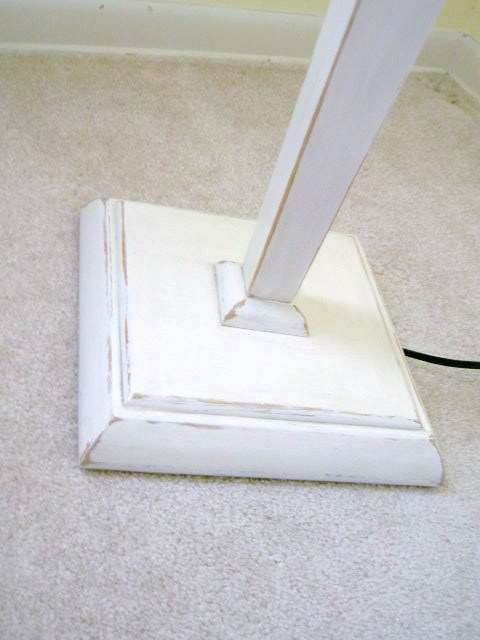
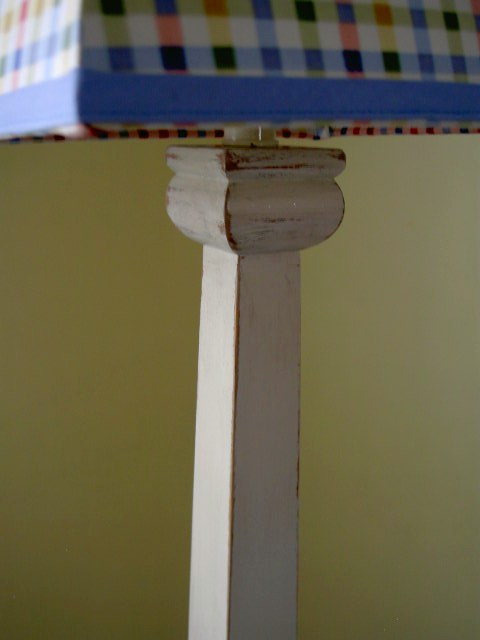
I refinished the base with the following products in this order:
(This is what I had so this is what I used.)
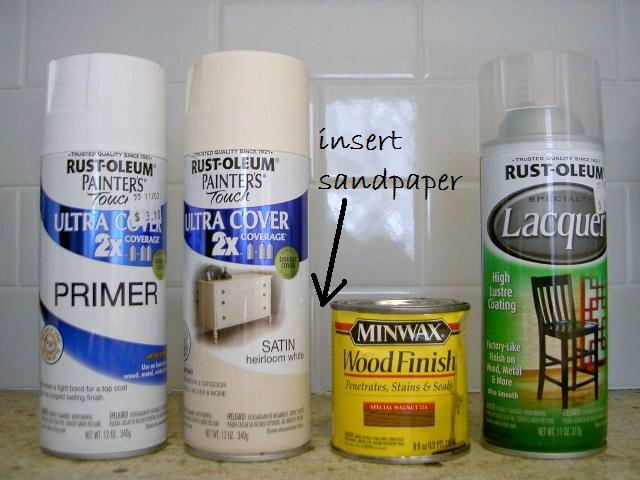
prime, paint, sand, stain, seal
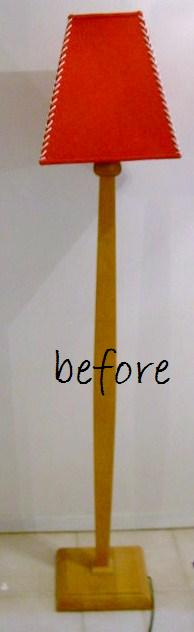
For the lampshade we started with this:
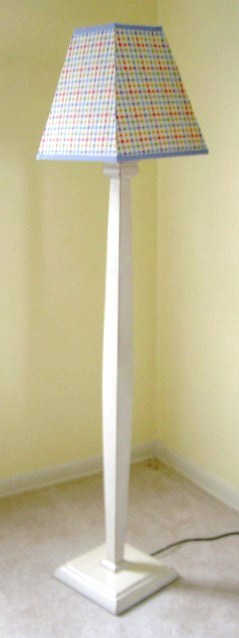
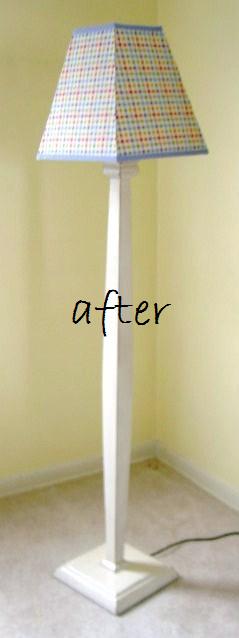
And now we have this:
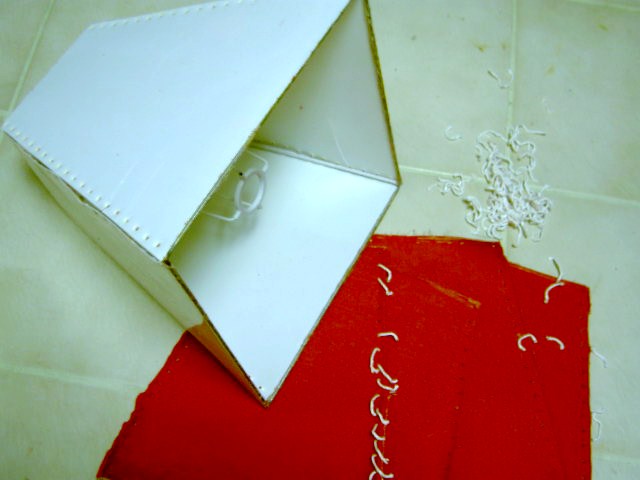
How’s how I changed the lampshade:
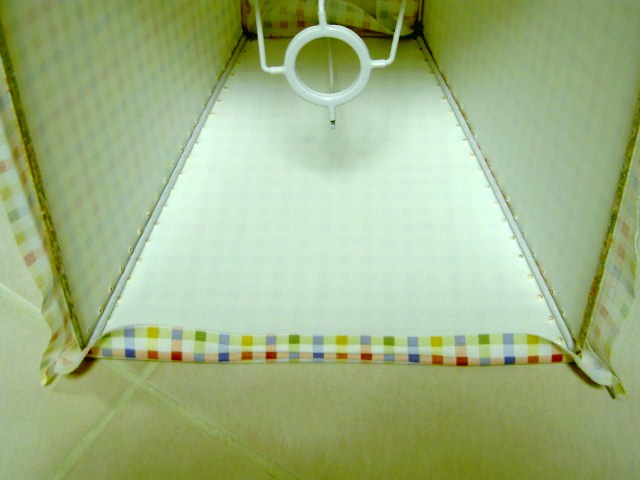
removed the ‘stitching’ strings and red fabric:
cut new fabric to fit height of shade and long enough to cover all four sides:
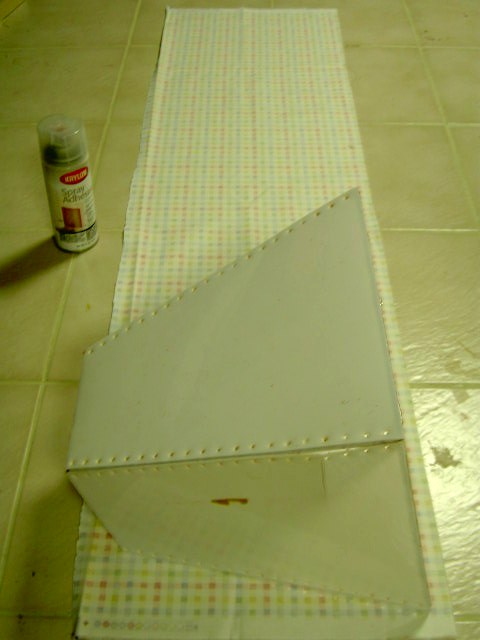
using spray adhesive, attach fabric to one side and wrap 1/2″ over side seam:
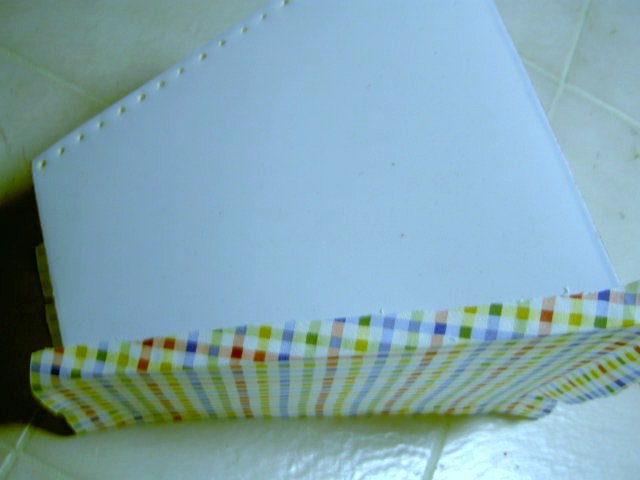
for the next piece I folded the edge for a finished look and applied:
there’s lots of ways to go about it, basically wrap the shade with the fabric
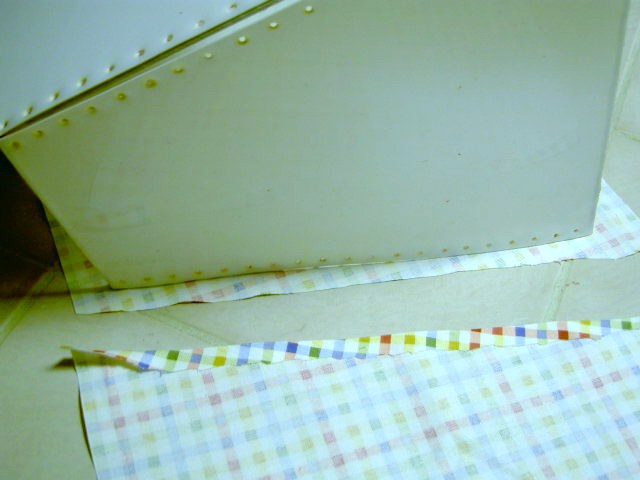
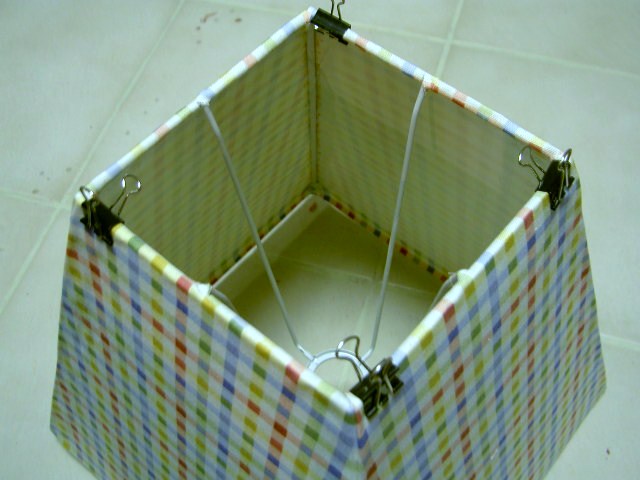
Then I sprayed the bottom and top edges and folded inside:
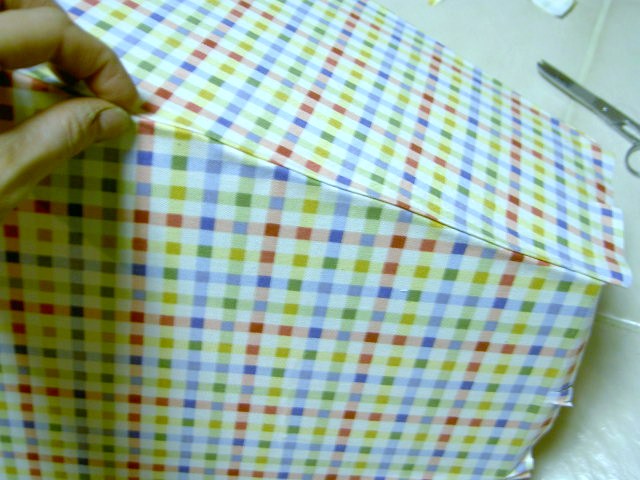
Use binder clips at corners to keep fabric in place while drying:
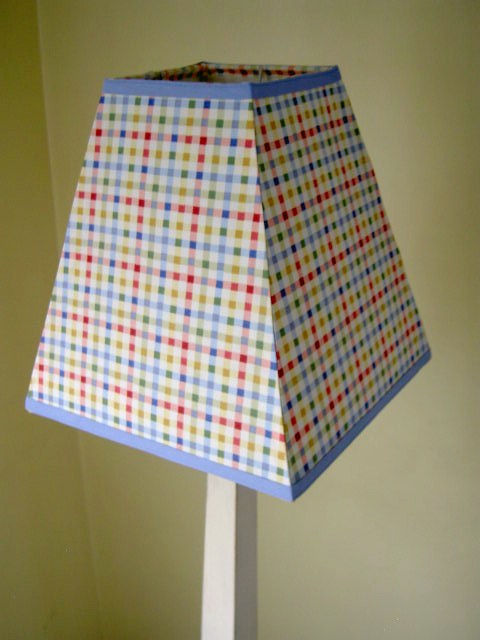
Adhere trim, I made blue binding from fabric and used fabritac to glue it:
Finished:
One last side by side:
Definitely worth my time.
I’m linking up to:

TT button

You may also like...

  • “E” is for Epoxy“E” is for Epoxy
  • “F” is for Footstool“F” is for Footstool
  • “A” is for Armchair“A” is for Armchair
  • Sliding Glass Door MakeoverSliding Glass Door Makeover
Share this post:

Filed Under: CRAFTS, DIY, HOME DECOR4 Comments

Reader Interactions

Comments

  1. Chrissy @ Home.Kids.Life. says

    January 28, 2011 at 8:02 PM

    Amazing! I love all your makeovers. They look awesome! You've inspired me!

    Reply
  2. Rebecca @ My Girlish Whims says

    January 29, 2011 at 10:18 PM

    super cute! great transformation!

    Reply
  3. aldrin james says

    February 3, 2011 at 2:33 PM

    I am so surprised in this post. I really love how you transform those old lamps into a very new and attractive one.

    black crystal lamp

    Reply
  4. Dear Lillie says

    August 26, 2011 at 3:20 AM

    cute!

    Reply

Leave a Reply Cancel reply

Your email address will not be published. Required fields are marked *

Primary Sidebar

Hi! I’m Jaime

Jaime Costiglio

Hello!

Thank you for stopping by.
Join me for lots of DIY.

Read more

Get new posts via email

Handbuilt Holiday: Gift Project Plans

handbuilt holiday gift project plans

Collection of DIY gift project plans to build.

The Home Depot Tool Prospective

THD Prospective

Tools to consider for the DIYer.

Archives

The Home Depot Logo
Copyright © 2026 Jaime Costiglio · Custom site by Moonsteam Design

Privacy Policy