• Home
  • Blog
  • About
  • Contact
    • Disclosure
    • Privacy Policy
  • SHOP
  • Widget area for main menu

    • Email
    • Facebook
    • Instagram
    • Pinterest
    • Twitter
    • YouTube
  • Skip to primary navigation
  • Skip to main content
  • Skip to primary sidebar

Jaime Costiglio

build - paint - sew

  • BUILD
    • BEDS
    • BENCHES
    • DESKS
    • DRESSERS
    • GAMES & TOYS
    • SCRAP WOOD
    • SHELVES
    • STORAGE
    • TABLES
  • TOOLS
  • PAINT
    • CRAFTS
    • FURNITURE
    • HOME DECOR
  • SEW
    • GIFTS
    • HOME DECOR
    • POUCHES
  • HANDBUILT HOLIDAY
    • 2021
    • 2019
    • 2018
    • 2017
    • 2016
    • 2015
    • 2014
    • 2013
  • GIFTS
    • BABIES
    • KIDS
    • FOR HER
    • FOR HIM
    • TEACHERS
    • WEDDINGS
  • SEASONAL
    • 4TH OF JULY
    • FALL
    • HALLOWEEN
    • CHRISTMAS
    • SUMMER
    • SPRING
    • ST. PATRICK’S DAY
    • THANKSGIVING
    • VALENTINE’S DAY
    • WINTER
  • SALTBOX PROJECT
    • BATHROOMS
    • DINING ROOM
    • EXTERIOR
    • FAMILY ROOM
    • FOYER / MUDROOM
    • KIDS BEDROOMS
    • KITCHEN
    • LIVING ROOM
    • MASTER BEDROOM
    • PLAYROOM
  • SCROLL SAW

“F” is for Felt Cupcakes

November 14, 2013

Sew: felt cupcakes
Make your own kids play cupcakes.
Felt, a little hand sewing and a hot glue gun is really all it takes to make these yummy treats:


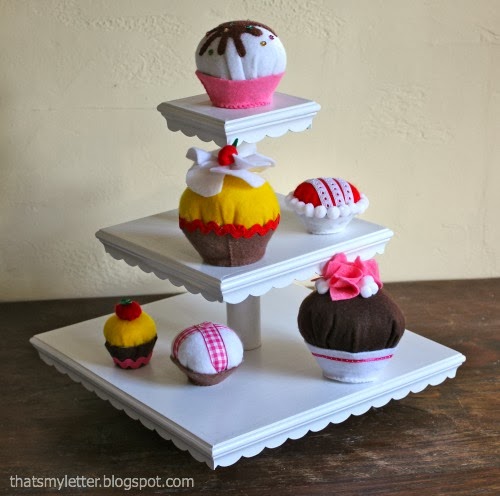
If you want the free diy build plans for the cupcake stand click here.
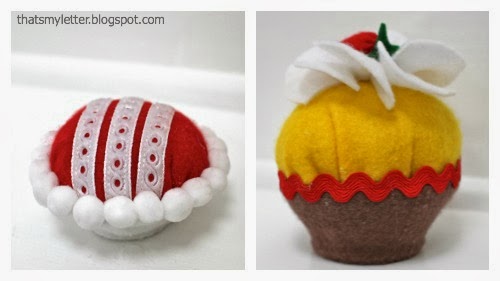
Don’t forget to add some fancy decorations: ribbon, sequins, buttons, ric rac, pom poms, anything will work!
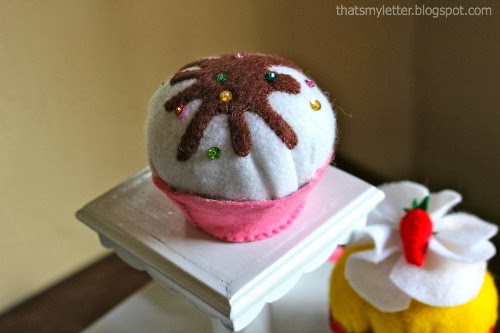
The brown felt chocolate drizzle is my favorite:


How to make felt cupcakes:

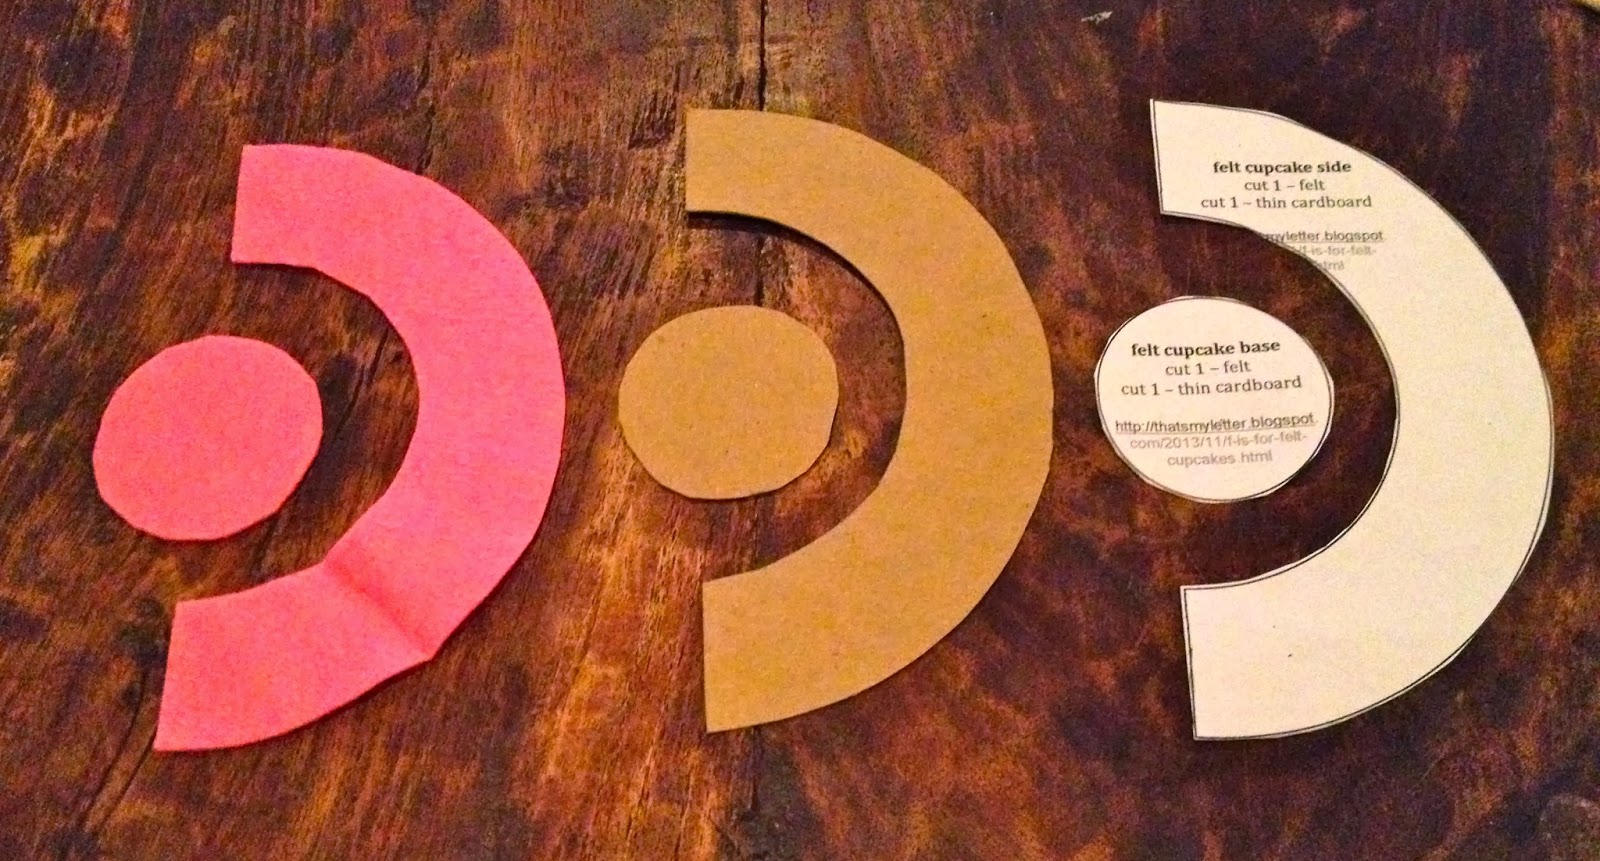
1. For each cupcake cut out:
1 – felt base
1 – felt side (curved piece)
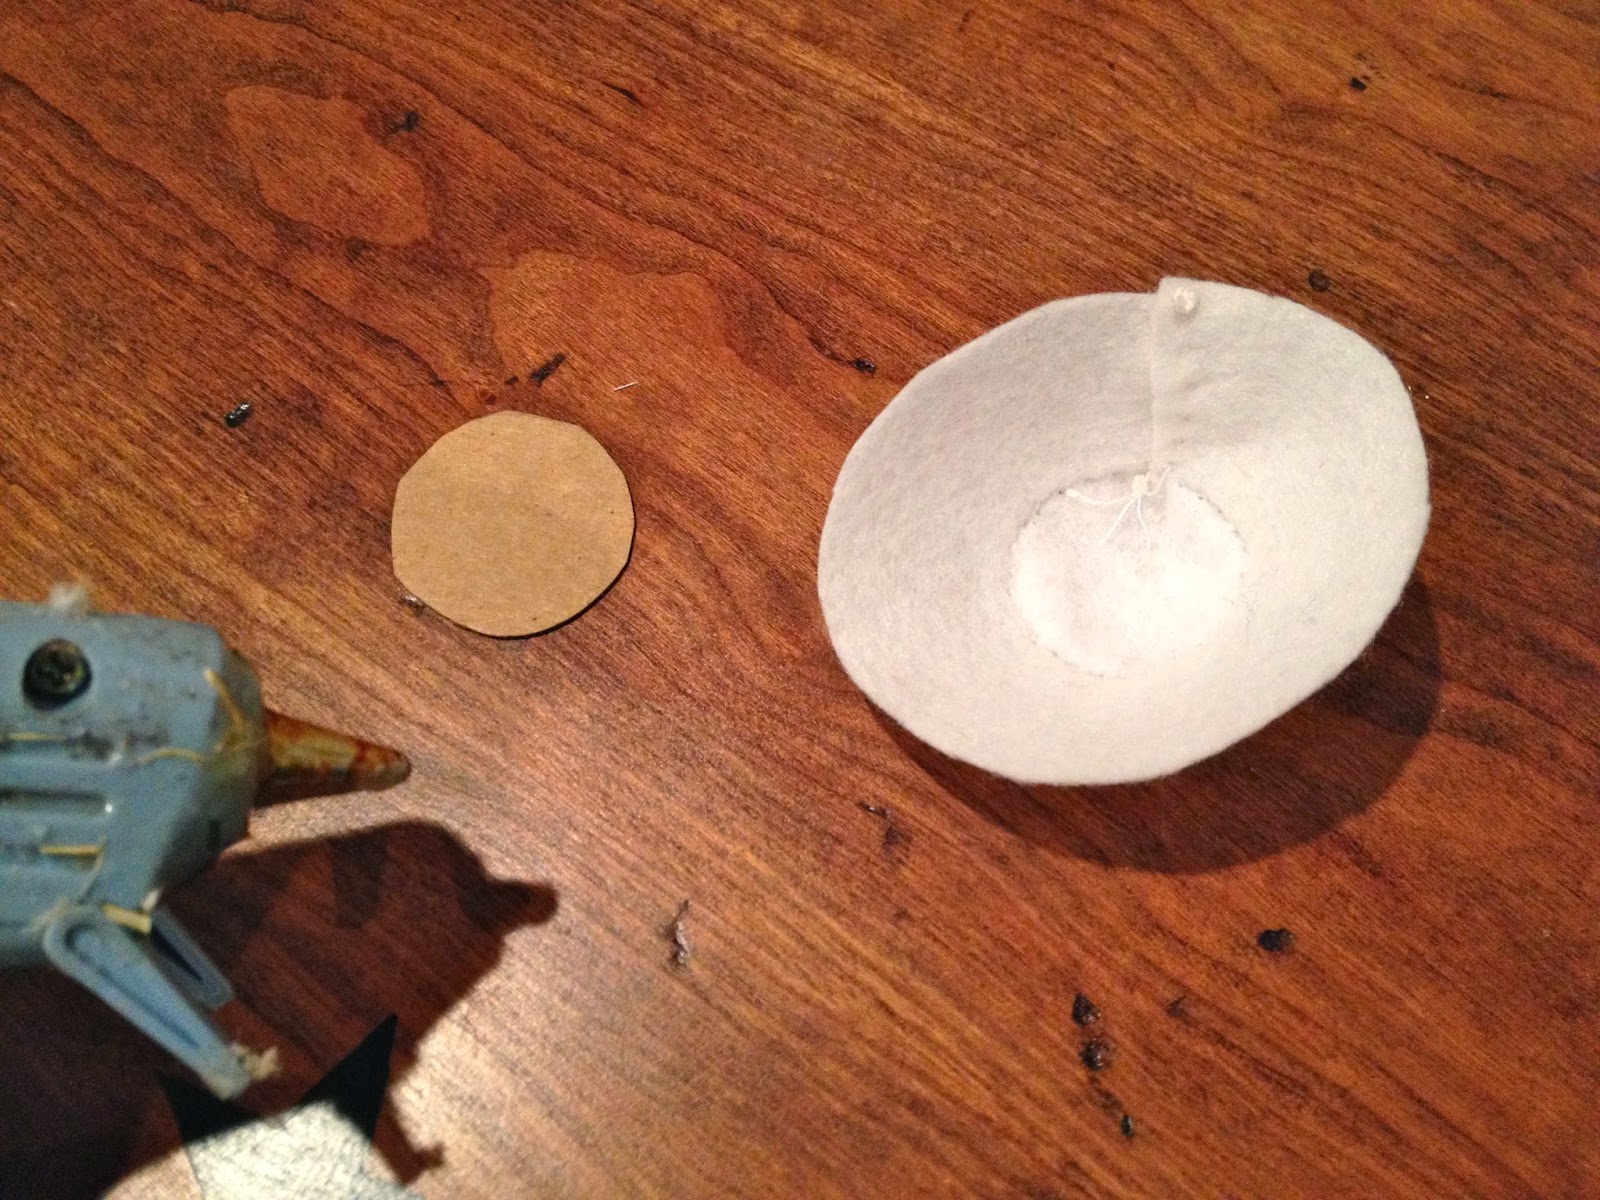
1 – cardboard base
1 – cardboard side

2. Sew the side seam using a whip stitch:
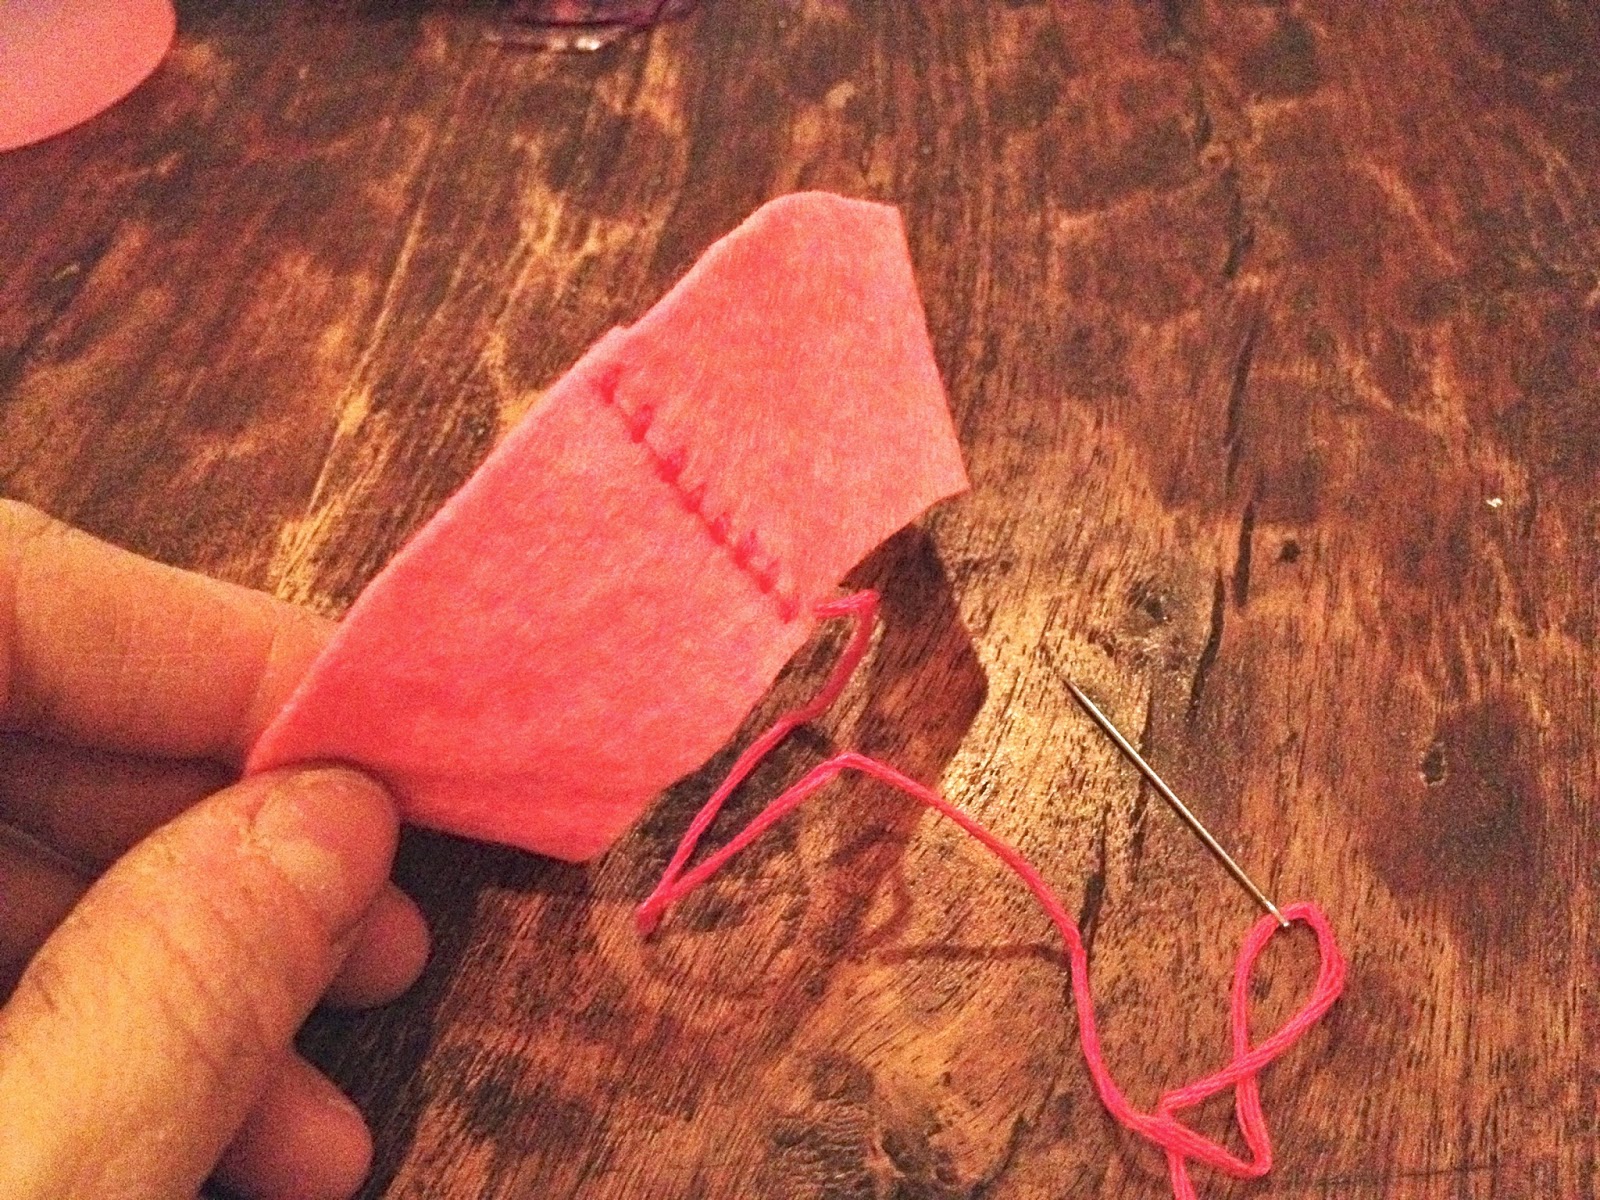
Then sew the base onto the small end of the side piece.
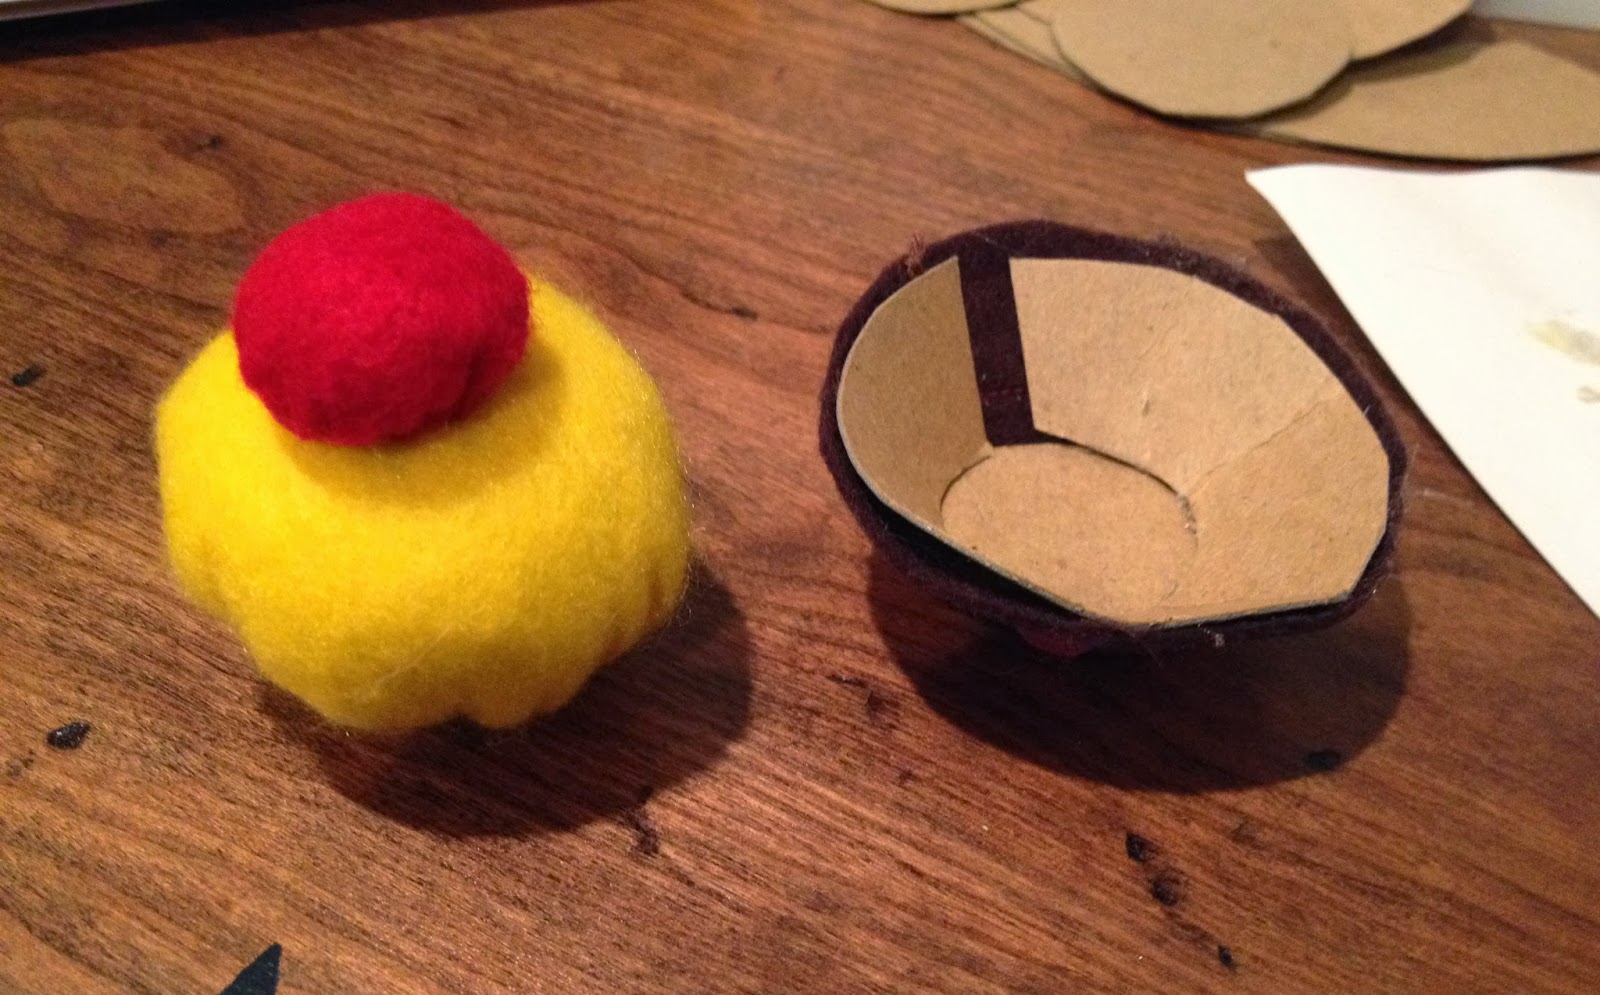
3. To make ‘cake’ portion cut an 8″ circle for a regular cupcake and a 6″ circle for the mini:


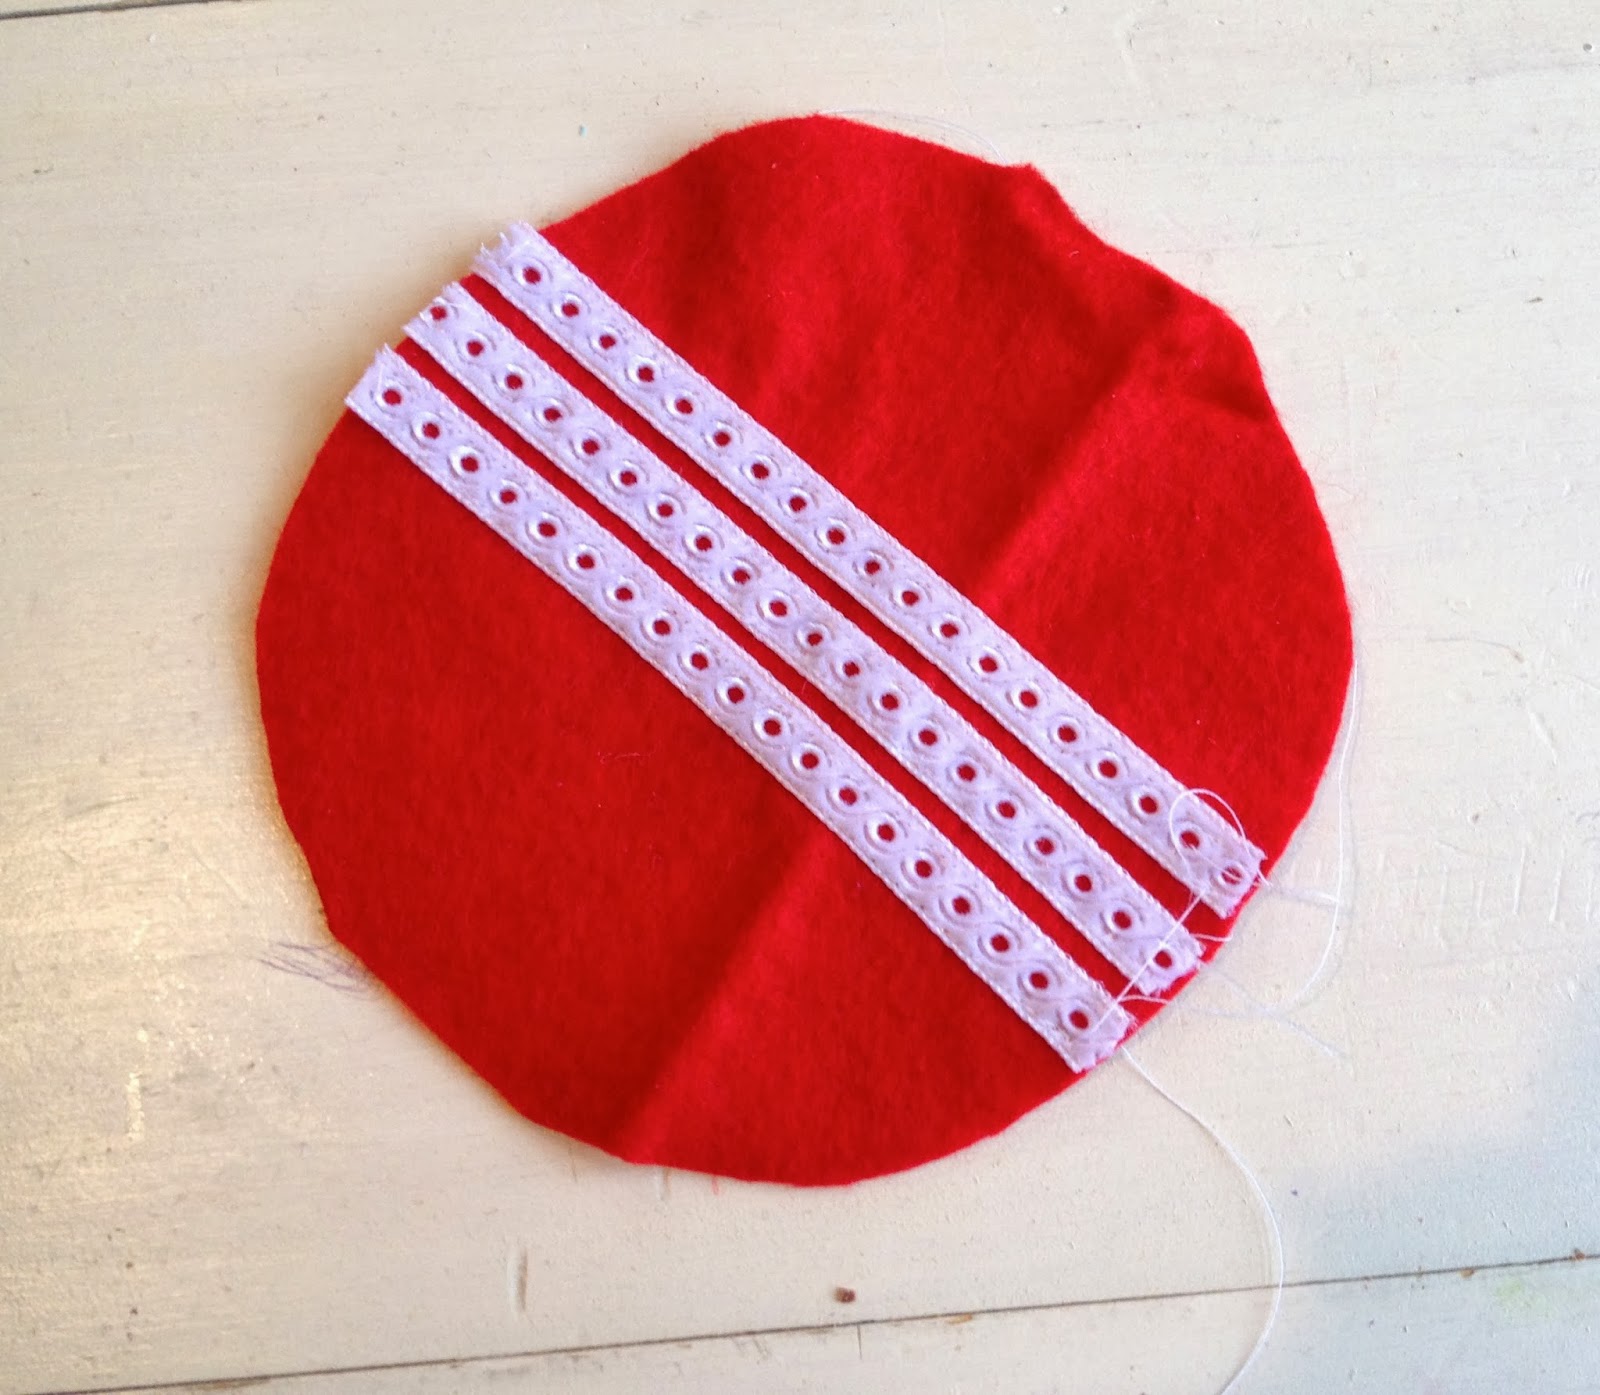
4. Sew a gathering stitch around the outer edge of the circle and pull tight:


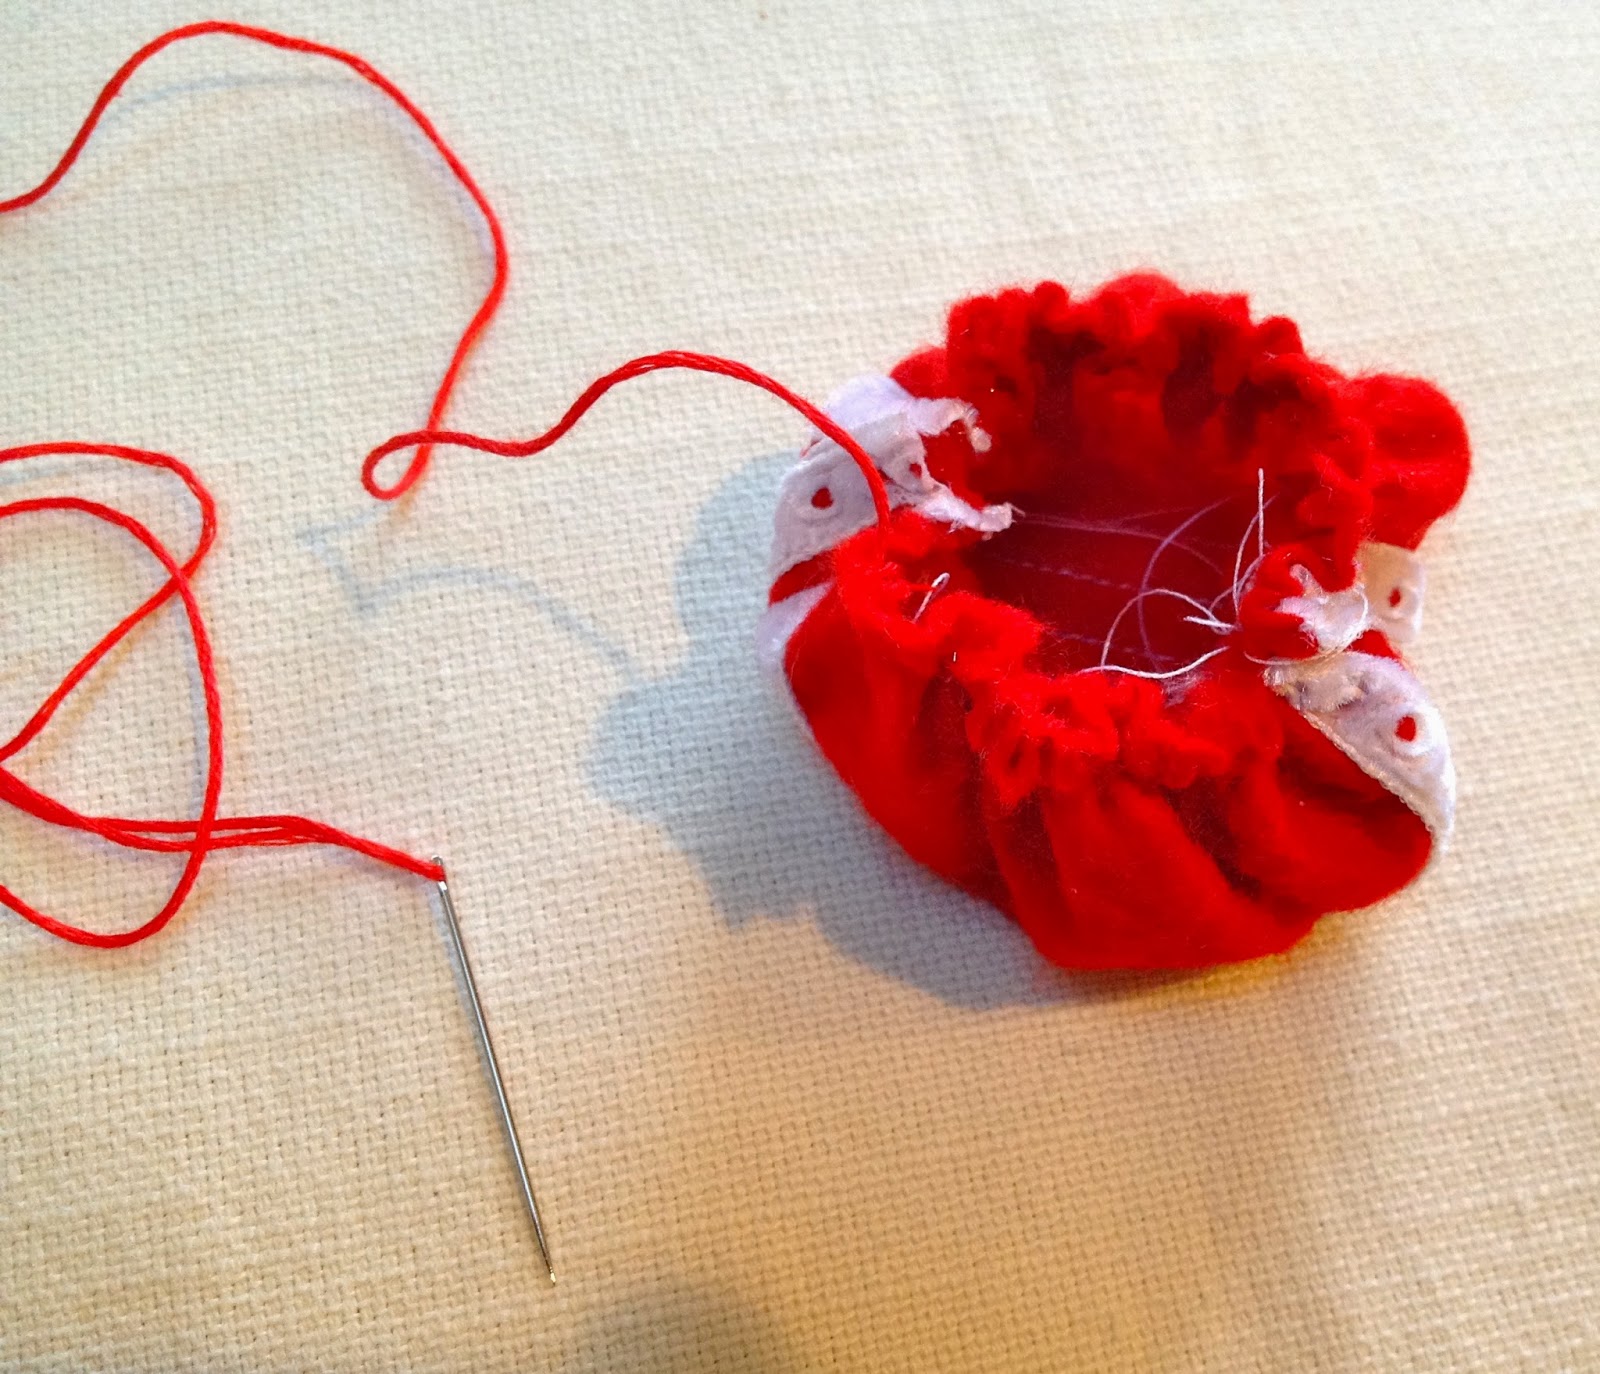
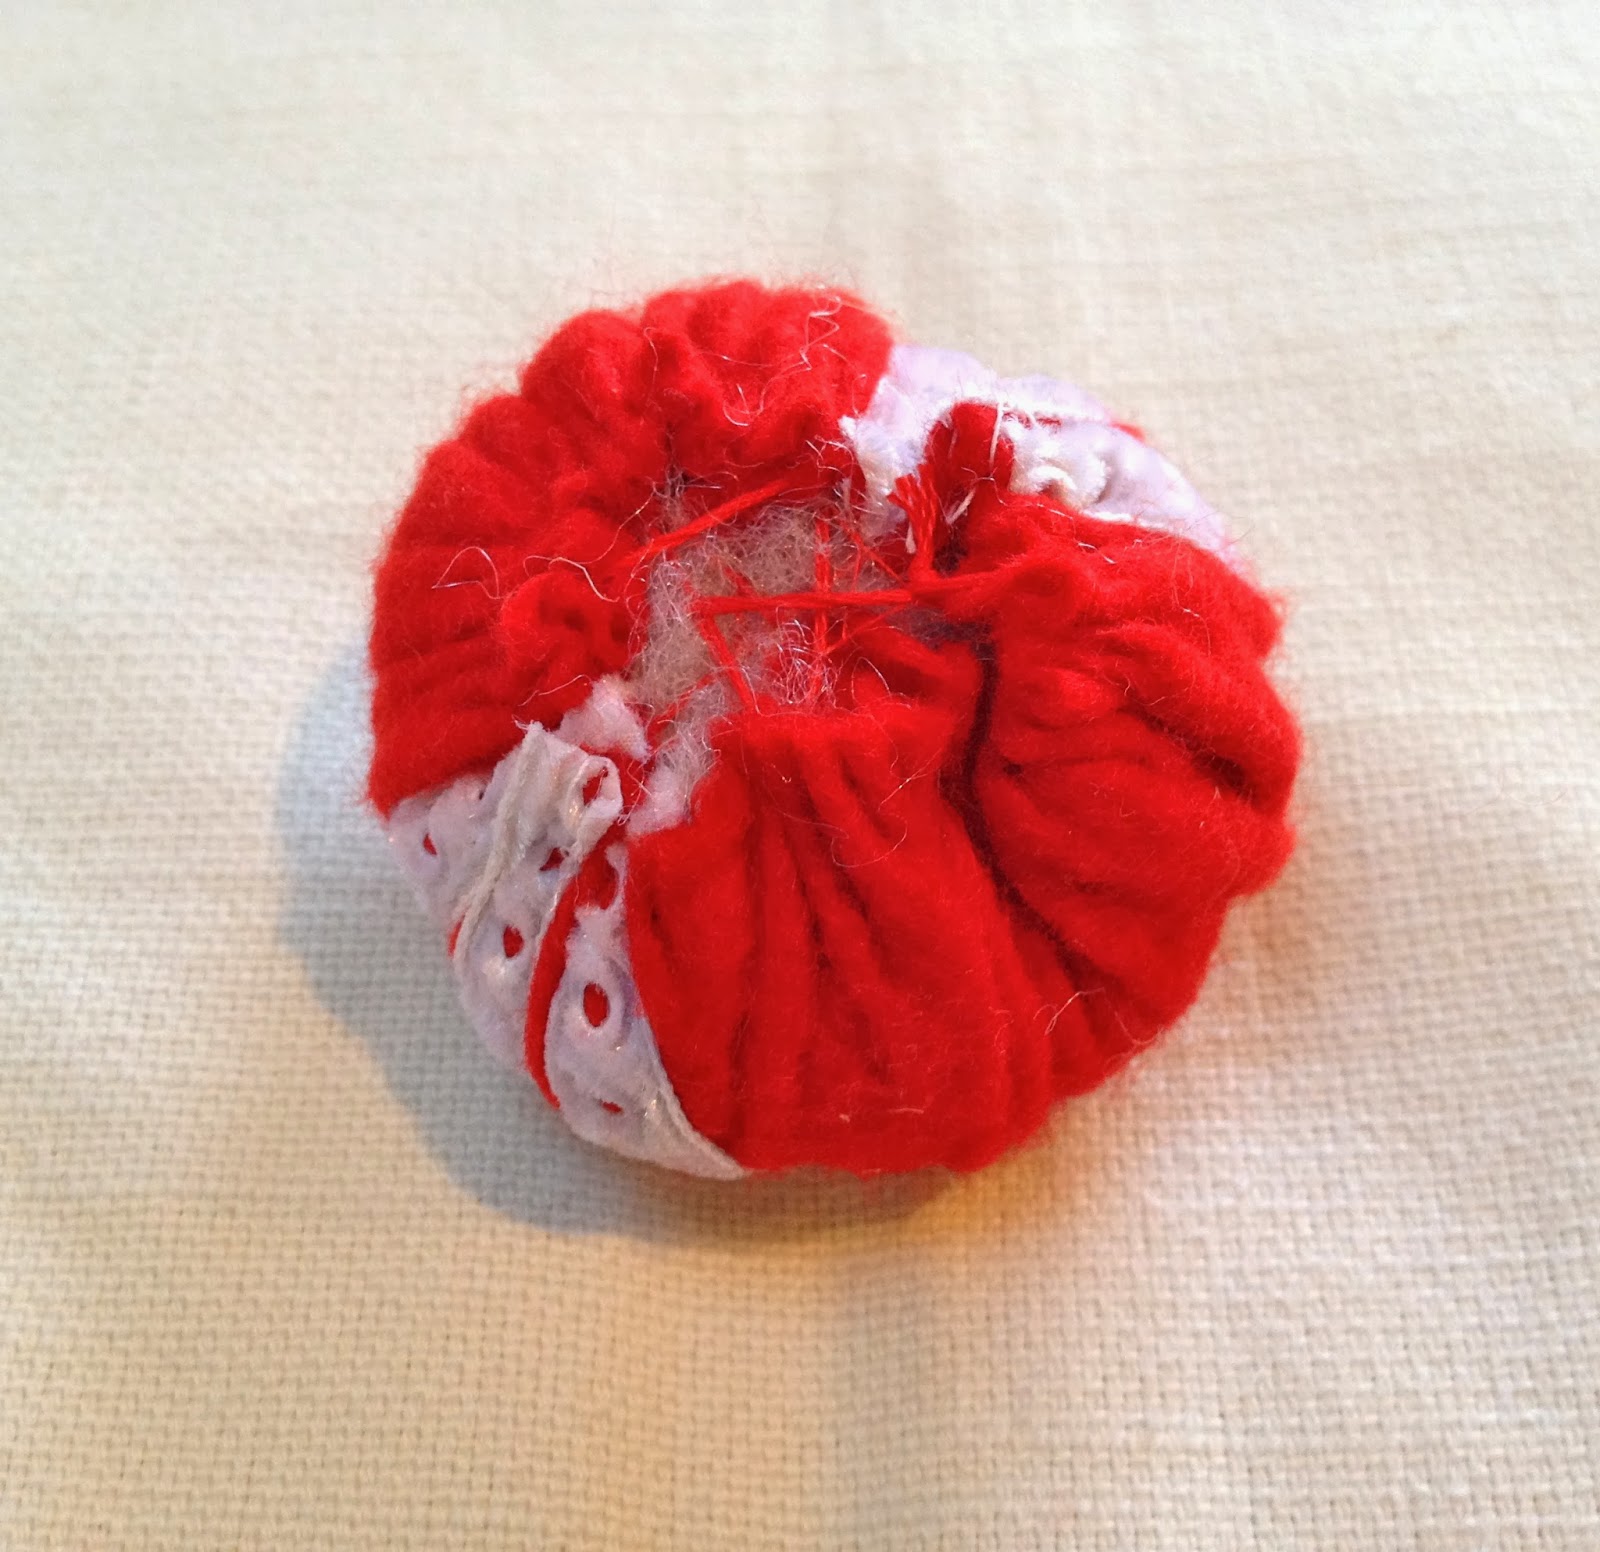
5. Fill with stuffing and make several criss cross stitches then tie a knot:


6. To prepare the base, hot glue the cardboard circle into the base:


7. Hot glue the cardboard side piece into place gently bending the cardboard.
Then hot glue cake into base:


Add sequins and decorations.

You may also like...

  • DIY Star NapkinsDIY Star Napkins
  • DIY Candy Button Zipper PouchesDIY Candy Button Zipper Pouches
  • Cross Stitch Monogram Ornament PlacecardCross Stitch Monogram Ornament Placecard
  • DIY Stacking Big Mac ToyDIY Stacking Big Mac Toy
Share this post:

Filed Under: CRAFTS, DIY, HOME DECOR, SEW, SEWING1 Comment

Reader Interactions

Comments

  1. Lizbeth McGow says

    November 22, 2013 at 4:05 PM

    Hi Jamie! These are very cute with an awesome tutorial! I decorate my Kitchen Xmas small tree with cupcakes so the timing of your project is perfect for me! Thanks for sharing.
    Lizy

    Reply

Leave a Reply Cancel reply

Your email address will not be published. Required fields are marked *

Primary Sidebar

Hi! I’m Jaime

Jaime Costiglio

Hello!

Thank you for stopping by.
Join me for lots of DIY.

Read more

Get new posts via email

Handbuilt Holiday: Gift Project Plans

handbuilt holiday gift project plans

Collection of DIY gift project plans to build.

The Home Depot Tool Prospective

THD Prospective

Tools to consider for the DIYer.

Archives

The Home Depot Logo
Copyright © 2023 Jaime Costiglio · Custom site by Moonsteam Design

Privacy Policy