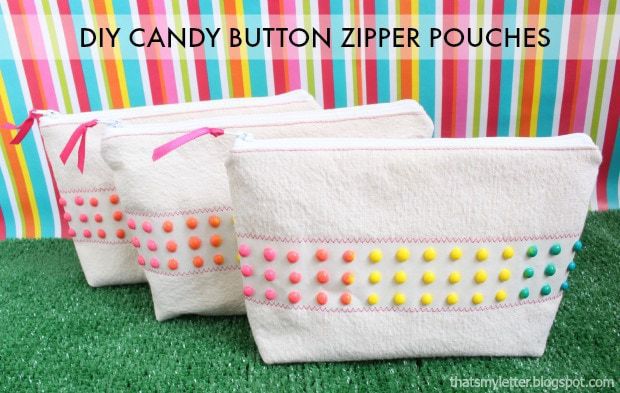
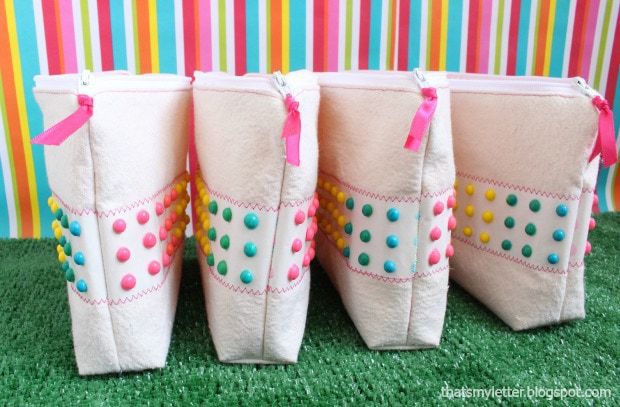
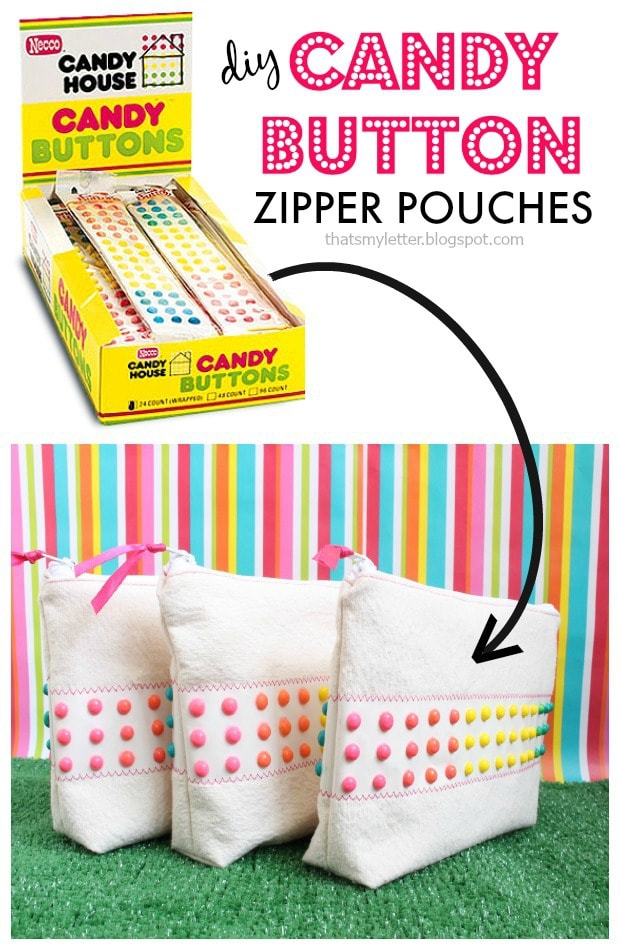
This just might be the most outrageous diy project I have conjured up in my lifetime but when my daughter decided she wanted a Willy Wonka birthday party all things normal went out the window. So today I am sharing how to make candy button zipper pouches using real candy buttons which will be the favors at her birthday party.
It’s official since I already sent out this cute little save the date graphic I made up.
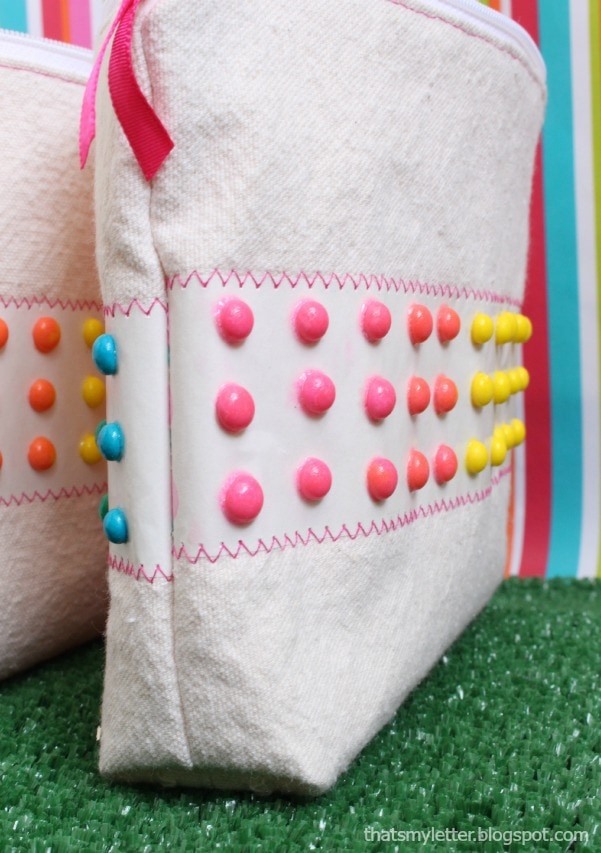
The candy buttons ARE NOT EDIBLE anymore because they have been sealed with clear gloss polyurethane which is the only way I could figure out how to keep the buttons adhered to the paper and protect the sugar and paper from moisture (humidity, moist fingers, liquids in general).
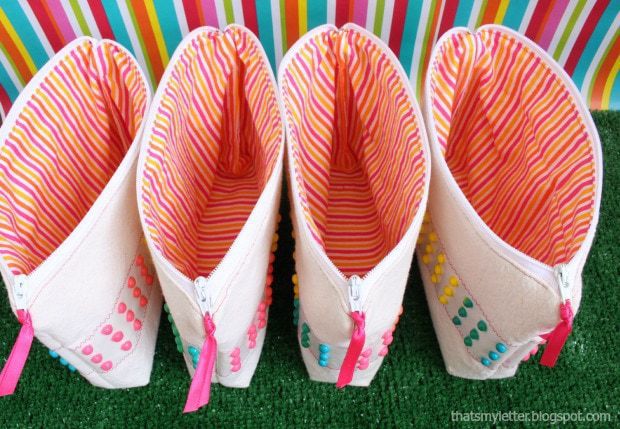
I lined the pouches with striped cotton in keeping with the theme.
I must note these pouches are probably not going to last forever. For me they were fairly easy to make and are a unique and unusual party favor but I know kids are rough and despite my efforts I am sure over time the buttons will get picked off or fall off. Despite that fact I still wanted to go ahead with this project because it was a fun challenge and anything that tickles my creative brain is worth my time.
How to make candy button zipper pouches:
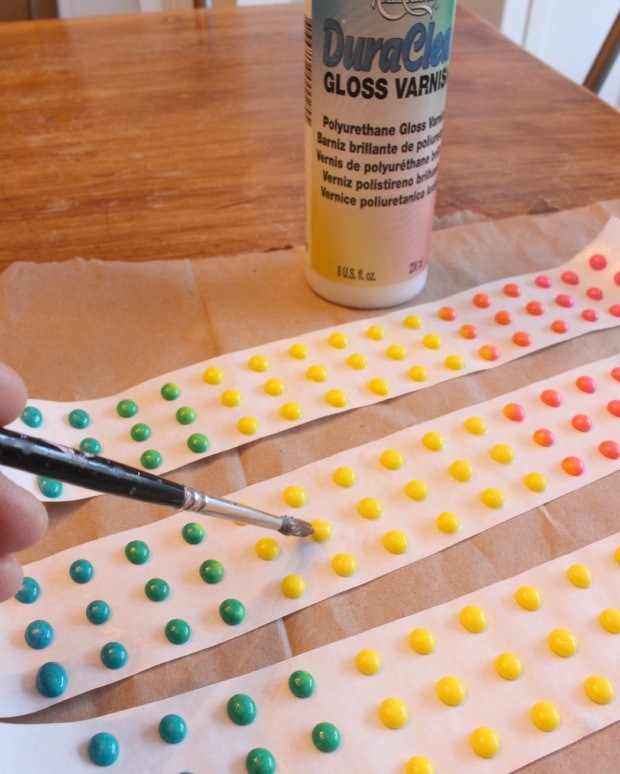
Step 1: Seal the candy buttons. First I used a thick coat of clear gloss spray poly. Once dry I then took the paint brush and applied a thick coat of clear gloss around each candy button to be sure they were adhered to the paper.
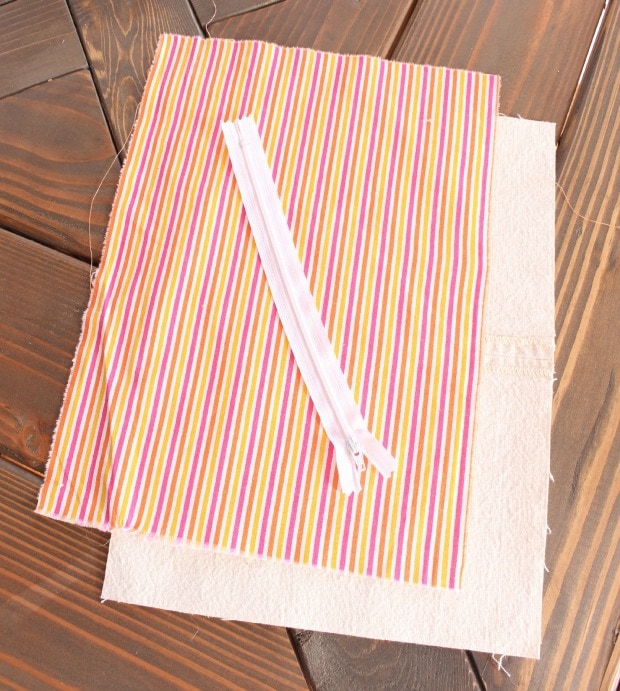
Step 2: Cut exterior canvas, interior cotton and medium weight fusible interfacing all 10″ x 14″. And you need one 9″ zipper.
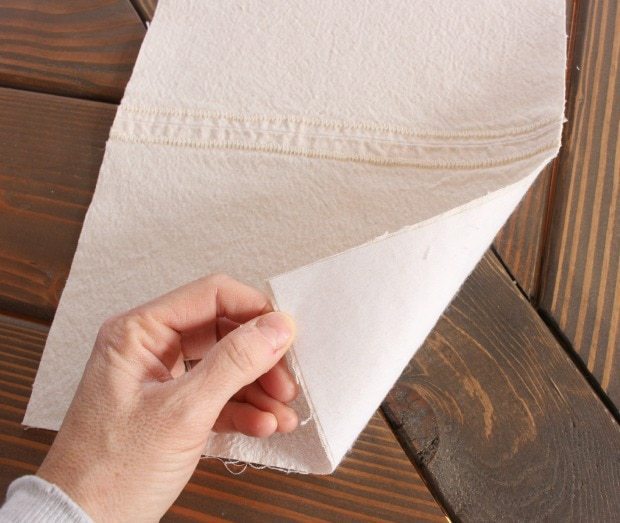
Step 3: Fuse interfacing to wrong side of canvas.
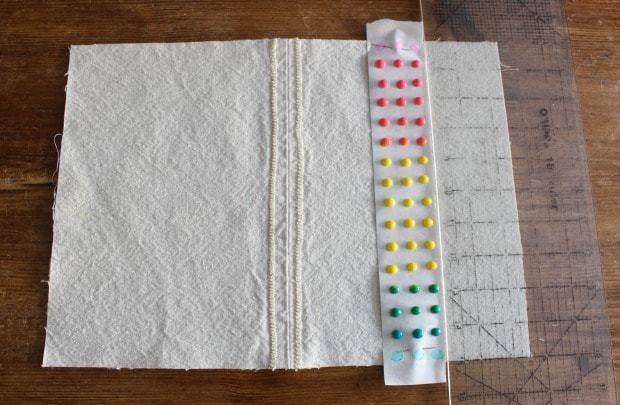
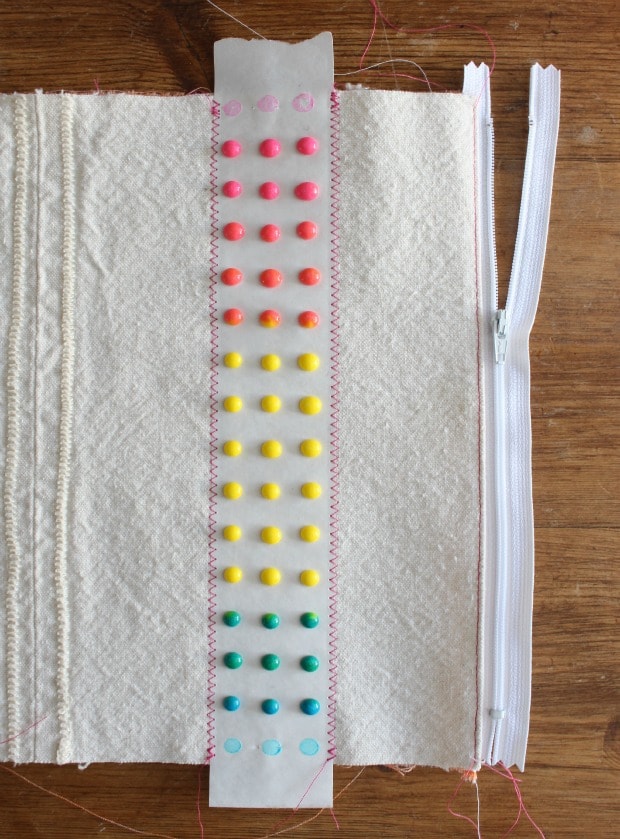
Step 4: Line up one sheet of candy buttons to one side of canvas 2 1/2″ from short end. Remove last row of buttons on both ends and pin in place.
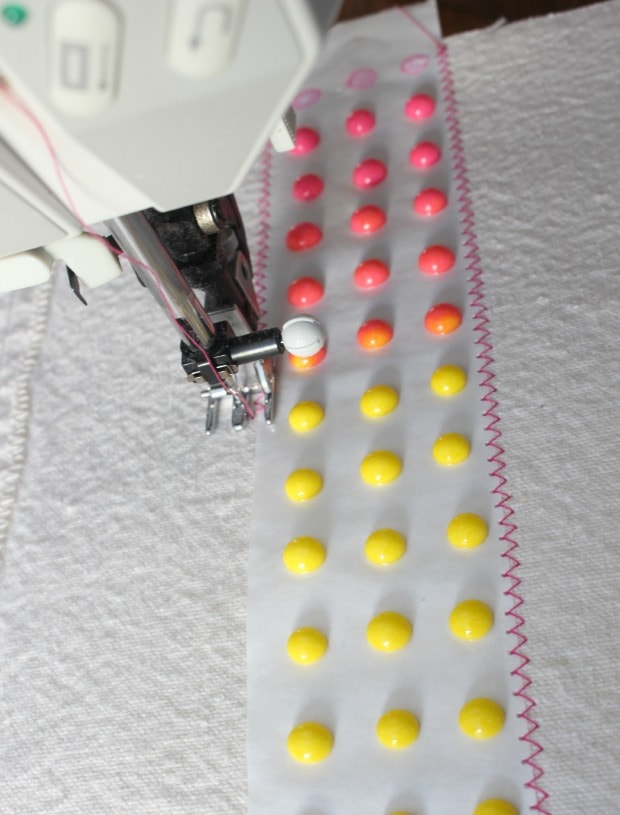
Step 5: Using a zipper foot and zig zag stitch sew the candy buttons paper onto the canvas.
Repeat this process for other strip of paper on other end of canvas.
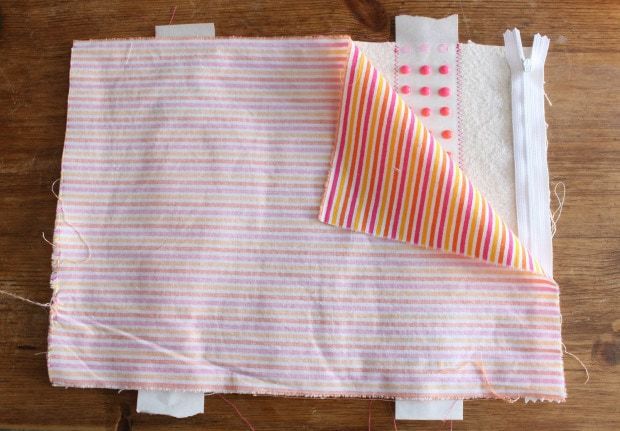
Step 6: Place zipper right side down on one end of canvas then place lining fabric right side down on top of zipper. Sew one side of zipper in place. (For more zipper pouch tutorials click here.)
Step 7: Top stitch canvas and lining down so it doesn’t get caught in zipper.
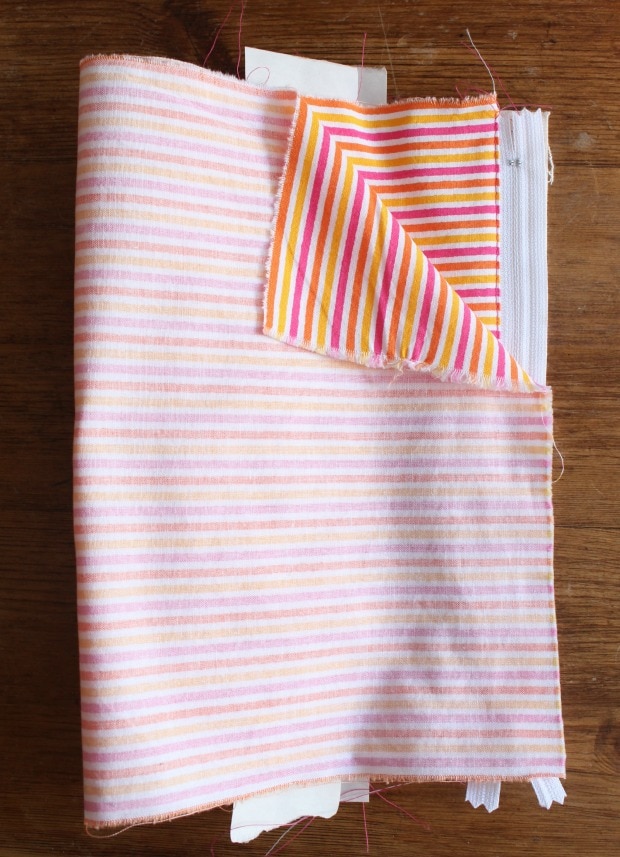
Step 8: Attach other side of zipper to other end of canvas and lining repeating the same processes in step 6 & 7.
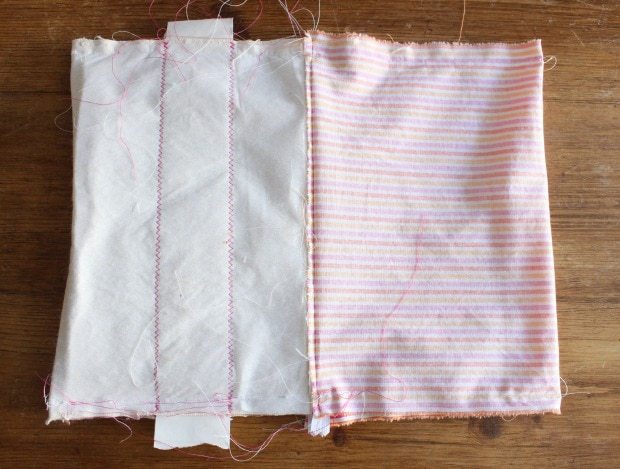
Step 9: Line up right sides of canvas to each other and right sides of lining to each then sew side seams. *Be sure zipper is at least 3/4″ open before sewing side seams. ** Leave at least 4″ open on one side of lining in order to turn pouch right side out.
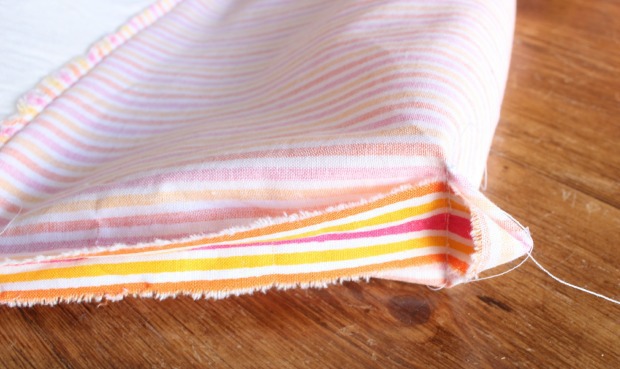
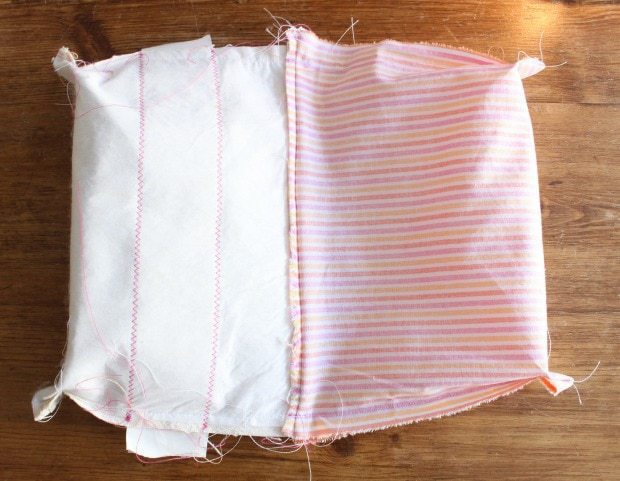
Step 10: Miter all four corners by pressing open side seam and matching up to base.
Step 11: All four corners are mitered here. Now trim off mitered portion and any excess paper from the candy buttons.
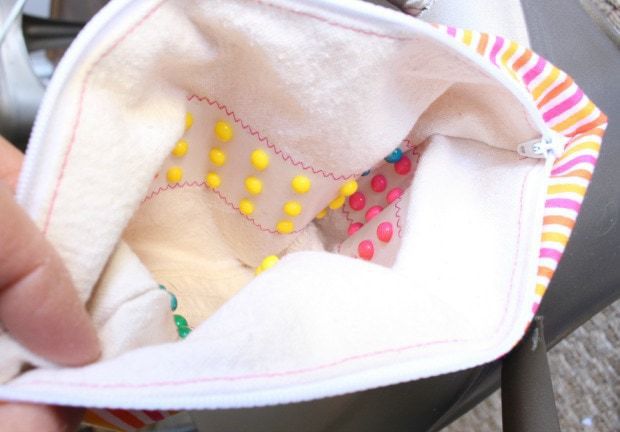
Step 12: Turn pouch right side out through opening in lining. This is when your buttons will really get a good manhandling but the polyurethane should hold them in place. If a button pops off (because yes that happened to me) use super glue to put it back in place. Top stitch lining closed and shove lining down into pouch. Add ribbon to zipper pull.
Stay tuned for more diy Willy Wonka party related posts coming soon!
Disclaimer: I have no affiliation with Willy Wonka or Necco candies. All thoughts, opinions and ideas are my own.




the best ! you are so creative !
thanks very mutch
Very cute! I wonder if you could get the same effect by making puff paint dots on a strip of fabric.
this is darling Jaime! way to be creative! 🙂
What an amazing idea. But not sure if I would be keen on putting candy onto sewing. You are so brave.